
April 22 was the official Earth Day this year, a day when we are encouraged to intentionally do things to honor our planet. However, we at Tim Kime Art and Finding Your Good truly believe that every day is Earth Day.
Like many of you, we always want to do things that are helpful for the Earth and celebrate Mother Nature.
Anything we can do to keep things out of landfills, even a small thing, is a positive step. Donating to and purchasing items at your local nonprofit Goodwill retail store are simple ways to show our planet love, too.
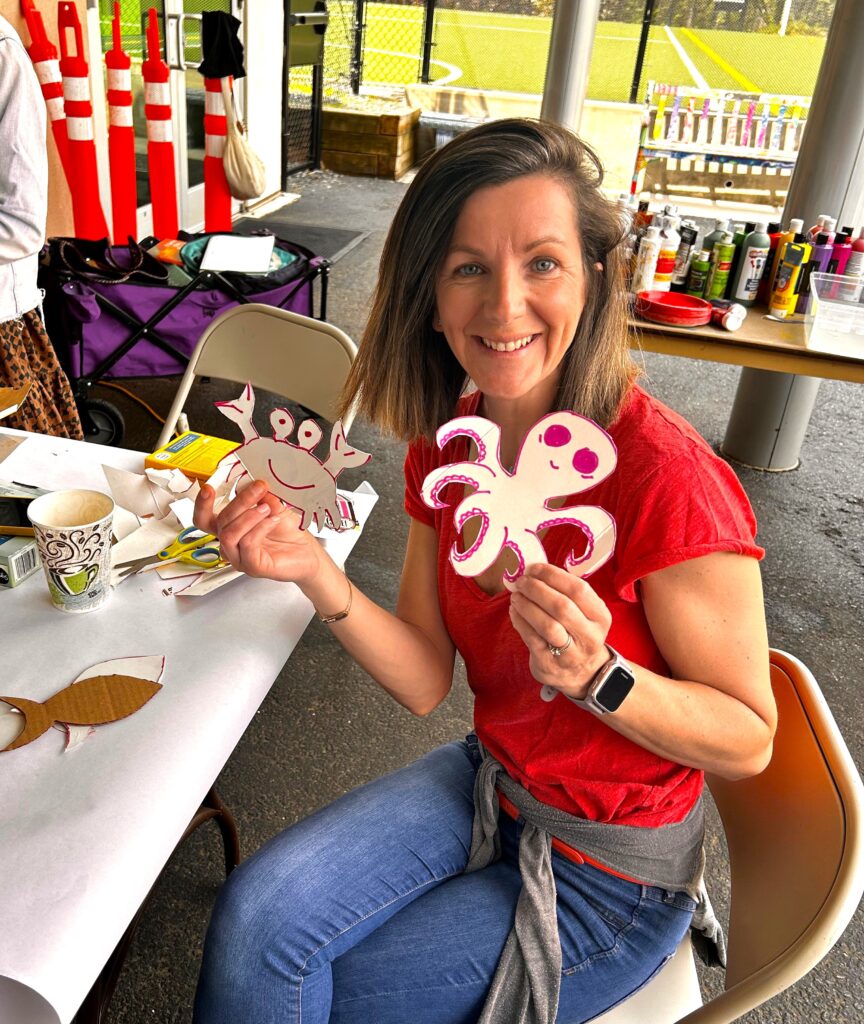
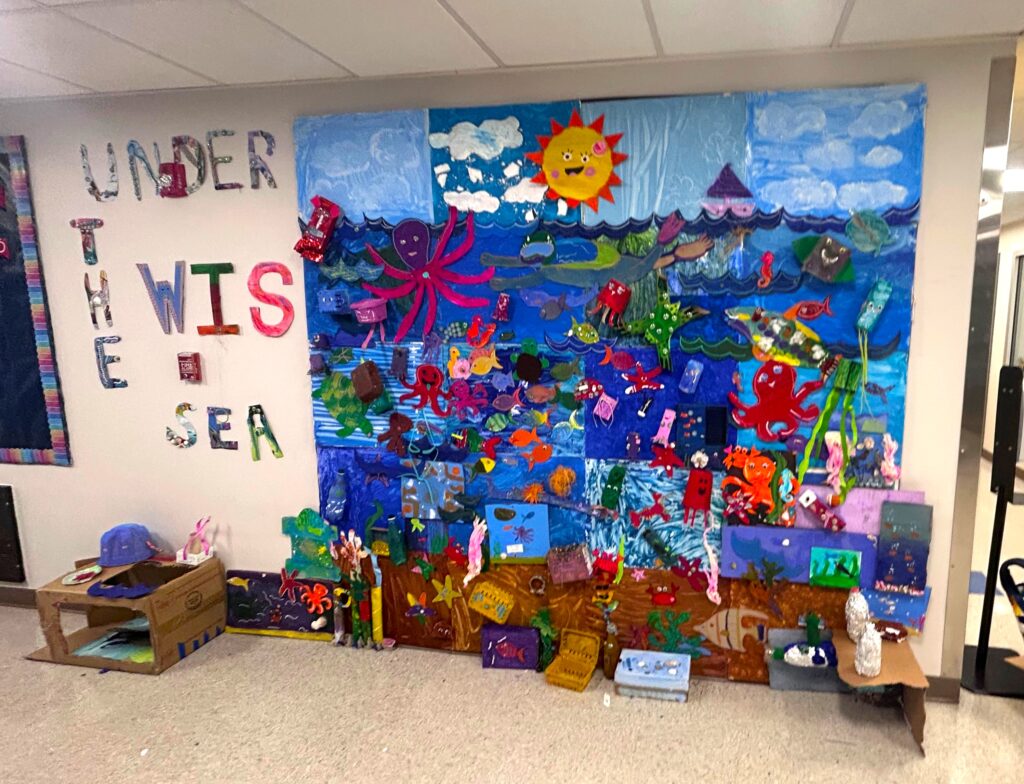
This week’s blog does that and more when the Washington International School (WIS) enlisted Tim Kime Art to design and create a group mural with the help of their students, parents, staff, and community.
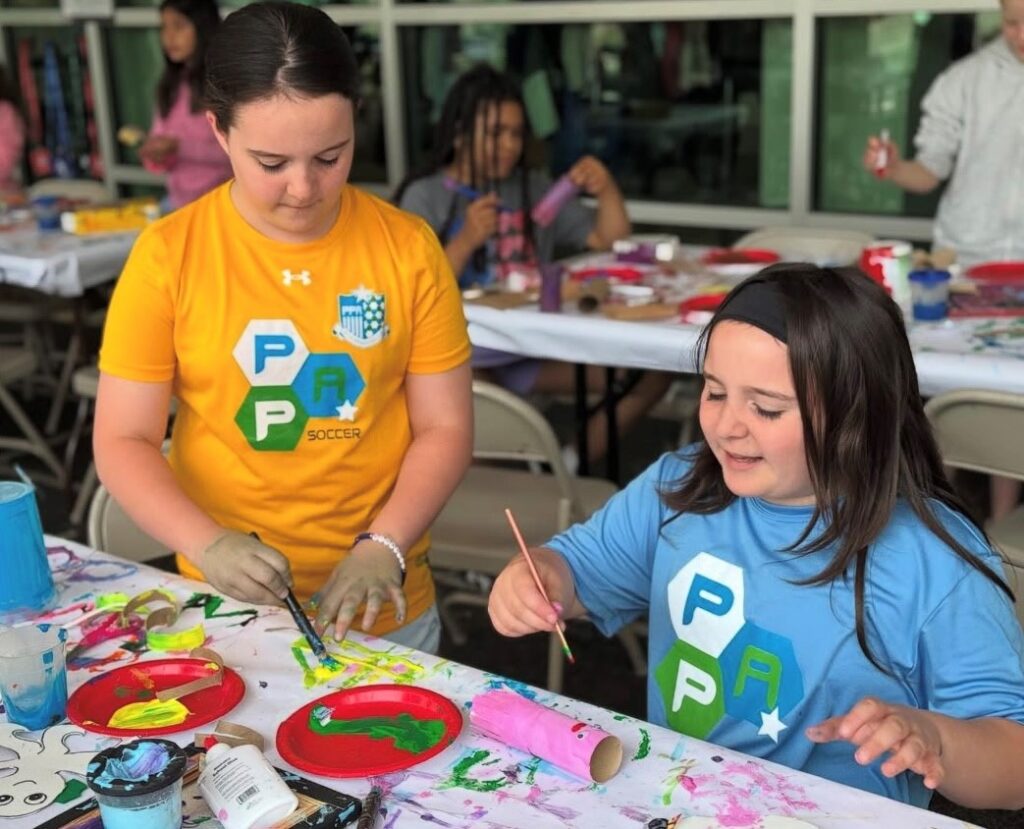
Students came together to create a mural using items like boxes, bottles, food containers, and other things collected prior to the three-day workshop guided by yours truly. Many of the art supplies were picked up at the recent Art Supply Swap event co-hosted by Finding Your Good, Tim Kime Art, and Relume. Kudos to WIS for inspiring its student body to help our planet and for creating a truly one-of-a-kind mural/group art piece to celebrate Earth.
You can create one, too.
Here’s how:
Step 1: Determine your theme
WIS’s Primary School Assistant Principal Lisa McNeill had the idea of a group art piece using the theme “Under the Sea” which allowed for a colorful and fun direction. It also gave the chance to teach students how our oceans are impacted when trash and other items are carelessly tossed into them. Once you have your theme, sketch out your vision of what your mural will look like to get all on the same page.

Step 2: Collect items to reuse, repurpose
Students and their families were encouraged to collect items from their recycling and trash bins to turn into art.
Boxes, paper towel tubes, plastic bottles, container tops, food packaging, and more were collected during the days prior to the start of the workshops. This allowed all to get engaged in the process and contribute in a hands-on way.
Also provided were old magazines, calendars, fabric pieces, jewelry pieces, and more, all destined for the dumpster but reused for the mural. Do the same by getting your group involved in collecting items to transform. It is really fun for all!
Step 3: Come up with a plan for each day/session/workshop
To make the best use of the students’ time and to ensure the many little hands helping were in sync, we determined what would happen on each of the workshop days.
Day 1 was preparing the mural’s background elements.
Day 2 was creating foreground elements like the sun, a sailboat and other sea-related critters.
Day 3’s plan was to embellish and accessorize the items to give them pizzaz and personality.
Day 4’s goal was to pull it all together by putting it up on the wall and making it come to life.
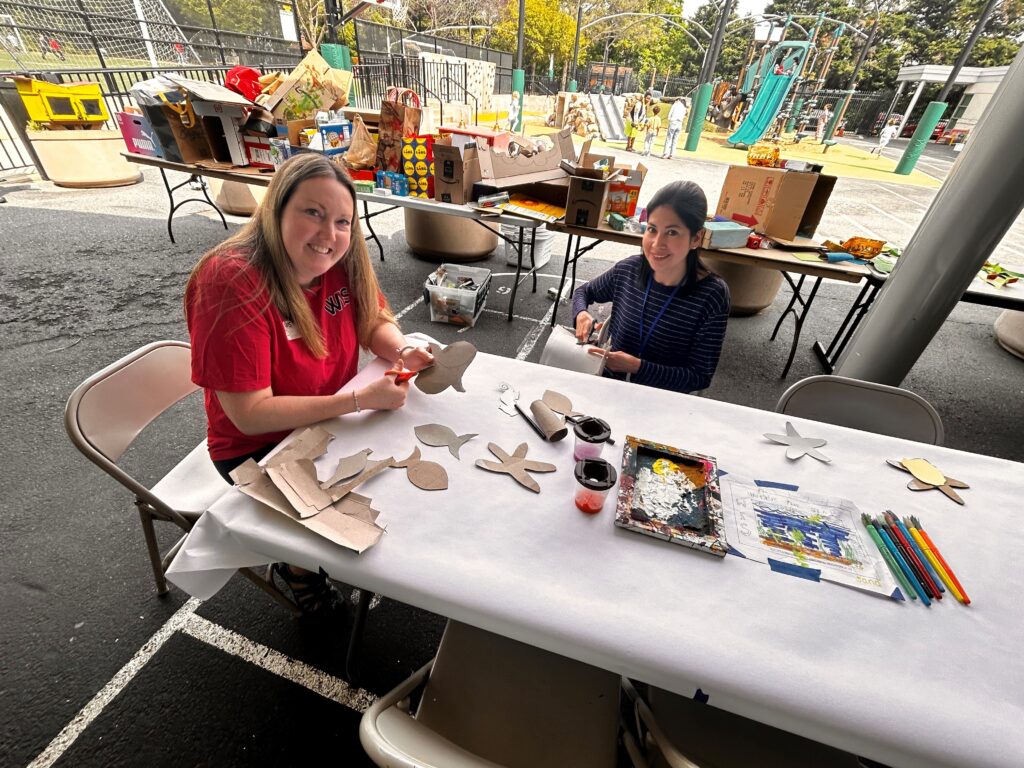
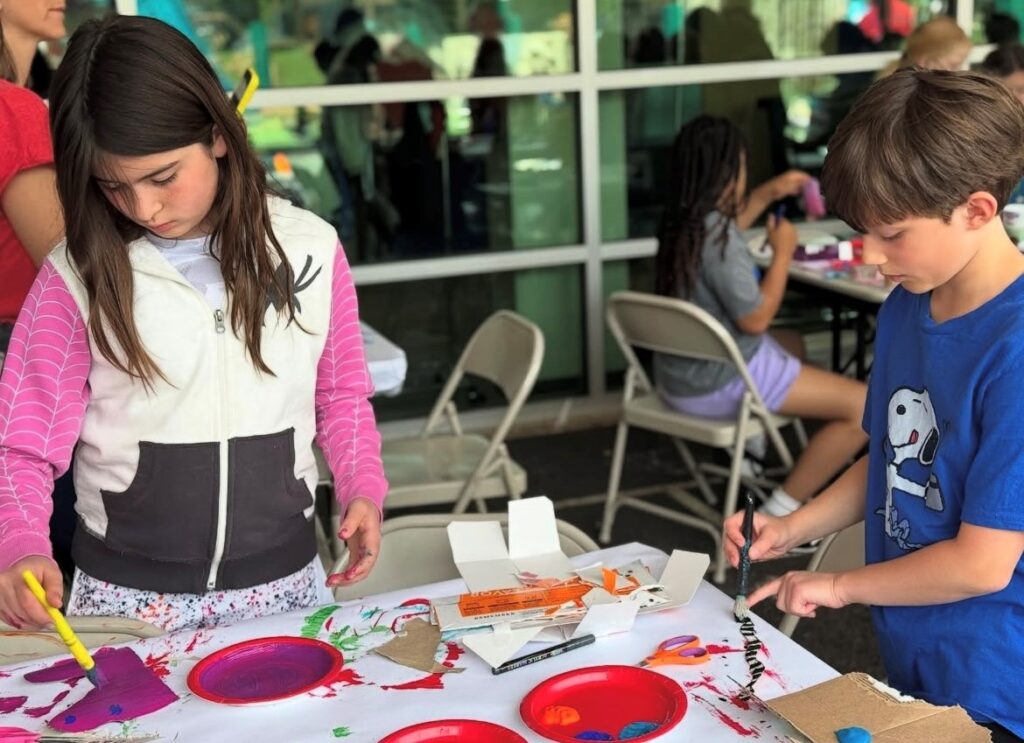
Step 4: Create a welcoming workspace & enlist enthusiastic volunteers
Based on the number of students and/or participants in the process, you will want to set up your space in a way that is functional and fun. We set up tables and chairs for the students outside to use as their creative workspaces. Tables placed up front held paints, scissors, markers, and glue guns. Collected items were placed on other tables, and several were set up to hold painted items. Paper towels, hand wipes, and other items were on hand to keep things as clean as possible.
A great way to get parents, guardians and other adults involved is to invite them to help in shifts to support the students and help keep them focused and on track. Folks are always looking for ways to serve a school, and what a memorable way for them to be part of the process!
Here’s how our plans unfolded:
Day 1: Background elements
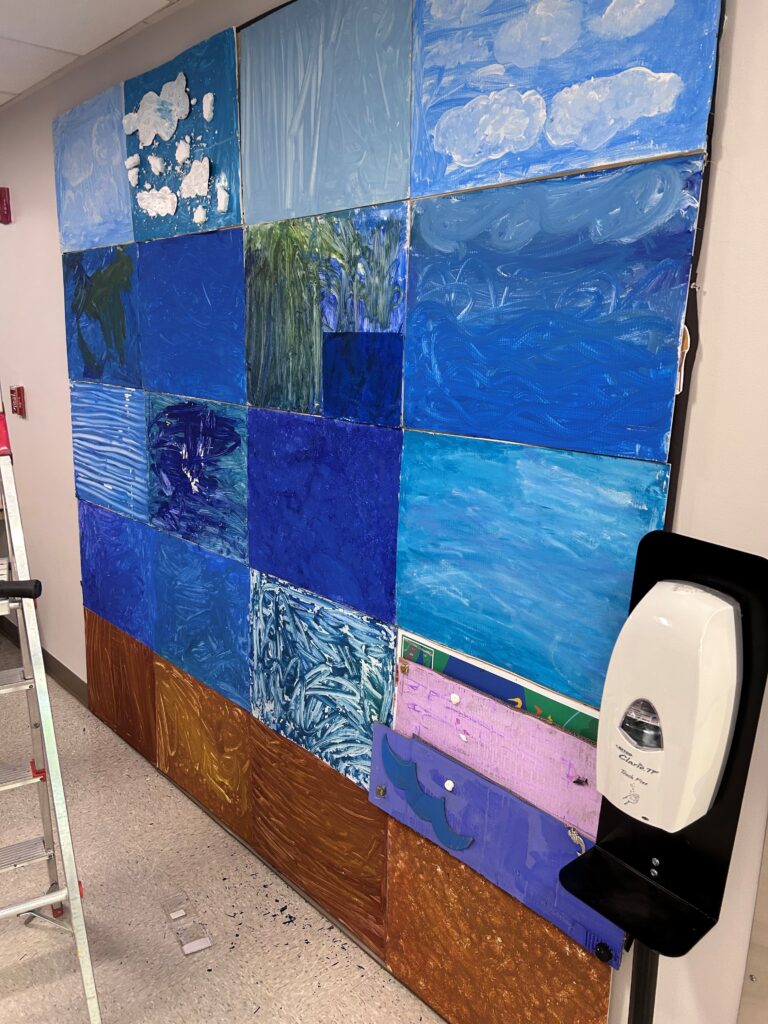
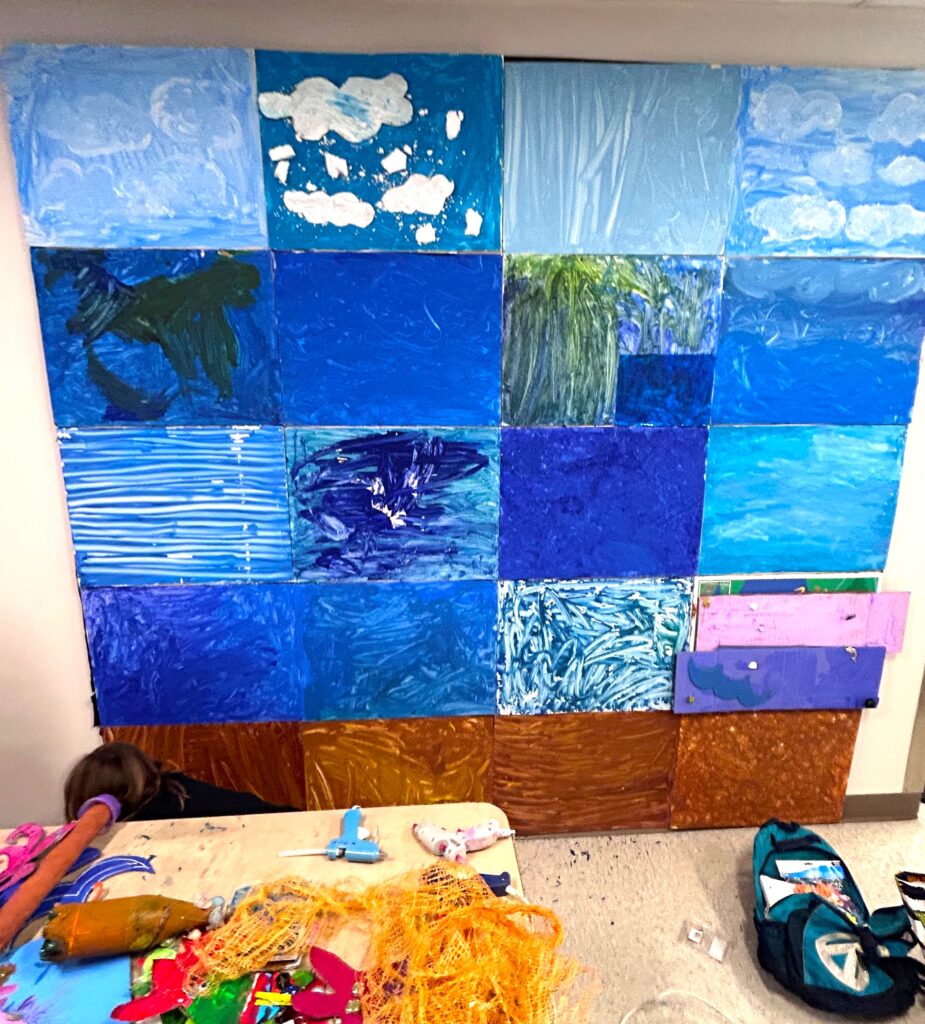
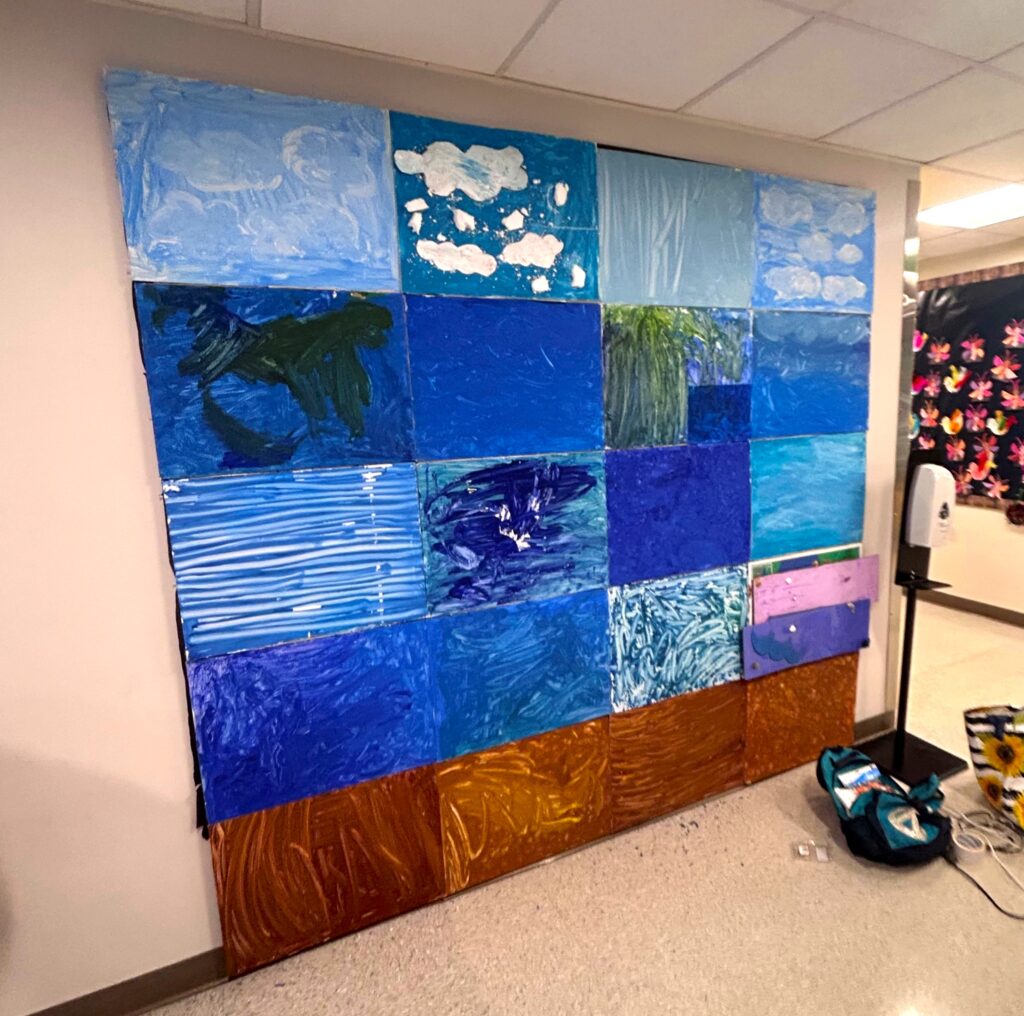
For the first day, plastic signs used to promote events were turned over and repurposed as their backsides became our blank canvases and the base/foundation for our mural. Several signs were painted brown to represent sand, a bunch of others were painted darker blues and greens to signify water and others were painted lighter blue and white to illustrate the sky.
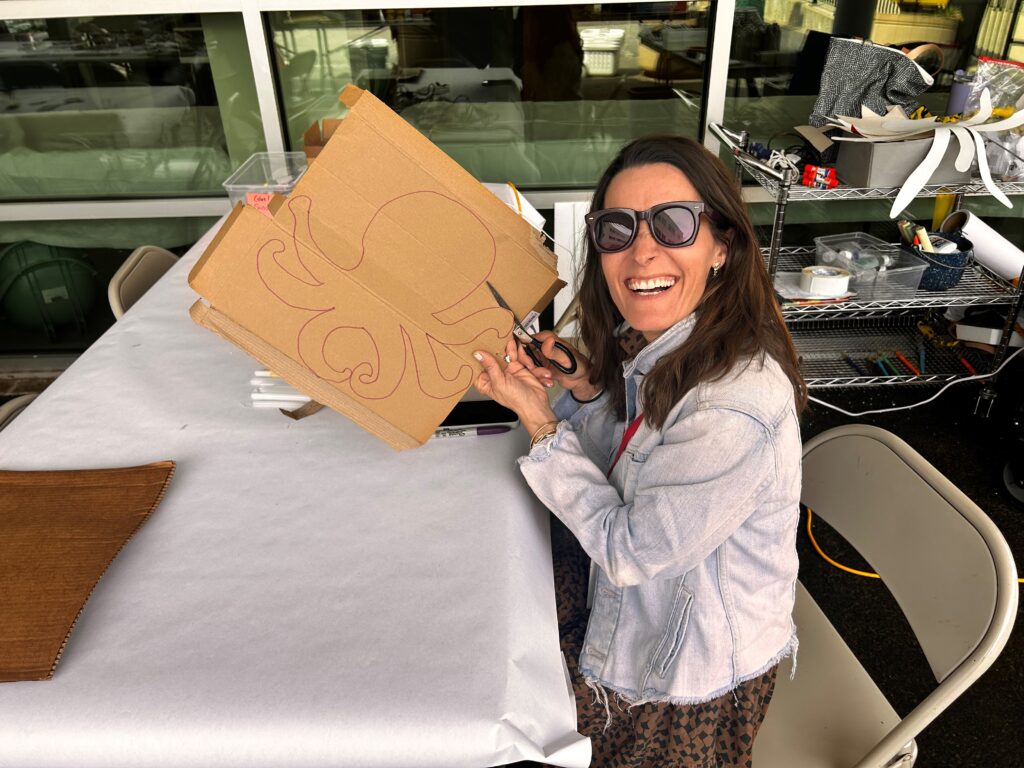
Waves, clouds, and seaweed were precut from various boxes, tubes, and other cardboard elements and placed on the tables, too, for the young artists to add their special touches. Students were encouraged to trace these elements or create their own versions from the collected items. As items were completed, adult helpers picked them up and placed them on the side tables to dry.
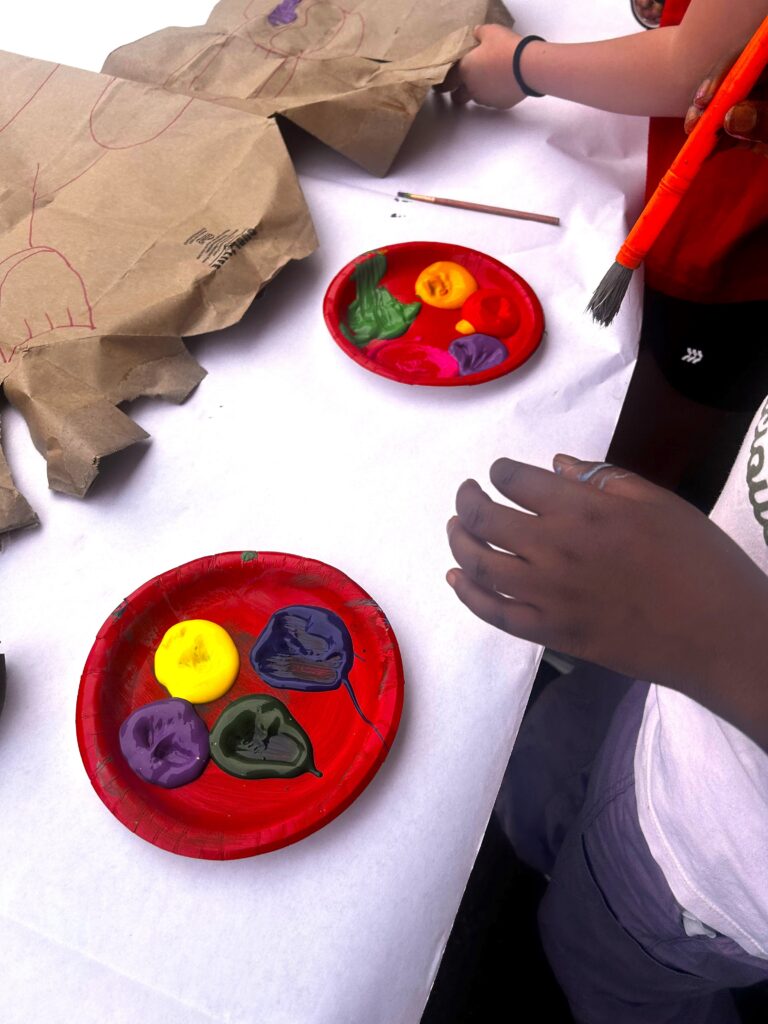
Expert Tip:
To keep attention focused on the task at hand, the only paint colors offered on Day 1 were shades blues, greens, whites, browns and yellows. To help keep things running smoothly, only the adult volunteers were allowed to handle the paint containers; the students asked for what colors they wanted and the volunteers poured them onto small paper plates which serve as palettes. Also, only paint, brushes, markers and scissors were available for use on Day 1, other supplies were placed aside and out of reach. Keep things simple for your group by only offering the essential items needed for each day.
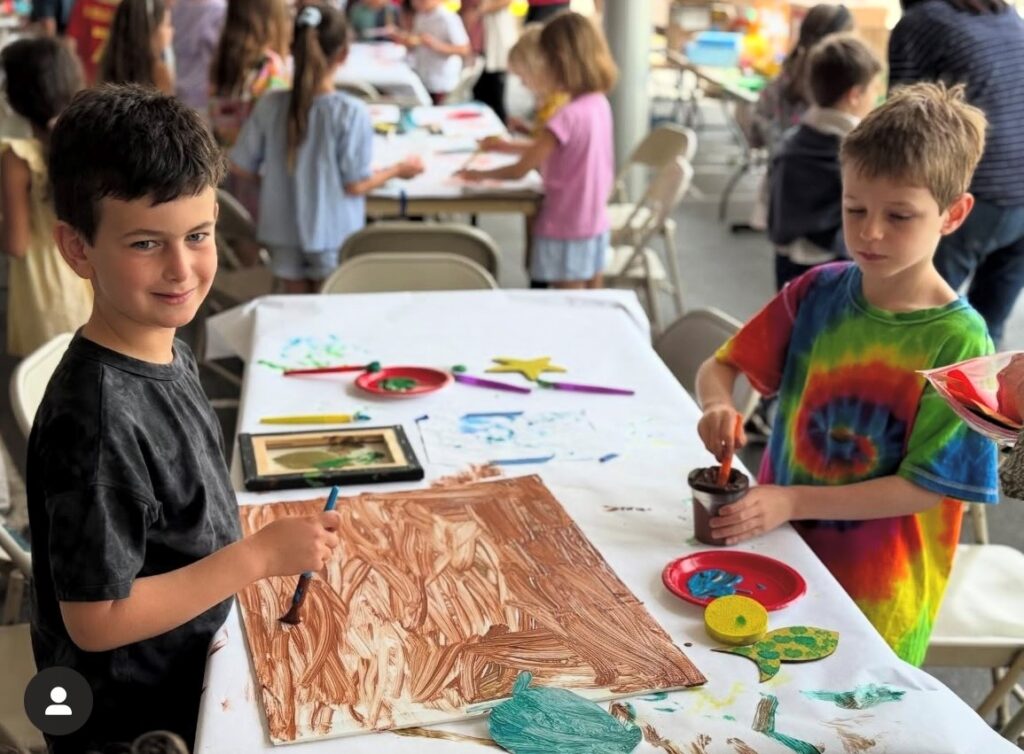
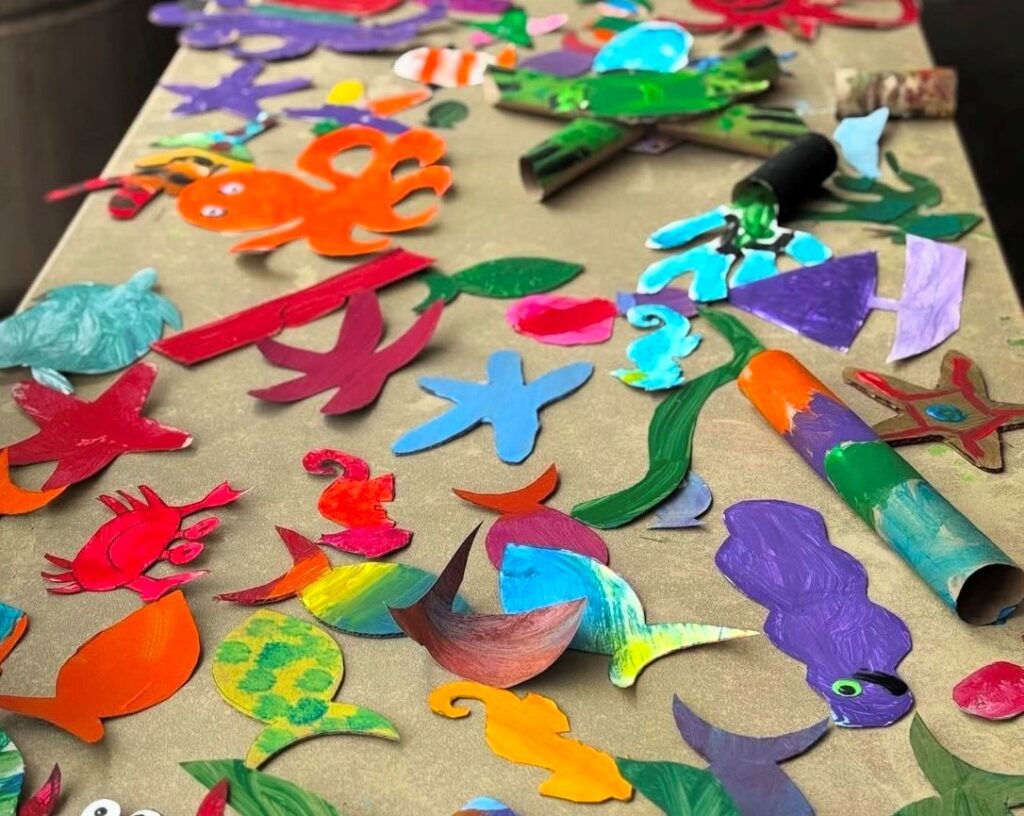
Day 2: Sea critters and other creations
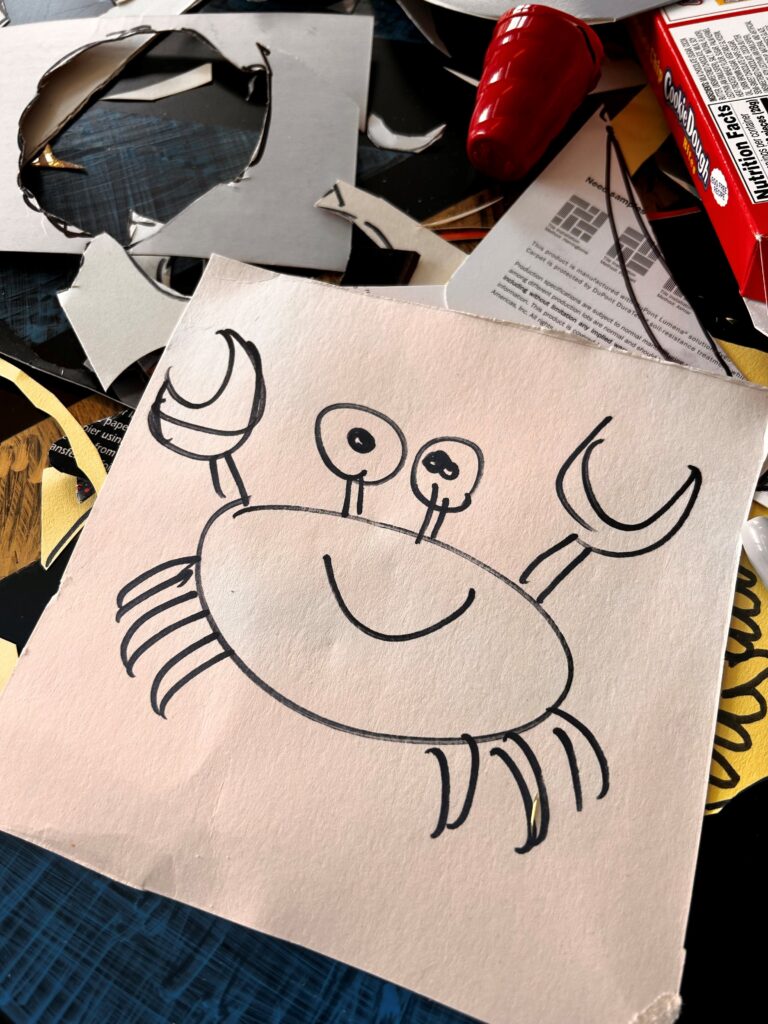
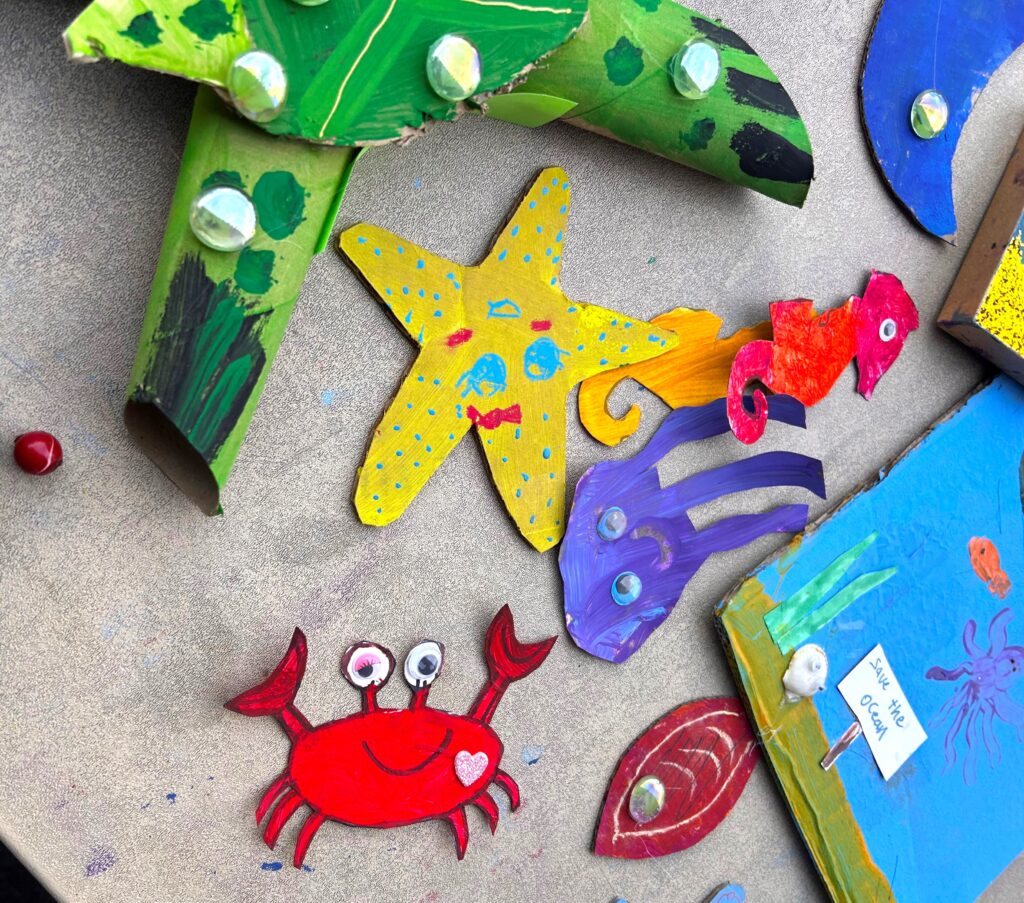
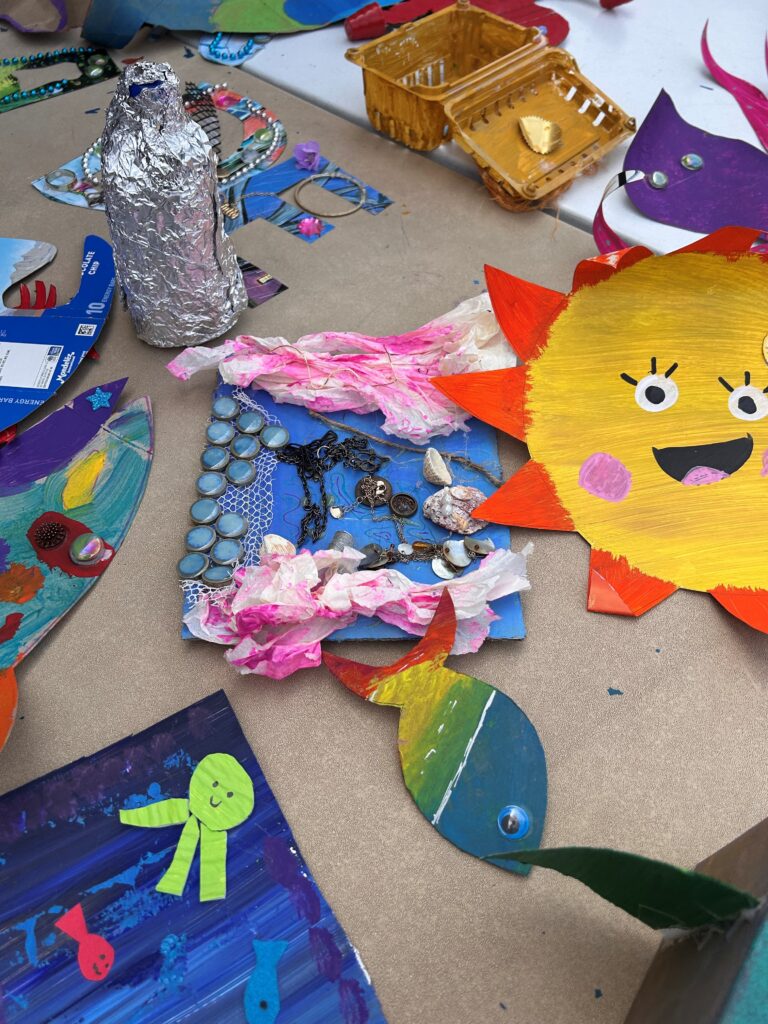
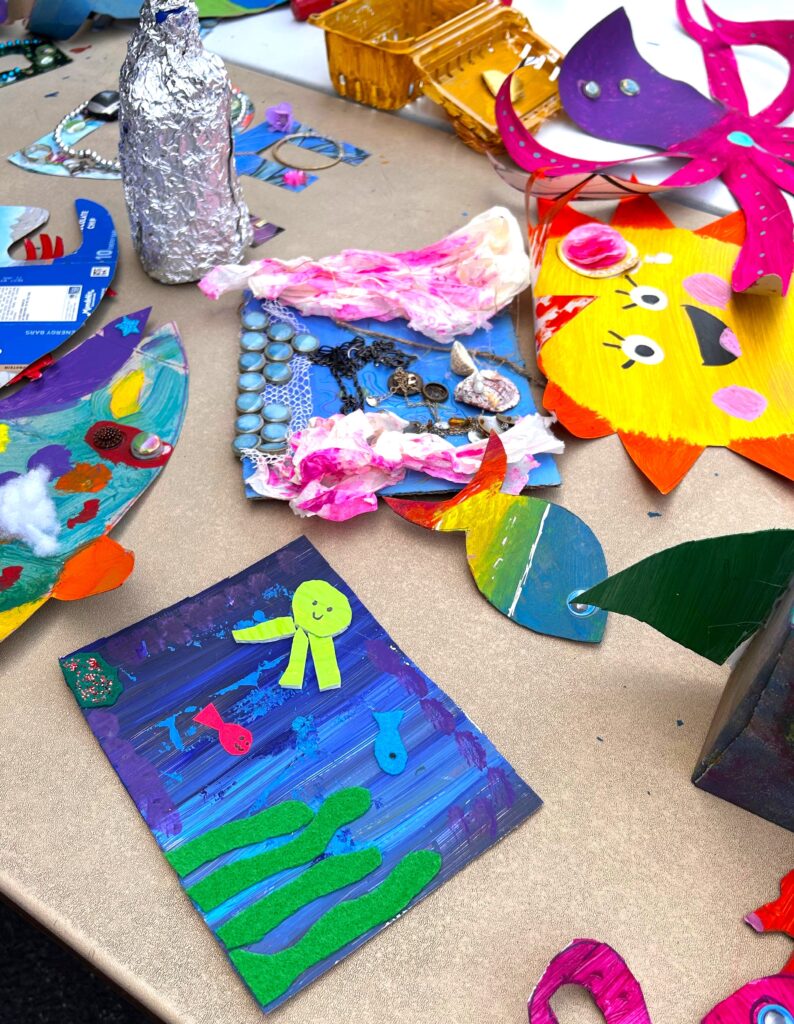
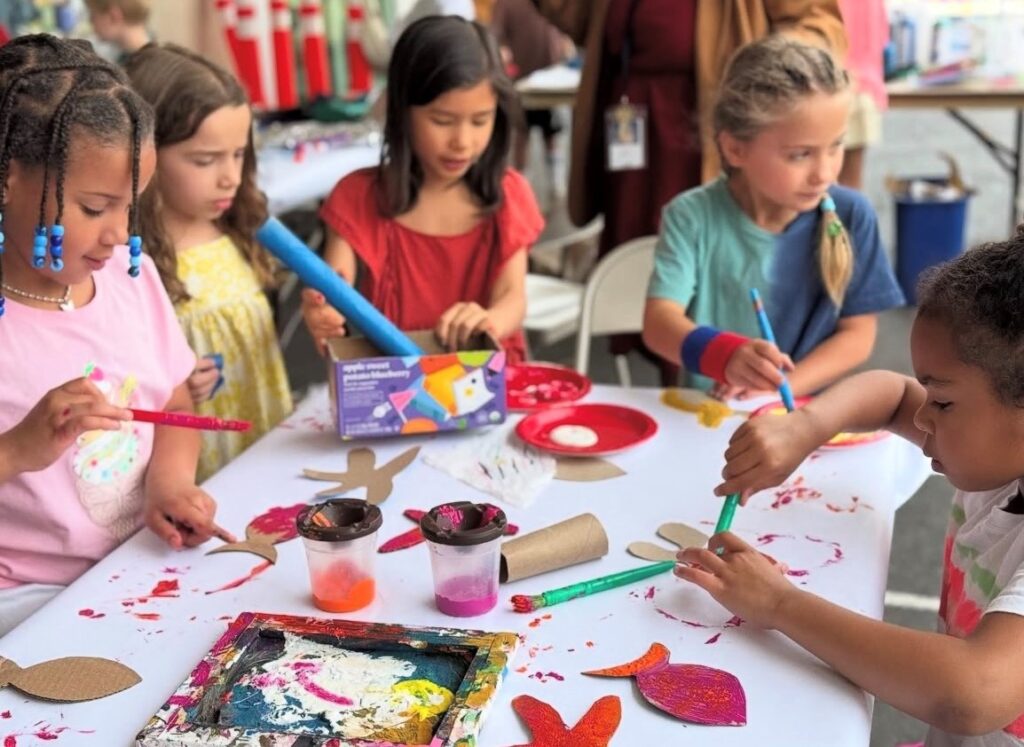
The foreground elements were the focus of Day 2: creating and painting fish, seahorses, crabs, shells, boats, coral, the sun and other elements which make up a thriving seascape. Many of these items were precut and placed on the tables to give the students something to paint as well as to serve as inspiration. Many of the parent volunteers helped, too, by drawing and cutting out their own sea animals from carboard parts and pieces. The students had the chance to paint these items as well as make their own from the items they collected.
All paint colors were provided to students along with the paint brushes, markers and scissors. Volunteers helped by pouring paint, removing brushes and placing the painted creatures and items on the extra tables and out of the way.
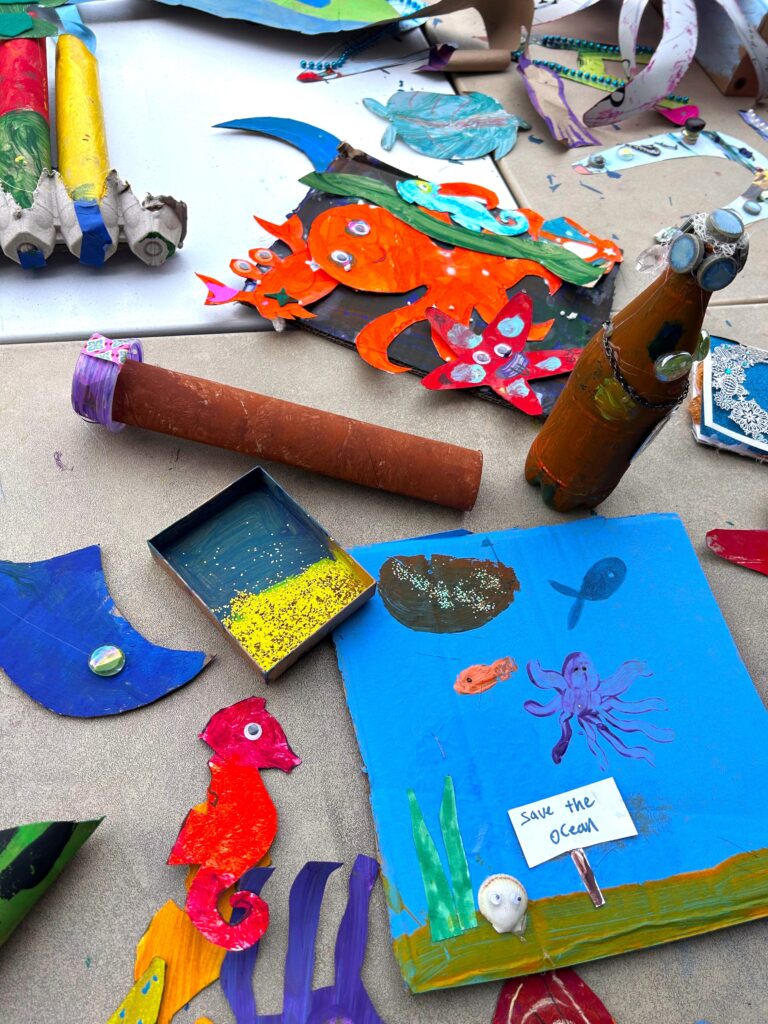

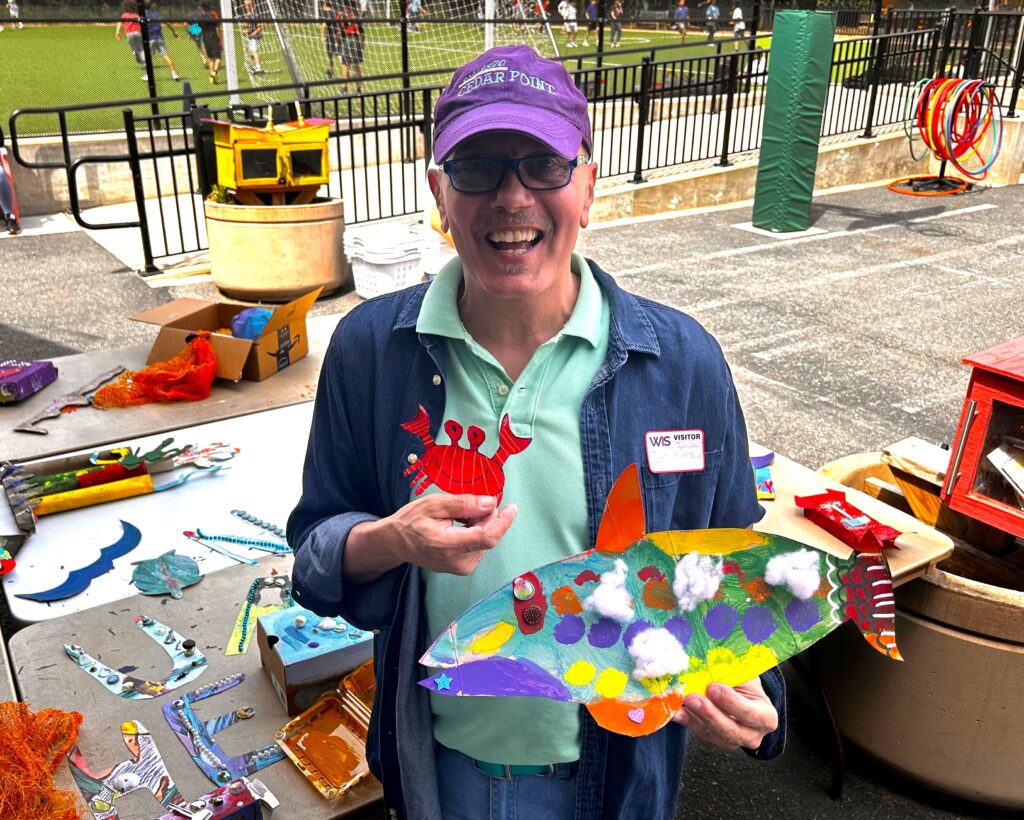
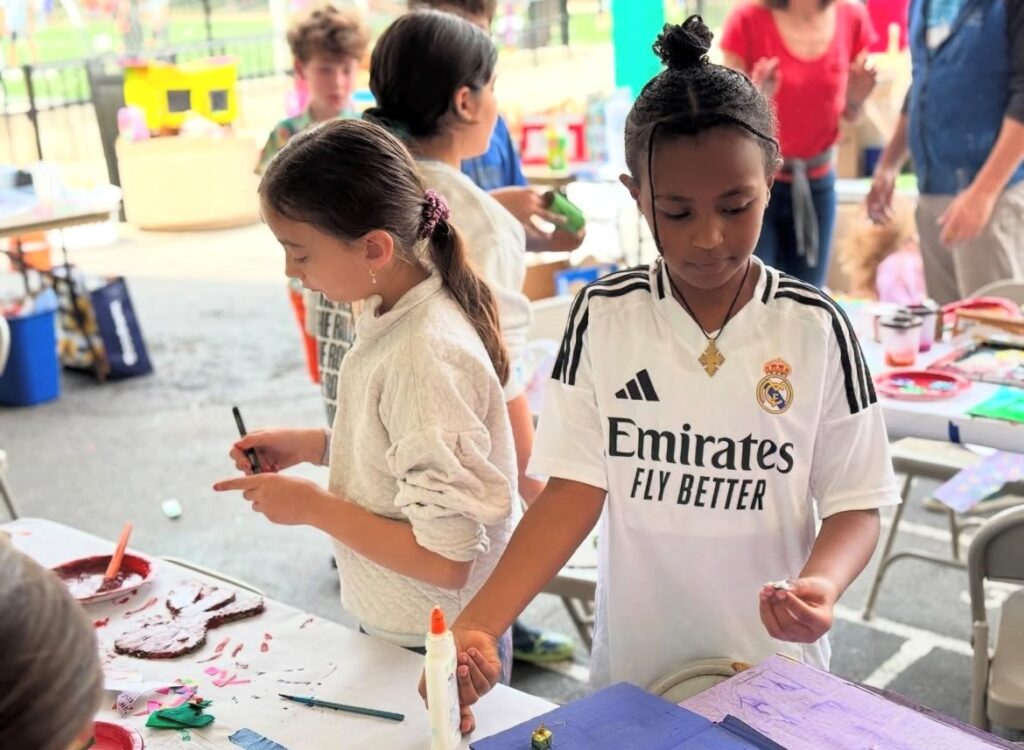
Day 3: Embellishing & accessorizing
With all the items painted and dried, now was the time to add details, visual interest and flair to the fish and their friends. Painting was done for the project, so the paint bottles and brushes were now set aside and out of reach.
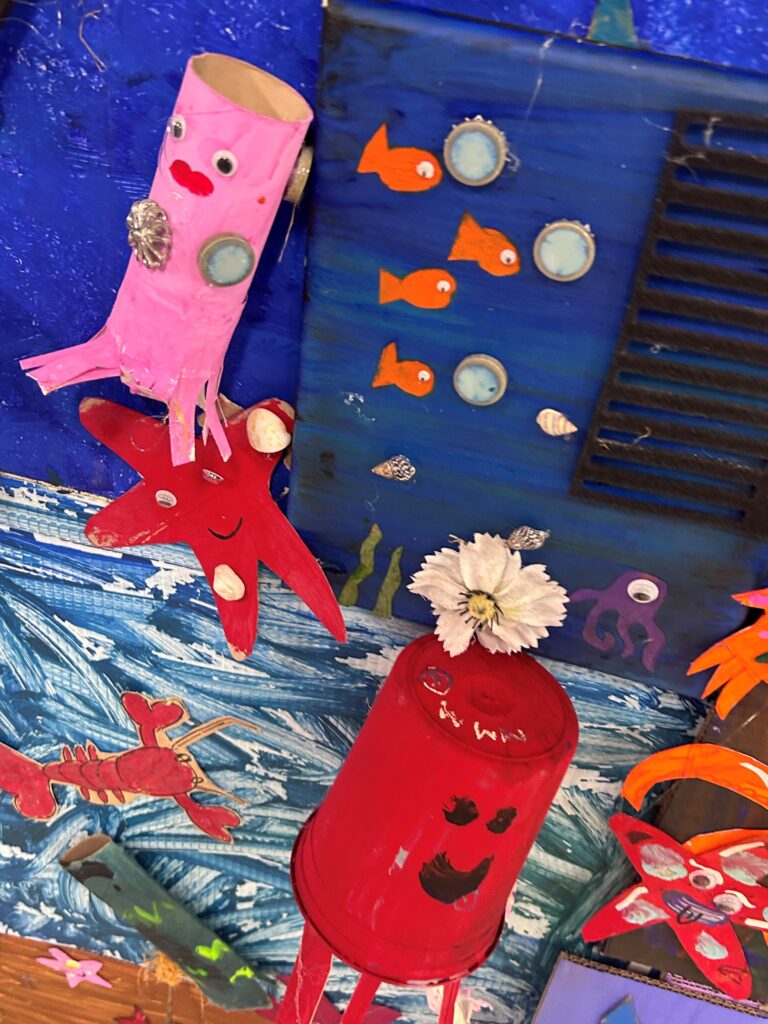
Accessible for all were paint pens, markers, pastels, crayons and scissors. A hot glue gun station was set-up with good adult supervision to keep fingers and hands safe. School glue bottles and glue sticks were available, too. Old magazines, calendars, cards and other papers were offered as were bottle tops, pieces of costume jewelry and other items. The collection of “googly eyes” was very popular.
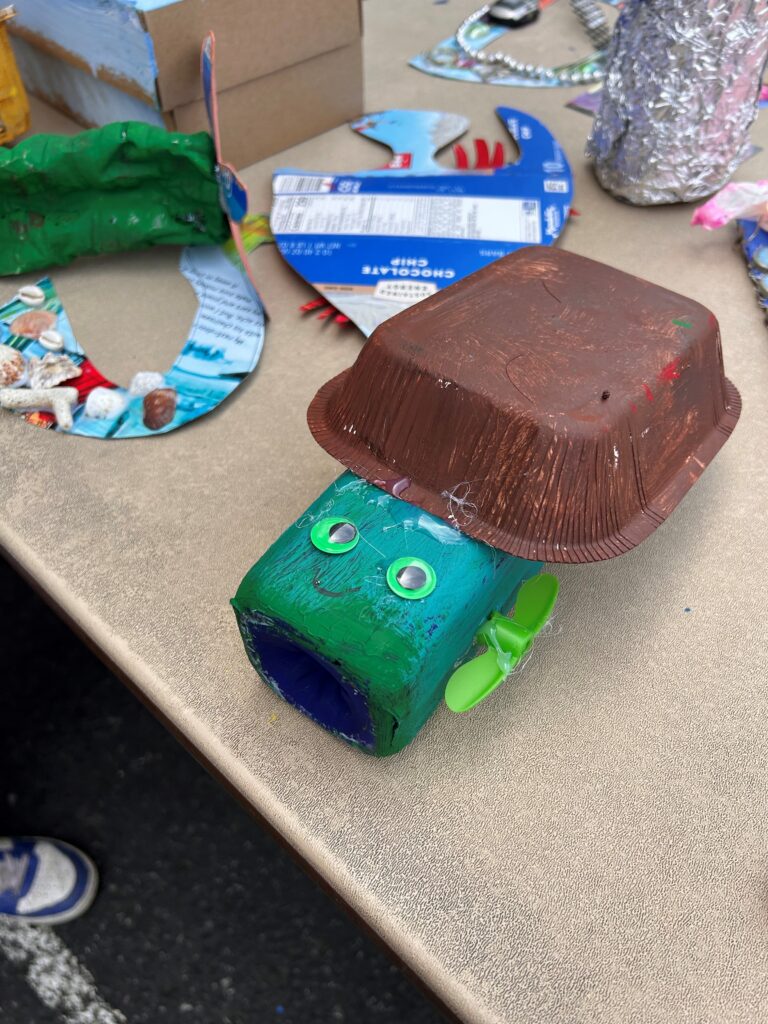
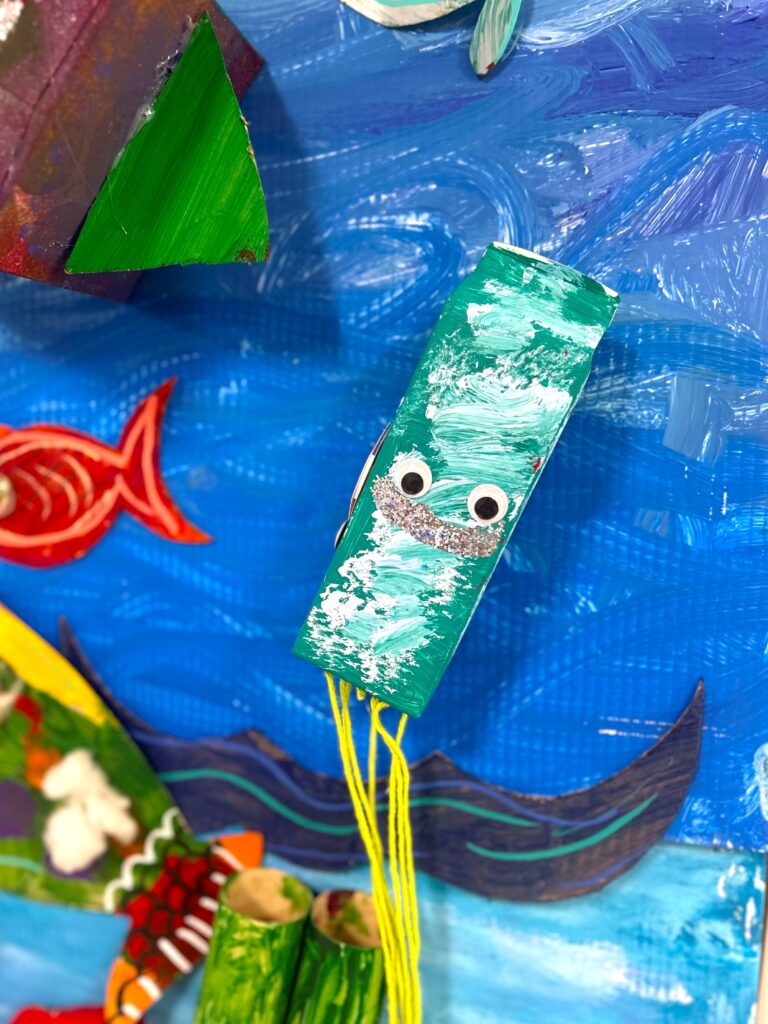
Students built upon each item, adding fun accents and delightful details bringing each item to life. They could use the materials provided to create their own characters, too, like the treasure chests from plastic containers, a shark made from a tissue box and a mermaid transformed from a bottle.
Day 4: Pulling it all together
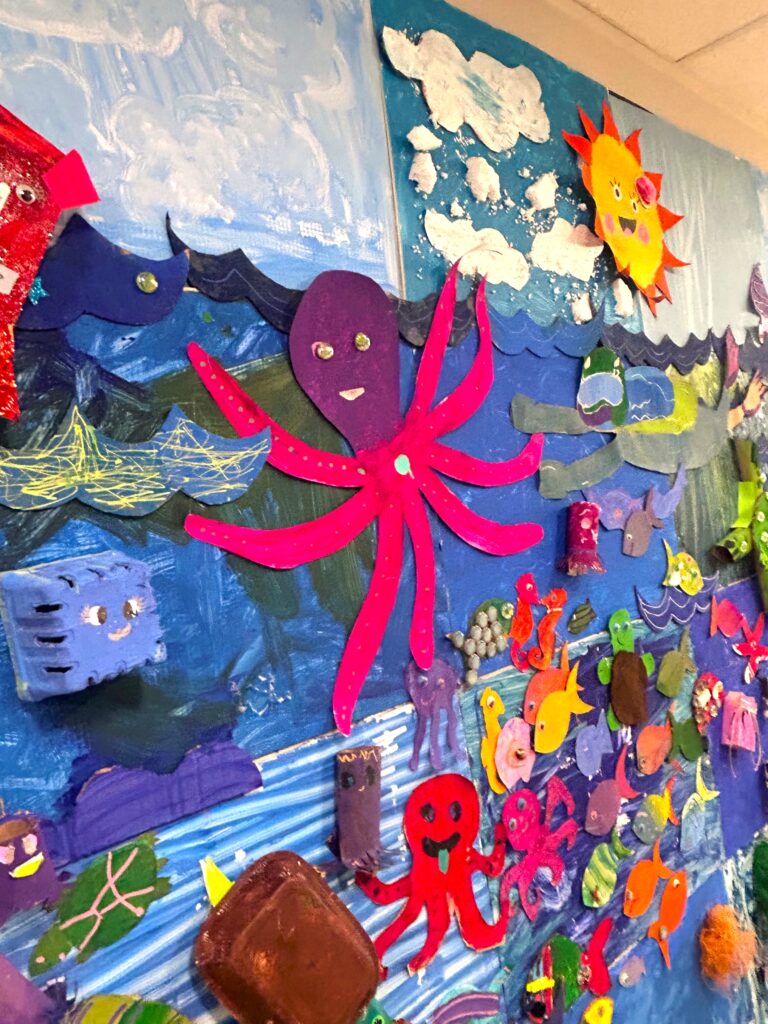
The background panels are all painted. The sea elements were created and accessorized. Now was the time to pull it all together. All the sign panels, now painted to represent the sea, sky and ocean floor were flipped over and duct tape was used to hold one panel to the next. Small nails were hammered through the panels and into the bulletin board they covered to hold it up the panels and keep them in place.

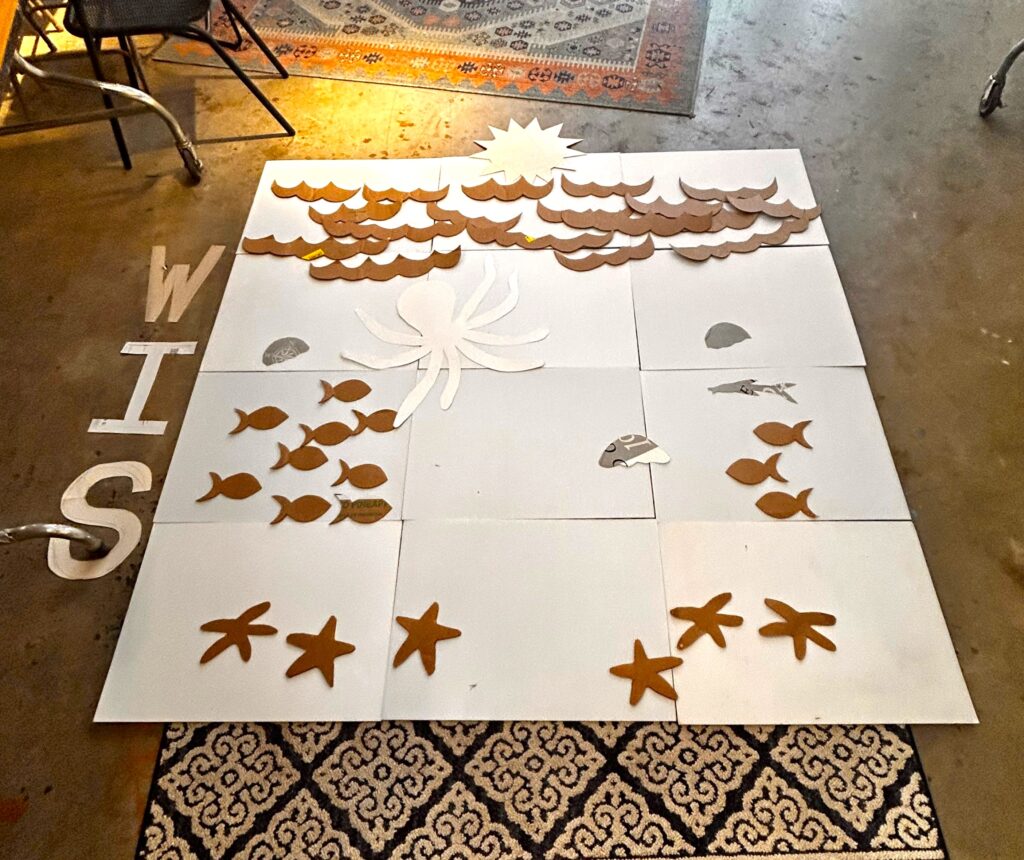
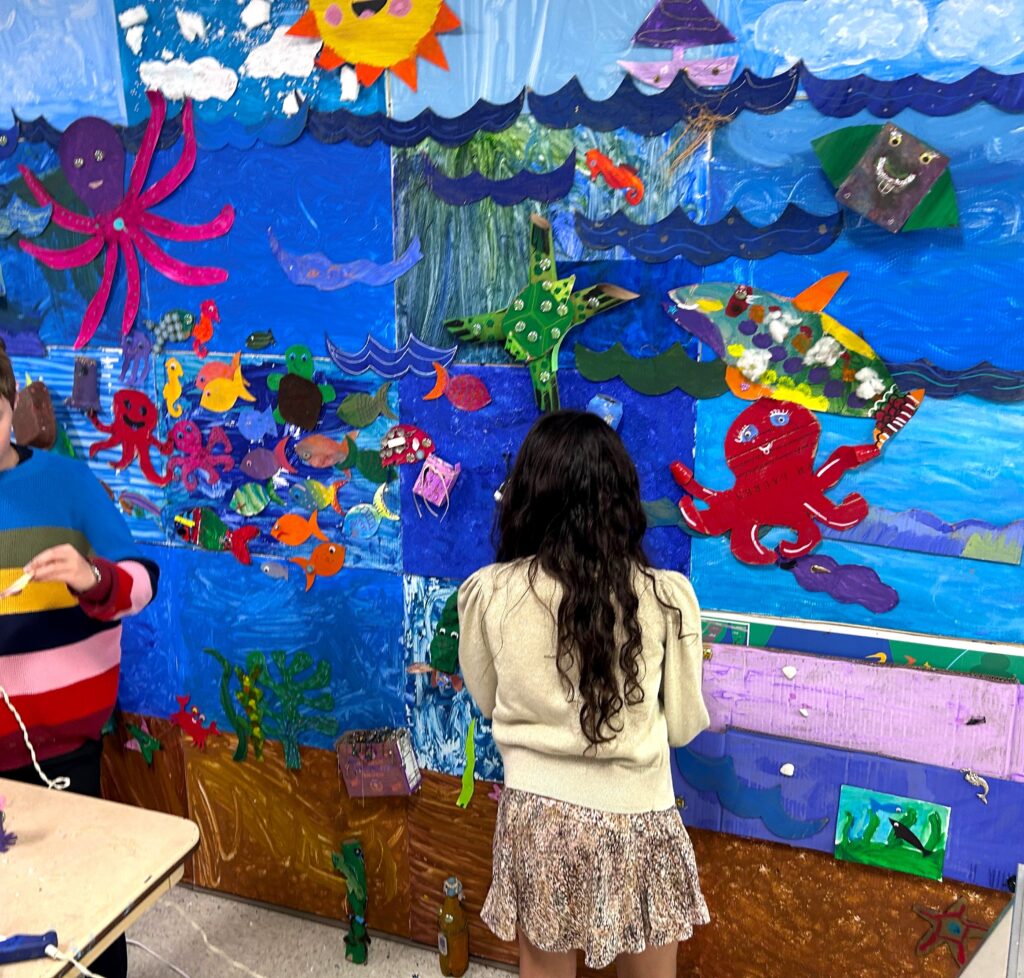
A small group of students helped with the placement of the various elements from the rocks and seaweed to the school of fish and octopus to the sun and sailboat. Hot glue was used with care to add each item in place. Some heavier items were secured with more small nails while other bigger items were positioned in front of the mural on the floor.
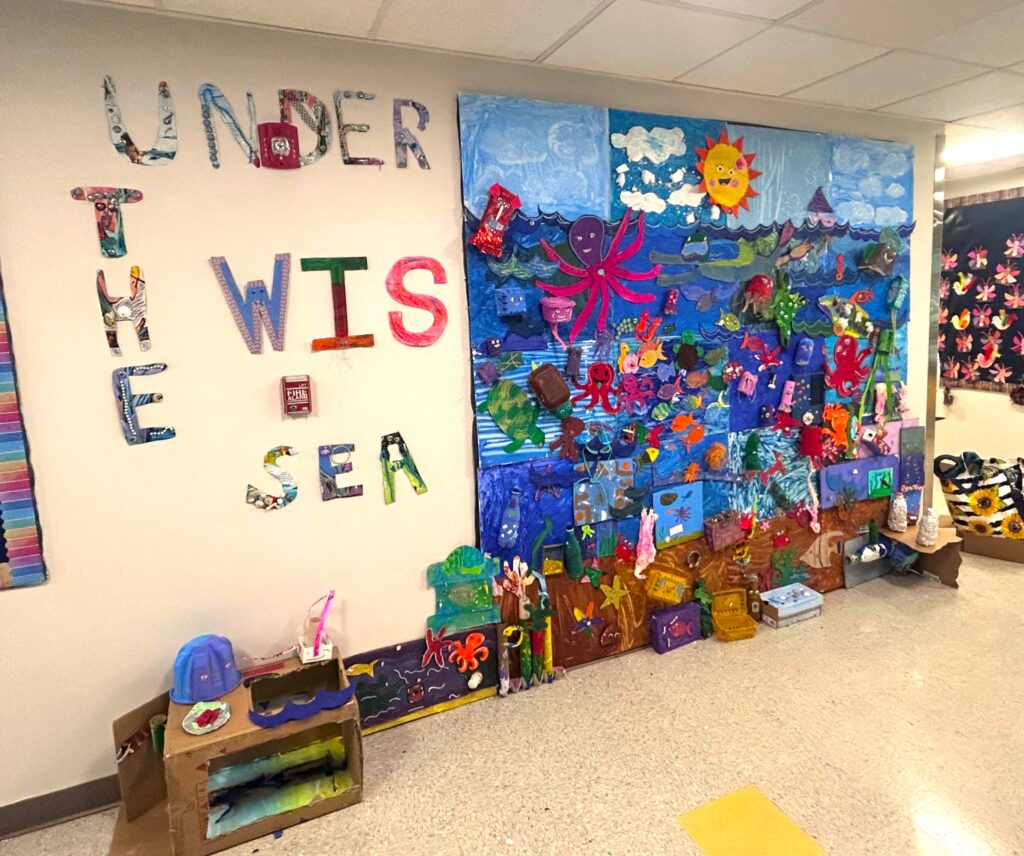
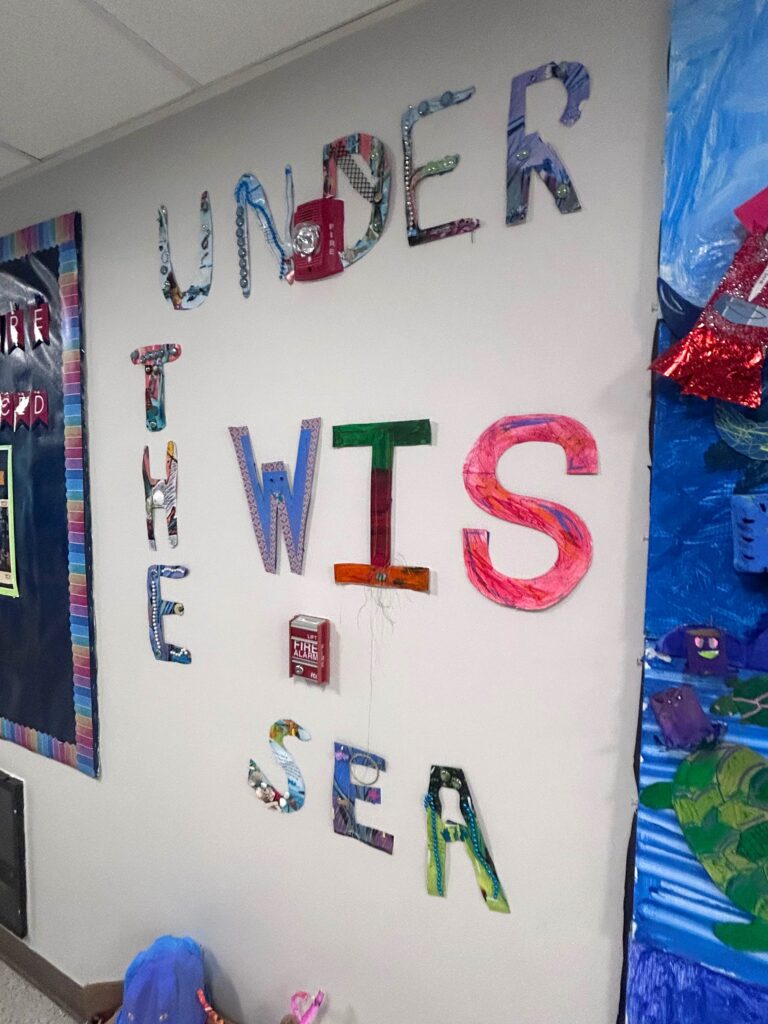
The school letters and “Under the Sea” were cut from thrifted children’s books and embellished, too, during the workshops. These were adhered to the wall with painter’s tape.

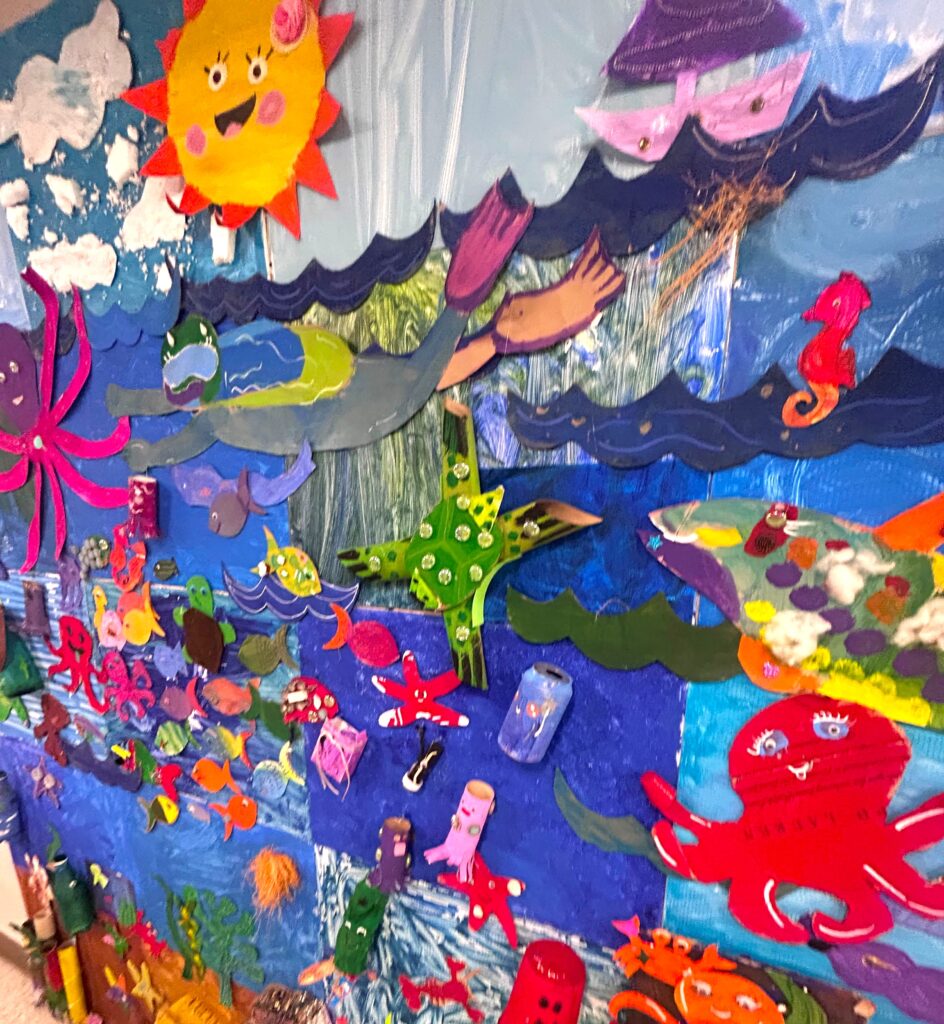


Step 5: Step back & celebrate!
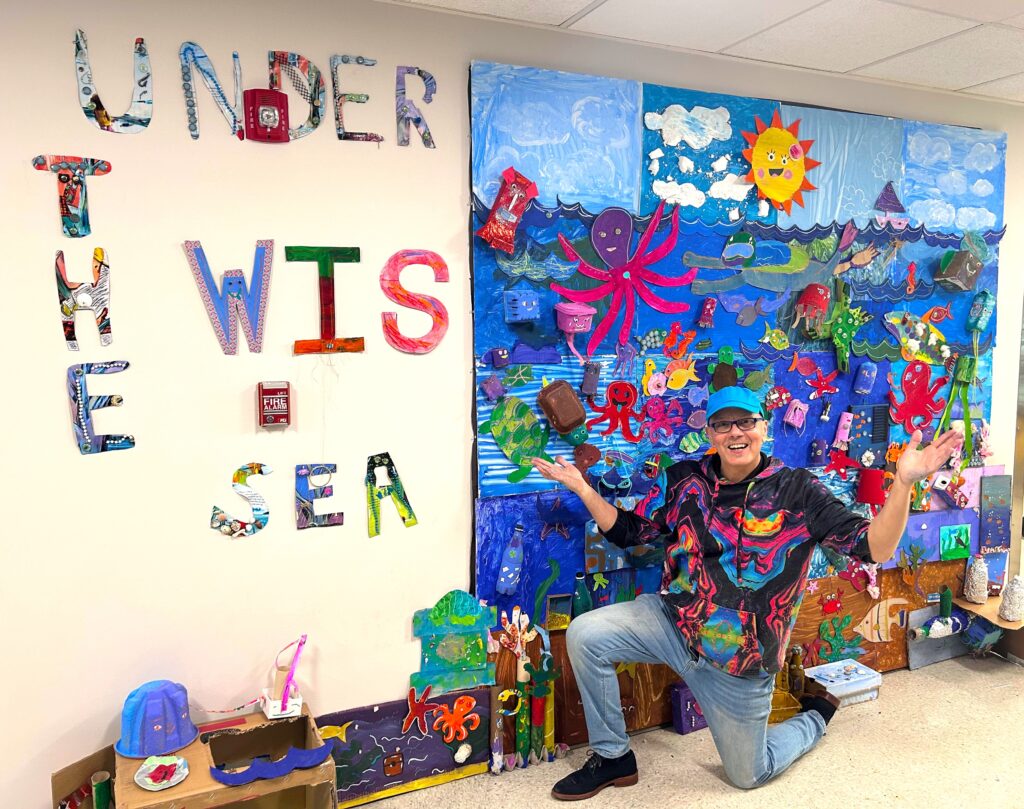
One of the joys of working with the students and pulling it together with them is they got to see their creative efforts and handmade items as part of the group art. They walked by looking for and pointing out their addition to the overall look and feel of the mural.
Thanks to the amazing students, volunteers, and staff at the Washington International School for celebrating Earth Day/Week/Month and for their love for our planet and all things good for Mother Earth. Thanks for the opportunity to be a catalyst for creating a beautiful and colorful mural and for the chance to help these young, creative folks find their good in rethinking and reusing everyday items!


Similar Reads:
- DIY: Upcycle a Chandelier Into a Bird Feeder
- DIY: Toilet Paper Roll Birdhouses
- DIY: Graffiti Heart Dresser Inspired by DC Mural

Tim Kime
Artist, Motivational Speaker, Life Coach
