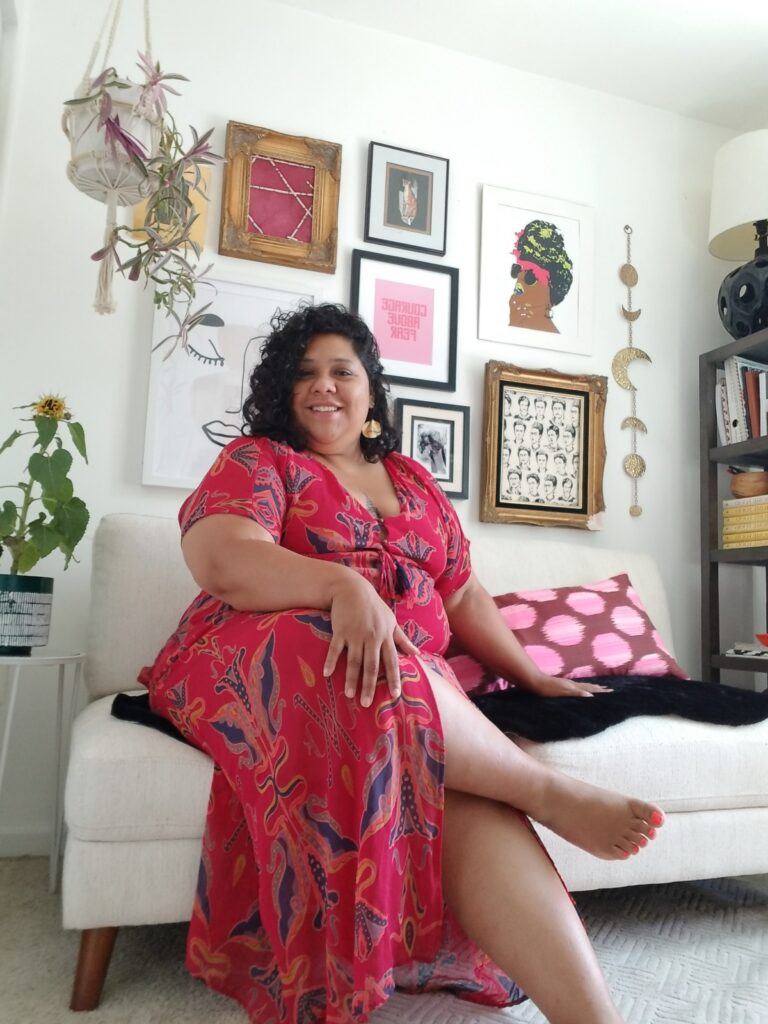
Hello, again my thrifty home décor enthusiasts! Today I wanted to walk you through the process of how to create an art gallery wall at home. I just revamped my home office and created a cool gallery wall using goodwill frames! And guess what?? They were all under $5. It’s a really fun project that won’t break the bank. So let’s get to it!
What you will need:
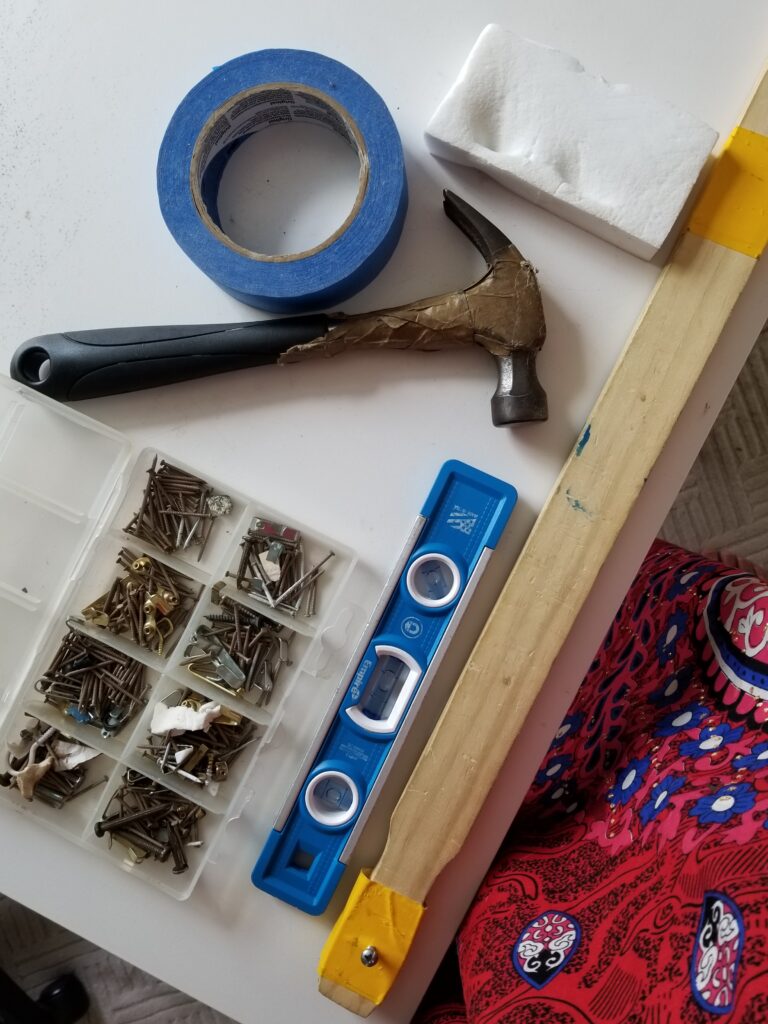
- Hammer
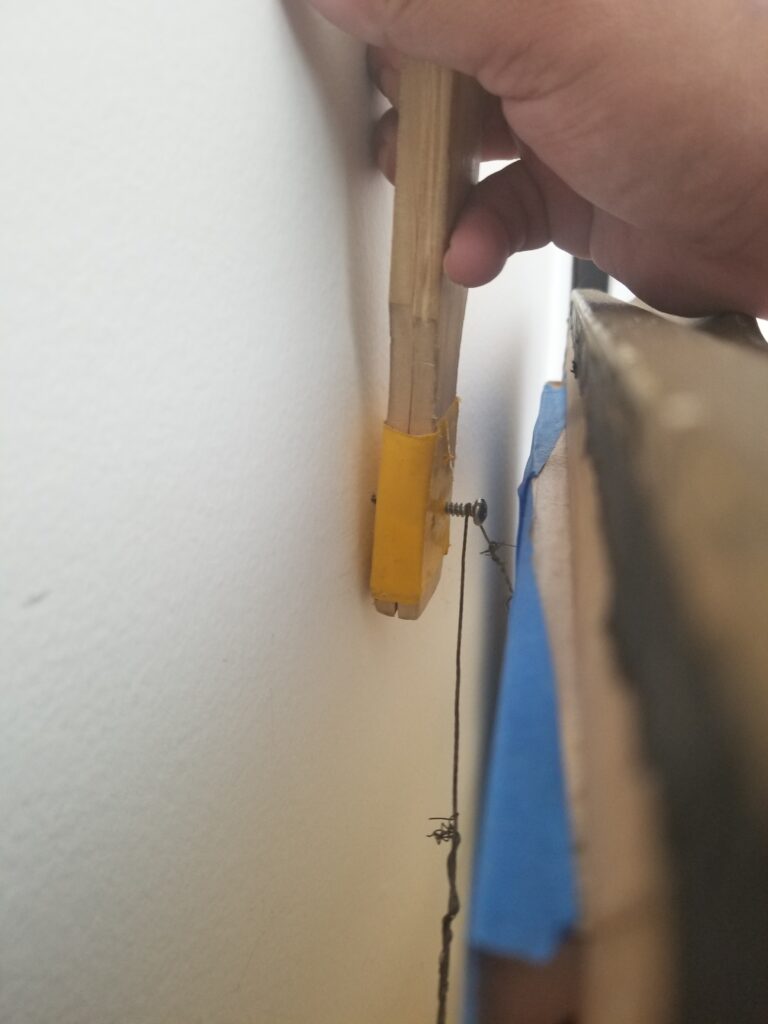
- Art Hanger (DIY yourself with 2 paint sticks, tape and small nail screw)
- Wall Leveler
- Hanging Nails
- Spackling (Wall Filler Putty)
- Magic Eraser
- Painters Tape or double sided tape
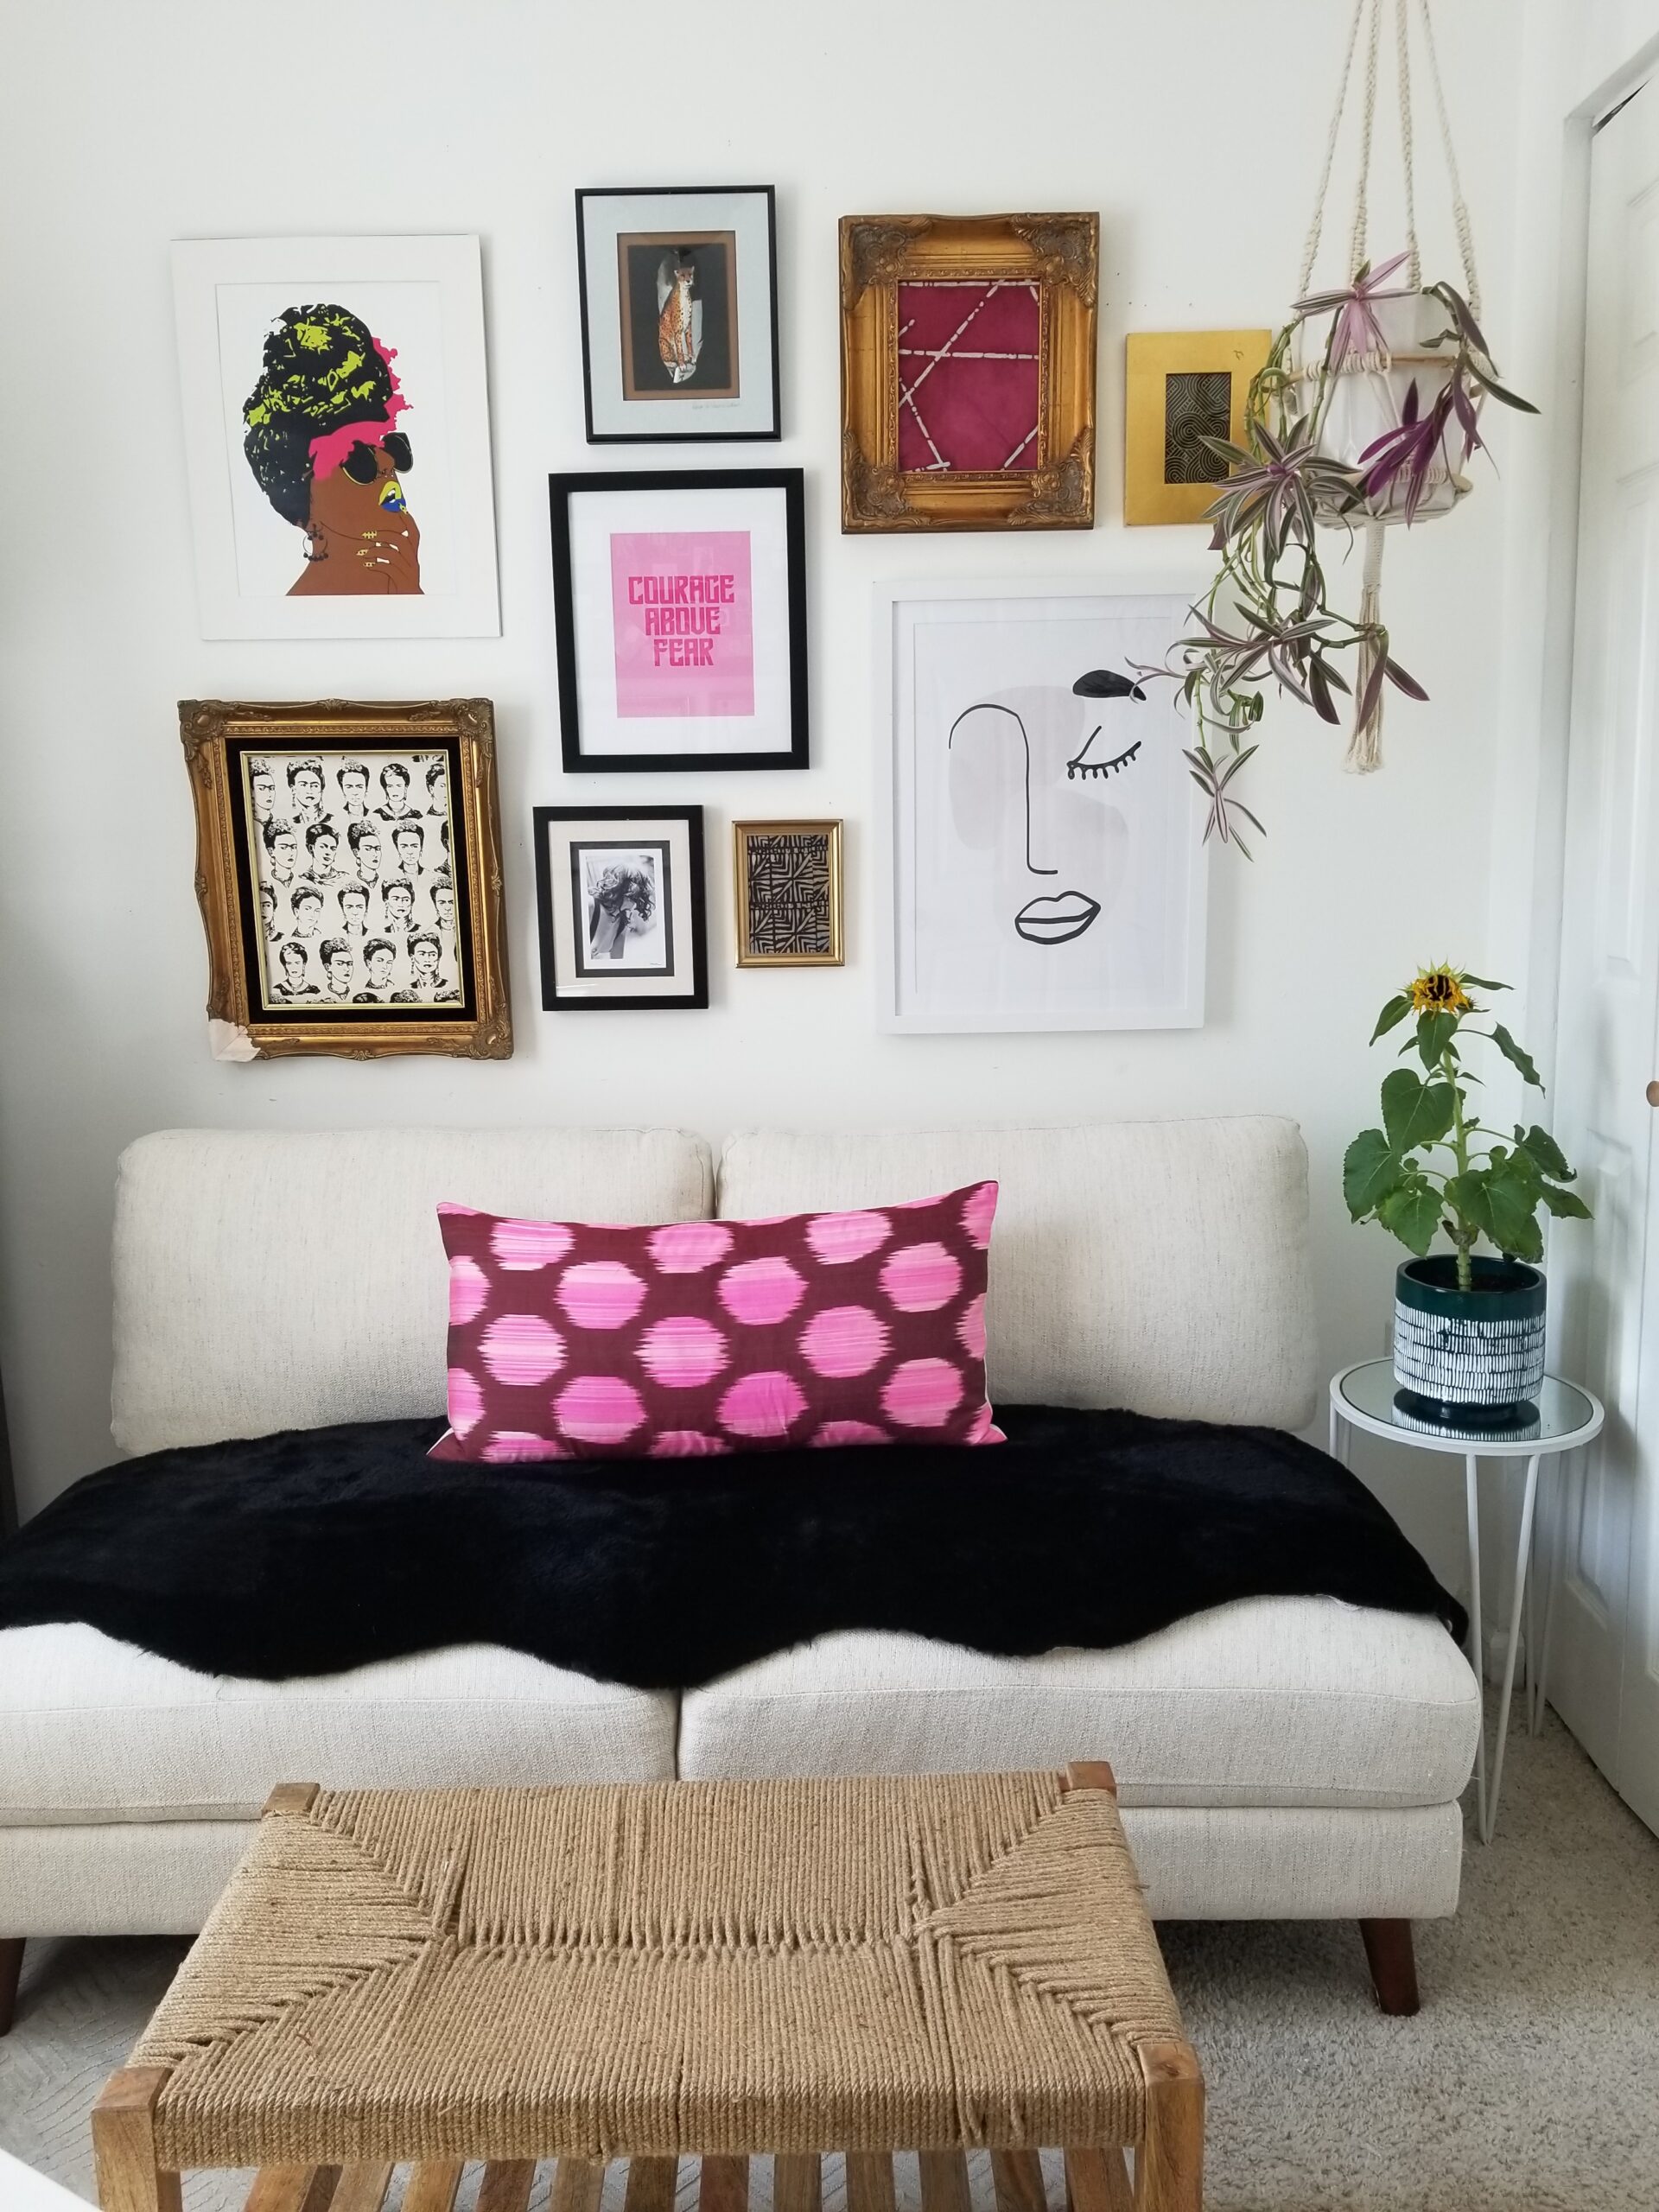
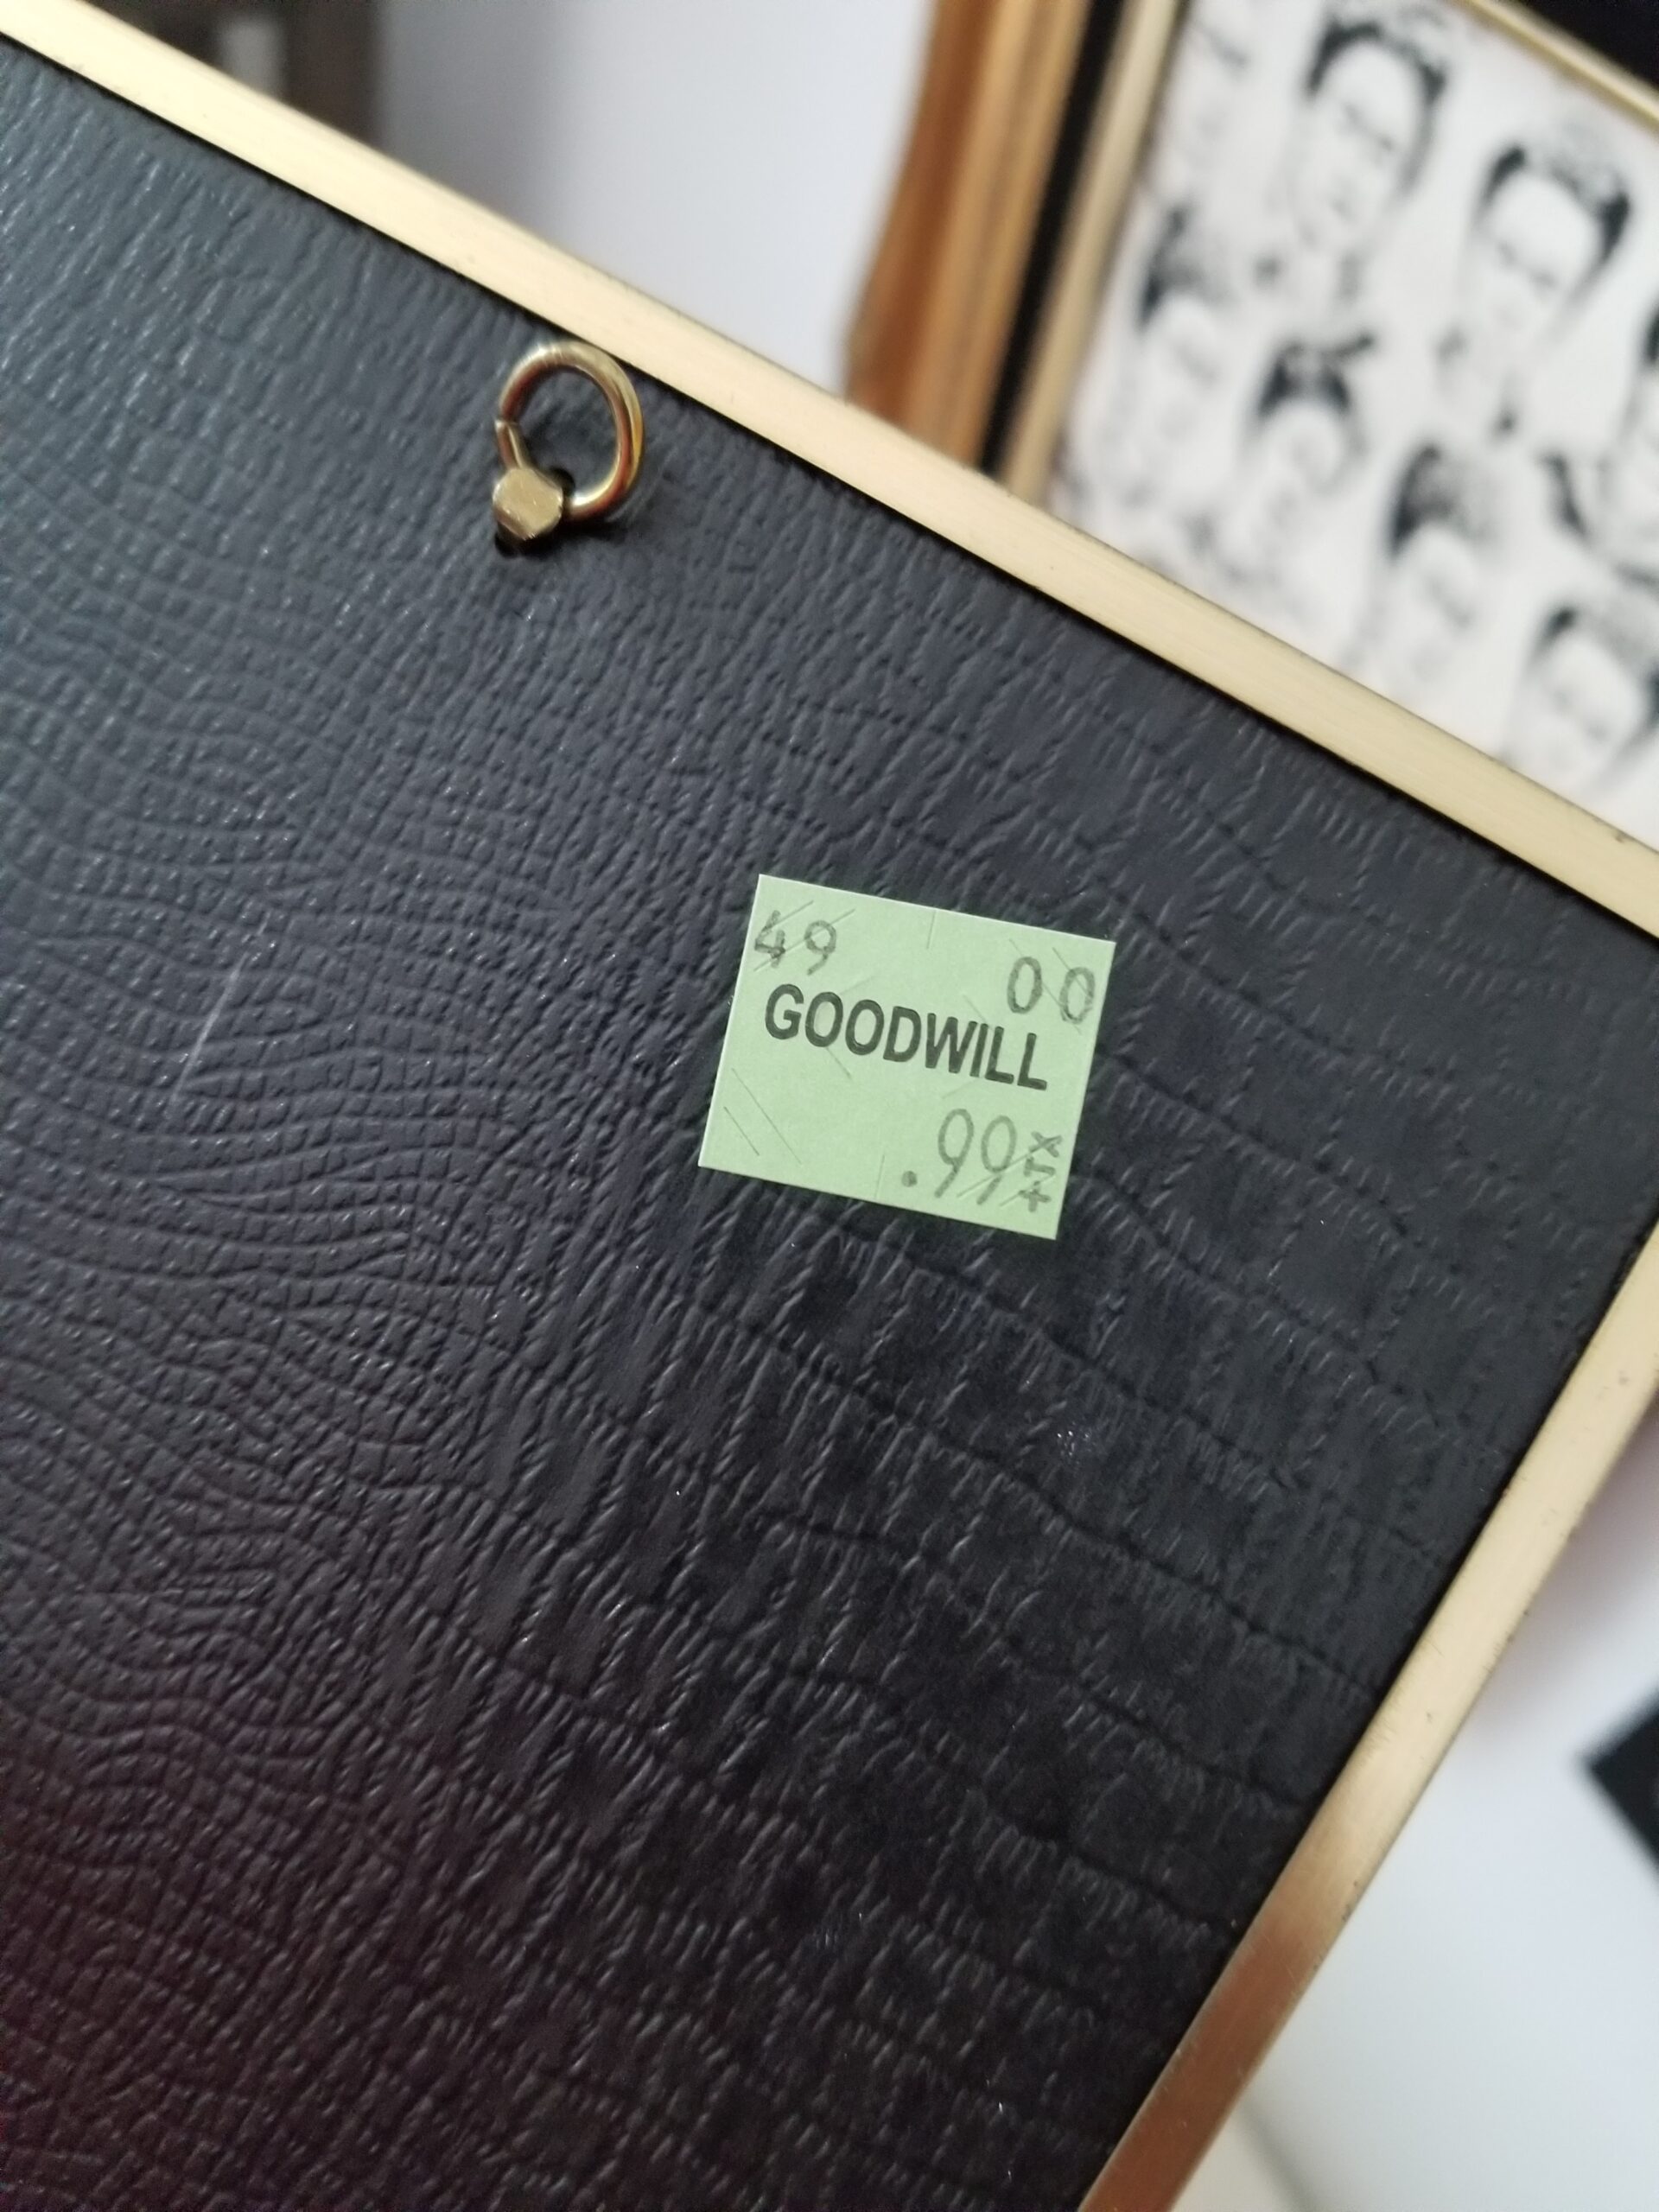
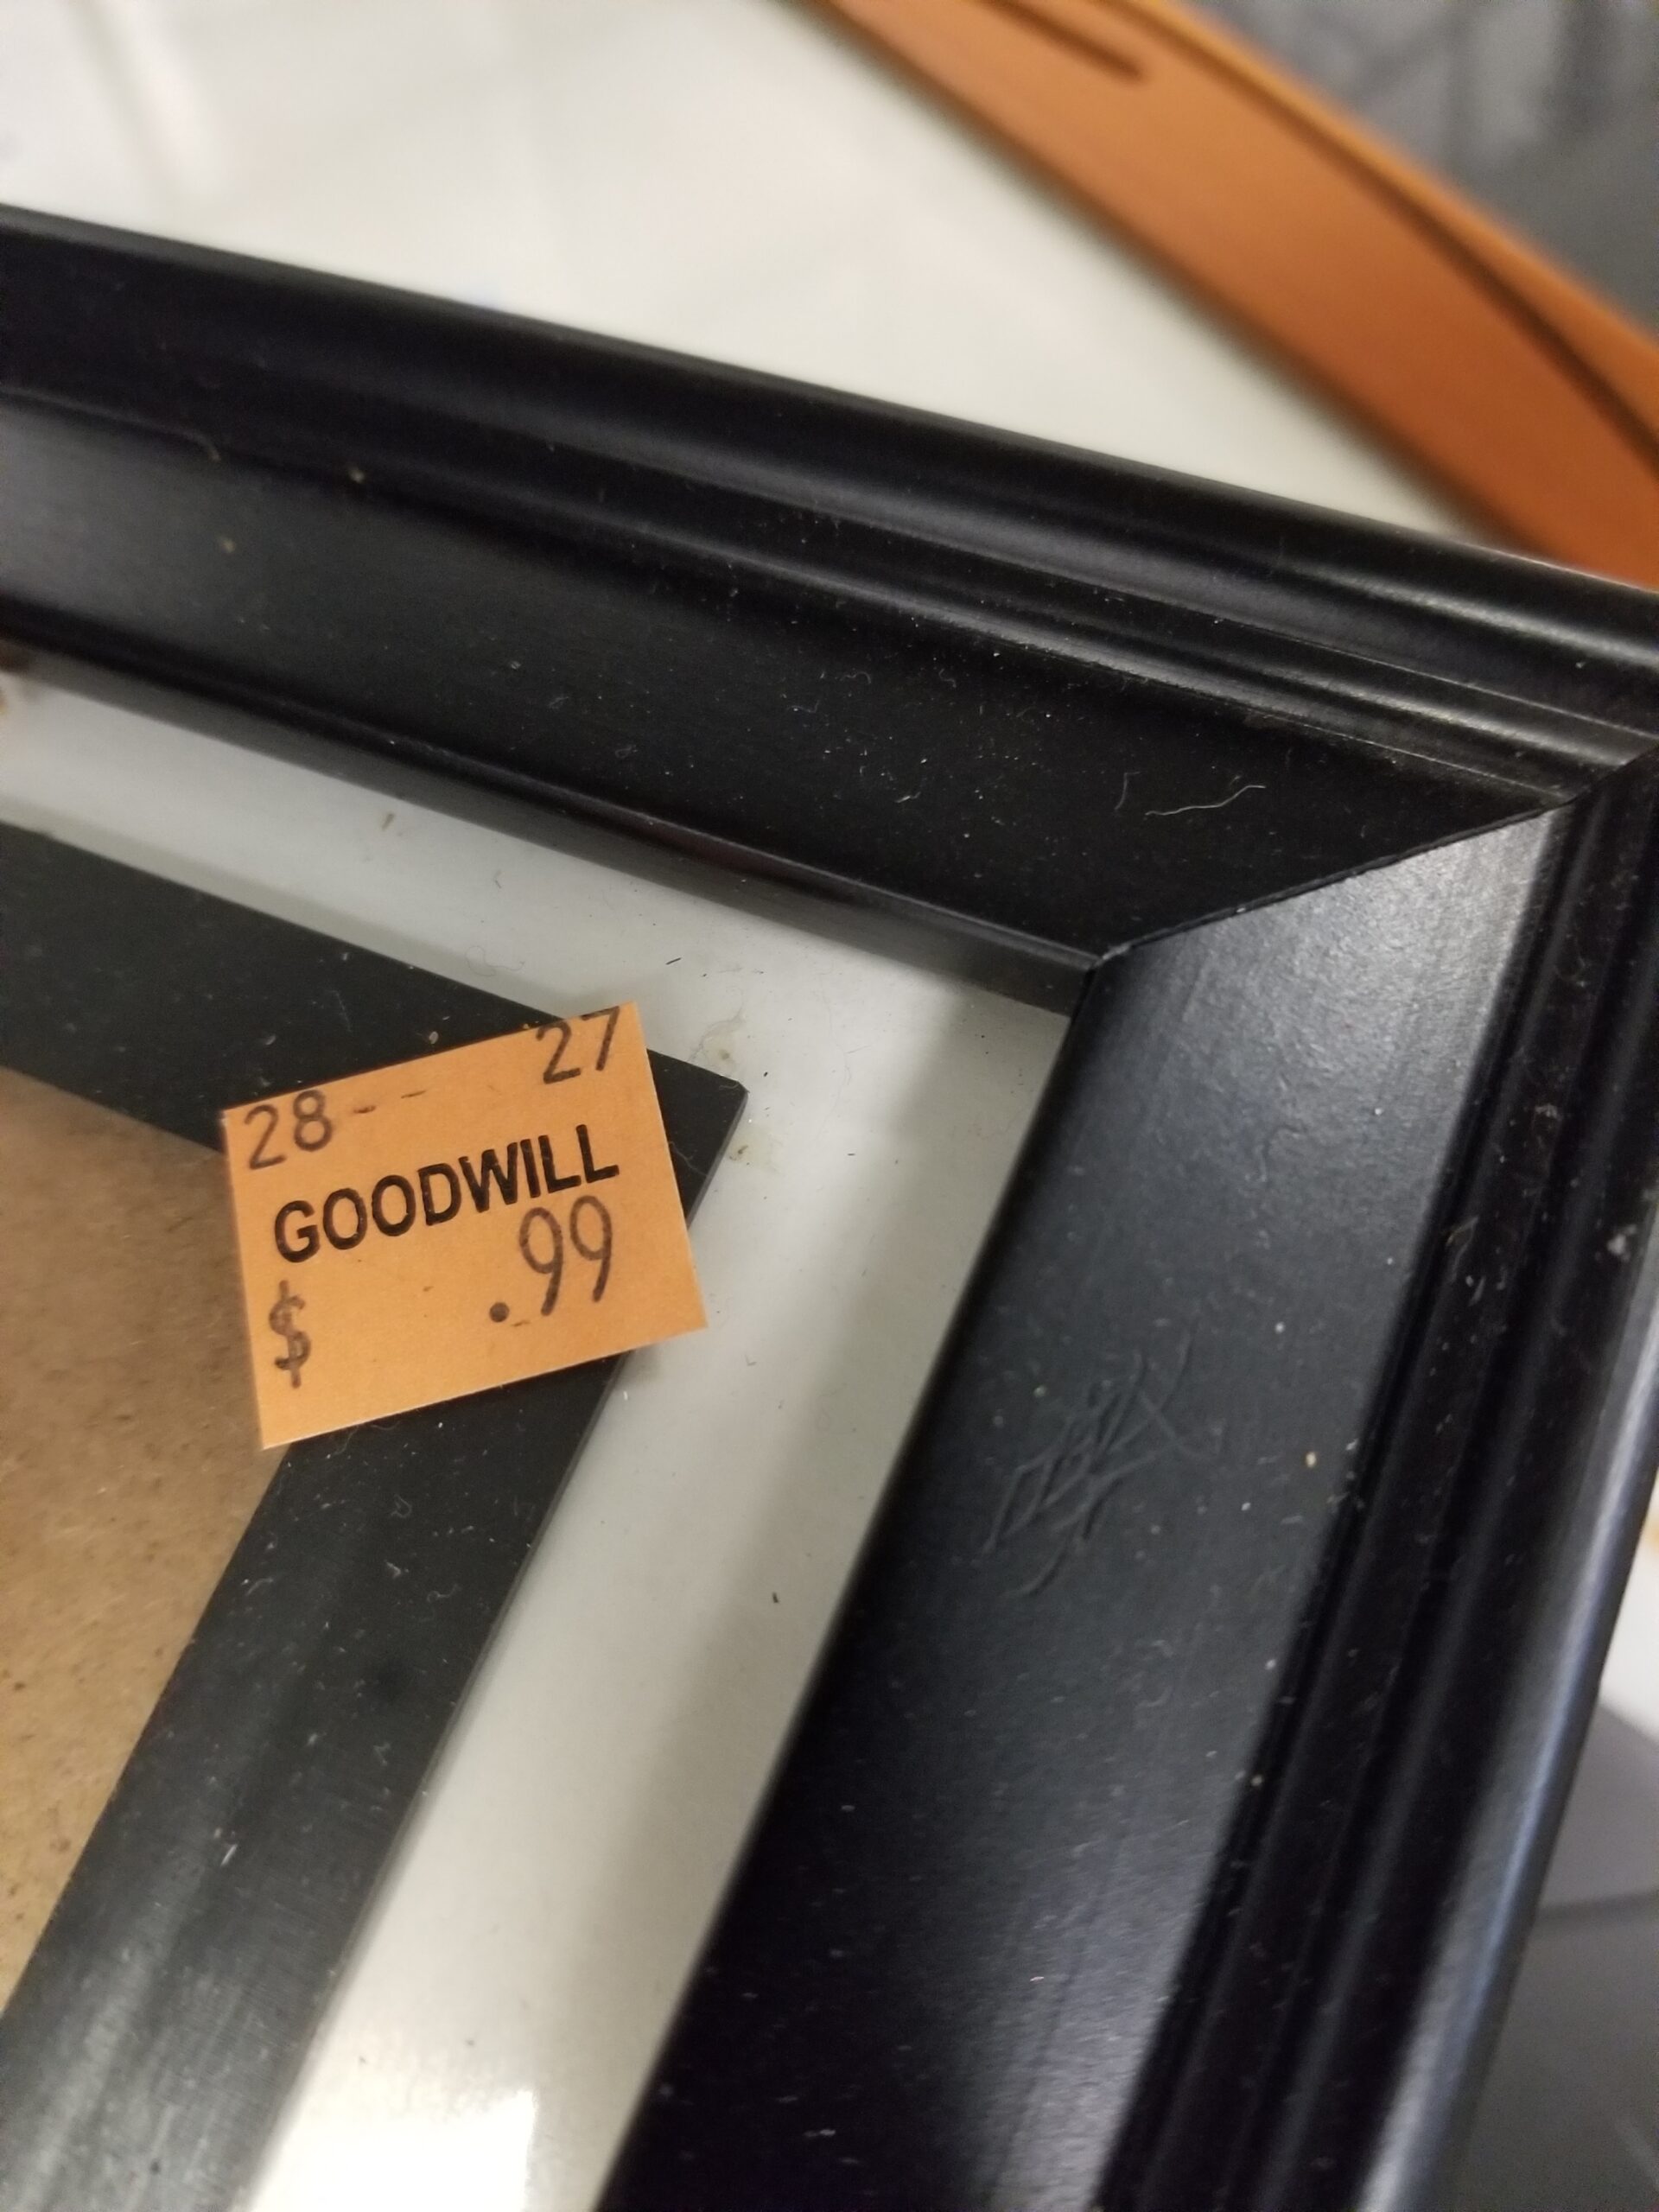
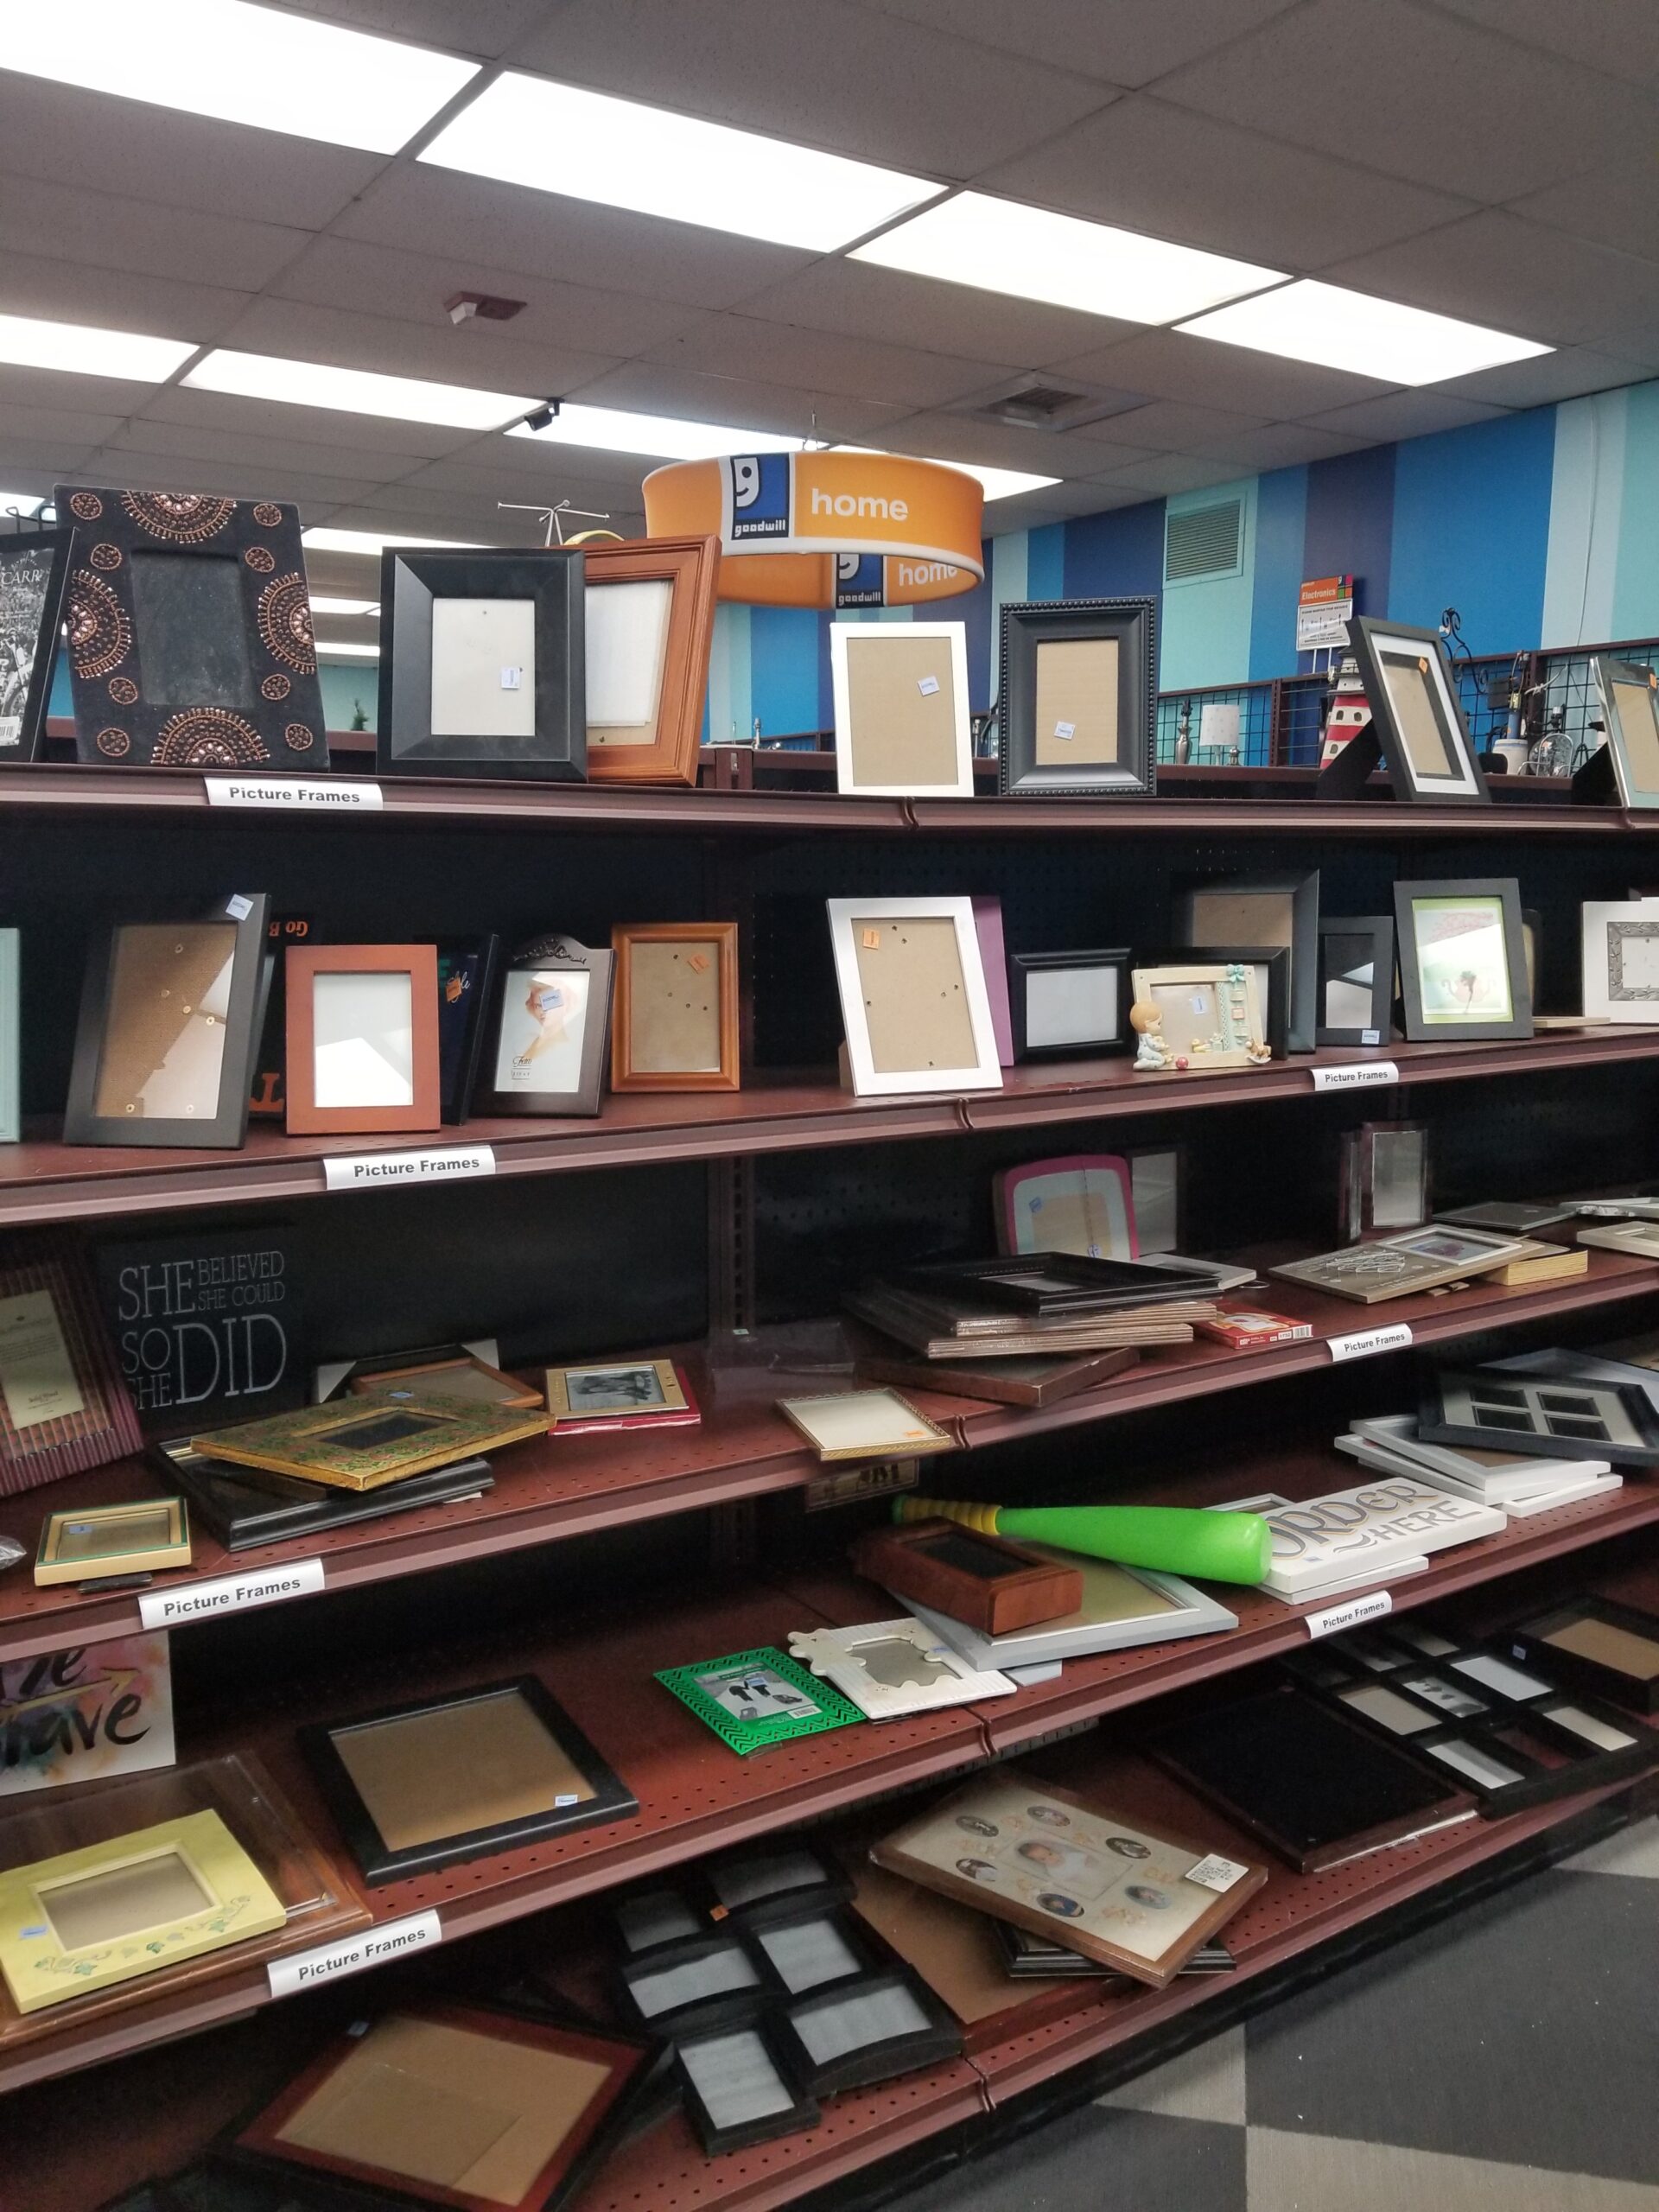
After you obtain your required tools and materials, you’ll want to gather all the art and frames you want to use for your gallery wall. Make sure they vary in size, shape, material, color, and style. All the small picture frames in my gallery wall are from Goodwill, which were only $.99 each.
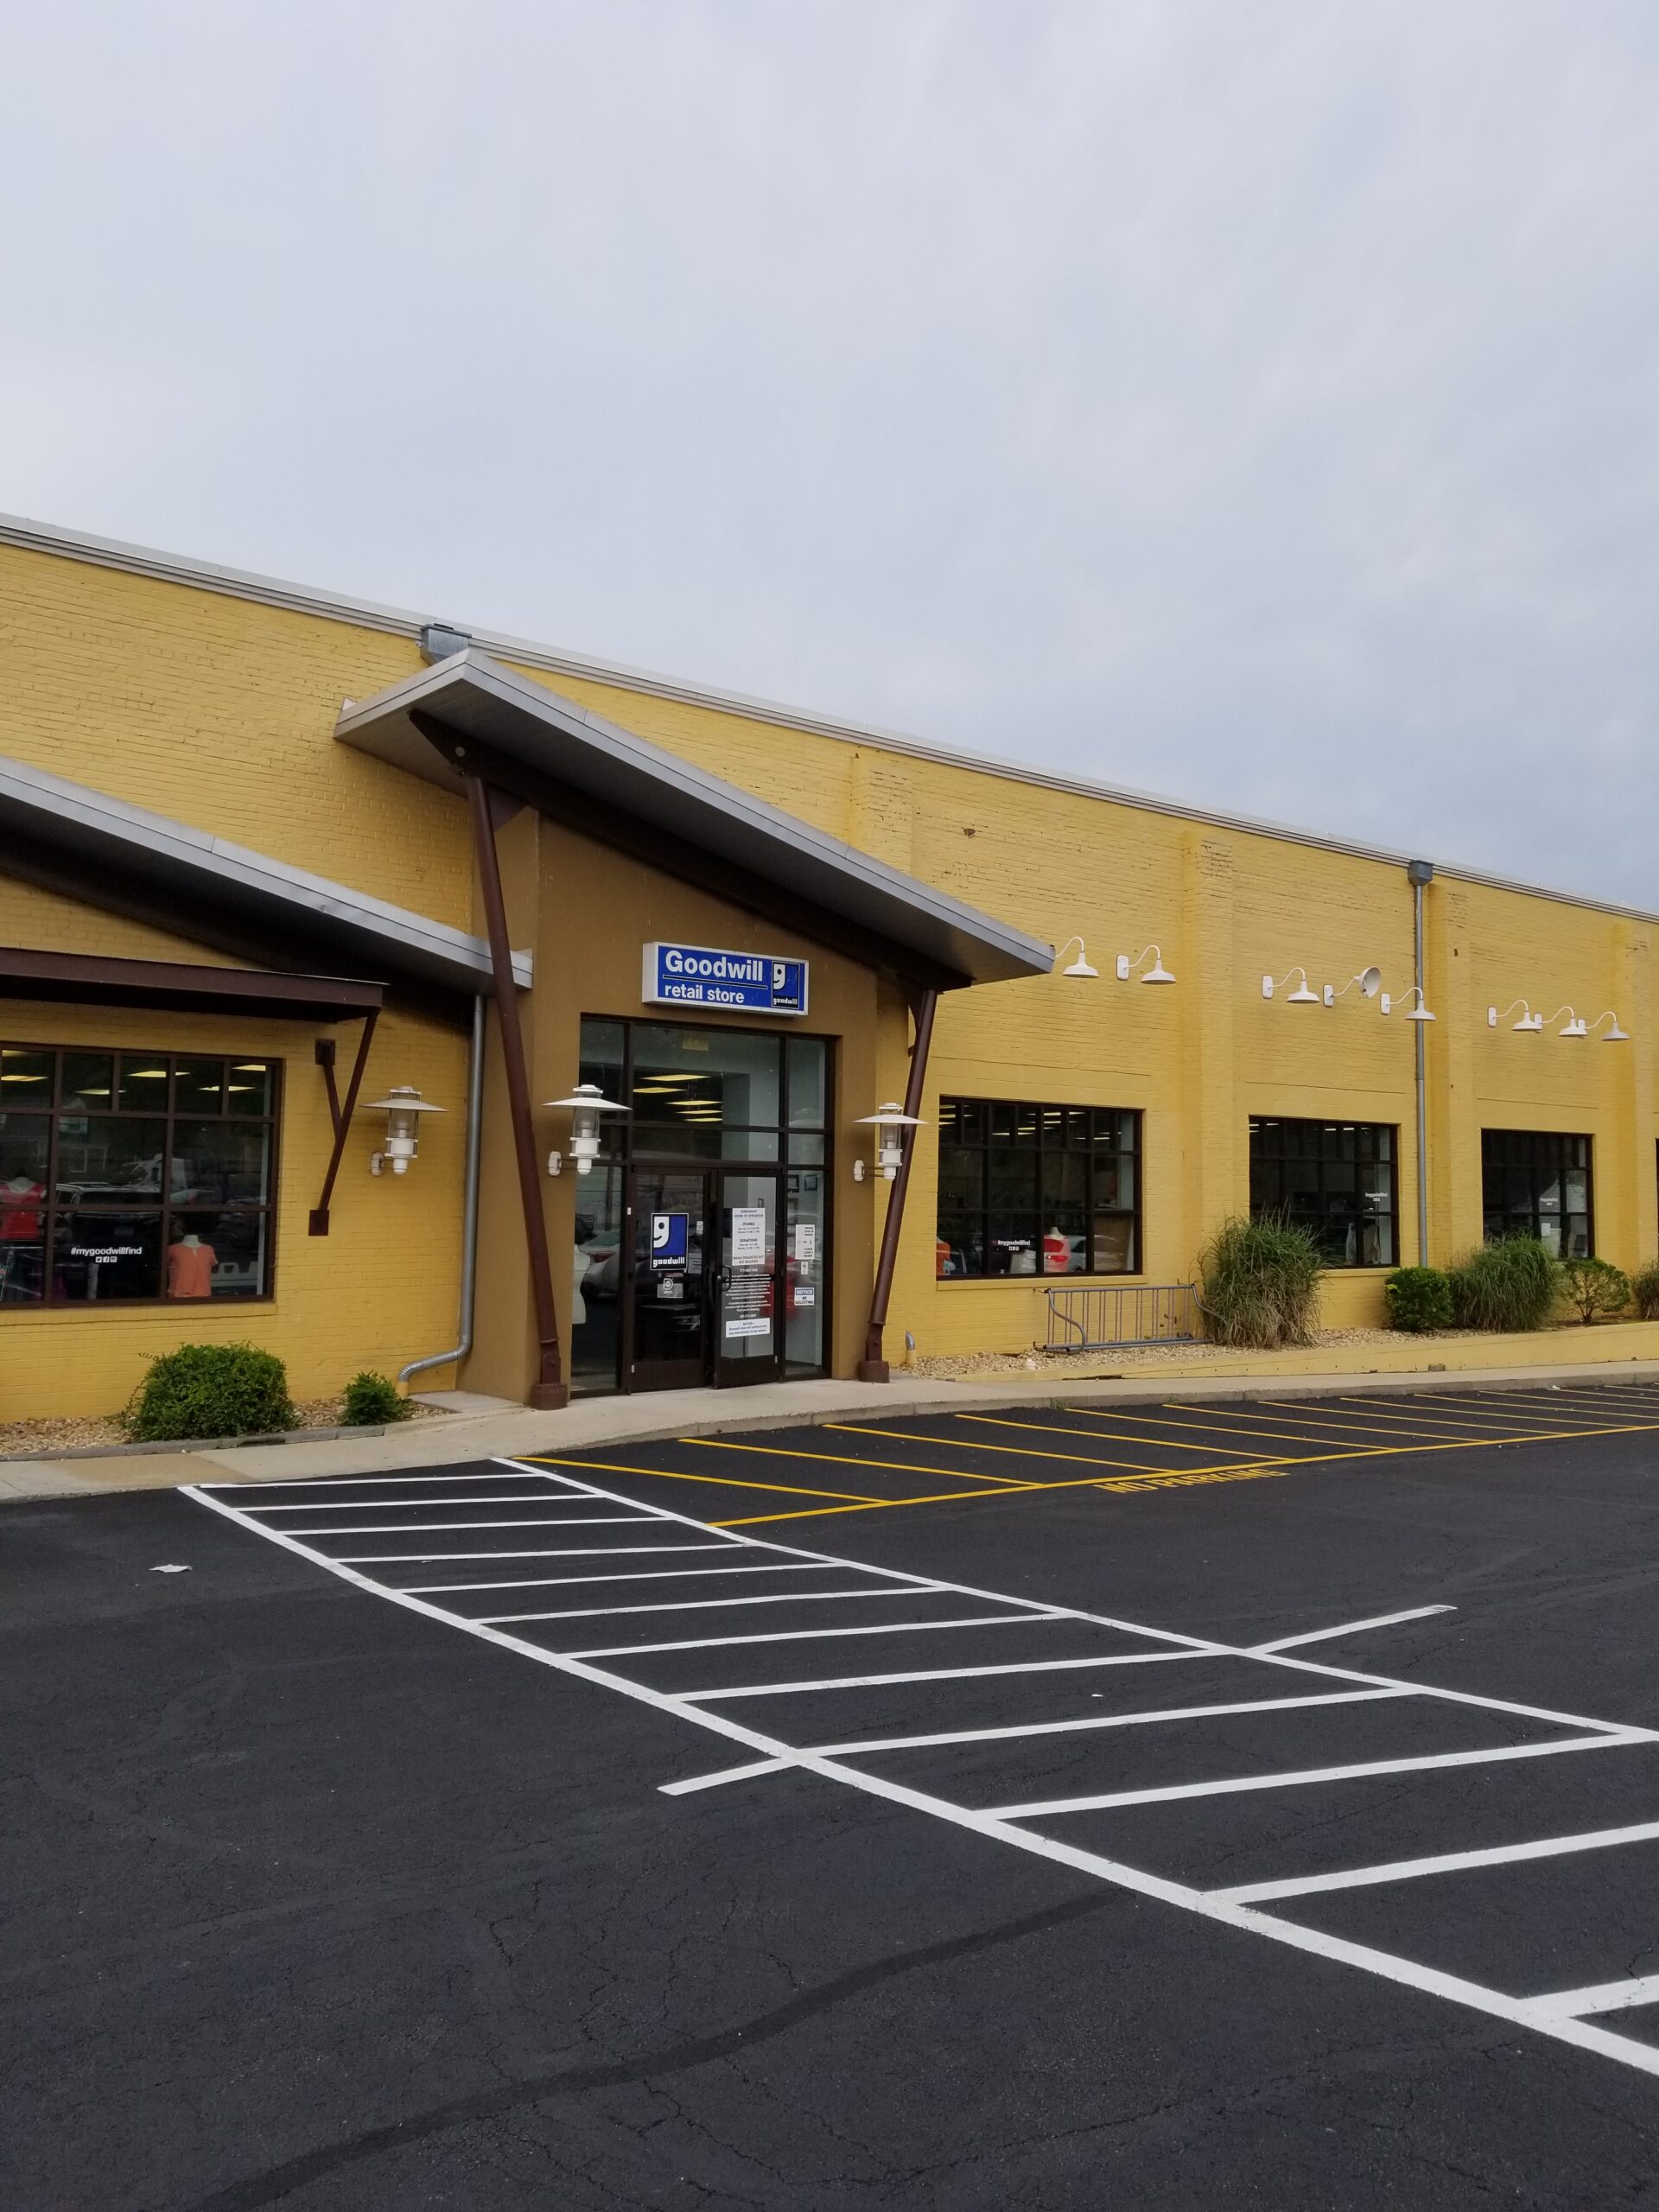
I found mine at the two Falls Church, VA locations.
I grew up going to both of these locations because I lived in Falls Church from childhood until my high school years! They always have such great finds here, so I still make the trip there regardless of the fact I live in Maryland now.
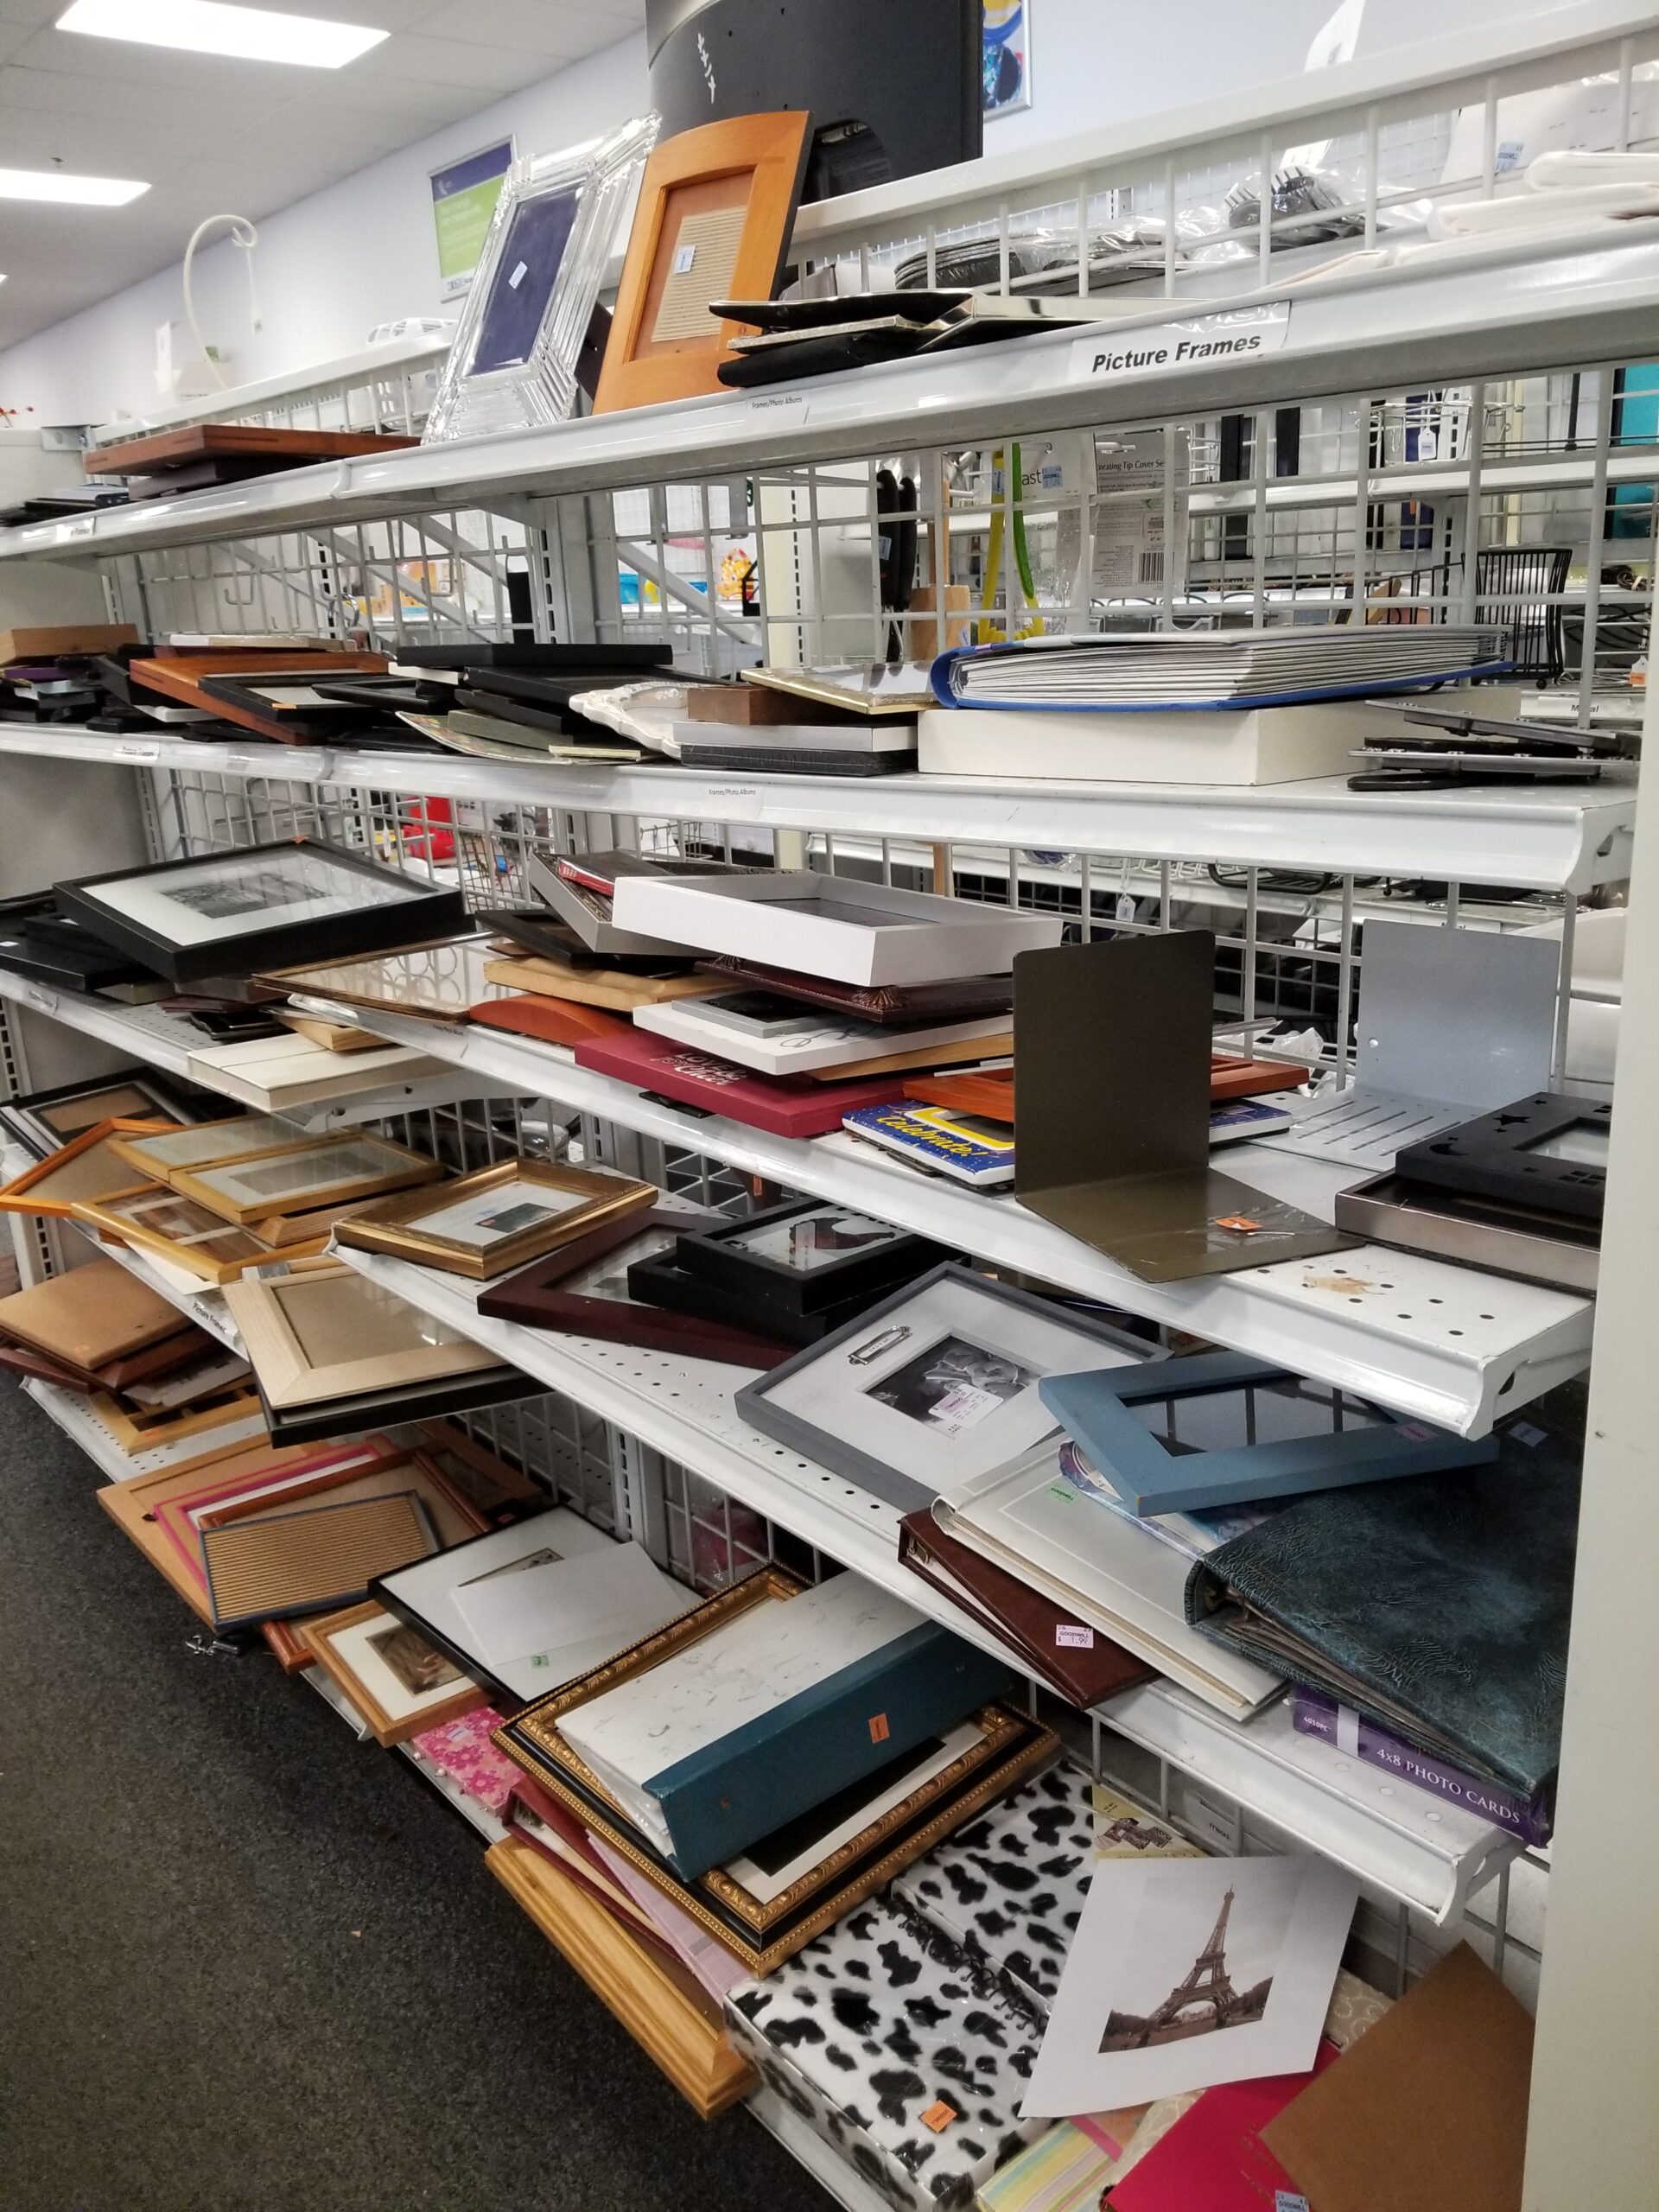
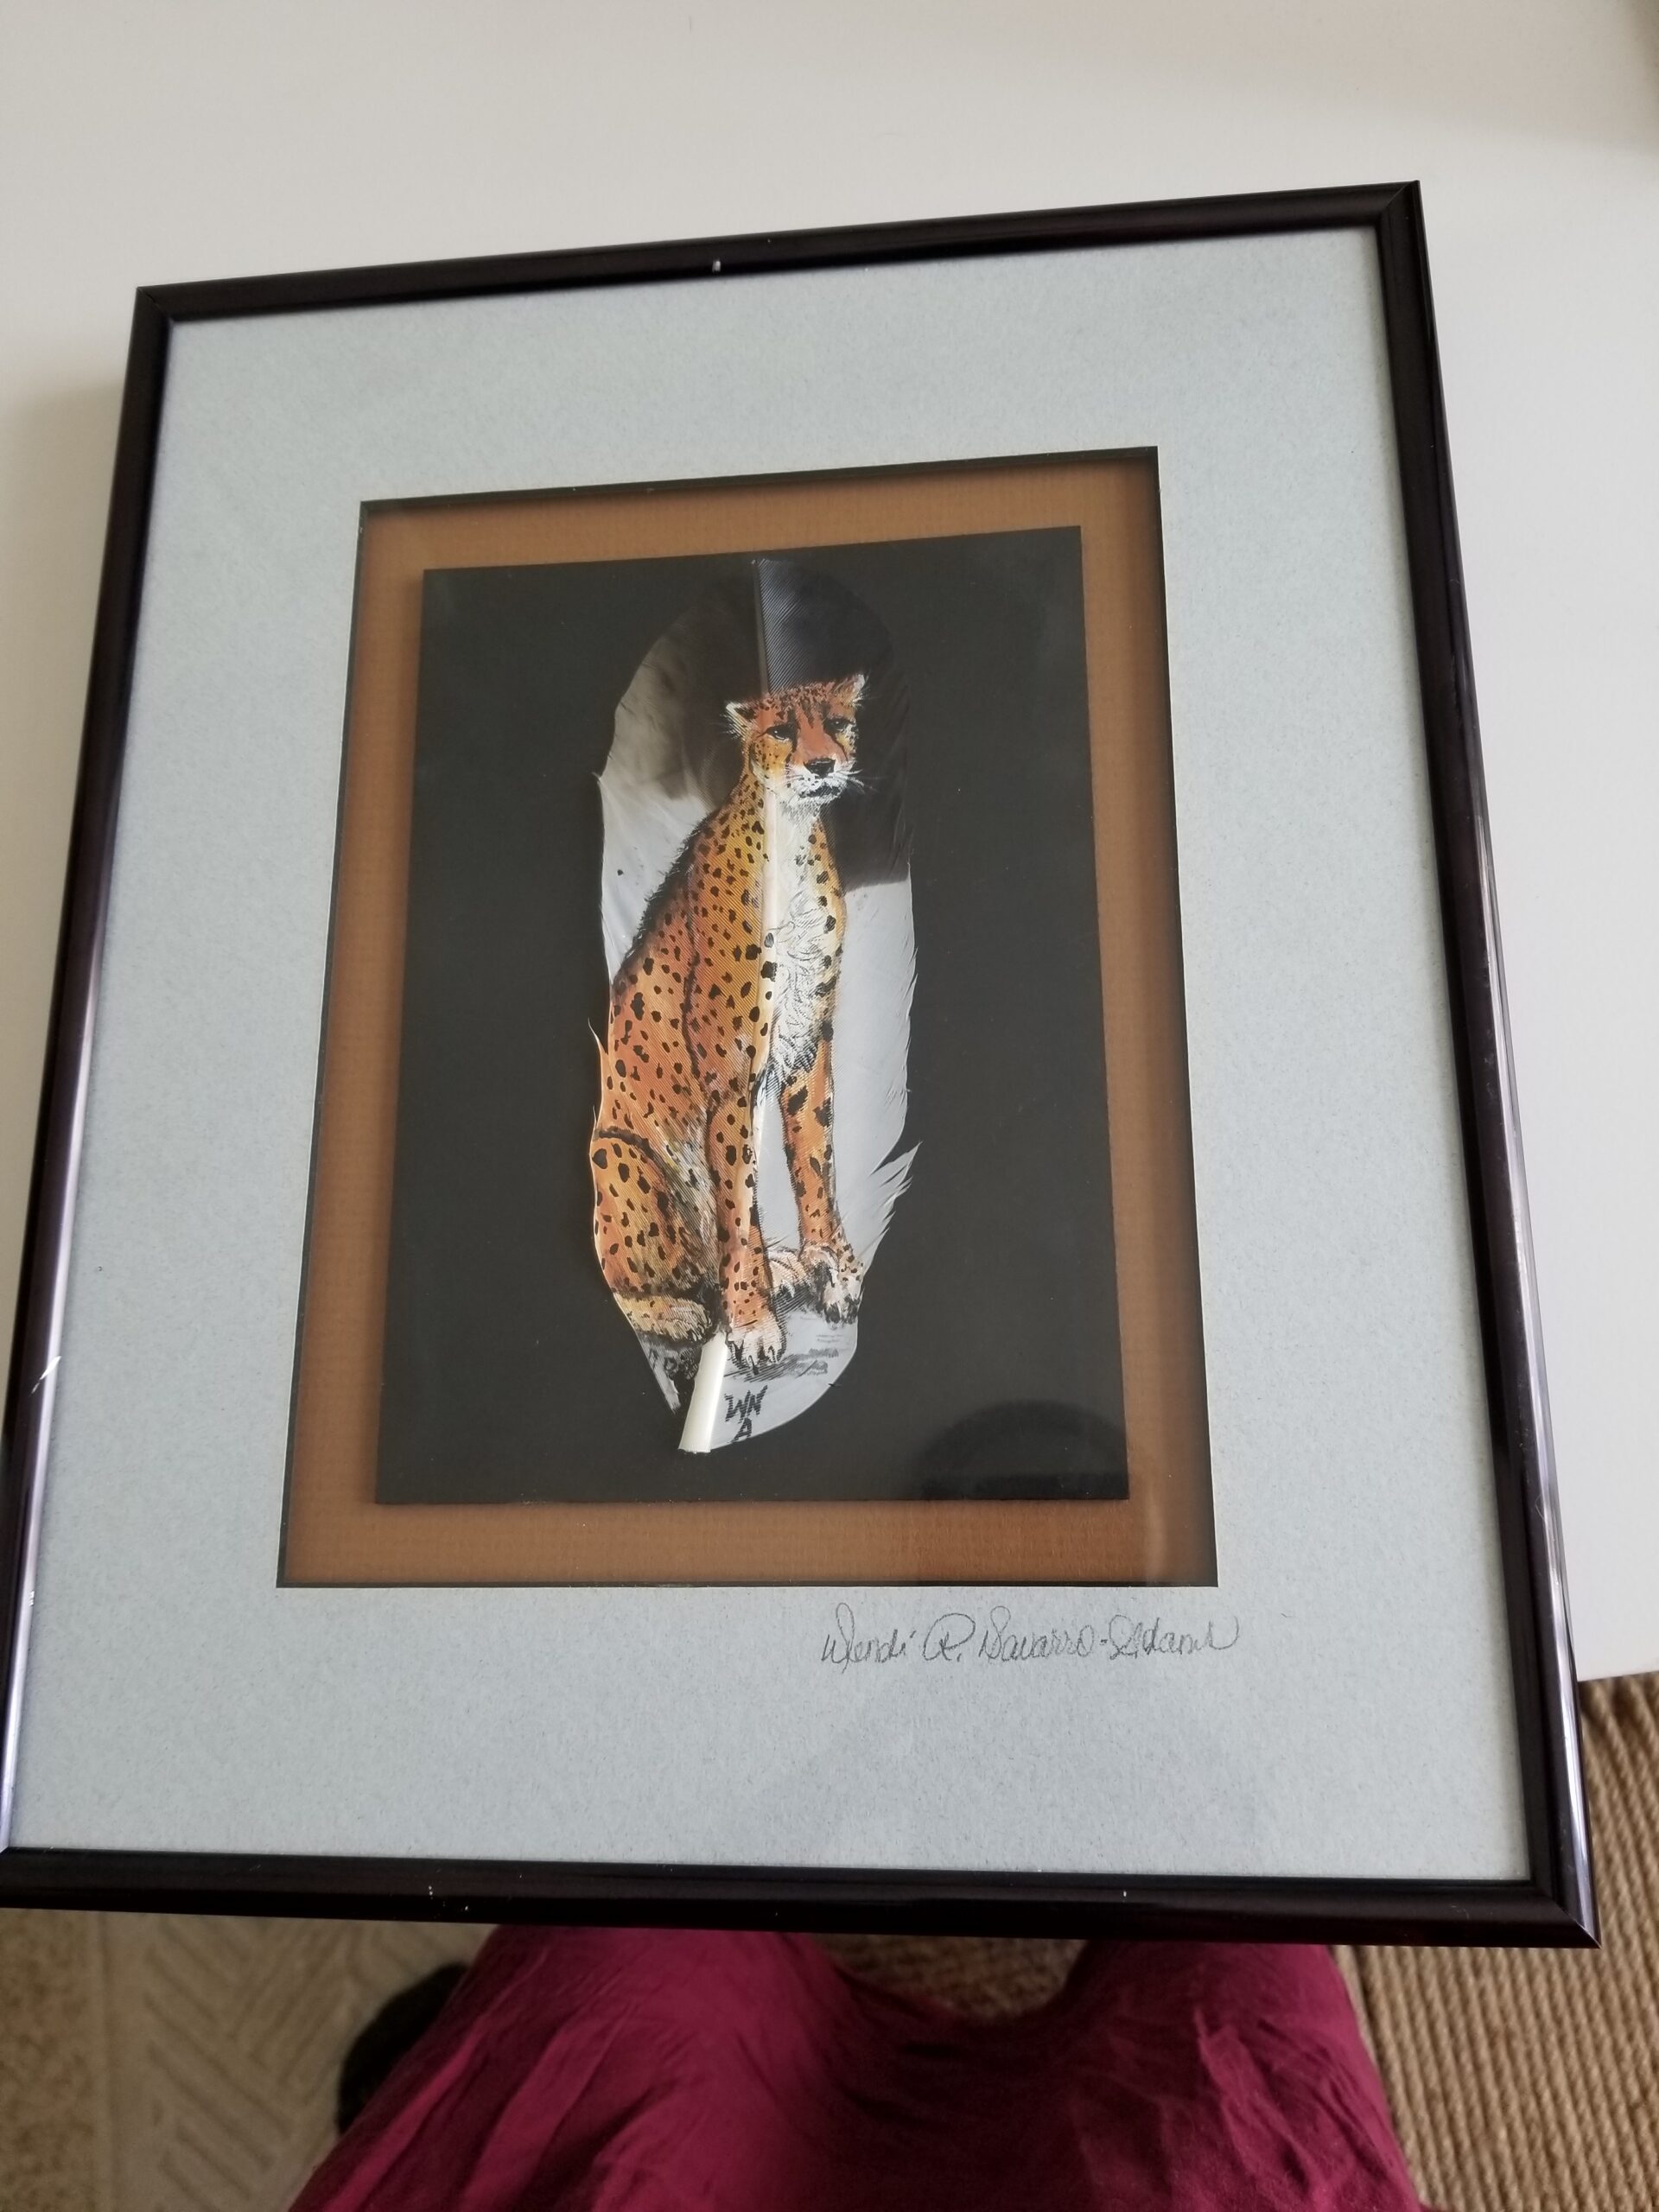
I also found these cool framed art pieces at the thrift for under $5. You might get lucky like I did and find an original signed art piece as you look through the shelves. The possibilities of what you’ll find are endless. I was floored when I came across this hand-painted cheetah on a feather art piece. Original art and signed by the artist for only $4.99.
What type of art you can use in your goodwill picture frames:
- Graphic Paper Print
- Prints from a book or magazine
- Local art from artist
- Pictures of family & friends
- Gift wrapping paper prints
- Quotes or words you like
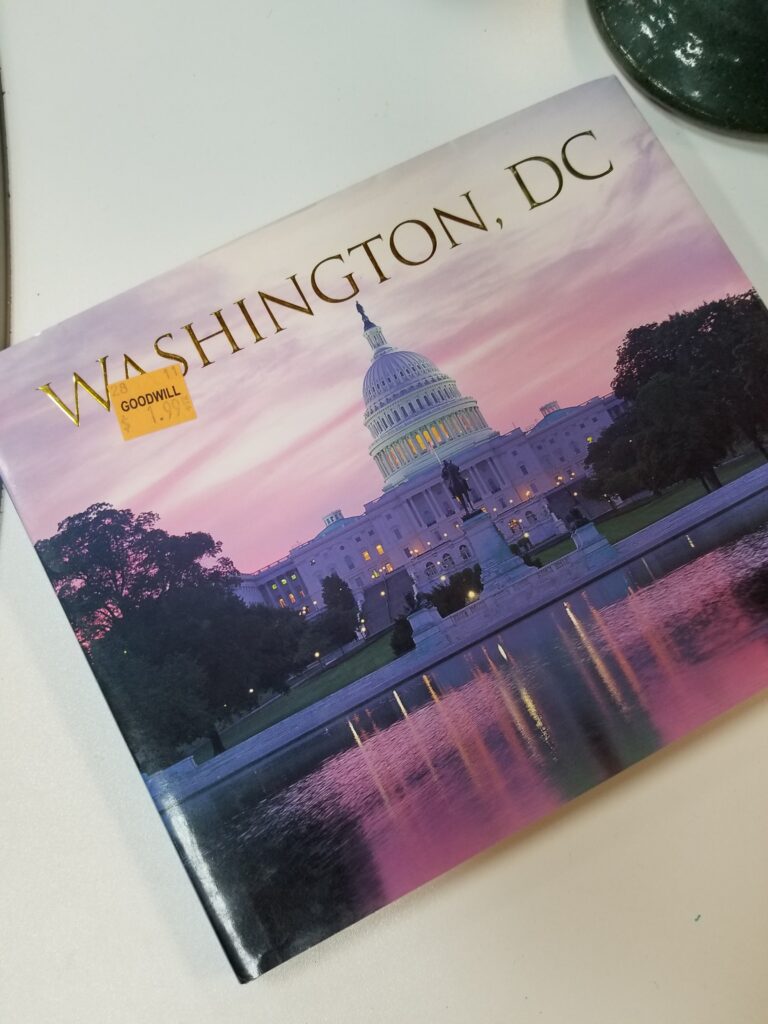
Pro Tip: This is a home staging trick we use all the time!
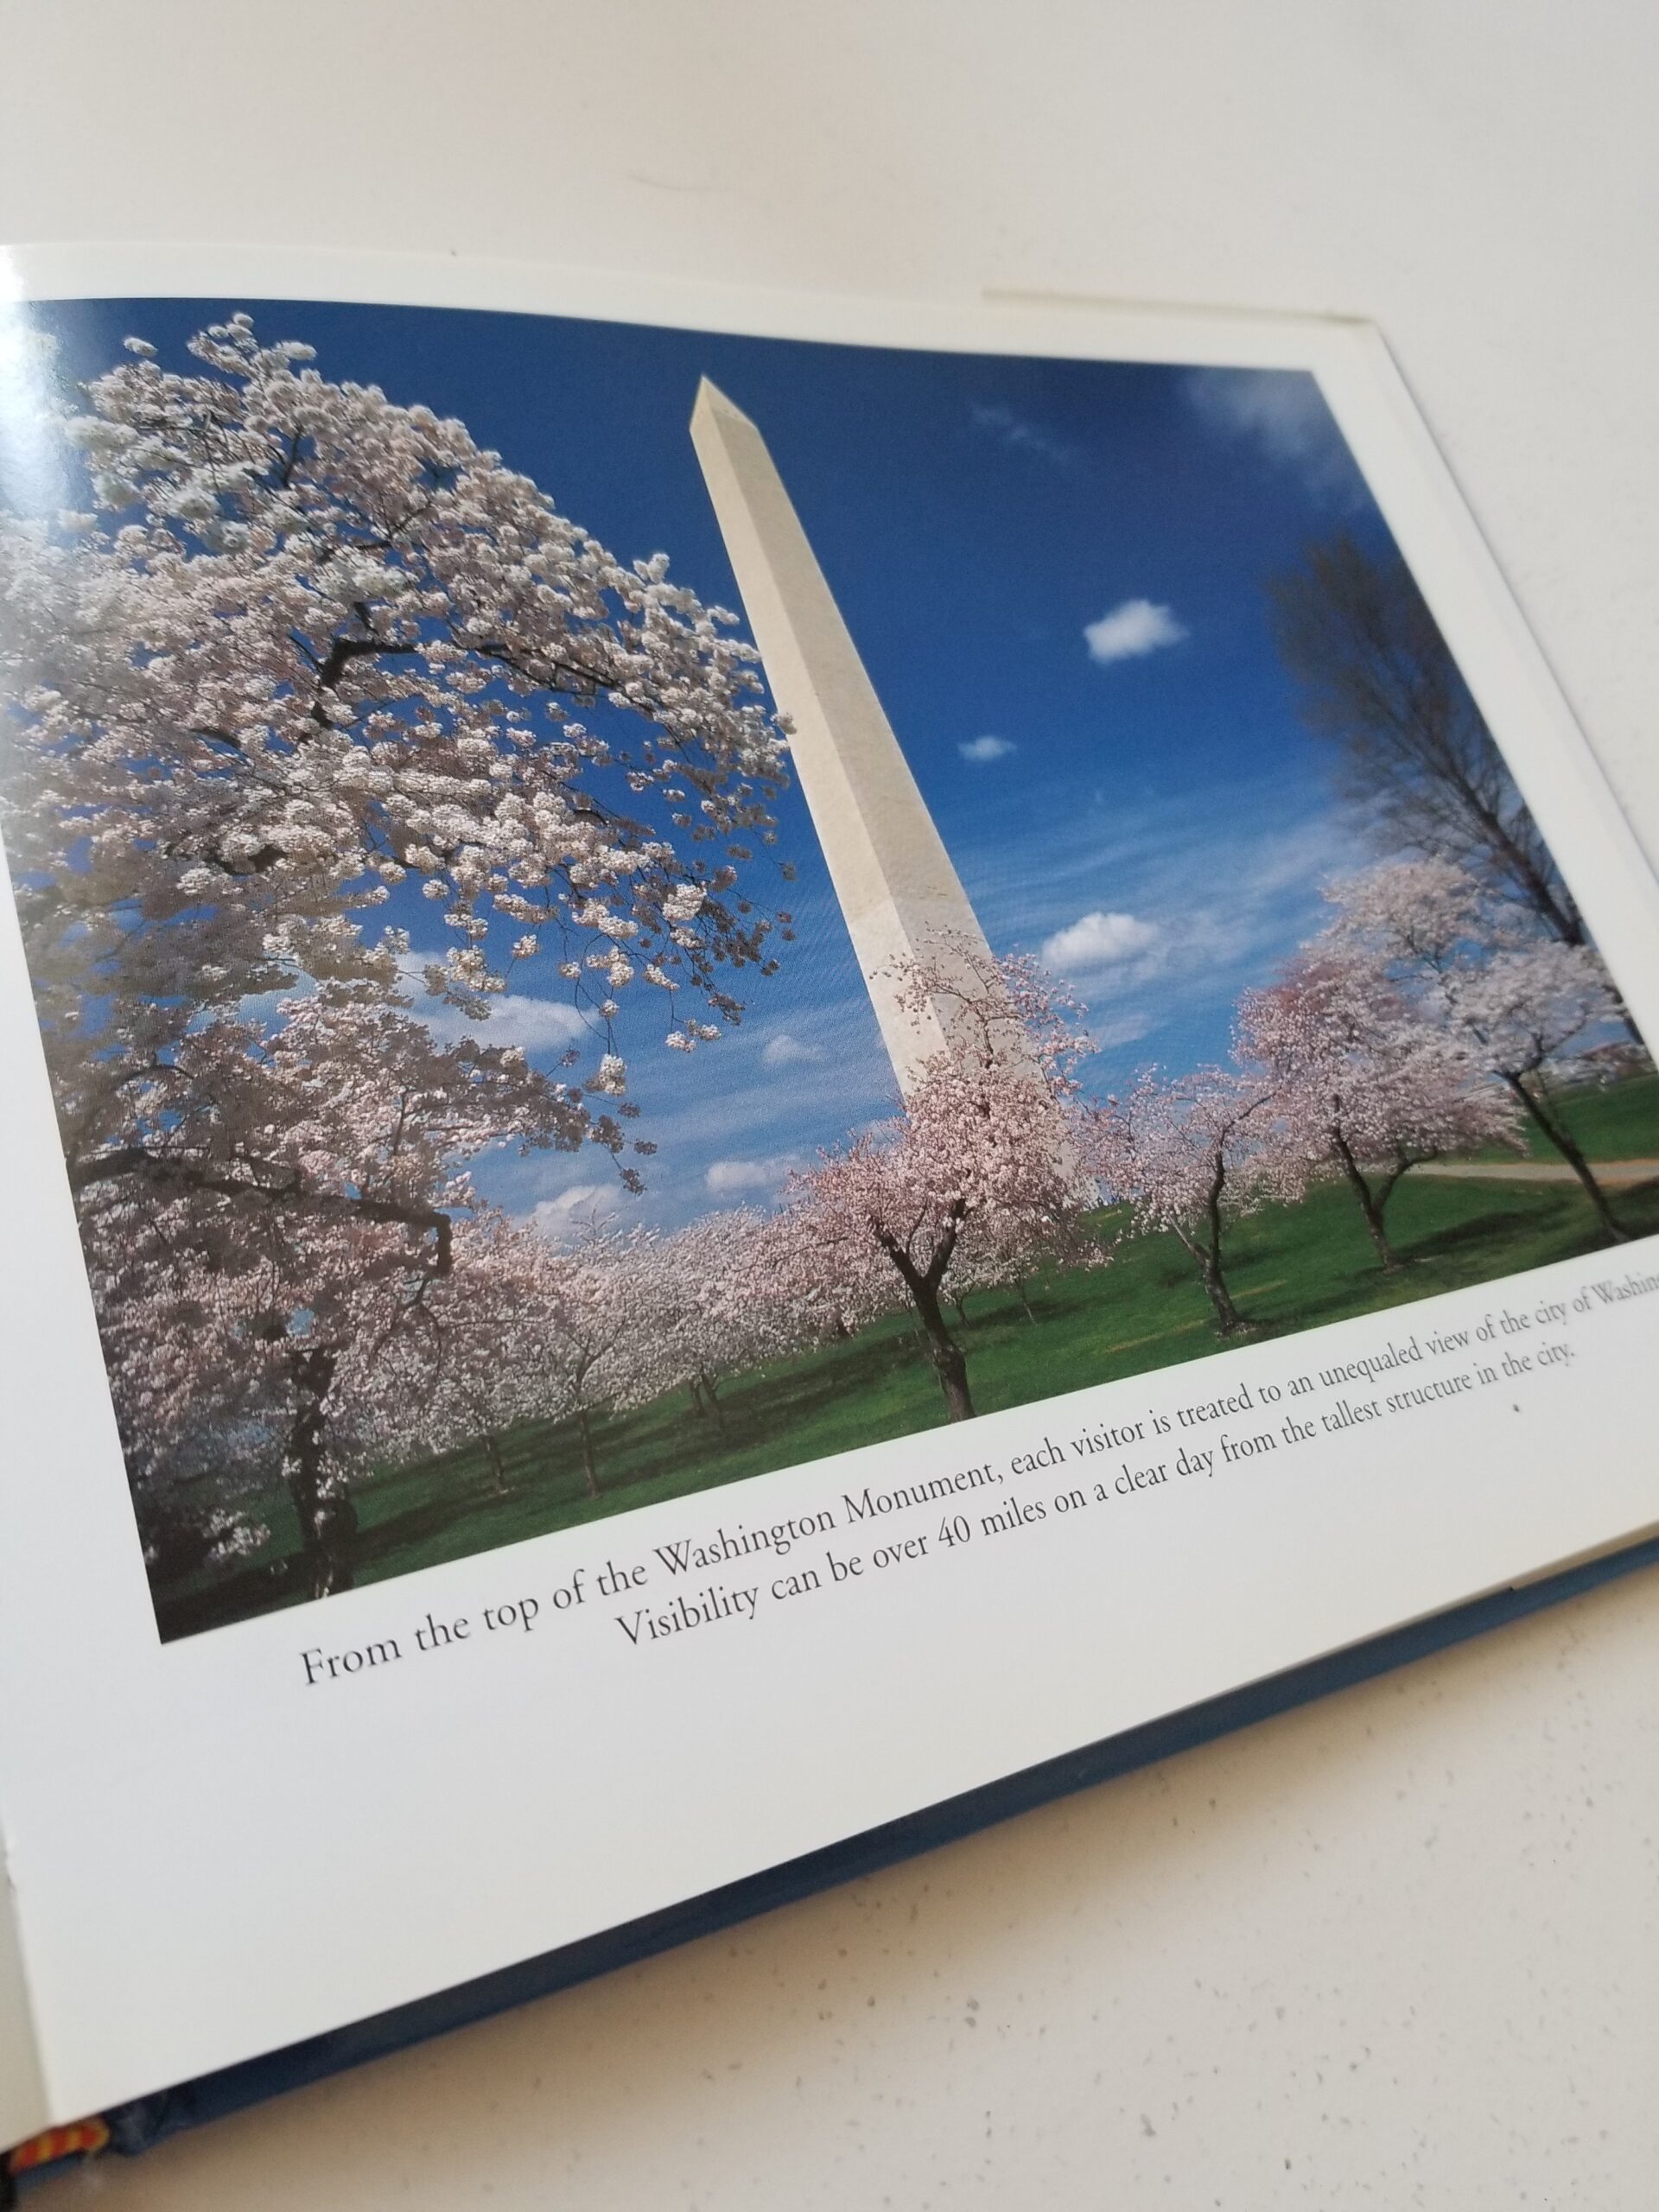
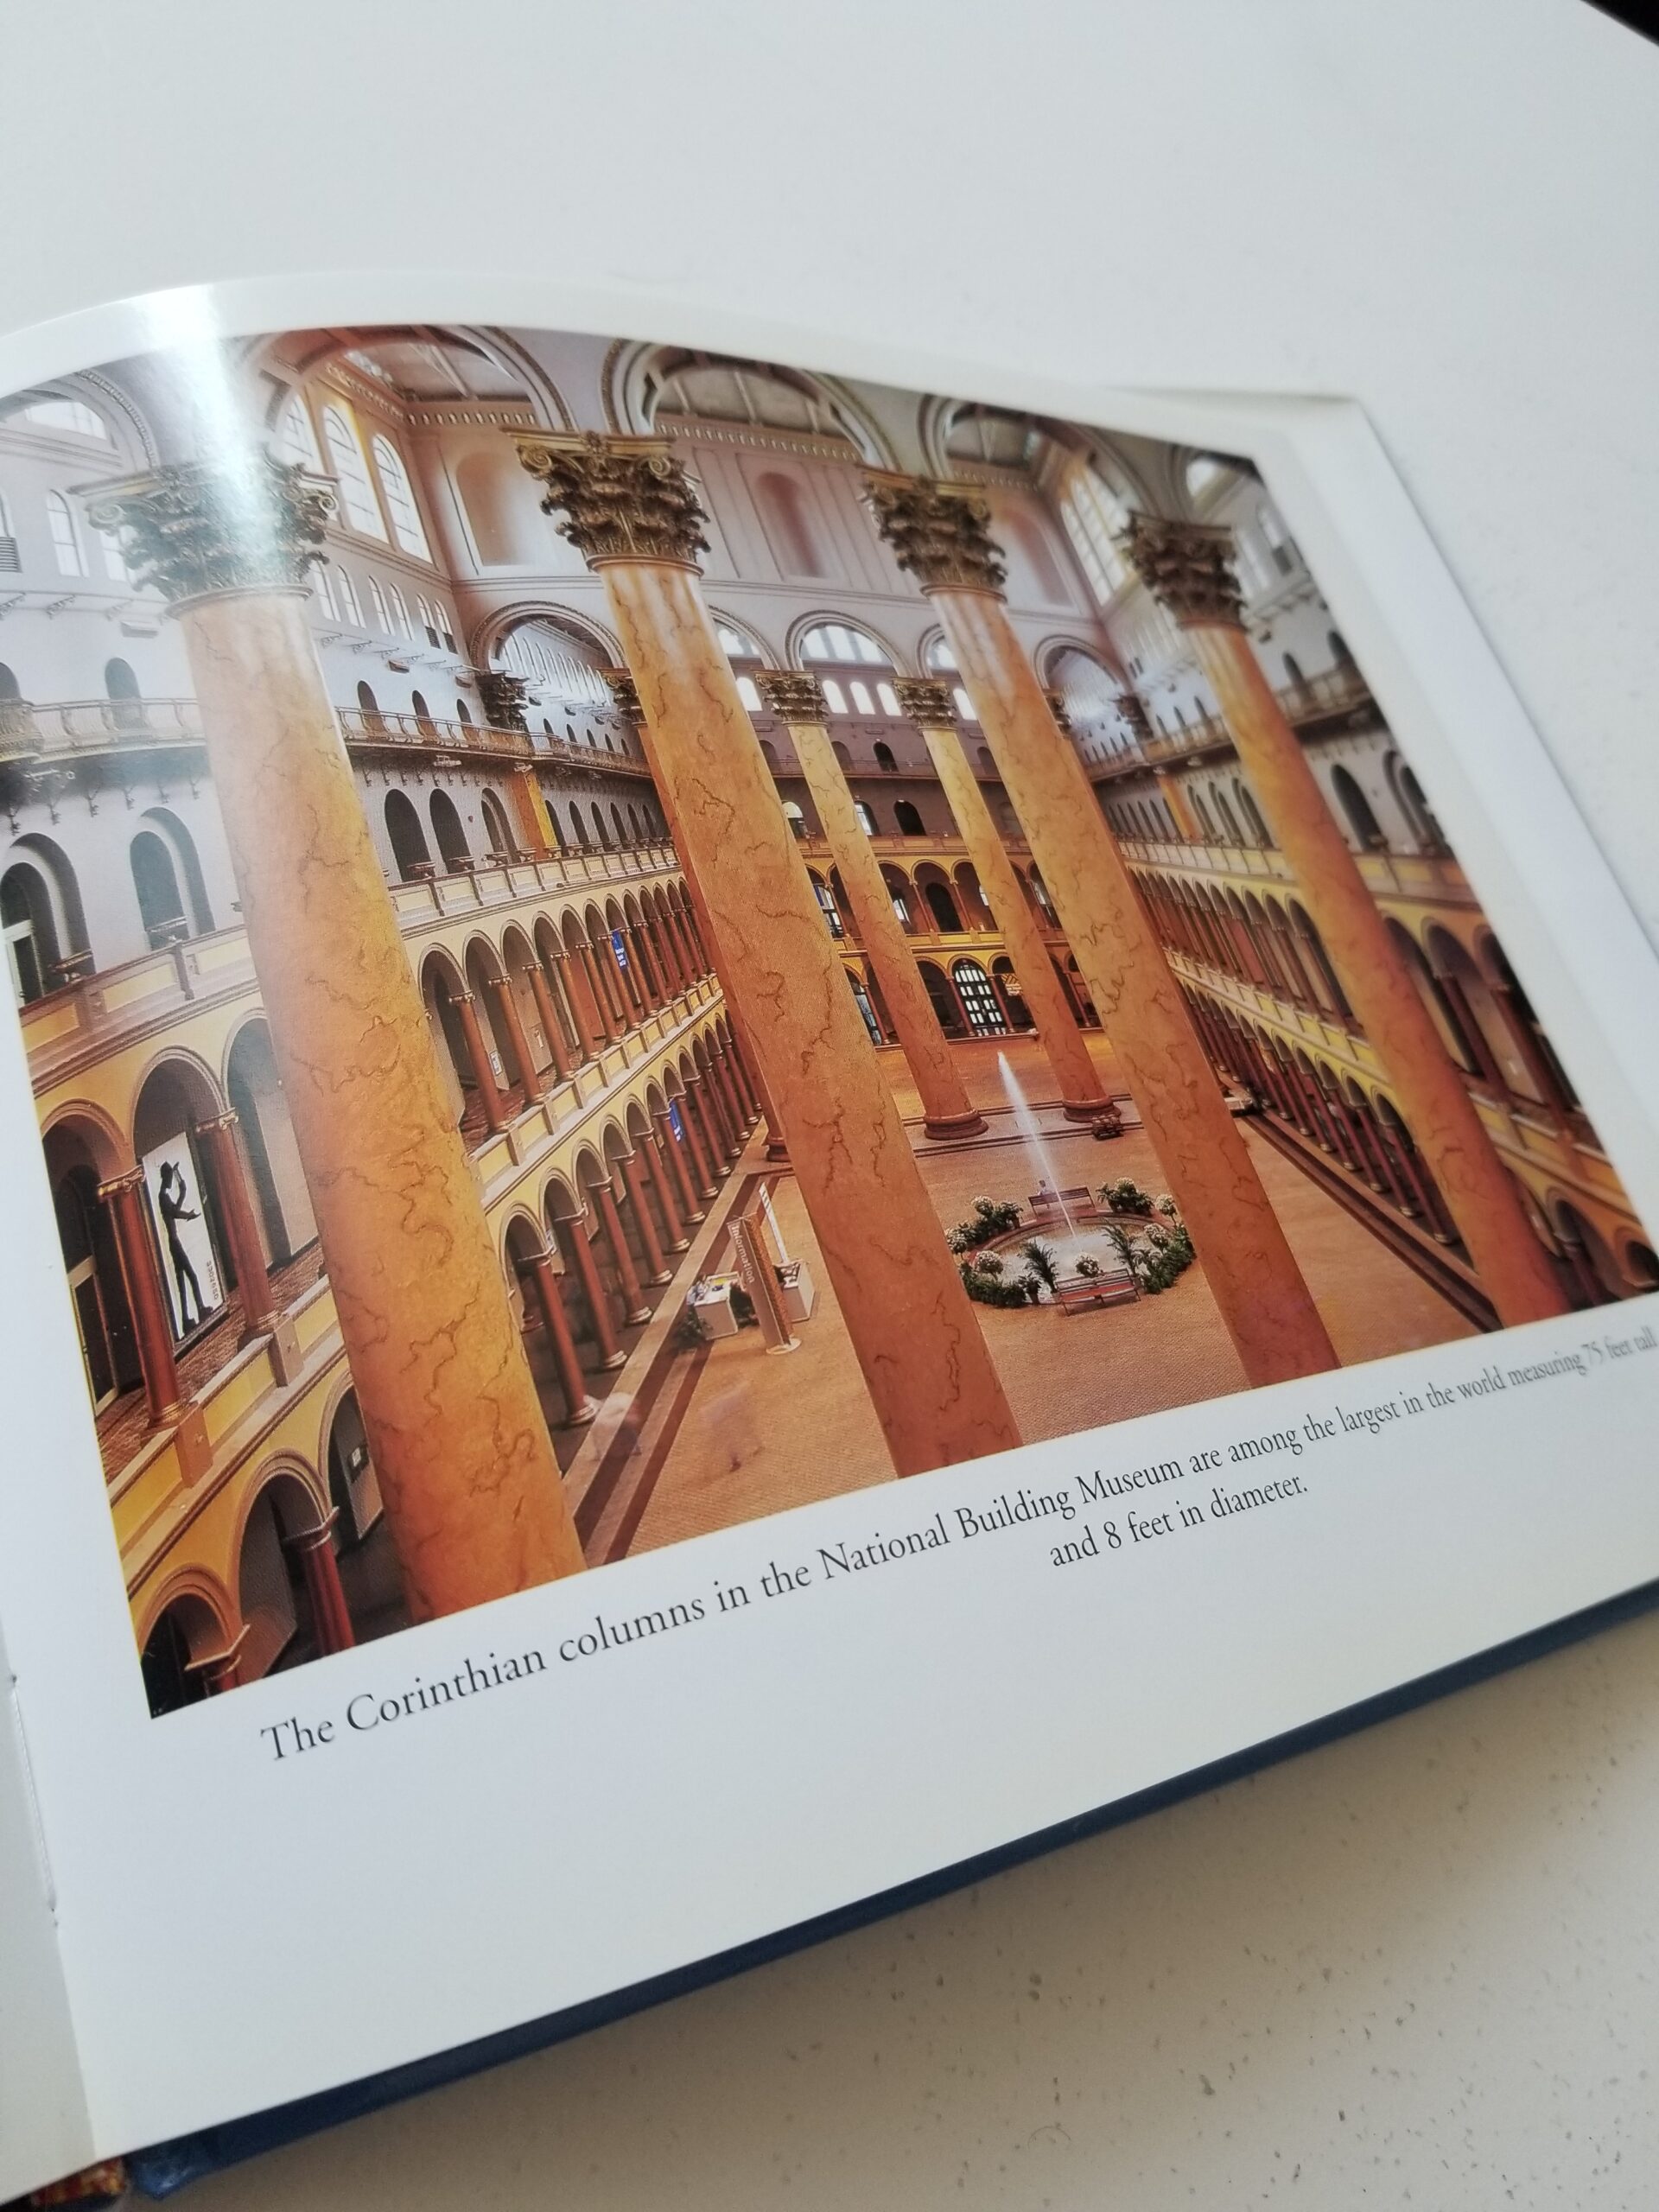
If you can’t find the right art, check out a book or magazine that you really like for prints. I found this book of beautiful pictures of Washington DC for only $1.99 that I will be looking into and possibly adding more to the wall from this book.
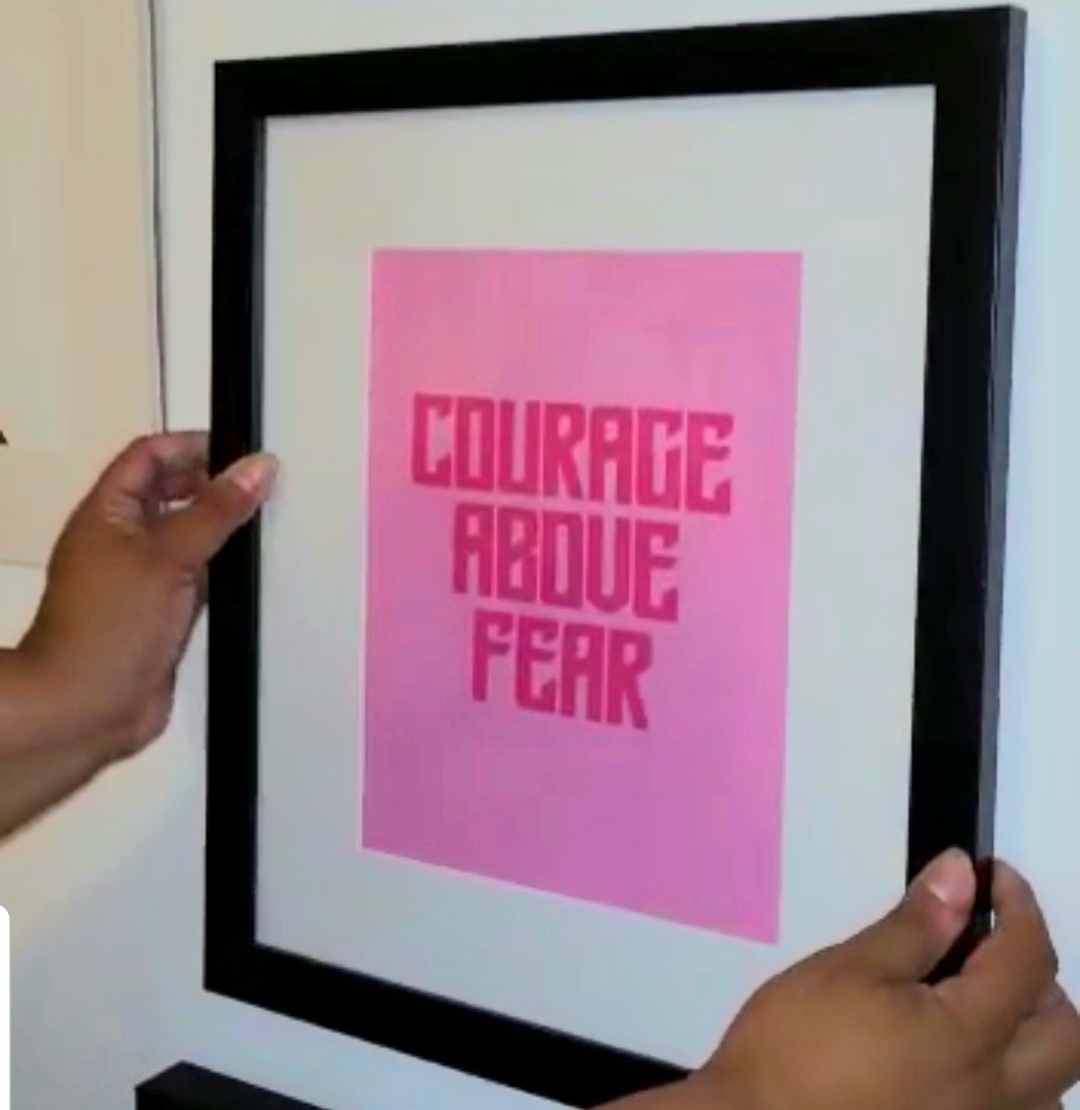
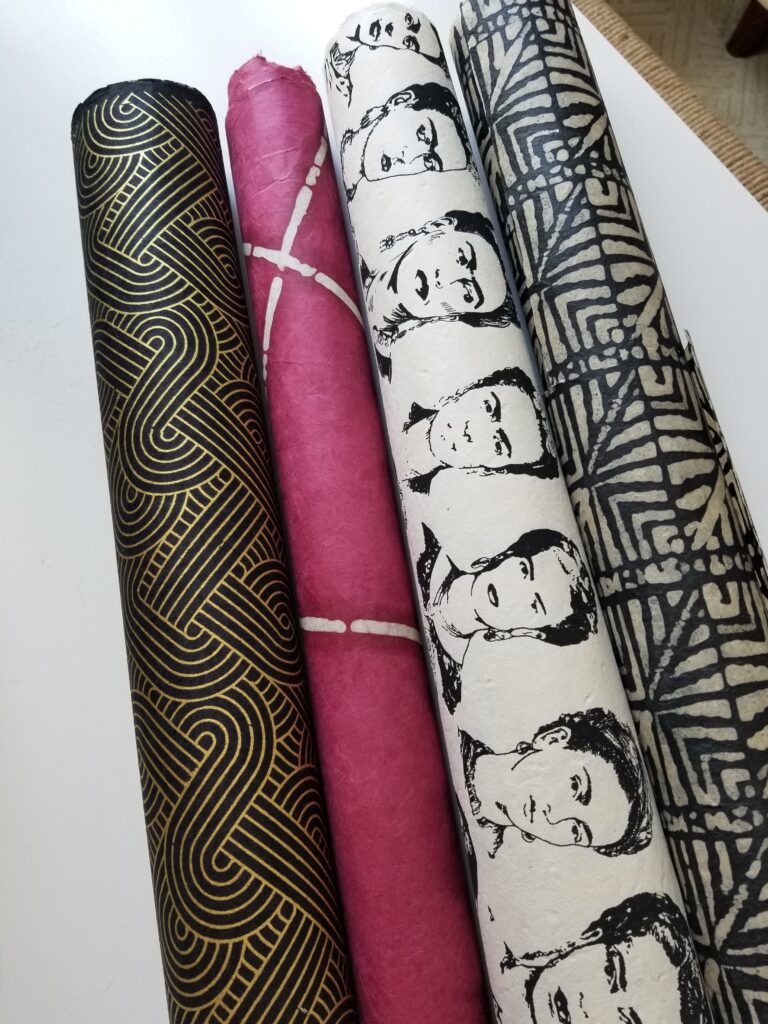
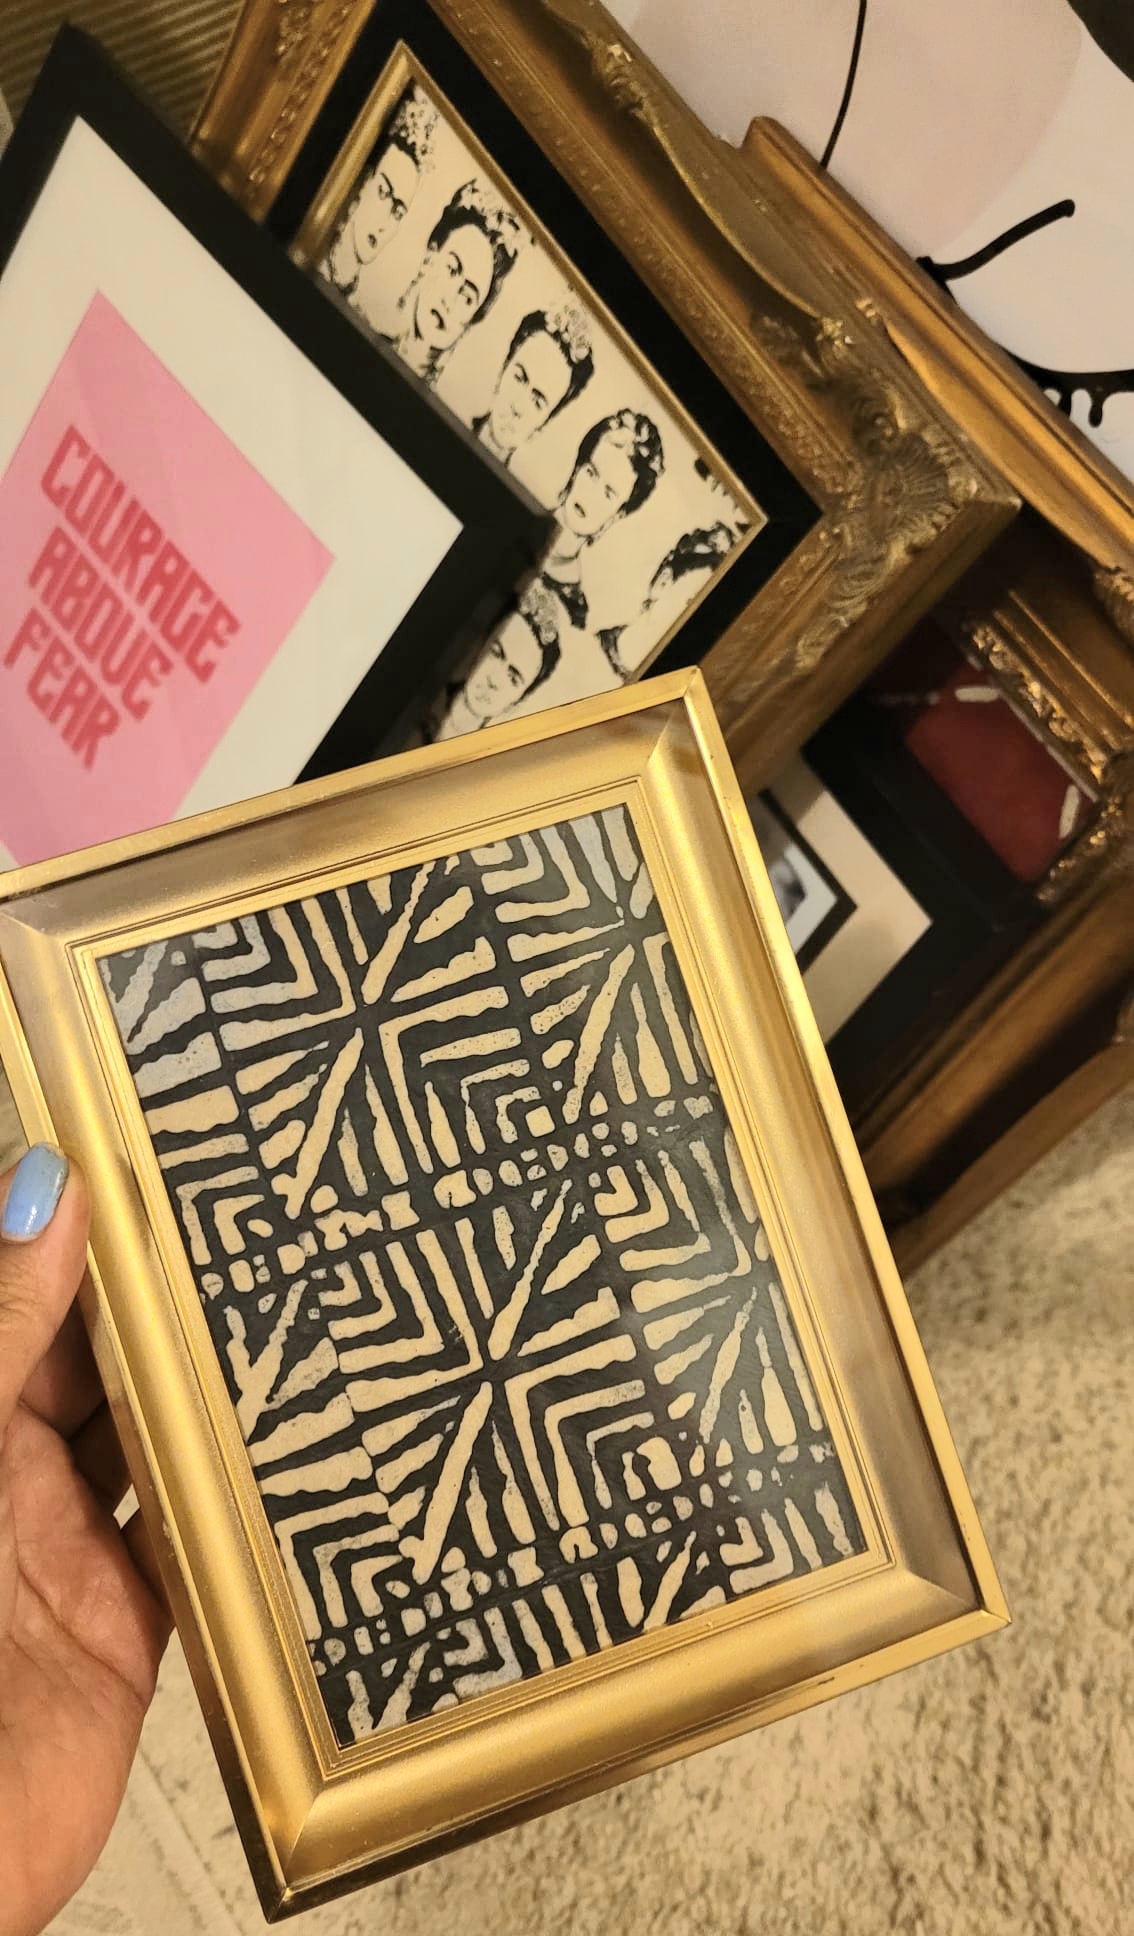
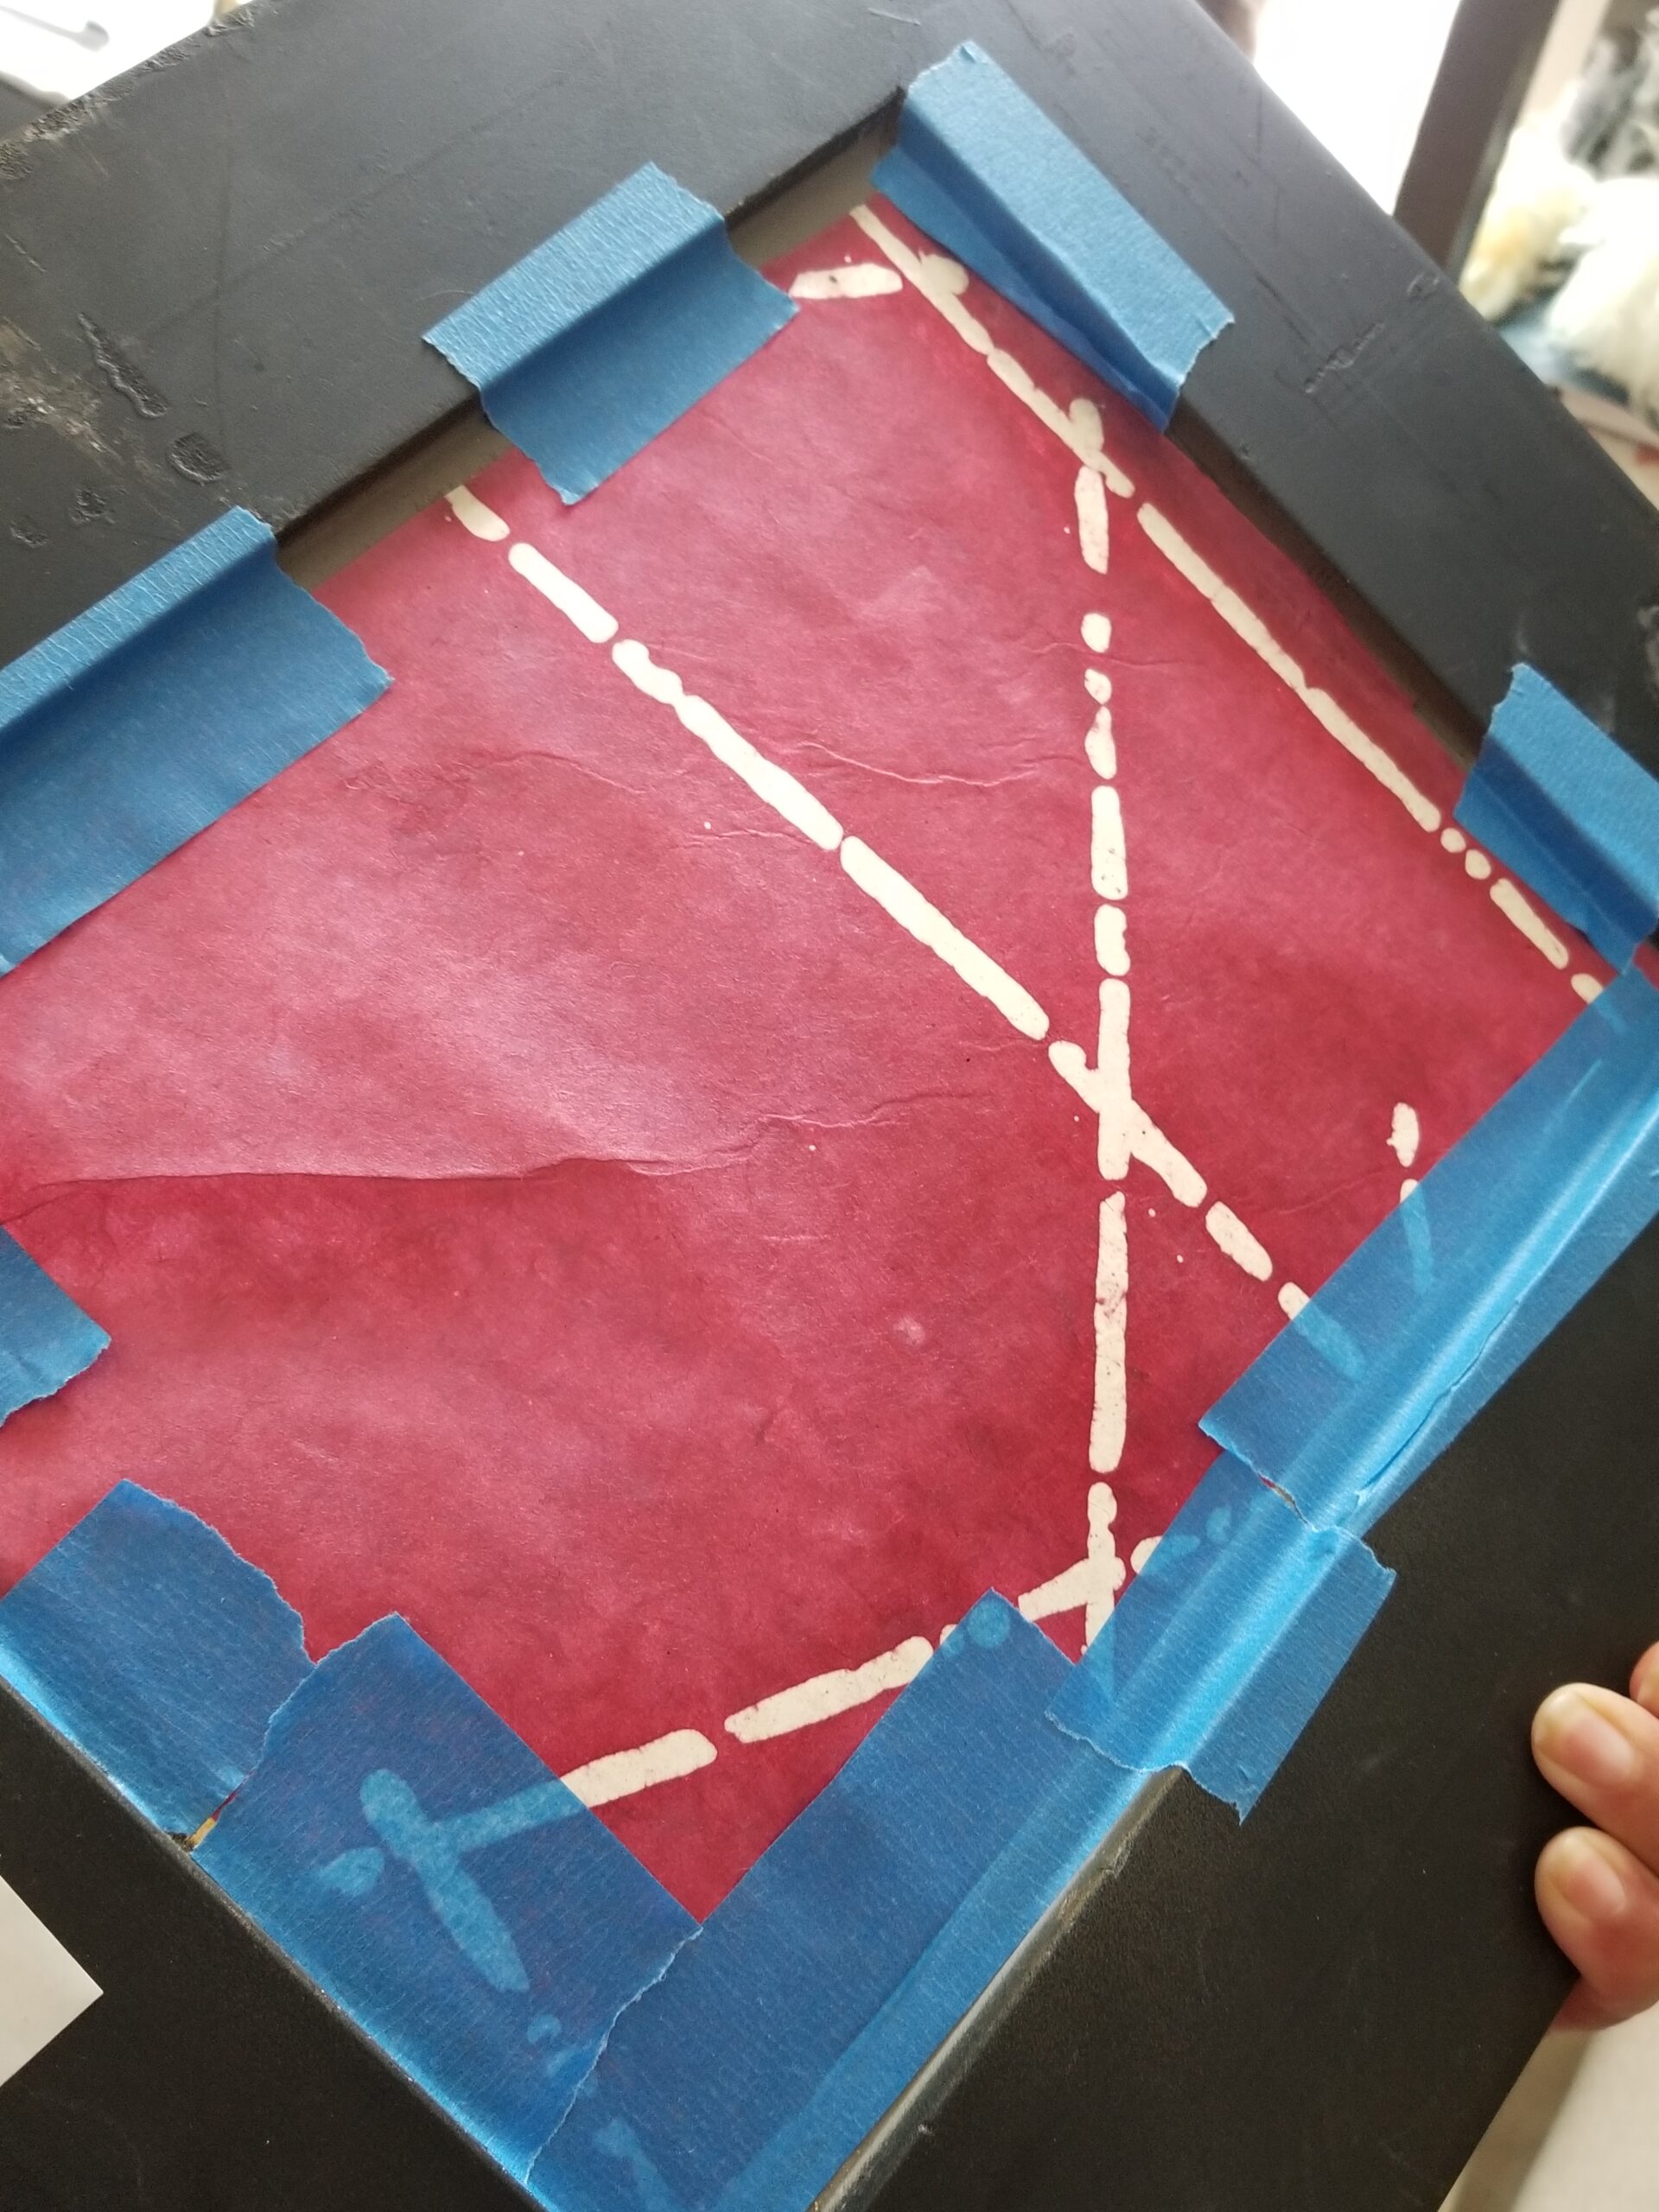
I scored two vintage wooden hand-carved frames at an antique shop and have been holding on to them for the right project, so I decided this was it! They don’t have the glass or backing, so I decided to use painter’s tape to hold the print up. Using painter’s tape avoids the paper from ripping in case you want to re-adjust or change the print out. I added this very fun Frida Kahlo paper I bought at Paper Source, as well as the pink paper and fun black patterned prints to the other frames. I simply stretched the paper as smoothly as I could and taped it with painter’s tape in the back.
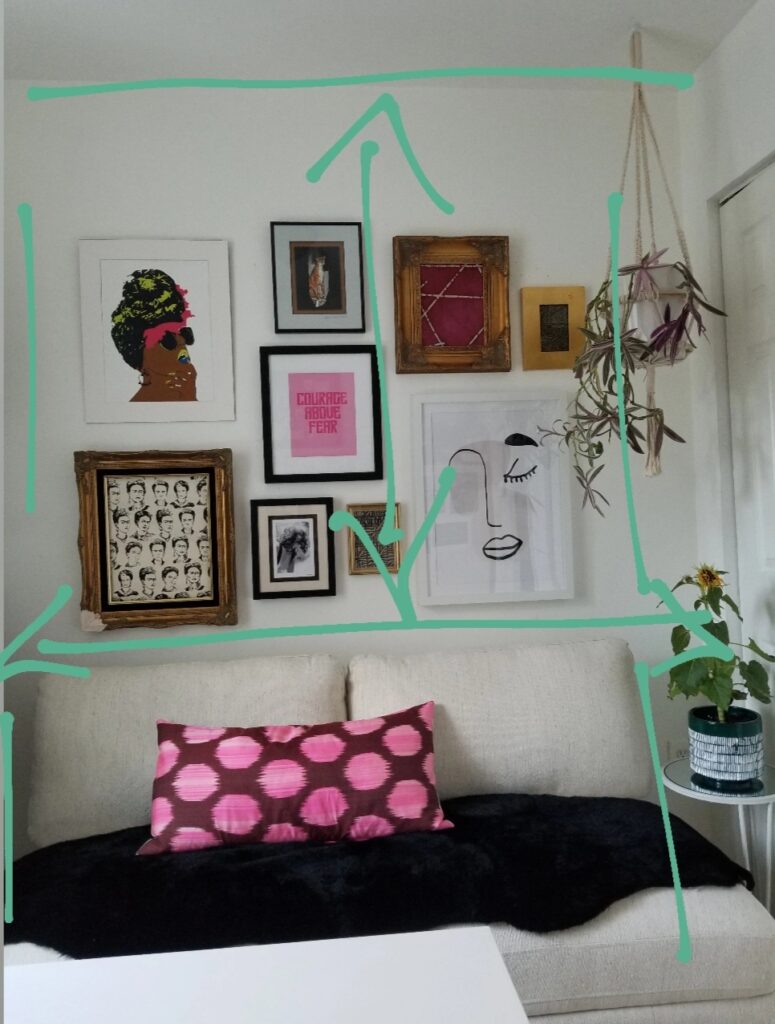
Next up is deciding the placement of the art. First, locate the wall you want to hang your art on. I always like to hang the art the height and length between the object right underneath the art and the ceiling, Centered to the wall. In my case, it was between the sofa and ceiling.
(I did hang my art a bit lower than the center of the wall this time for zoom background purposes since this is the room I have meetings in)
Once you know where your gallery wall will be living, it’s time to assemble the art to your liking. I usually assemble them right on the floor of where I will be hanging or on a large table first before taking it to the wall. Remember to take a picture once you’ve arranged the art, so you don’t forget the placement you liked.
Here are some tips to keep in mind while arranging:
- Tape off a square or rectangle above the perimeter where your gallery wall will go (this will help you stay within the boundaries of the area you taped off)
- Keep the space in between the frames evenly spaced (this will keep it cohesive and make the design feel tied together)
- Always start with your largest piece of art (preferably at the bottom vs. the top to avoid the top feeling too heavy. This way you can control the balance of the framed art as a whole)
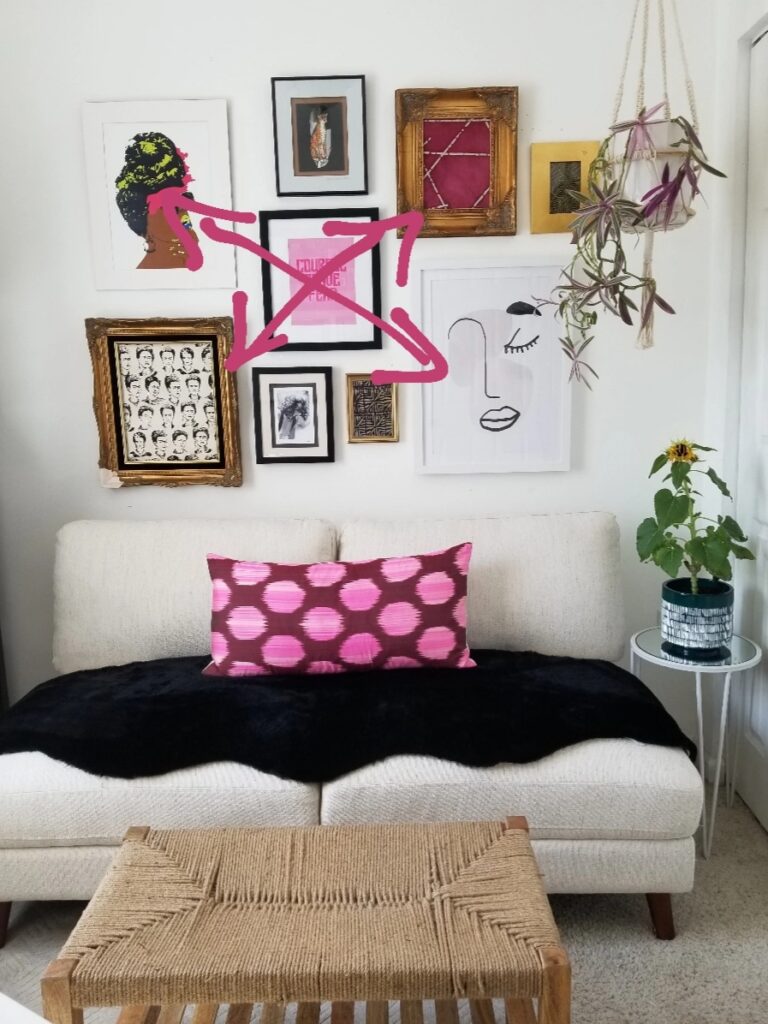
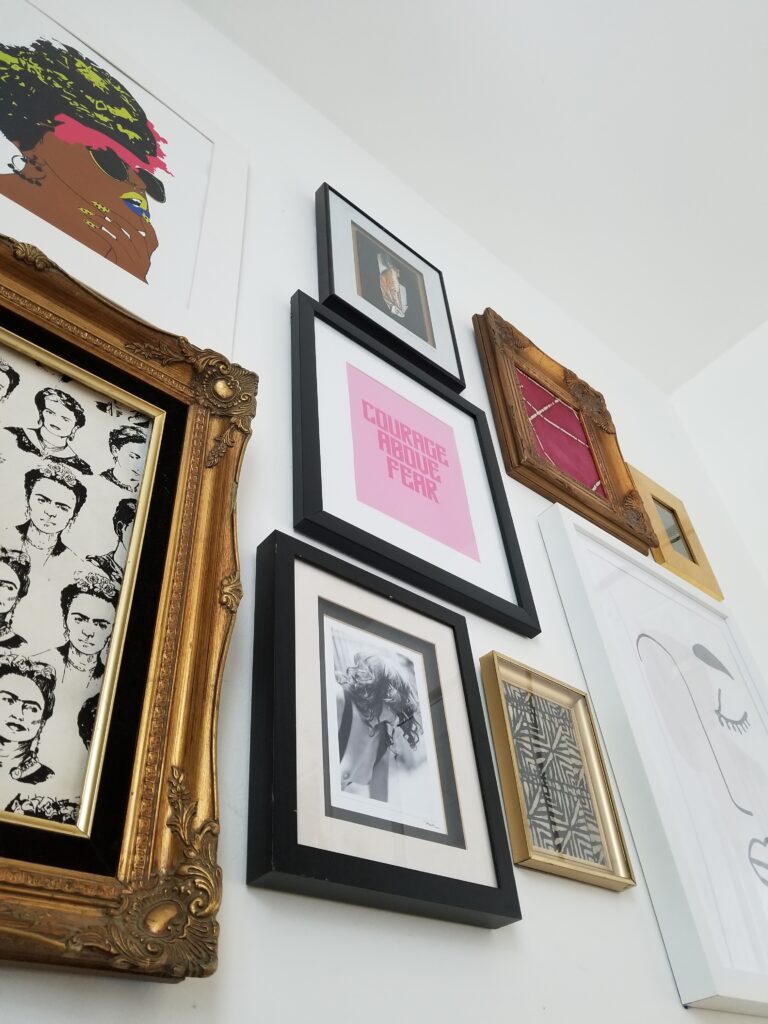
- Mix your colors around (try separating the dark colors and placing them opposite of one another. This includes art prints or photos that are in the same color scheme as well. This also applies to the same frame color and style. See picture below of how I achieved this with the 2 antique gold frames and the 2 white ones)
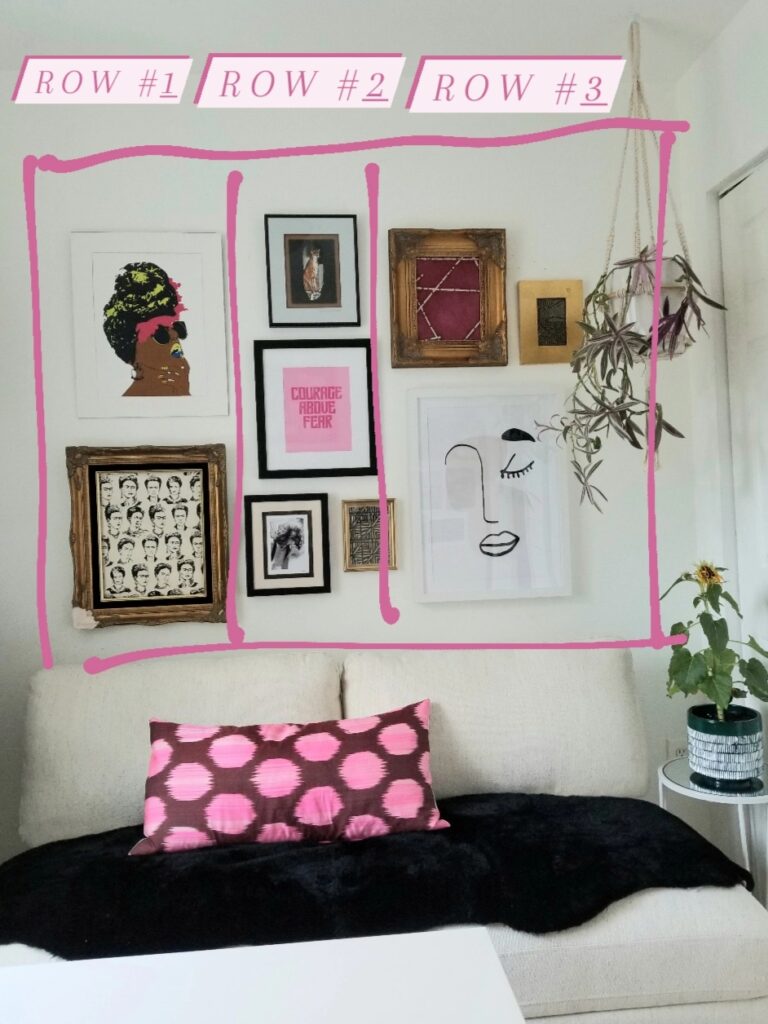
- Try hanging your art in diagonal rows for instance I had 3 rows, the rule here is choosing one bigger frame as your anchor piece per row for width and spacing of the other frames. Try not to hang anymore than 2-4 pieces per row. (see picture below for example)
It’s time to hang, this is where your tools and supplies will come in handy from the list up top.
First things first:
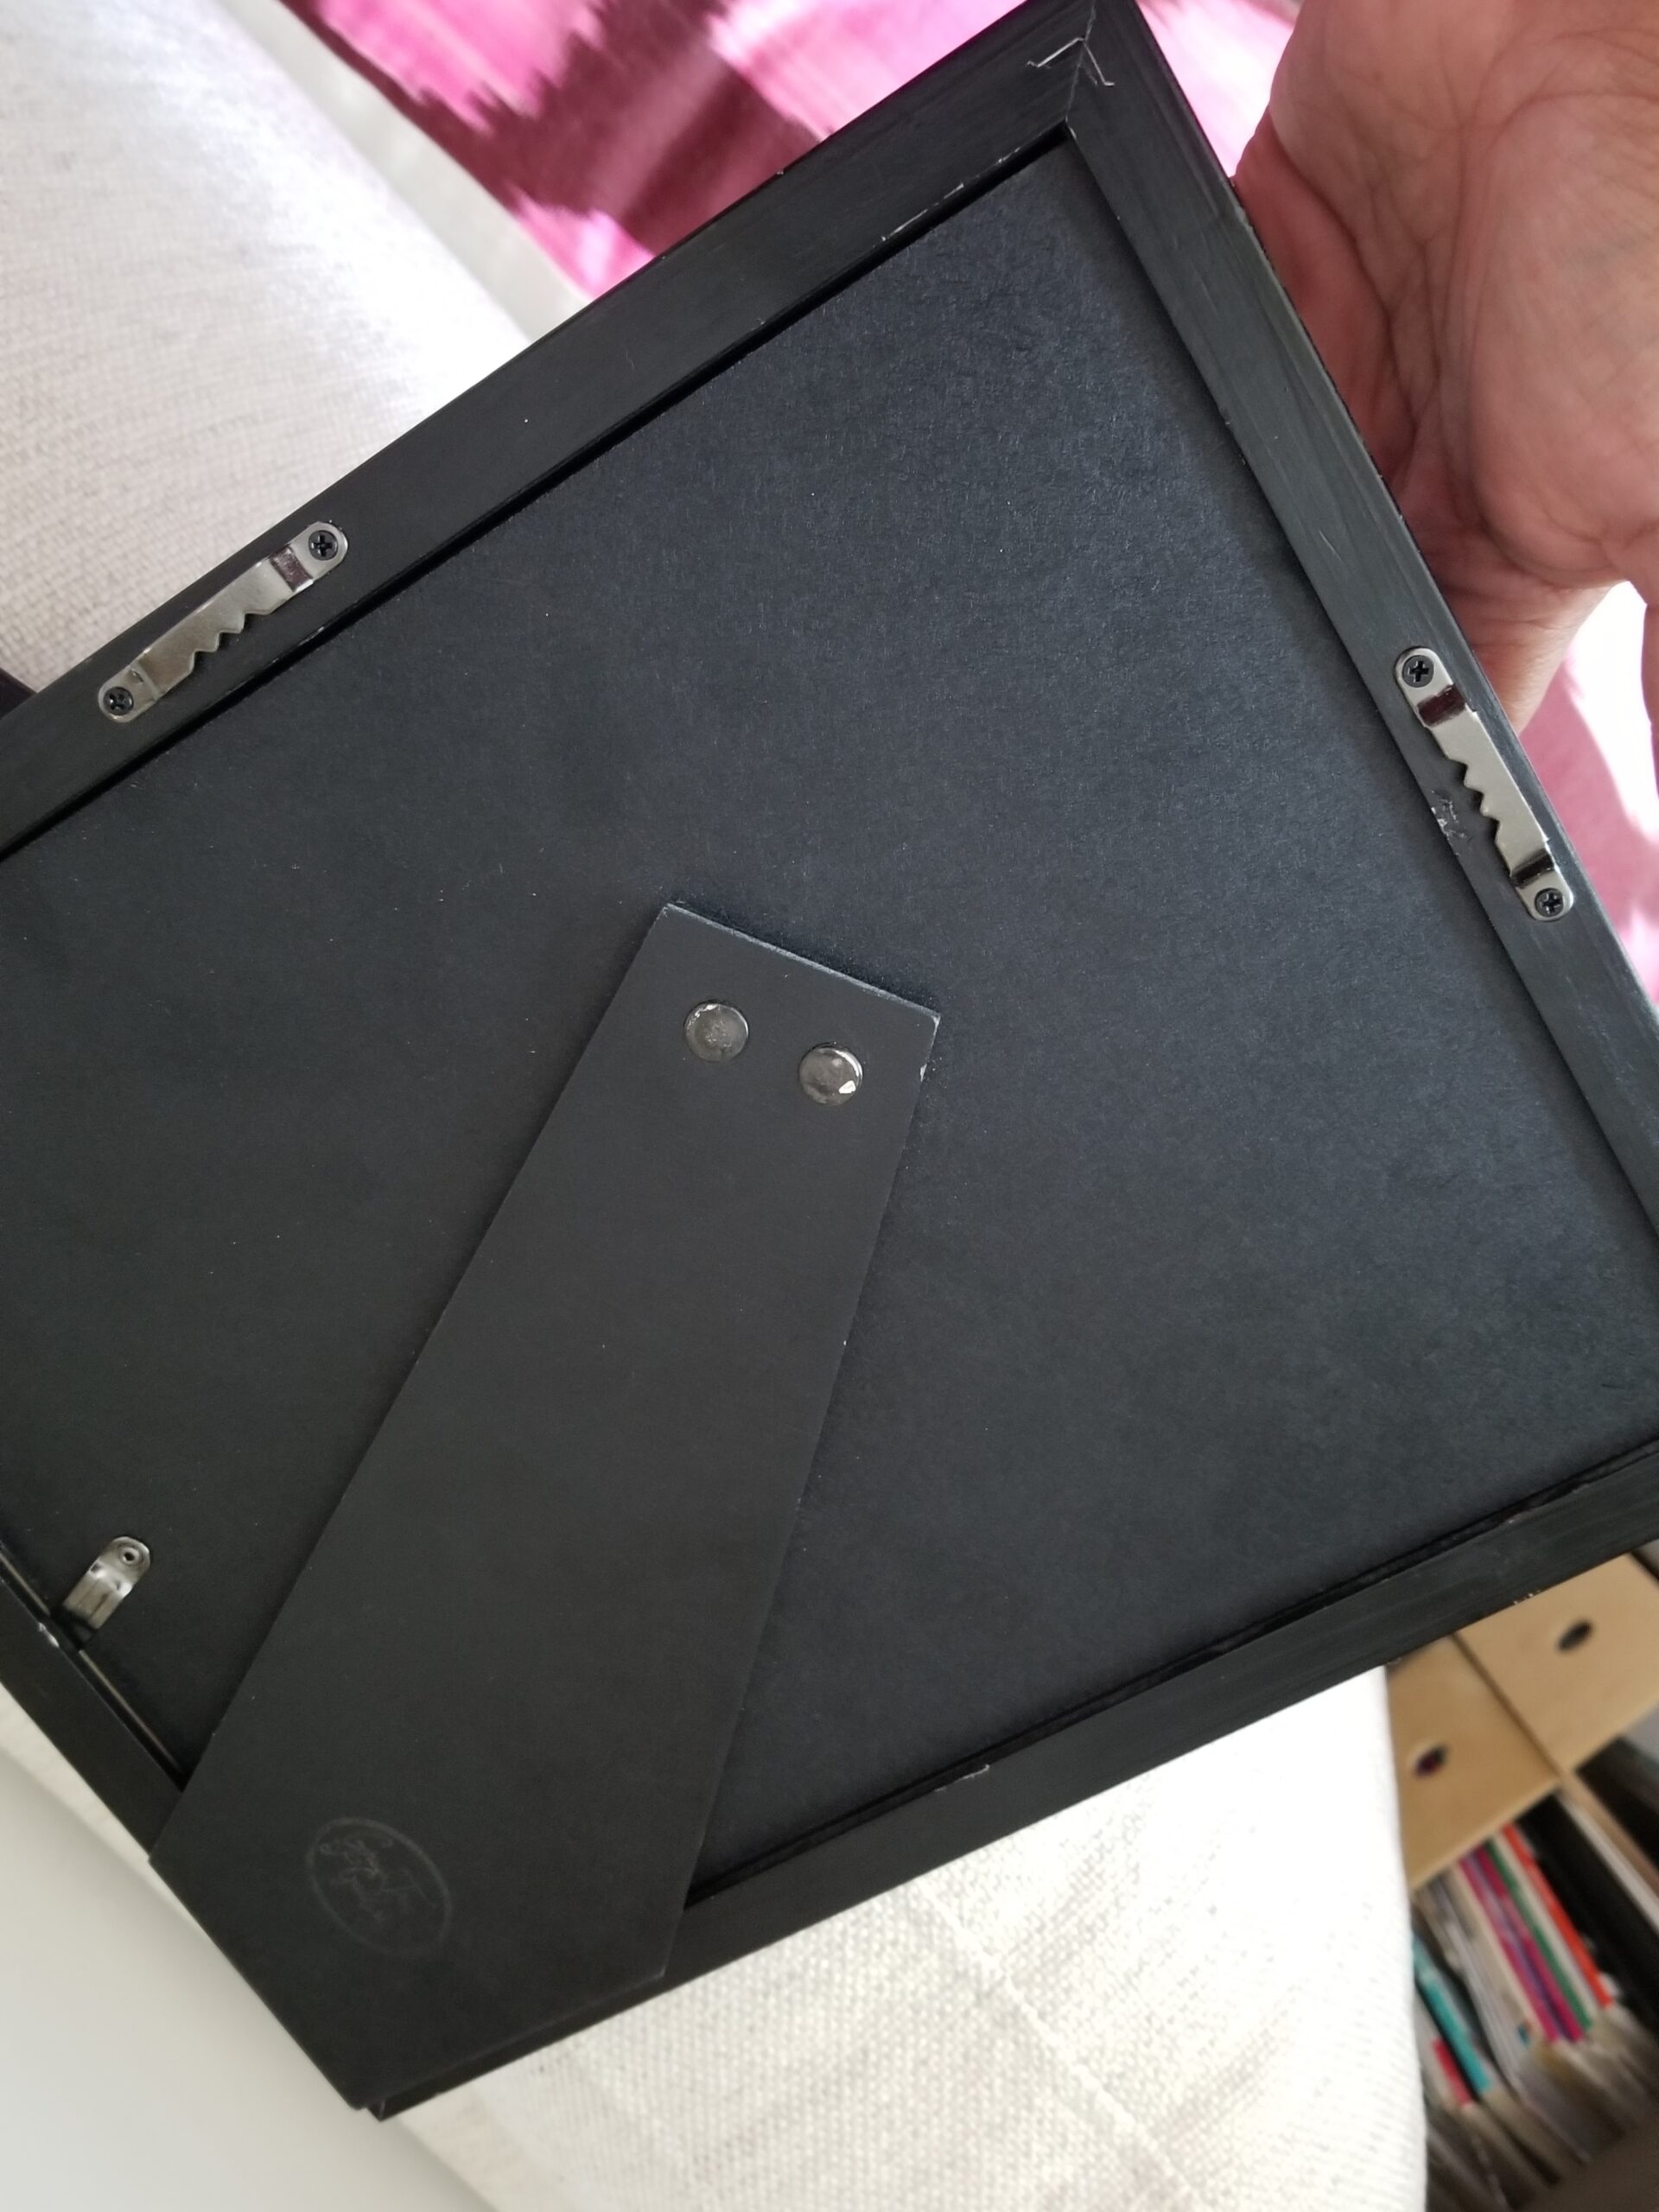
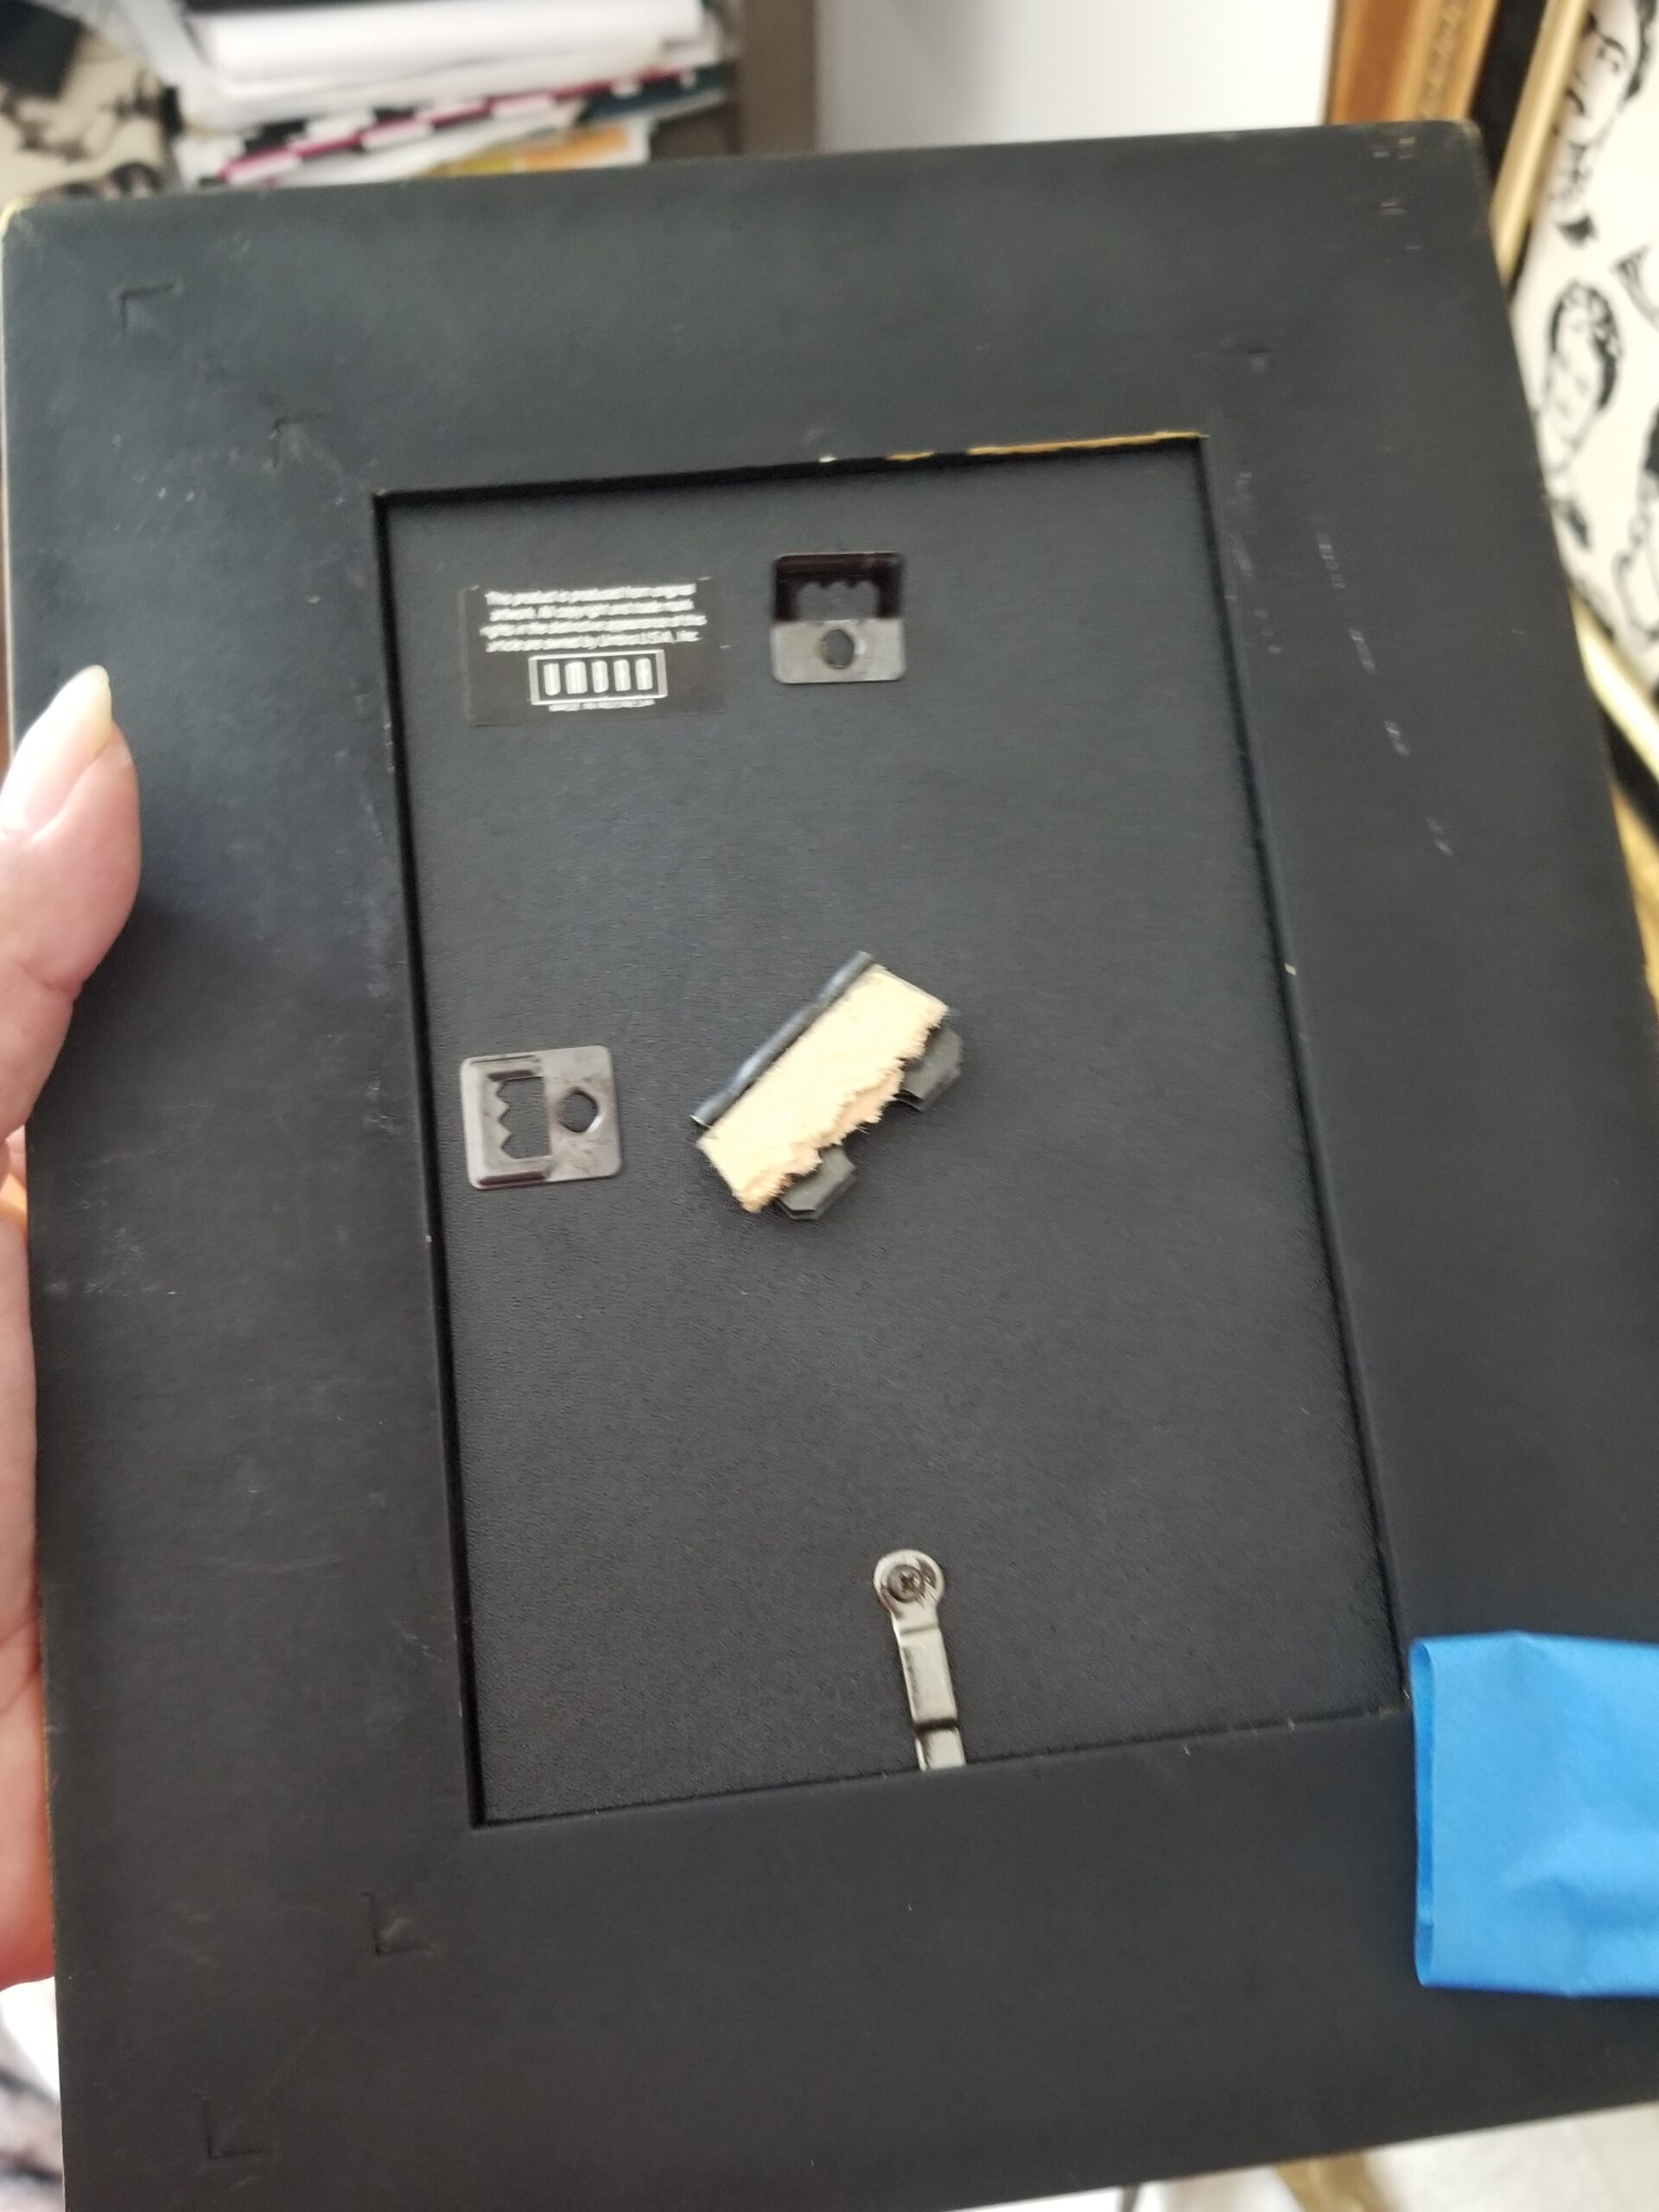
- Clean the glass and remove any stickers. I will sometimes also remove the stand in the back of picture frames to avoid an bumps and to allow the frame to sit flat on the wall.
- Grab your first piece of art and hold it to the wall with your art hanger. This magical little tool will mark a hole in the wall of where the nail will go. (youtube- diy art hanging stick for more details)
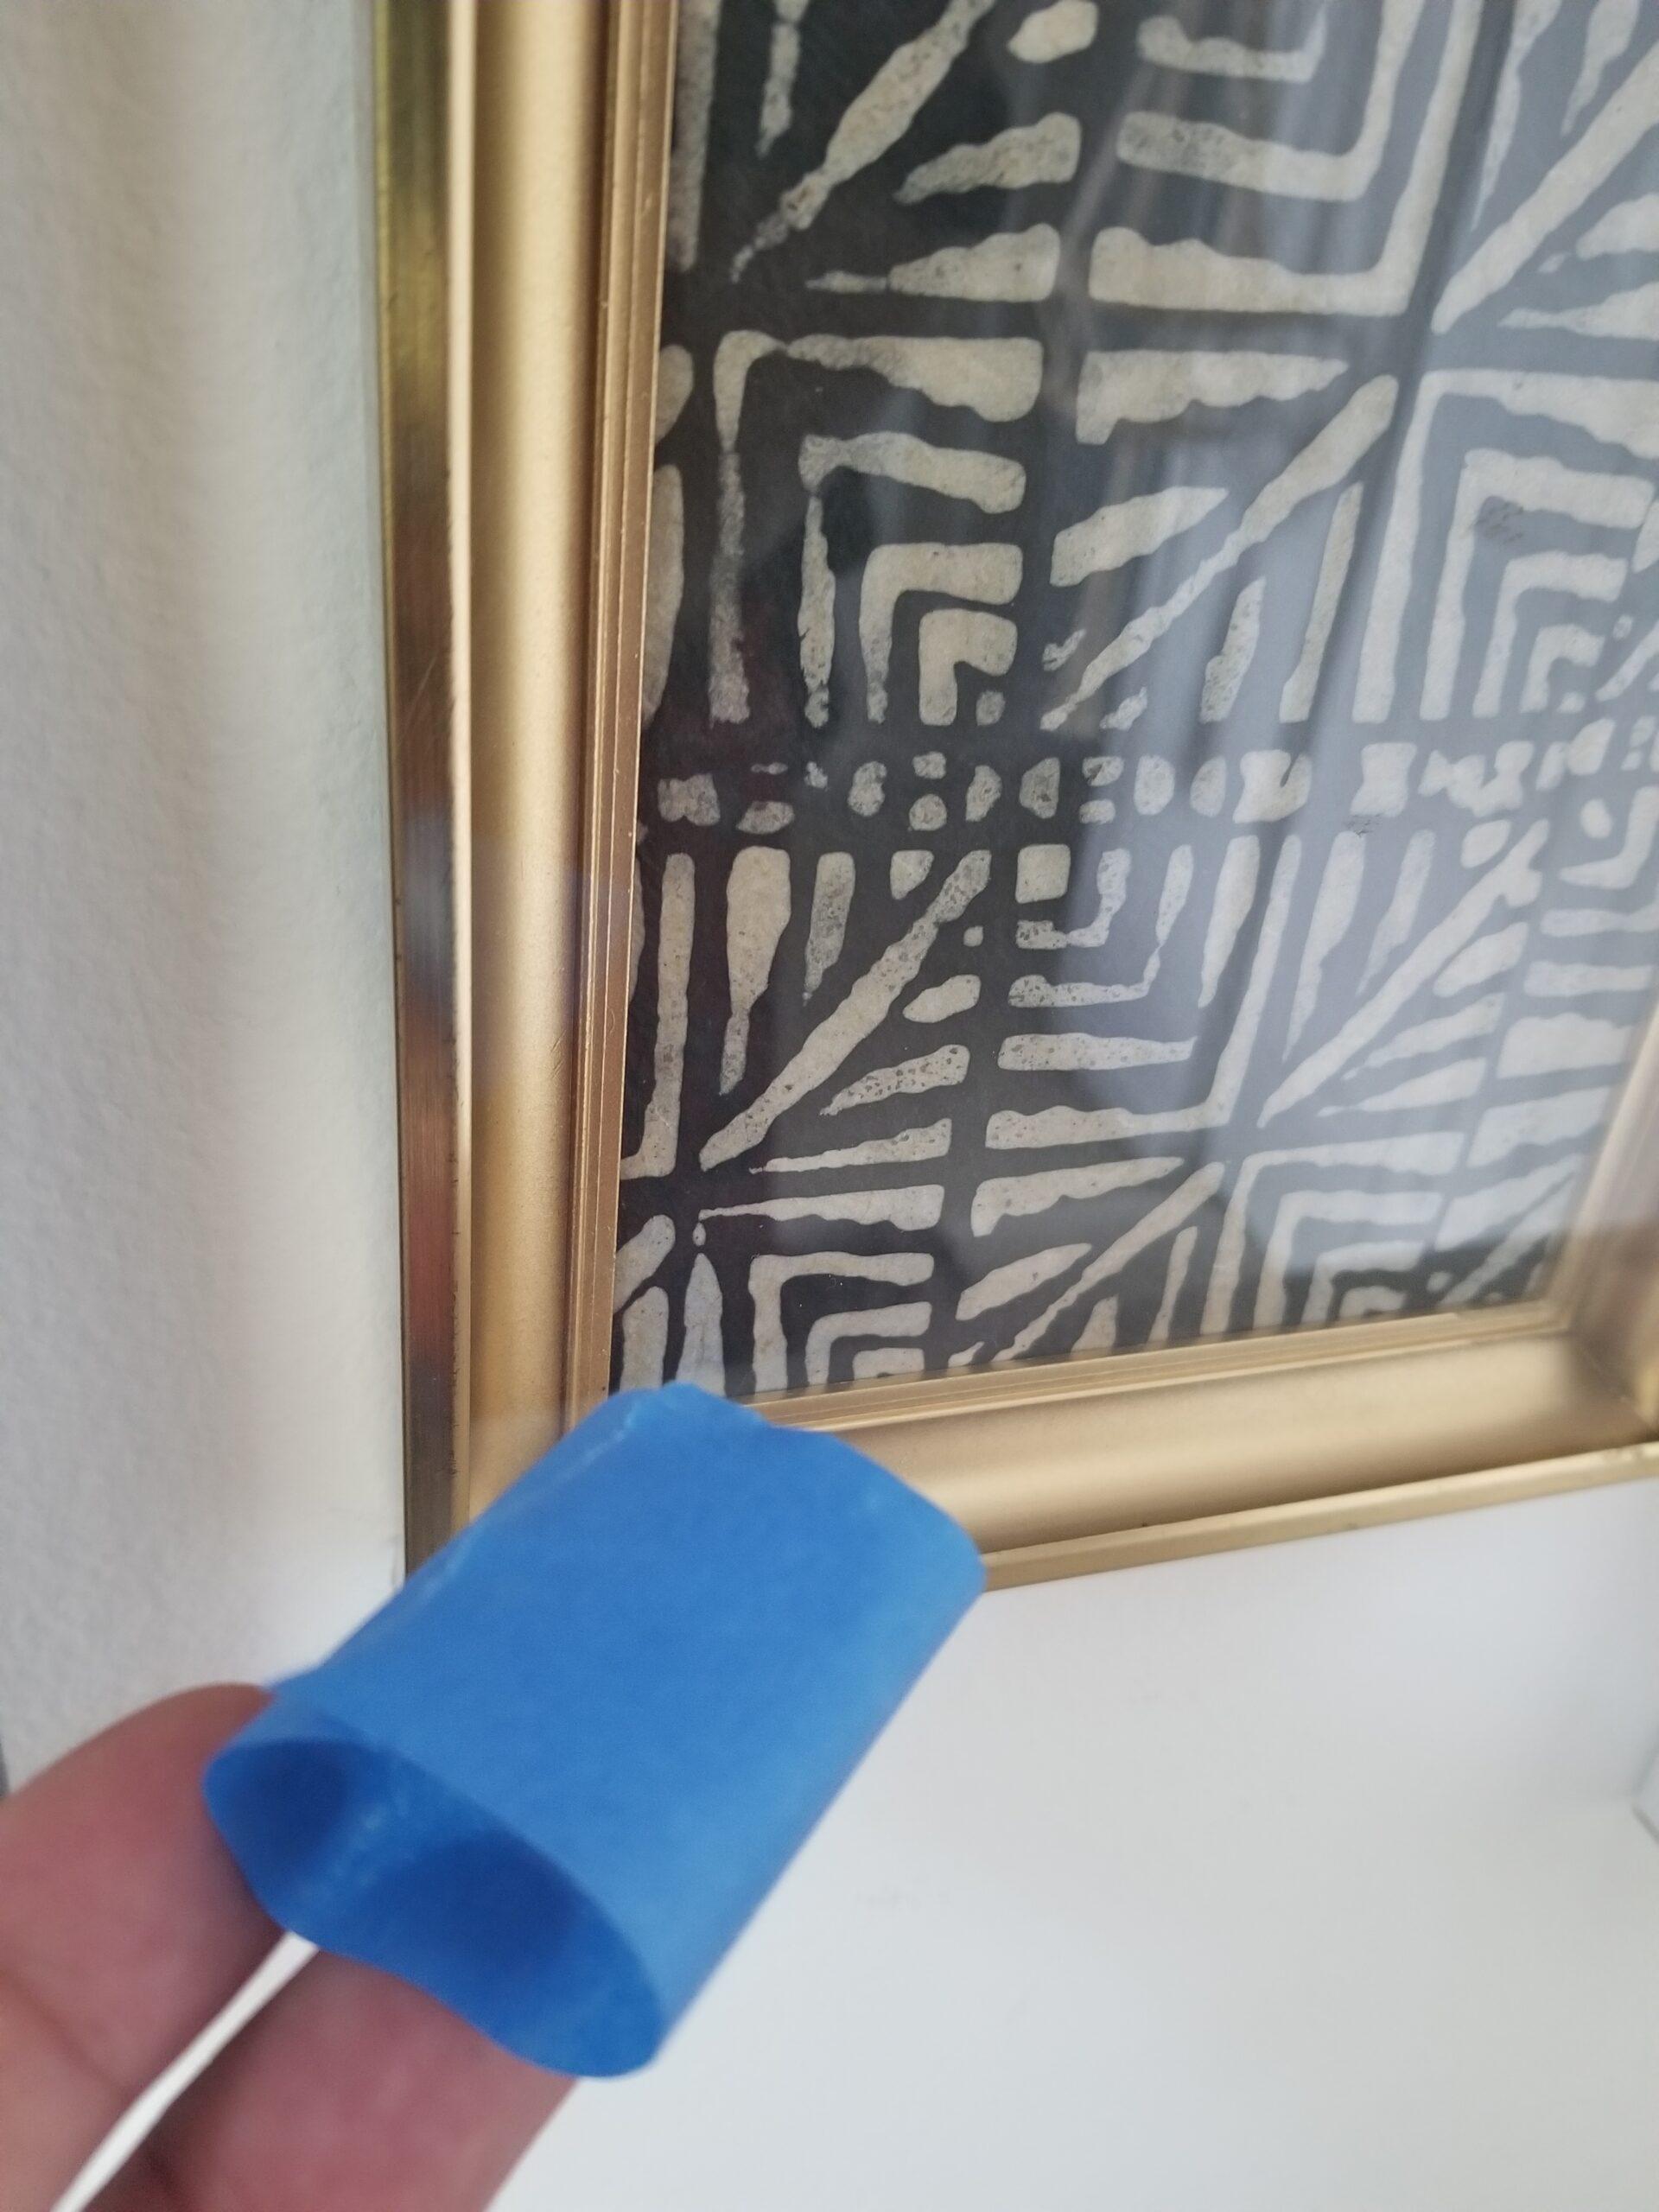
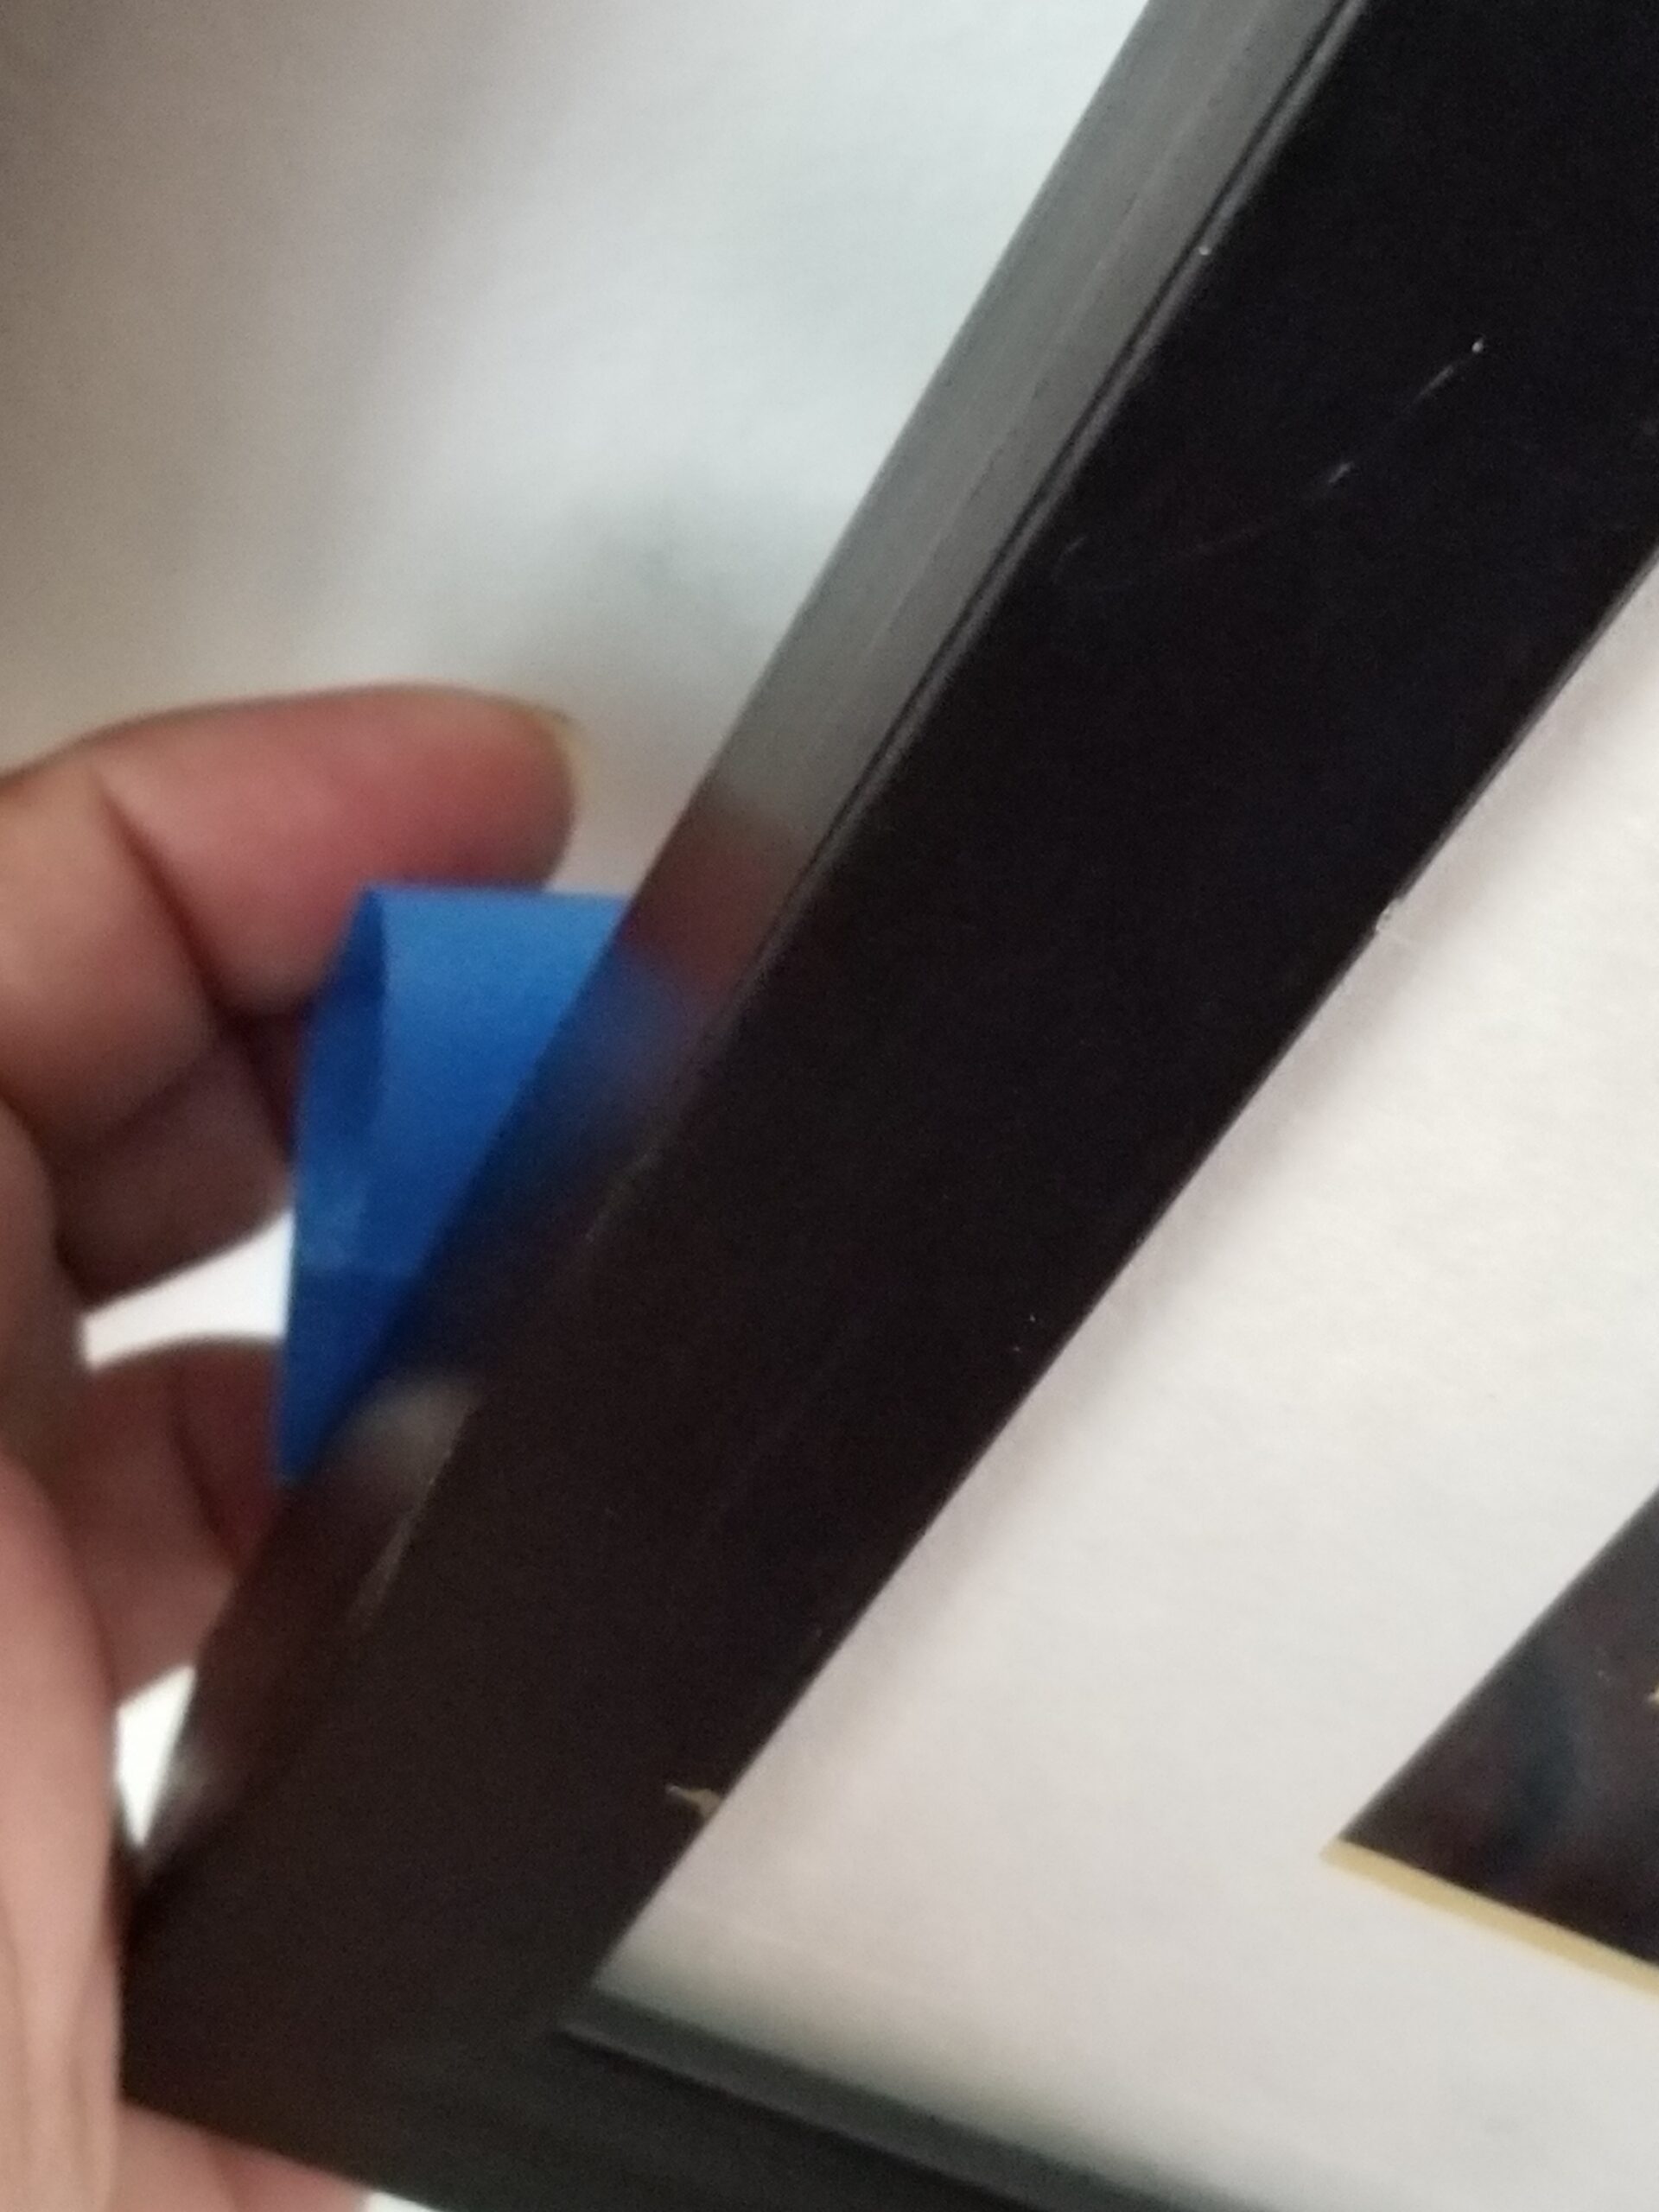
- Add a ring of painters tape to one corner of the frame once it’s hung. Do this step before the leveler. Once you have checked the balance on the leveler, press down on the corner to avoid the frame from moving or shifting.
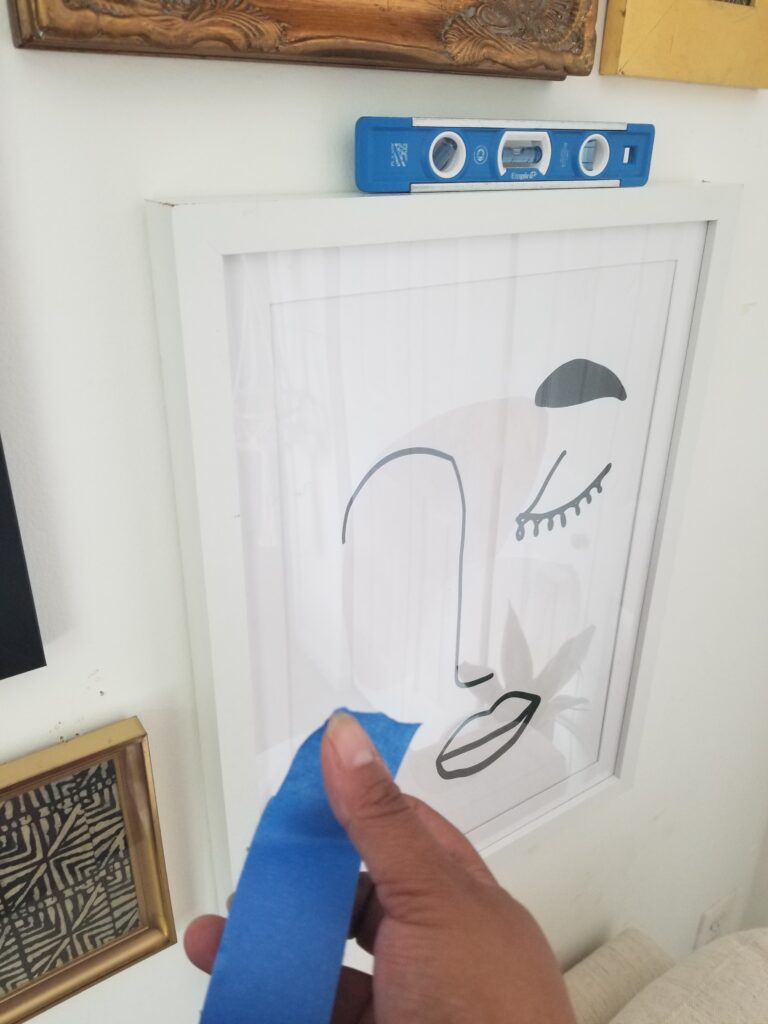
- Place your leveler on top of the frame you are hanging to make sure it is straight before you hang the next piece. Make sure it’s a flat and straight line where you place the leveler. Avoid curves to get the most accurate result.
- Proceed to hang the next piece and repeat the steps for each frame. I like standing back after I hang each piece to make sure everything looks balanced, the height and is properly spaced.
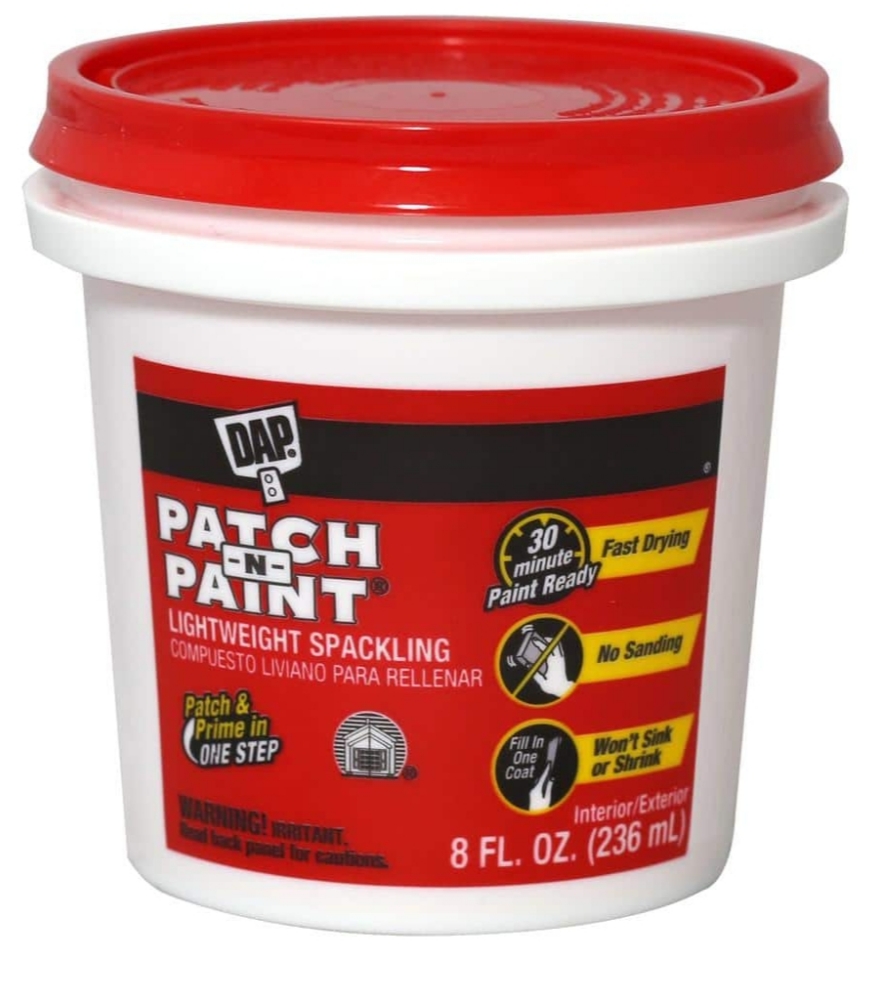
- Once everything has been hung, fill any extra holes you made with spackle. I like using the Patch n Paint by DAP
- Last step is cleaning up all the marks on the wall with a magic dry eraser. I love the mr.clean ones the best. Go light with this if you have colored paint on your walls. It can take layers of paint off if used heavily.

That is it, my friends! Woohoo! So much information, but I hope this helps you create a beautiful and affordable gallery wall in your home. If you create a gallery wall using these tips, I would love to see them! Use the hashtag #mygoodwillgallerywall on Instagram. I’m excited to see your creations! Until next time guys.
Love&Design,
Cat Guerra
About our fabulous blogger:
At a young age, Cathy Guerra developed a passion for the arts and design. As a DC native, her passion for both natural and urban environments grew and she incorporated these natural elements into her design, creating her now signature look. She is a Master Stylist for the Interior Design community including photoshoot styling and prop styling for brands. One of those brands is Abeja the shop, a lifestyle shop where she and her sister sell everything from natural-made beauty products, home decor, jewelry, healing tools to a curated vintage line with gems she finds while thrifting. Another one of Cathy’s Life Work is creating healing spaces and is doing just that with the OA. She is the CDO of a nonprofit organization called The Oasis Alliance. Their focus is creating healing spaces for trauma victims through interior design. In 2018, Cathy began Interior Stylings By Cat, where she works closely with her clients to design their homes as well as helping realtors sell properties by preparing and staging their home for sale, as she likes to call herself “The Property Stylist”. Her aesthetic is mainly combining natural textures over neutral color palettes with pops of color and creating layered vignettes, inspired by both local and worldly influences.
Visit her on Instagram to learn more