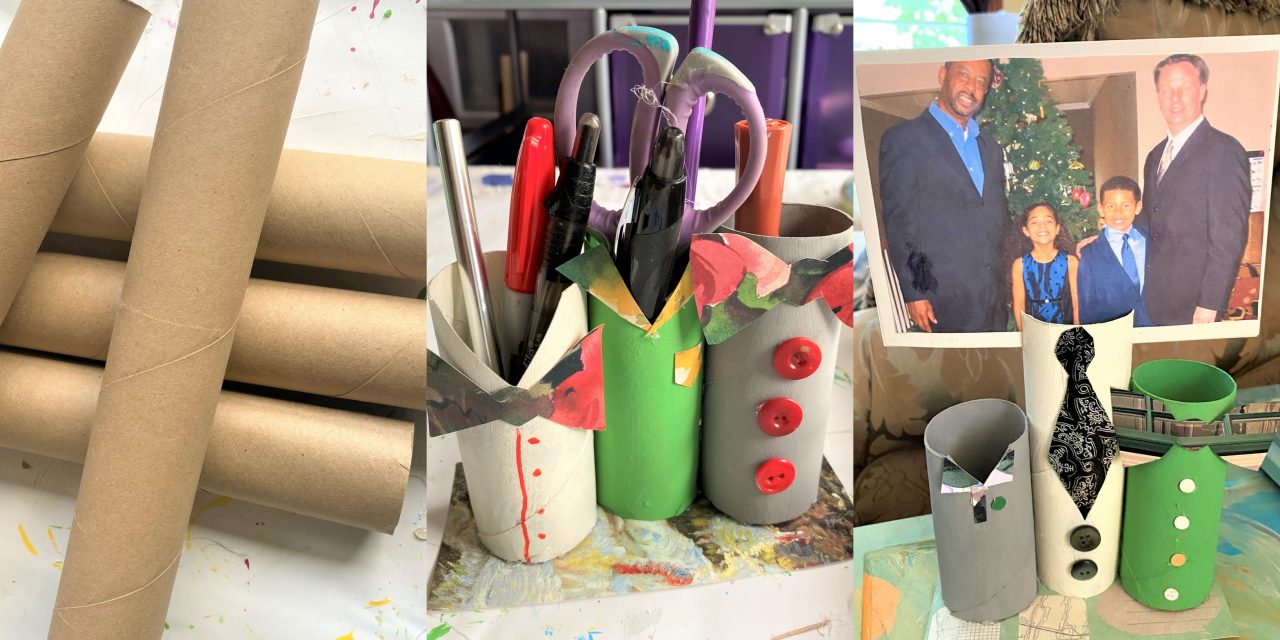
Now that Mother’s Day has passed, it’s time to share and show the love with Dad and other father figures in our lives. Any Dad will enjoy receiving this charming gift used to display memos, photos and postcards.
A new hammer for Father’s Day? Not after you see how easy and appealing these holders are—and for next to nothing!
Supplies Needed
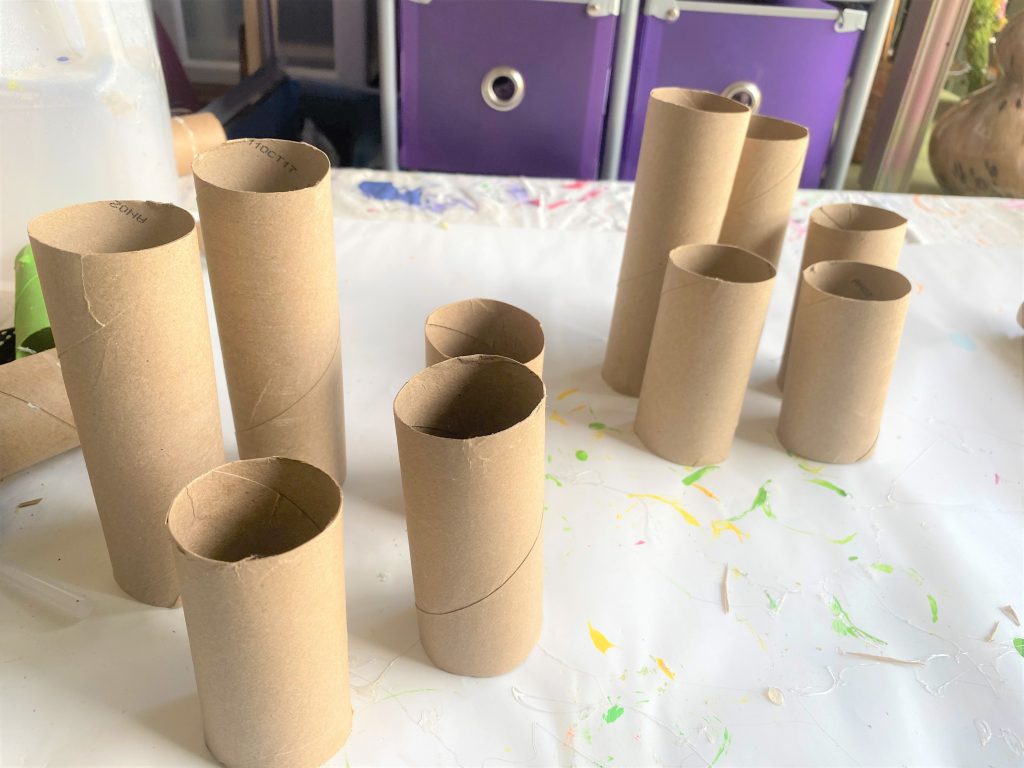
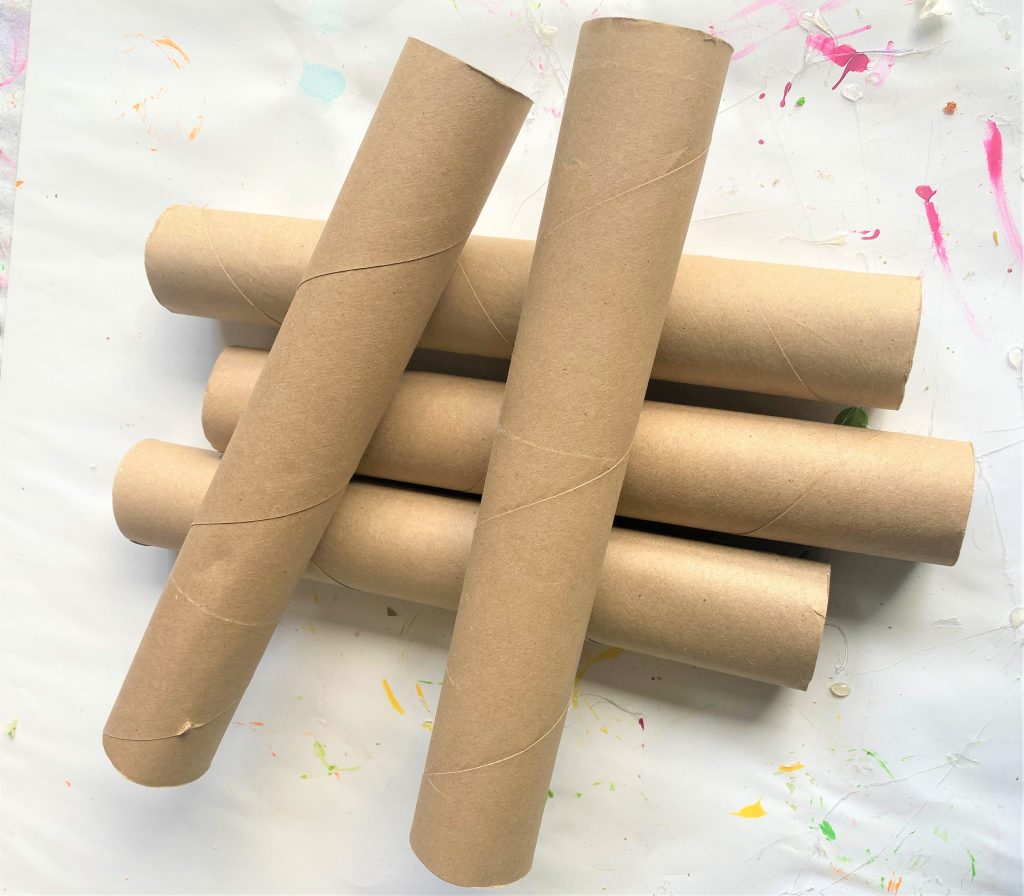
1. Cardboard toilet paper rolls (paper towel tubes work well, too)
2. Old magazines, calendars, craft papers
3. Craft paints (gray, cream, green, blue)
4. Paint/foam brushes
5. Scissors
6. Glue gun & glue sticks
7. Pen or marker
Time: One hour max (not including paint drying time)
Step 1: Tailor your tubes
You will want to have tubes of various heights, so consider cutting a couple of bathroom tissue tubes in half in addition to using them whole. If you have paper towel tubes on hand, you might cut them into three or four pieces for this project. After you cut your tube, you may need to go back to trim away any rough or uneven edges so each end looks nice and crisp.
Step 2: Brush on your “shirts” so no ironing is needed
Since each tube will be transformed into a man’s shirt, you will want to paint on colors, both inside and out. While any color would work, I selected grays, greens and blues. Does your Dad have a favorite color? Use that for sure! What about a favorite sporting team? Certainly, draft those color choices, too.
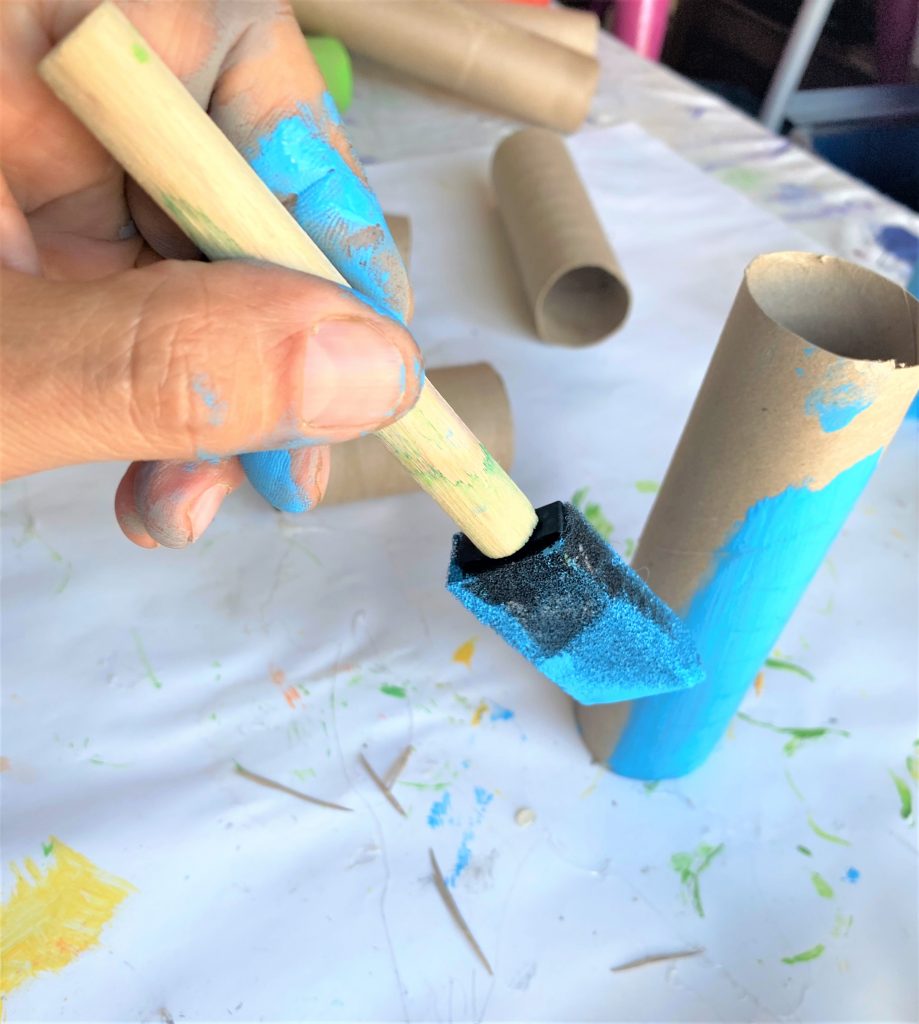

- Use your foam brush to apply a light but thorough coat of paint all over the tube as well as inside.
- Let dry.
- You may need to come back to add a second coat to ensure the tube’s brown cardboard color doesn’t show through.
- While your “shirts” are drying, move onto the next step.
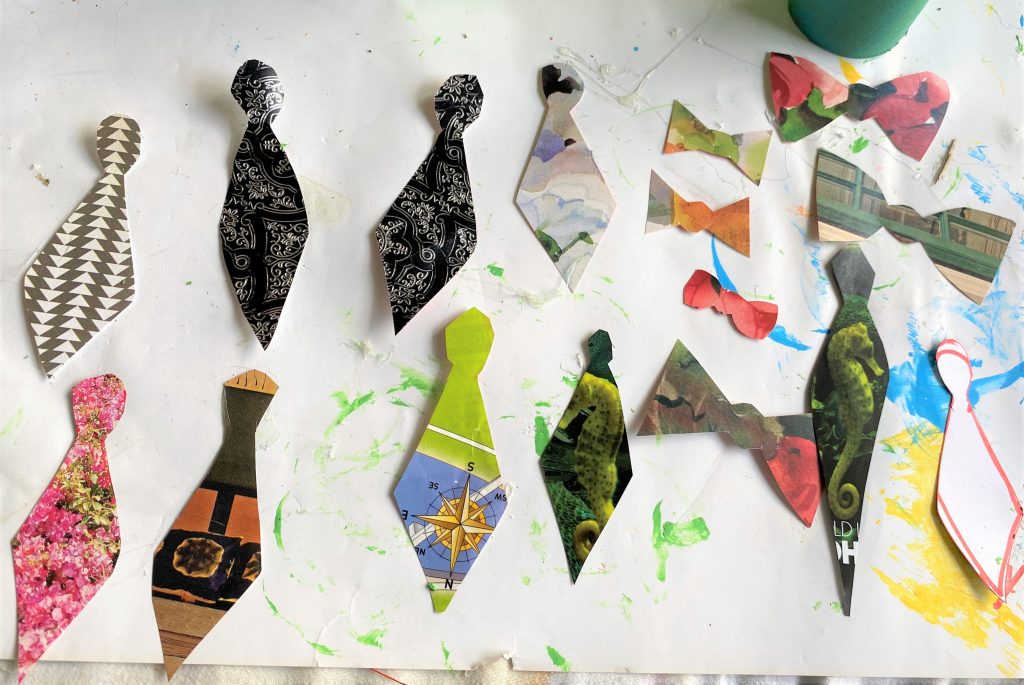
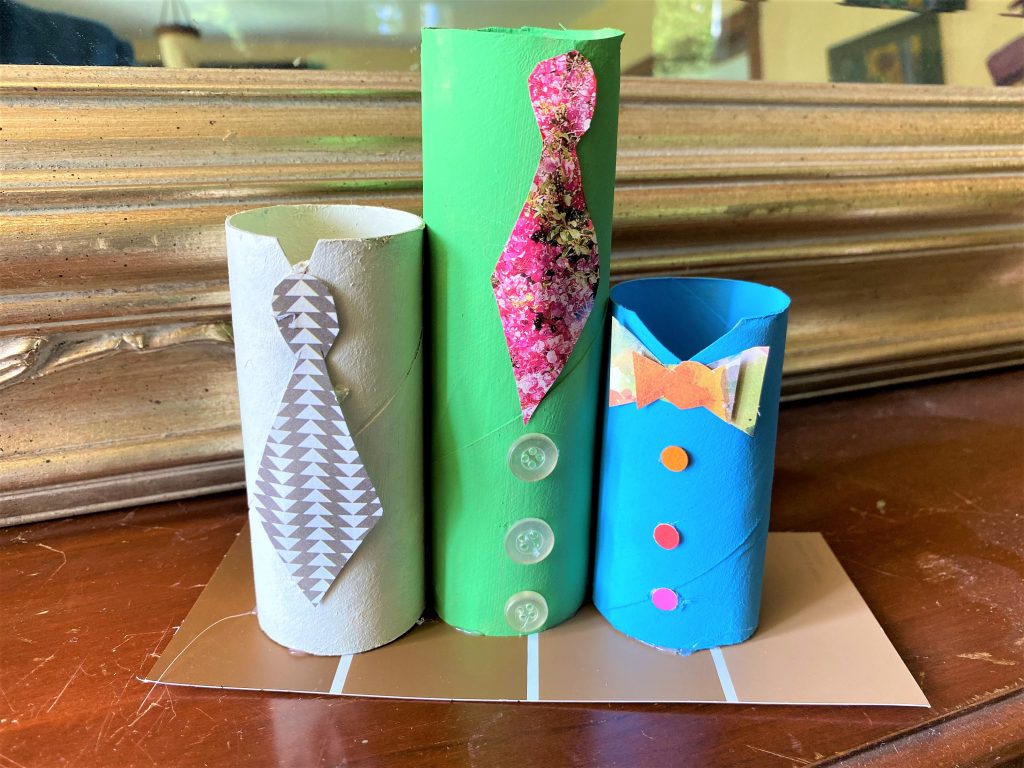
Step 3: Create ties, bowties, collars
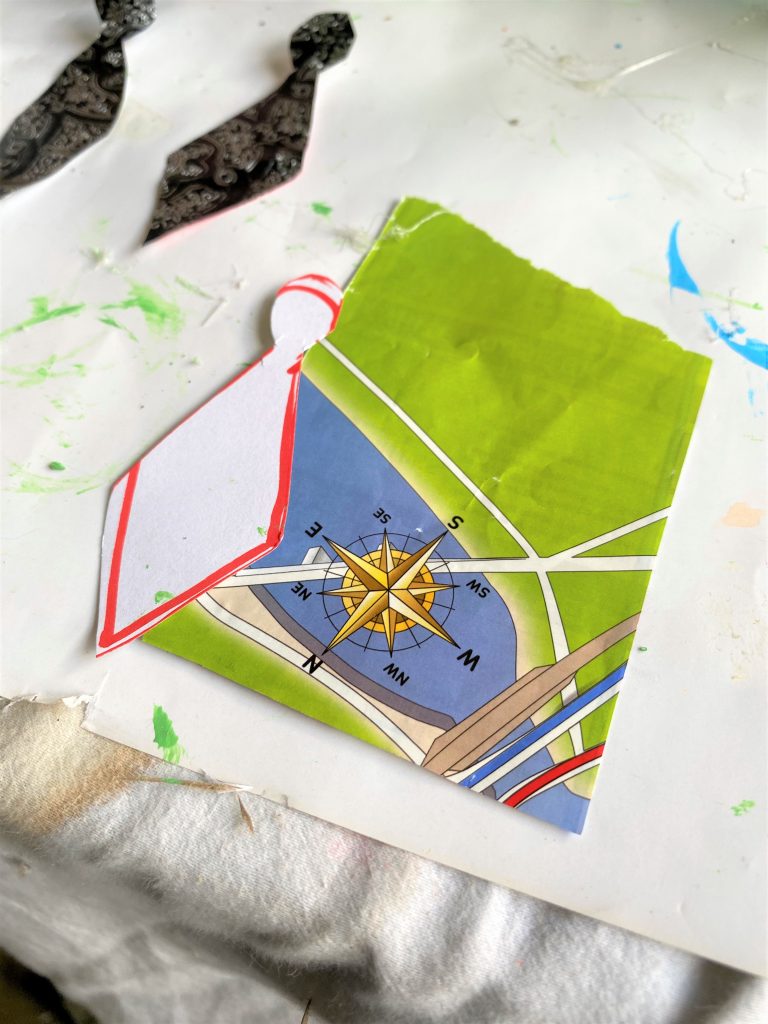
- Sketch out a long tie and bowtie on a scrap piece of paper; these will become your patterns or models.
- Cut out the patterns and trim as needed.
- Then, look for fun, unique or colorful papers to use as your tie’s material. Old calendars, magazines and maps are great options and tie (hey a pun!) into the transformation/reuse theme of this DIY project. If you have craft paper around, that will work too.
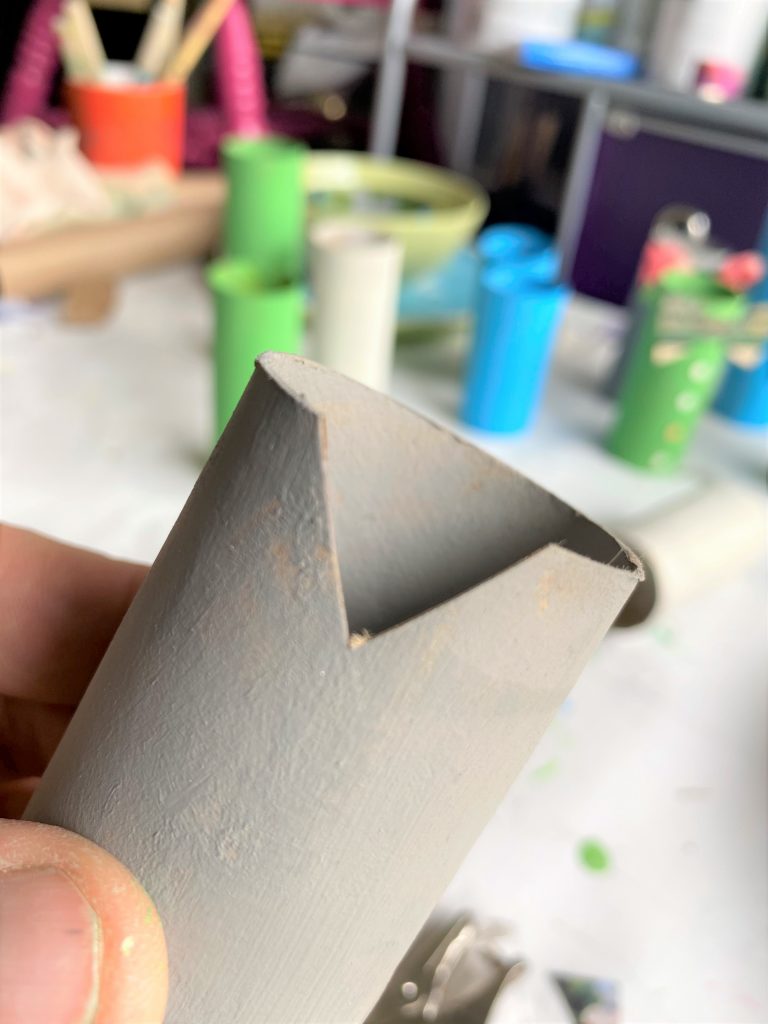
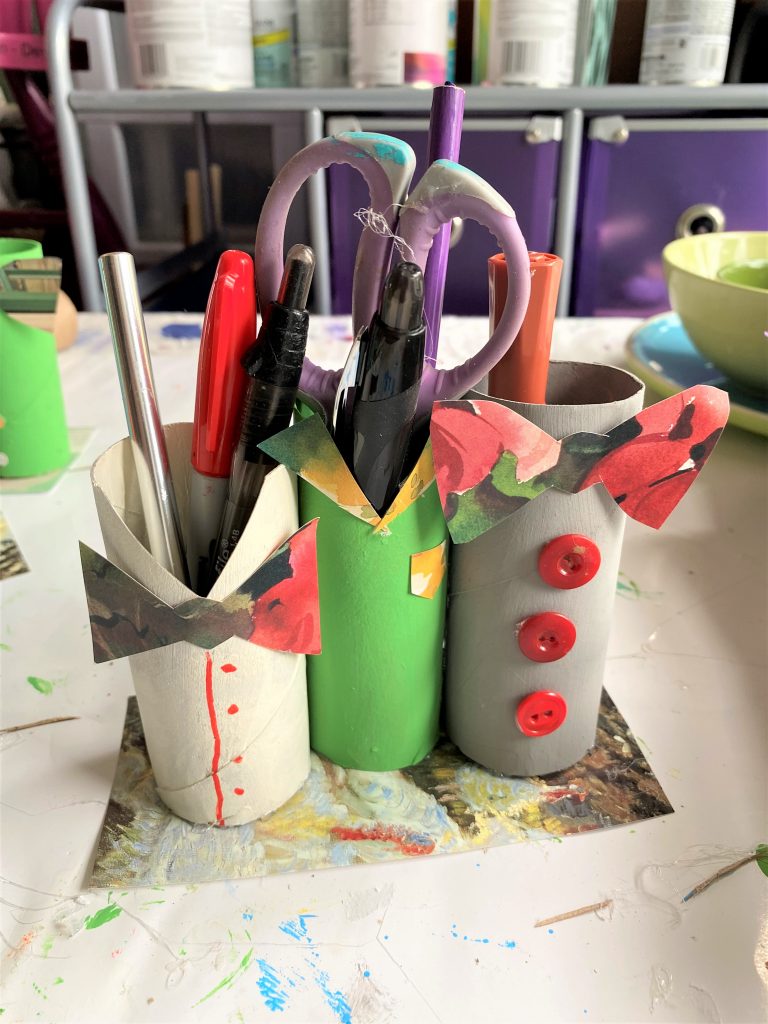
Design idea: You might want to cut small triangles to use as shirt collars. Consider clipping out a pocket-shaped piece to add as well. For visual interest, consider cutting out a small v-shaped piece from the end of the tube.
Step 4: Stitch in place with your glue gun
With your glue gun, carefully add some glue to the back of your tie piece, then add to one end of the tube and position it so it looks like it is hanging down, the way a real tie would from a neck.
Be careful as the glue gets very hot!
If you are doing this project with younger kids, be sure to keep a close eye or step in to glue their pieces in place. You could also use school glue or a glue stick here, too. I like using a glue gun because the glue dries quickly.
Step 5: Button it up
If you have some small buttons available, glue two or three in place below the end of your tie. I was lucky and was gifted a cake tin full of old buttons and found just what I wanted.

If you have a hole punch, you could create buttons from colorful paper and glue the small circles in place, one on top of another, to look like a row of buttons. Again, if you use your glue gun, be very careful!
Step 3: Make a base
- To help your shirts stand up and strut their stuff, group two or three together on a sturdy piece of paper. Craft paper, part of old post cards or paint chip strips are great for this step. Several of my old calendars had a heavier-weighted paper so those were used.
- Cut a rectangular shape out then position either two or three of your tubes/shirts in place.
- Once you have them lined up in a way you like, add some glue to the bottom and put in place on the base paper.
- For your second or third tubes/shirts, add glue to the bottom and a line along the side which will be touching the first tube/shirt.
- Repeat again if three tubes/shirts are being used.
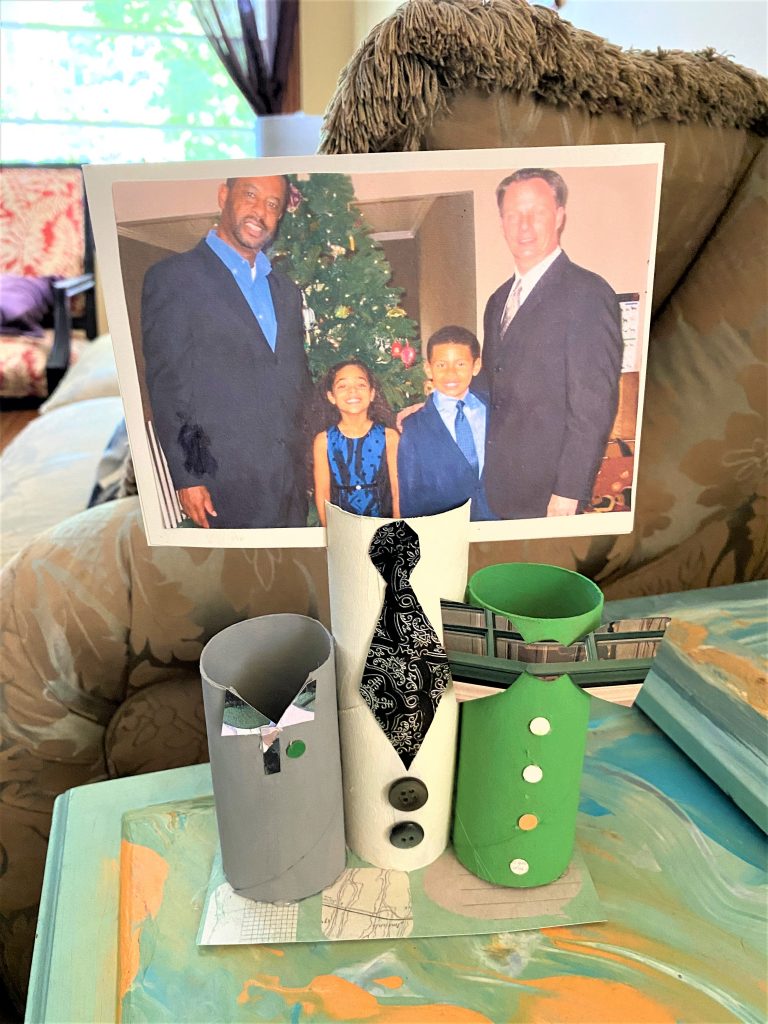
Step 4: Add a divot to hold photos, cards, small paper

- Create a place that will hold a photo or card by snipping out a divot on both sides of the tallest shirt. It only needs to be about a half inch deep.
- Add a special photo or write a message and insert. In addition to using these to display items, they also could be used as pencil and pen holders if the tubes/shirts are not too tall.
Step 5: Share with Dad or a dude
If you lucky like me to have your dad healthy and a part of your life, then give this special gift to him in honor of his special day.
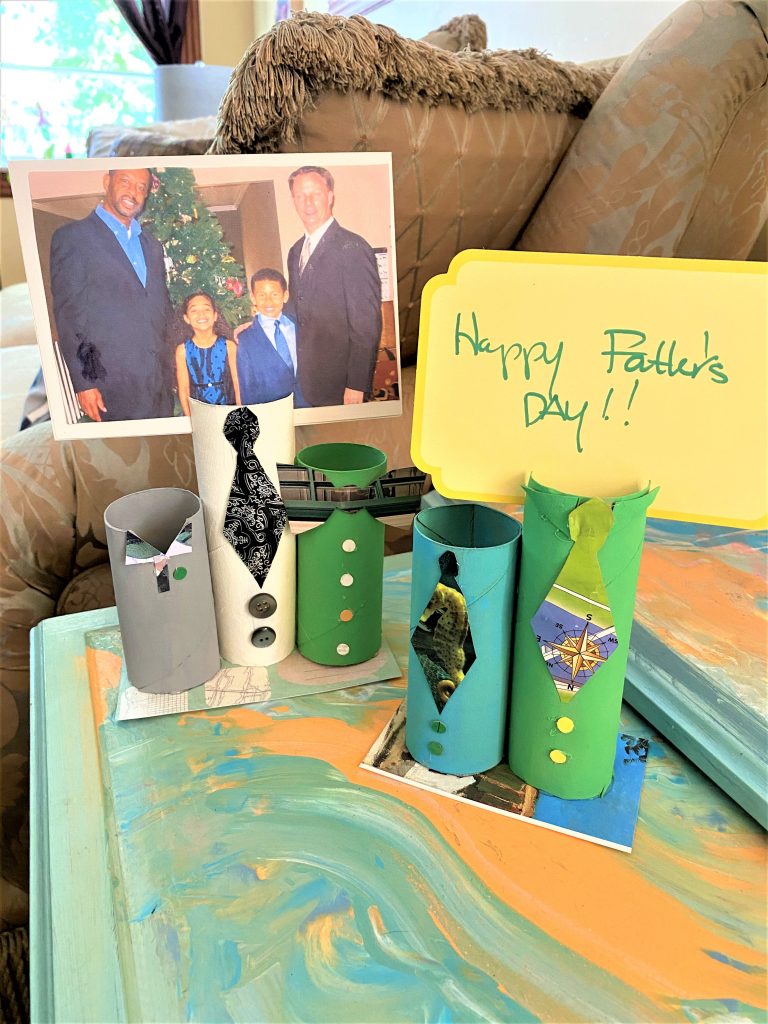
You could also share it with any person in your world who has been a father figure and provides you with support and love.
You could make one in honor of a relative who is no longer with us and add their photo to be displayed. Many dads love to show kids how to make things so they will appreciate getting something so lovingly created by one of their own!
Thanks to my dad, Tim Kime Sr., for all the ways you make my life better and to all the amazing fathers/father-figures out there for all they do for us!


Tim Kime
Artist, Motivational Speaker, Life Coach
