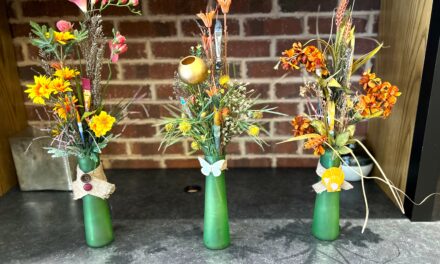
Make lasting memories by upcycling old picture frames with items collected from your vacations and holidays. Create a wonderful keepsake from your special times away with mementos gathered from your trip. And consider this as an activity to do with friends and family so you create another special moment in the process. (I must really be a DIY addict! I was thrilled to be creative on my recent Colorado trip and had a great time sharing this transformation project with my mom and sister.)
Ability level: Easy
Age Level: Kids of all ages with some glue gun supervision
Items needed:
- Wooden picture frames
- Spray paint
- Glue gun and glue sticks
- Modge Podge
- Small foam brushes
- Scissors
- Collected items (postcards, maps, shells, pebbles, leaves, pine cones, sticks, etc.)
- Vacation photos
Time requirement: 2 and a half hours (not including paint and Modge Podge drying time)
Cost: Approximately $10 each
- $2 per frame
- $5 per can of spray paint (lots left over!)
- $5 for Modge Podge (lots left over!)
- $0 for collected items
- $1 for photos
Step 1: You’ve been framed!
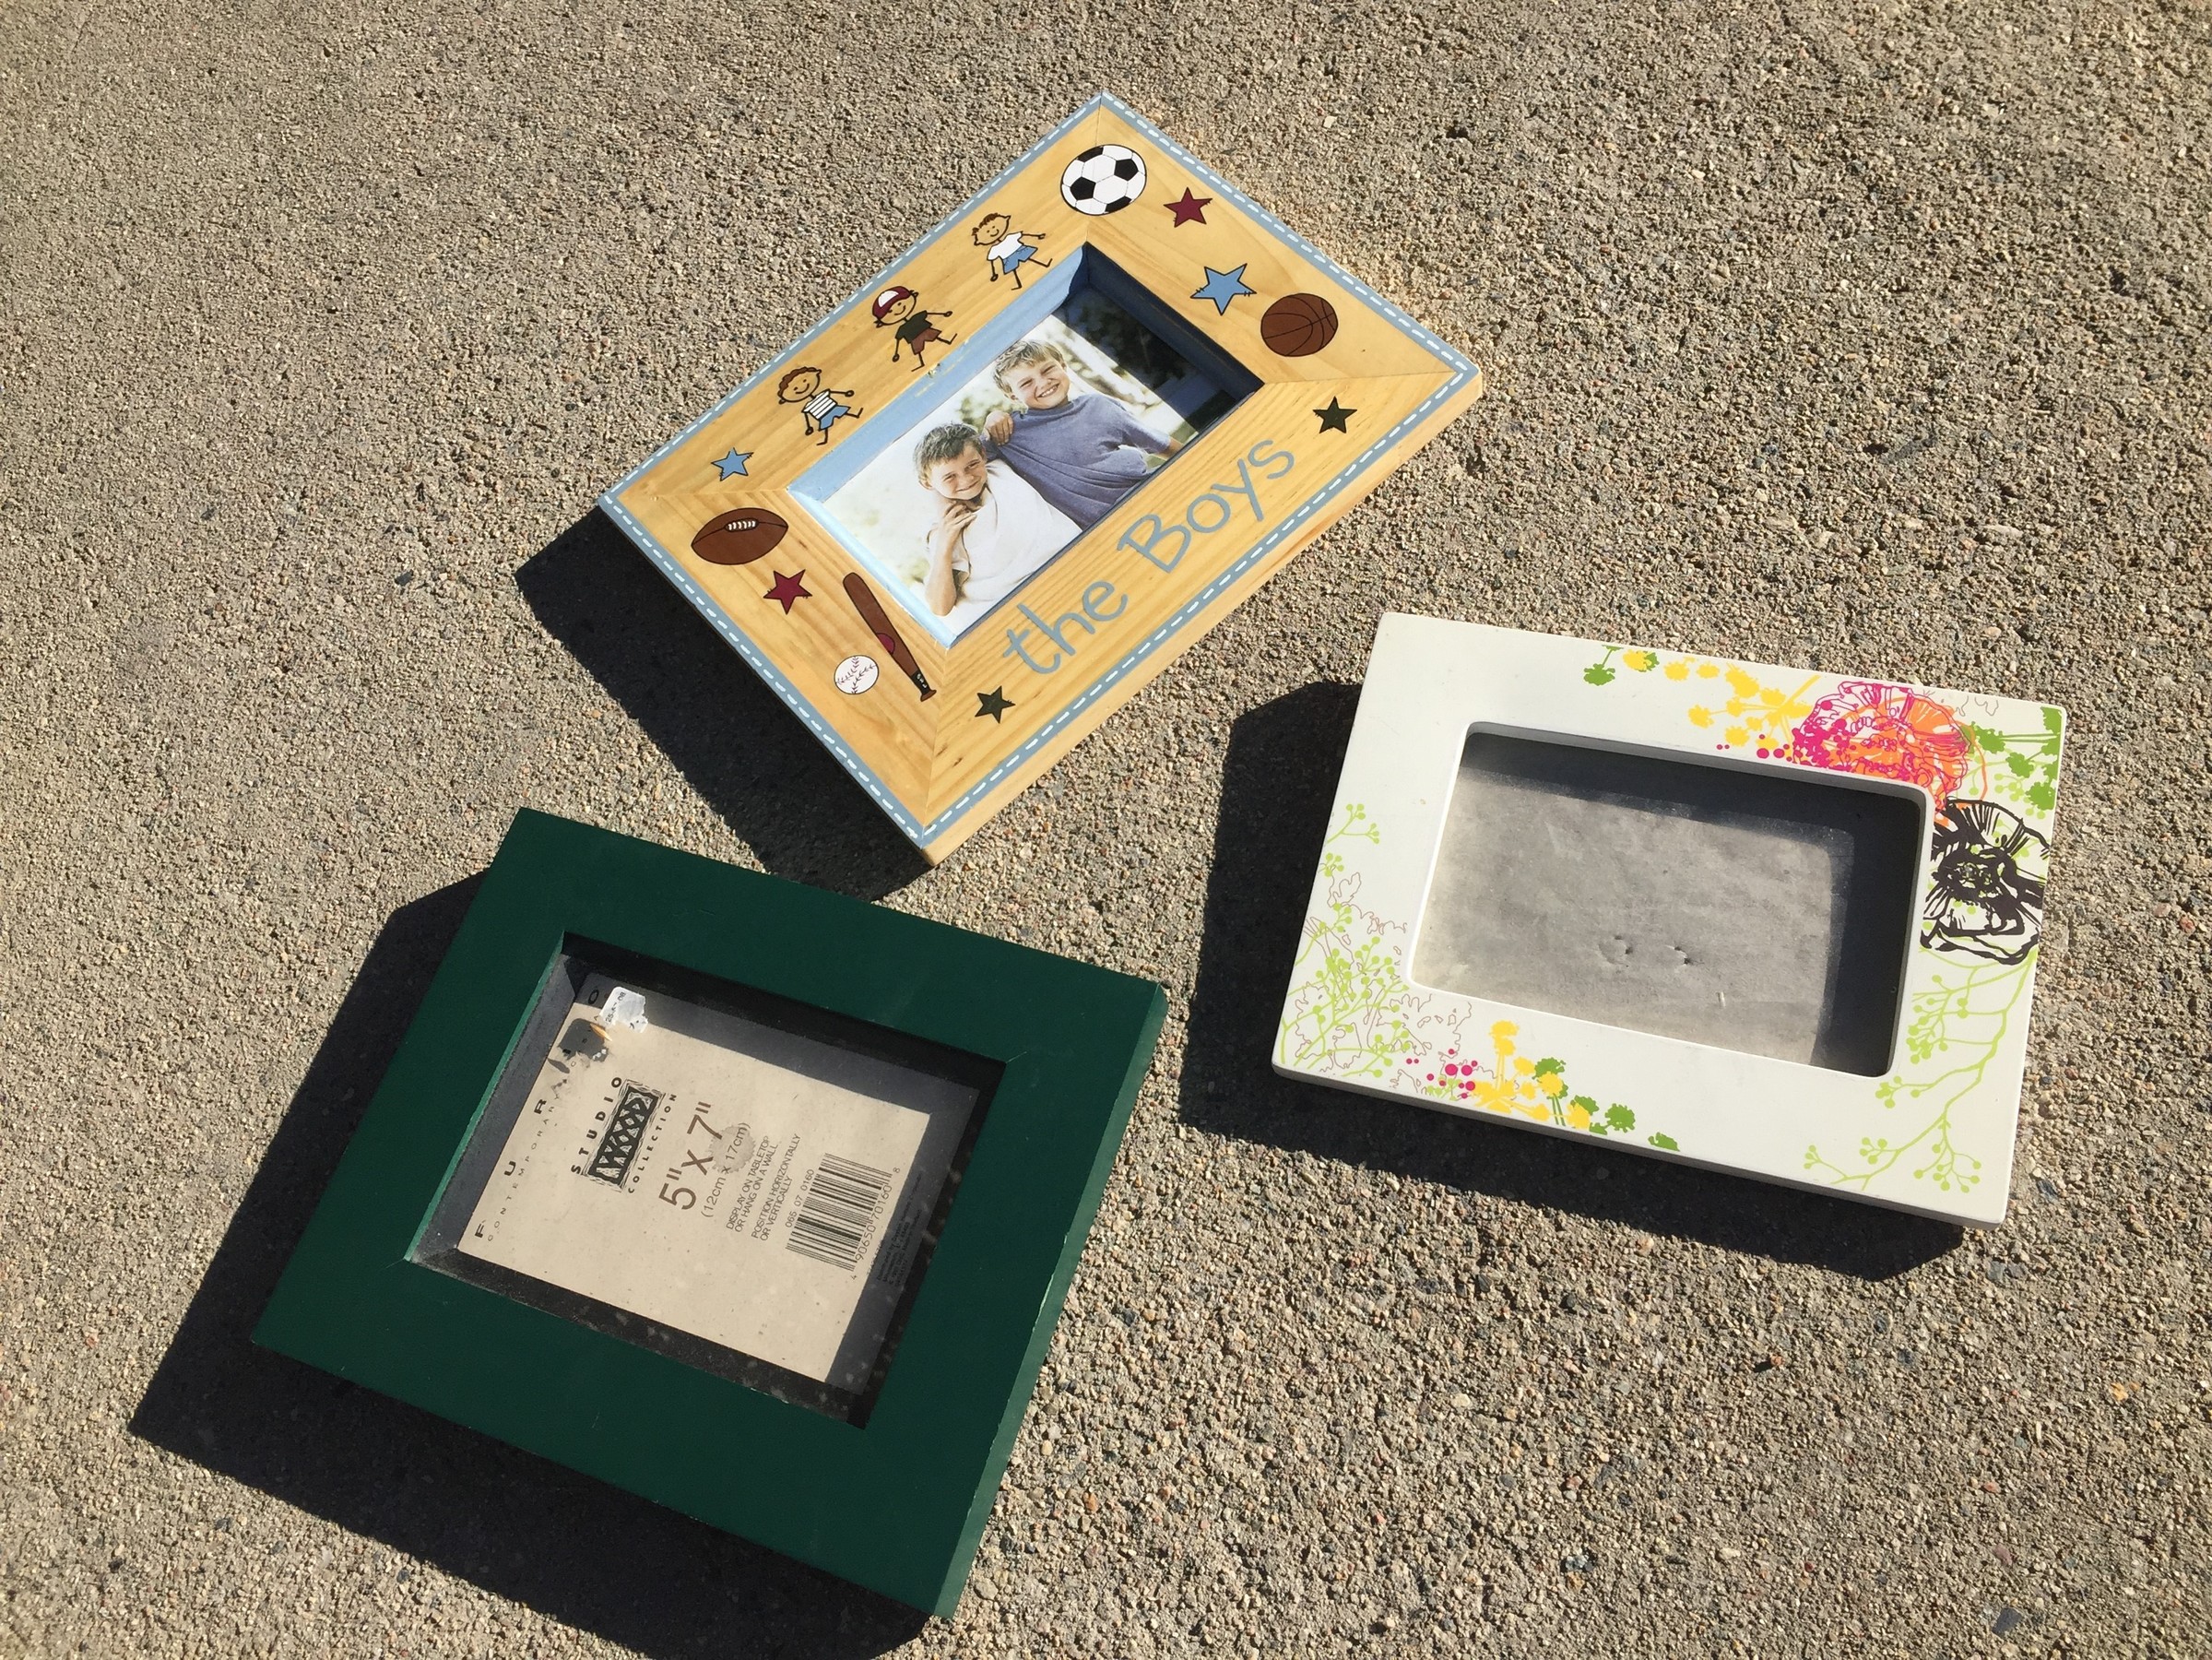
No matter where you go, if there is a Goodwill store nearby then you will discover shelves of cast-aside picture frames aching to be transformed. Wooden frames with built-in, back stands are the best option for this easy project. As you plan your getaway, consider picking up frames before your trip to ensure you have them to take with you. Also, make sure you select the appropriate number of frames to allow your fellow travelers to participate in the fun.

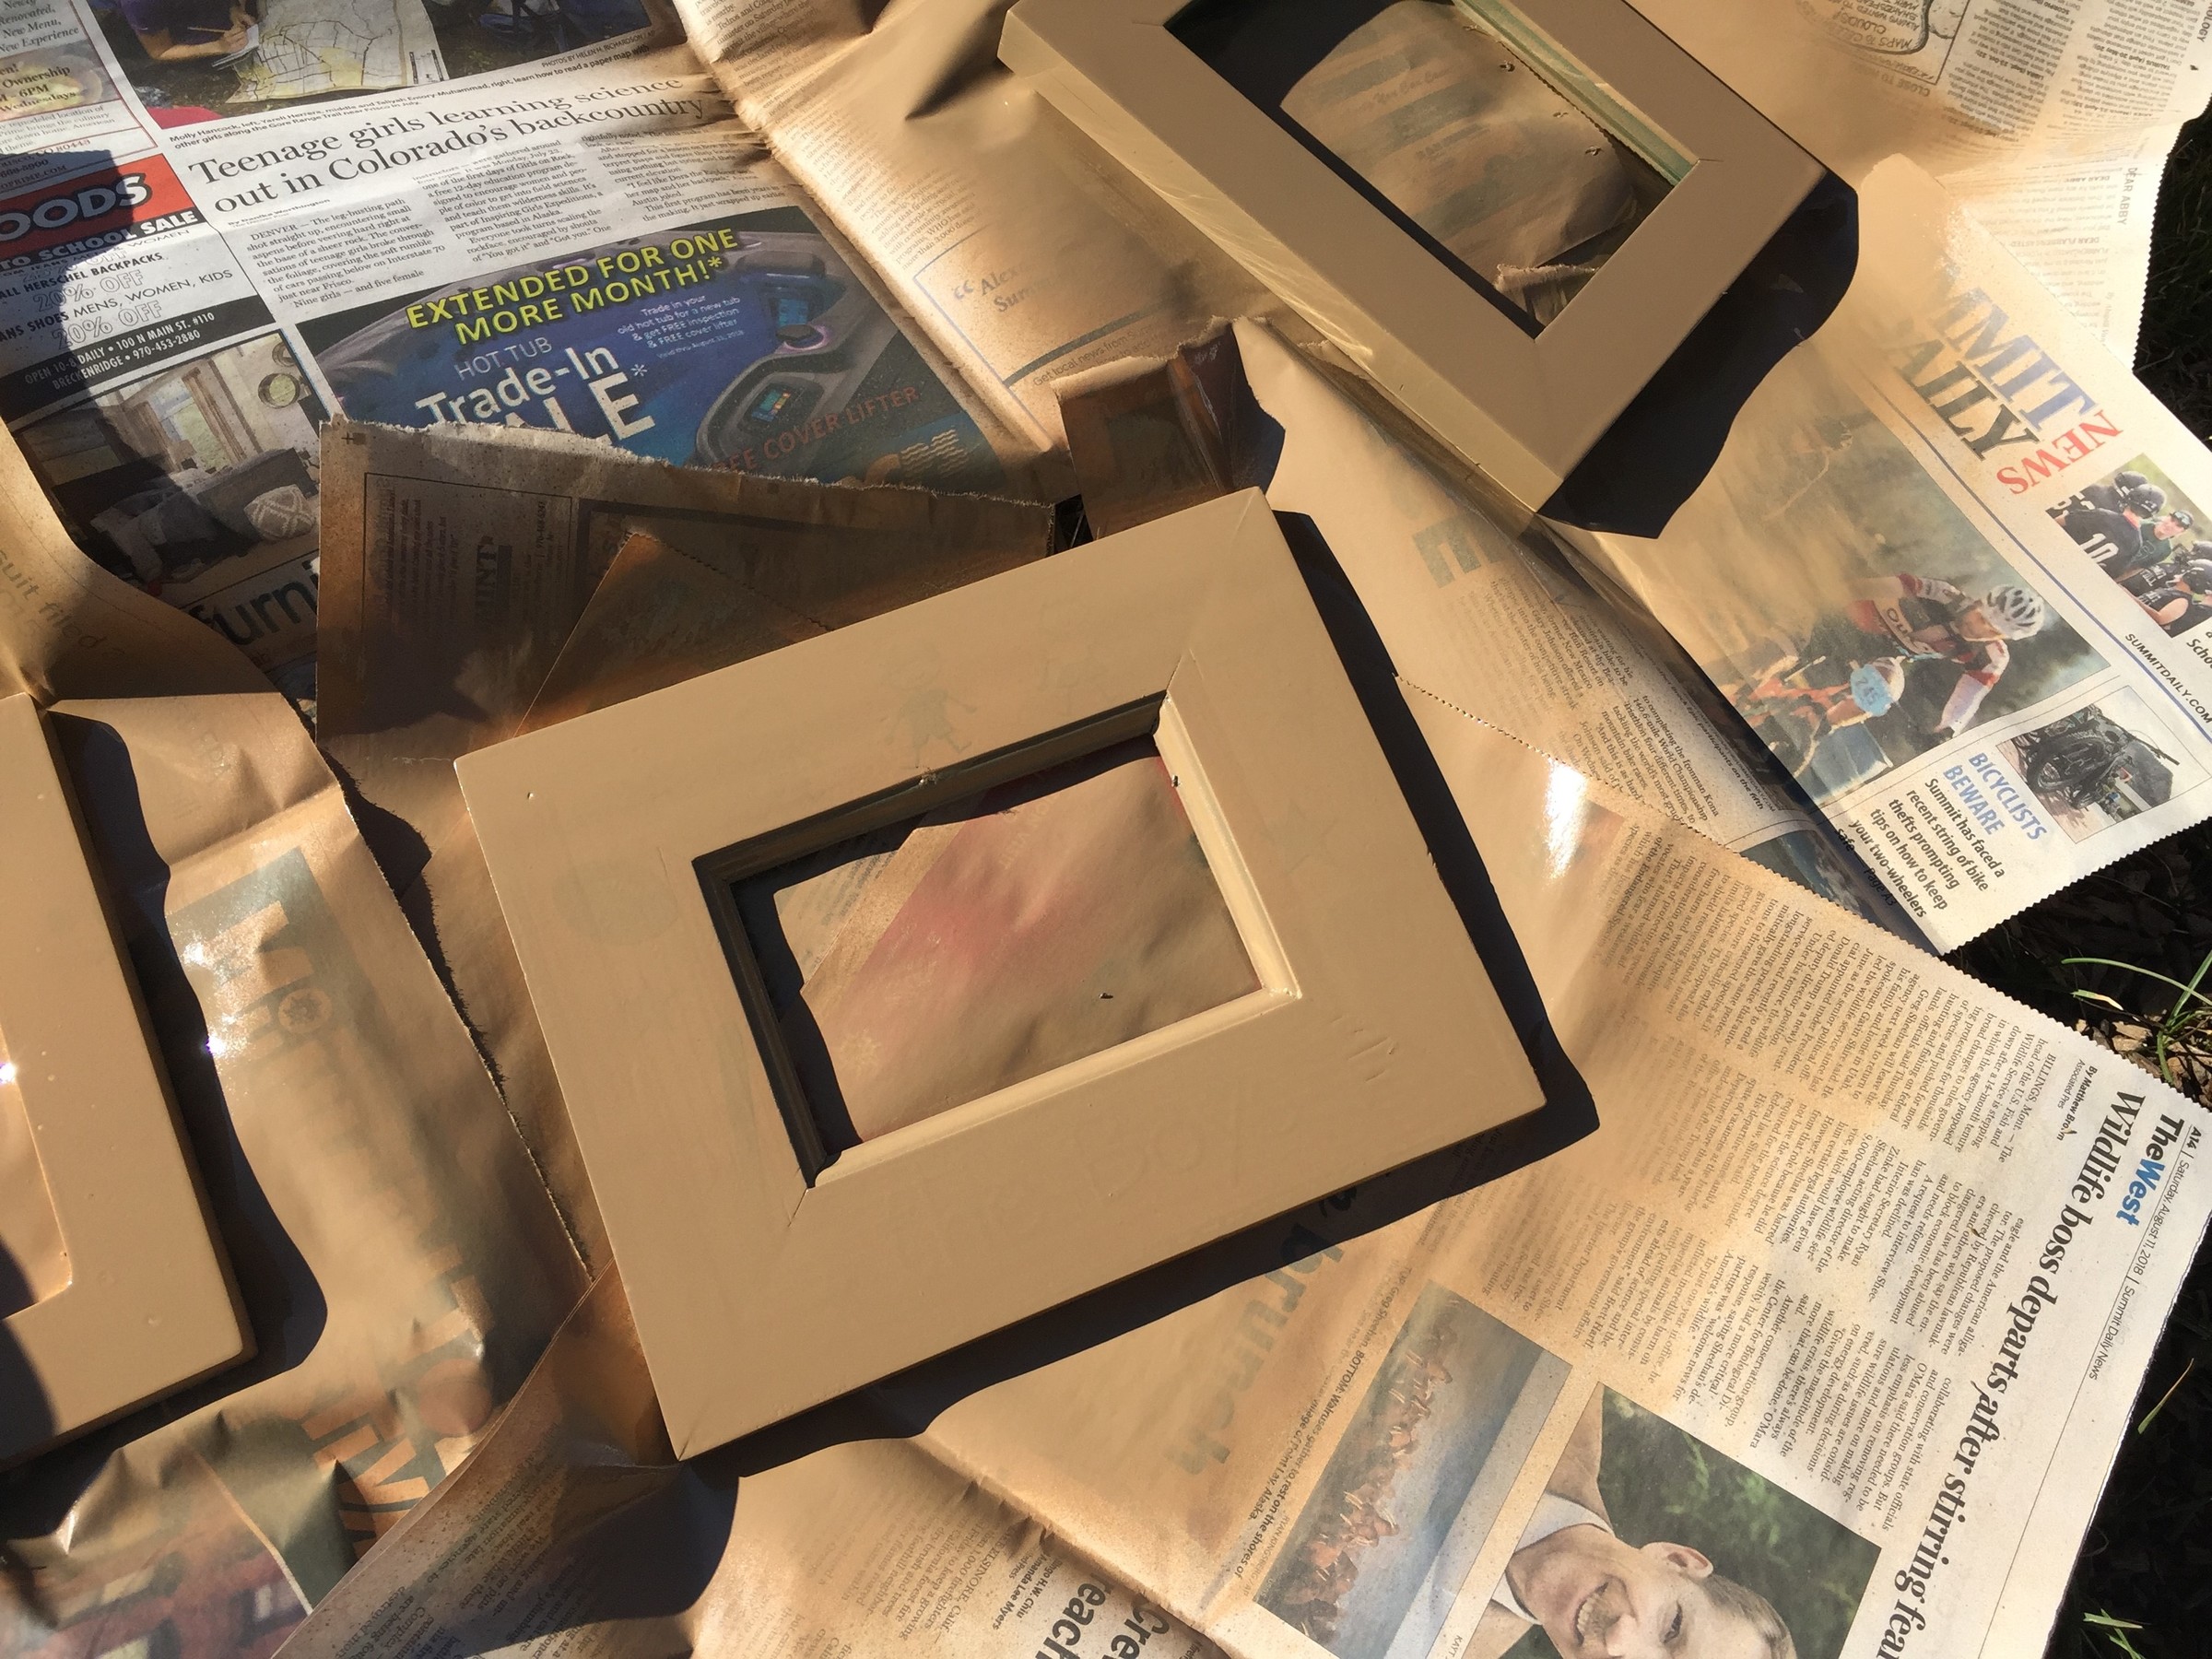
Step 2: Paint on the update
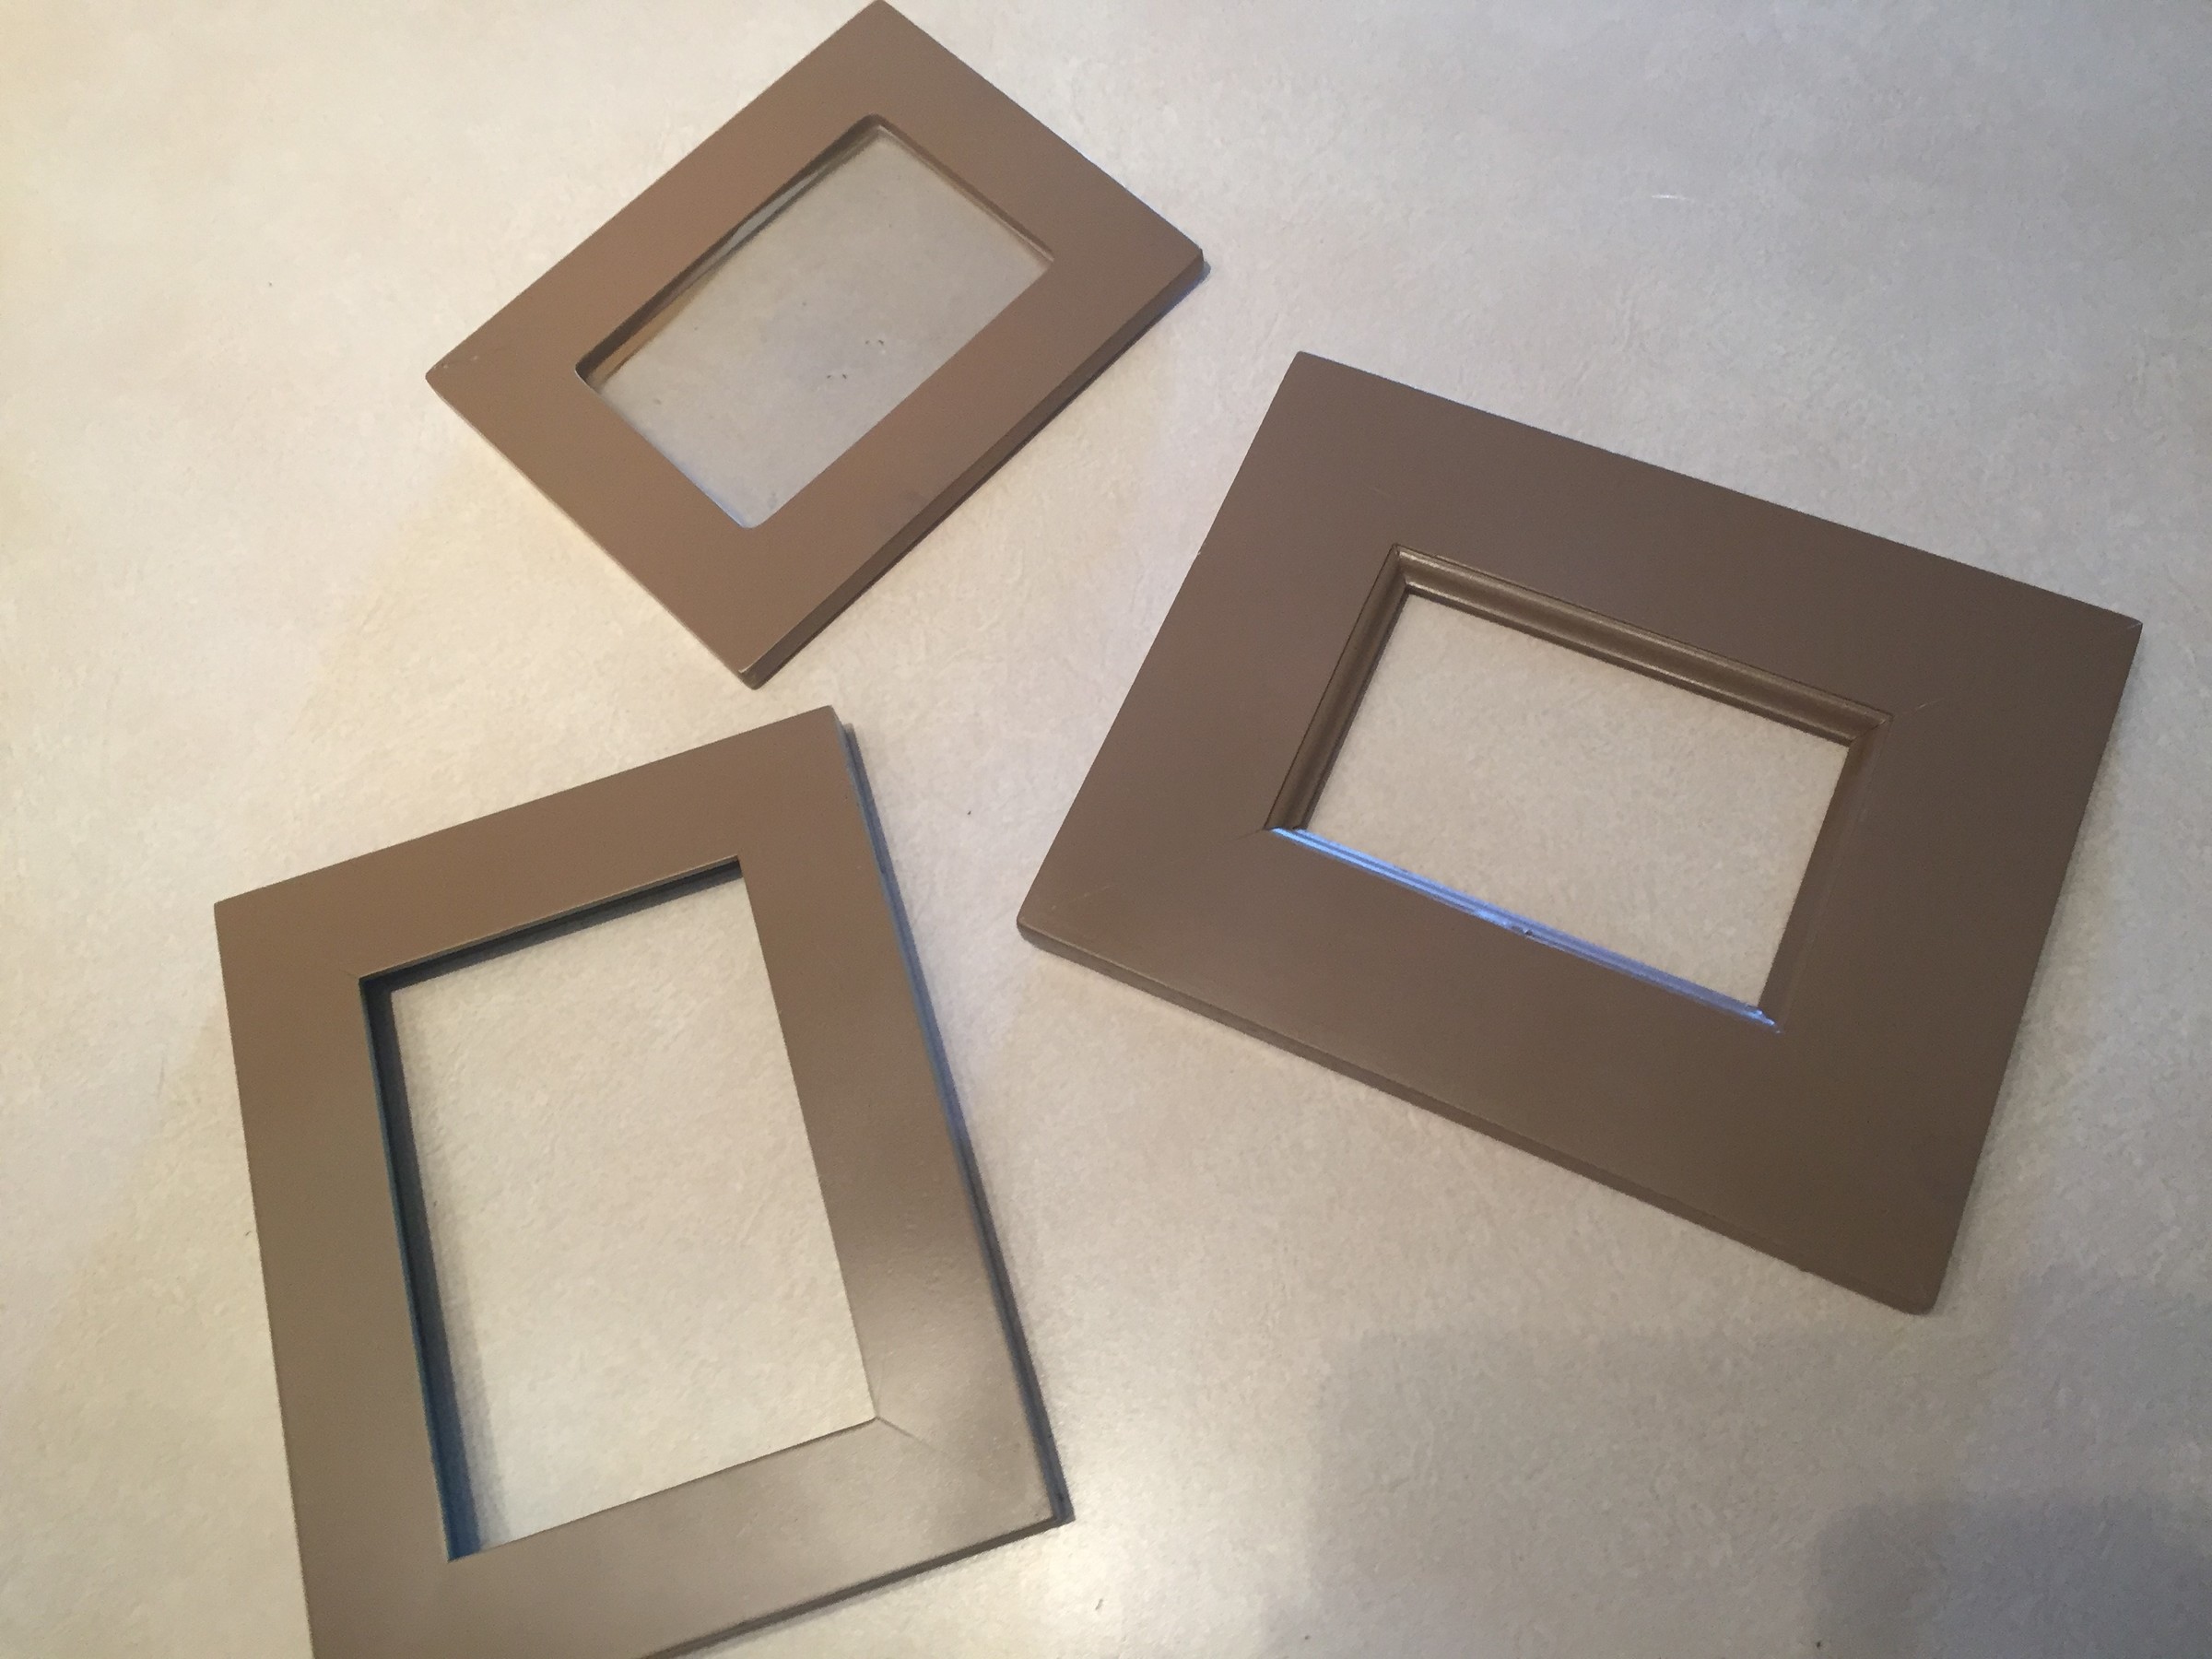
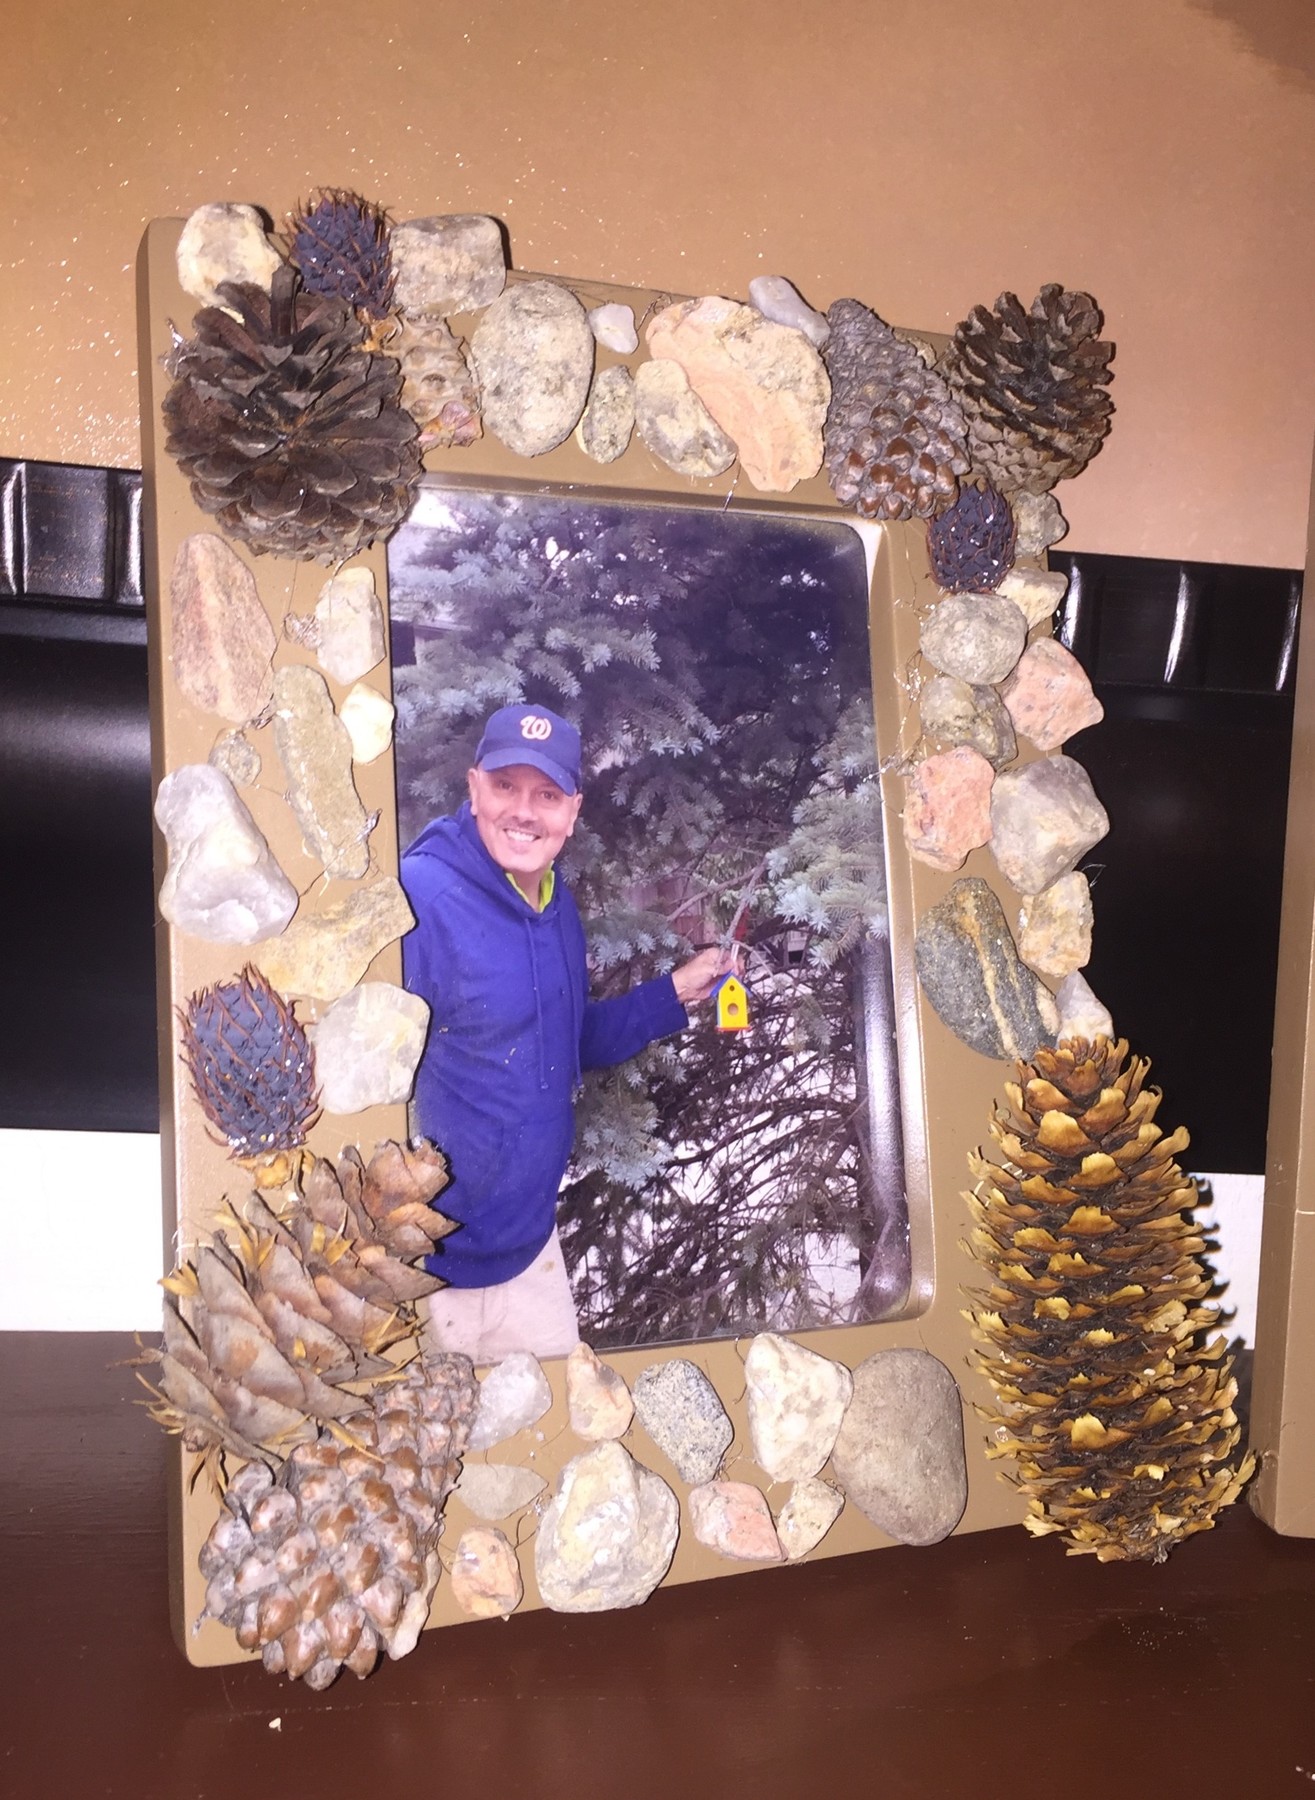
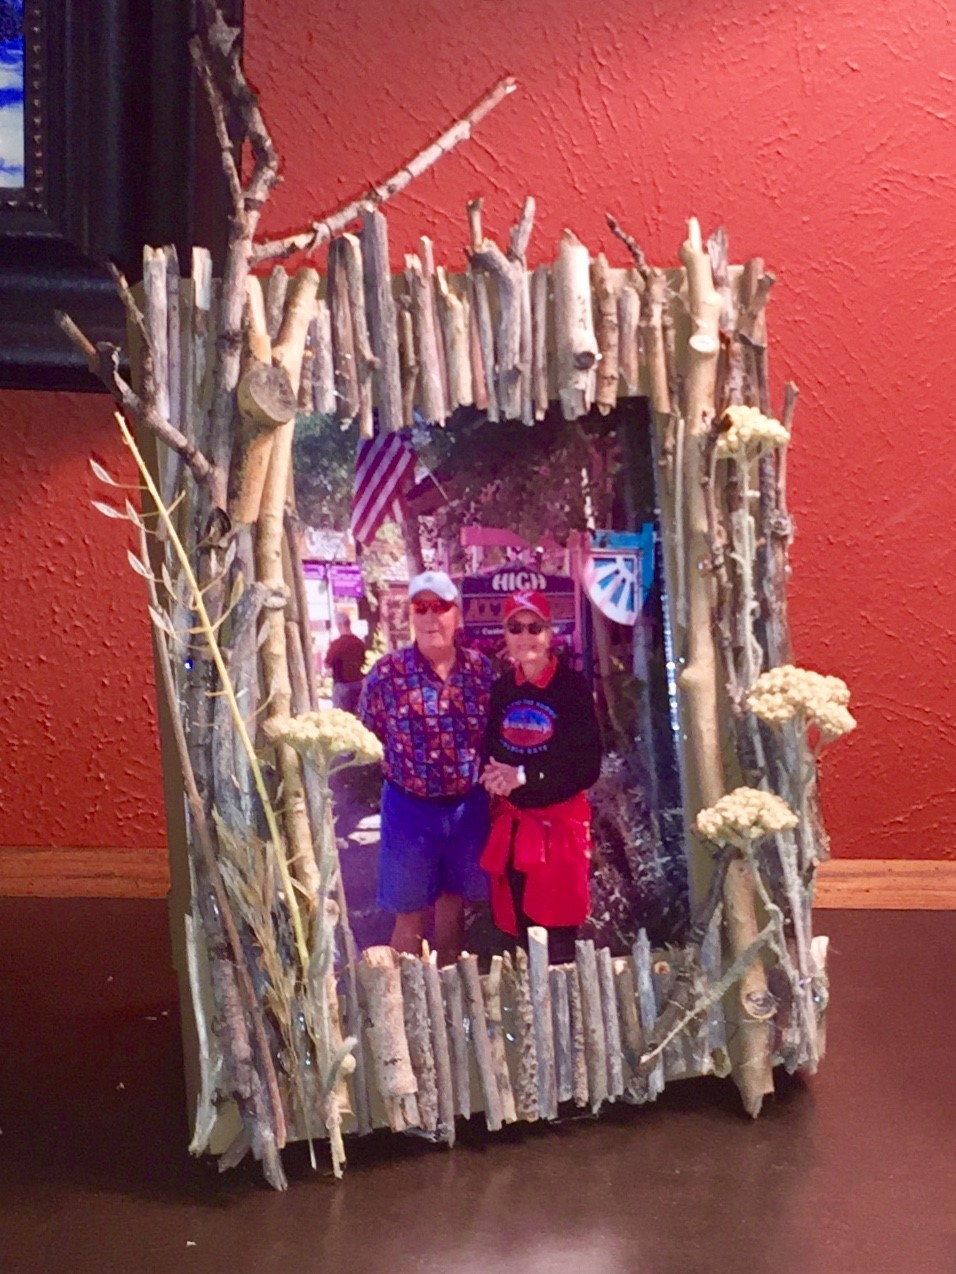
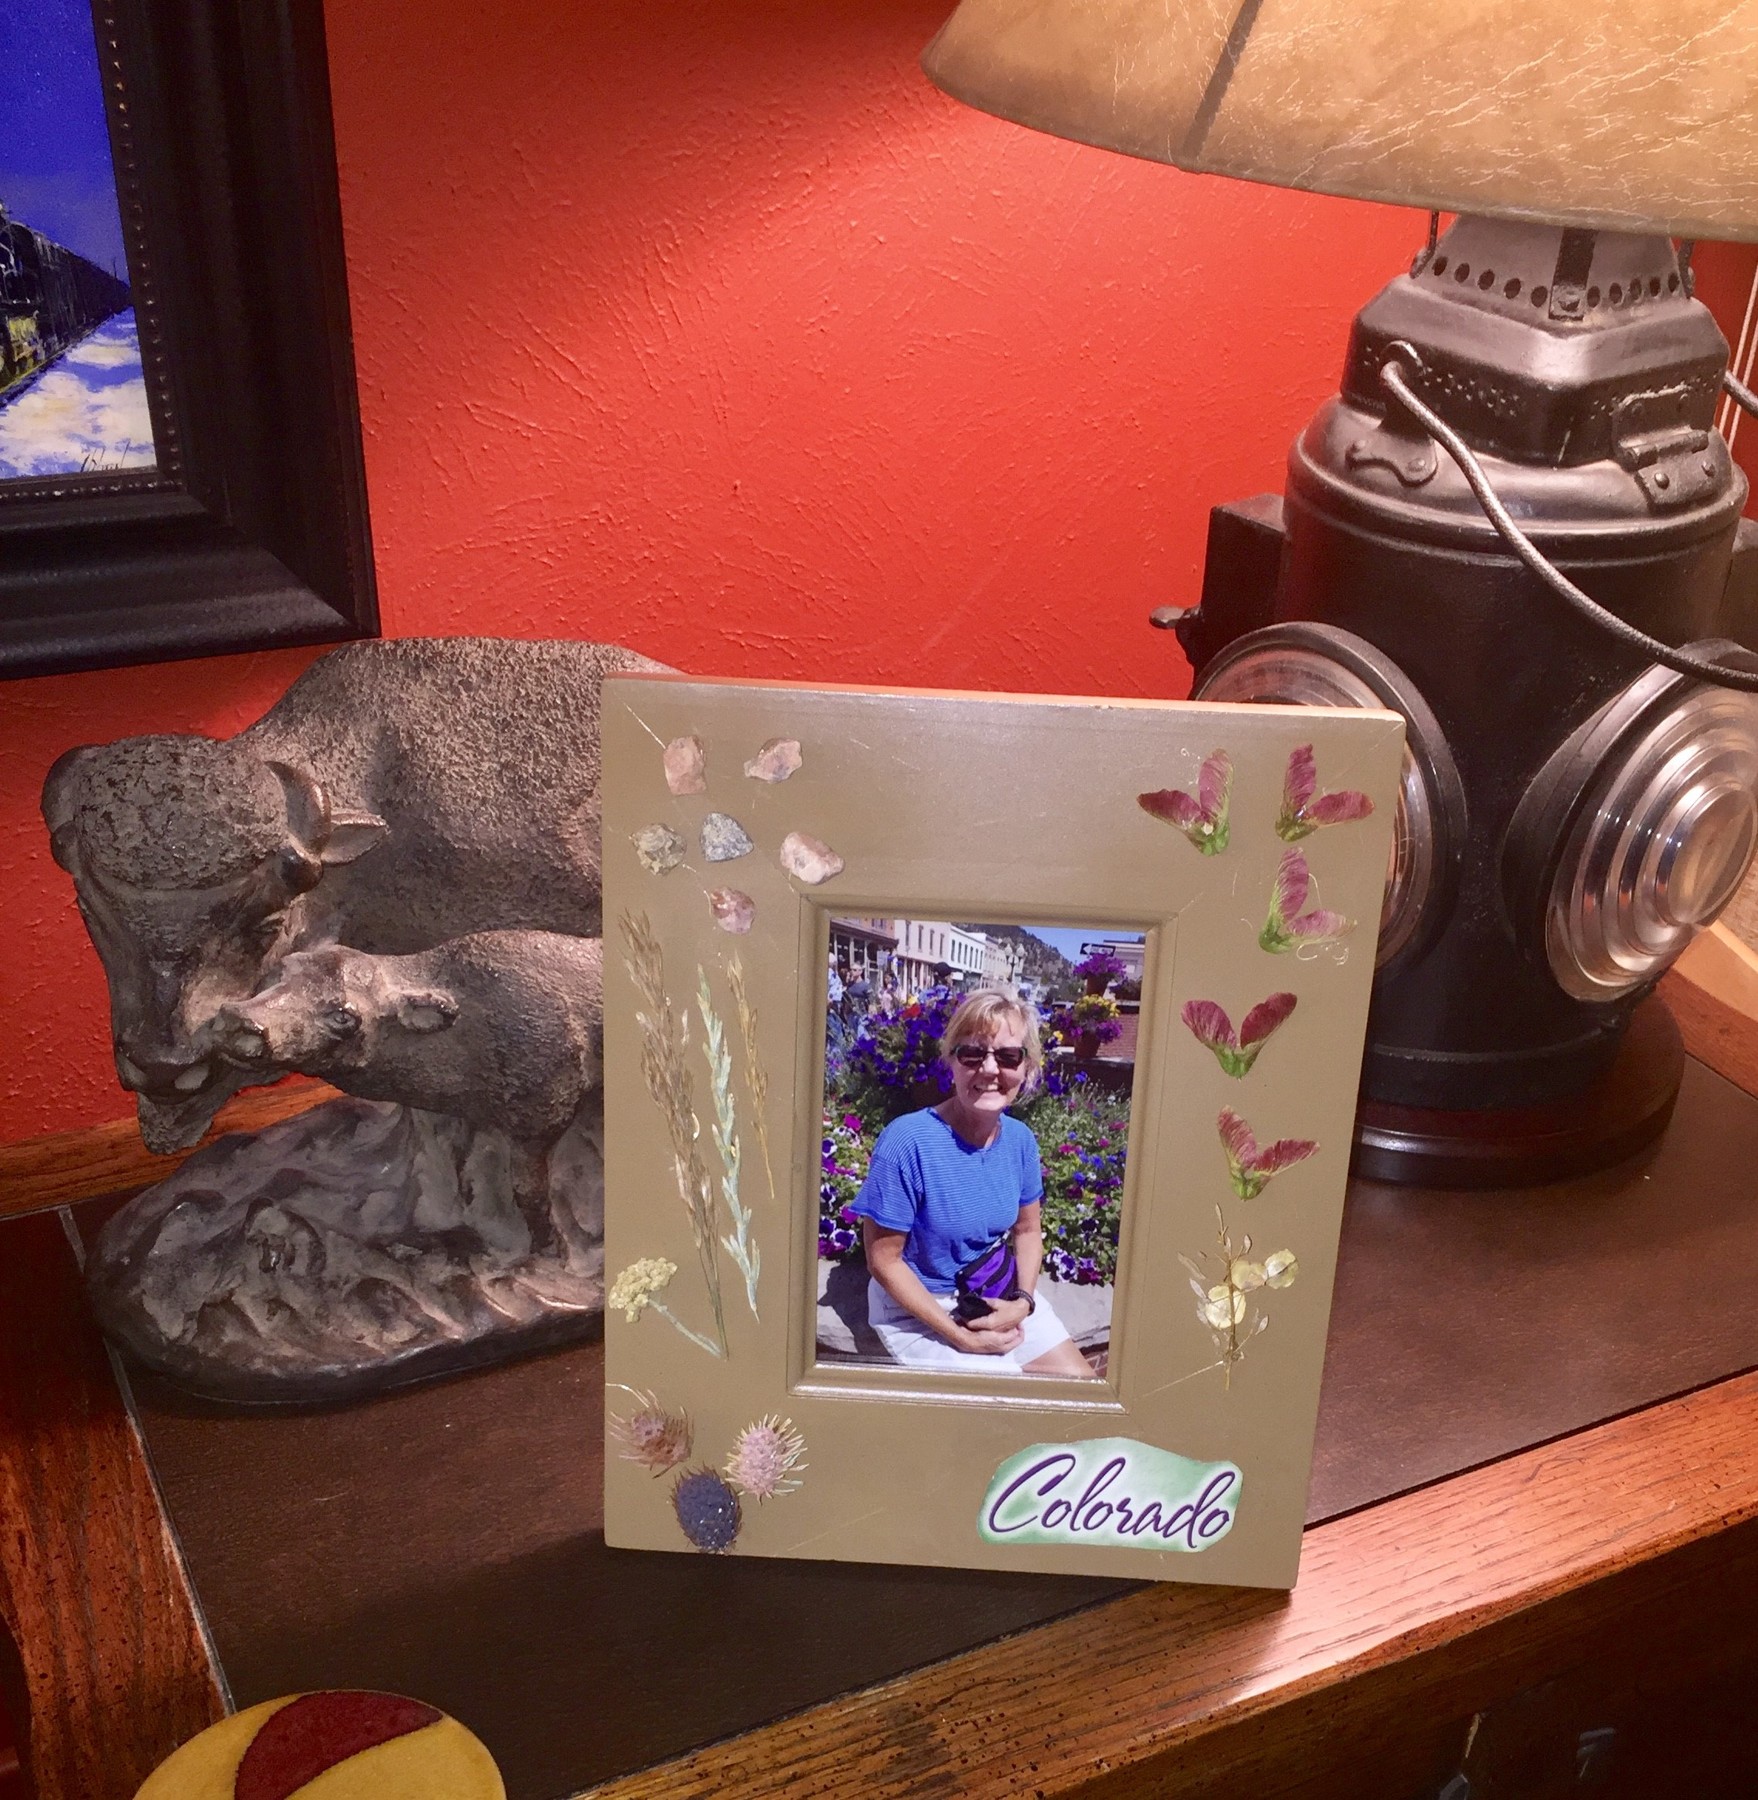
After you remove the glass and picture frame backing, place the wooden part of the frame outside on newspapers or a tarp. With your can a spray paint, apply a light coat to the frame, working to get all surfaces and sides. For this project, a warm brown tone was selected to match the collected items; an off-white or light gray would have worked well, too. If you are heading to the beach, a light blue hue is a wonderful option for a sea-side inspired frame.
Let your first coat dry several hours then apply another light coat ensuring you get each part covered so its original tones are not visible. By painting several frames in the same color, you can give random pieces a cohesive look should you decide to display them together. Consider doing this step before your journey so you’re taking frames that DIY ready.

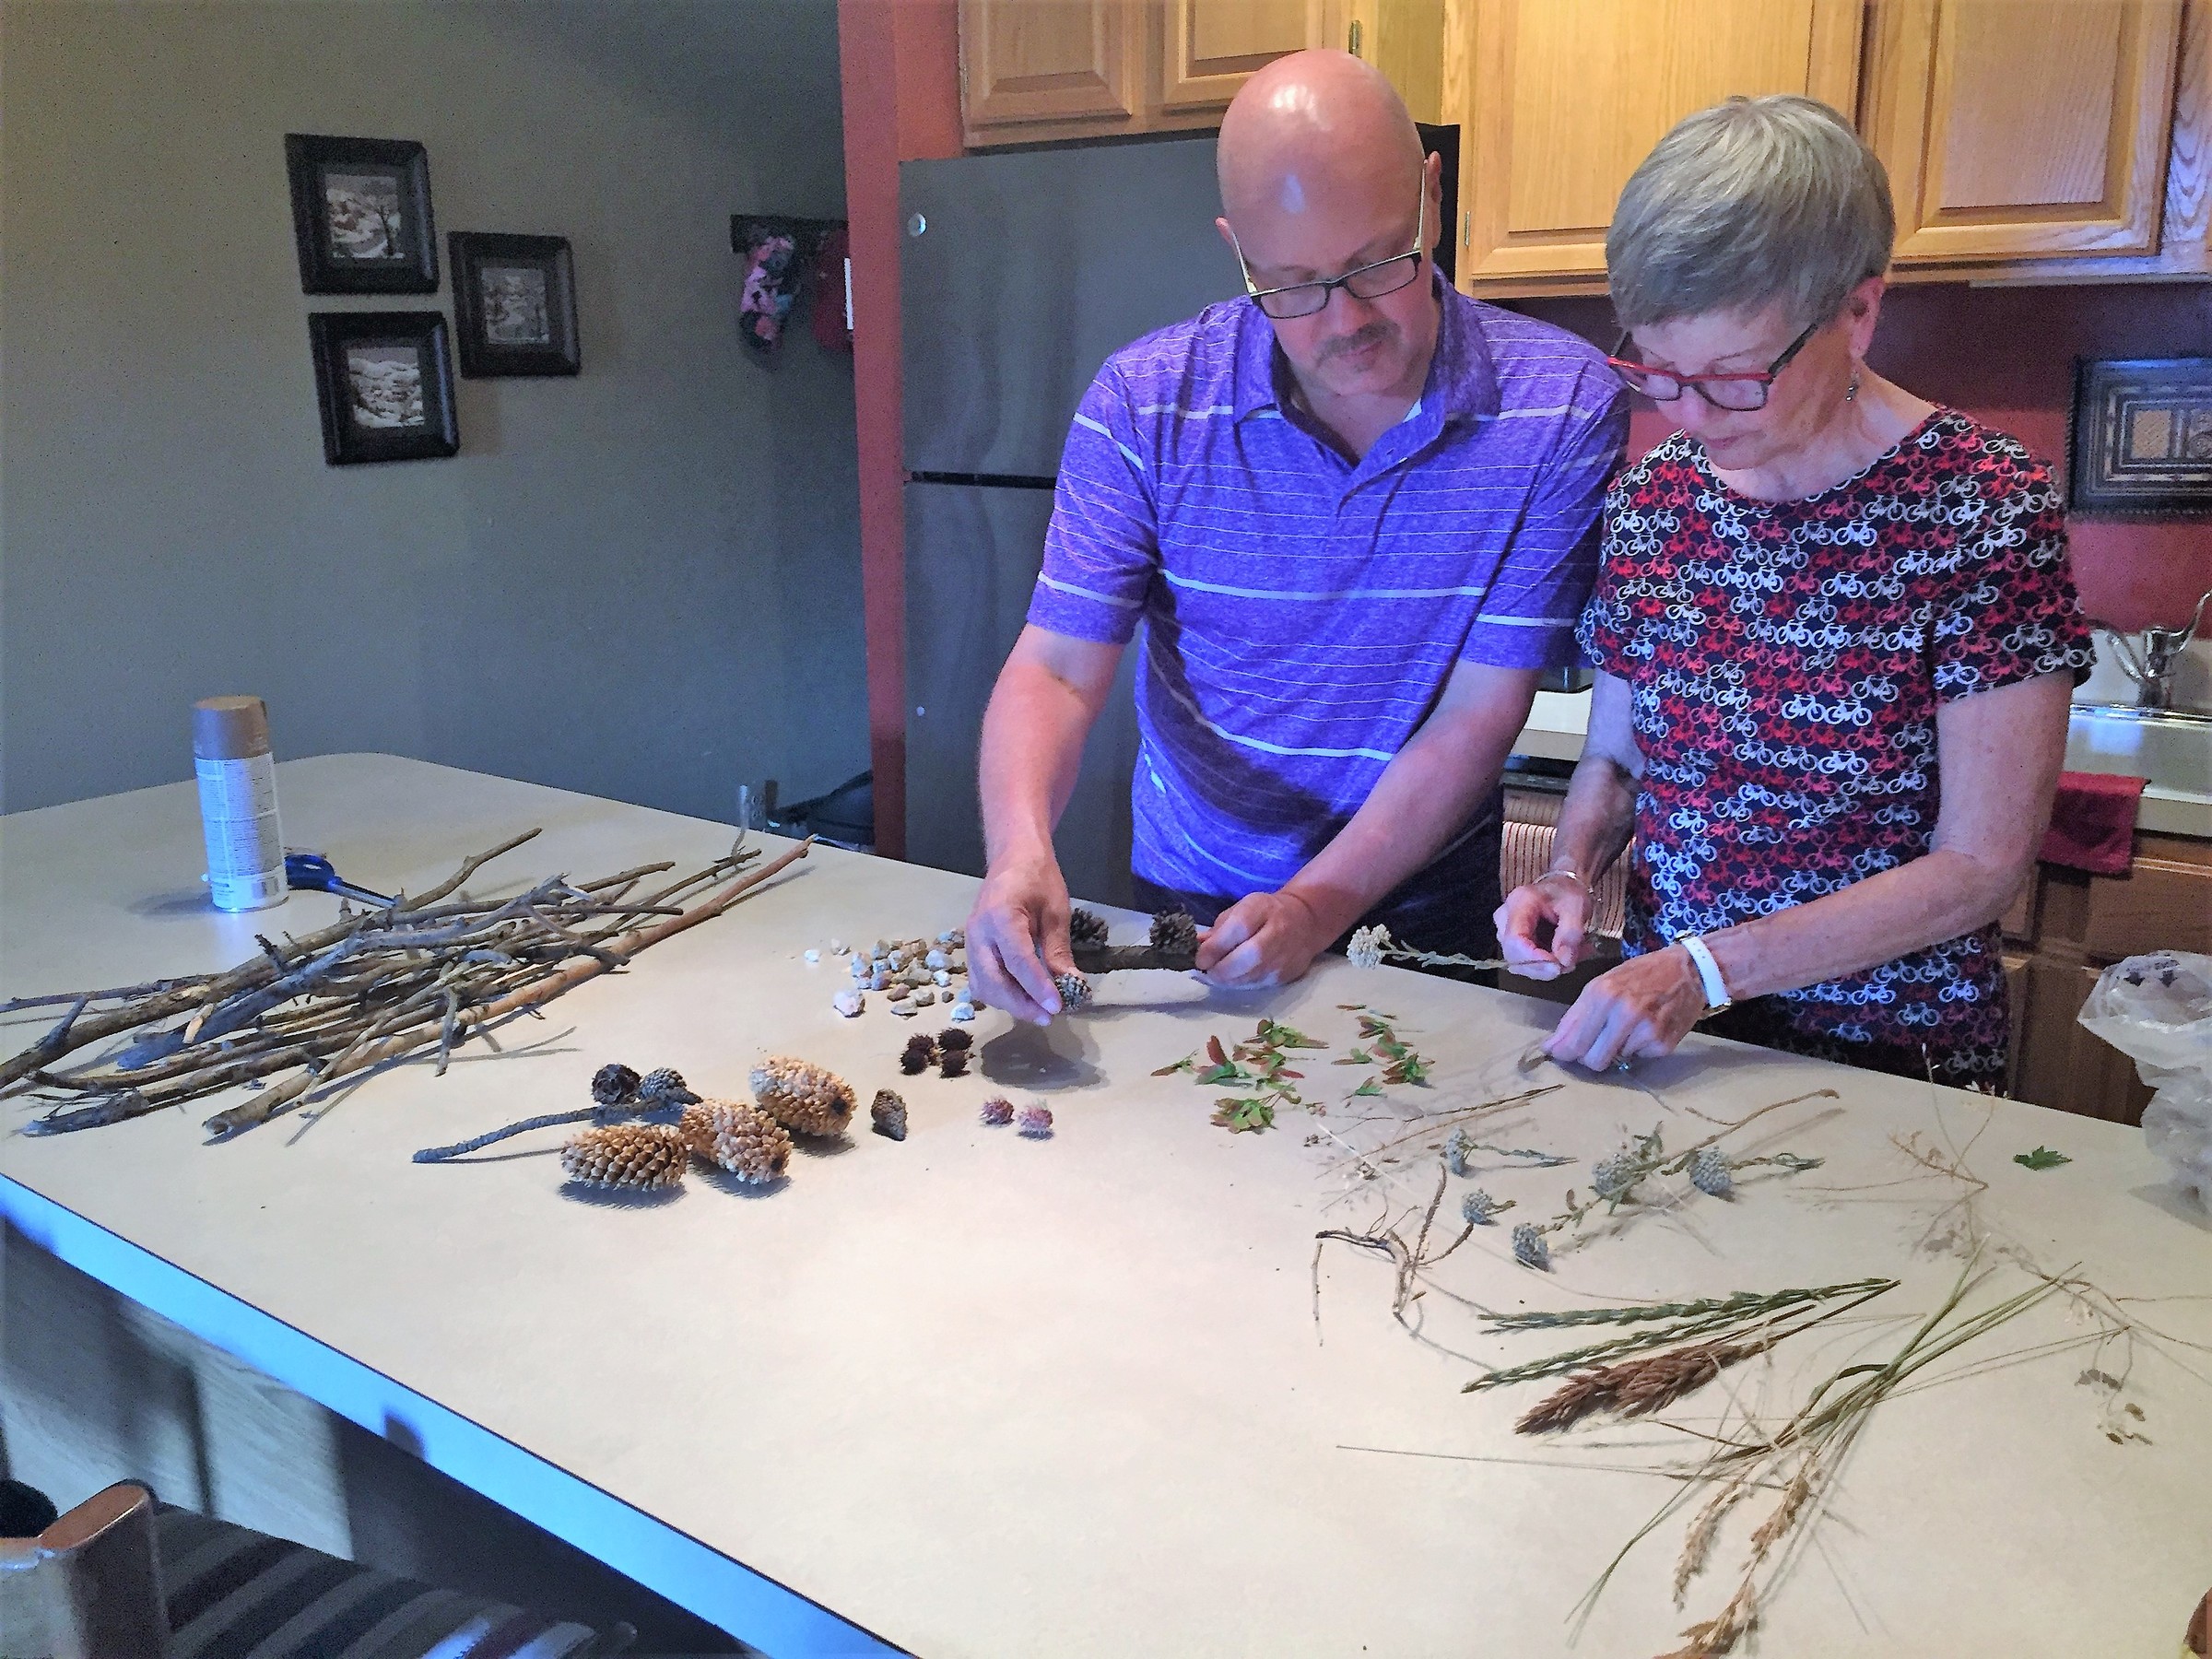
Step 3: Search for “accessories”
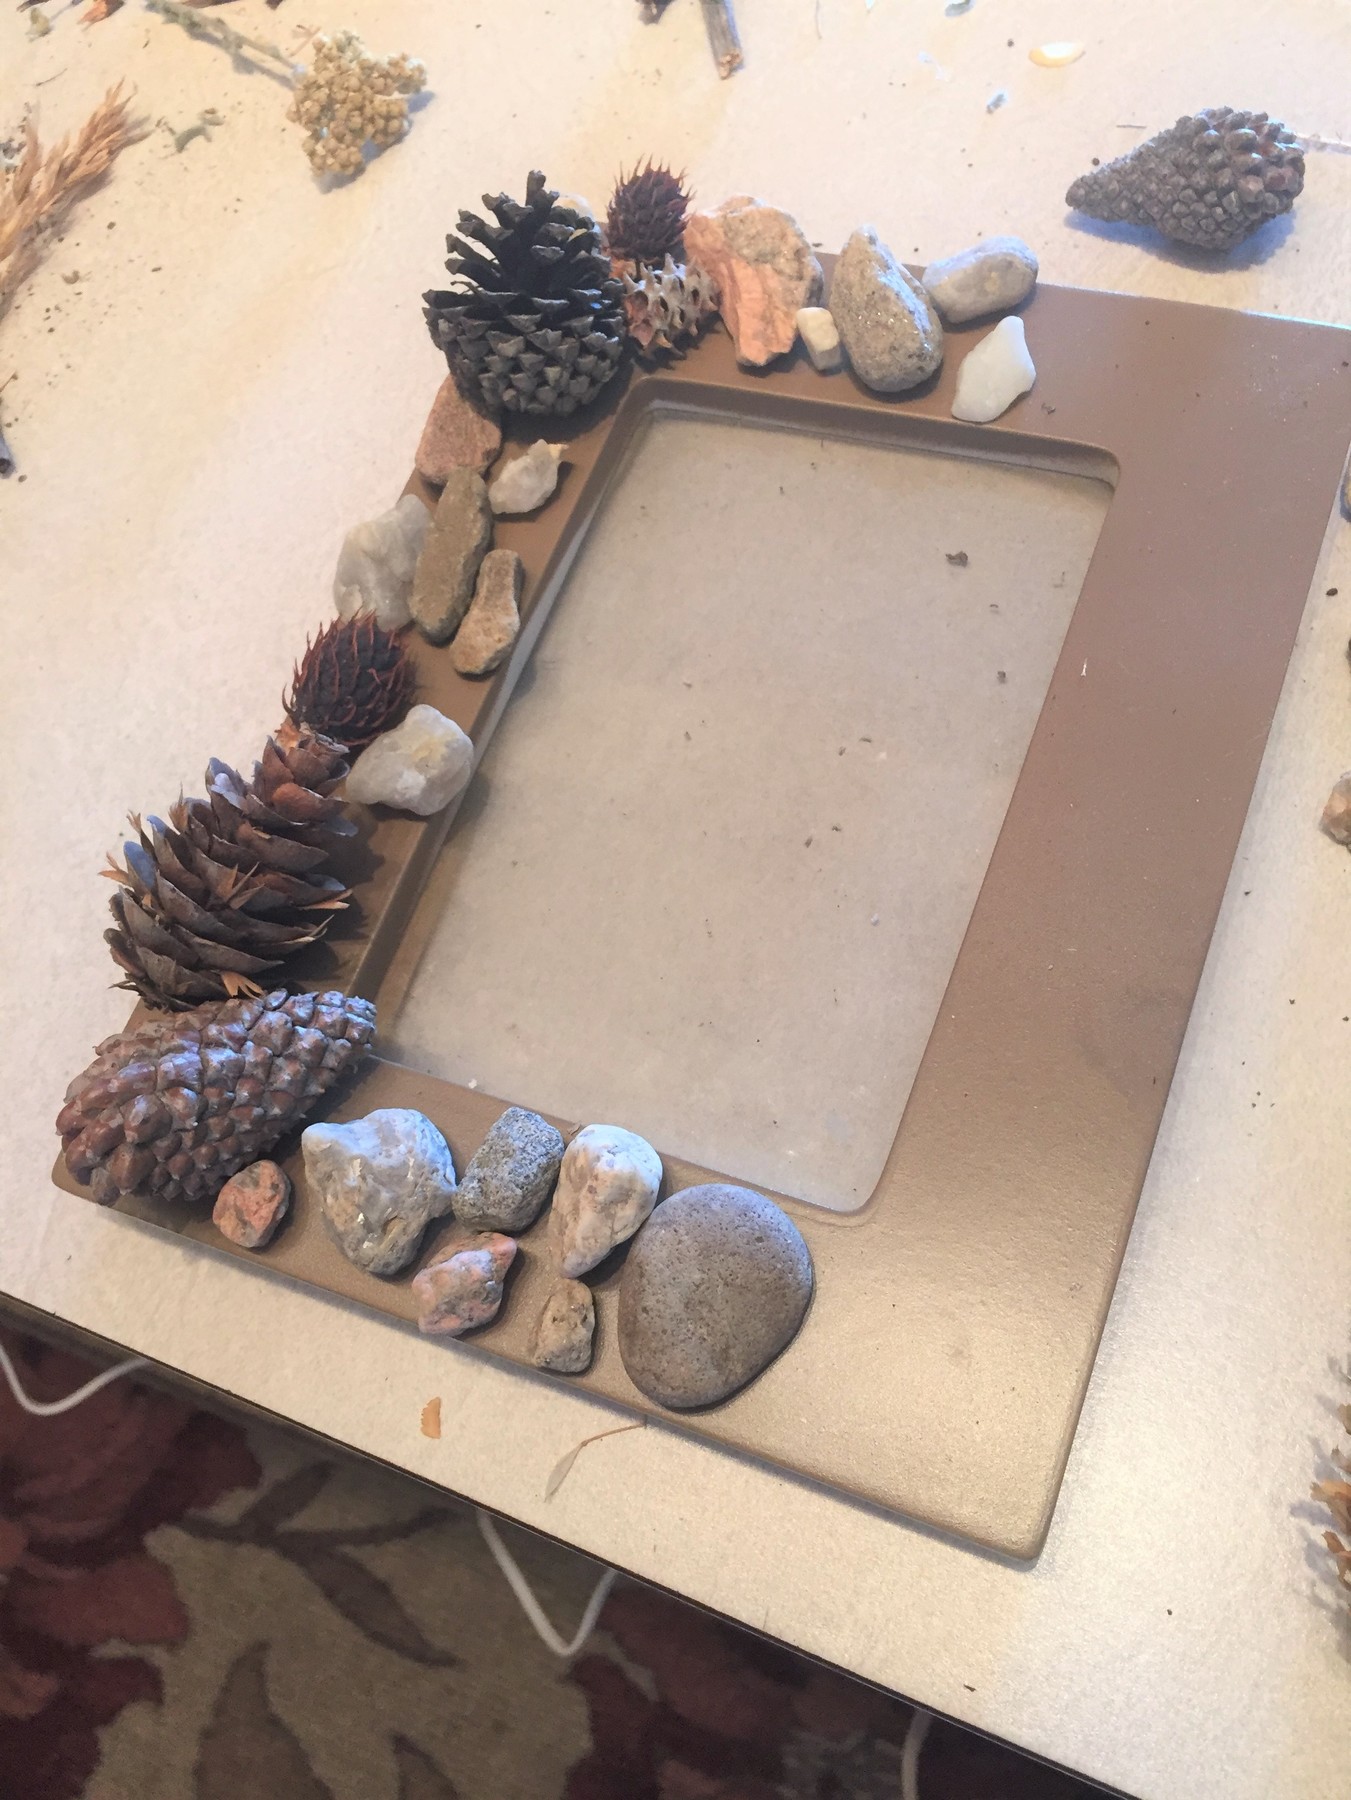
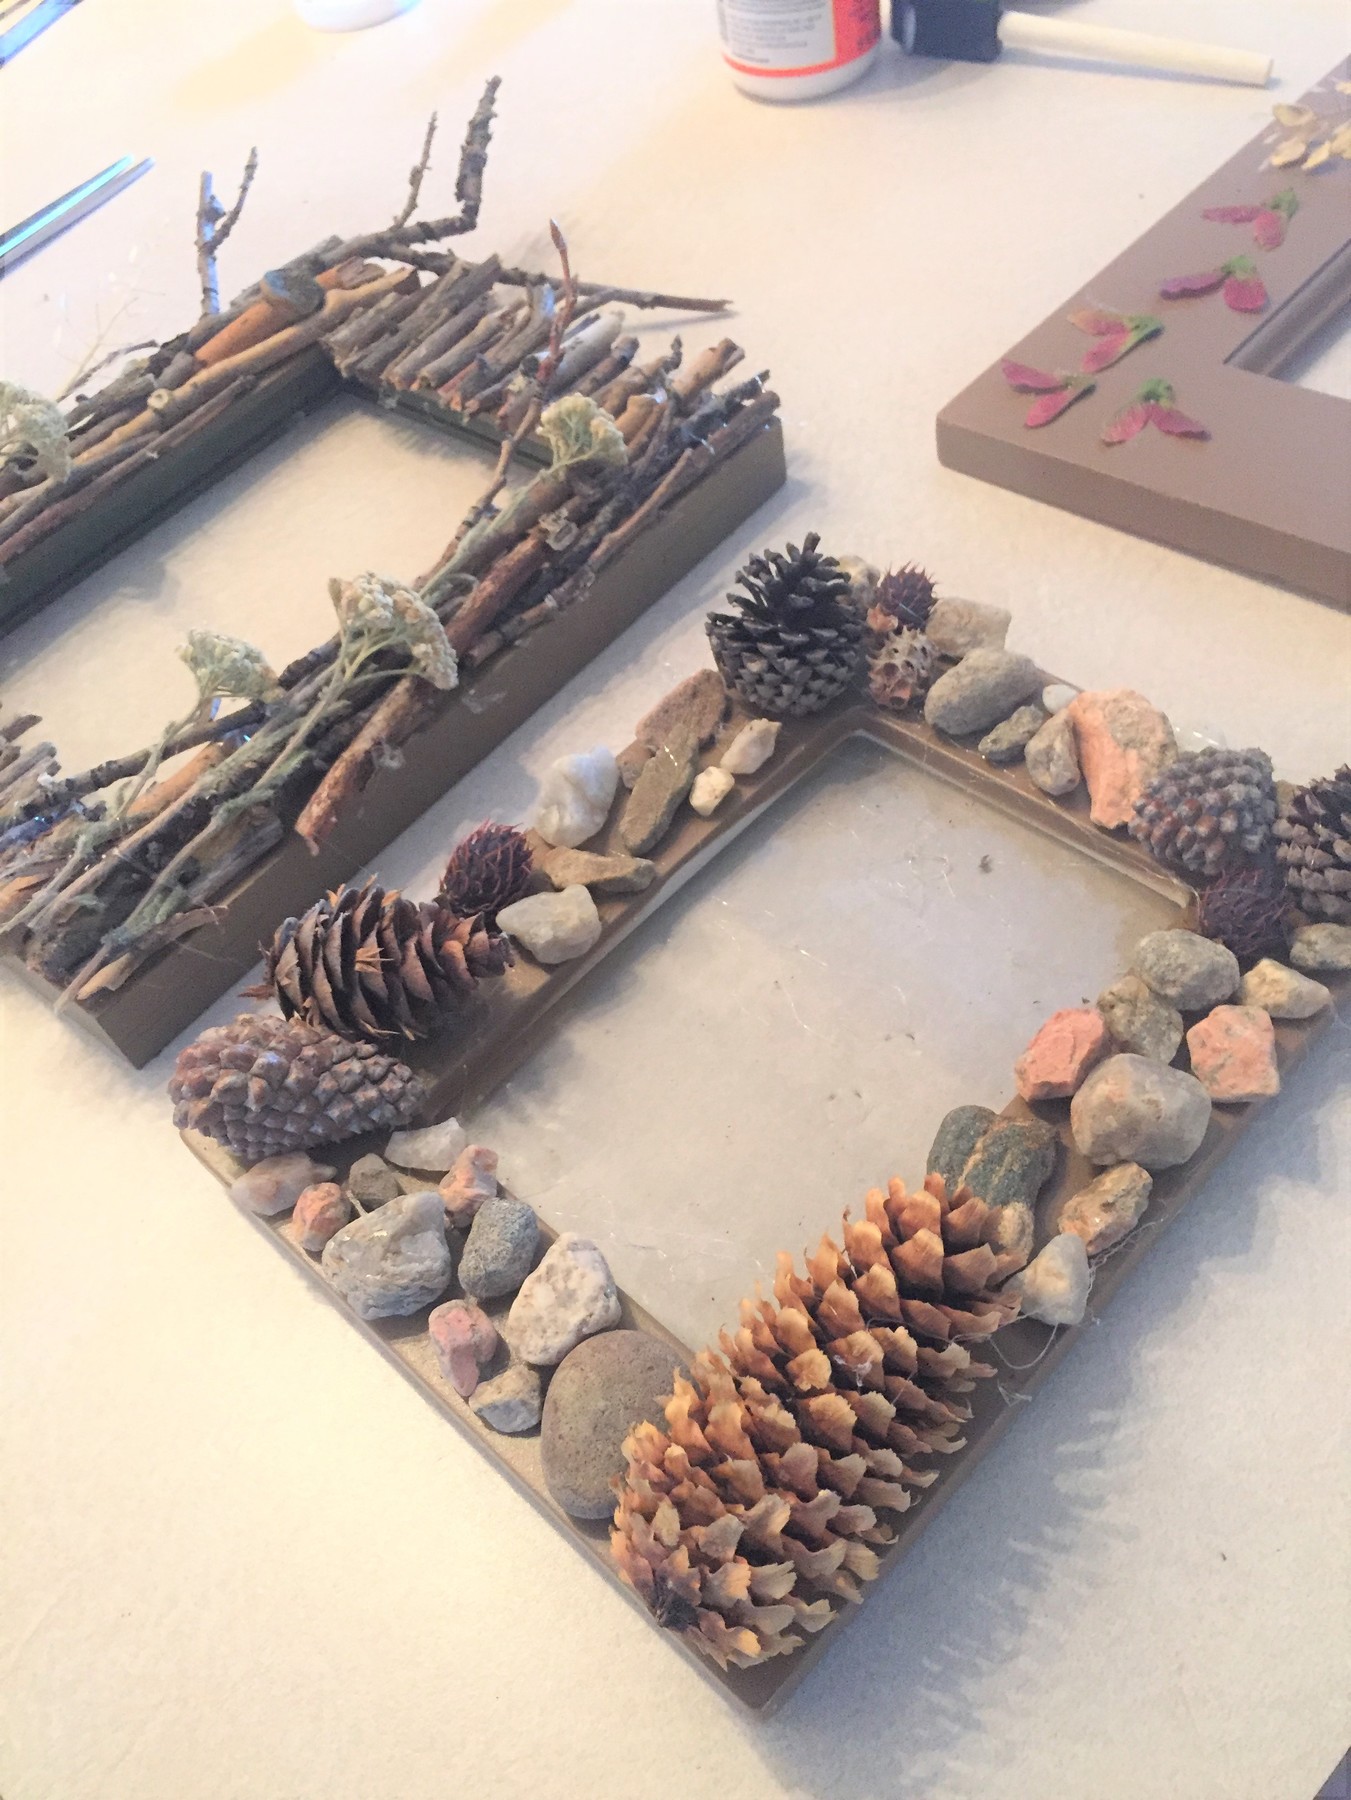
While your frames are drying and/or while you are out and about sight-seeing, be on the lookout for items to add to your piece. This can be a memorable activity when shared with your traveling companions. A walk on the beach can be a unique experience when looking for small stones or shells to use. Look for the beauty in the details of leaves, branches, grasses and pine cones or even grains of sand. You will be amazed at the colors, textures, and patterns created by Mother Nature.
Also, pick up postcards, local maps, and tourist magazines to clip images or words to highlight certain places visited or sights seen.
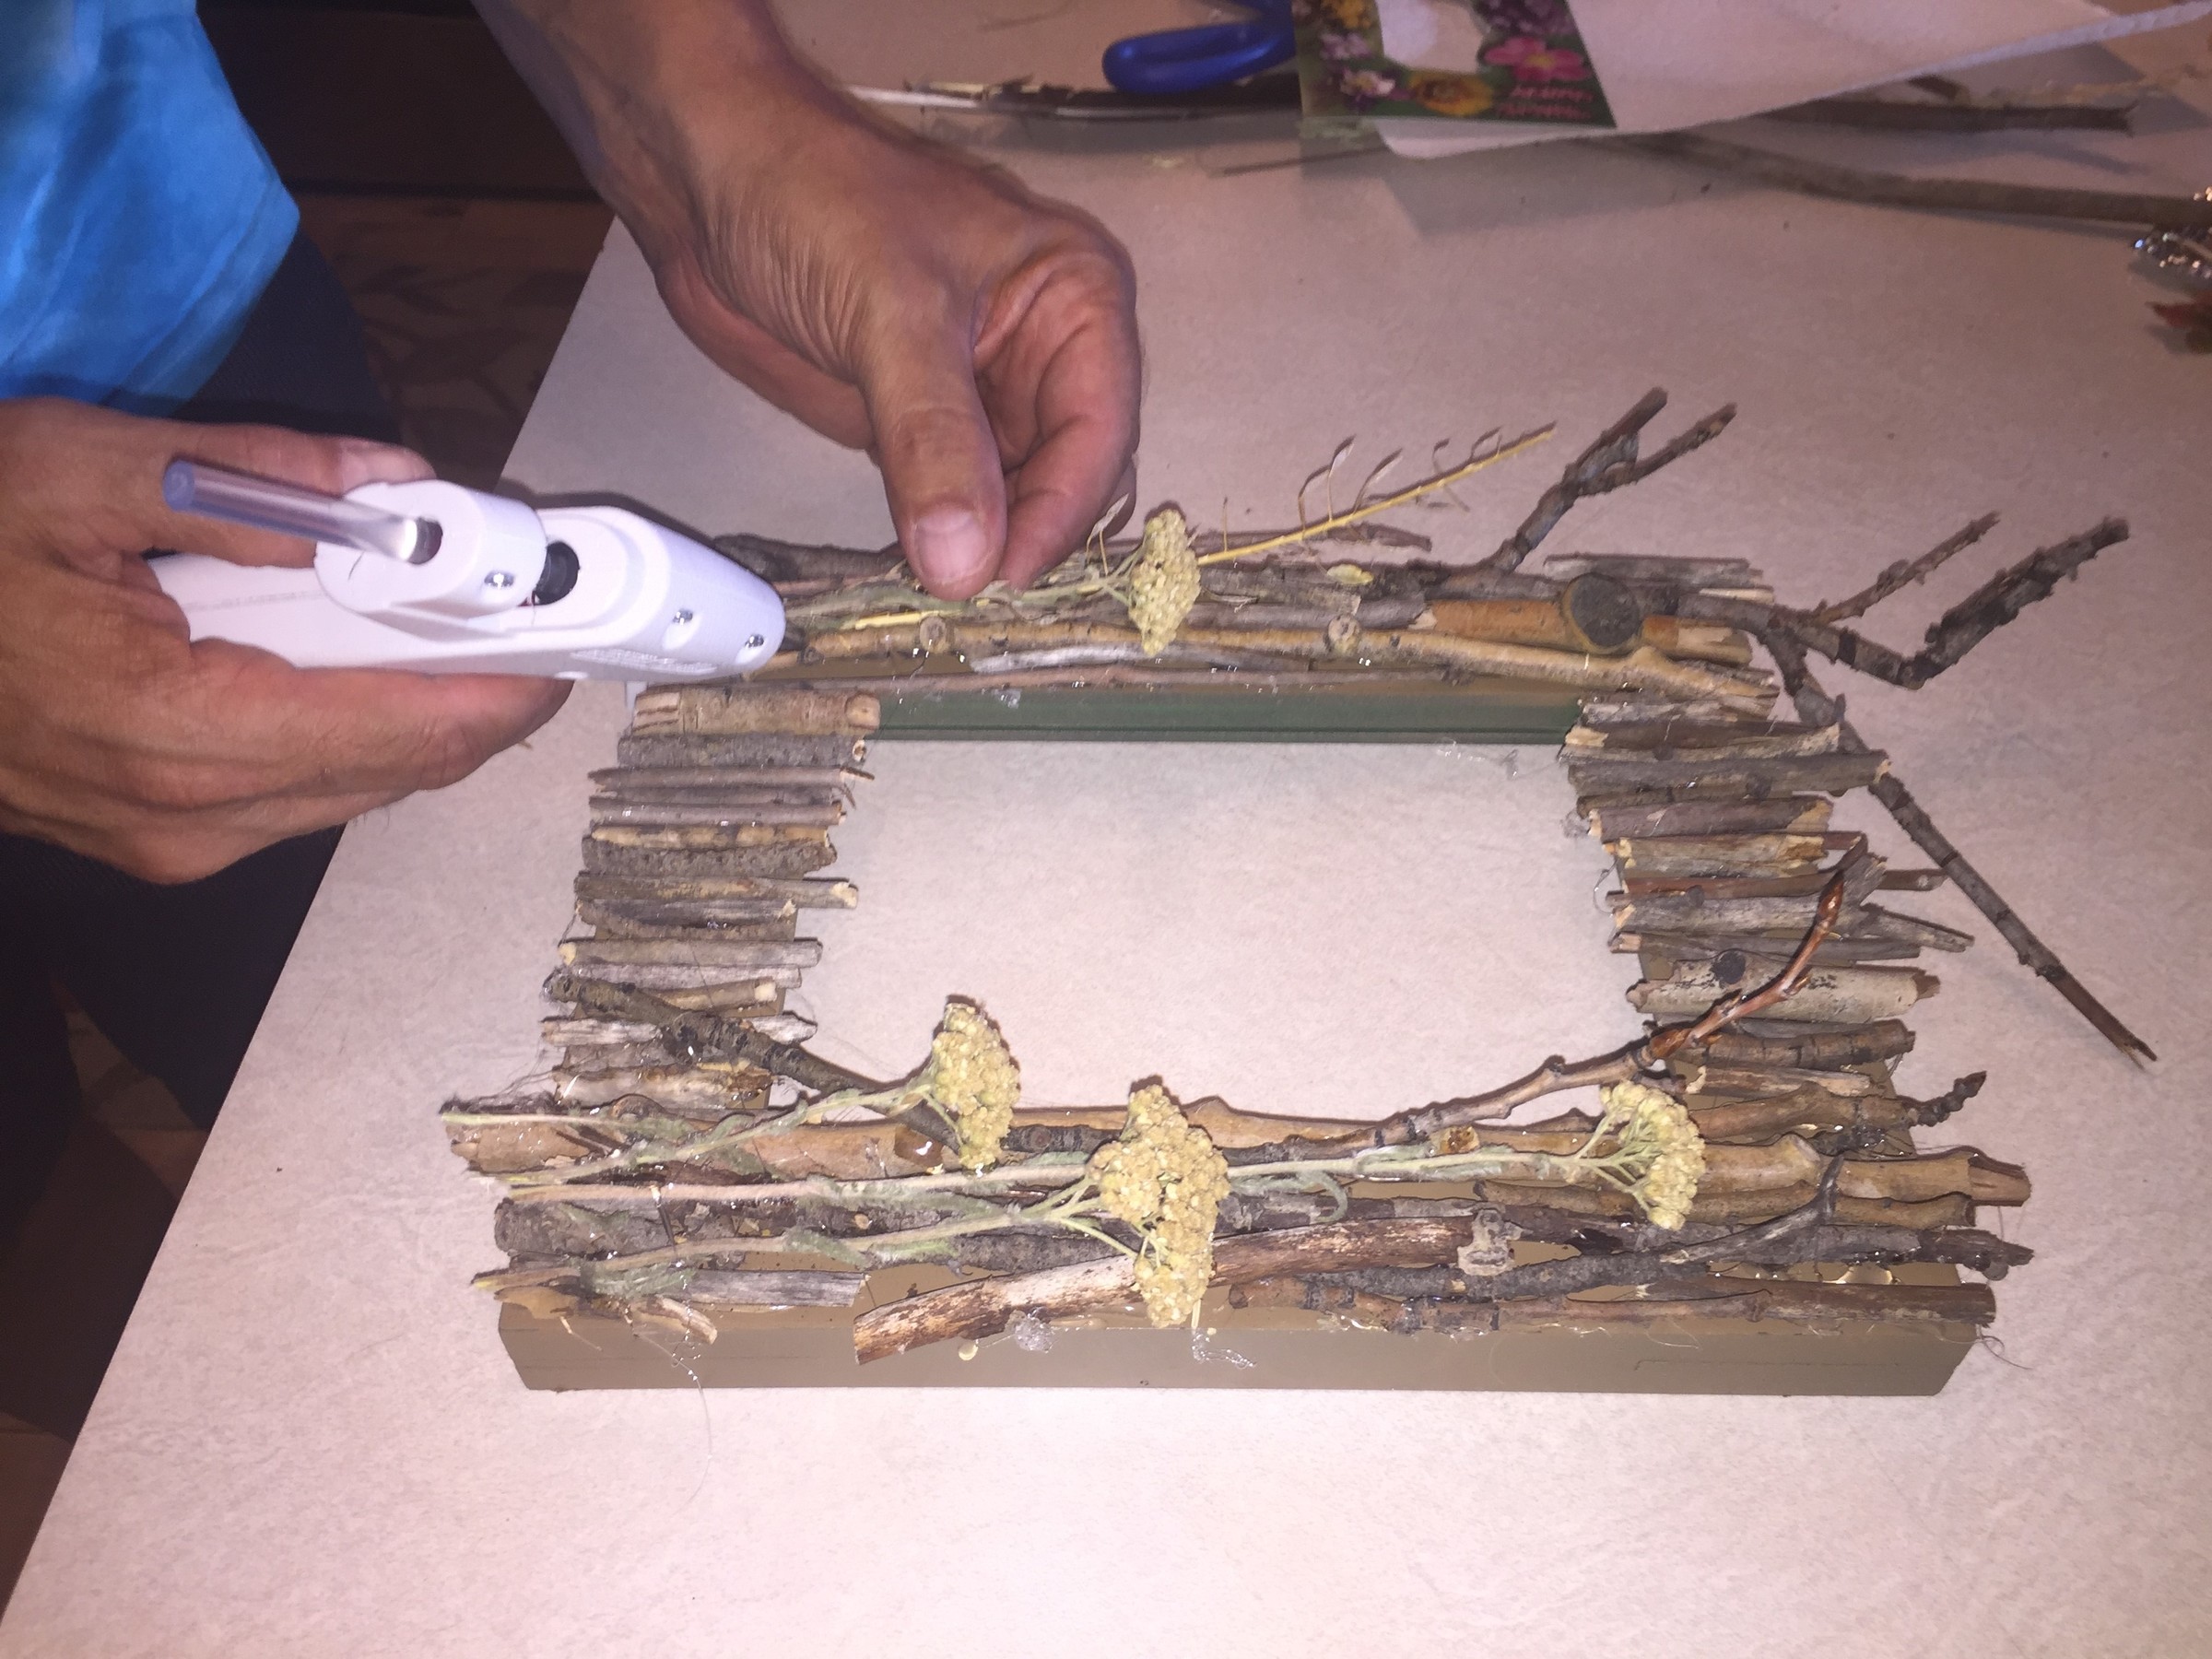
Step 4: Glue time
Based on the items you select, it is likely you will want to use a small glue gun. Plan ahead by packing your glue gun as well as plenty of glue sticks. Again, based on your destination, you may be able to pick them up at a nearby craft store but you can likely save time by bringing them with you. Before gluing, play with the design by placing your items on the frame then rearranging them until you reach your desired look. Grab your glue gun and go to town ensuring each piece is secured well with the hot glue. Be very careful as the glue and the glue gun’s tip will be very hot hence the recommendation for adults to supervise any younger kids participating in the project.
To affix any images clipped from magazines, pieces of maps or part of postcards, use your Modge Podge. Simply brush on a thin layer to the frame, place the piece on your frame, add another layer on top and smooth out to ensure a seamless fit. Use your brush to remove any access Modge Podge; it will dry clear.
Step 5: Insert Images
Once your memento-covered frame is finished, now is time for the final step – adding vacation photos! Pick one that makes you smile, insert it into your transformed, memory frame and set it where you will see it often. This way, whenever it catches your eye, your wonderful time away will be close in your mind and heart.
Tim Kime is an artist, life coach, connector. He is President of Kime Leadership Associates offering executive coaching, meeting facilitating and motivational speaking. He is also Chief Creative Force of Transformation Junkies which upcycles furniture and other household items into functional works of art. He combined his two passions—unleashing the potential in people and transforming items with the launch of the Art of Possibilities Workshops. These workshops are part upcycling, part dreaming, part goal setting.