The glow of candlelight adds a sense of romance to any occasion or any space. Turn run of the mill candle holders into memory-making lanterns by topping them with mason jars. Mason jars are a timeless way to add a little “down home” touch to your décor. These lanterns are perfect as wedding centerpieces, porch and patio accents, or as whimsical fixtures to any room.
Ability level: Easy to moderate due to hot glue, scissors, and glass
Age Level: Older kids and adults
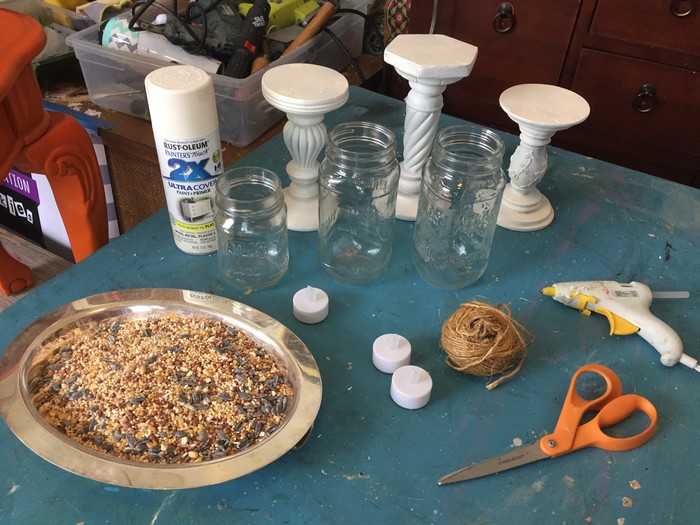
Items needed:
- A pair or group of candle holders
- Mason jars
- Twine
- Birdseed or sand
- Flameless votive candles
- Spray paint
- Glue gun & glue sticks
- Scissors
Time requirement: 30 minutes (not including paint or glue drying time)
Cost: Approximately $10
- $3 per candle holder
- $1 per mason jar
- $1 for bird seed
- $1 for flameless votive candles
- $5 for a can of spray paint (with lots left over for future fun!)
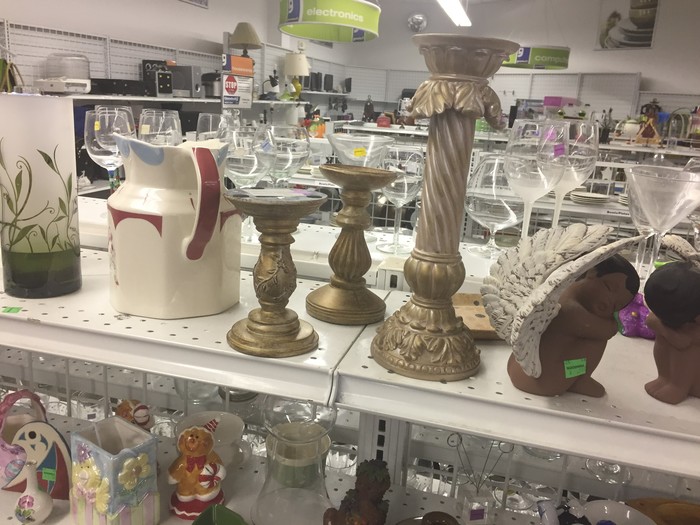
Step 1: See the Light at Your Goodwill store
Thankfully, your favorite Goodwill retail store will have a variety of good options in the Housewares section for this easy project. Look for candle holders that are thick and sturdy to ensure solid support of the mason jars. It doesn’t matter if they match (see next step).
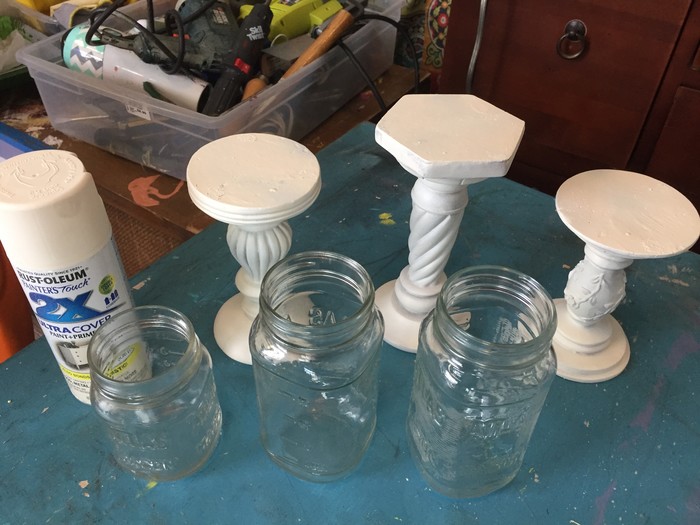
Step 2: Paint Pulls Project Together
After wiping down your candle holders to ensure they are dust and fingerprint free, place them or on a tarp outside or in a well-ventilated room. Lightly spray your pieces with your favorite color of paint. For this project, I used a light warm, ivory hue so the final product would look perfect in any setting. Let your candle holders dry between coats and turn them upside down and spray another light coat to ensure solid coverage from top to bottom.
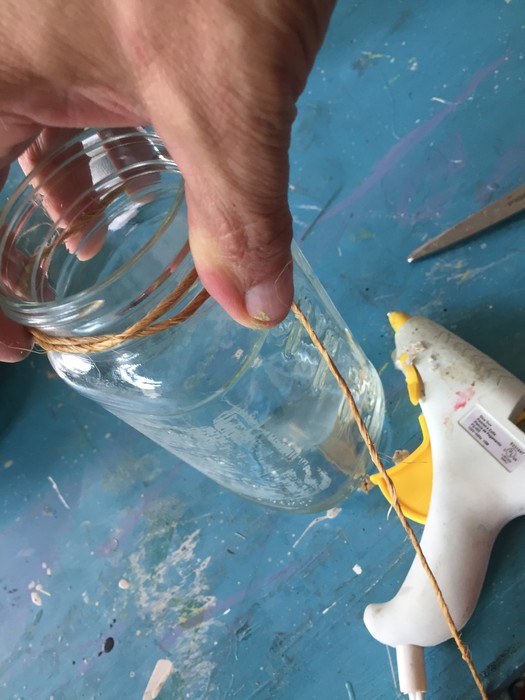
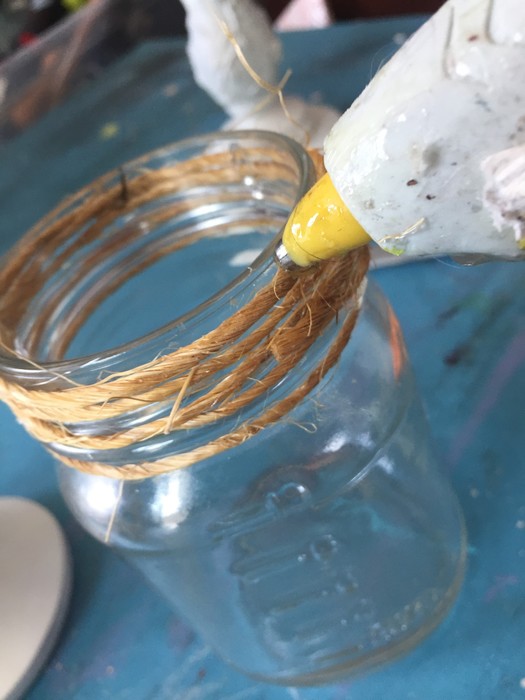
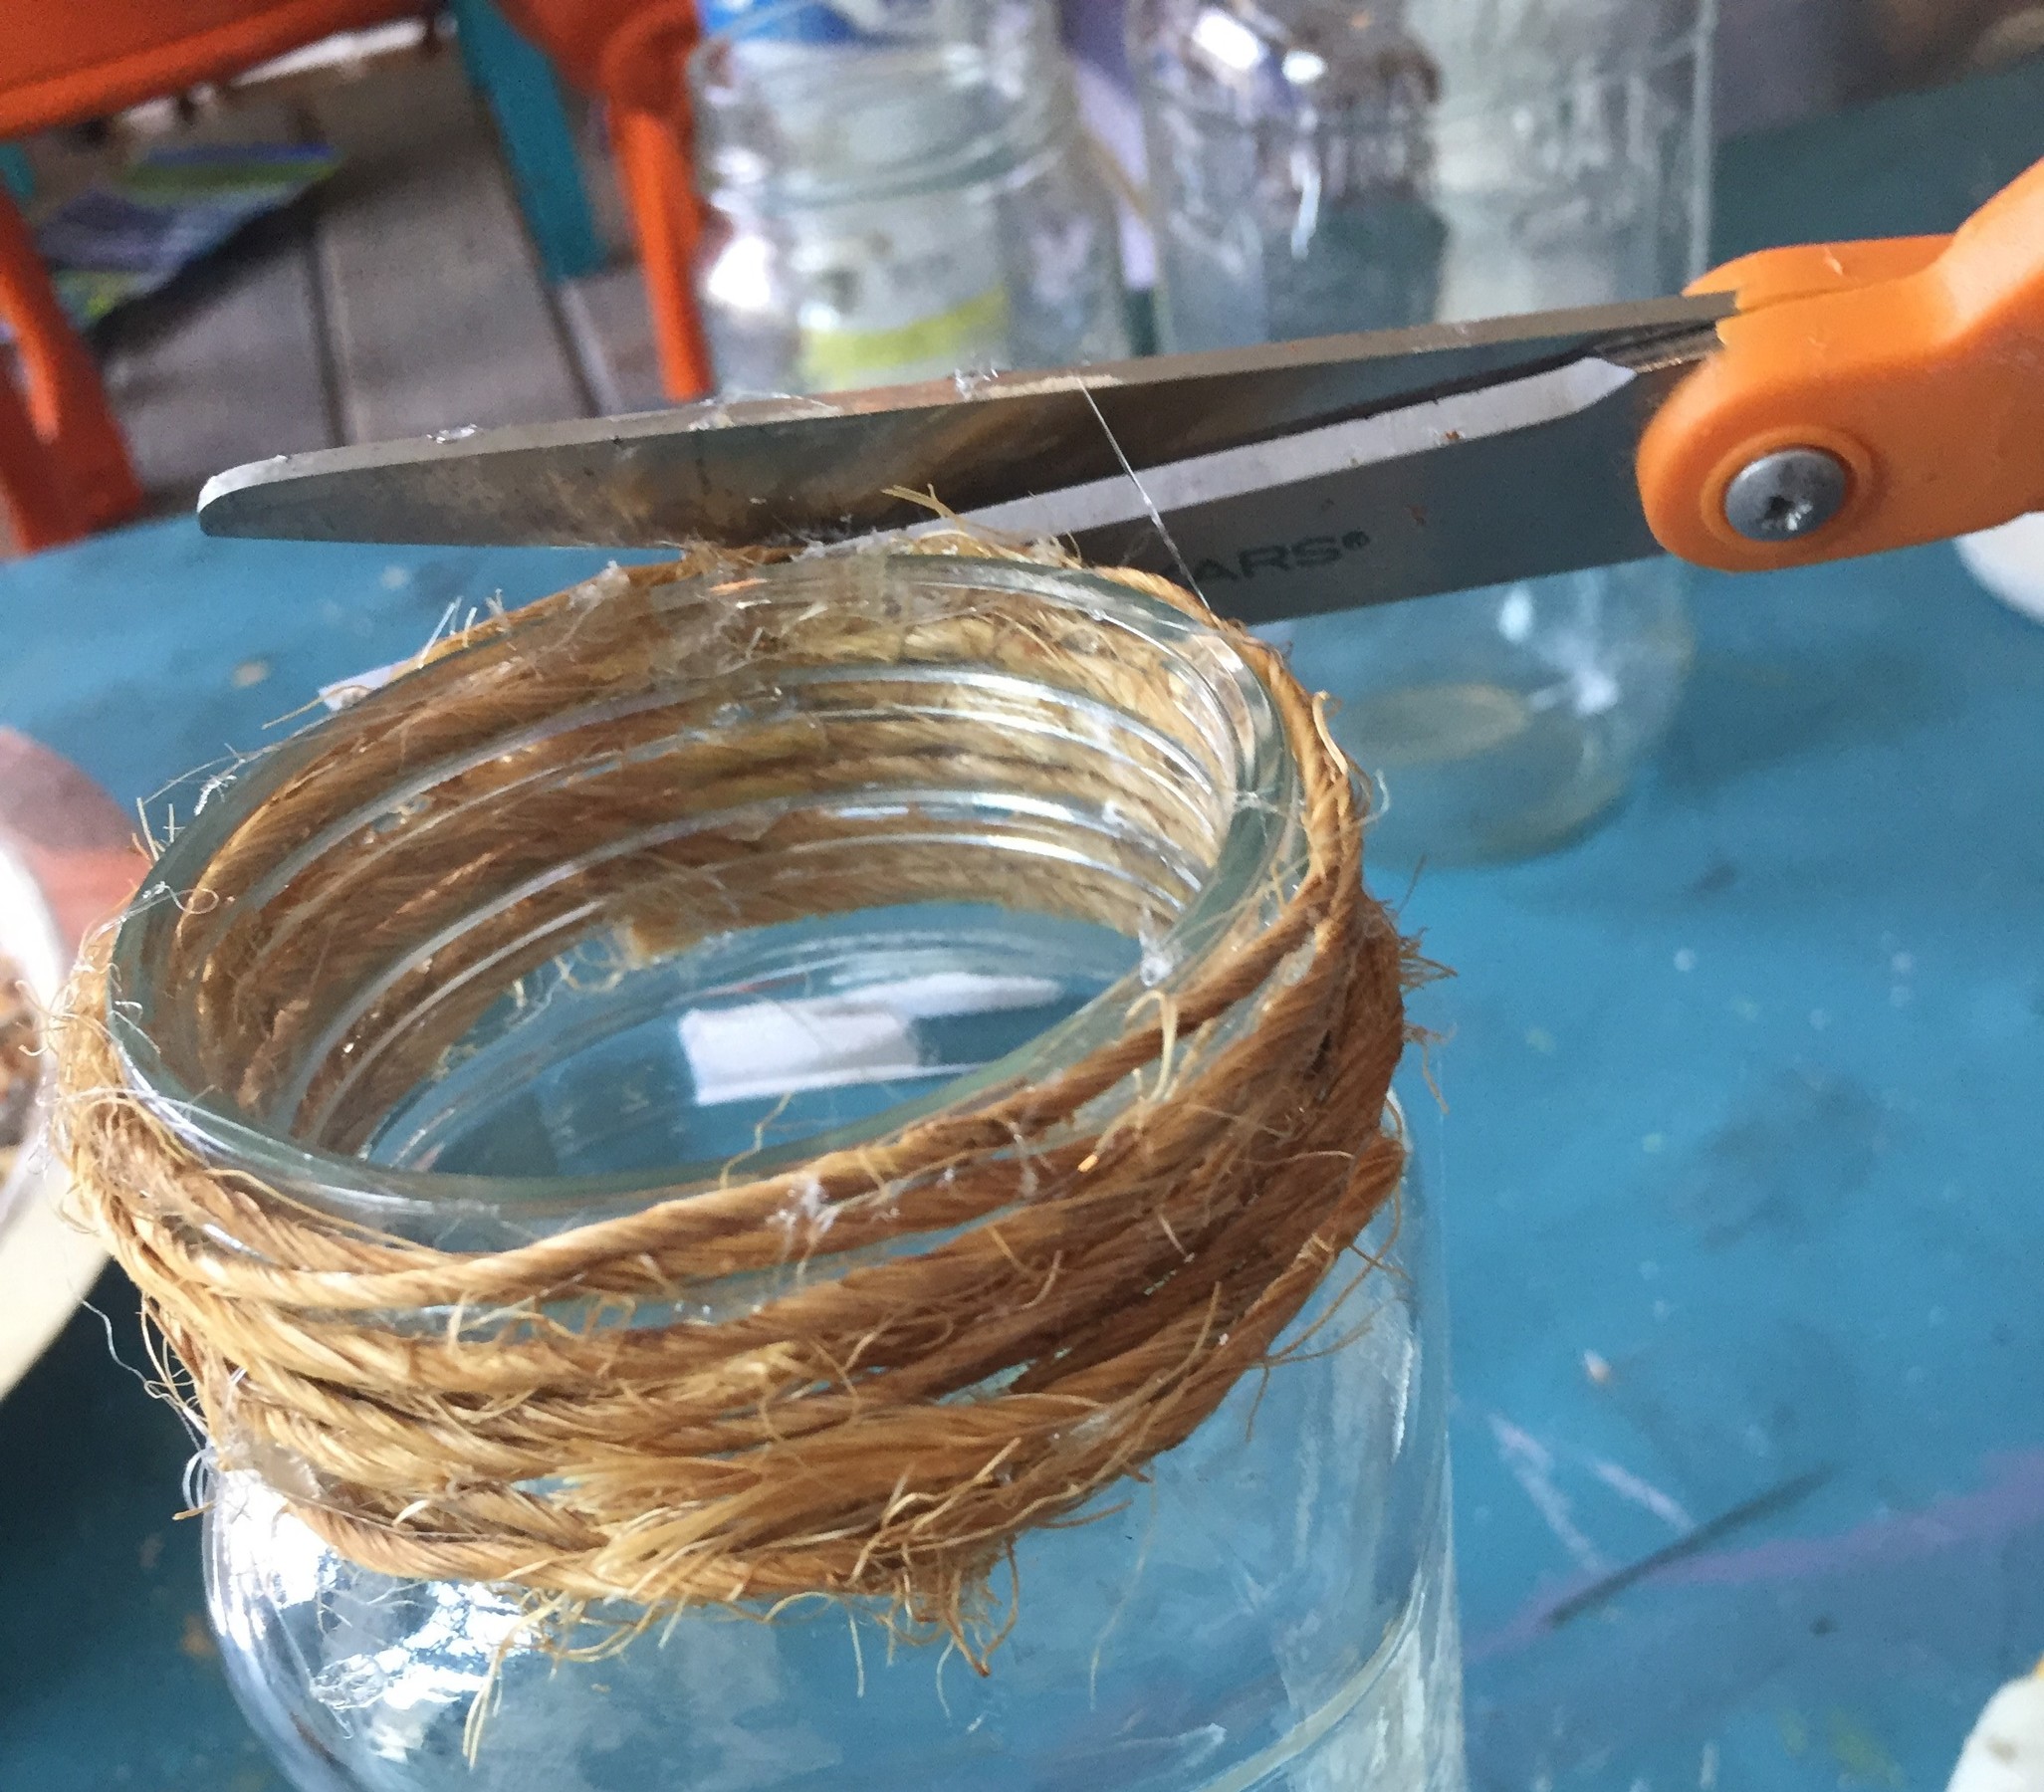
Step 3: Add Twine to Top
While the paint on your candle holders is drying, turn your attention to the mason jars. To make them look more polished (and to add some natural flair), cut and wrap pieces of twine around the top to cover the place where the screw-on top would have gone. Secure with hot glue using your glue gun as you go. Add a little of glue, then add more twine. Repeat until covered. Given the raw look of the twine, you may cut smaller pieces to fill in any gaps as they will blend in well.
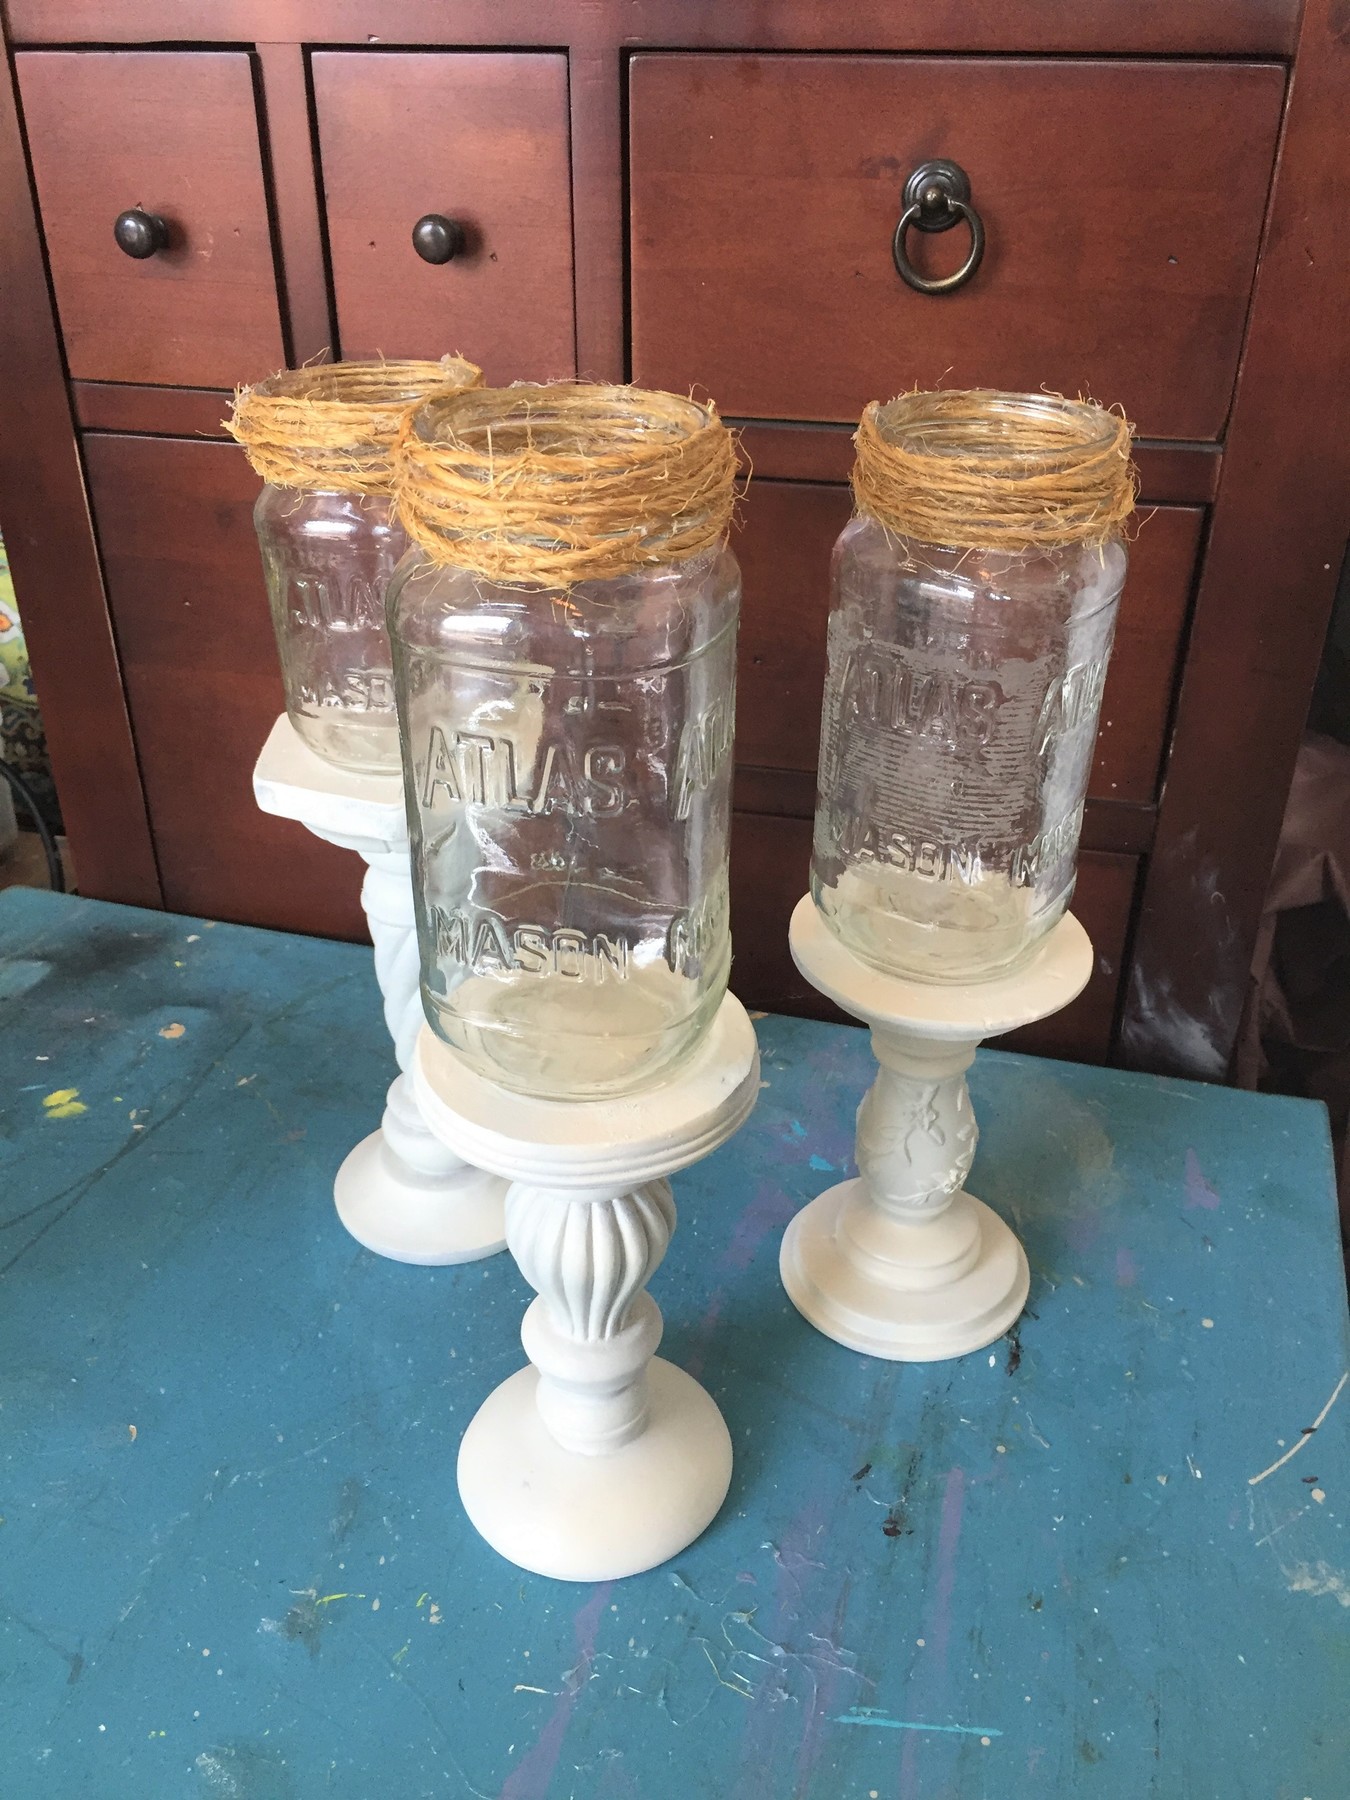
Step 5: Secure Jars to Candle Holders
Now that the paint on your candle holders has completely dried, it is the time to connect them with the transformed mason jars. The ones I selected had bottoms that were flat so I turned them upside down (the top and bottom had been painted so they looked good) because it would ensure a better fit. Use your glue gun and add glue to the bottom of the jar then place in the center of the candle holder top/bottom.
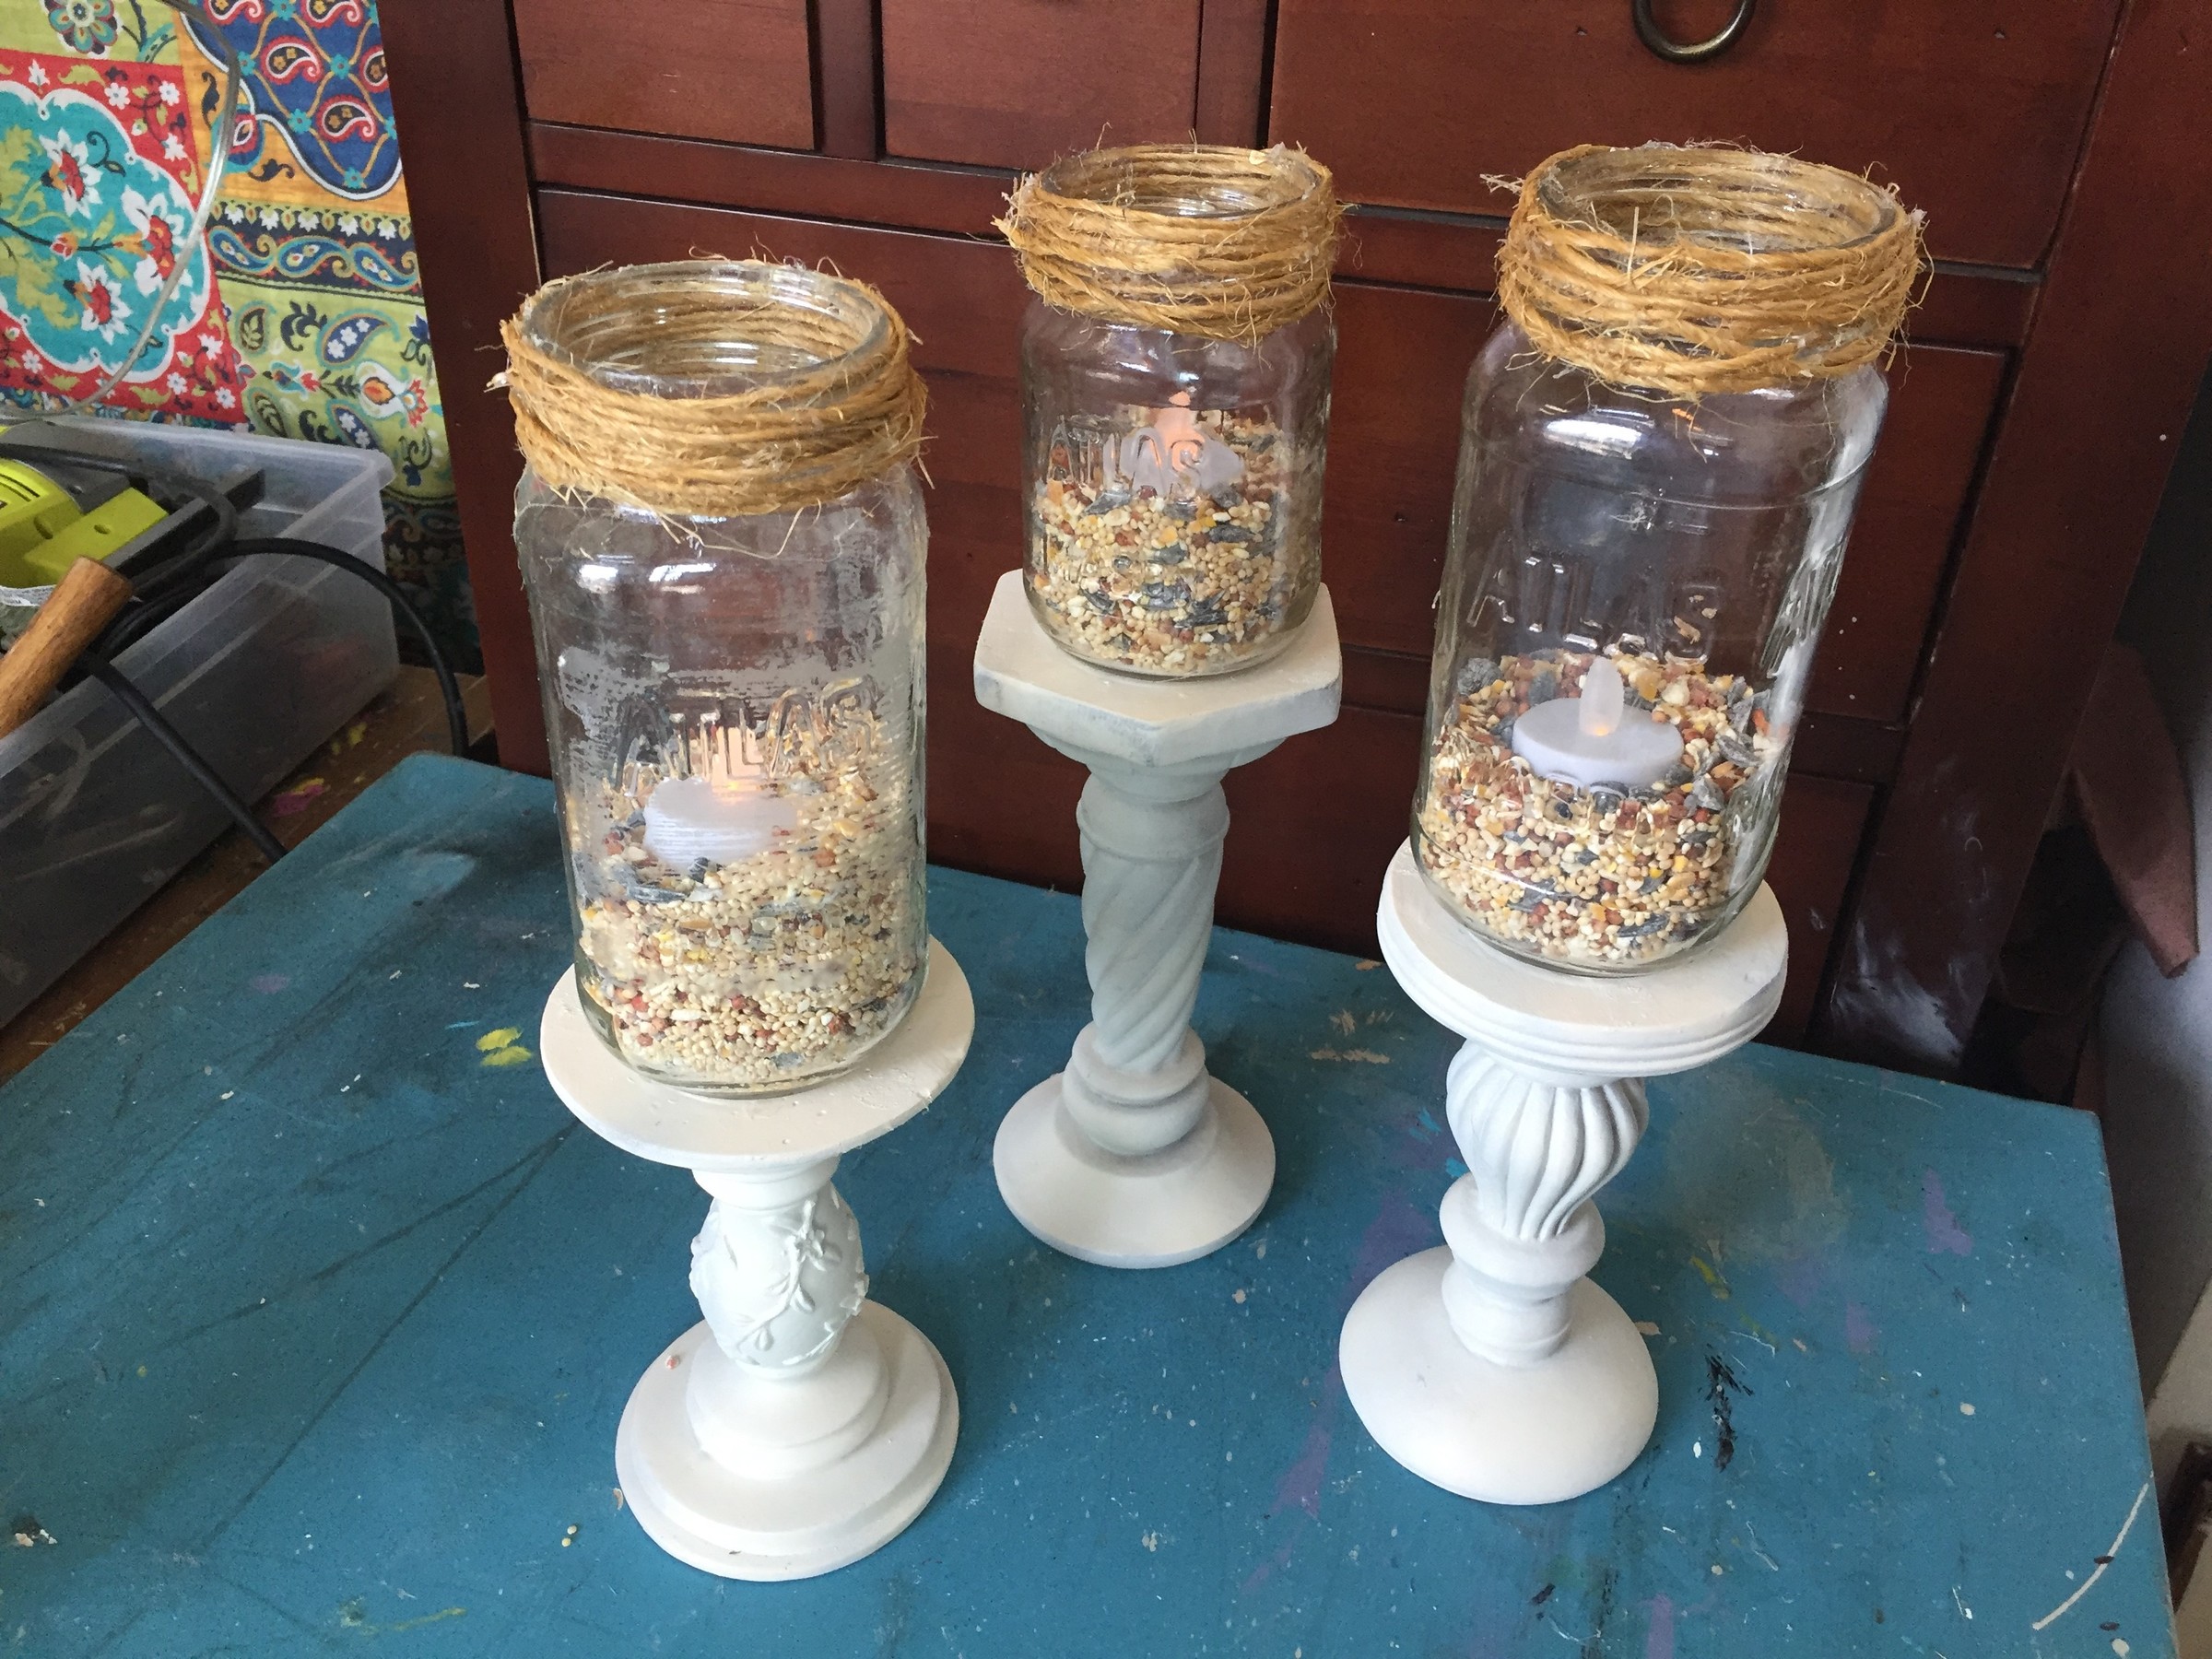
Step 5: Not Just for the Birds – Add Seed
To add visual interest, color and whimsy, fill the mason jar one third to half way with birdseed. (You could also use white sand, tiny pebbles or beads in place of the birdseed). I love the way the birdseed tones match the color of the twine. It gives it a rustic, natural look that contrasts the elegant lines of the candleholder.
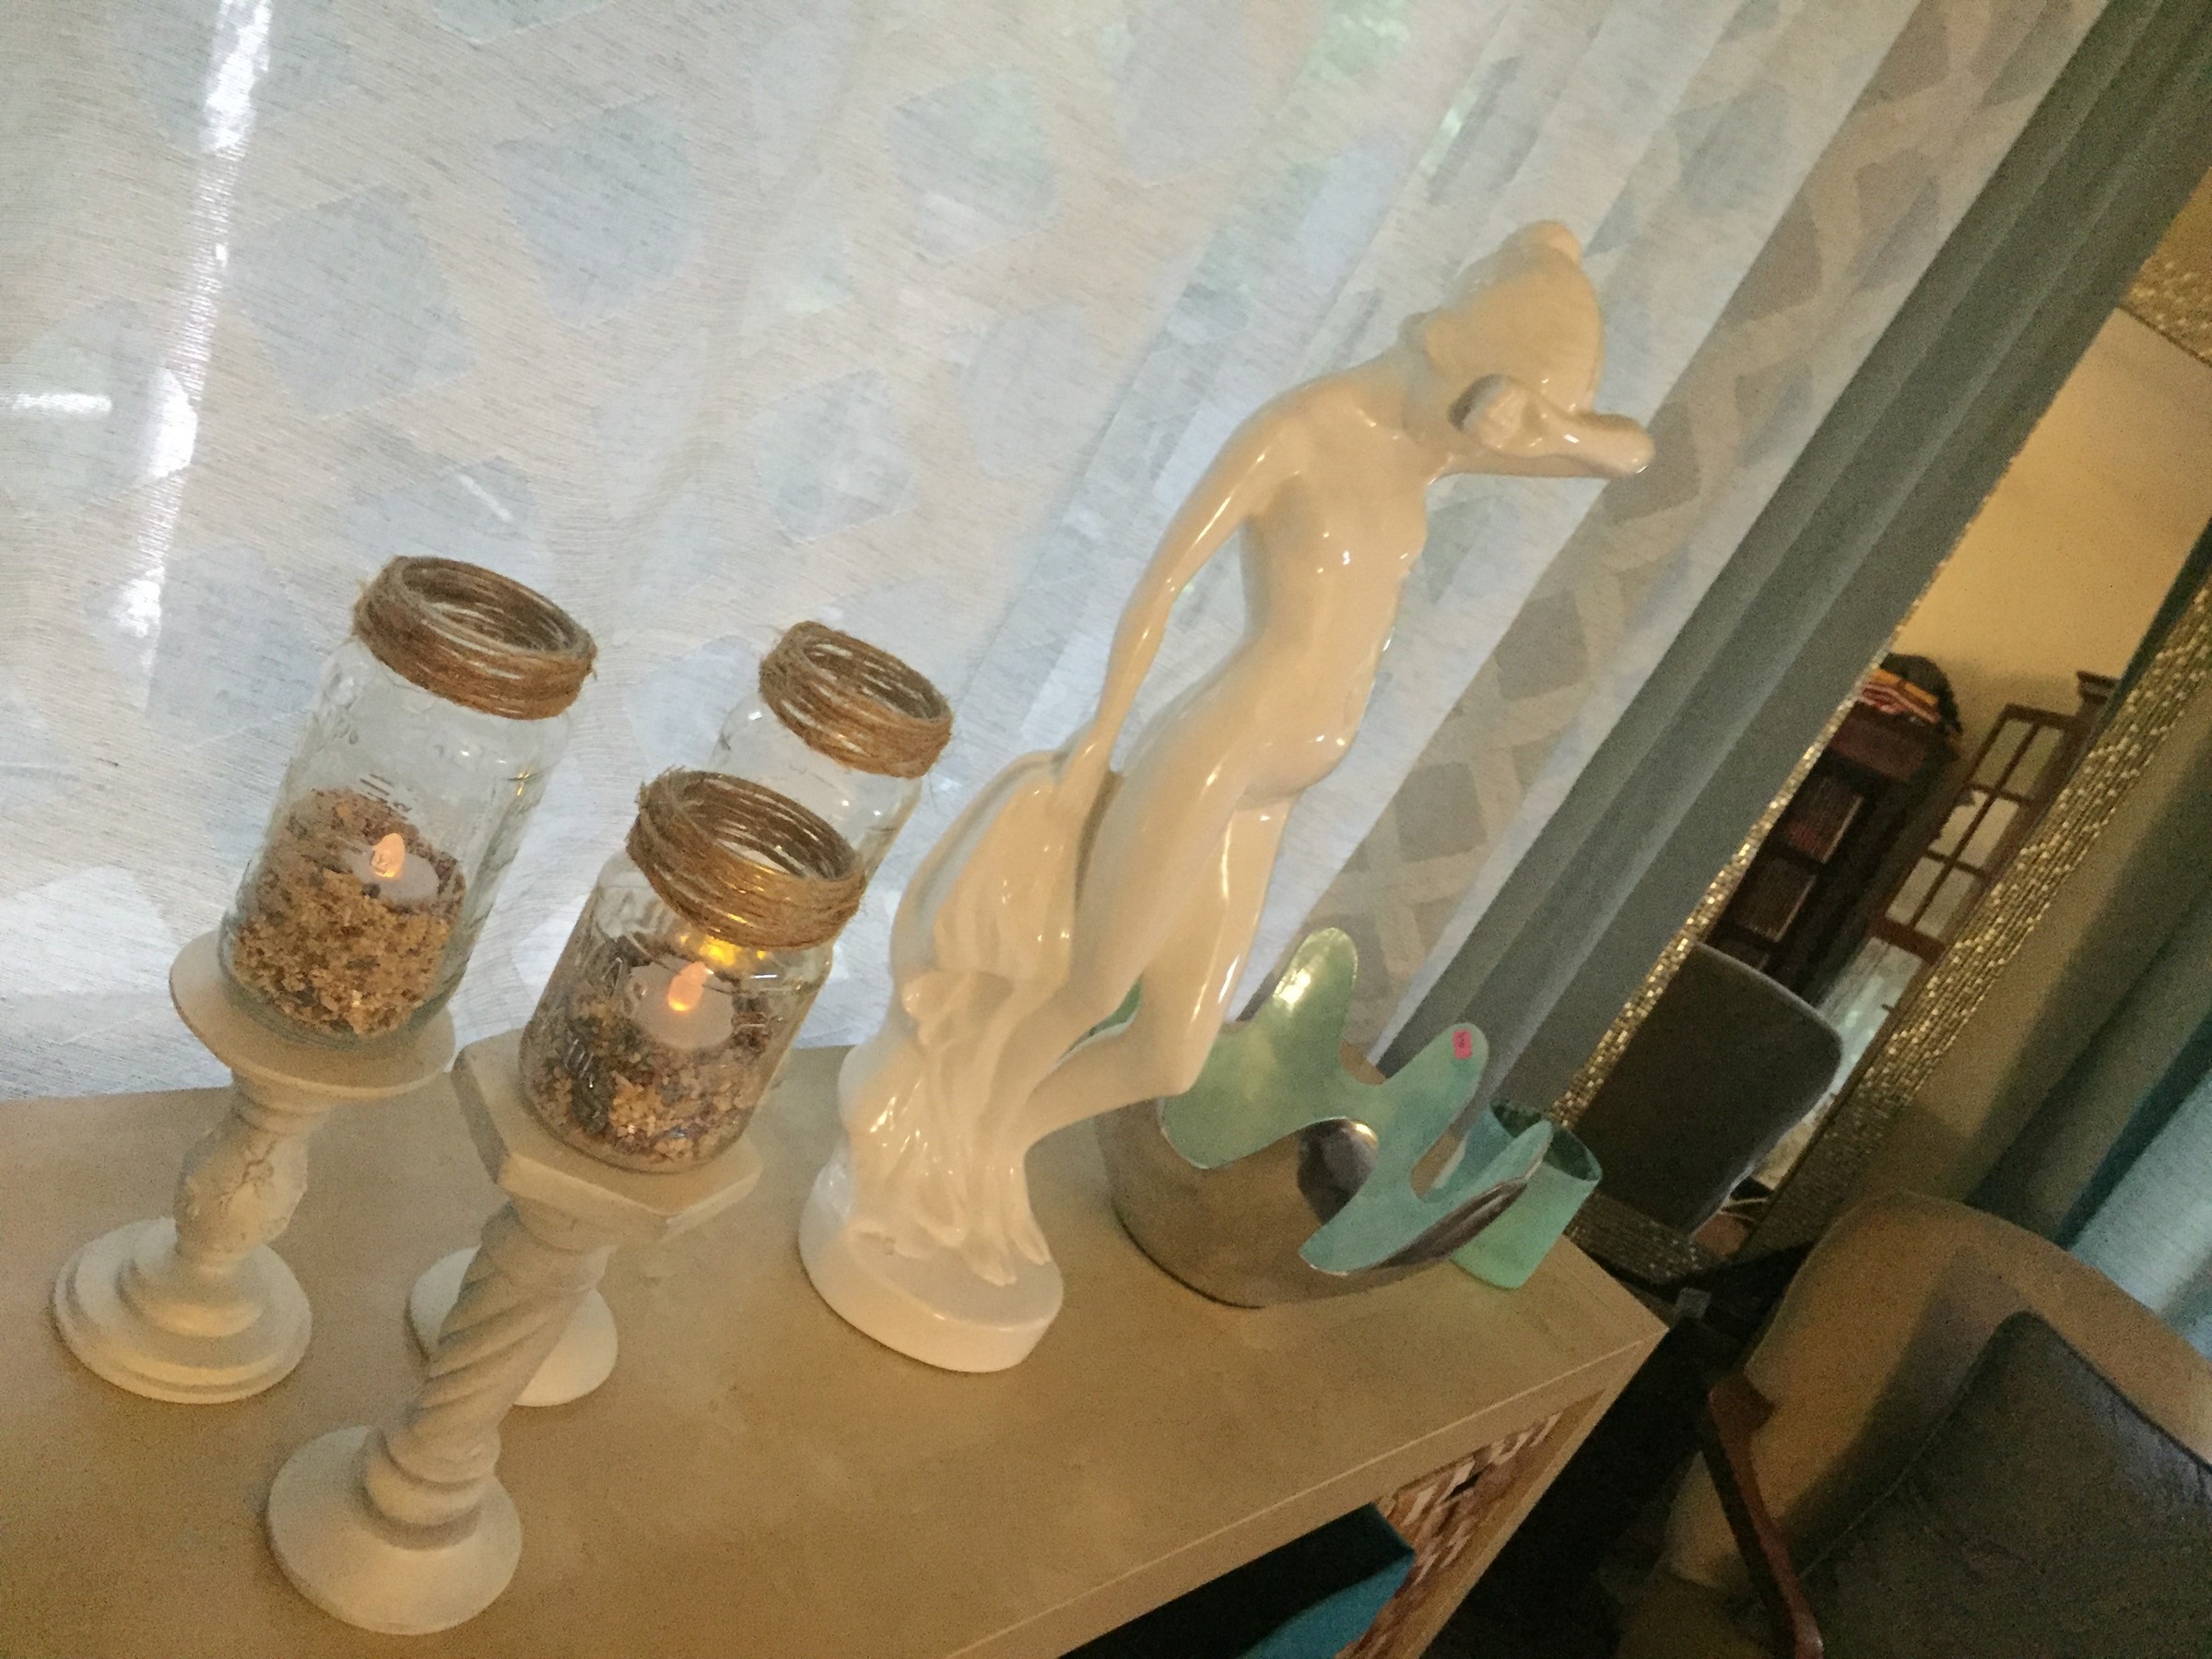
Step 6: Let There Be Light!
Turn on the flameless votive candles and add one to each of your charming lanterns. You may consider using a spoon to gently push them into the birdseed so only the flame part sticks out. A group of two or three will look fantastic where ever you place them and will be certain to make your room or event a little brighter by casting a wonderful glow.
Tim Kime is an artist, life coach, connector. He is President of Kime Leadership Associates offering executive coaching, meeting facilitating and motivational speaking. He is also Chief Creative Force of Transformation Junkies which upcycles furniture and other household items into functional works of art. He combined his two passions—unleashing the potential in people and transforming items with the launch of the Art of Possibilities Workshops. These workshops are part upcycling, part dreaming, part goal setting.