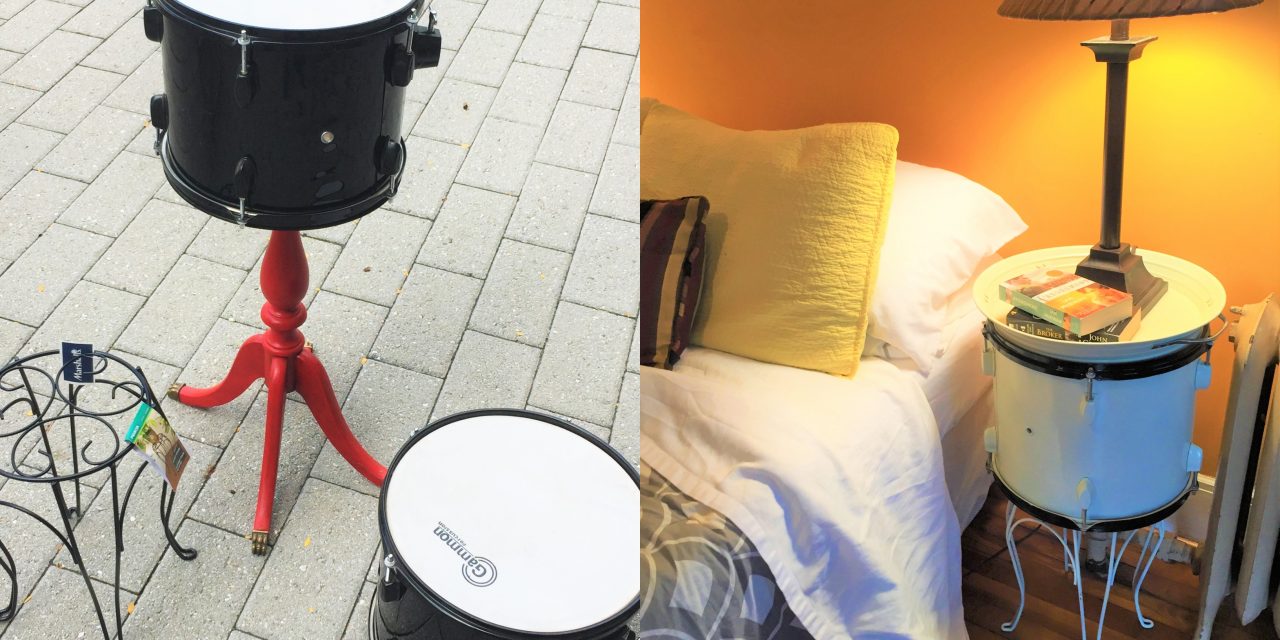
Drum roll, please! You will make your own kind of music by turning an old drum set into a pair of memorable side tables.
These fun and whimsical pieces will strike a high note with musicians, musical lovers and anyone who appreciates a new tune.
Age level: Older kids and adults
Ability level: Great for new DIYers
Items needed:
1. Pair of drums
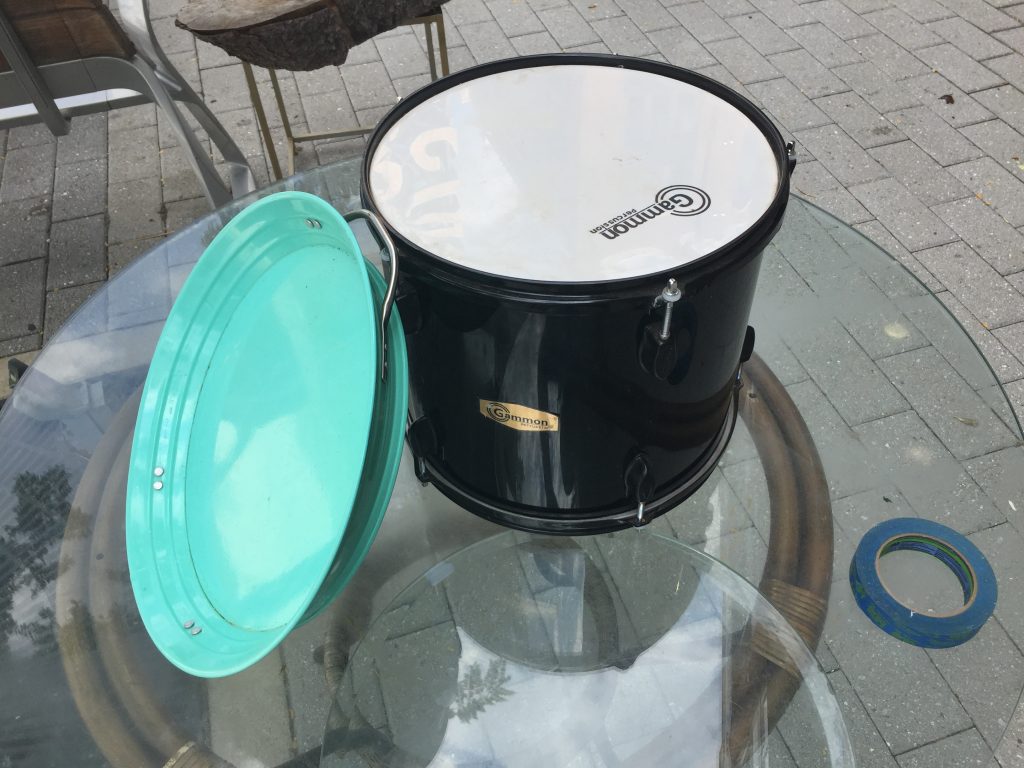
2. Round metal serving tray
3. Round tempered glass table top
4. Wooden side table
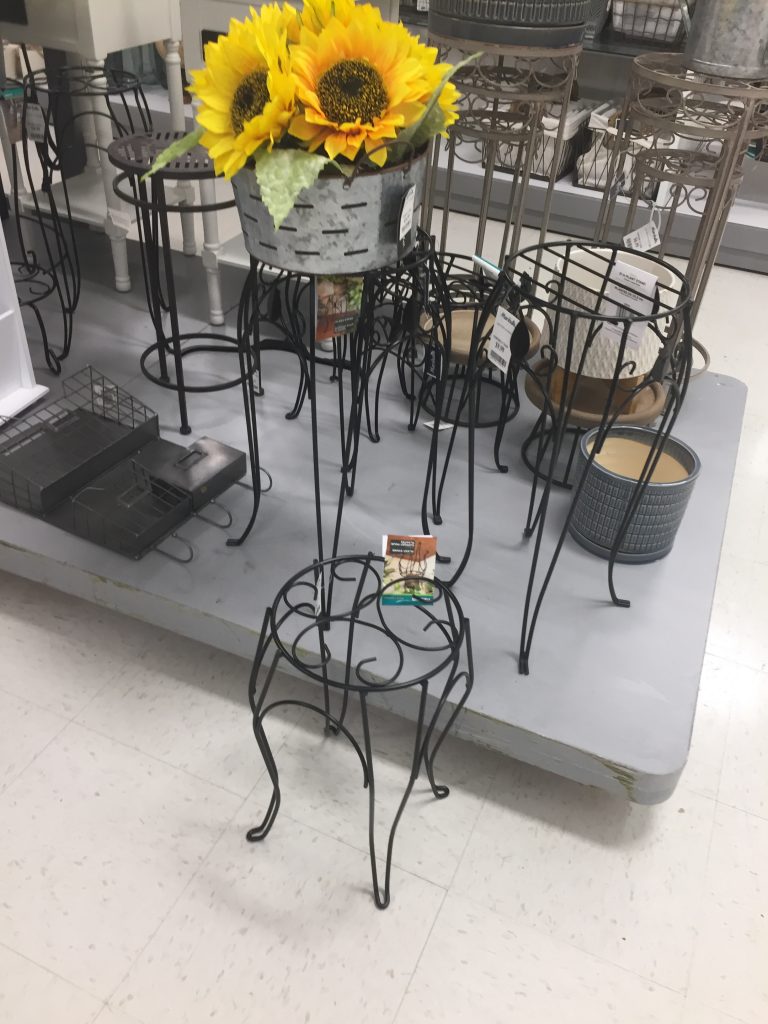
5. Small metal plant stand
6. Ivory colored spray paint
7. Roll of painter’s tape
8. Adhesive glue
Time requirement: Two hours, not including paint and adhesive drying time
Cost: $35 for the whole project
- $15 per drum
- $10 for wooden table
- $10 for plant stand
- $10 for two cans of spray paint
- $5 for painter’s tape
1. Strike up the band at Goodwill
You will want to march right over to Goodwill to see what awaits you to transform.
Part of the fun of shopping there is finding unexpected items—like a drum set used for this song-worthy DIY project.
Drums and other musical instruments are great to transform because everyone loves music and, when repurposed, they fit in every kind of décor.
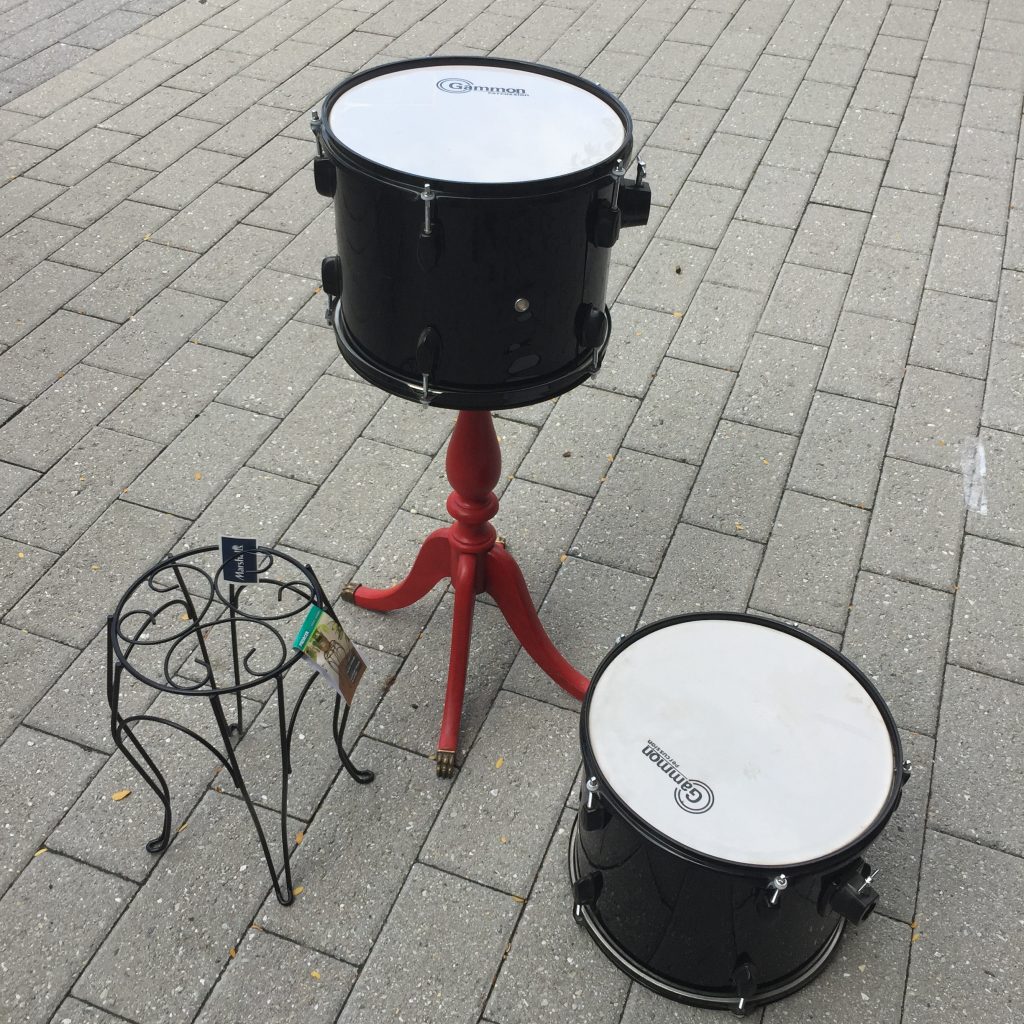
2. Make an arrangement
The magic behind this DIY project is combining several items into a new purpose.
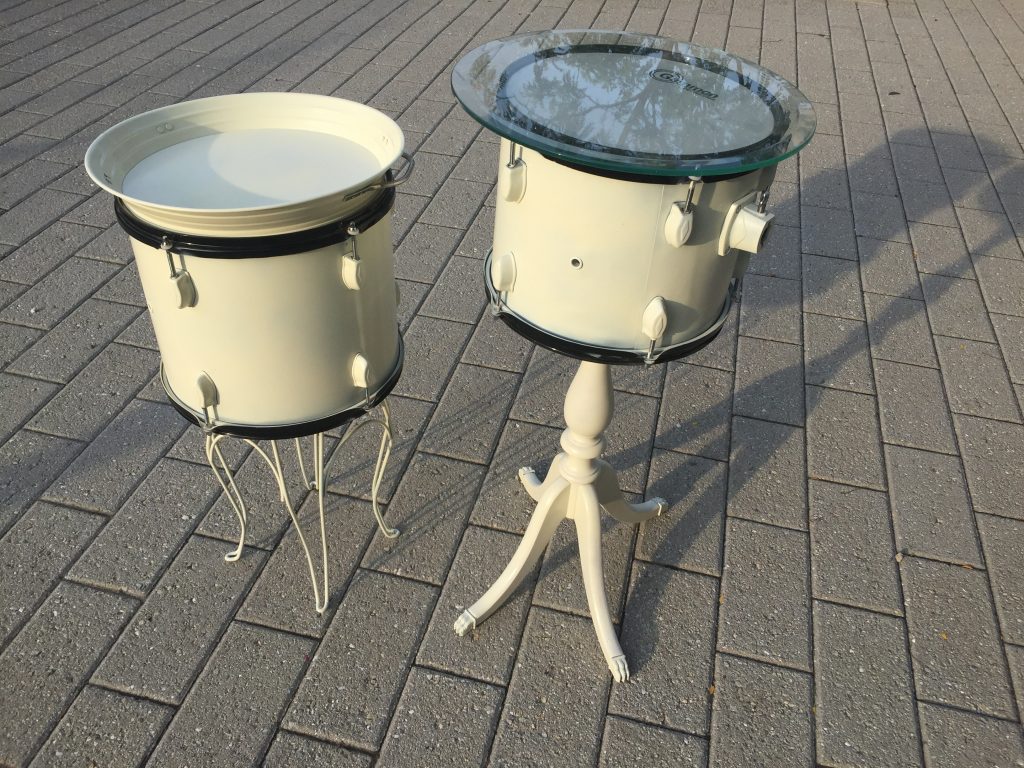
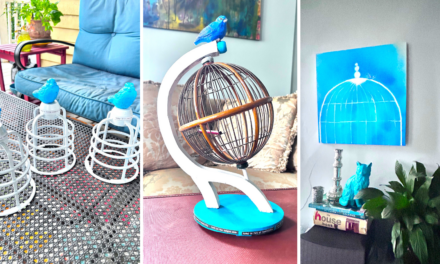
- A small wooden table was used for one of the drum tables by removing its top and using the base to hold one of the drums.
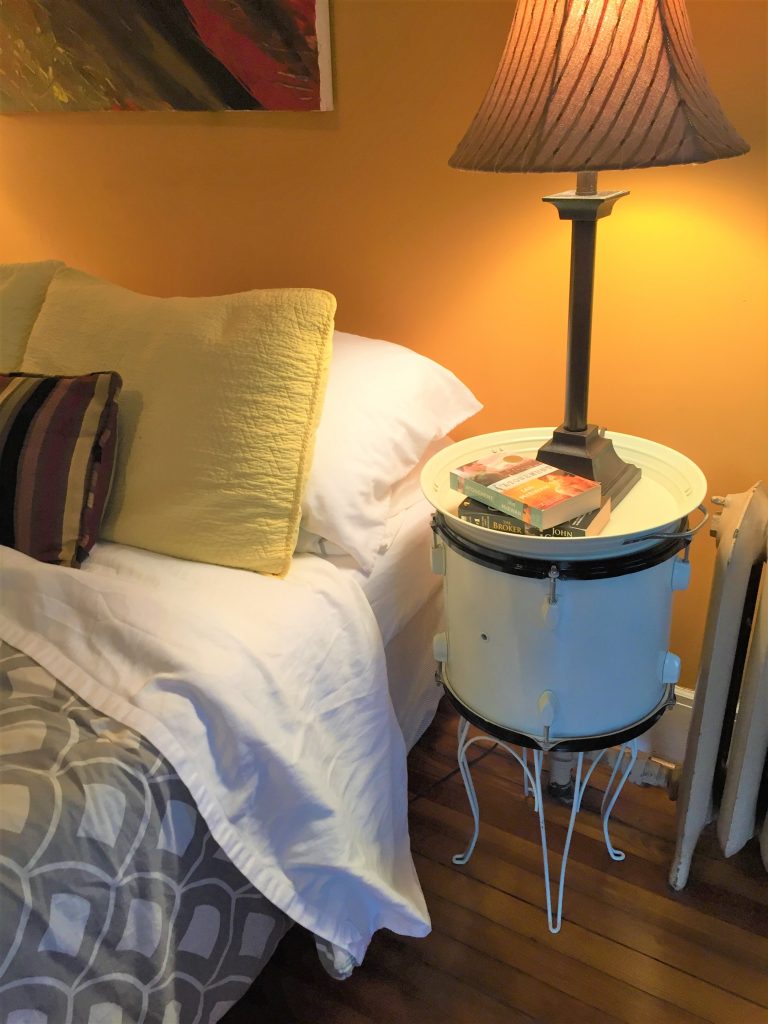
- A metal plant stand was tapped for the base of the second drum table. To provide a solid surface and protect the drum top, a round metal serving tray was used.
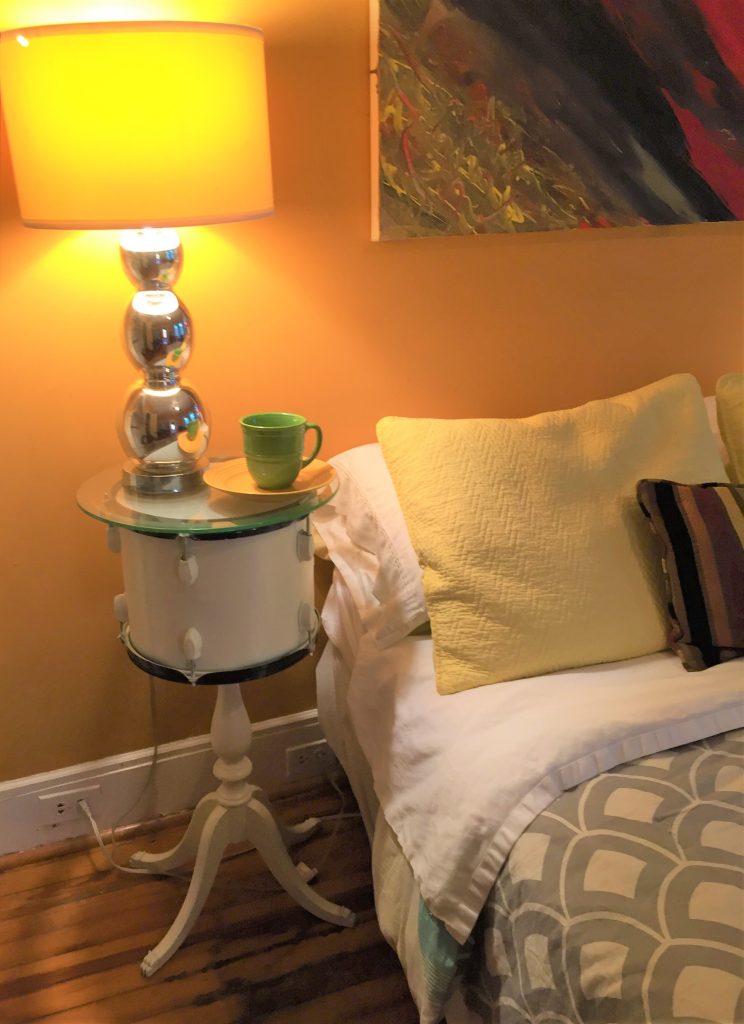
- A round tempered glass piece was removed from a small table then placed on top of the other drum.
The typical height of an average night stand is 24 to 28 inches; end tables are usually between 22 and 30 inches so find pieces that allow the top of the drum table, once assembled, to fall within those ranges.
Expert Tip: Measure your drums before you head to Goodwill so the pieces you pick to go with them will be the right size. Always take your tape measurer with you so you don’t have to guess. However, most stores do provide you with one if asked.
3. Secure the bottom to the top with adhesive glue
An easy solution to ensure your pieces connect well is using a builder’s grade adhesive glue. Given that the drum’s are lightweight, this step works well and is easier than cutting wood, drilling and screwing pieces together that way.
- Turn your drum upside down.
- Apply a good amount of the glue and secure the table base and plant stand into place while drying with painter’s tape. The flat surface of the drum’s bottom will adhere will to the flat surface of both the table base and plant stand.
- Let dry overnight.
4. Protect with painter’s tape
As you consider the design of the final piece, use painter’s tape to protect parts from painting.
The top of the drum, the part that is played, should be protected so you can see its white, original color to help “anchor” it as a drum.
Tape was placed on the top and bottom outer ring as were the silver screws holding the drum together.
This was done to highlight these pieces and add visual interest to the final product.

5. Make your piece sing with spray paint
To make the various pieces look cohesive and connected, an ivory-toned spray paint was used. This color also allows the drum set to look great in any décor. Also, its shape is what will attract attention so you don’t need to do something really bright and bold.
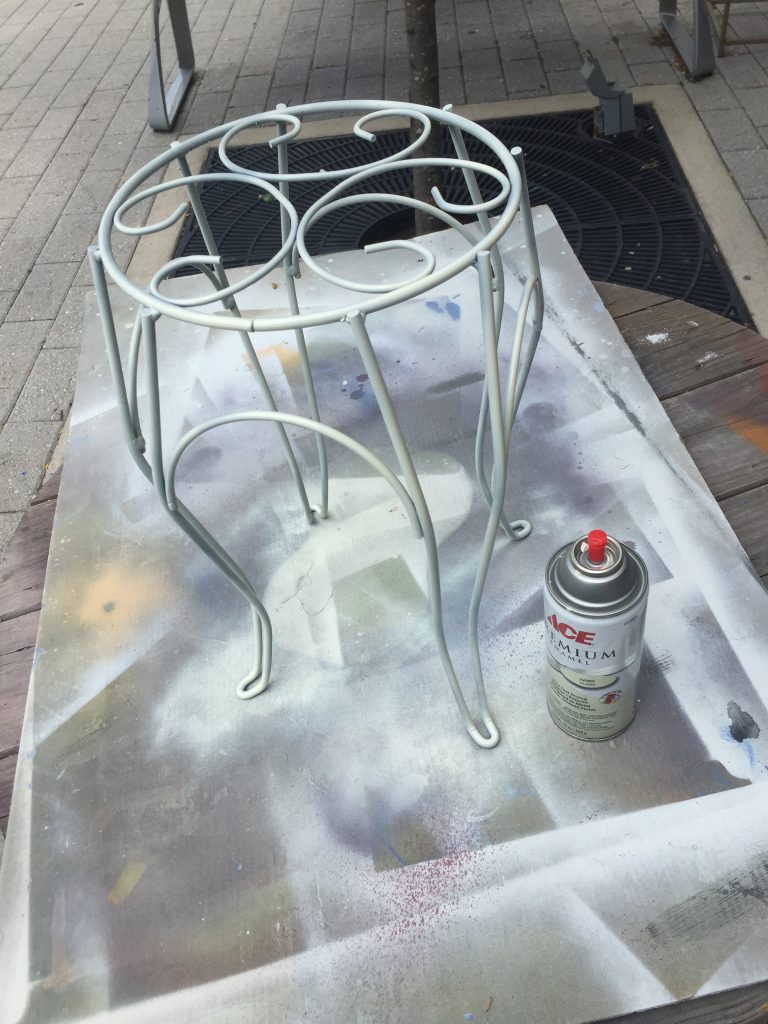
- Place your pieces outside on a drop cloth.
- Lightly apply a thin coat over the entire piece.
- Once dry, turn the drum table on its side or top and add another layer. You may need to apply three or four layers, but the spray-painting part is so much fun that you won’t feel like you are rehearsing for the big performance (a lame music pun. Sorry!)
- Ideally, let your pieces dry overnight.
- Once dry, carefully remove the painter’s tape to reveal the various visual accents. The silver screws added some bling to the look and the black outer rings struck the right cord!
6. Place and give applause
Put the round glass piece and the matching, spray painted tray on top of the drums then find a special place for them in your home.
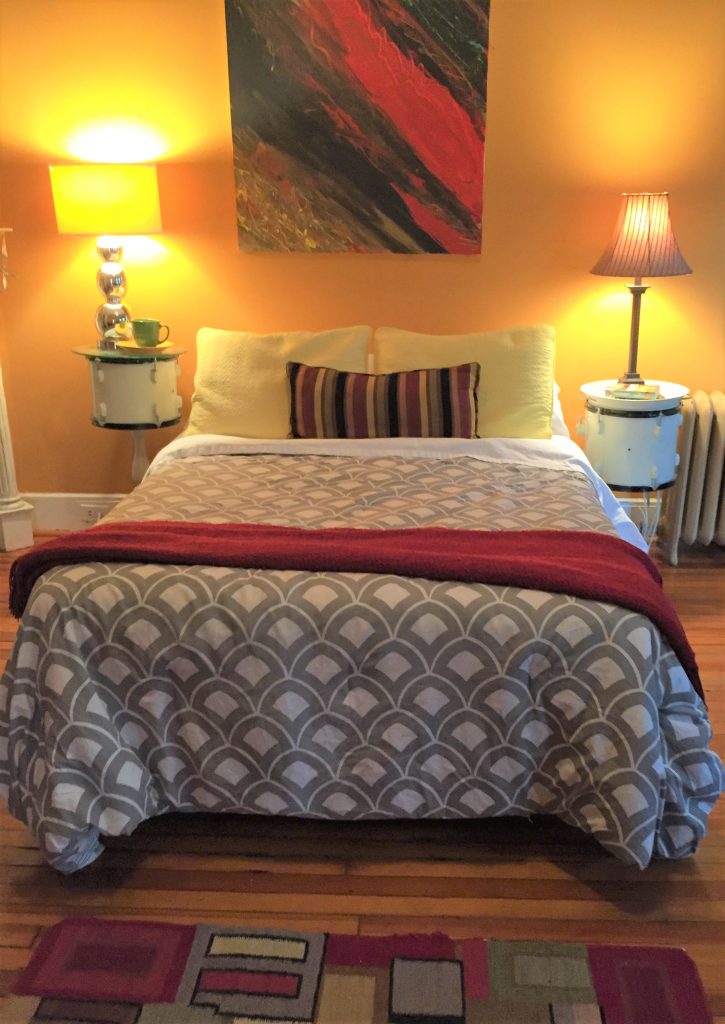
Your new drum tables will look great in any room!
They are pitch perfect together as nightstands or as end tables by your couch.
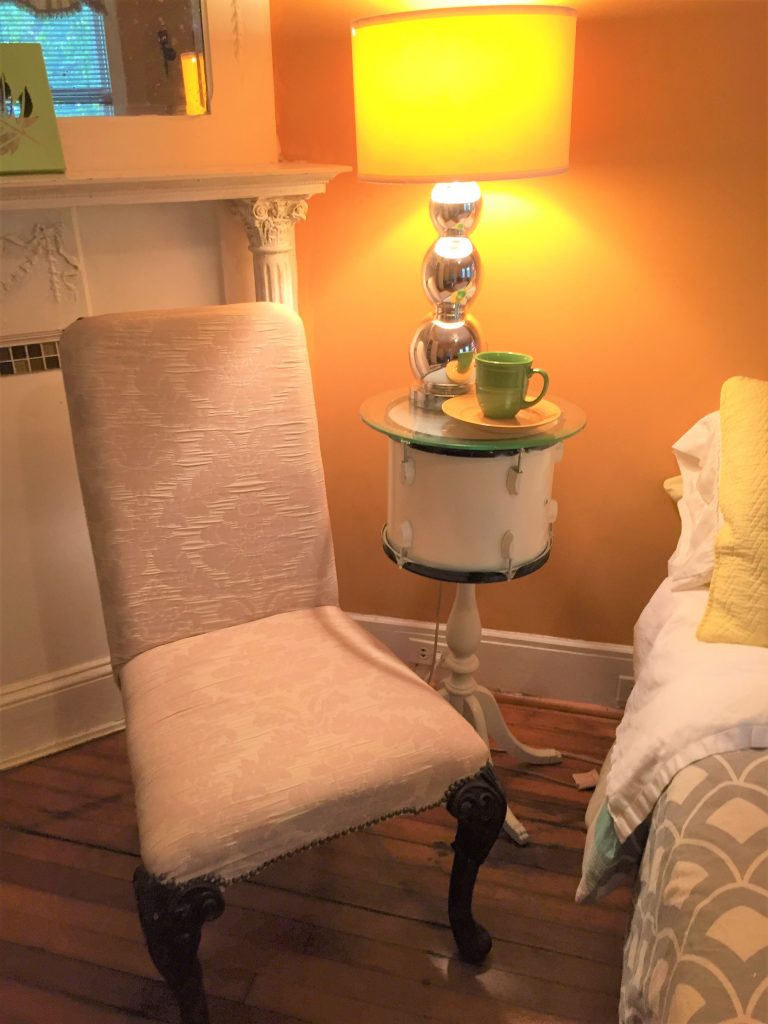
Position one in your favorite reading nook to hold your cup of coffee or glass of wine.
Given its small size, you could place one in the bathroom to hold a basket for toiletries.
Wherever you place them, you won’t be able to beat all the compliments they receive!

