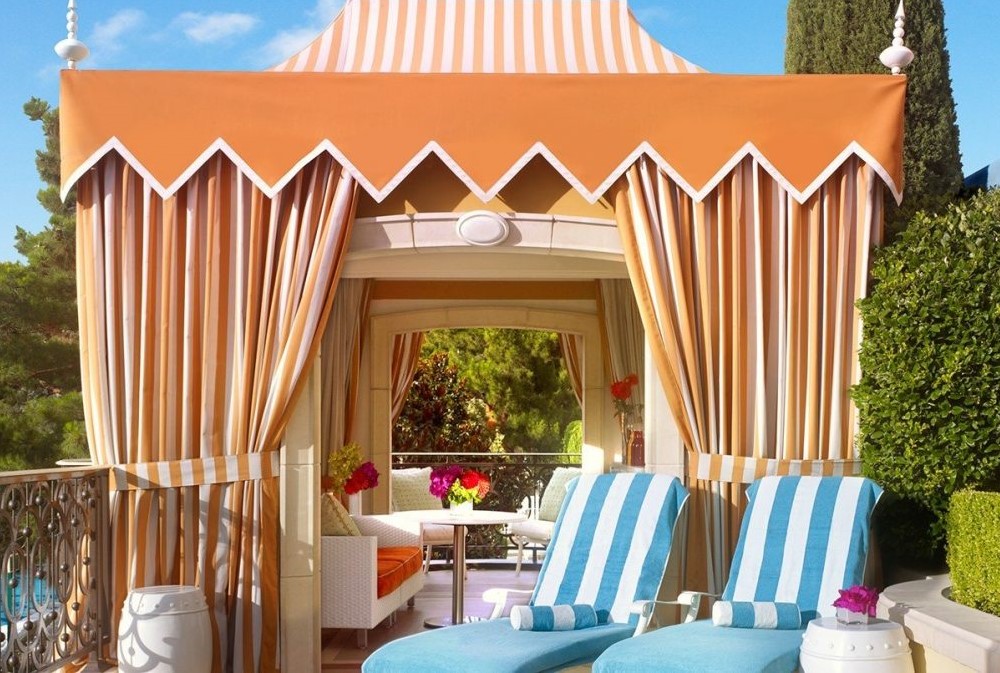
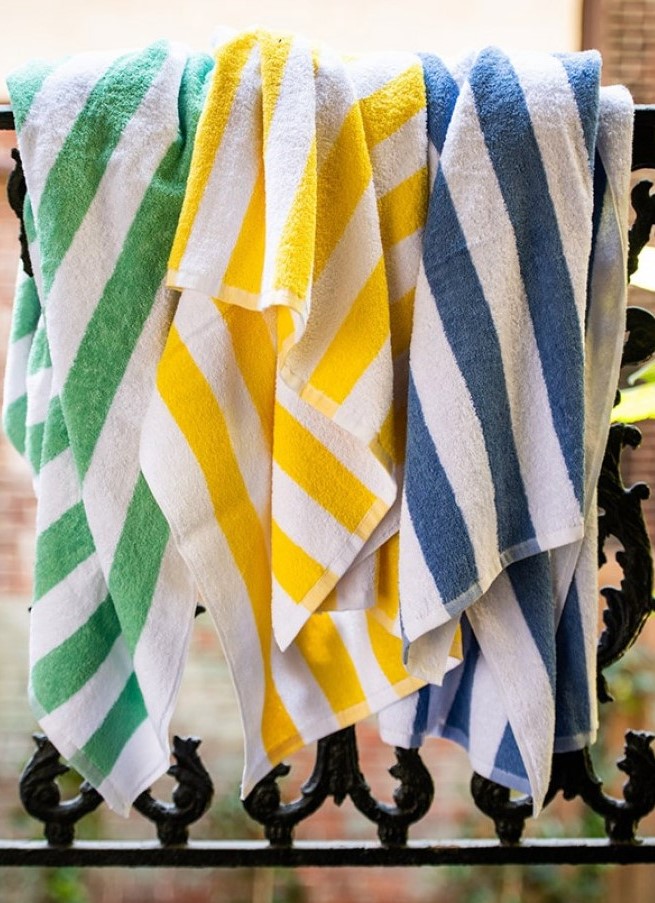
One of the designs/looks that makes us think of summer and fun times are those big and bold Cabana stripes. You often see these on beach towels, lounge chair cushions, and summer attire—and of course on cabanas, a style of shelter found near beaches or pools.
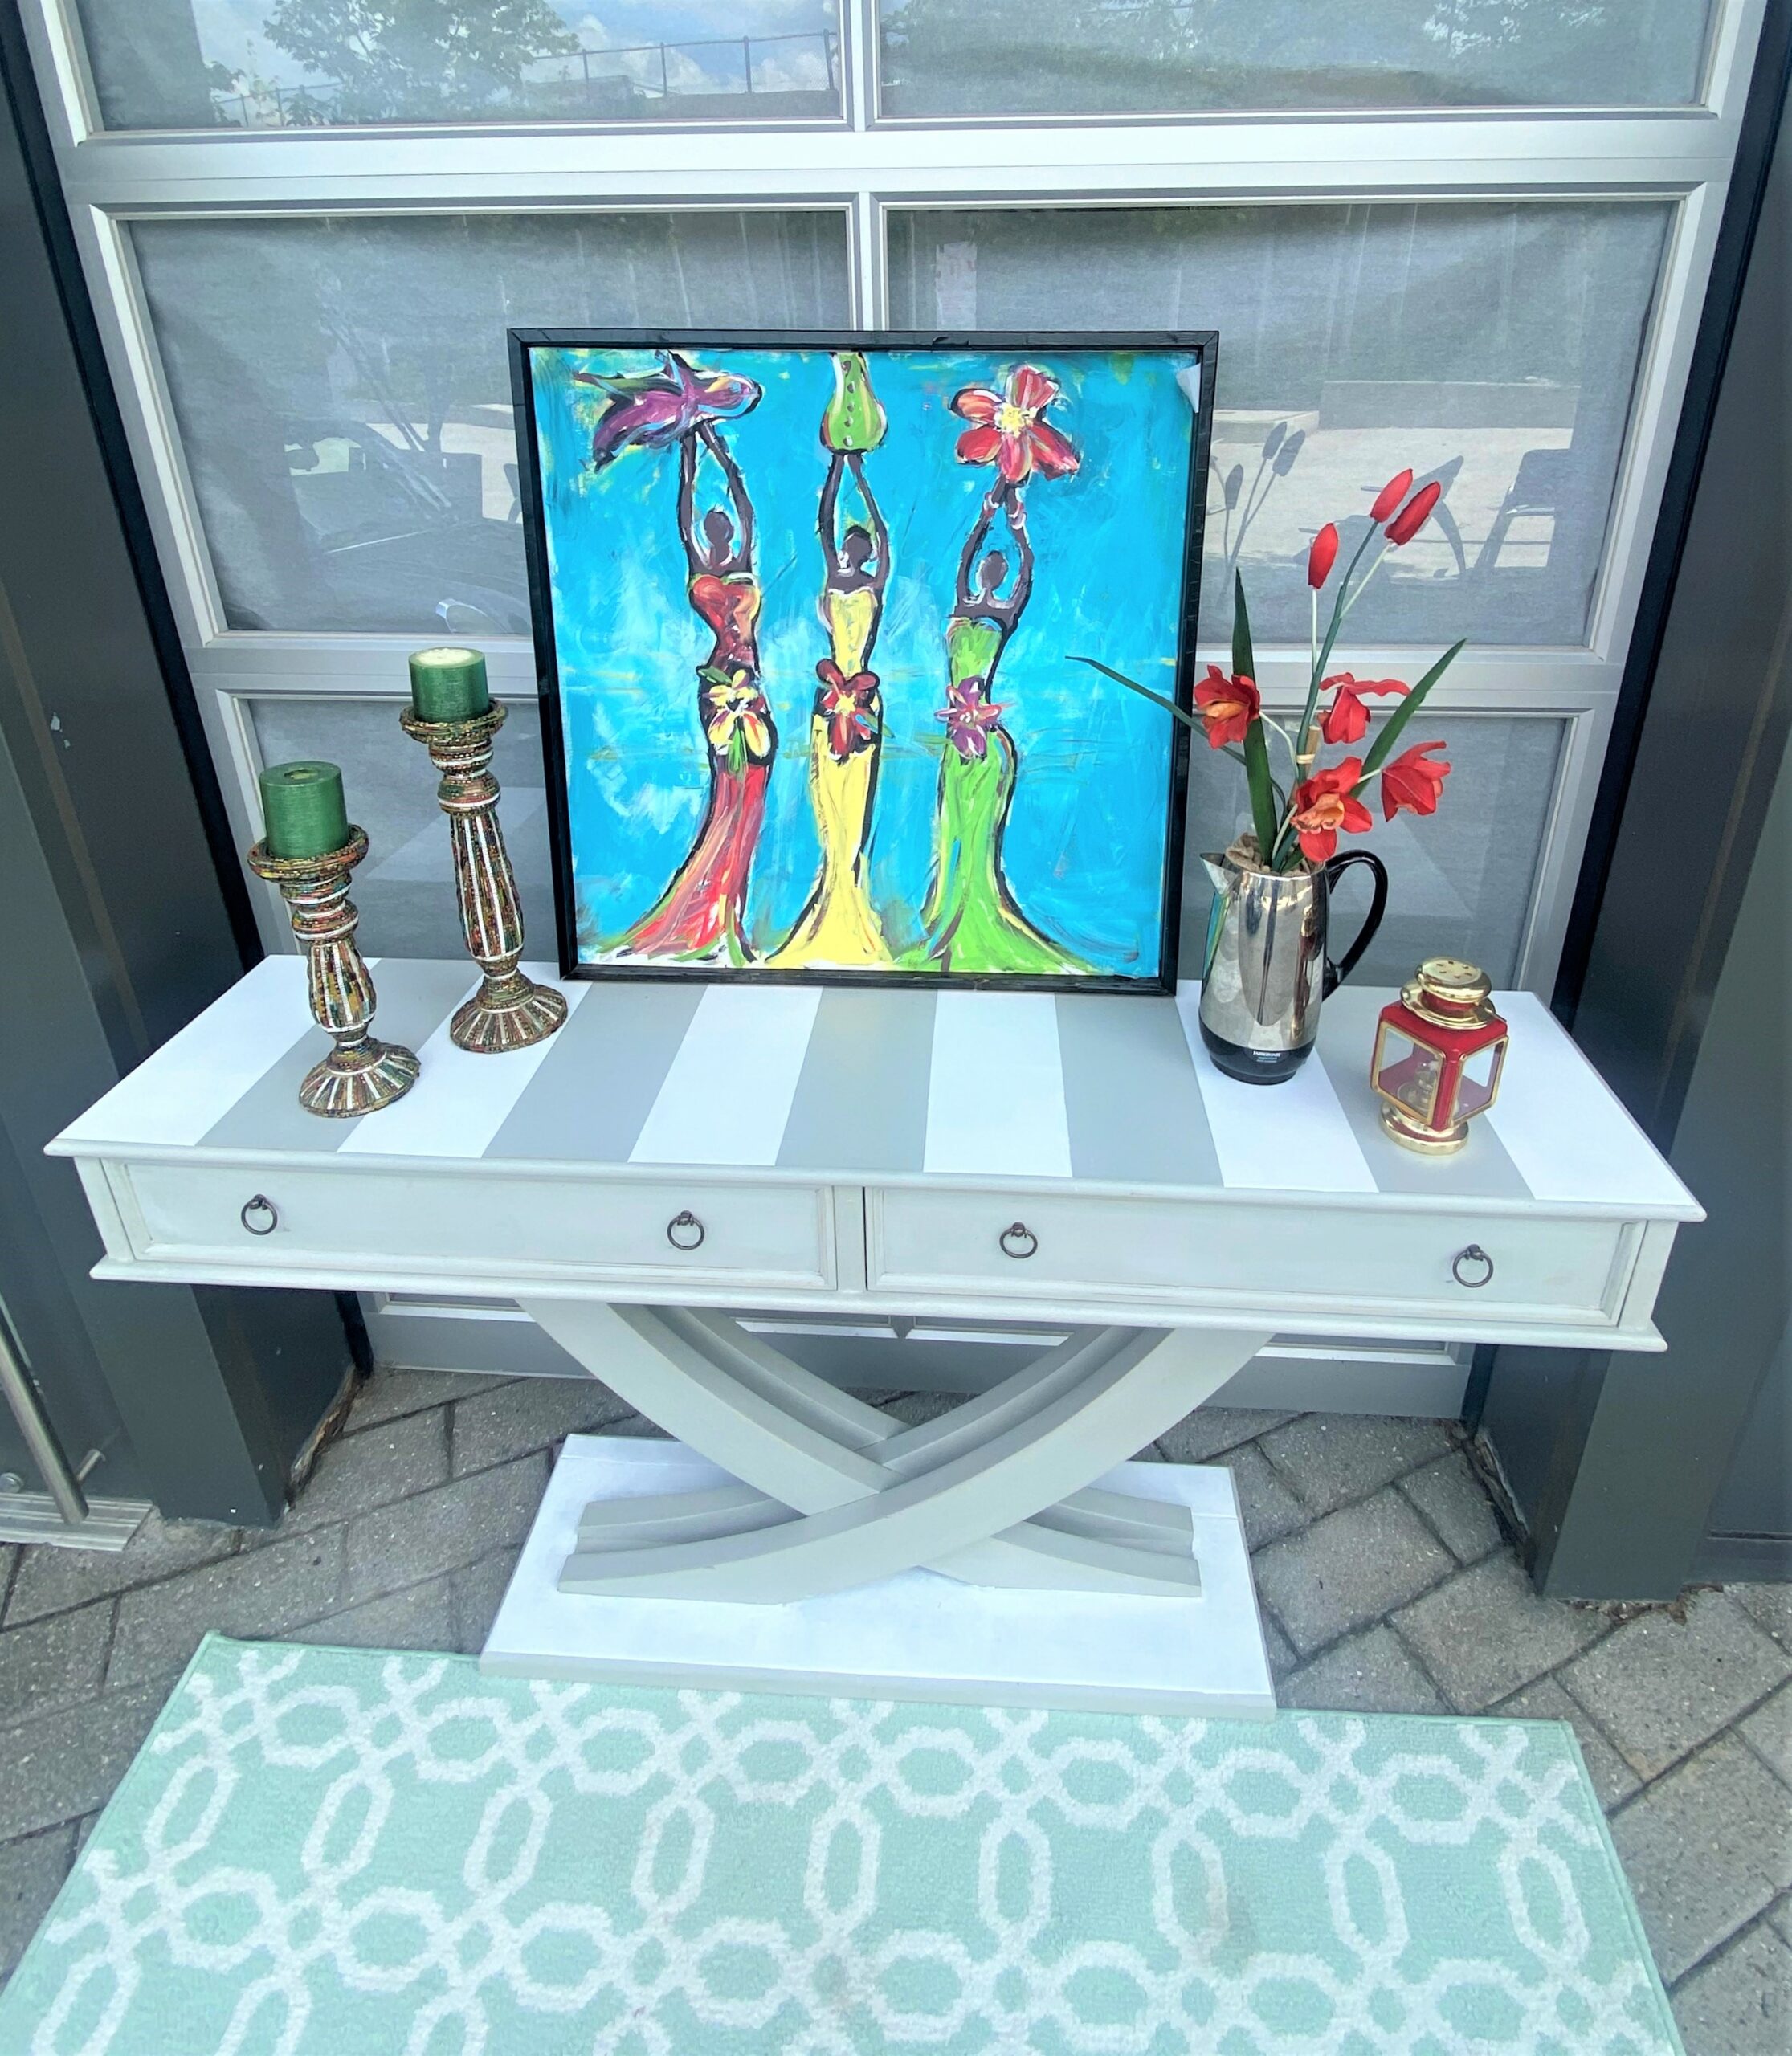
Where does this eye-catching design come from? According to the Boca Terry blog (bocaterry.com/blog/history-cabana-stripe), the “adored, iconic style beloved by beachgoers ” was the uniform of both working-class people and mariners around the world. The Cabana Stripe conjures various images, but its pattern is unforgettable. Minimalistic, bold stripes in black or multiple colors alternating with white. Often vertical (but occasionally horizontal), the stripes have become a symbol for chic, sophisticated design.”
While that all sounds pretty good, I just know the look is super cool and fun!
Supplies needed:
· Wooden entry tables
· Paints in light gray, white
· Small paint roller brushes
· Foam craft brush
· Painter’s table
· Measuring tape, ruler
· Pencil
· Heavy craft paper
1. Saunter on over to Goodwill for some hot deals
Hey, it’s summer, so you are on island time, right? Therefore, stroll on over to your nearby Goodwill store to check on the many unique items and totally hot prices. Thankfully, the stores are cool, so you won’t sweat from the heat or the prices.
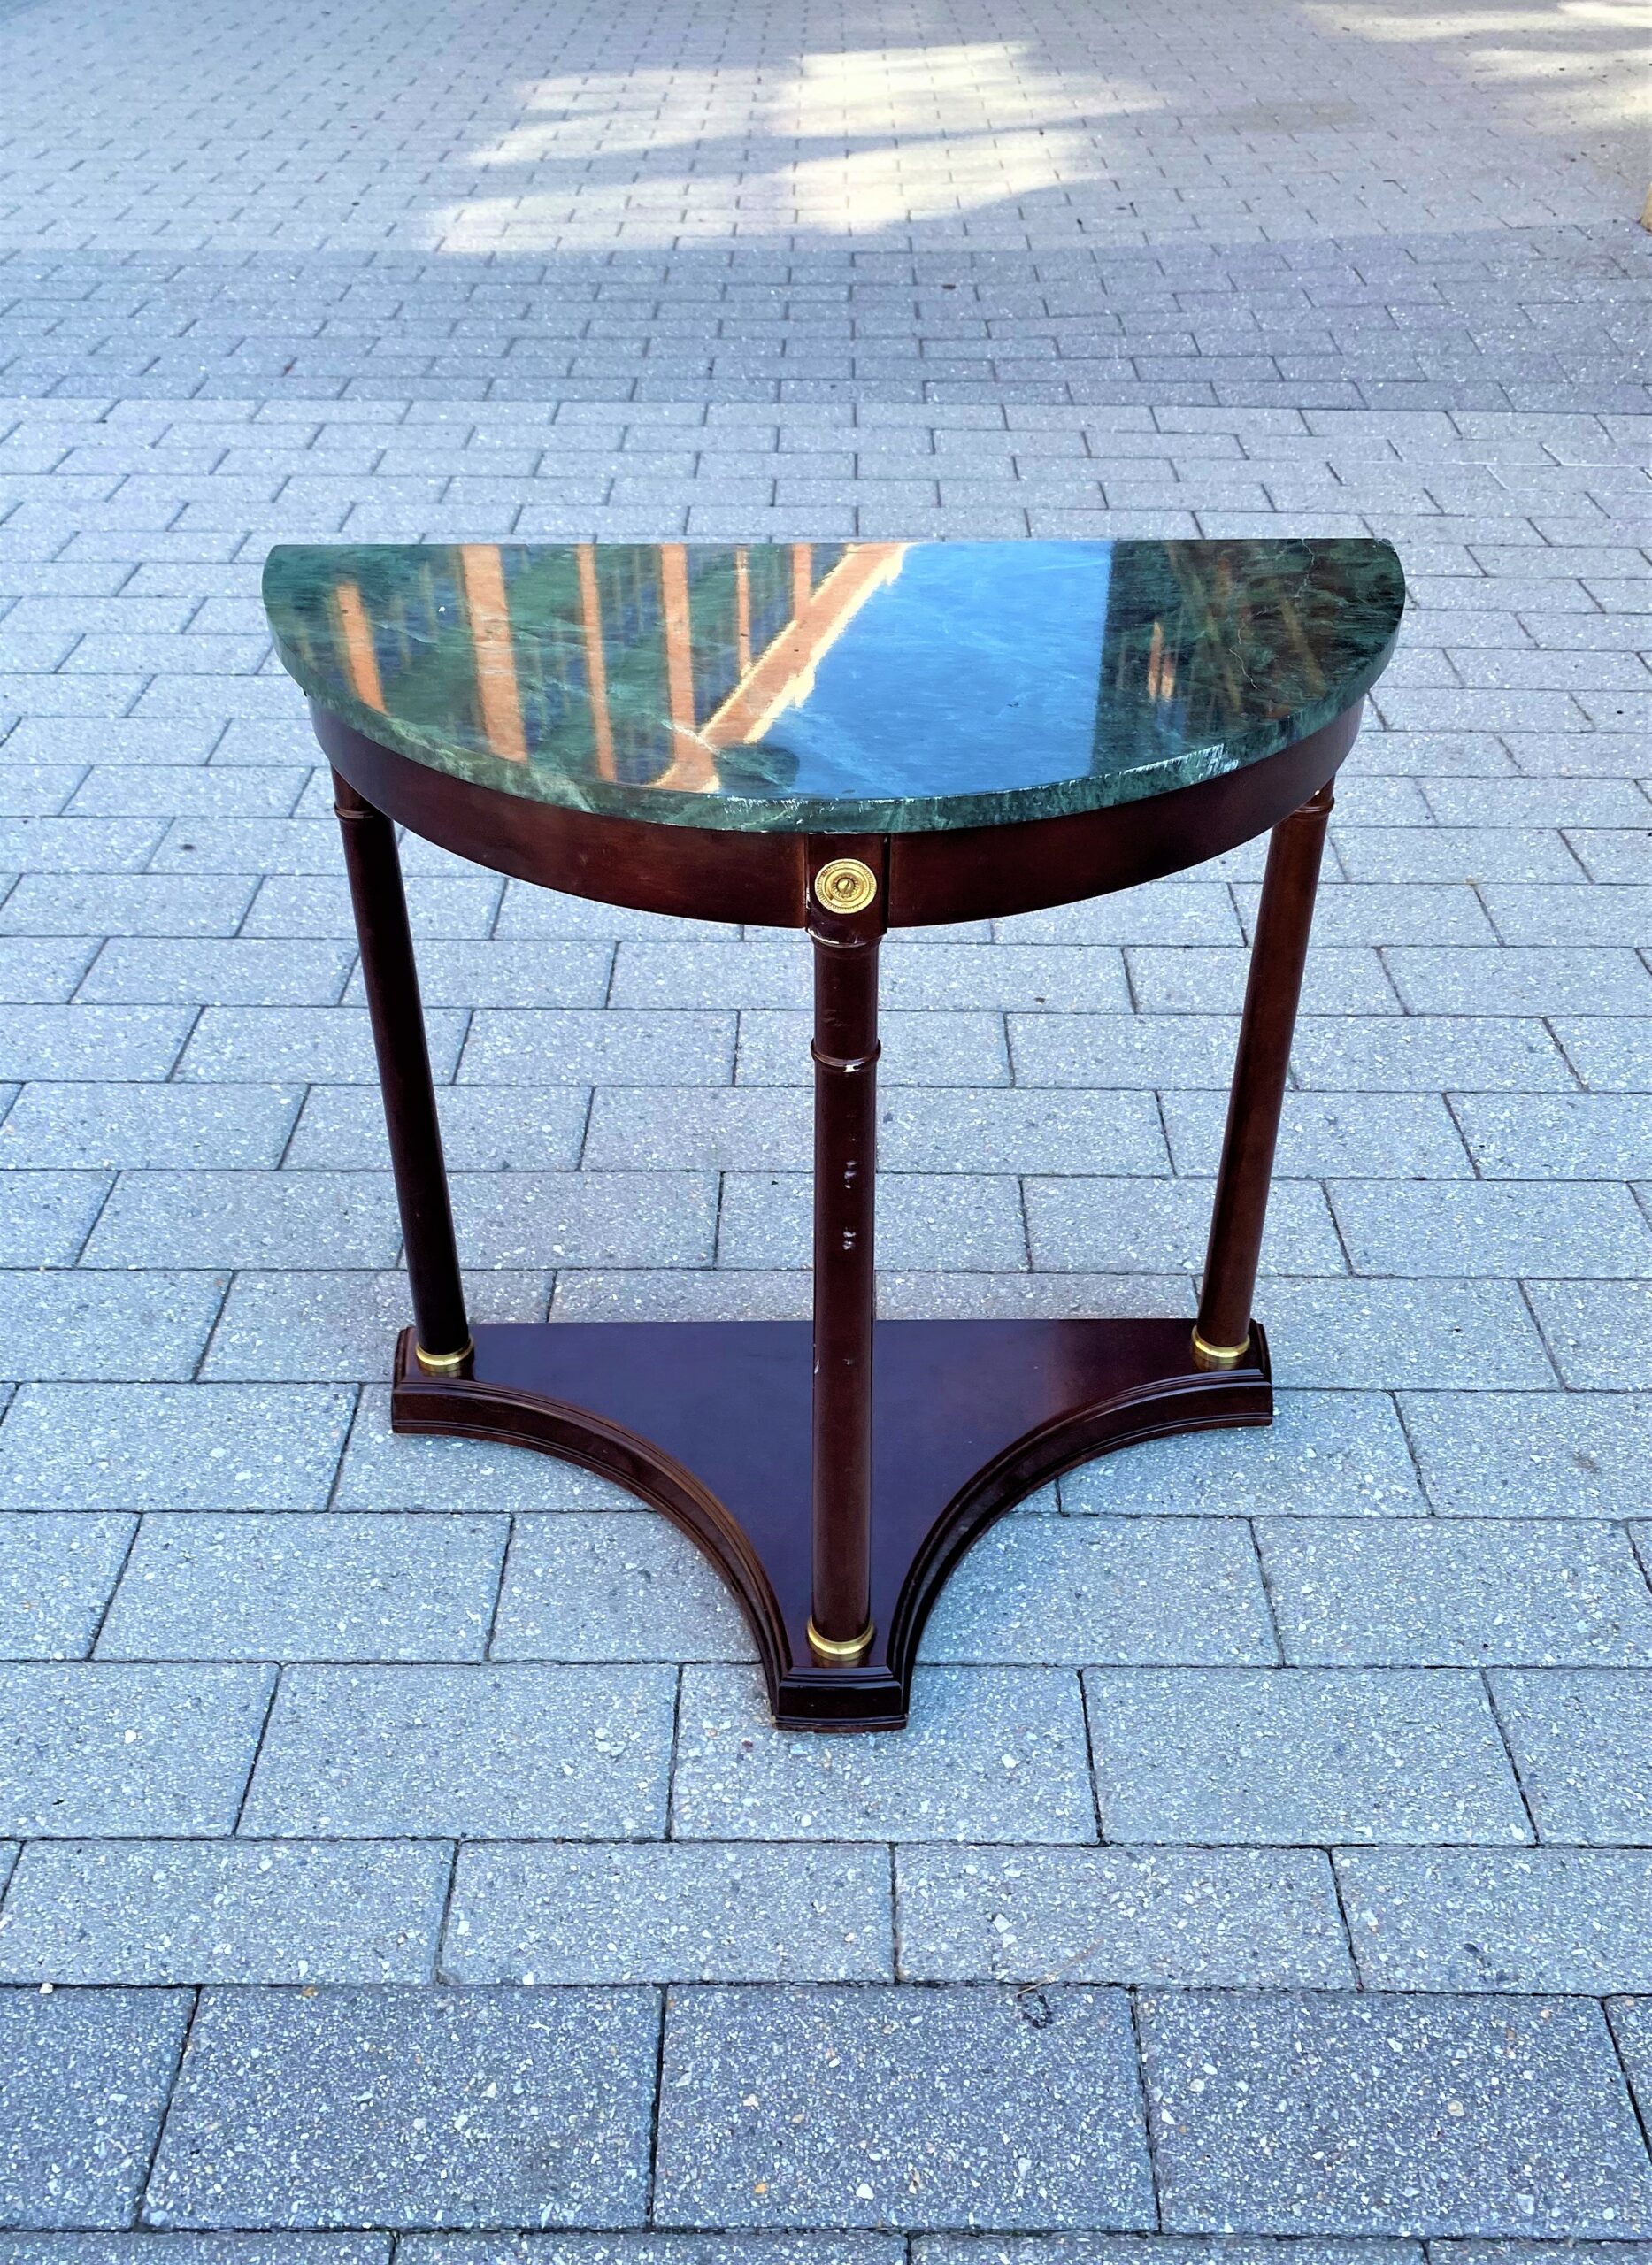
Look for solidly constructed tables with special features. Goodwill’s items constantly change, so stop by often because you don’t miss special pieces for the cabana-striped treatment.
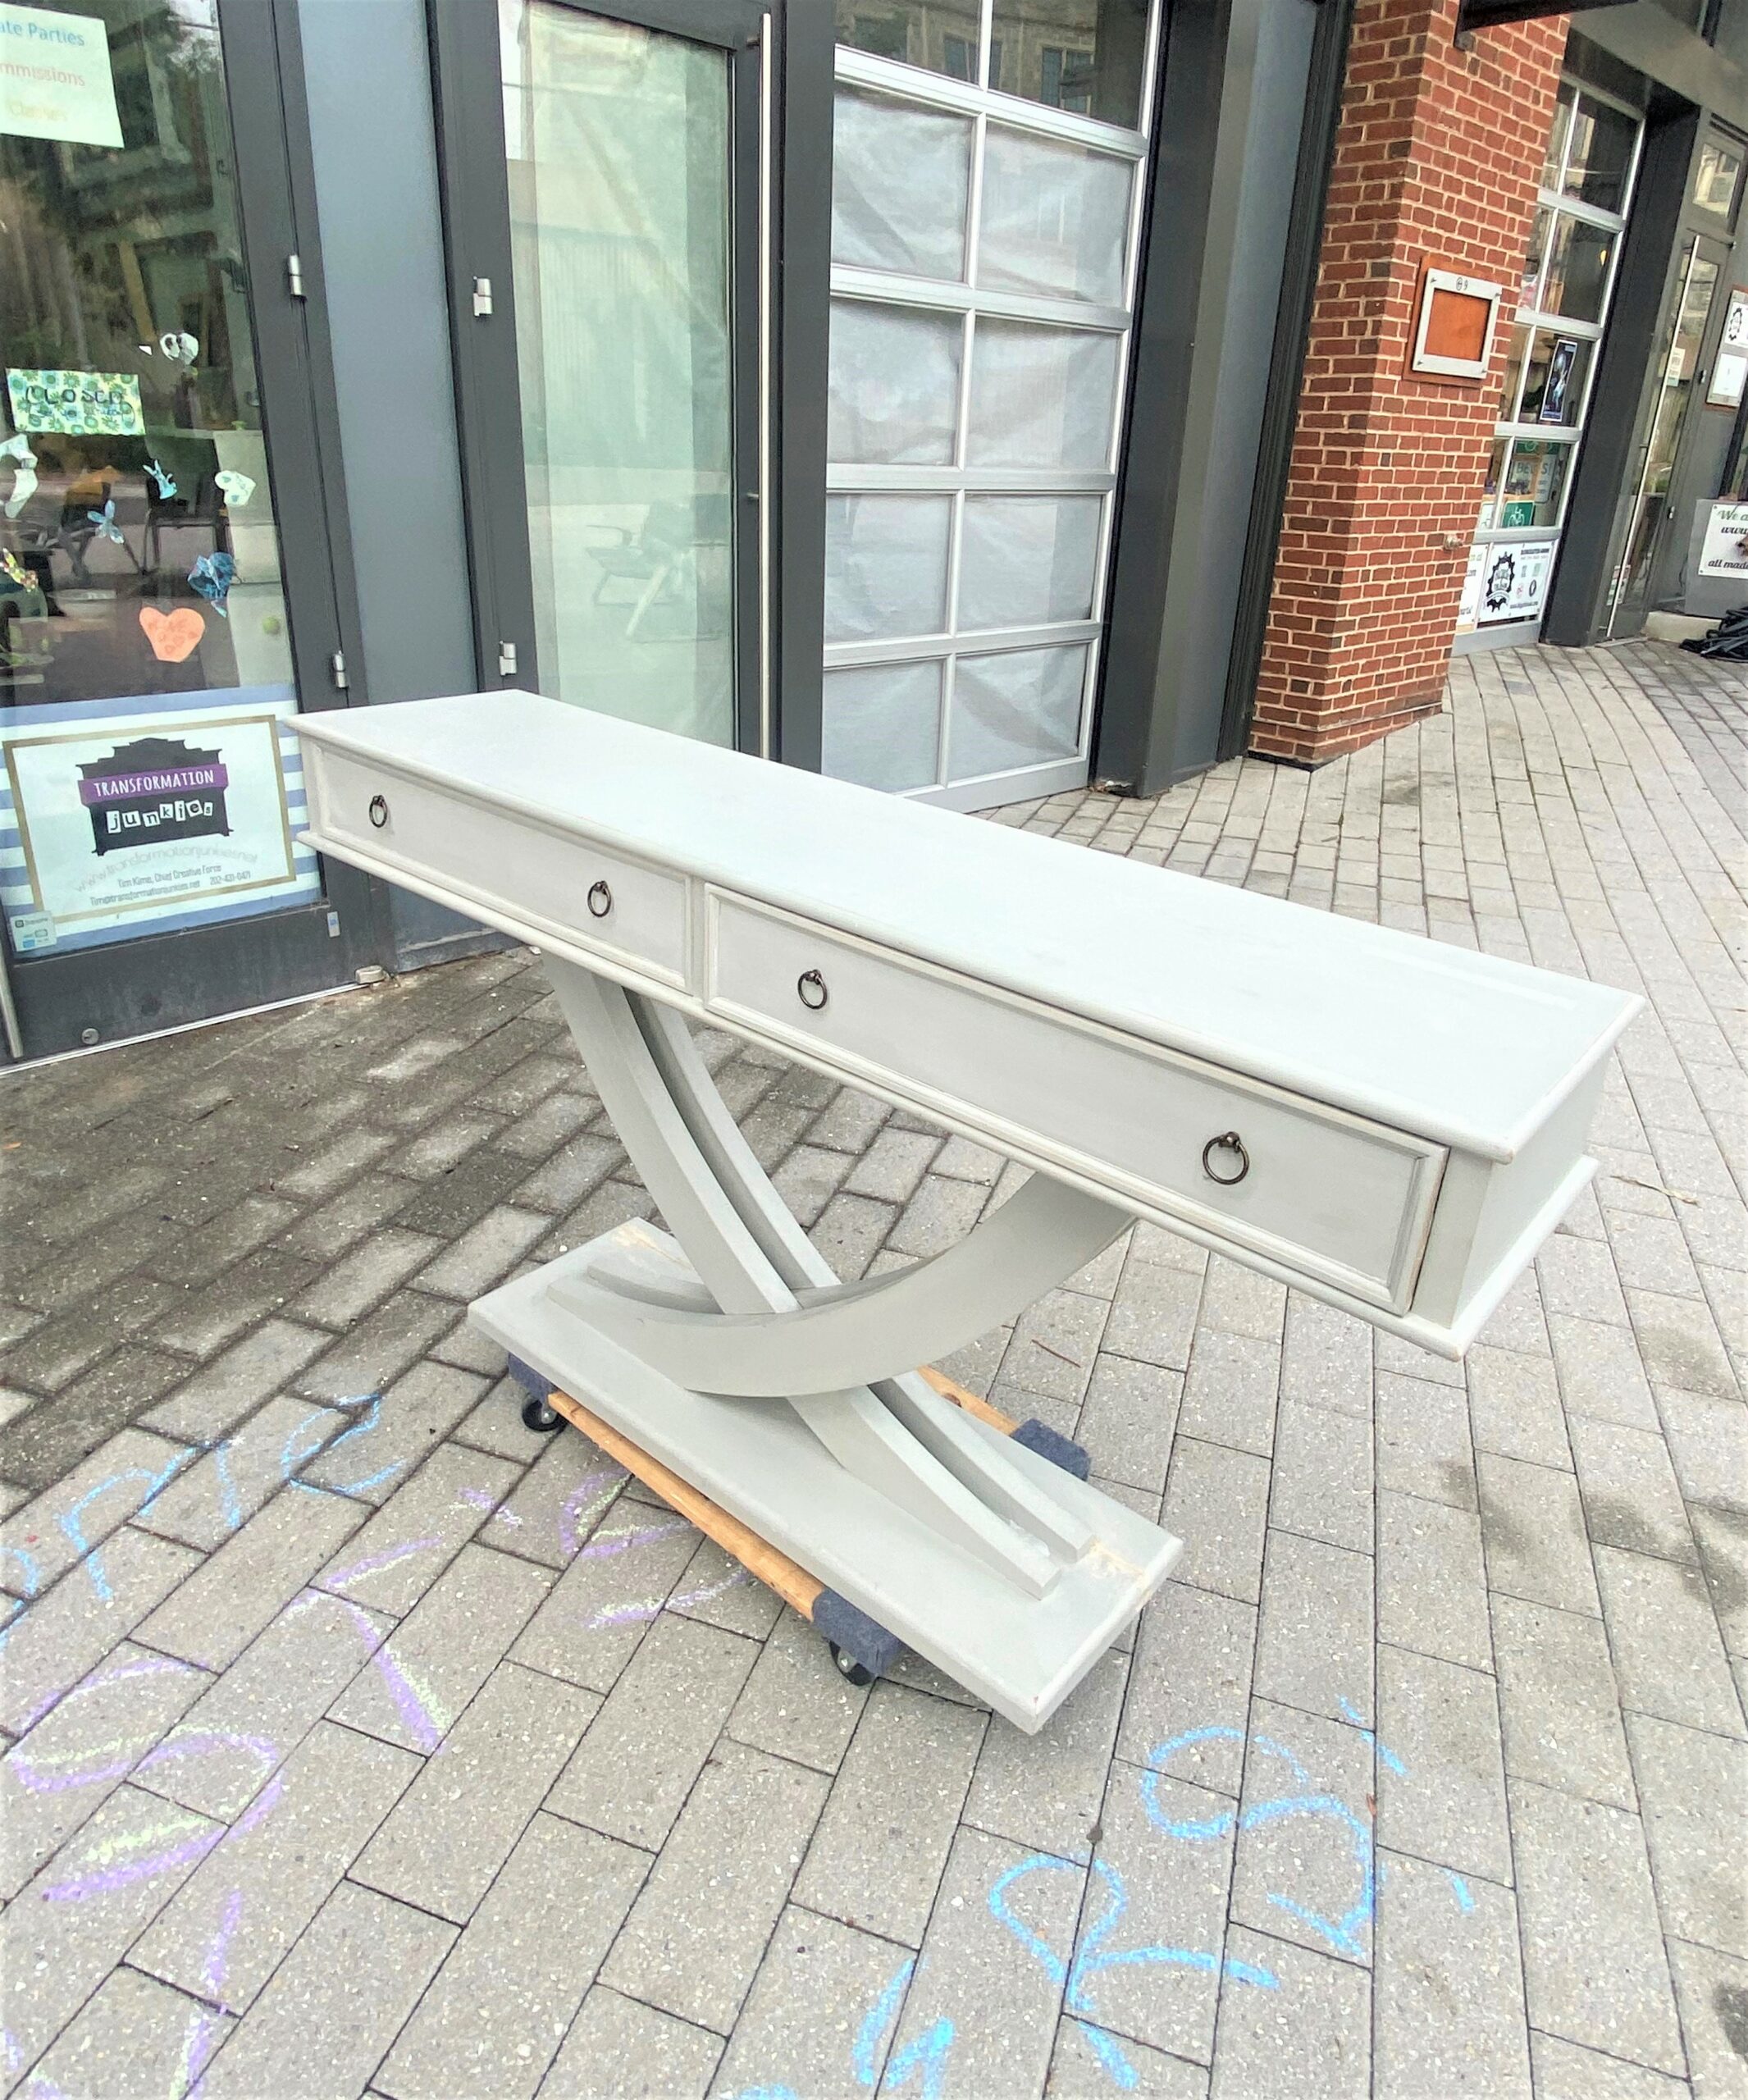
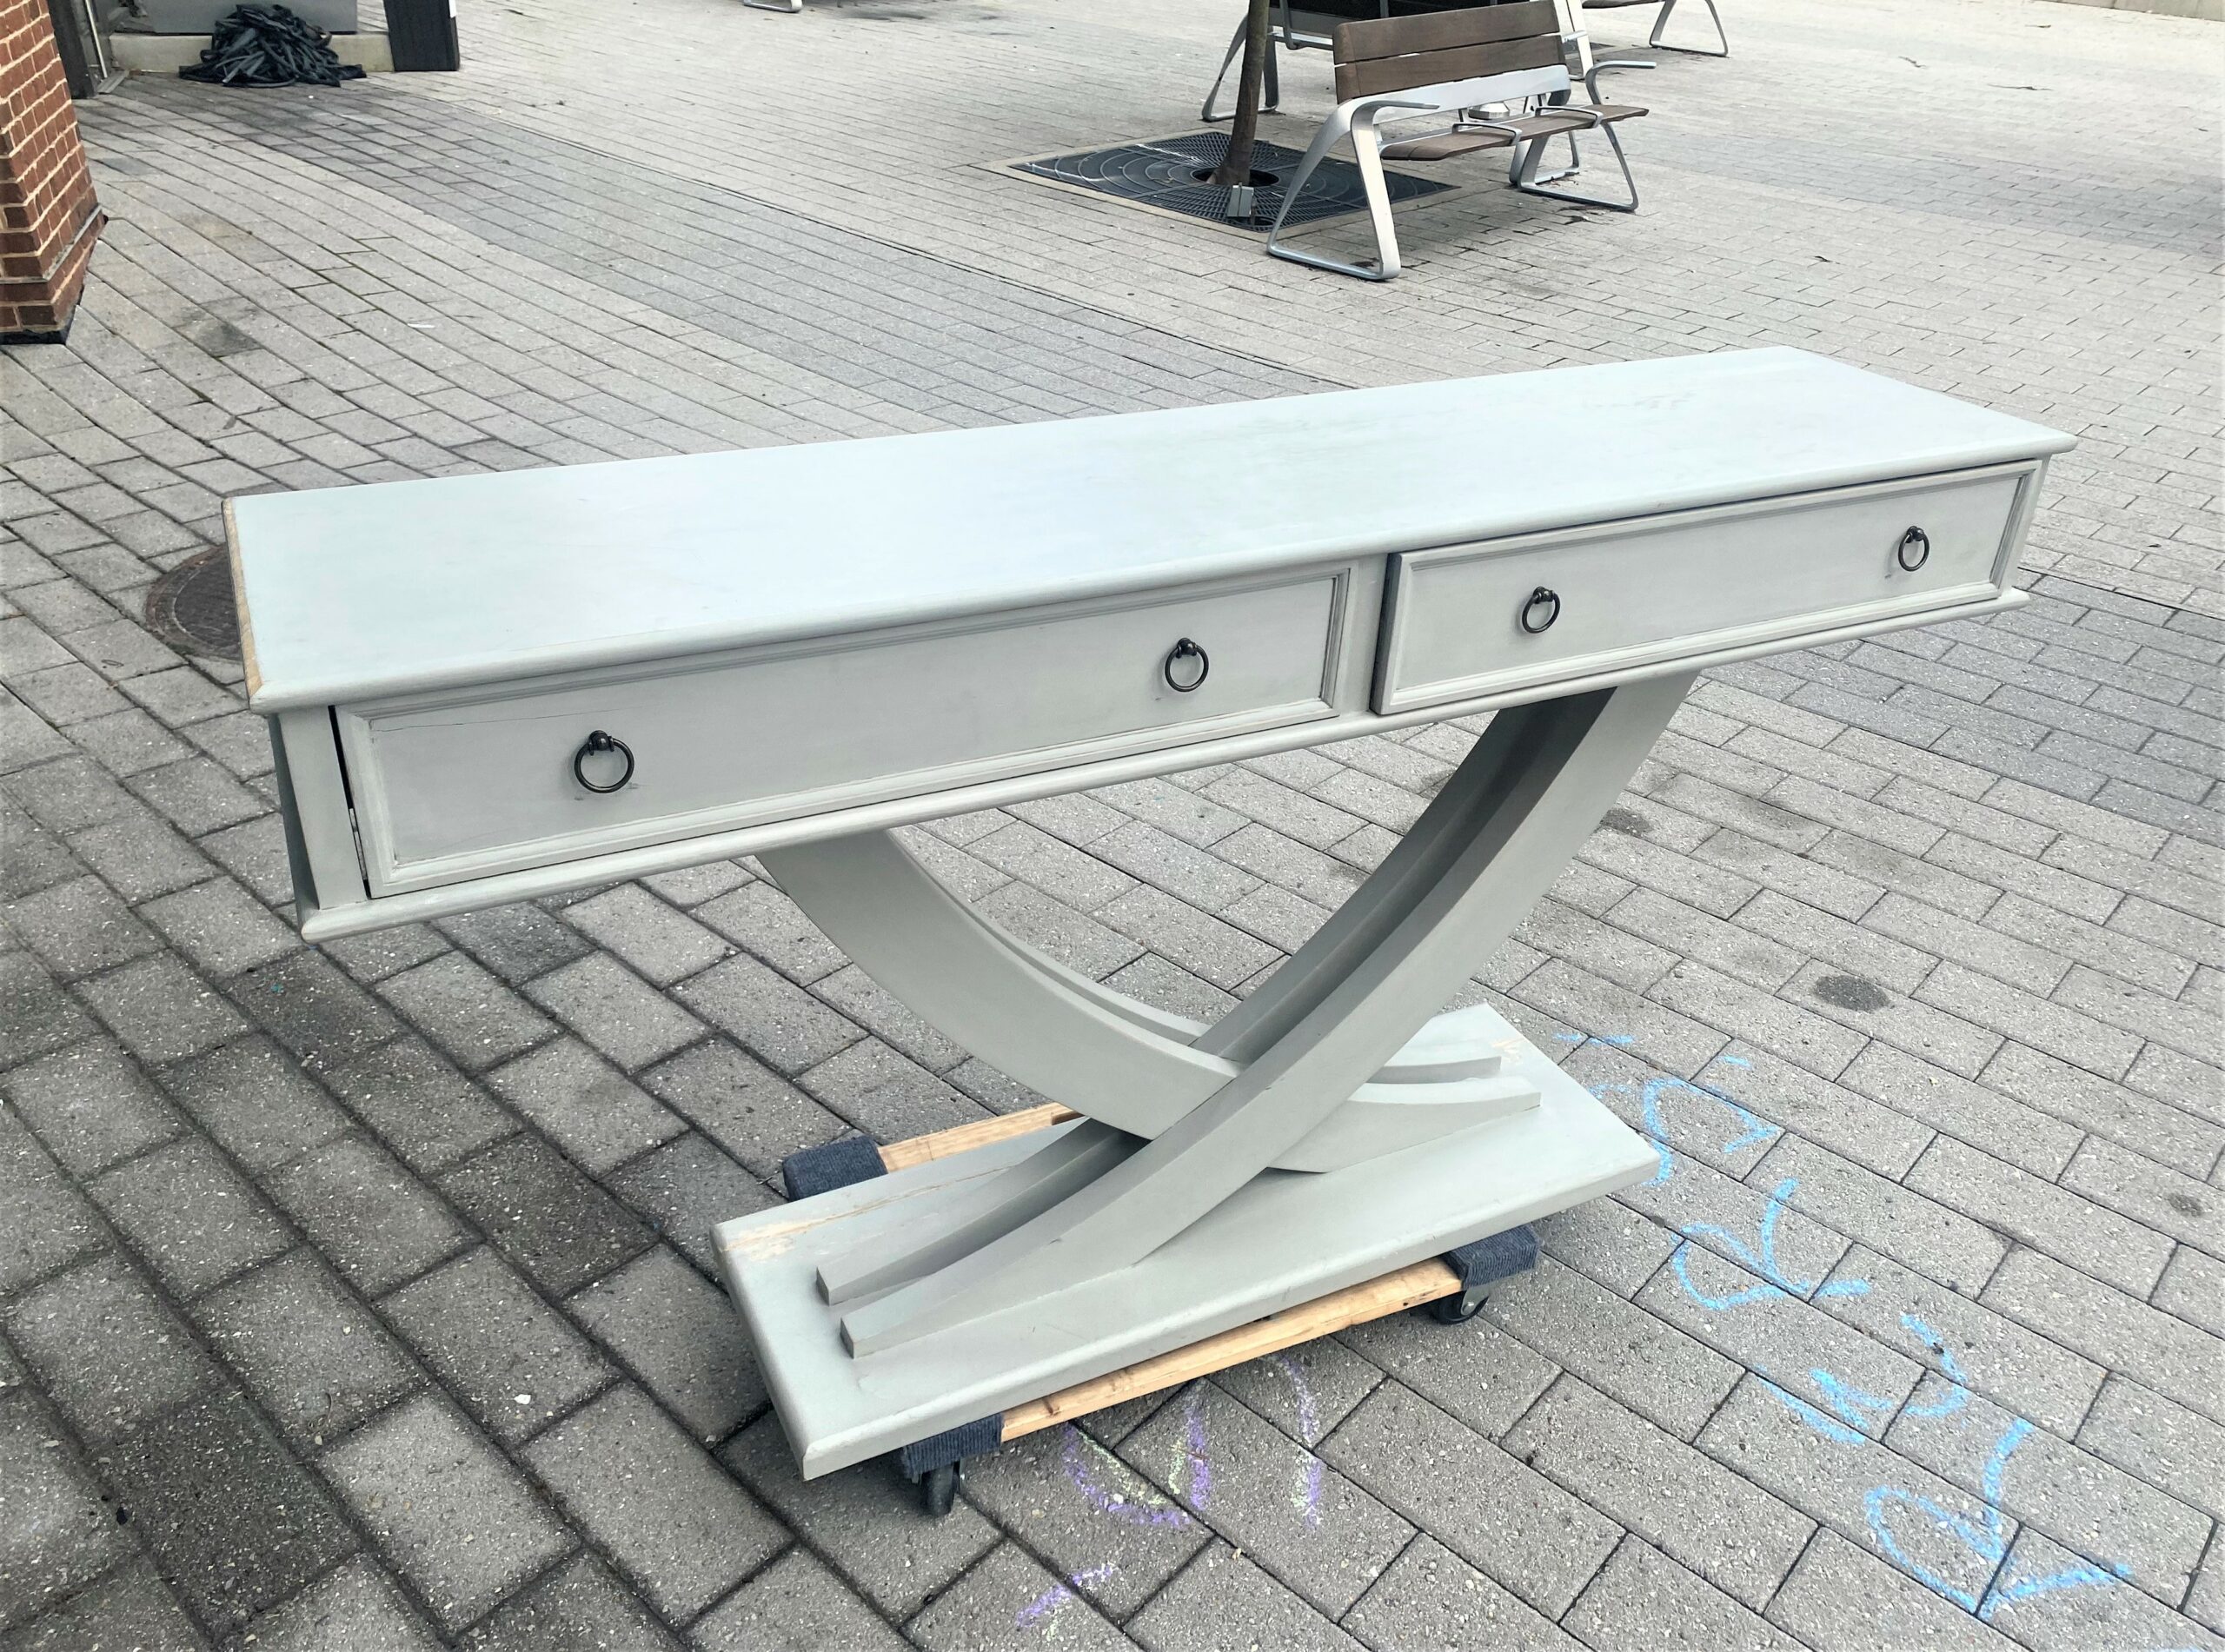
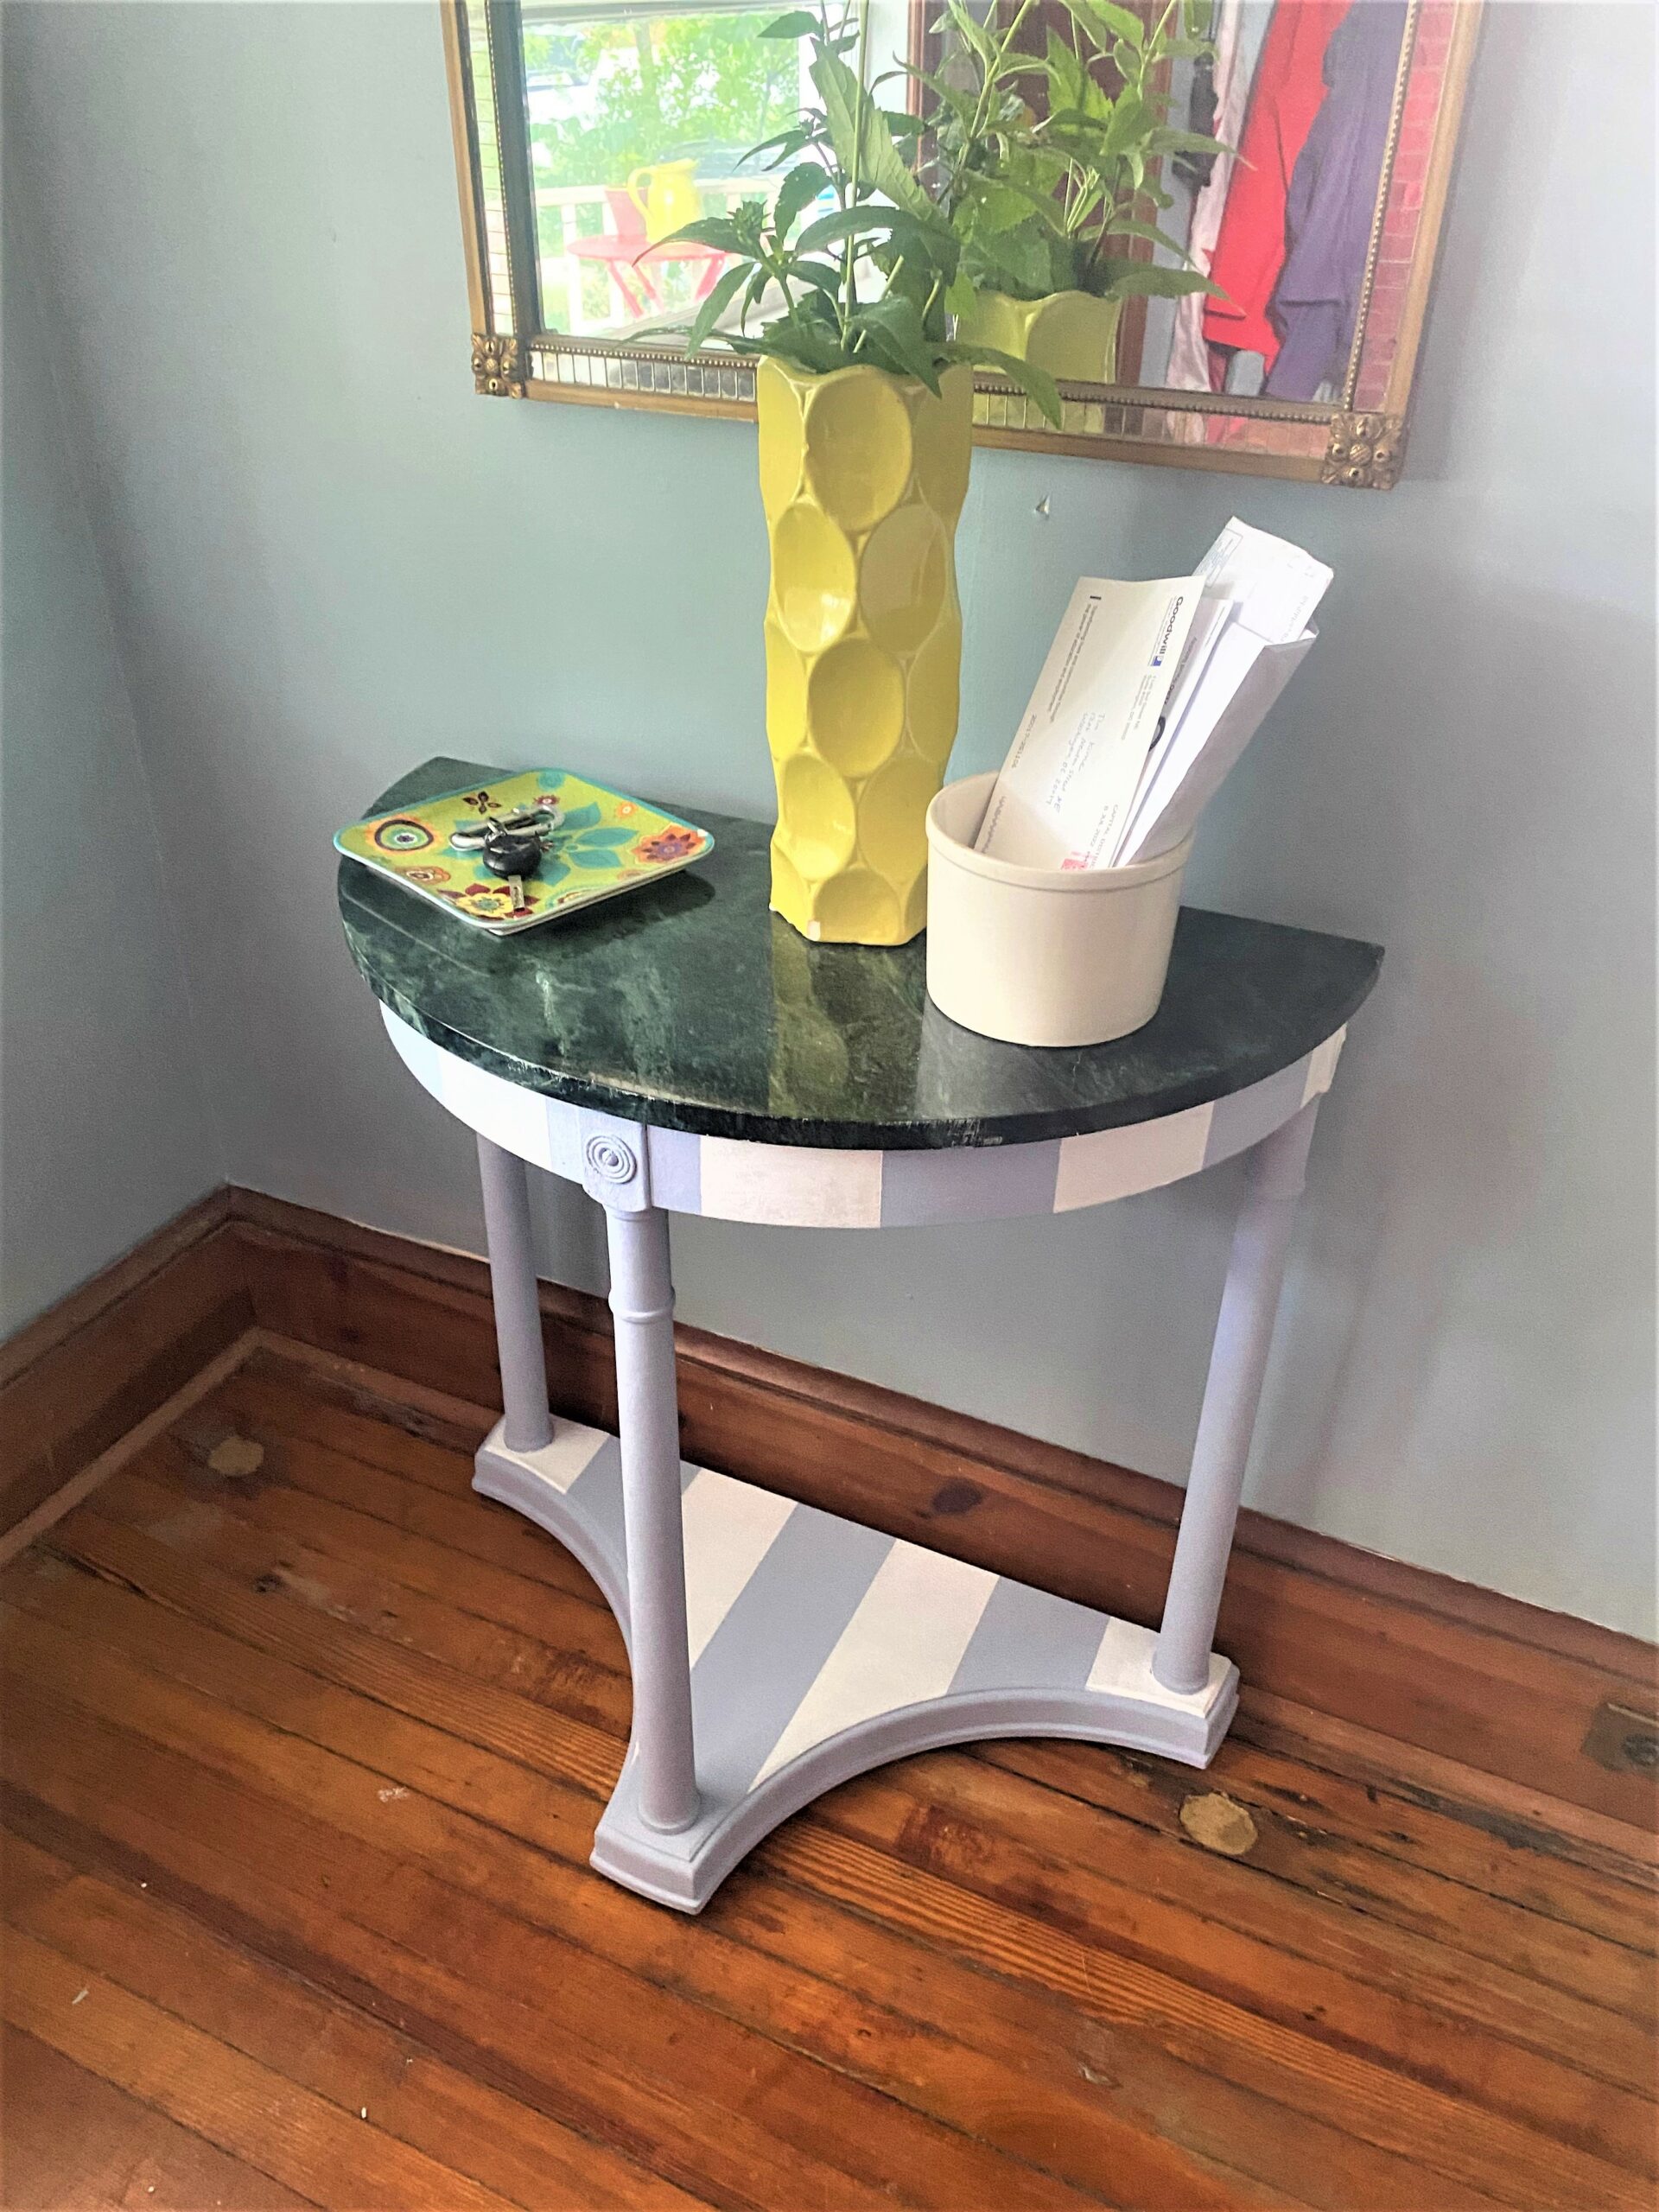
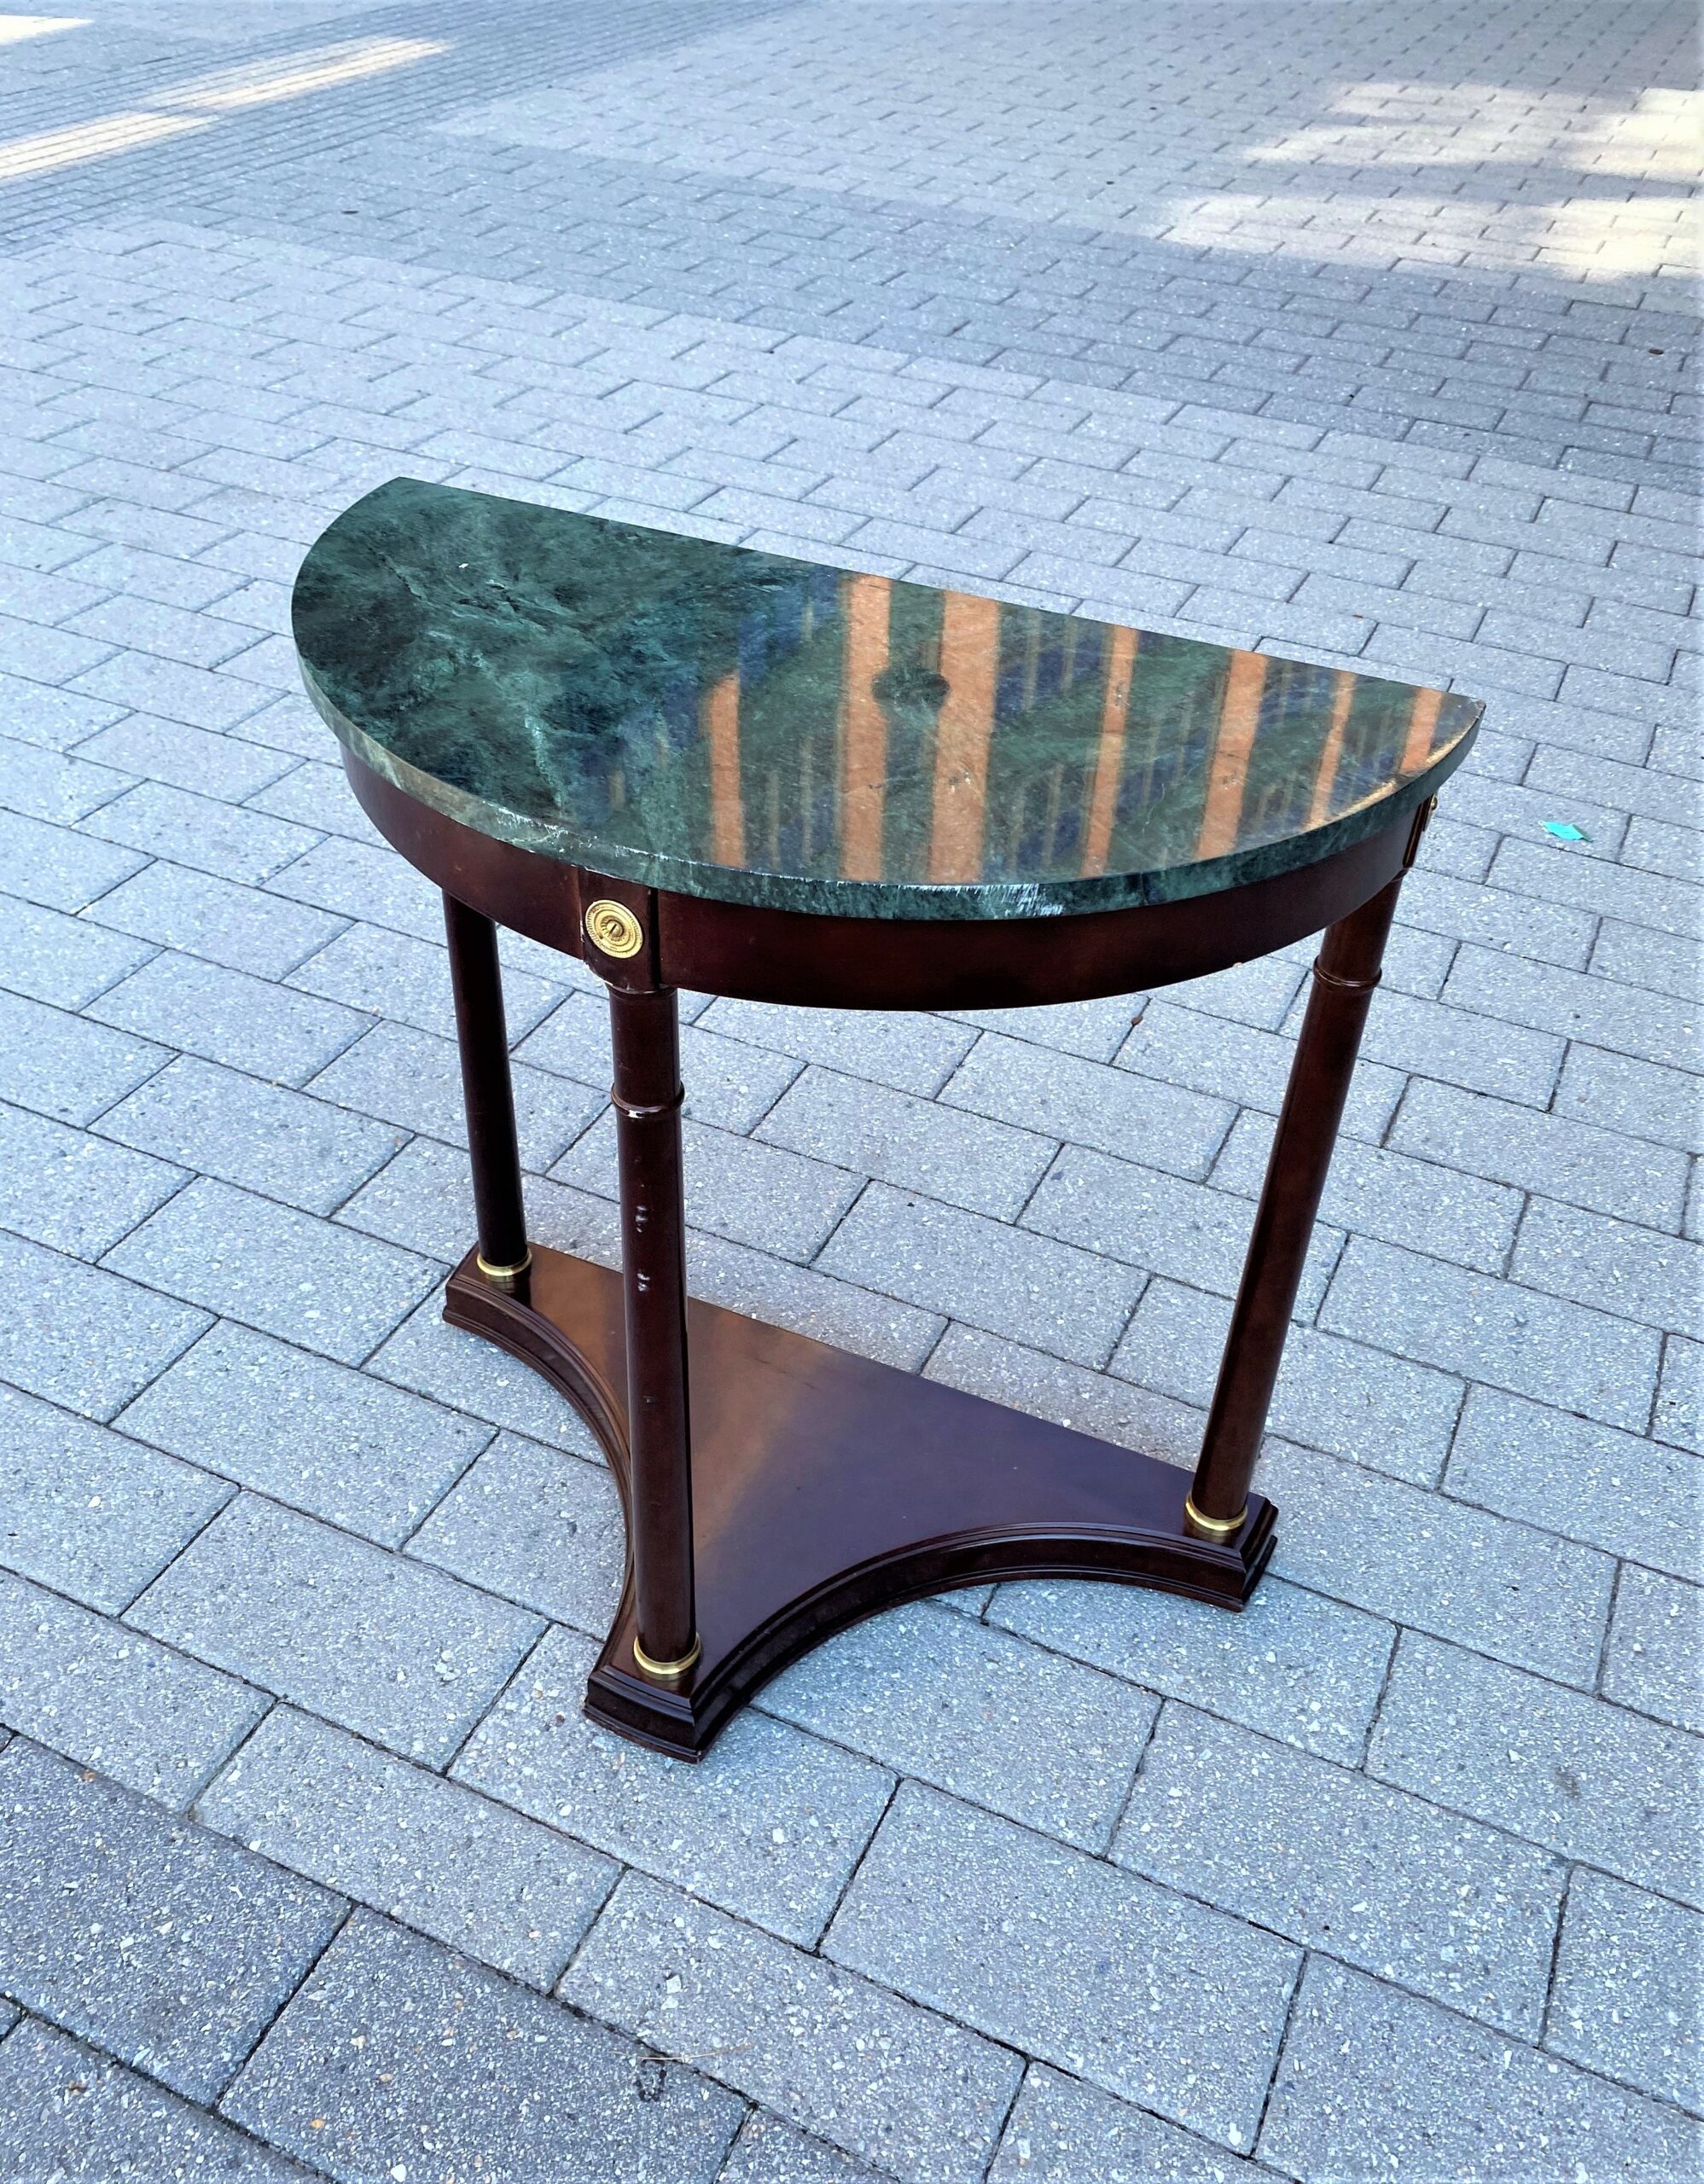
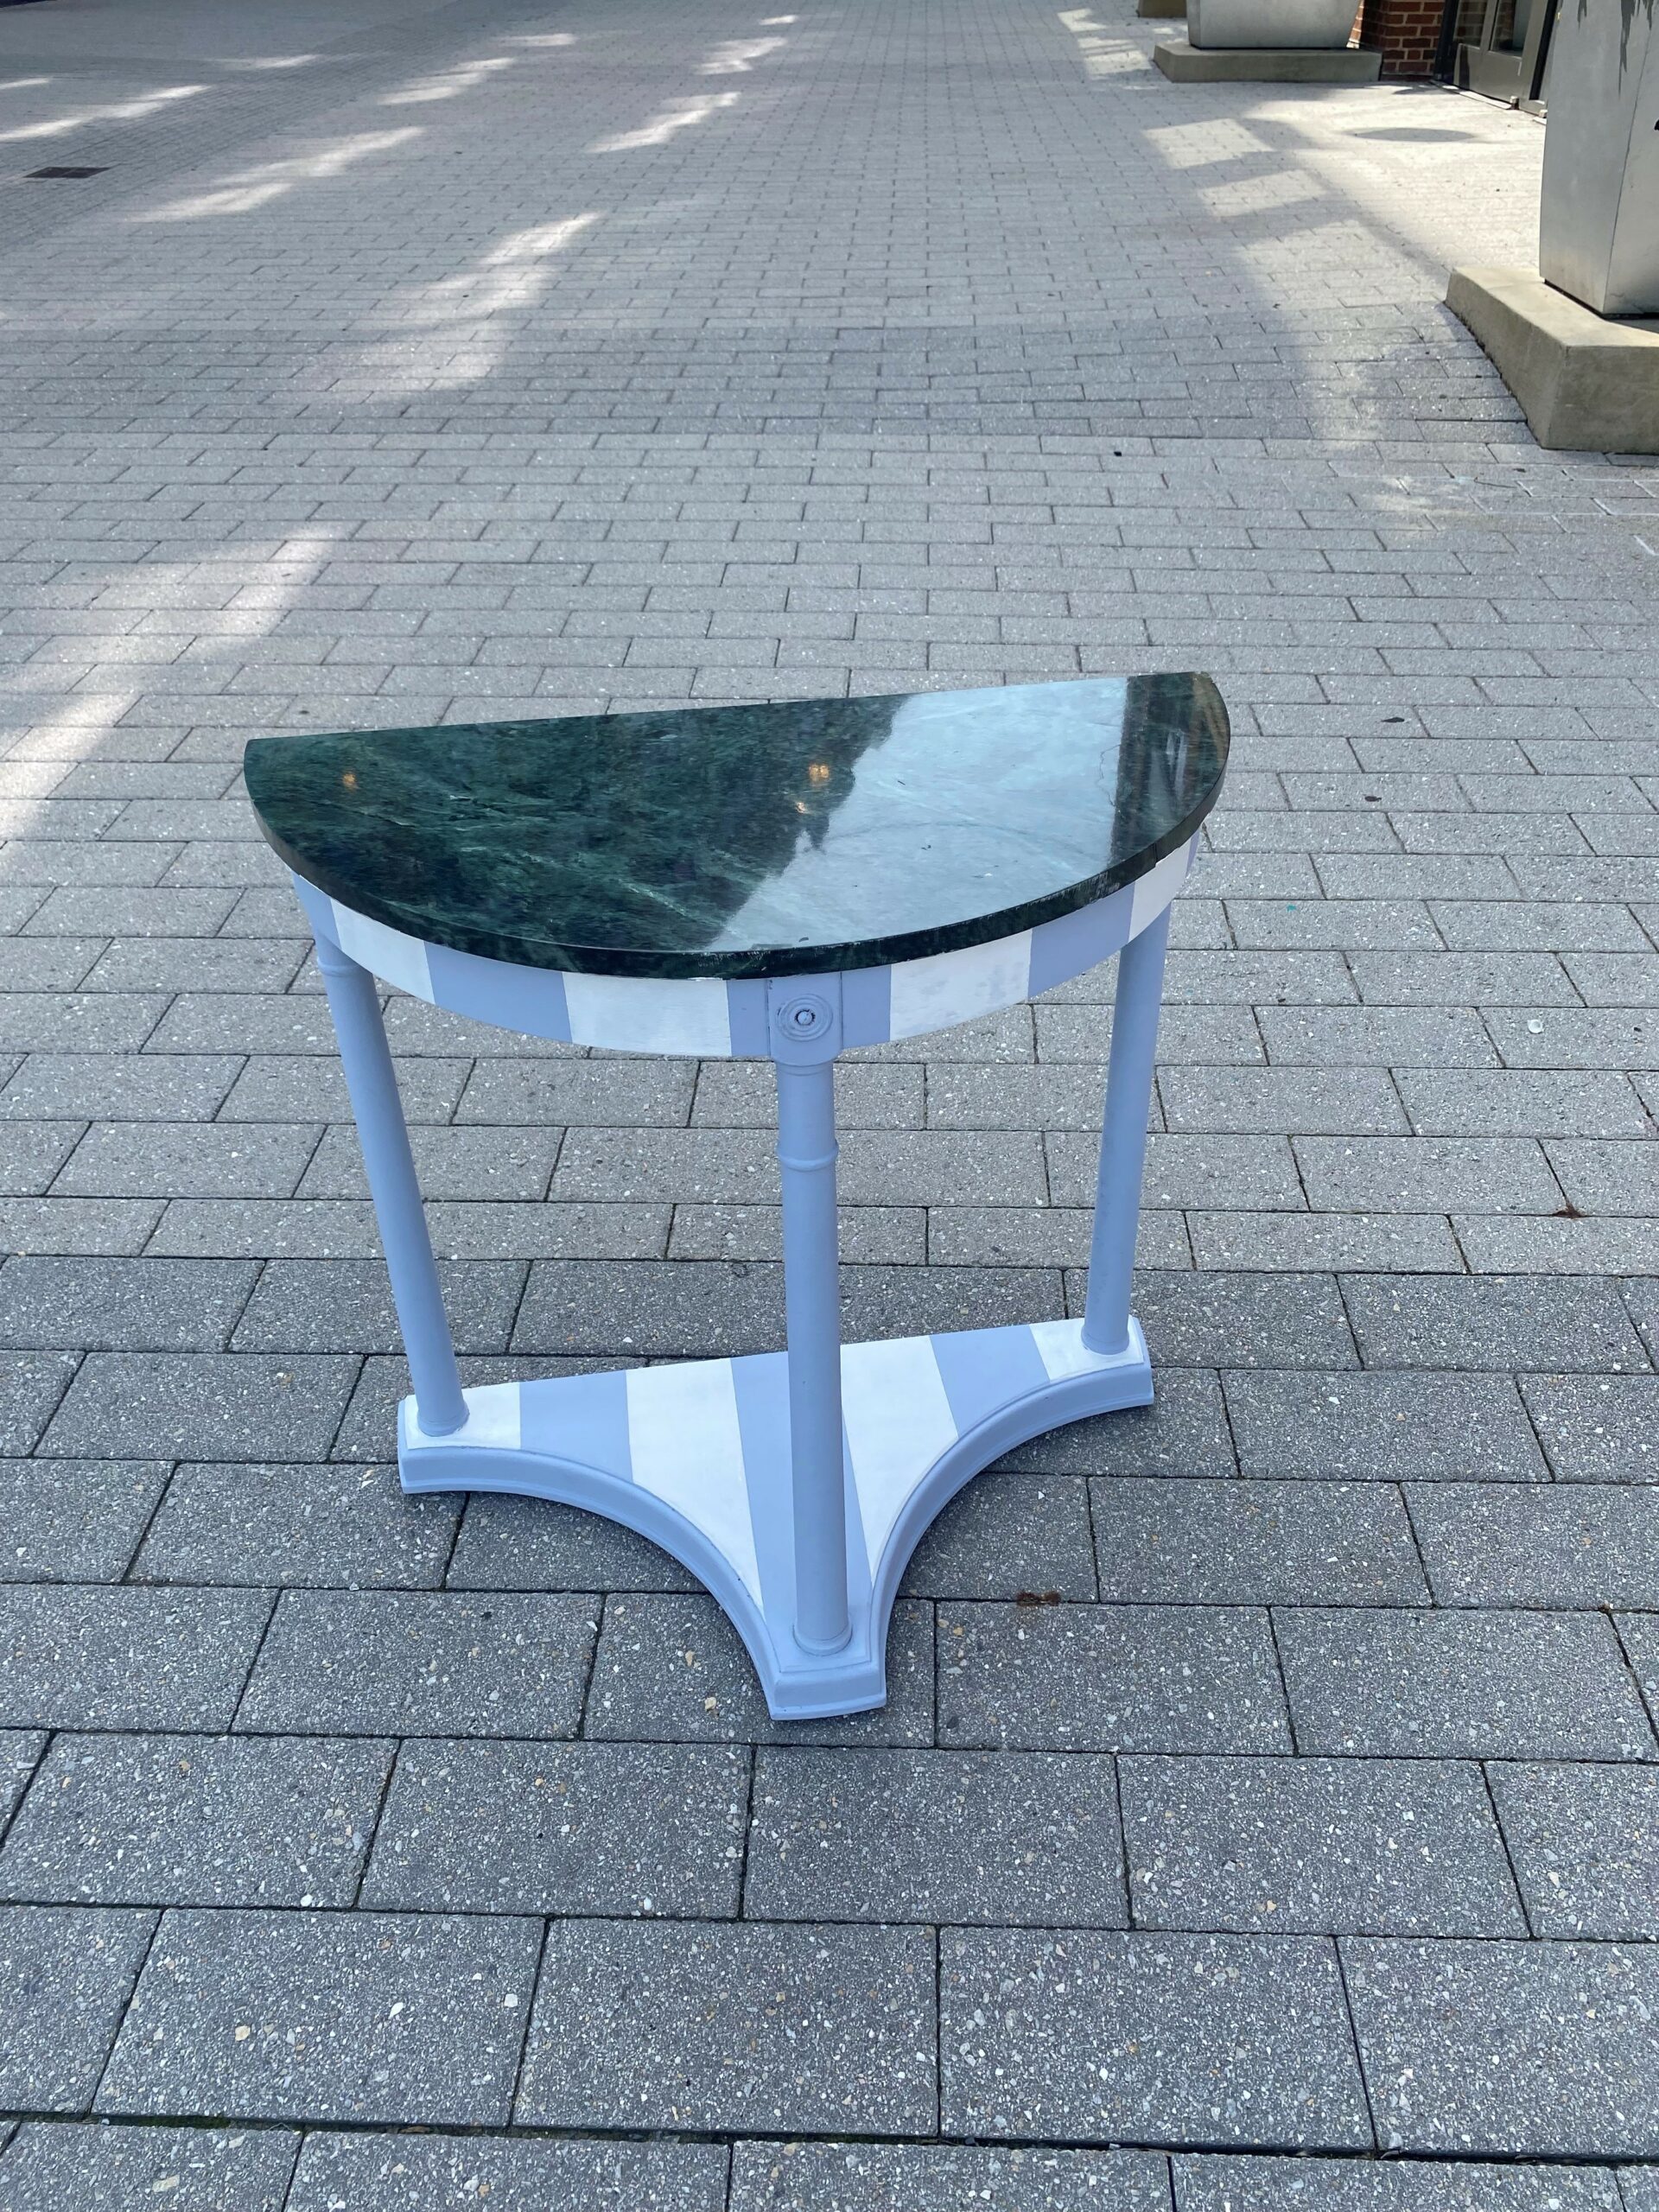
As fate would have it, both tables featured here are perfect for your foyer or entryway because they provide an elegant place to set your keys, mail, and other items. One has a lovely dark green marble top and Greek-inspired legs and details. The other has sleek drawers for extra storage and contemporary, slightly curving legs. Both were great looking as they were when first found, but we want your pieces to be functional works of art that are unique and one-of-a-kind, so read on!
2. Do you need to paint any parts first?
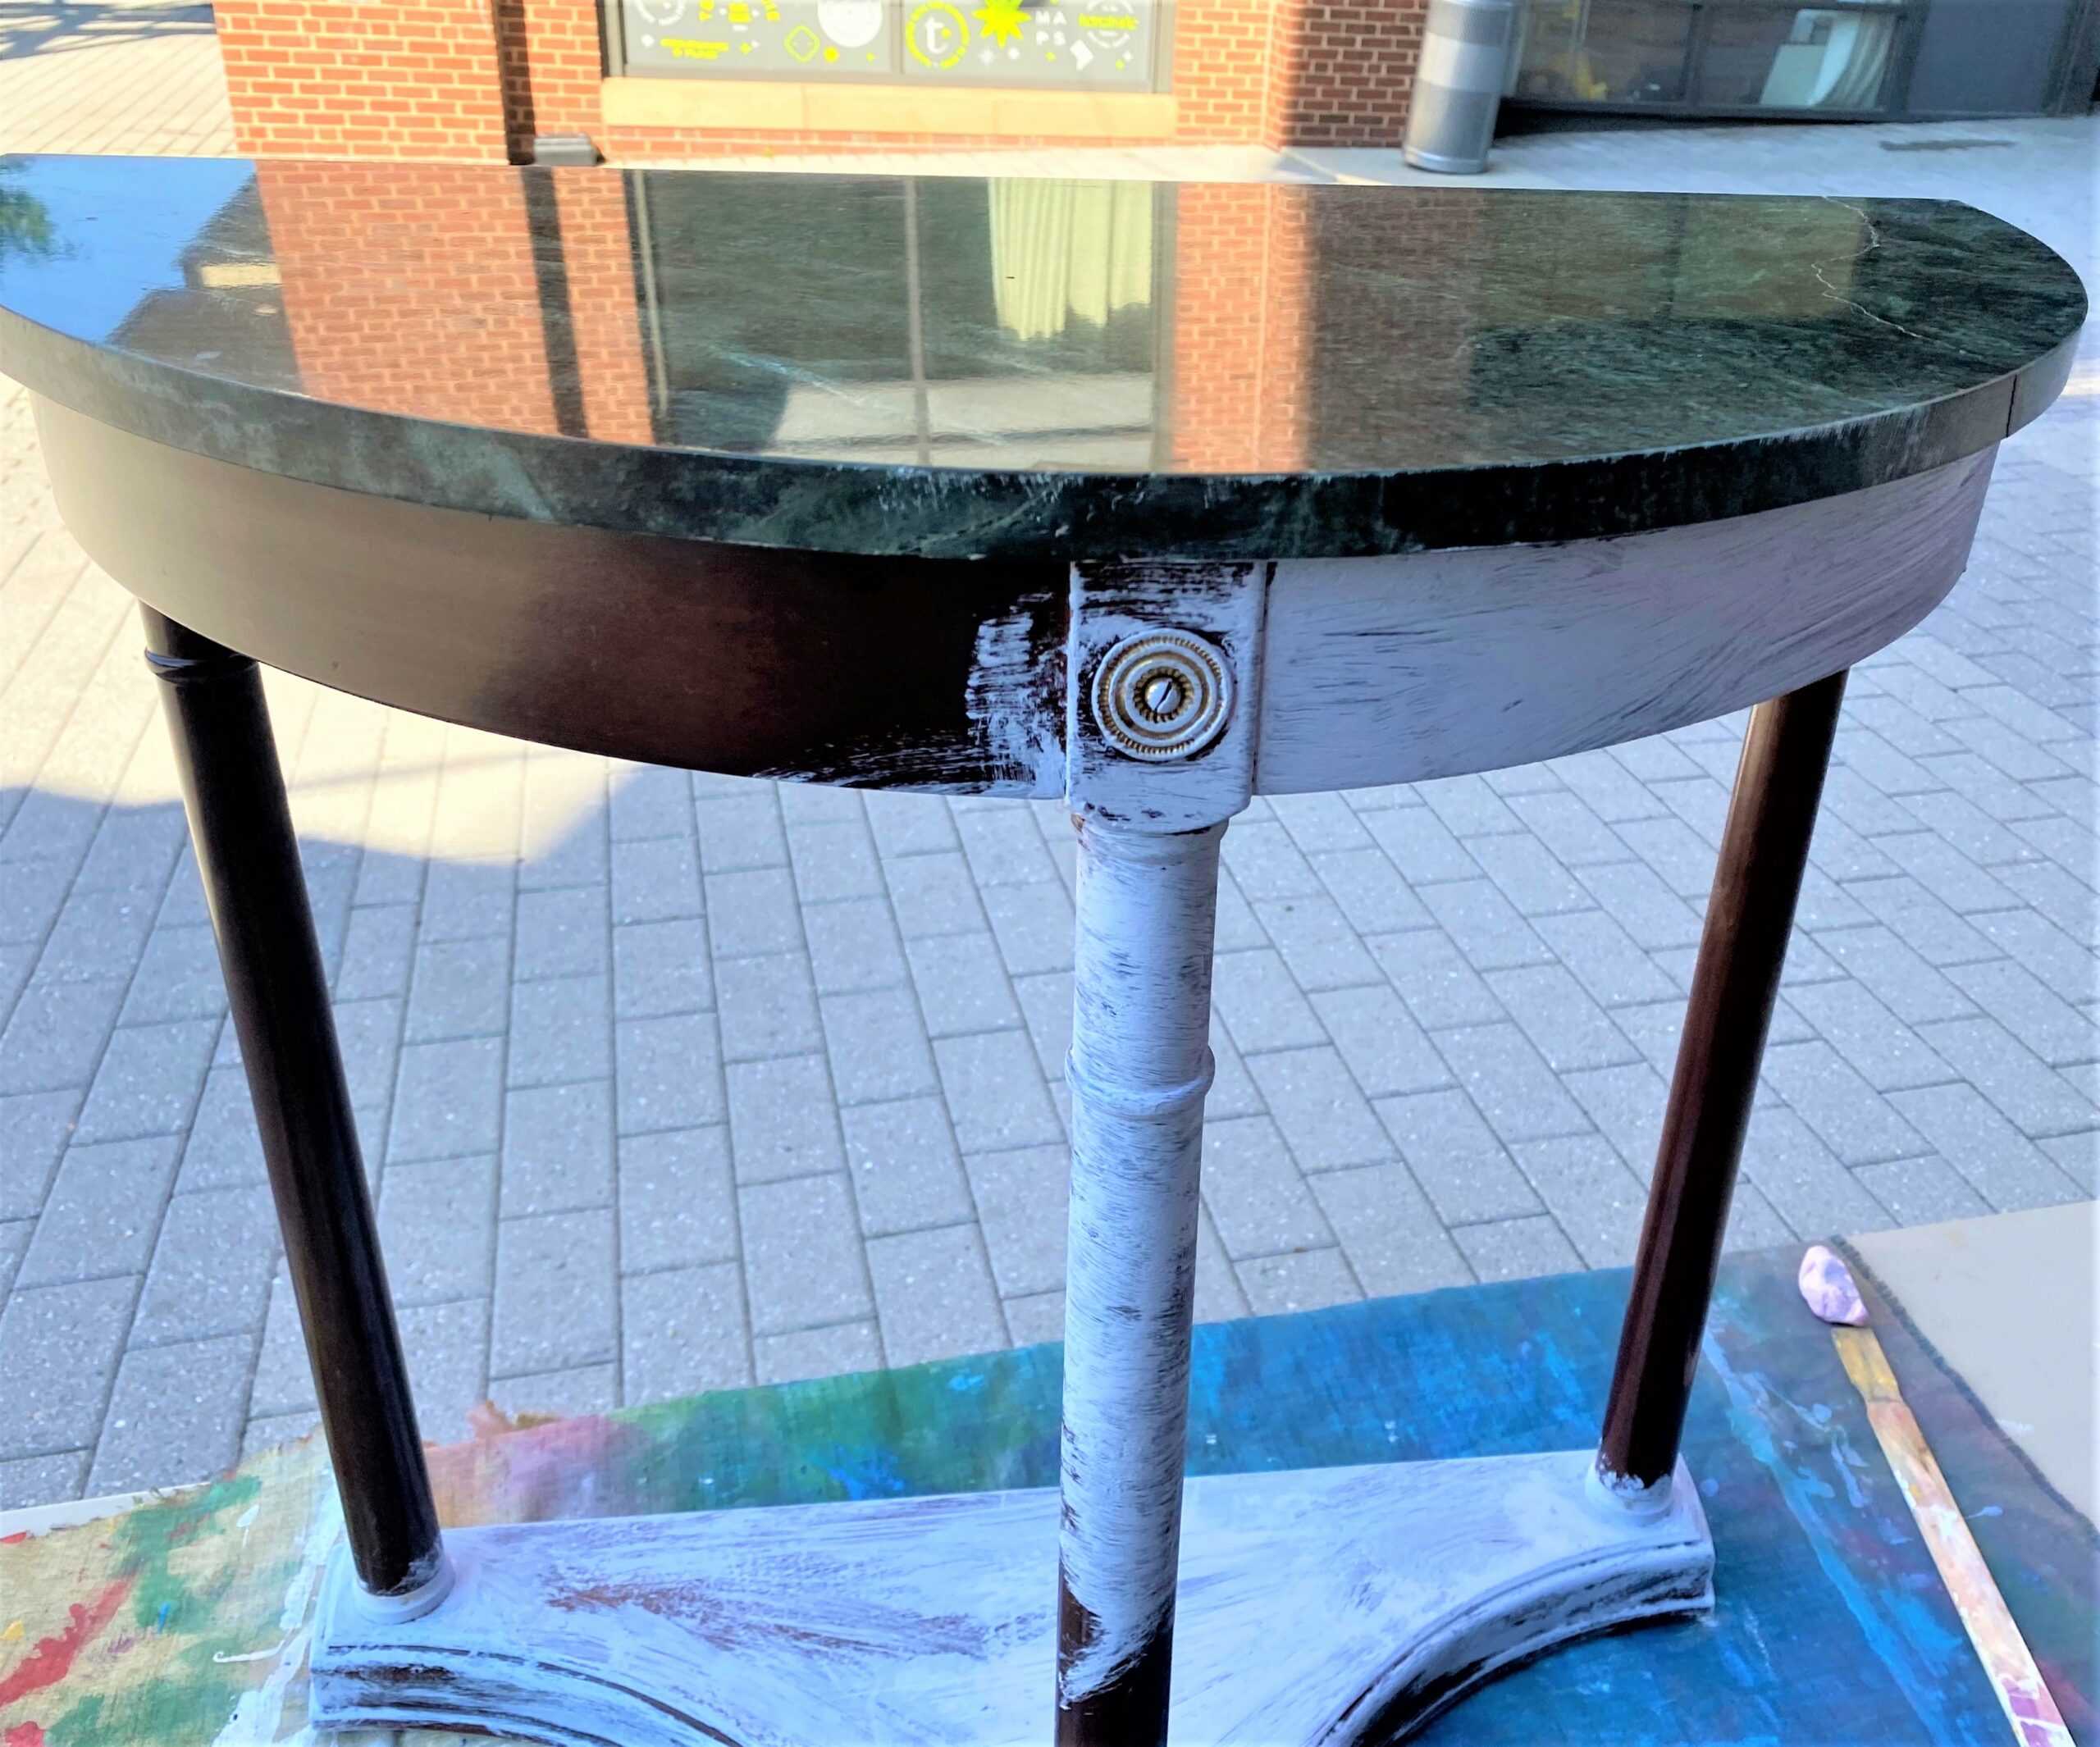
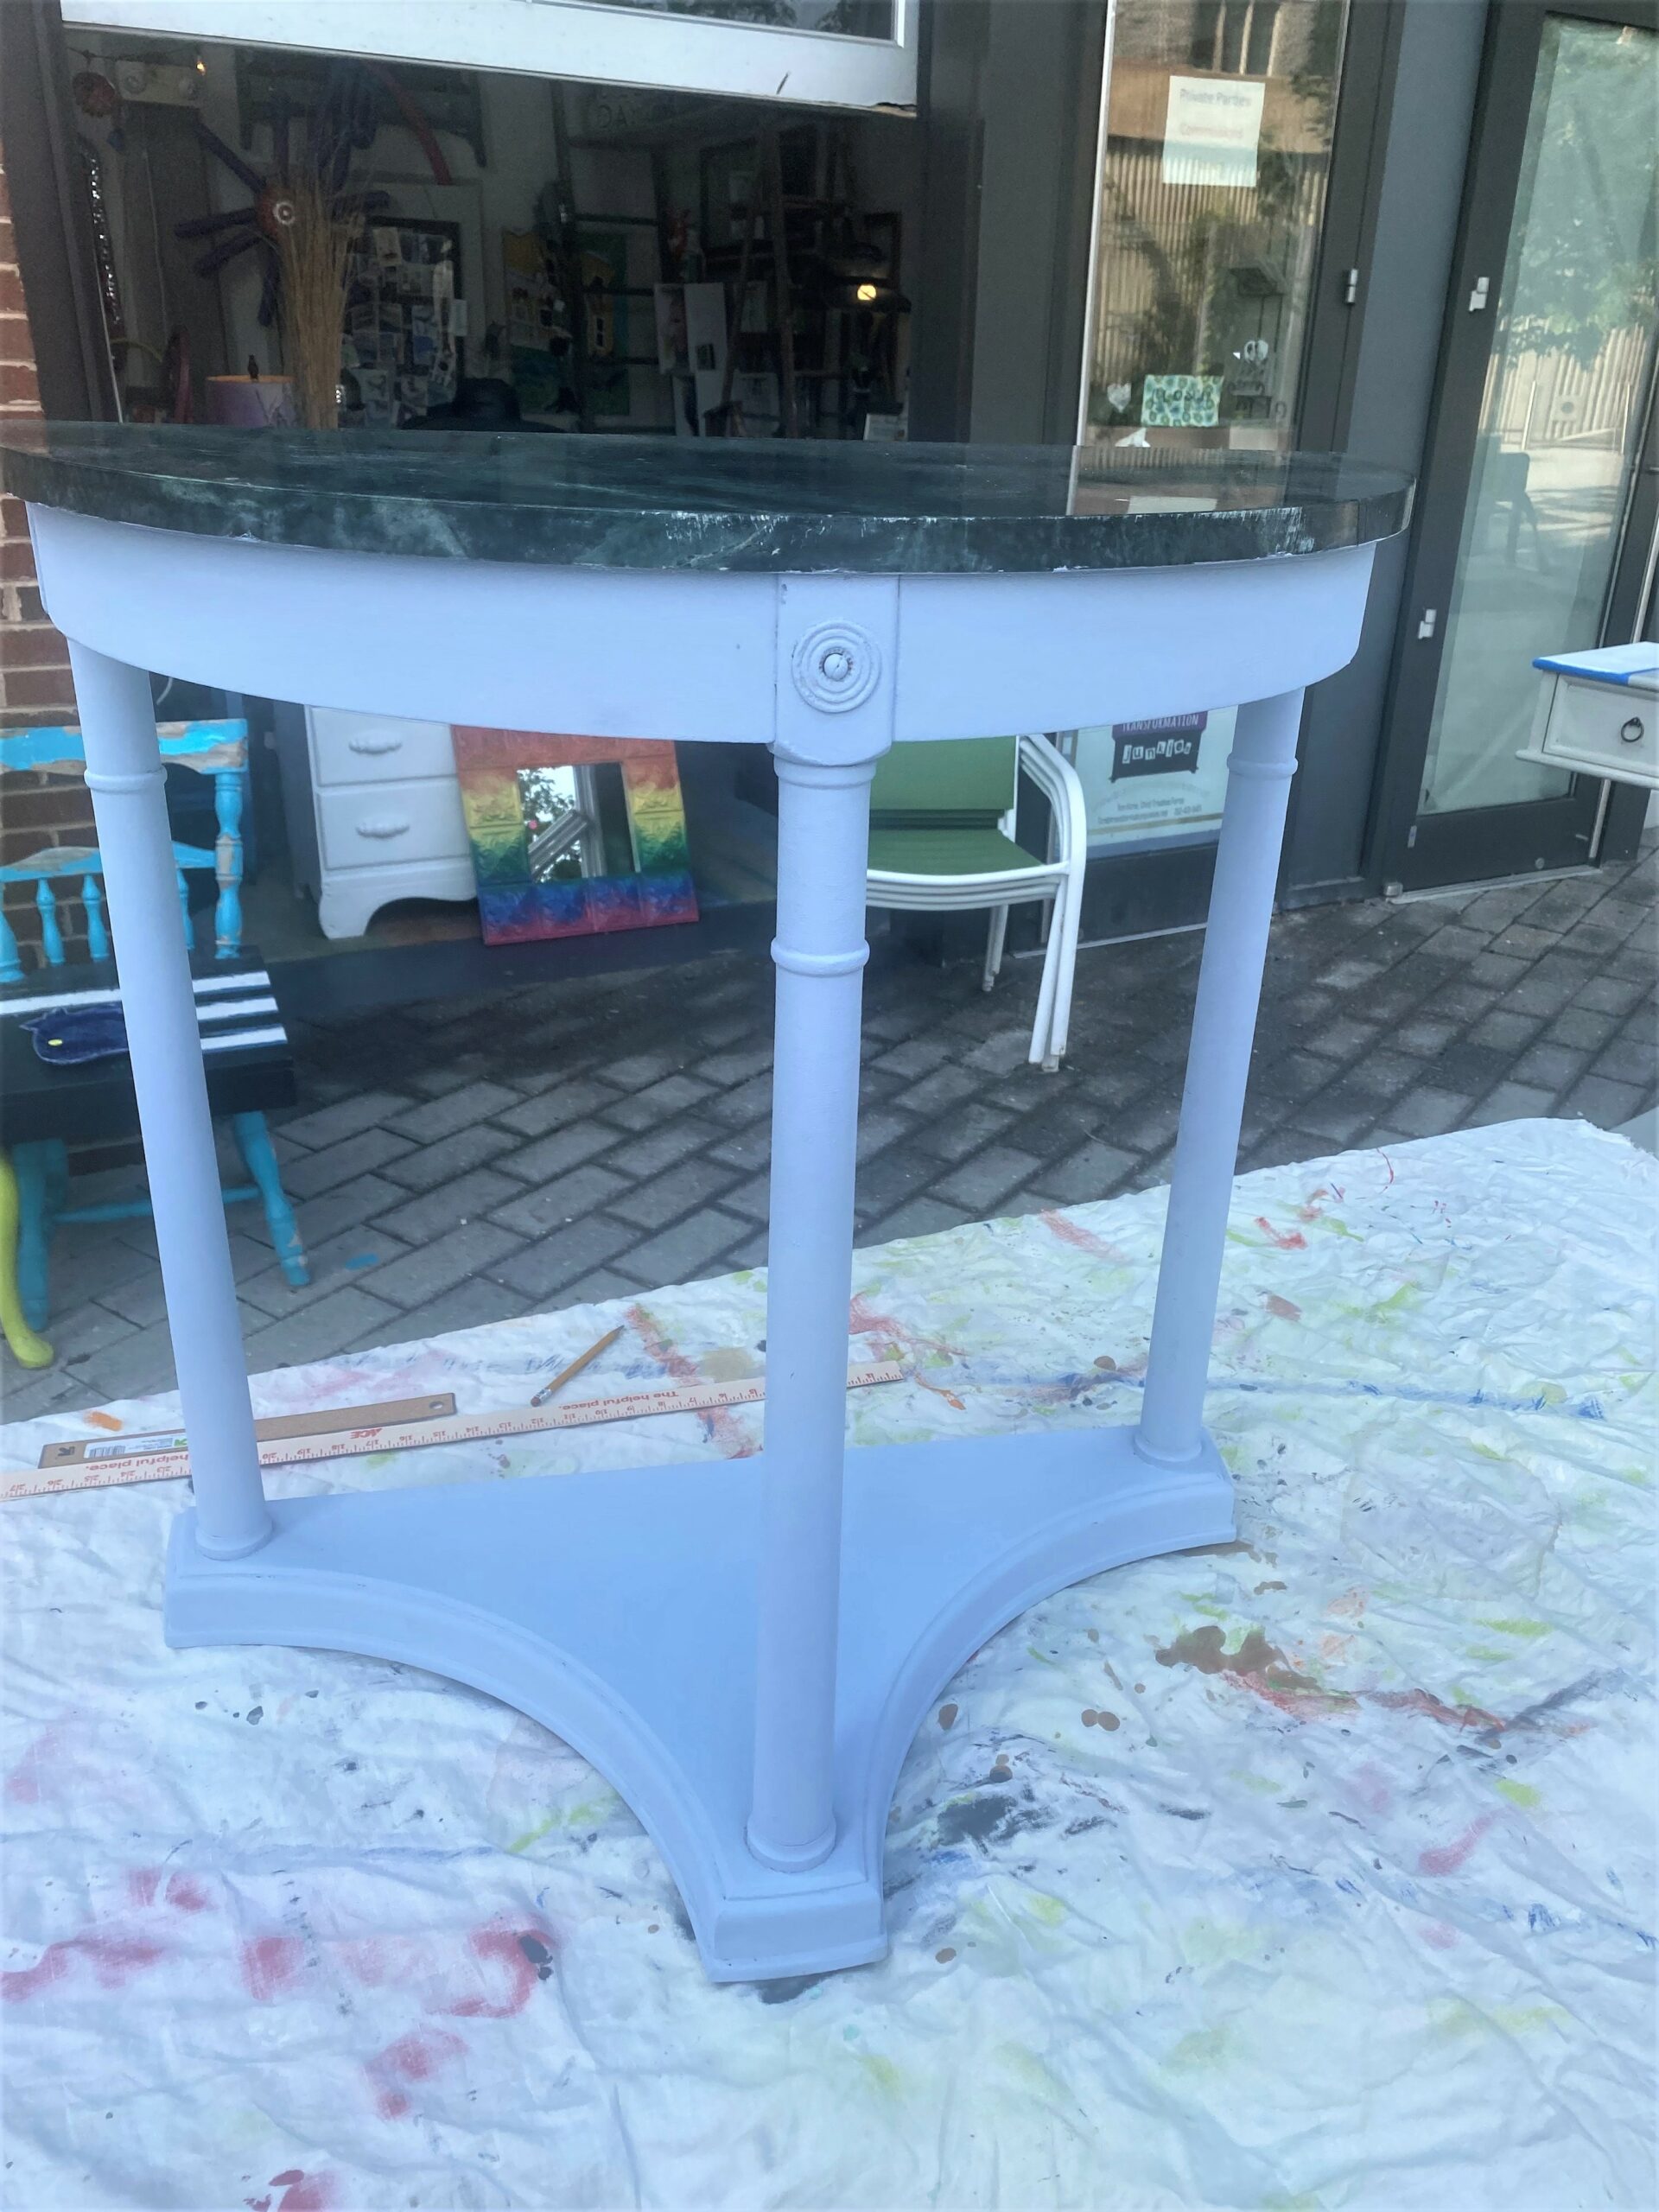
The marble-topped table was nice, but the dark wooden legs looked heavy, and the brass details looked dated. This table got the royal treatment with paint to make it lighter and to bring out its beautiful top.
- Place your table on your drop cloth covered work surface.
- Use painter’s tape to protect any special details, like the marble top’s edge.
- Brush on several light layers of paint, letting dry well between them.
- Carefully set your table on its back to allow you to get all parts, nooks and crannies.
- When dry, remove the painter’s tape, do any touch ups and get ready for the next step.
3. Sketch out your stripes
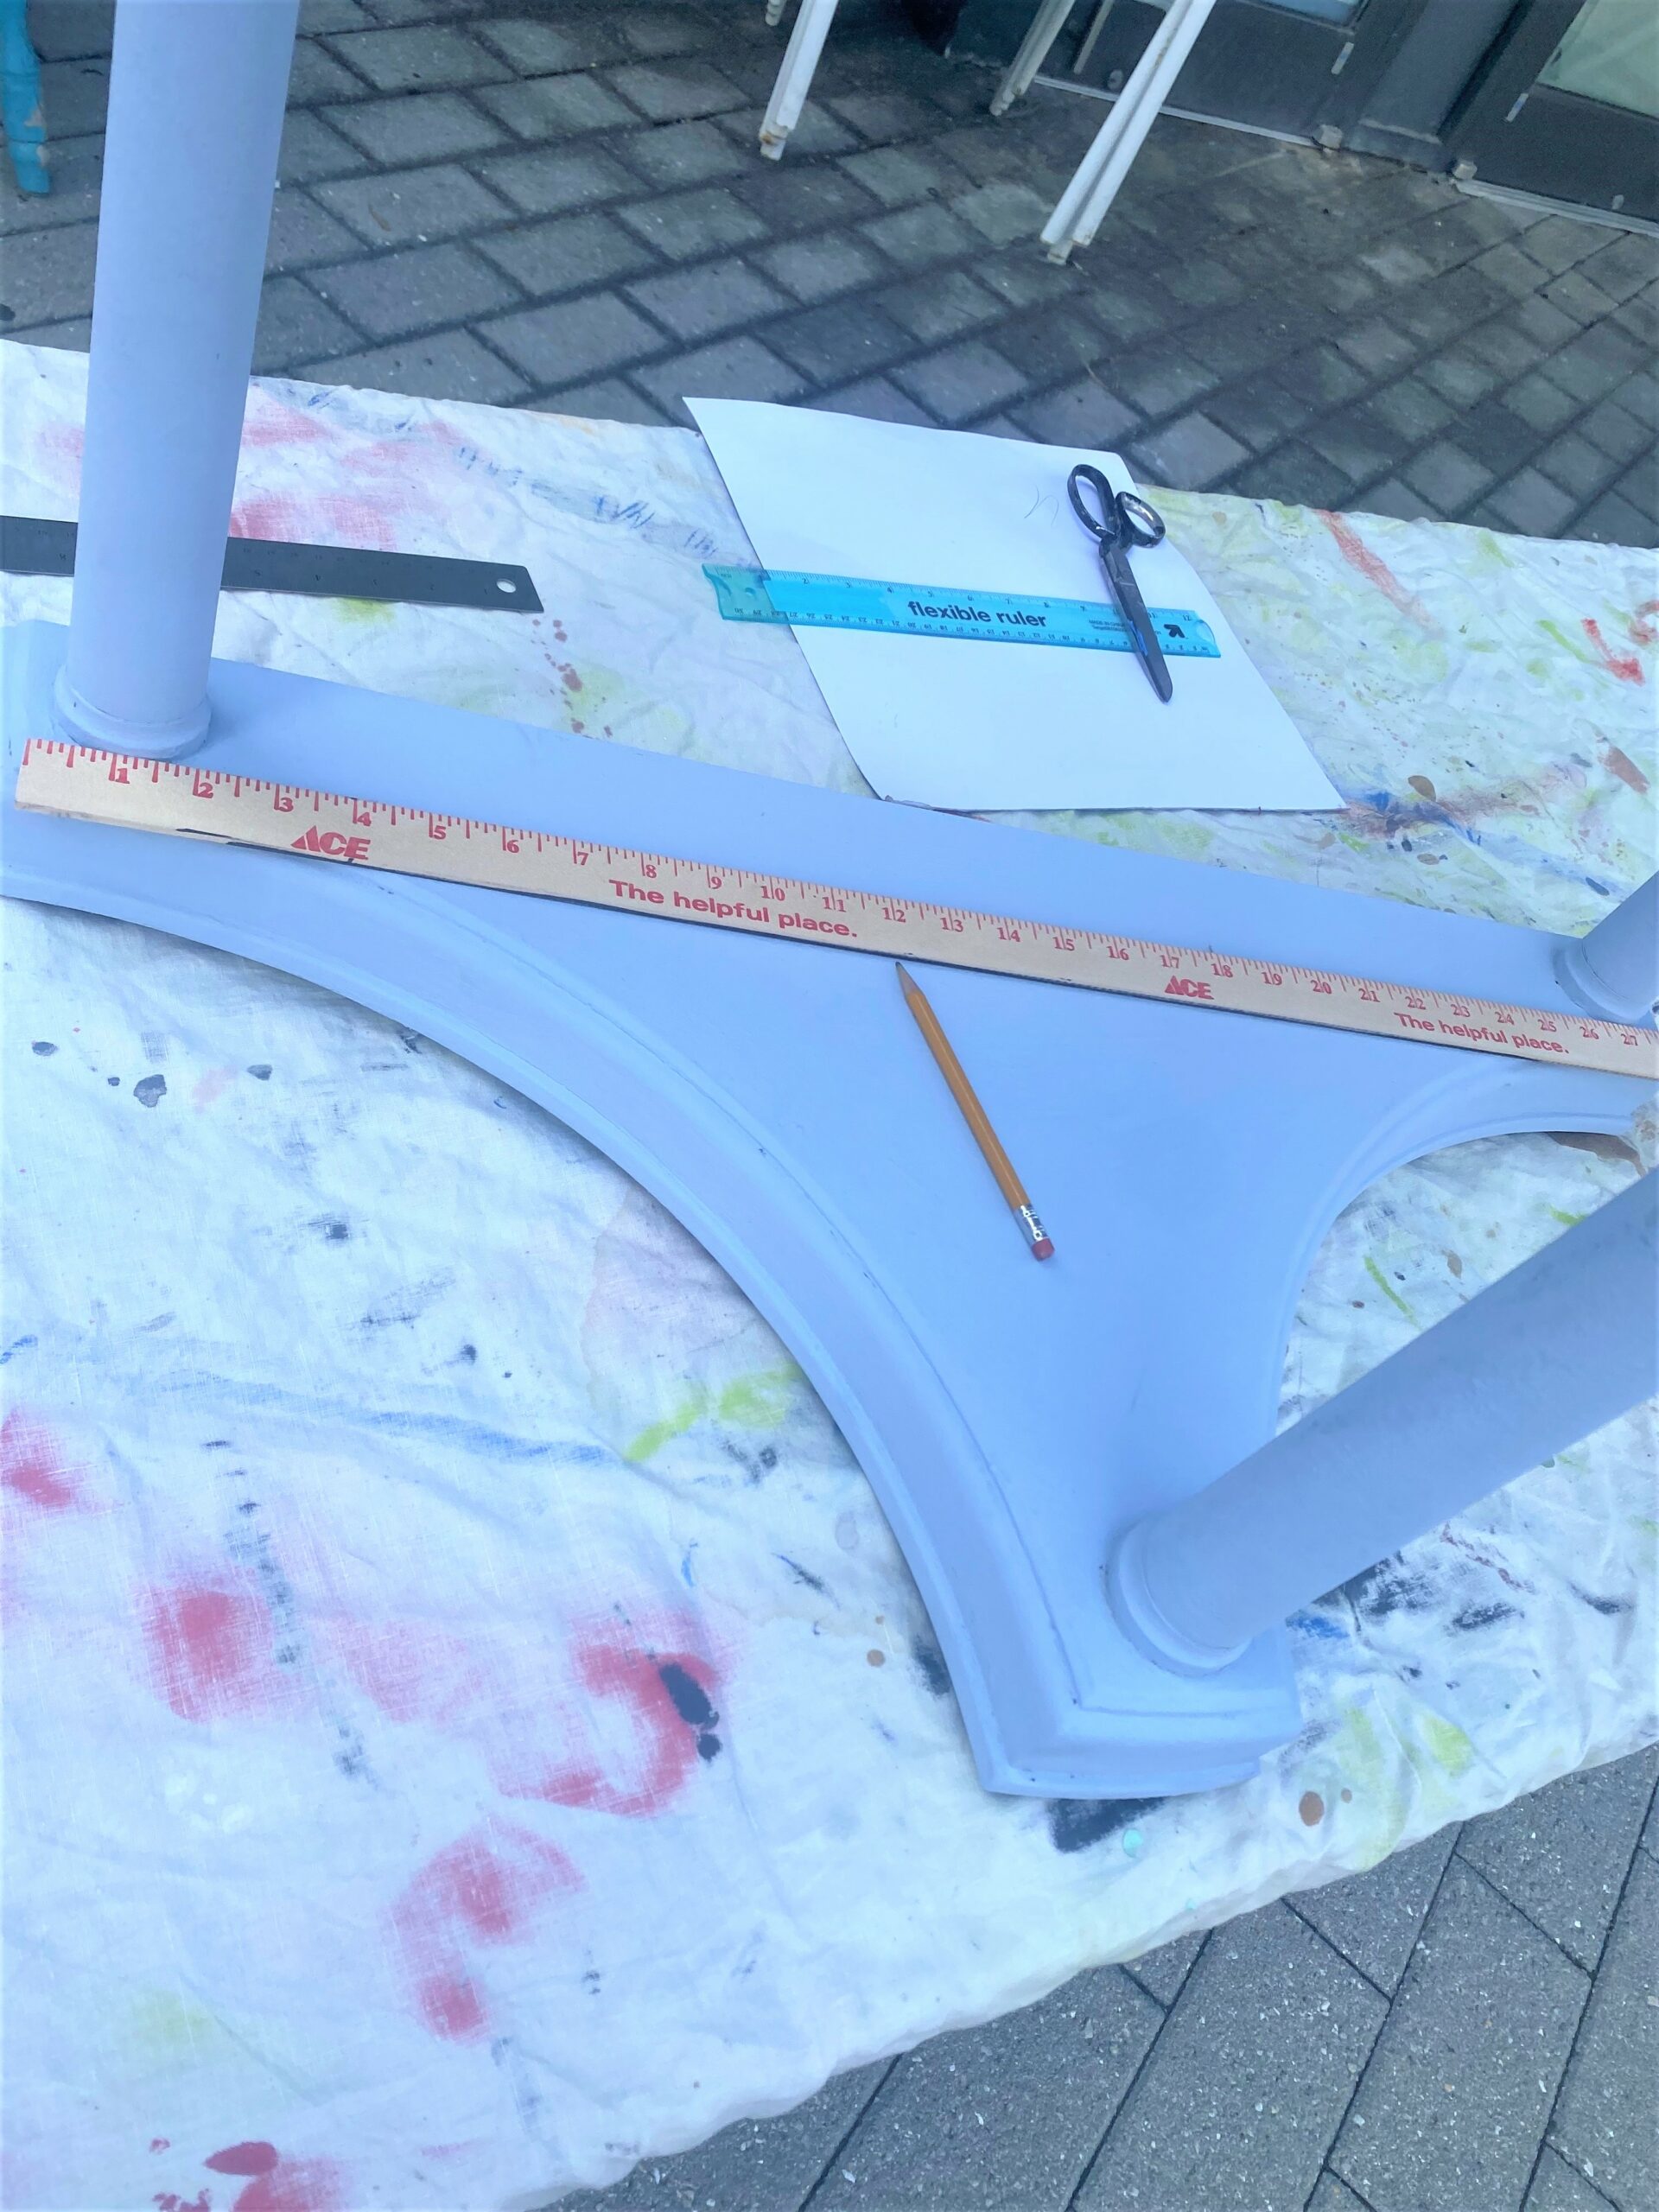
Use your tape measure to determine the length of the surface that will be given stripes.
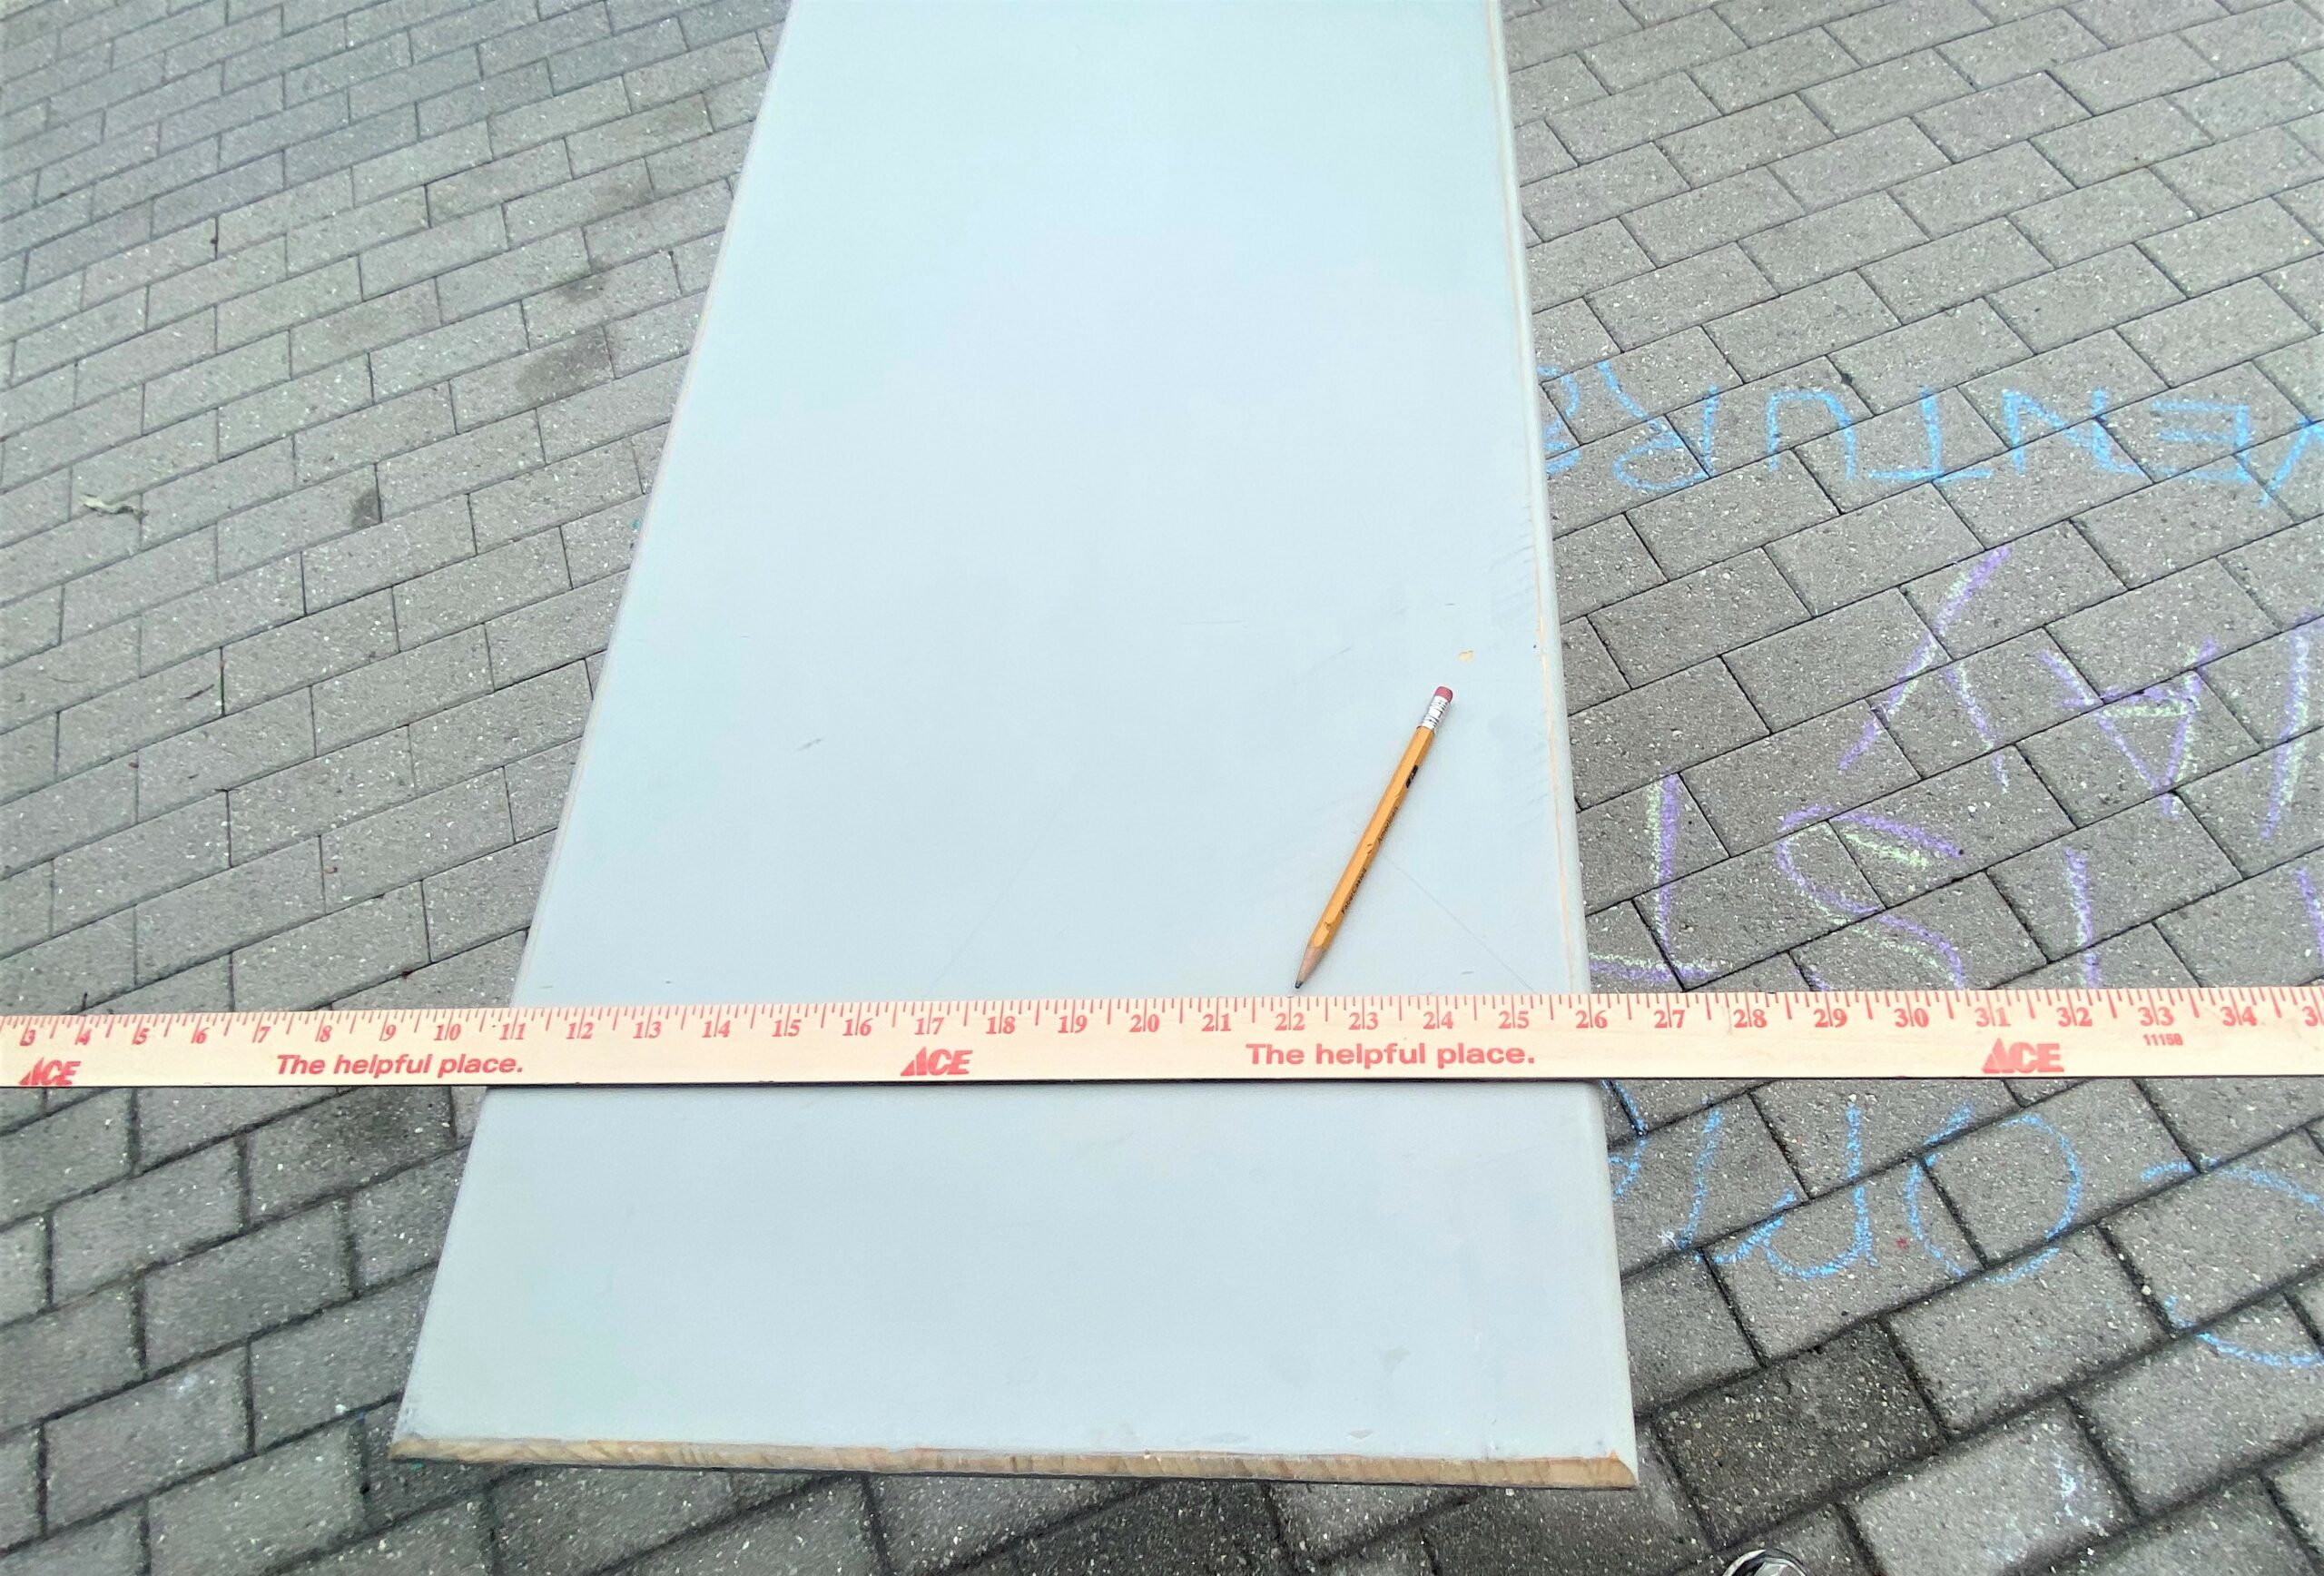
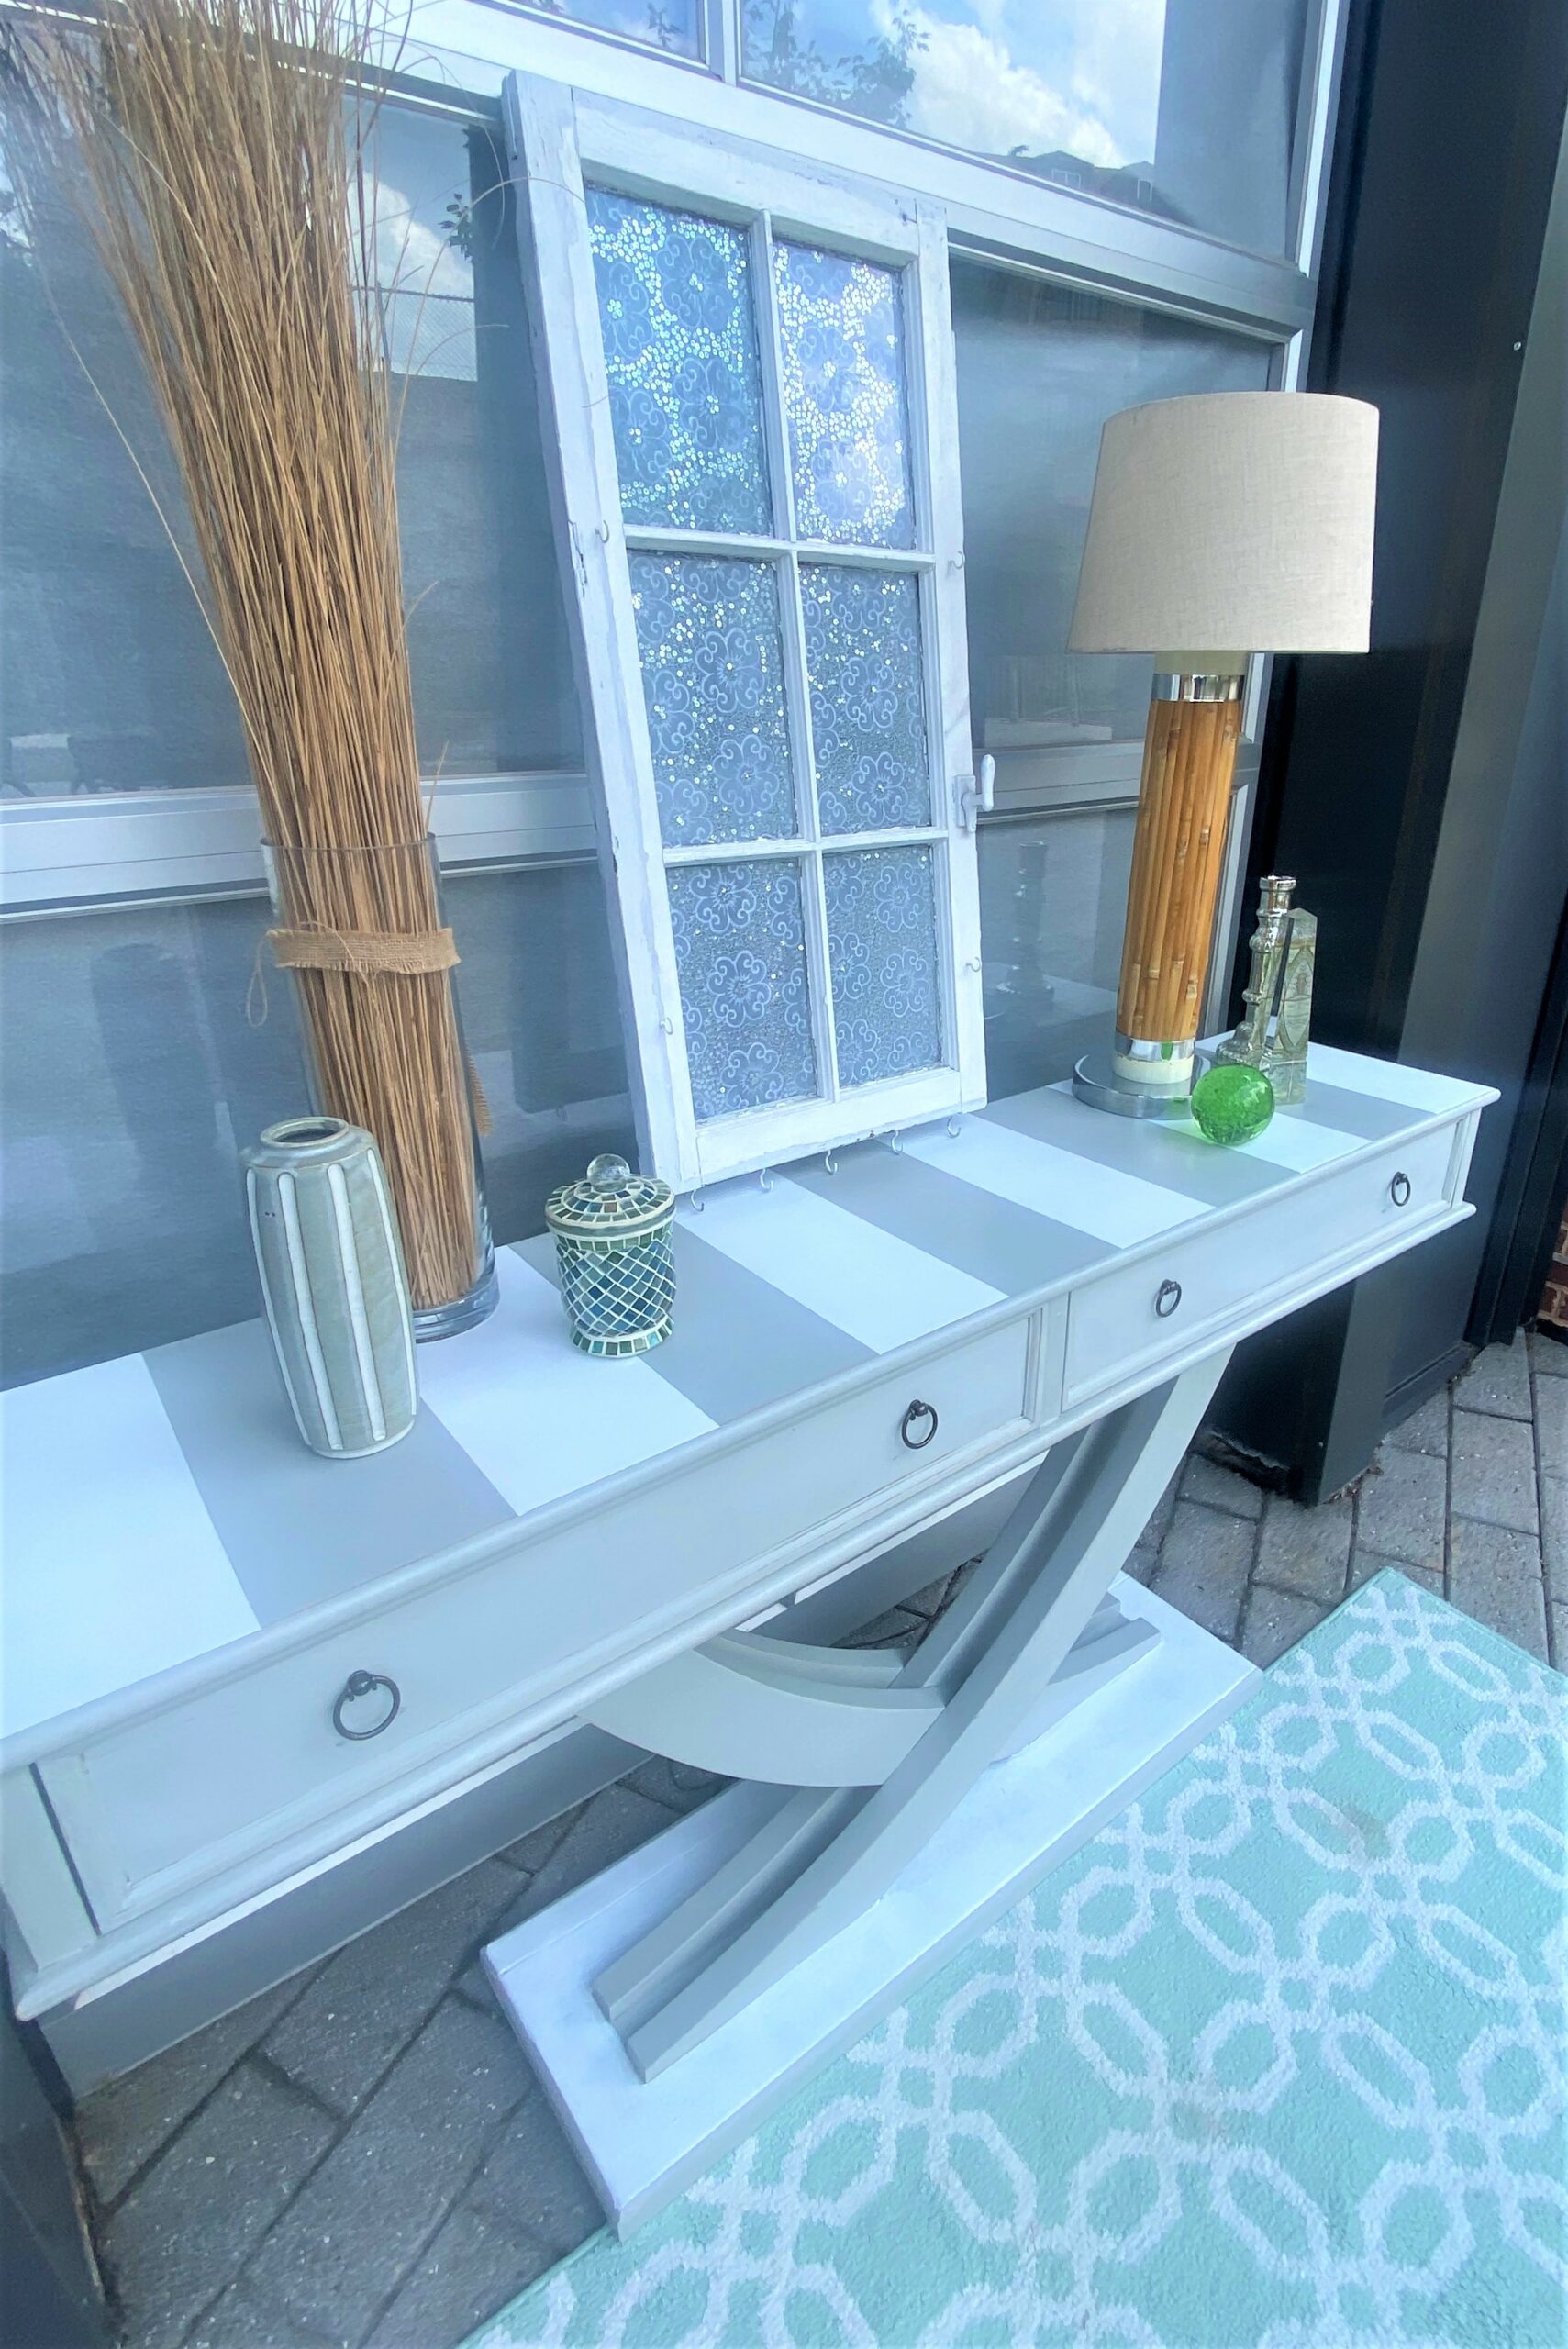
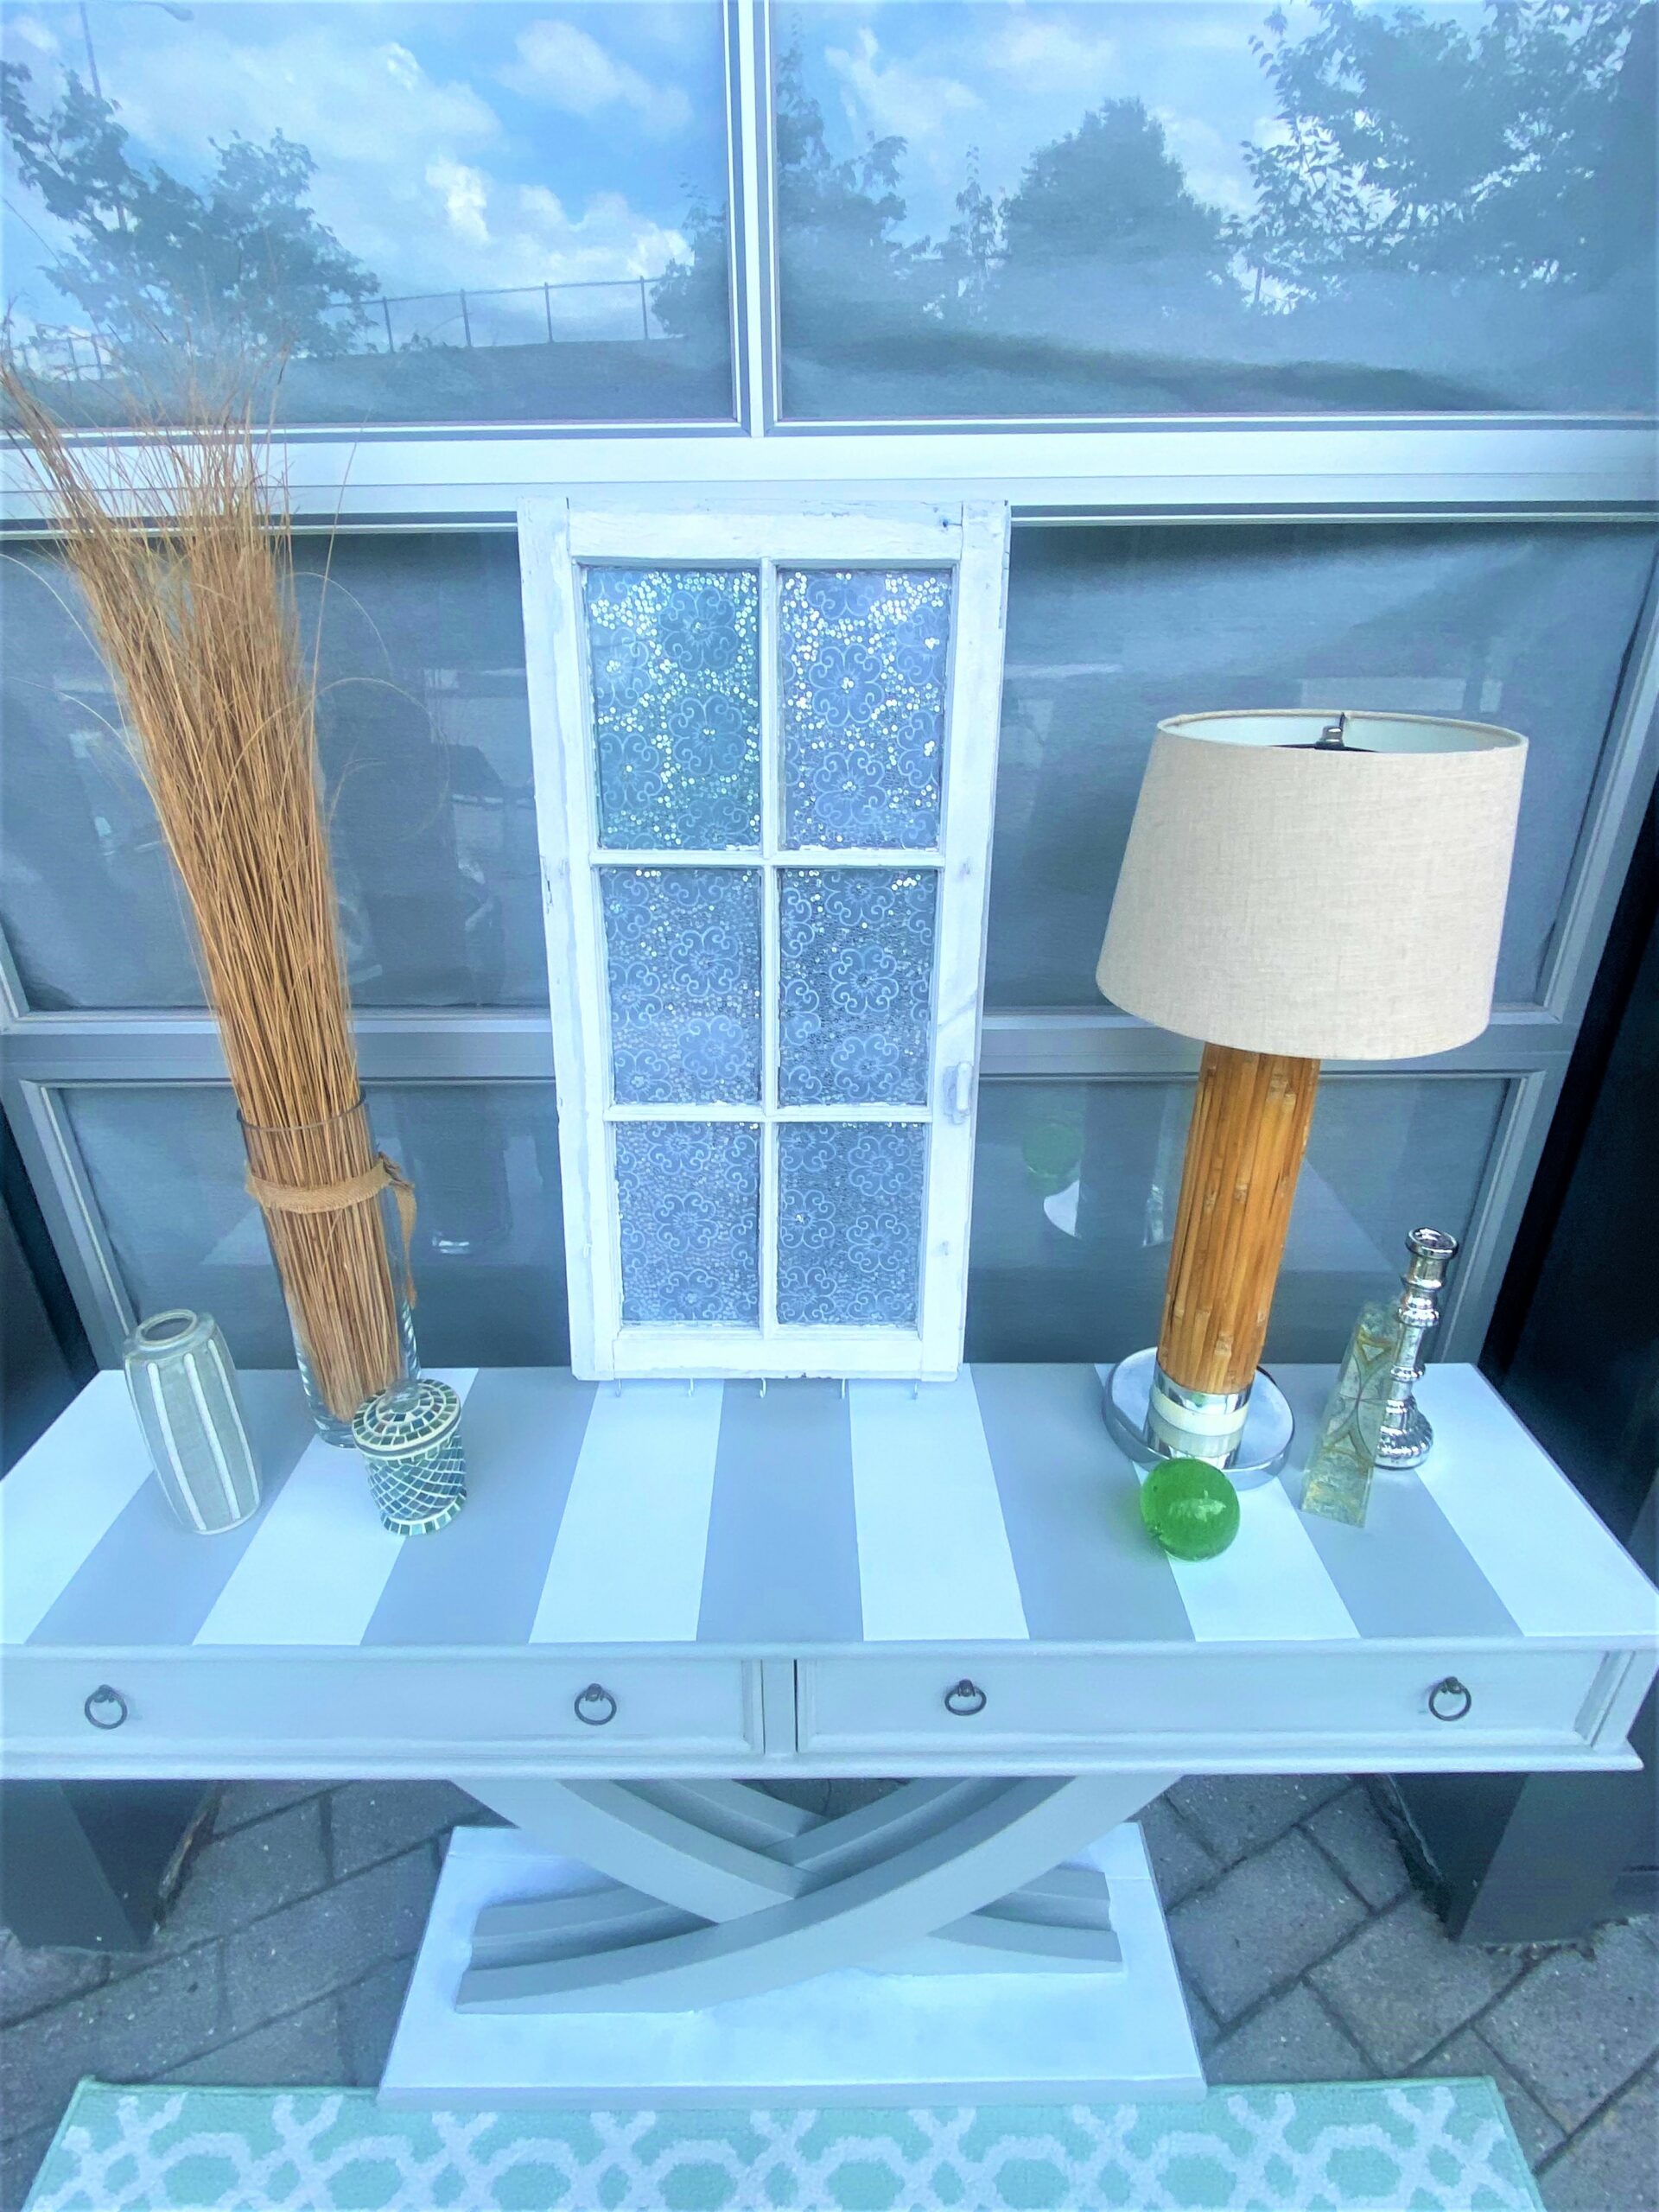
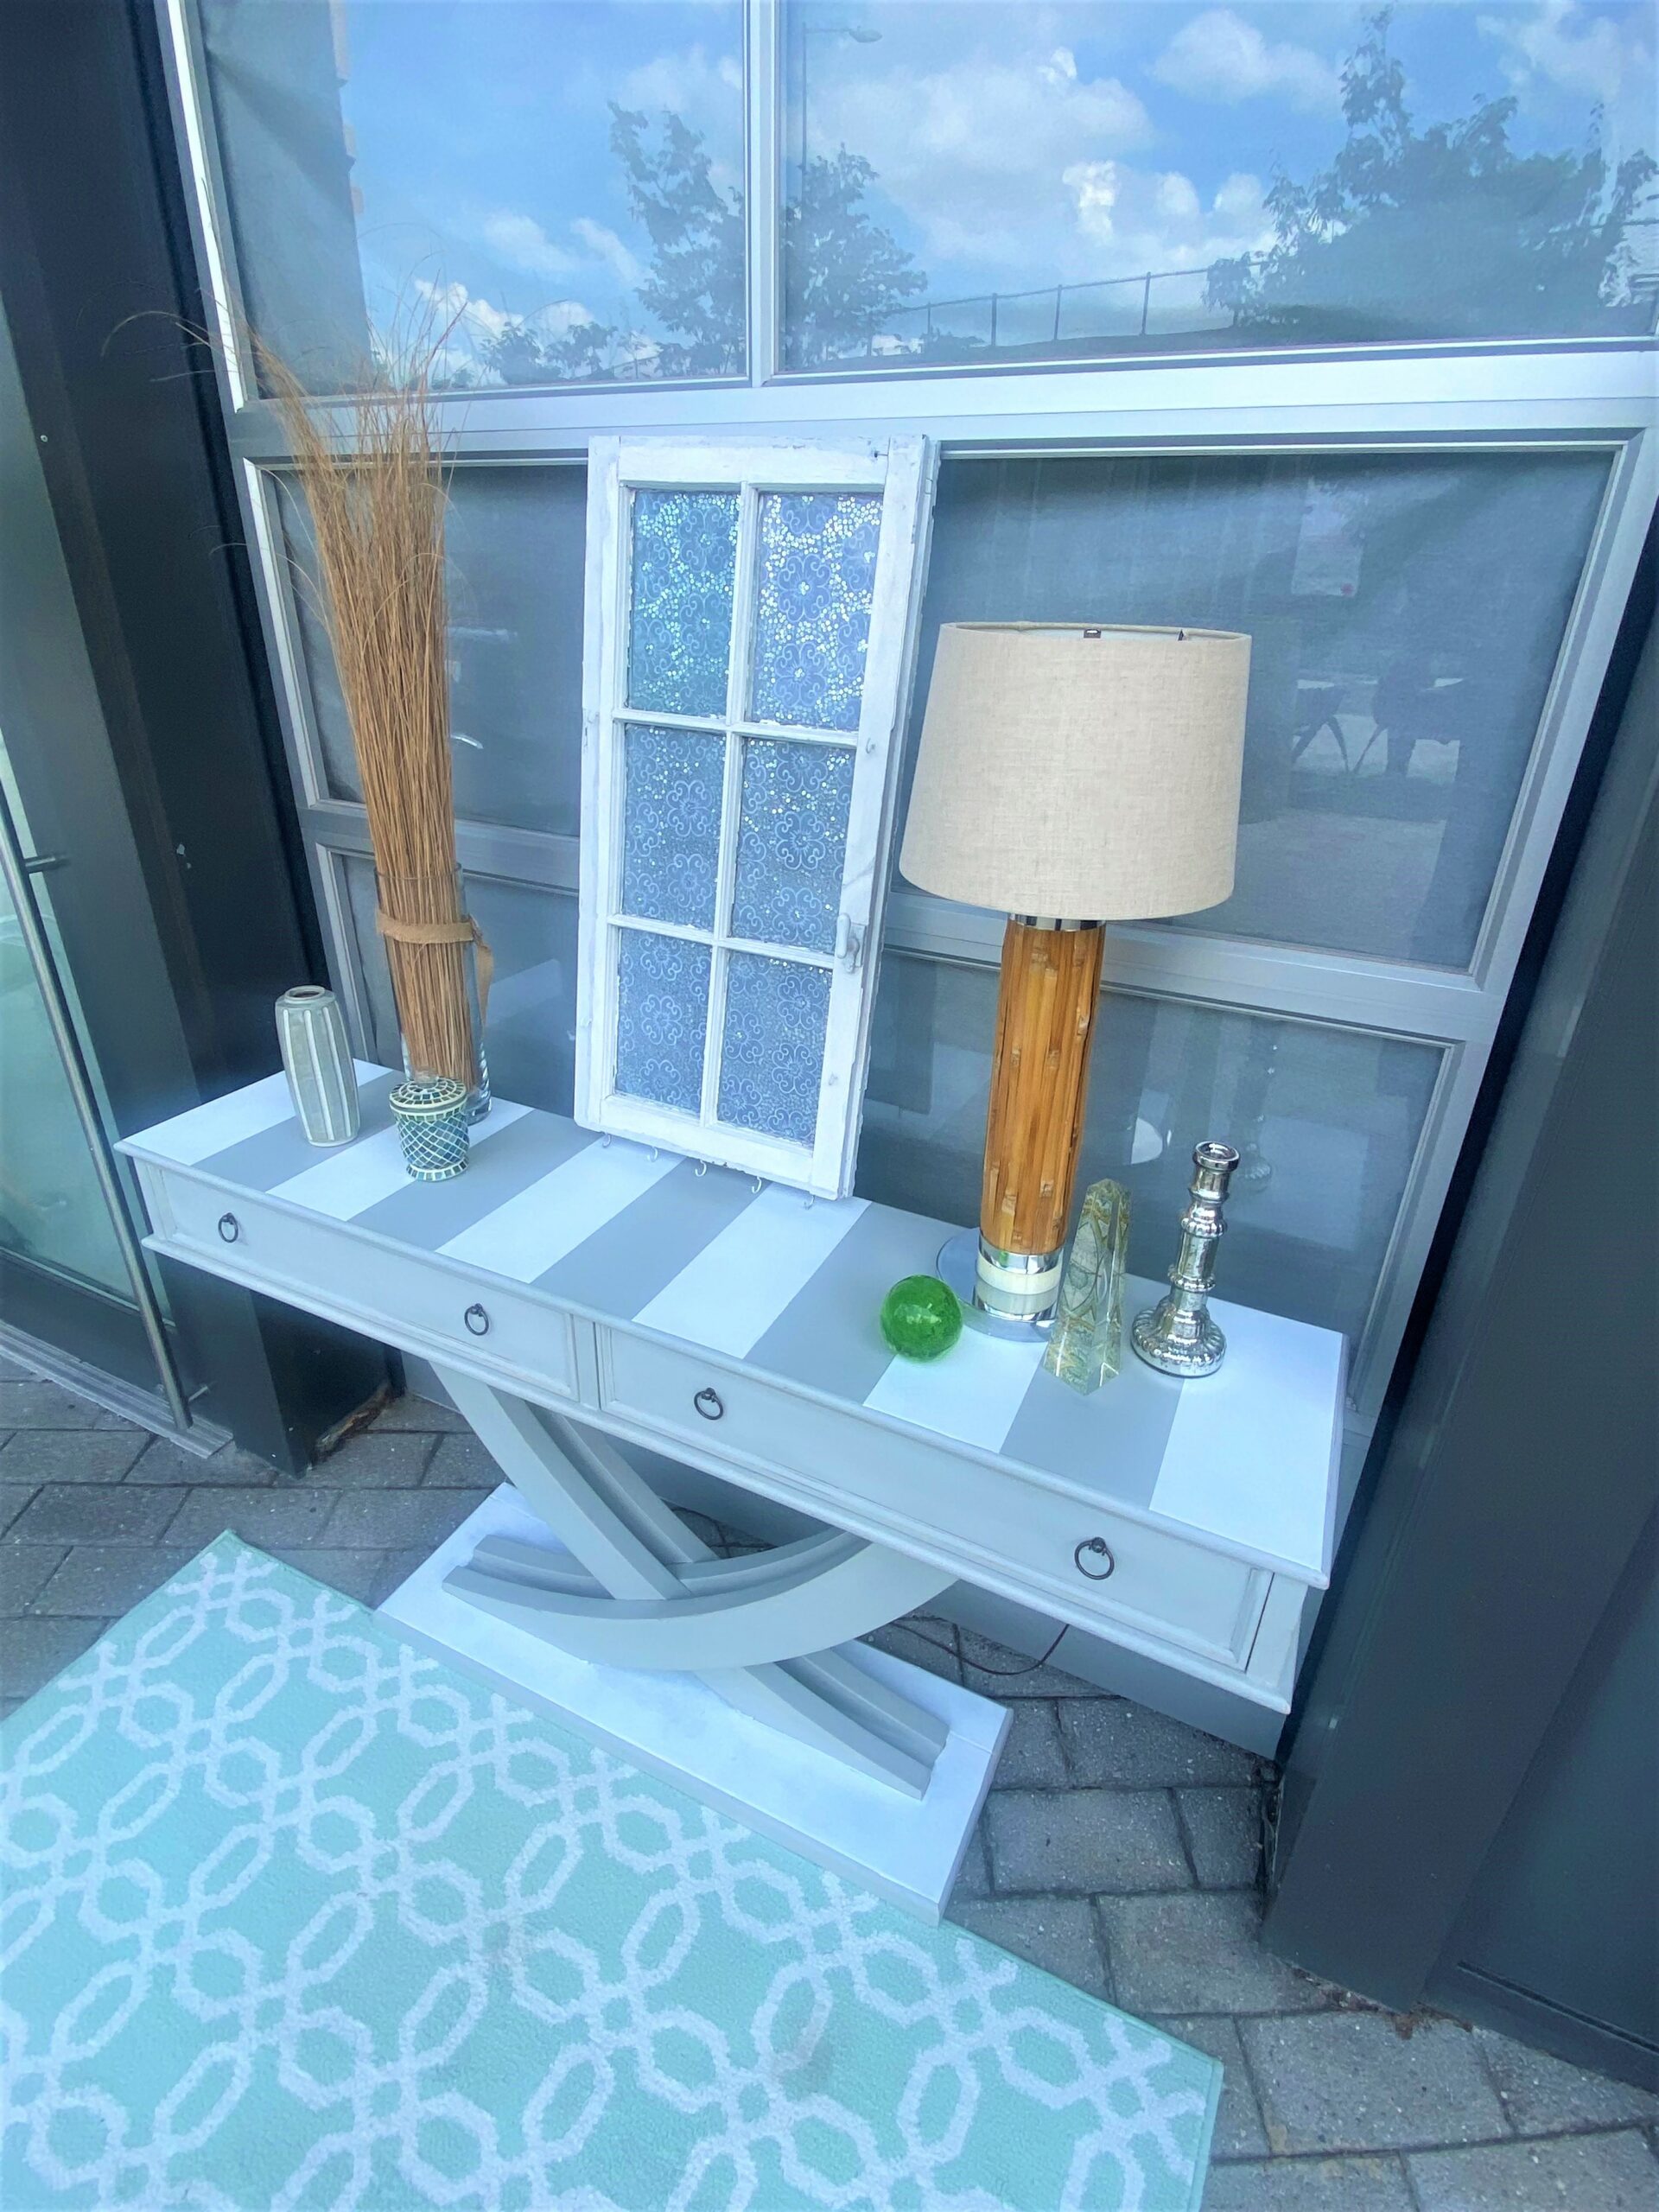
For the gray, contemporary table, it’s top was 66 inches long, so each stripe is six inches. Using a ruler and pencil, the six-inch lines were added.
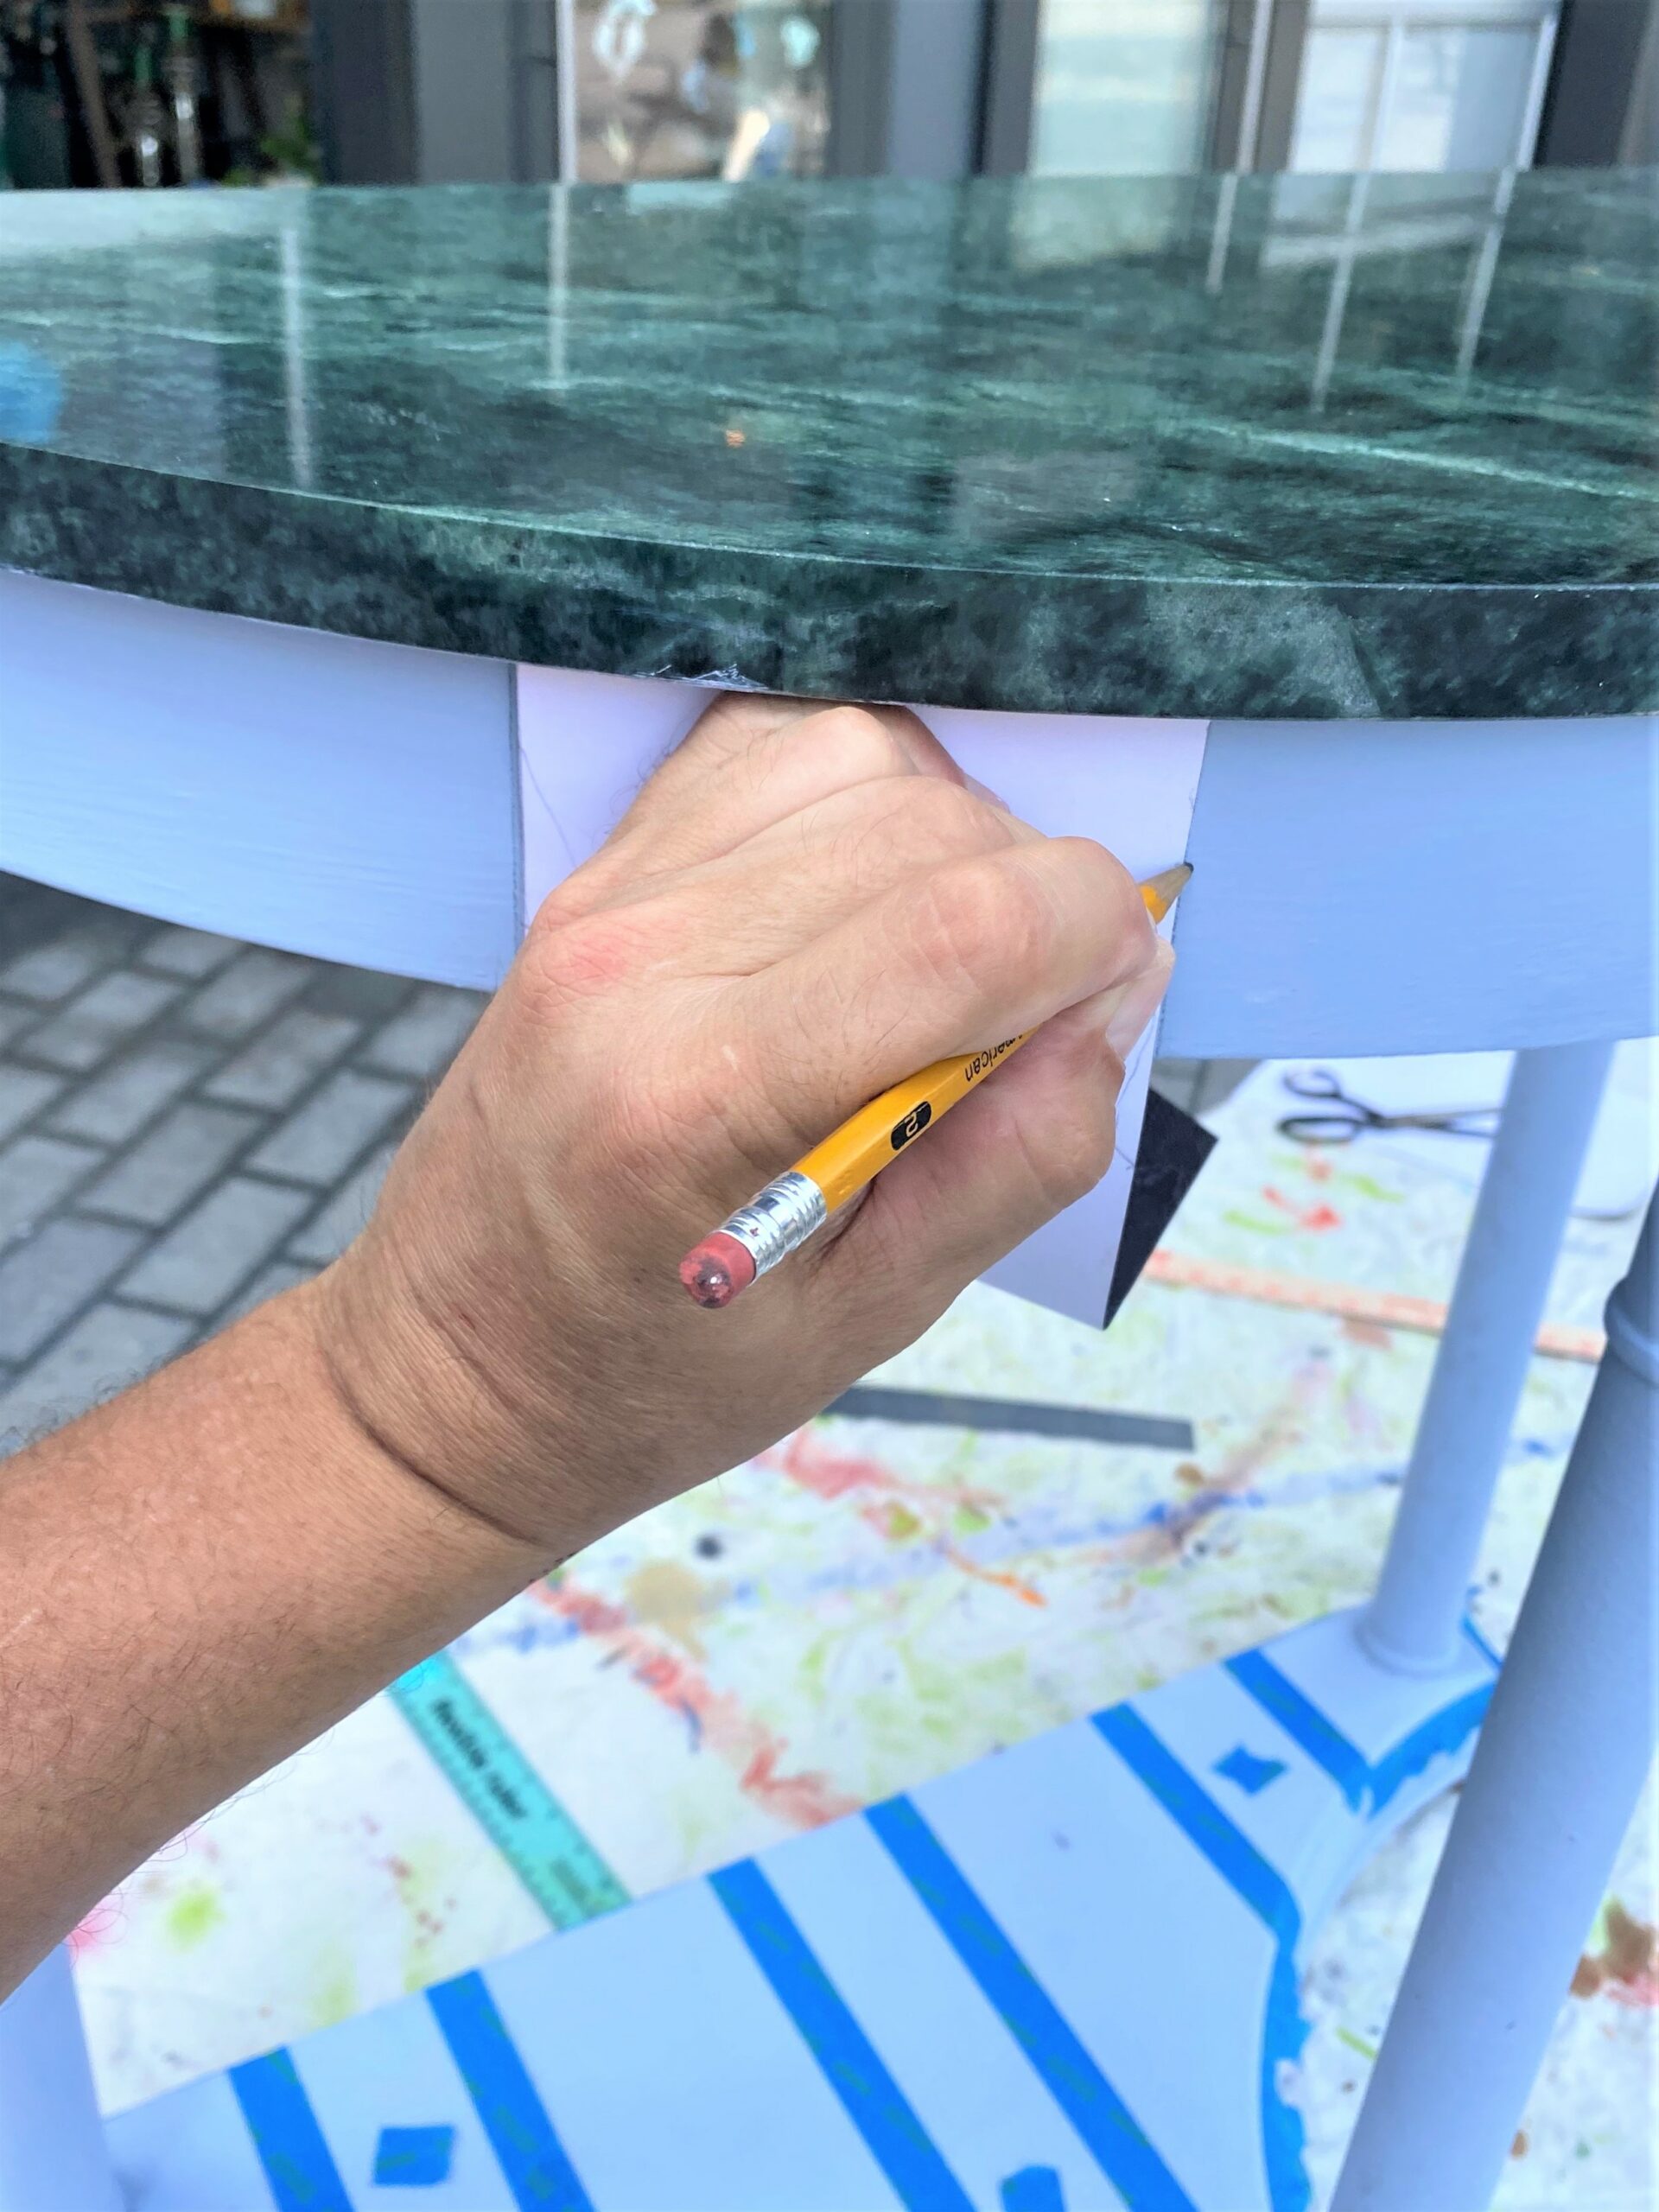
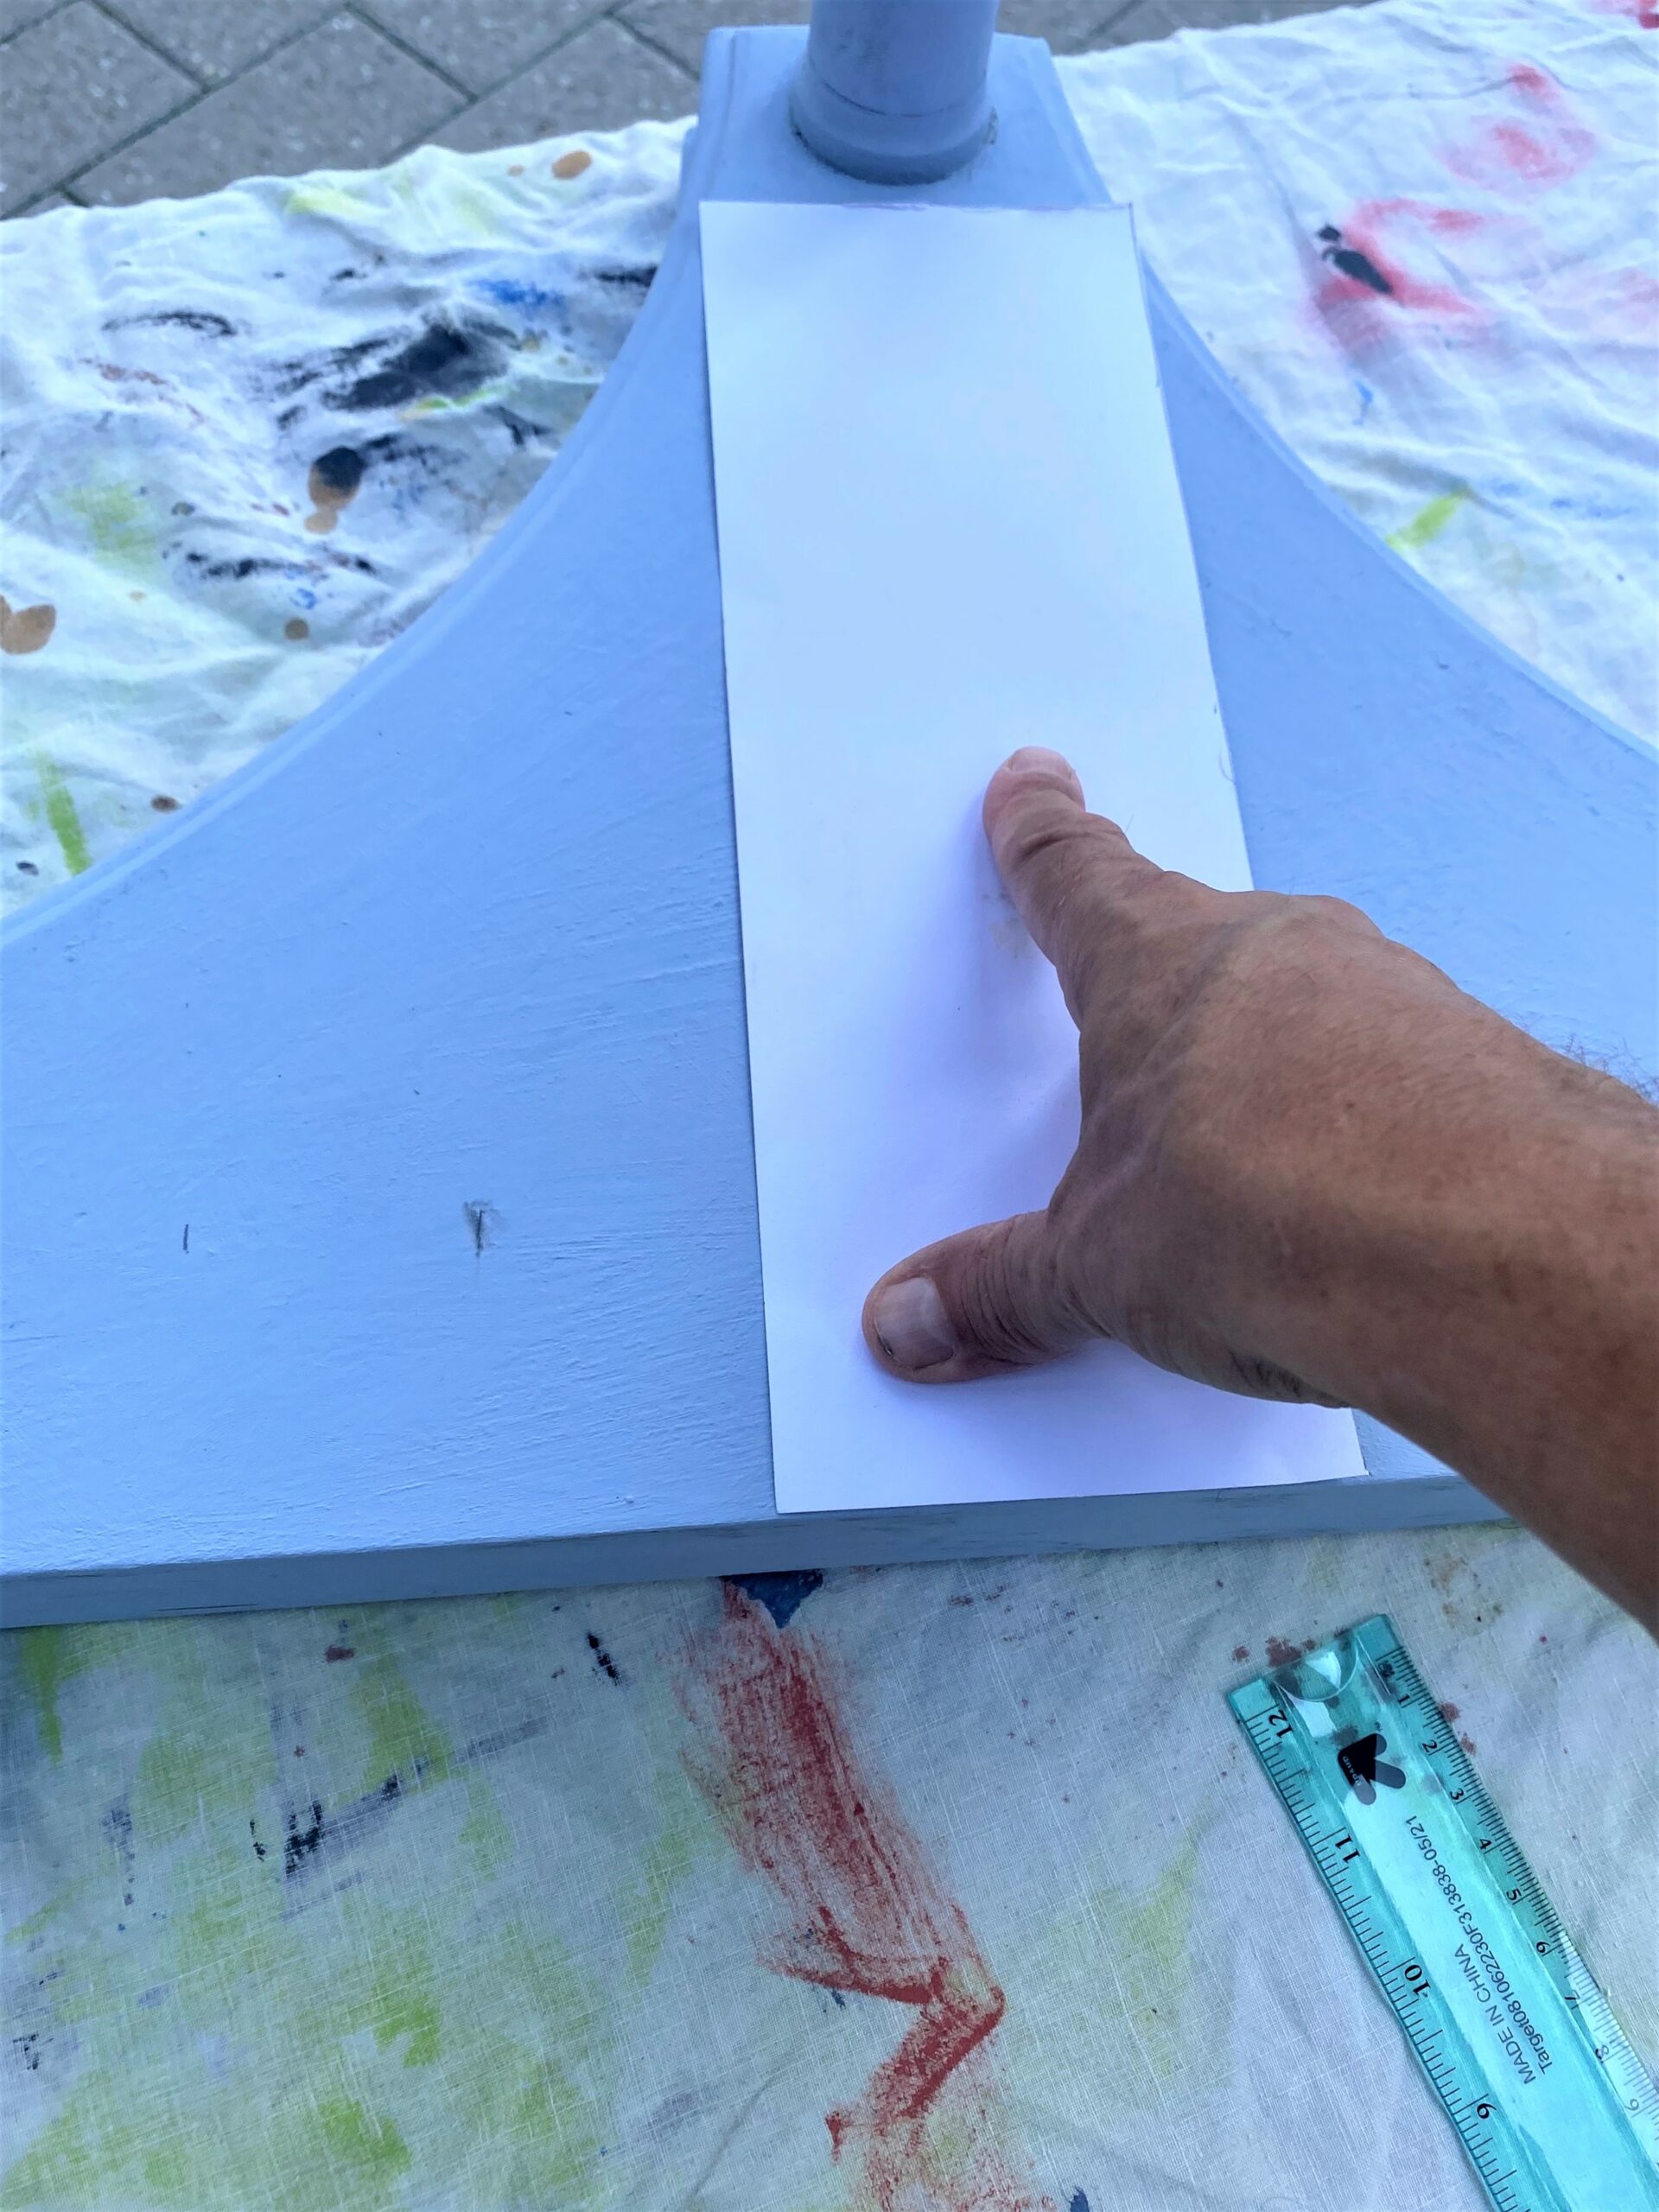
The marble-topped table ‘s bottom section is 28 inches wide, so each is four inches wide. However, given shape, a four-inch wide strip of thick craft paper was cut and used as a pattern. After drawing it in on the bottom, the pattern was used for a wooden band right under the tabletop’s edge.
4. Take your time when taping your stripes
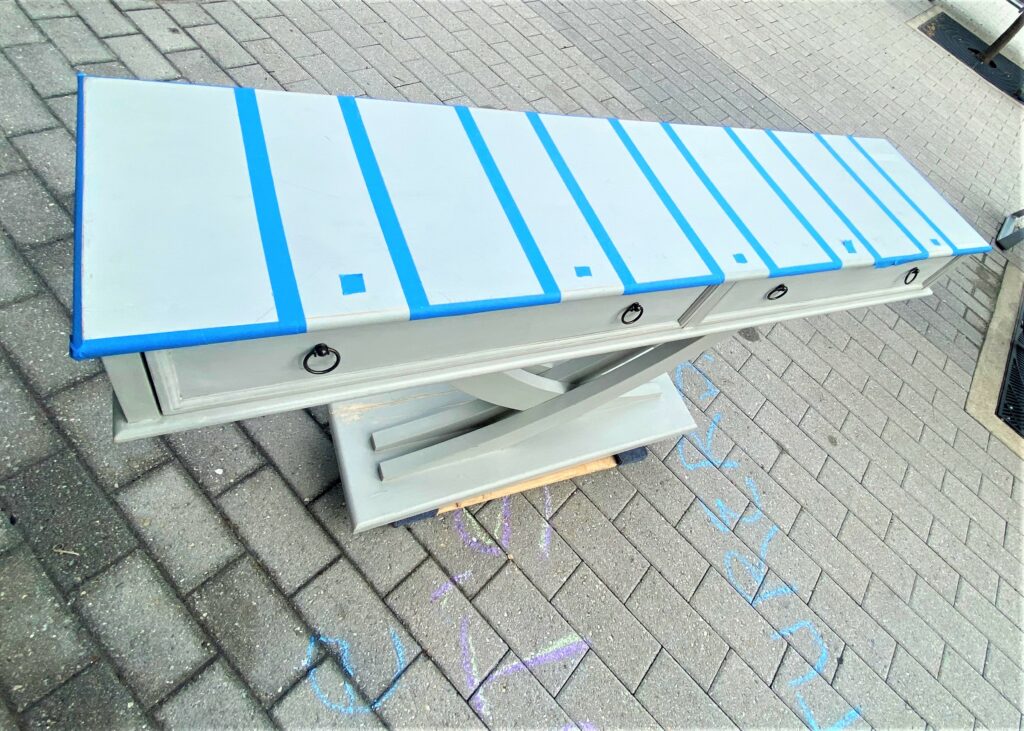
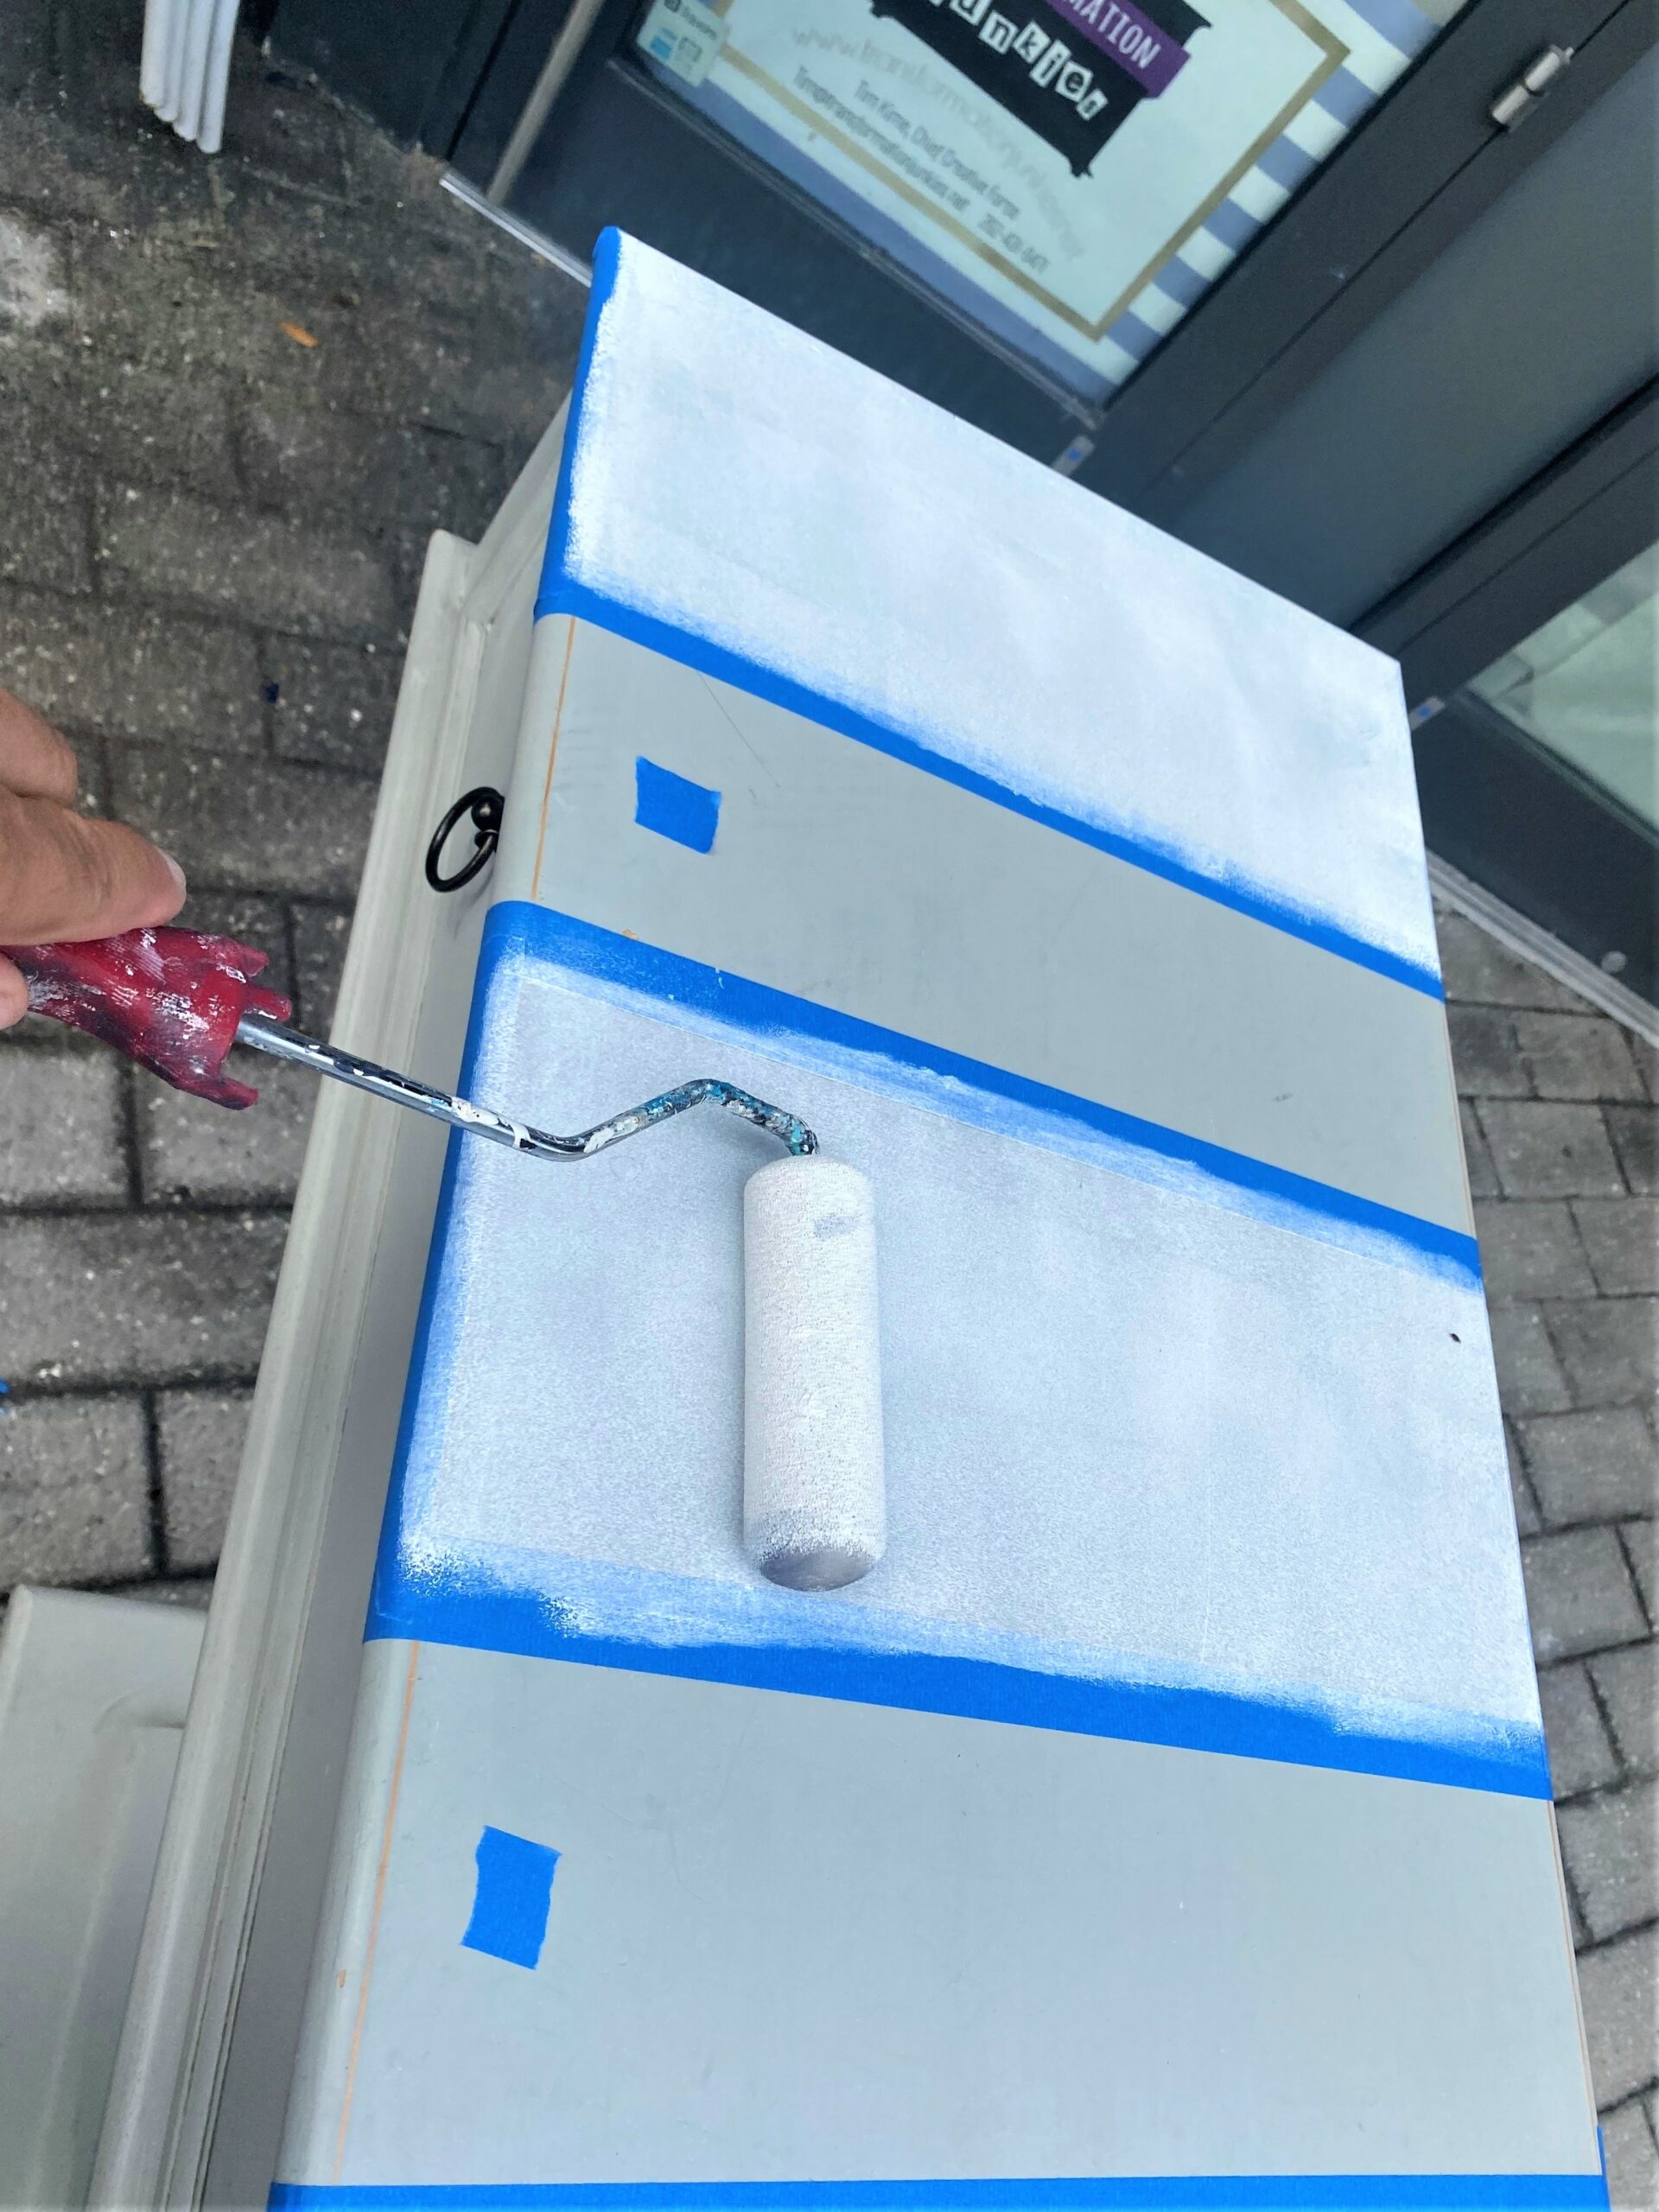
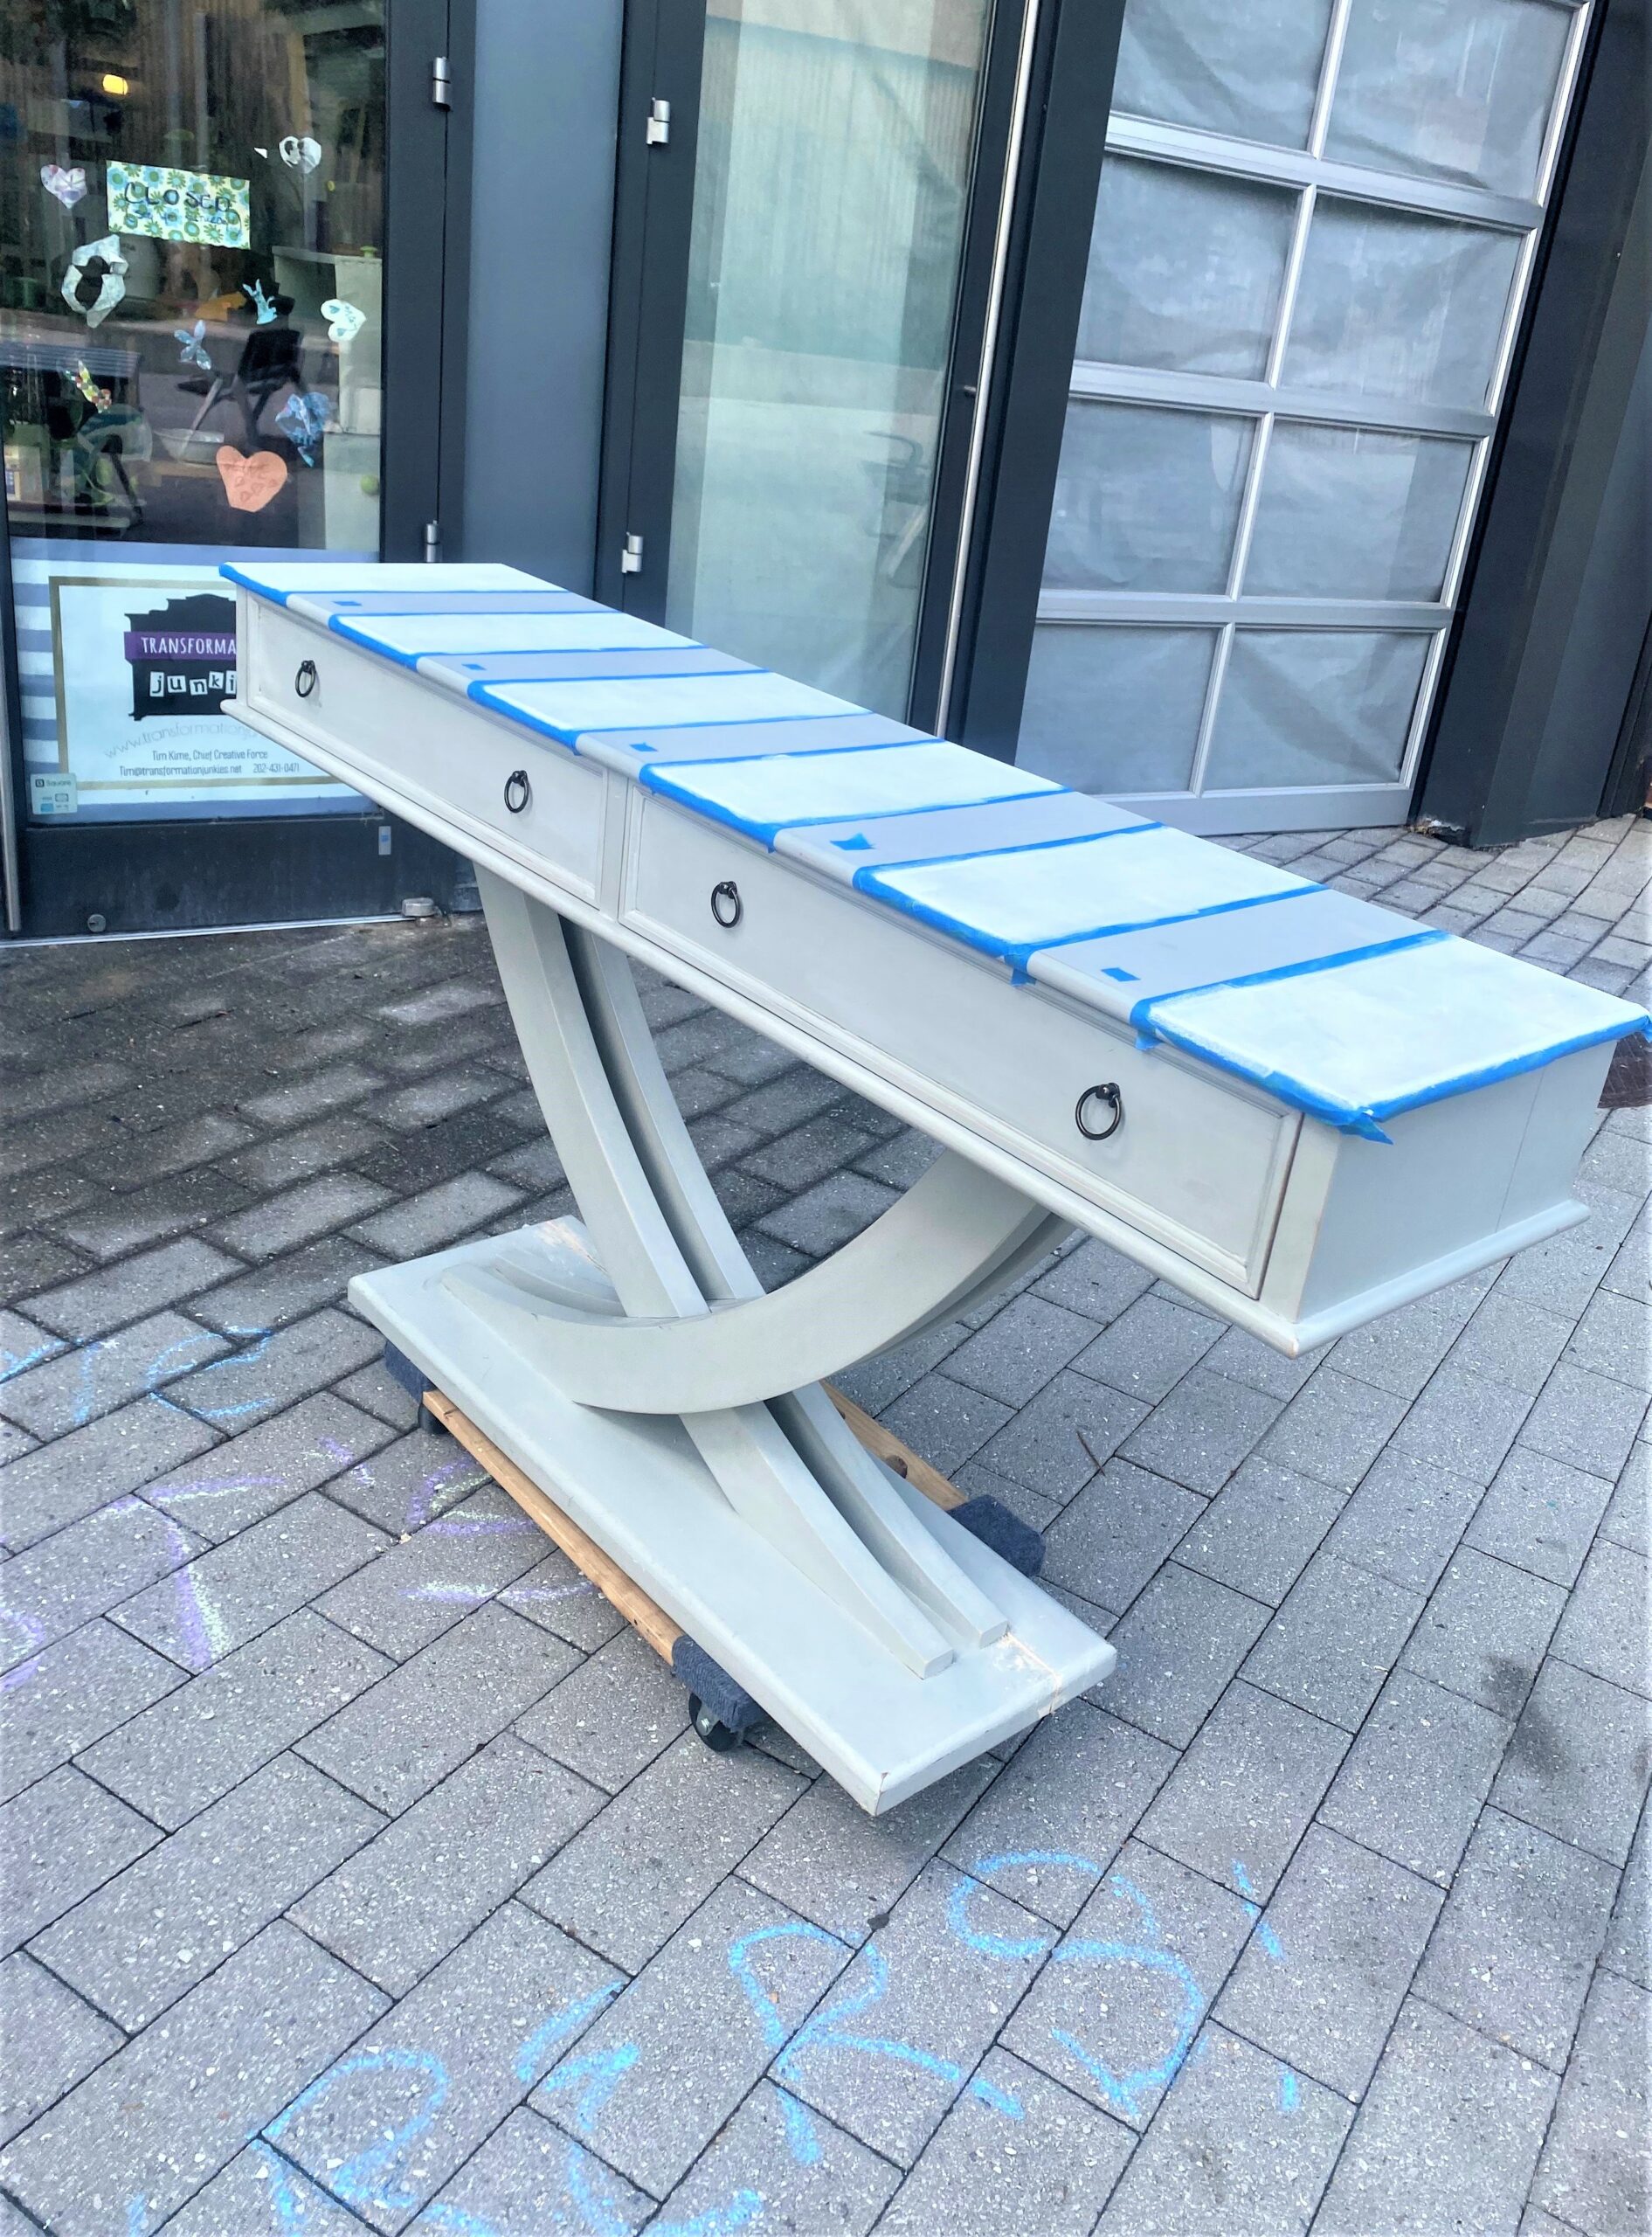
- The first step is to determine which stripes will be painted white and which will be the piece’s parts that will show through. For each stripe NOT to be painted.
- Tear off a small piece of painter’s tape and place it in the center of that stripe.
- Skip one stripe and move on to the next one–not to be painted–and add another small piece of painter’s tape. This step will help remind you where you will or won’t be painting.
- Place your painter’s tape around the unmarked section. Therefore, you will be placing your tape on the stripe sections not to be painted.
5. Roll on your transformation
- Use your small roller brush and apply a light layer of white paint inside your marked off sections.
- The gray table was very easy because of the rectangular, balanced shape of the tabletop. The marble top table was a little more challenging so both the small roller brush and foam craft brush were used to apply the paint to the designated areas.
- Add a couple of layers to ensure the white is crisp and sharp!
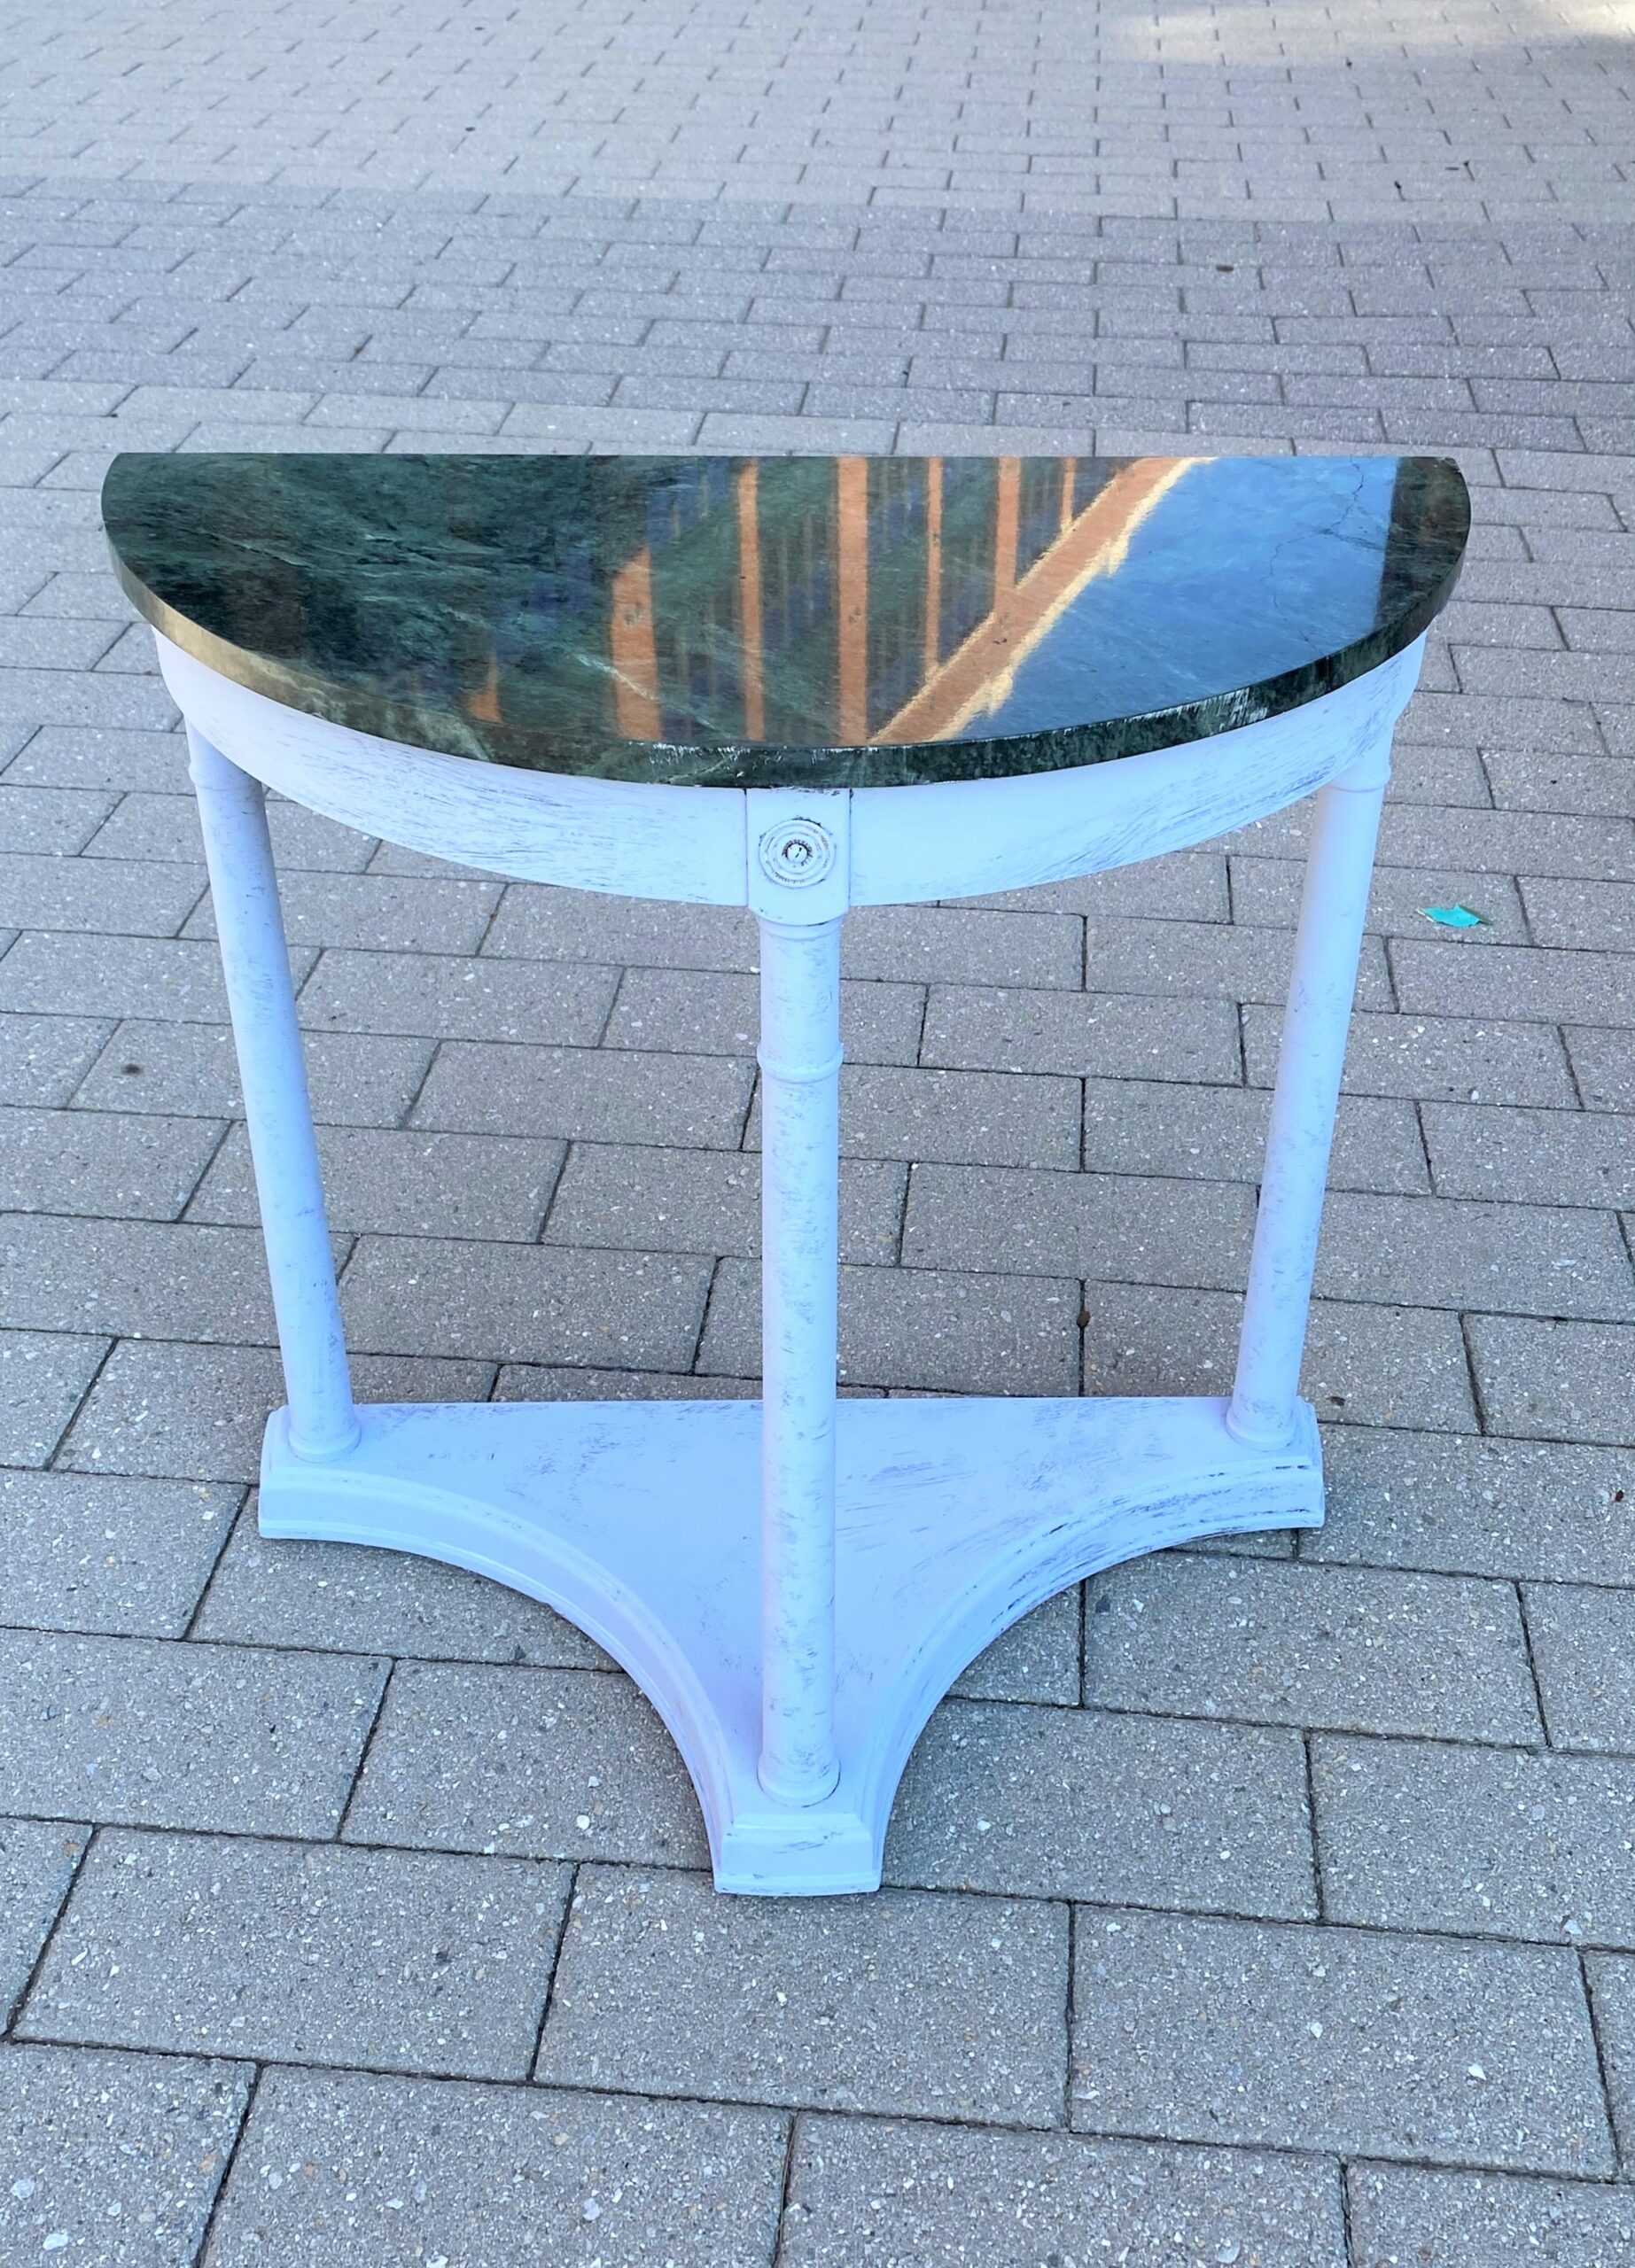
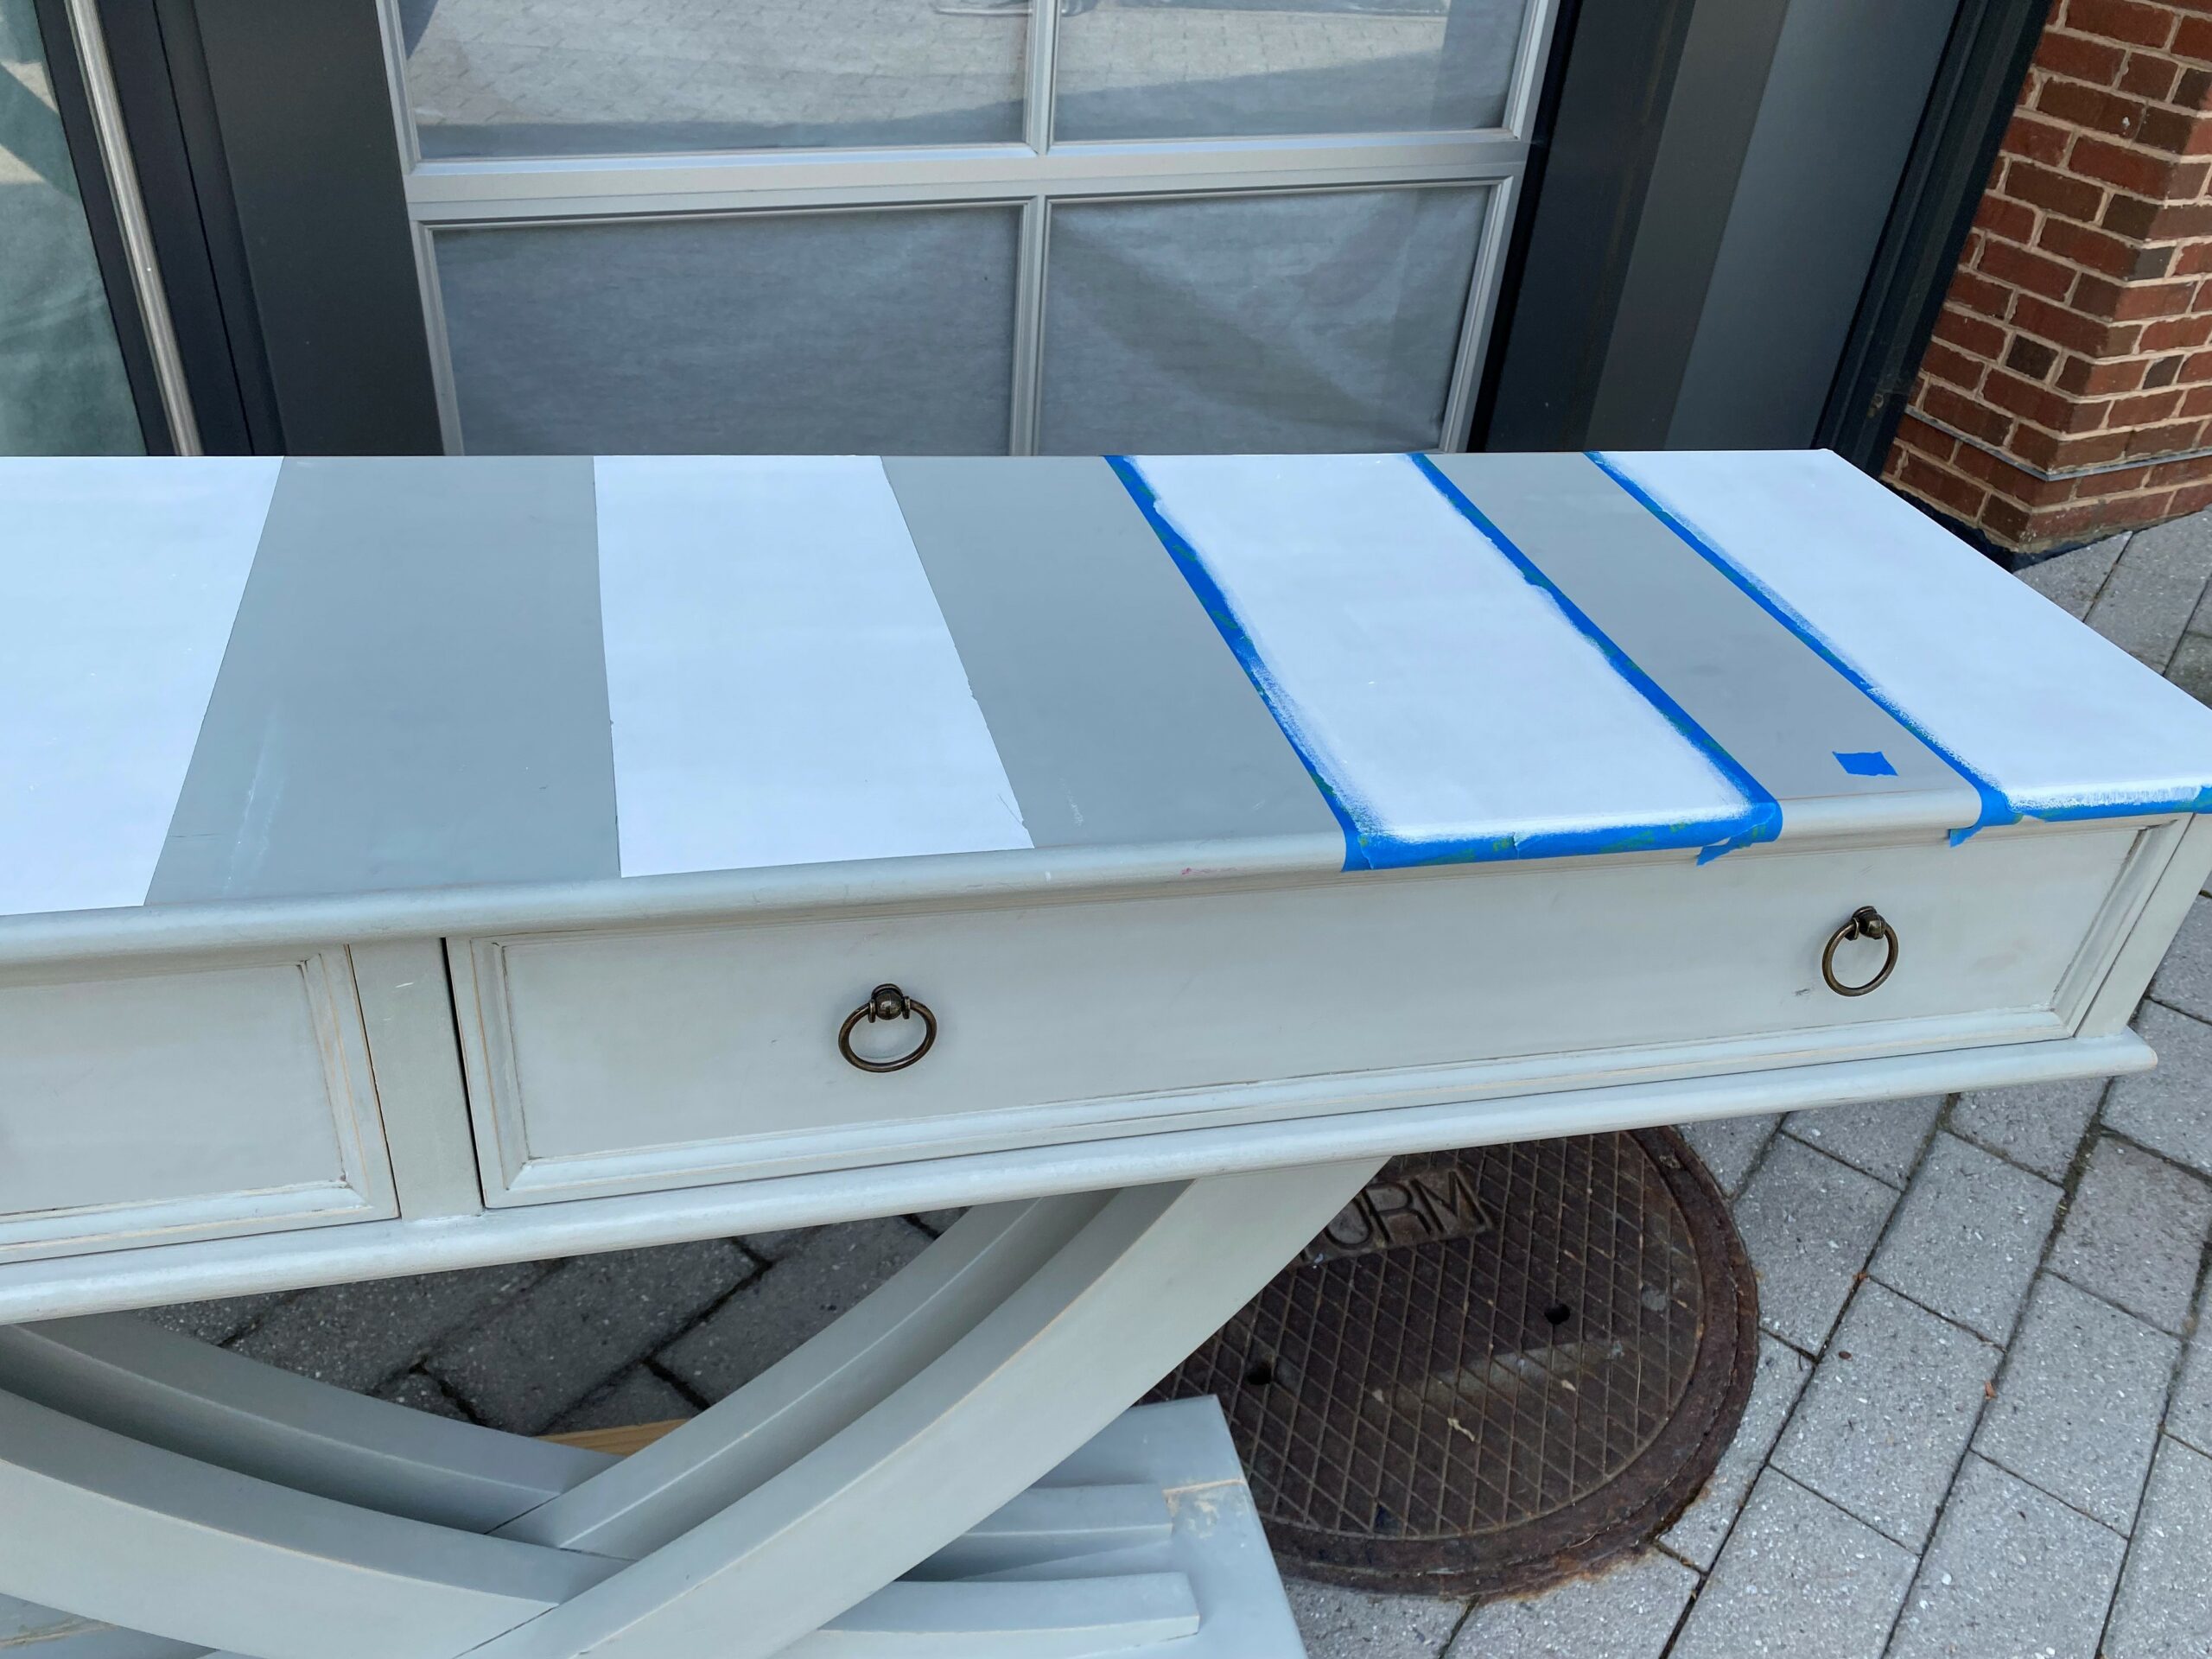
6. Carefully remove the painter’s tape
Remove your painter’s tape after you have painted on several layers of paint. I removed my tape before the paint was totally dry and, if you do the same, be careful not to smear or smudge the paint.
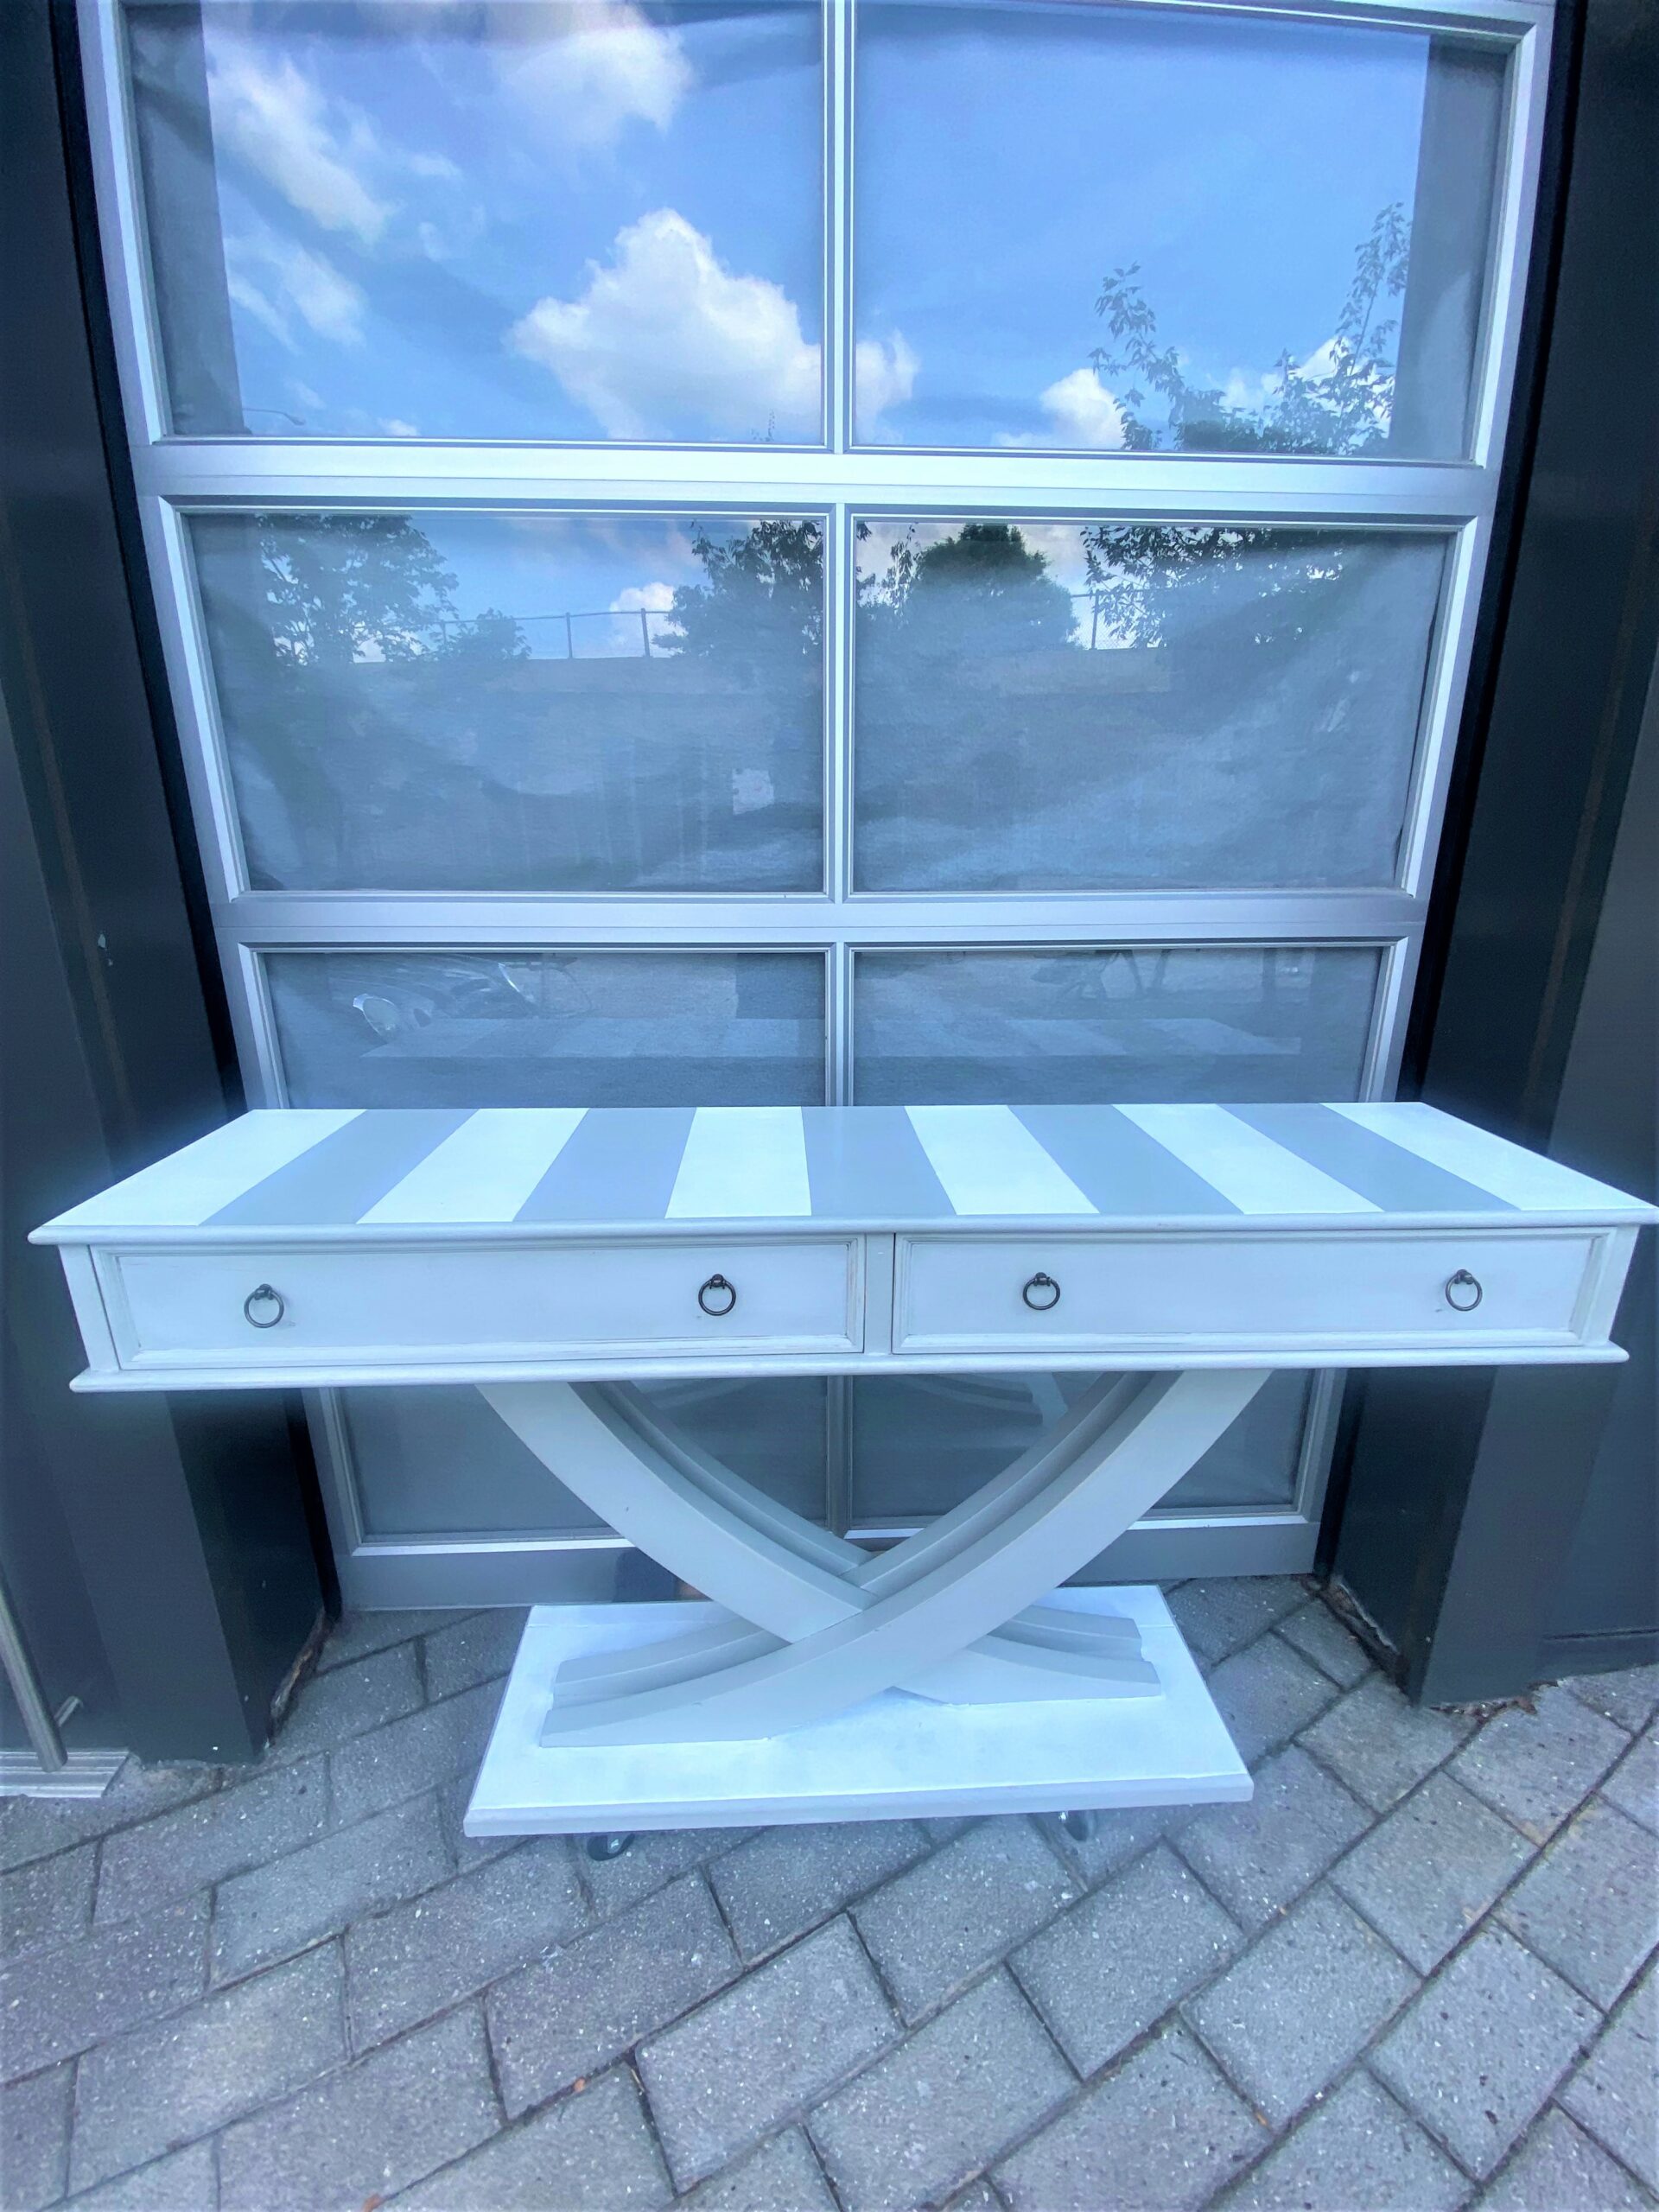

Keep the removed tape away from your piece so you don’t inadvertently touch it and get paint where you don’t want it. Yes, this is speaking from experience! I have done this in the past and needed to touch up my hard work!
7. Add poly to protect
Brush on a couple of light layers of satin or semi-gloss polyurethane to protect your painted stripes and to allow your piece to be easily cleaned or dusted.
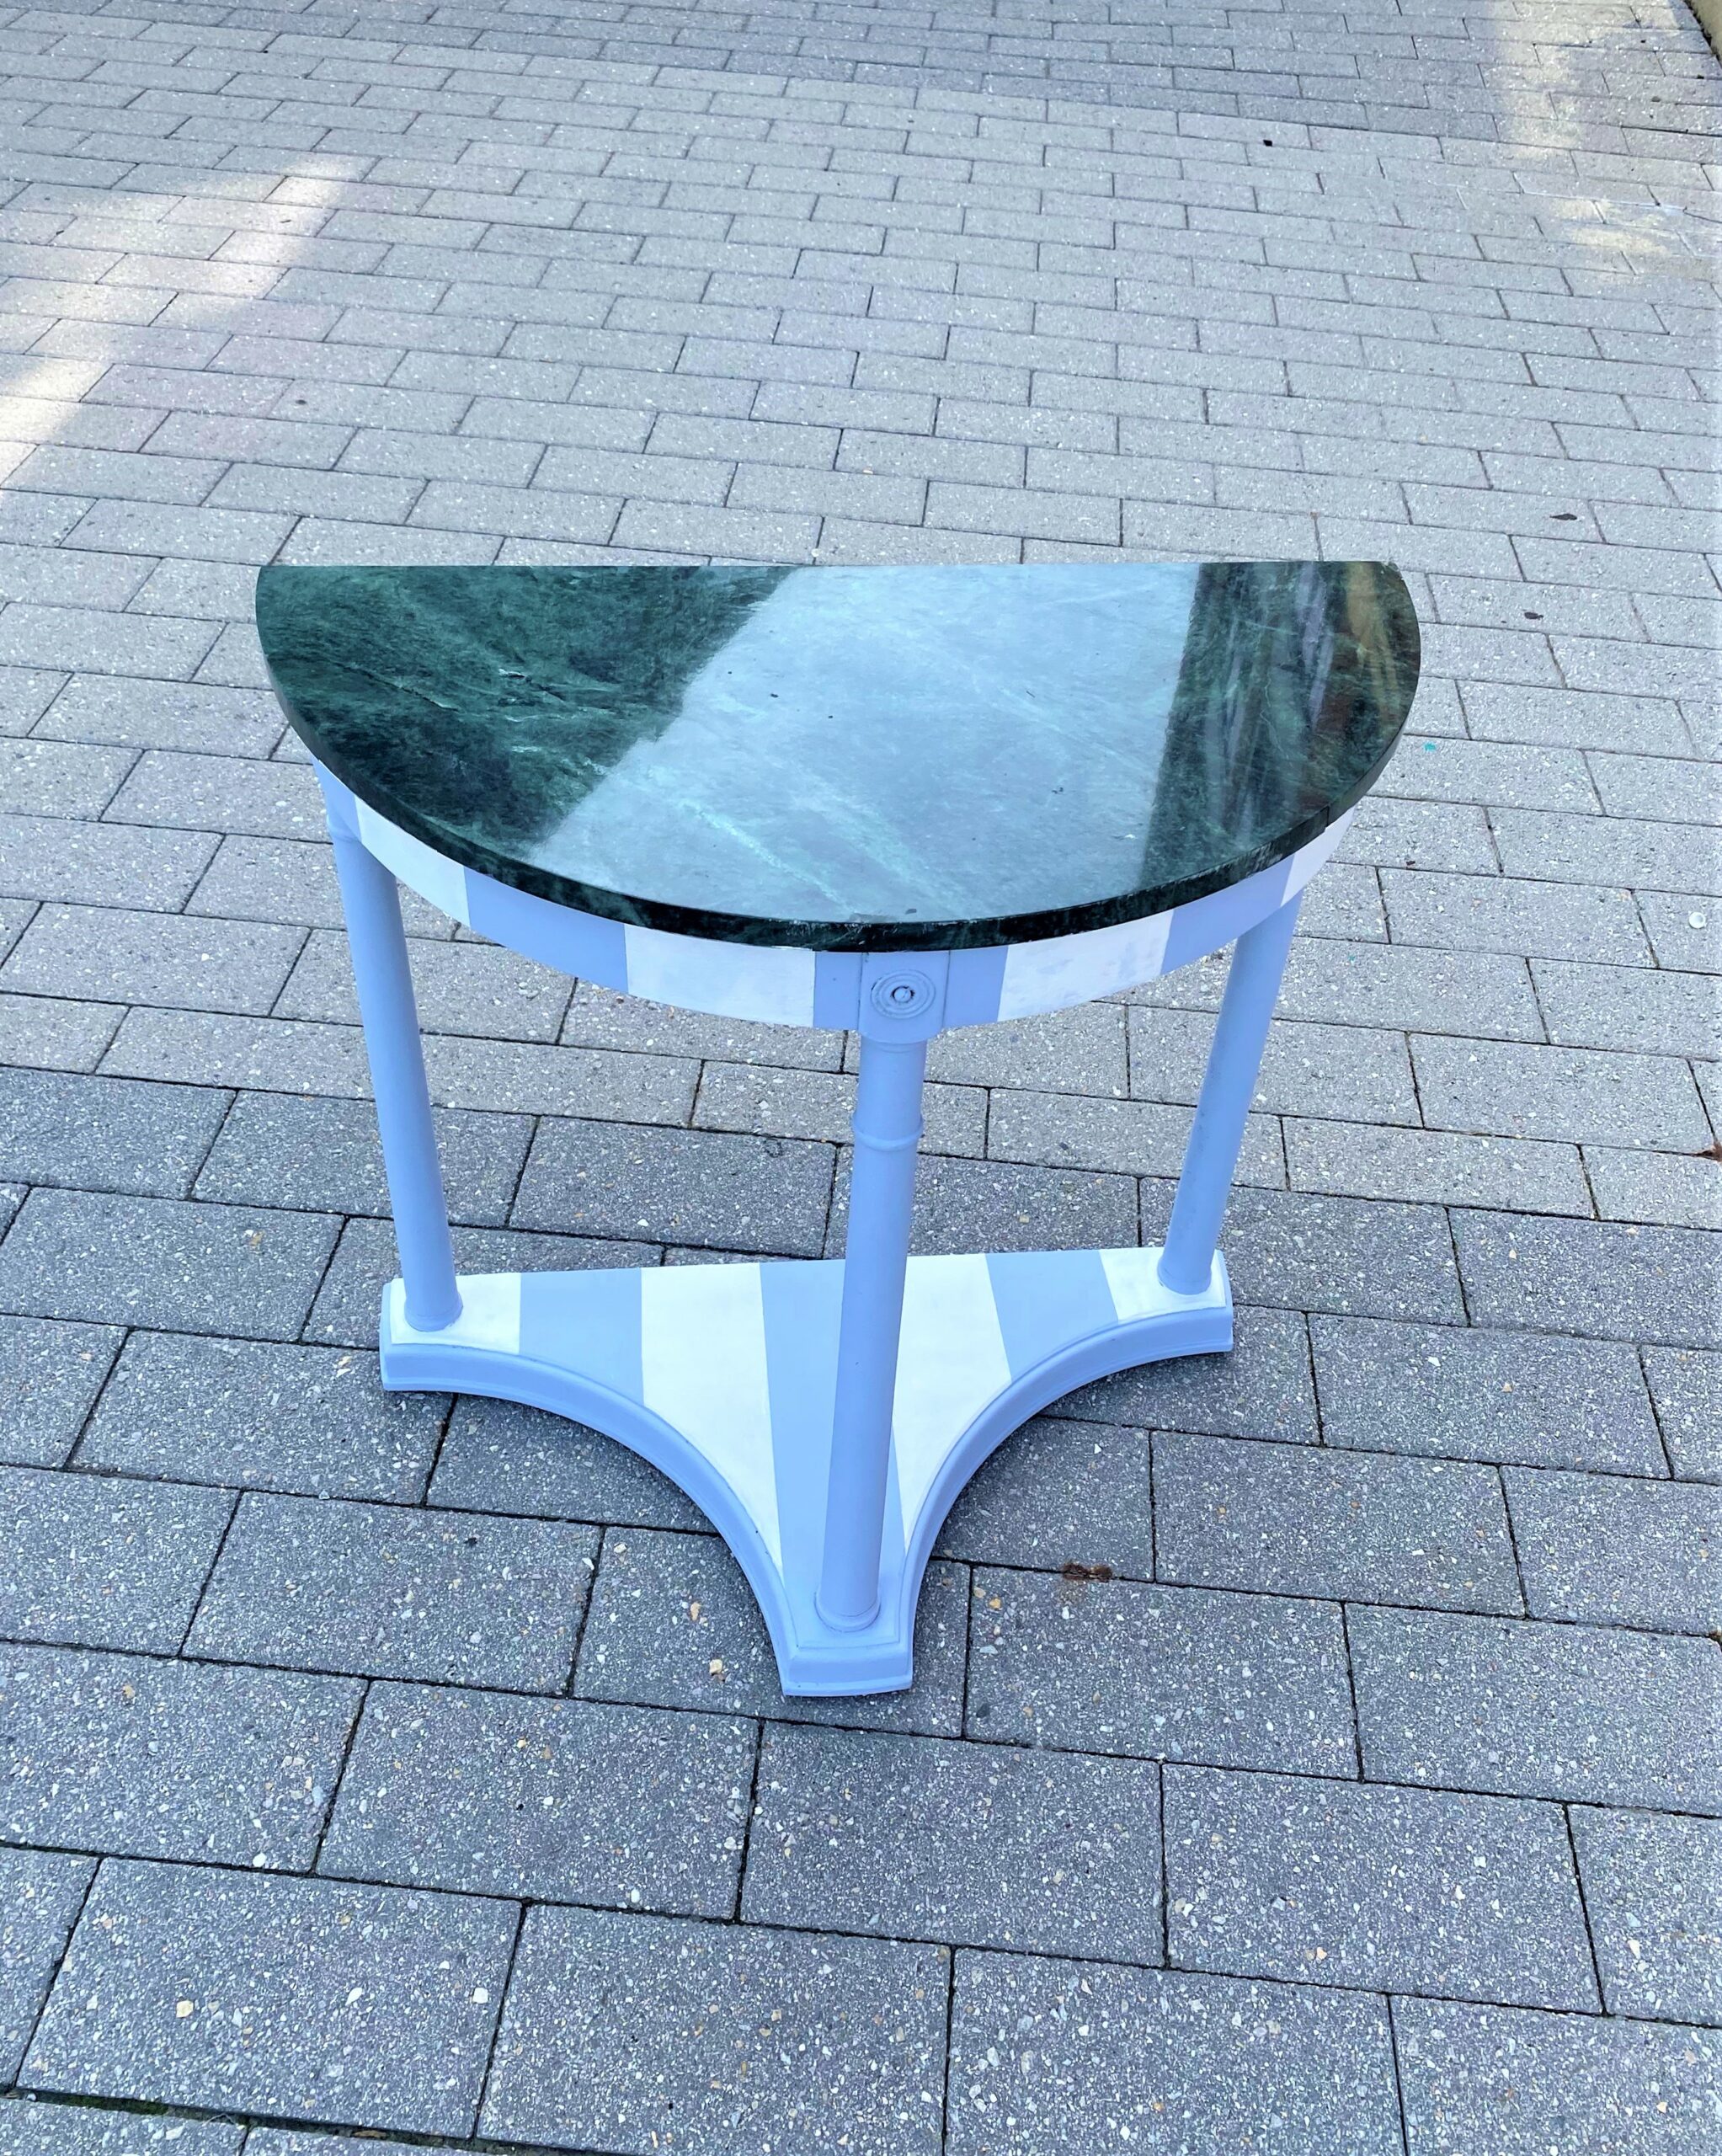
8. Give your foyer or entry way some love & your tables some accessories
Put your cabana-striped table by your front door.
Add a mirror on top to allow you to check yourself as you step out to greet the world.
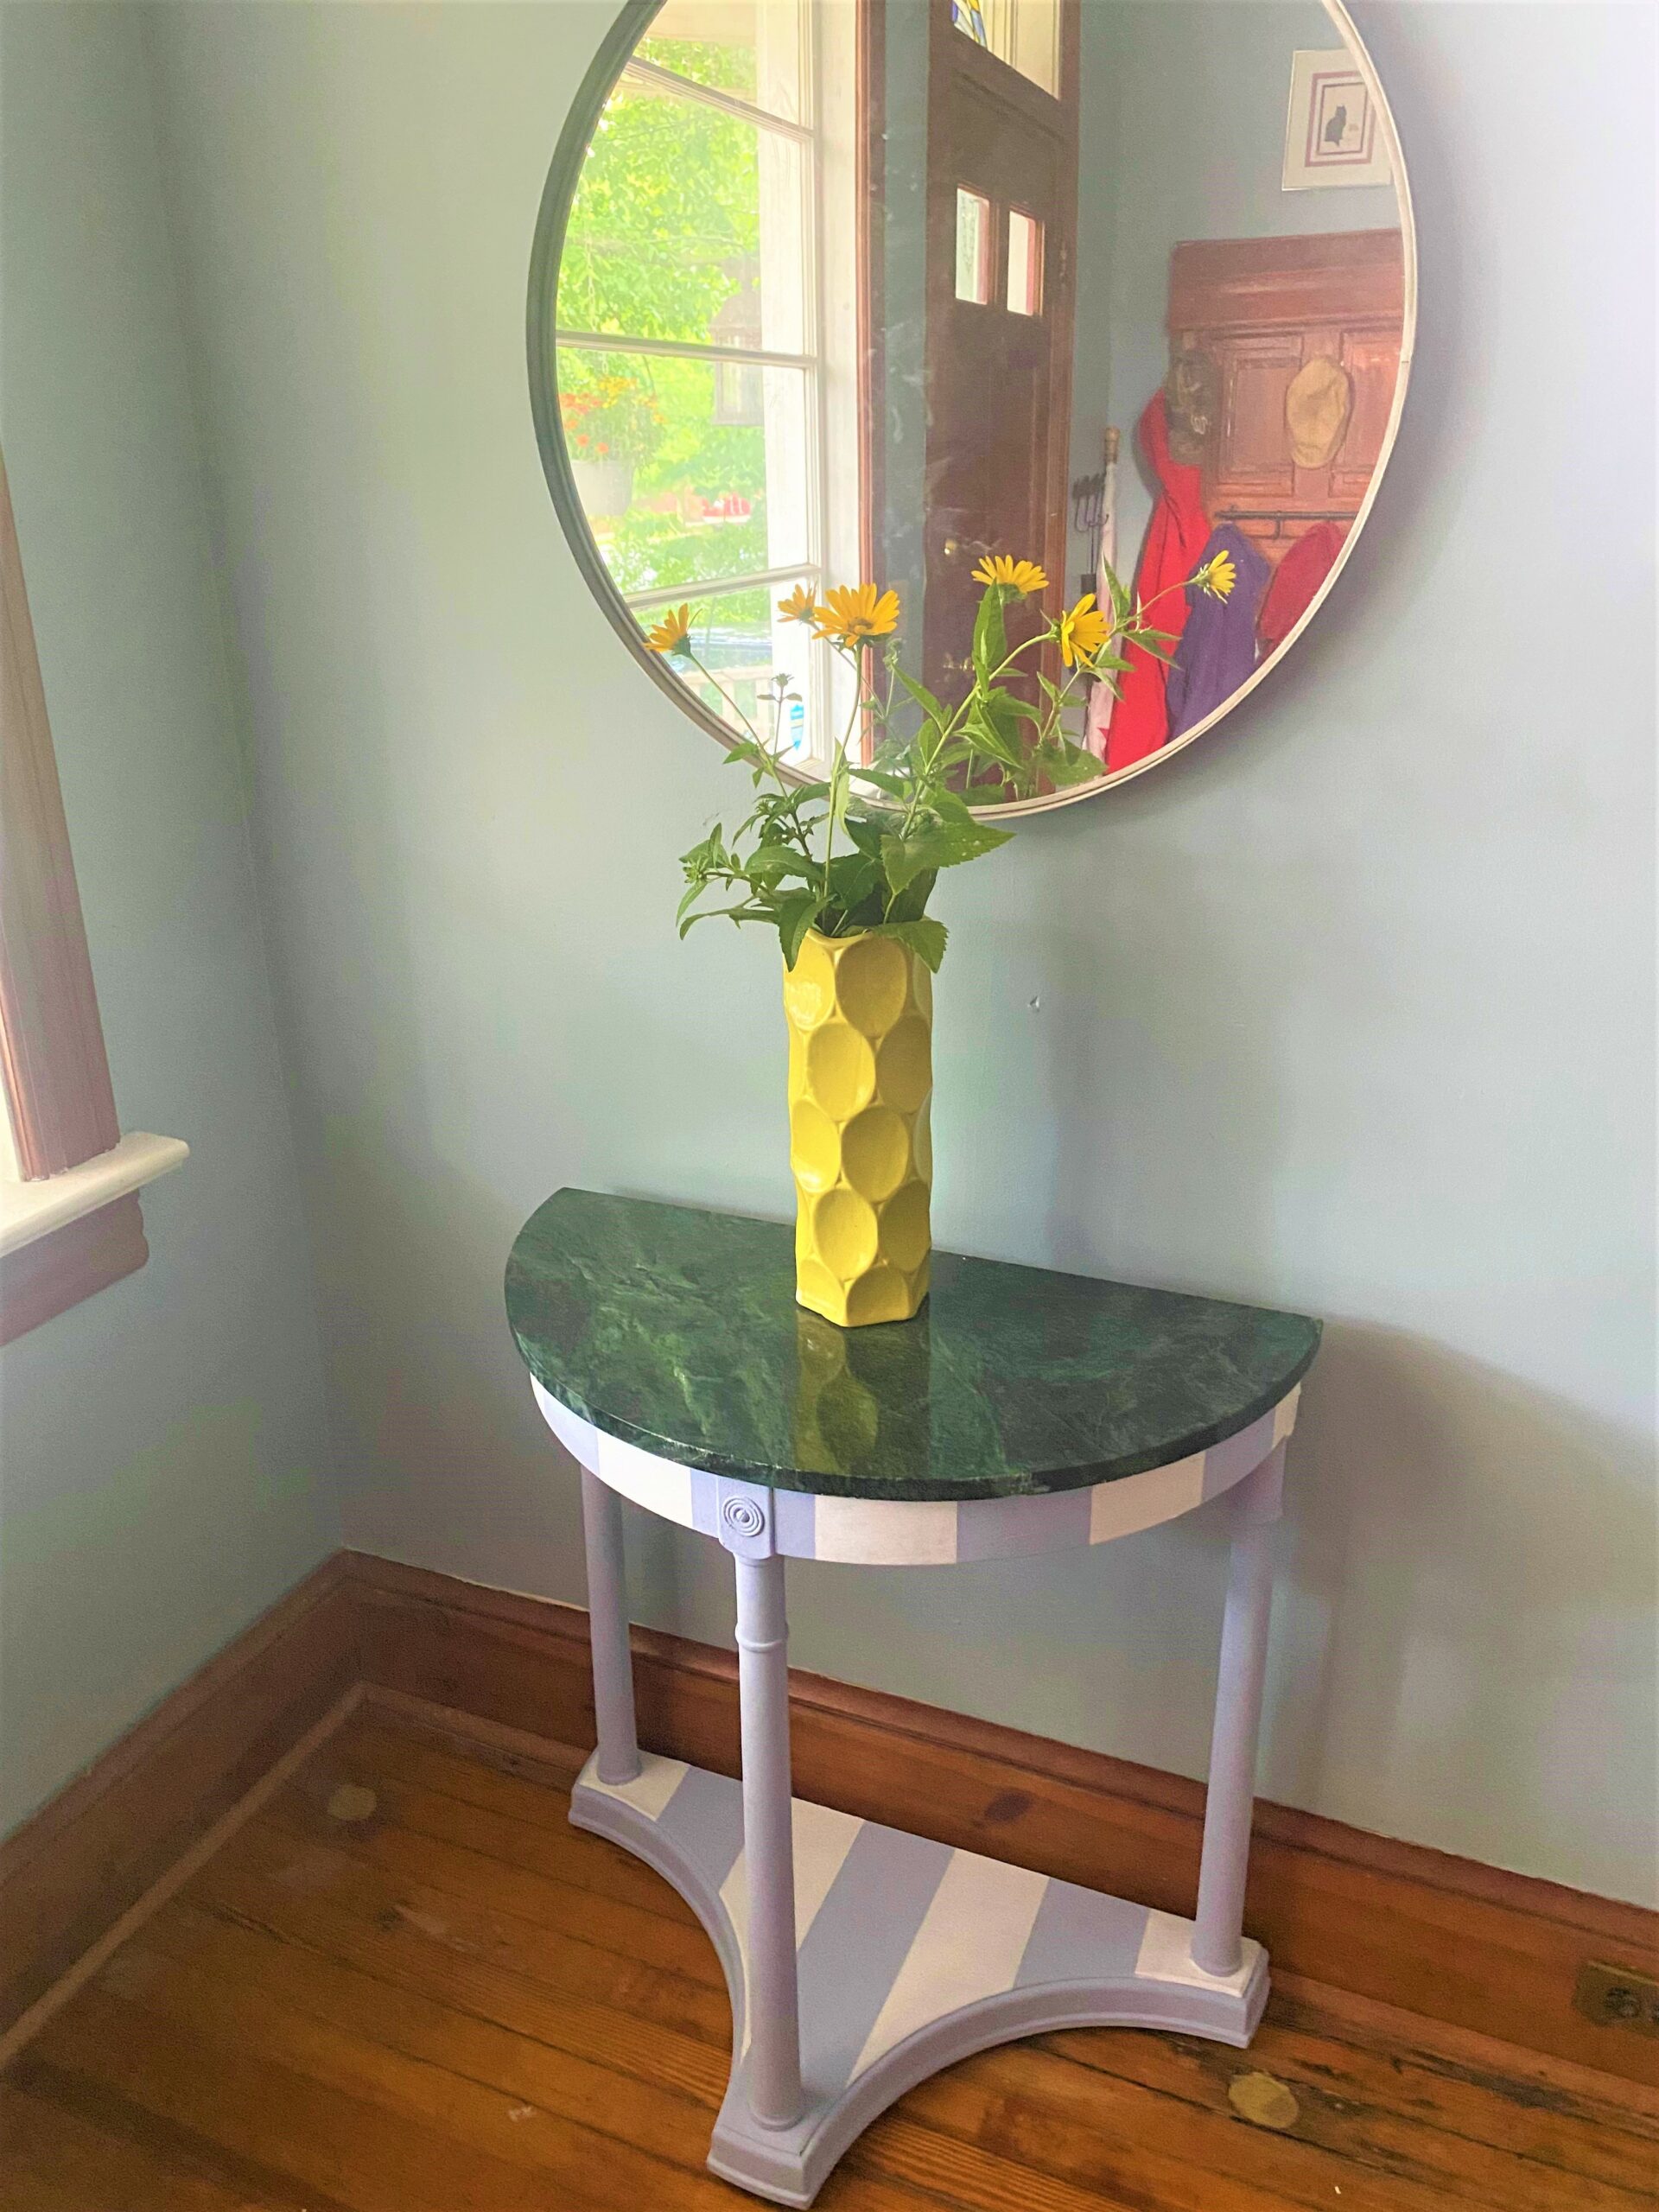

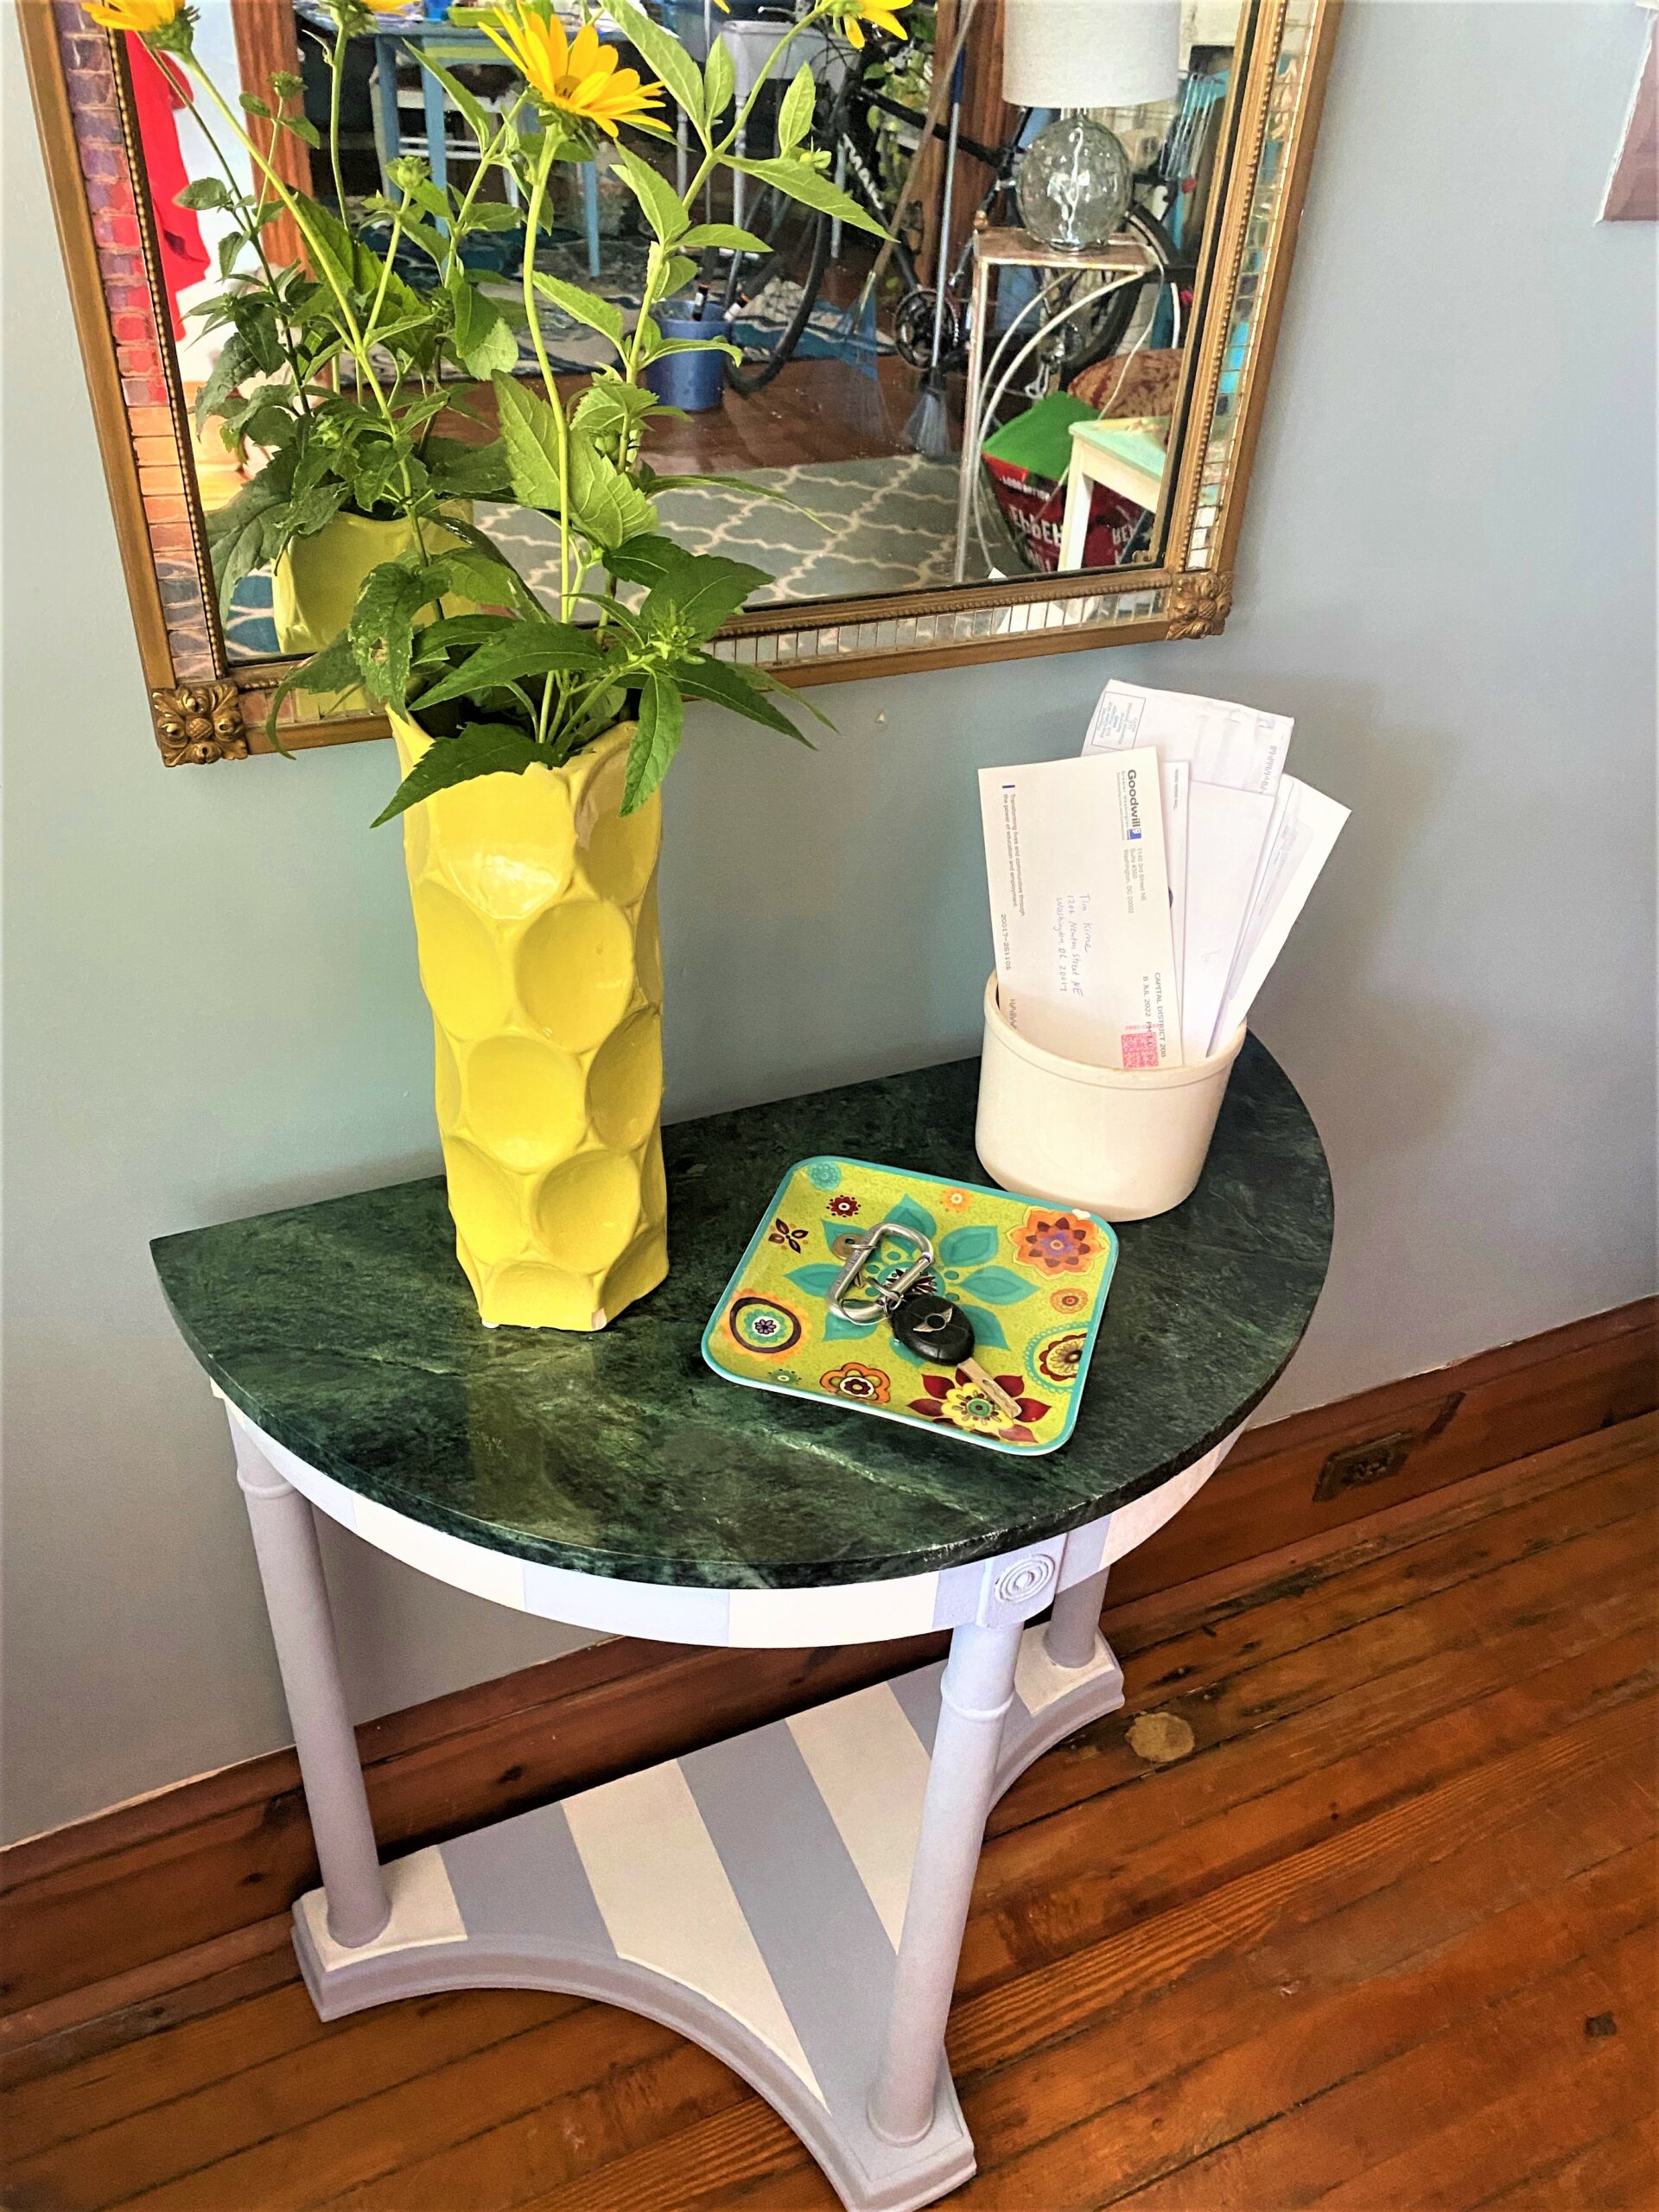
Place a pretty bowl to hold your keys and a square basket to mail.
You could also add a colorful piece of artwork and include items that bring out the colors so the overall look is cohesive and connected.
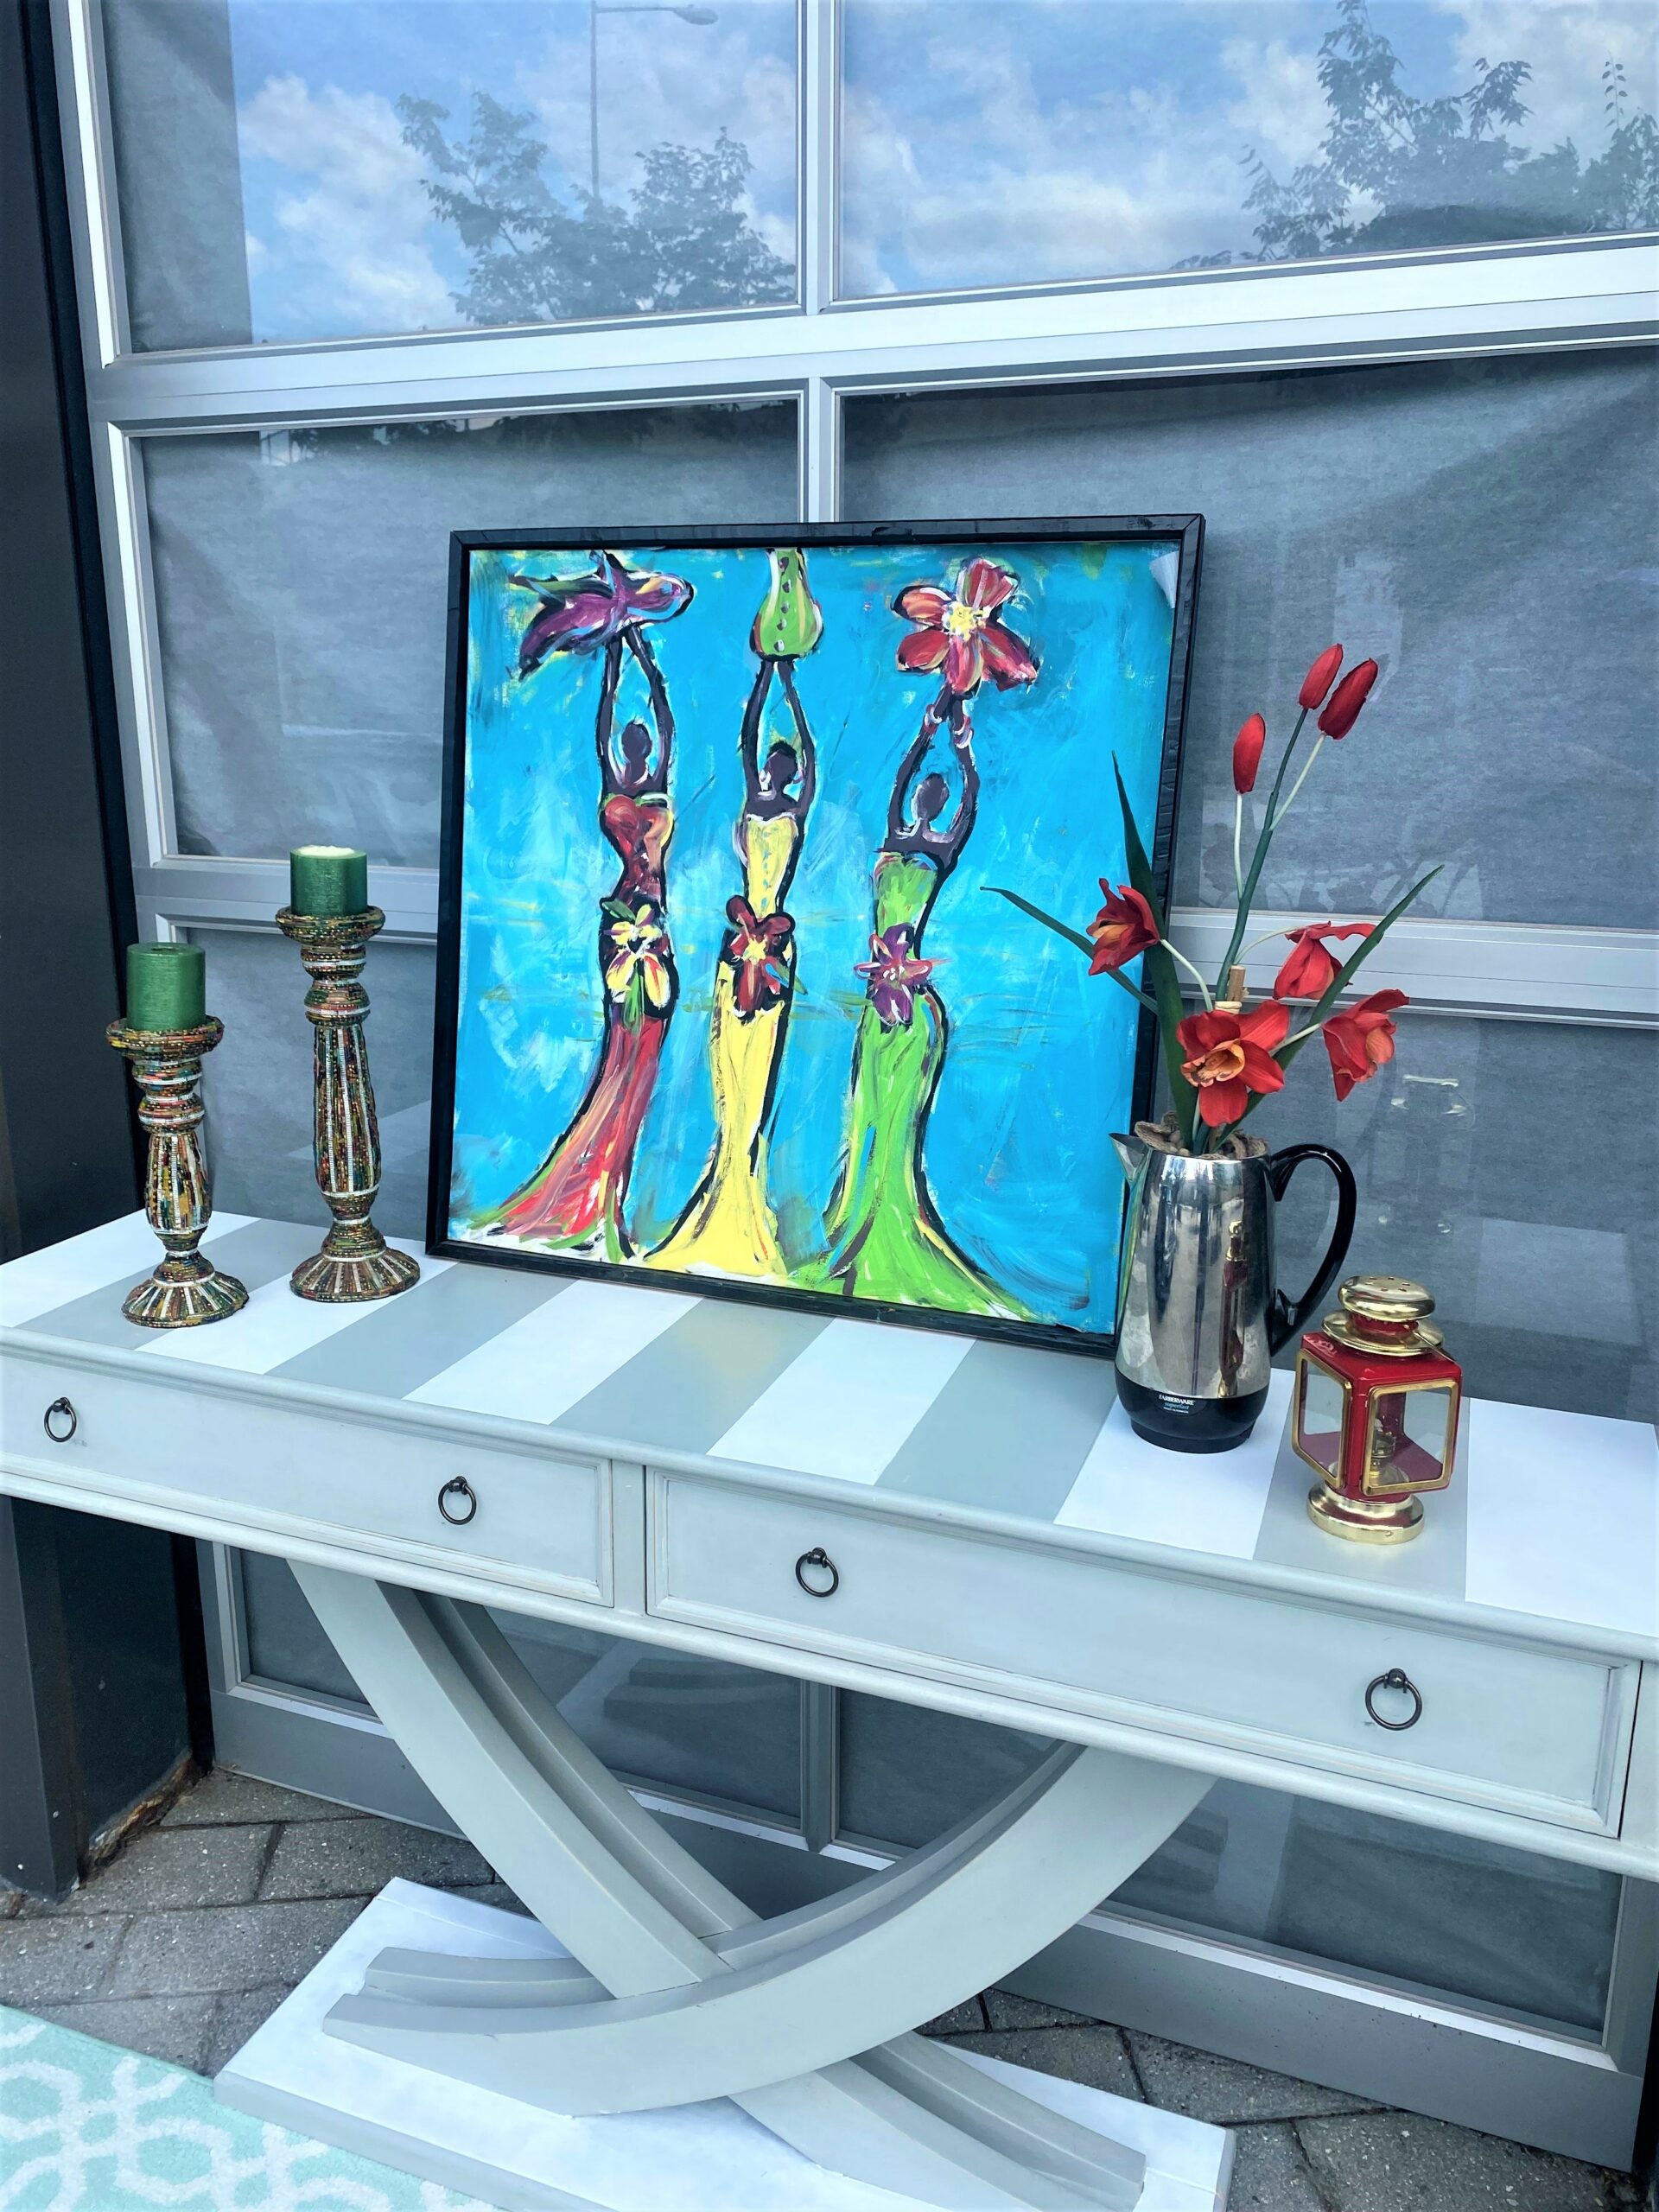
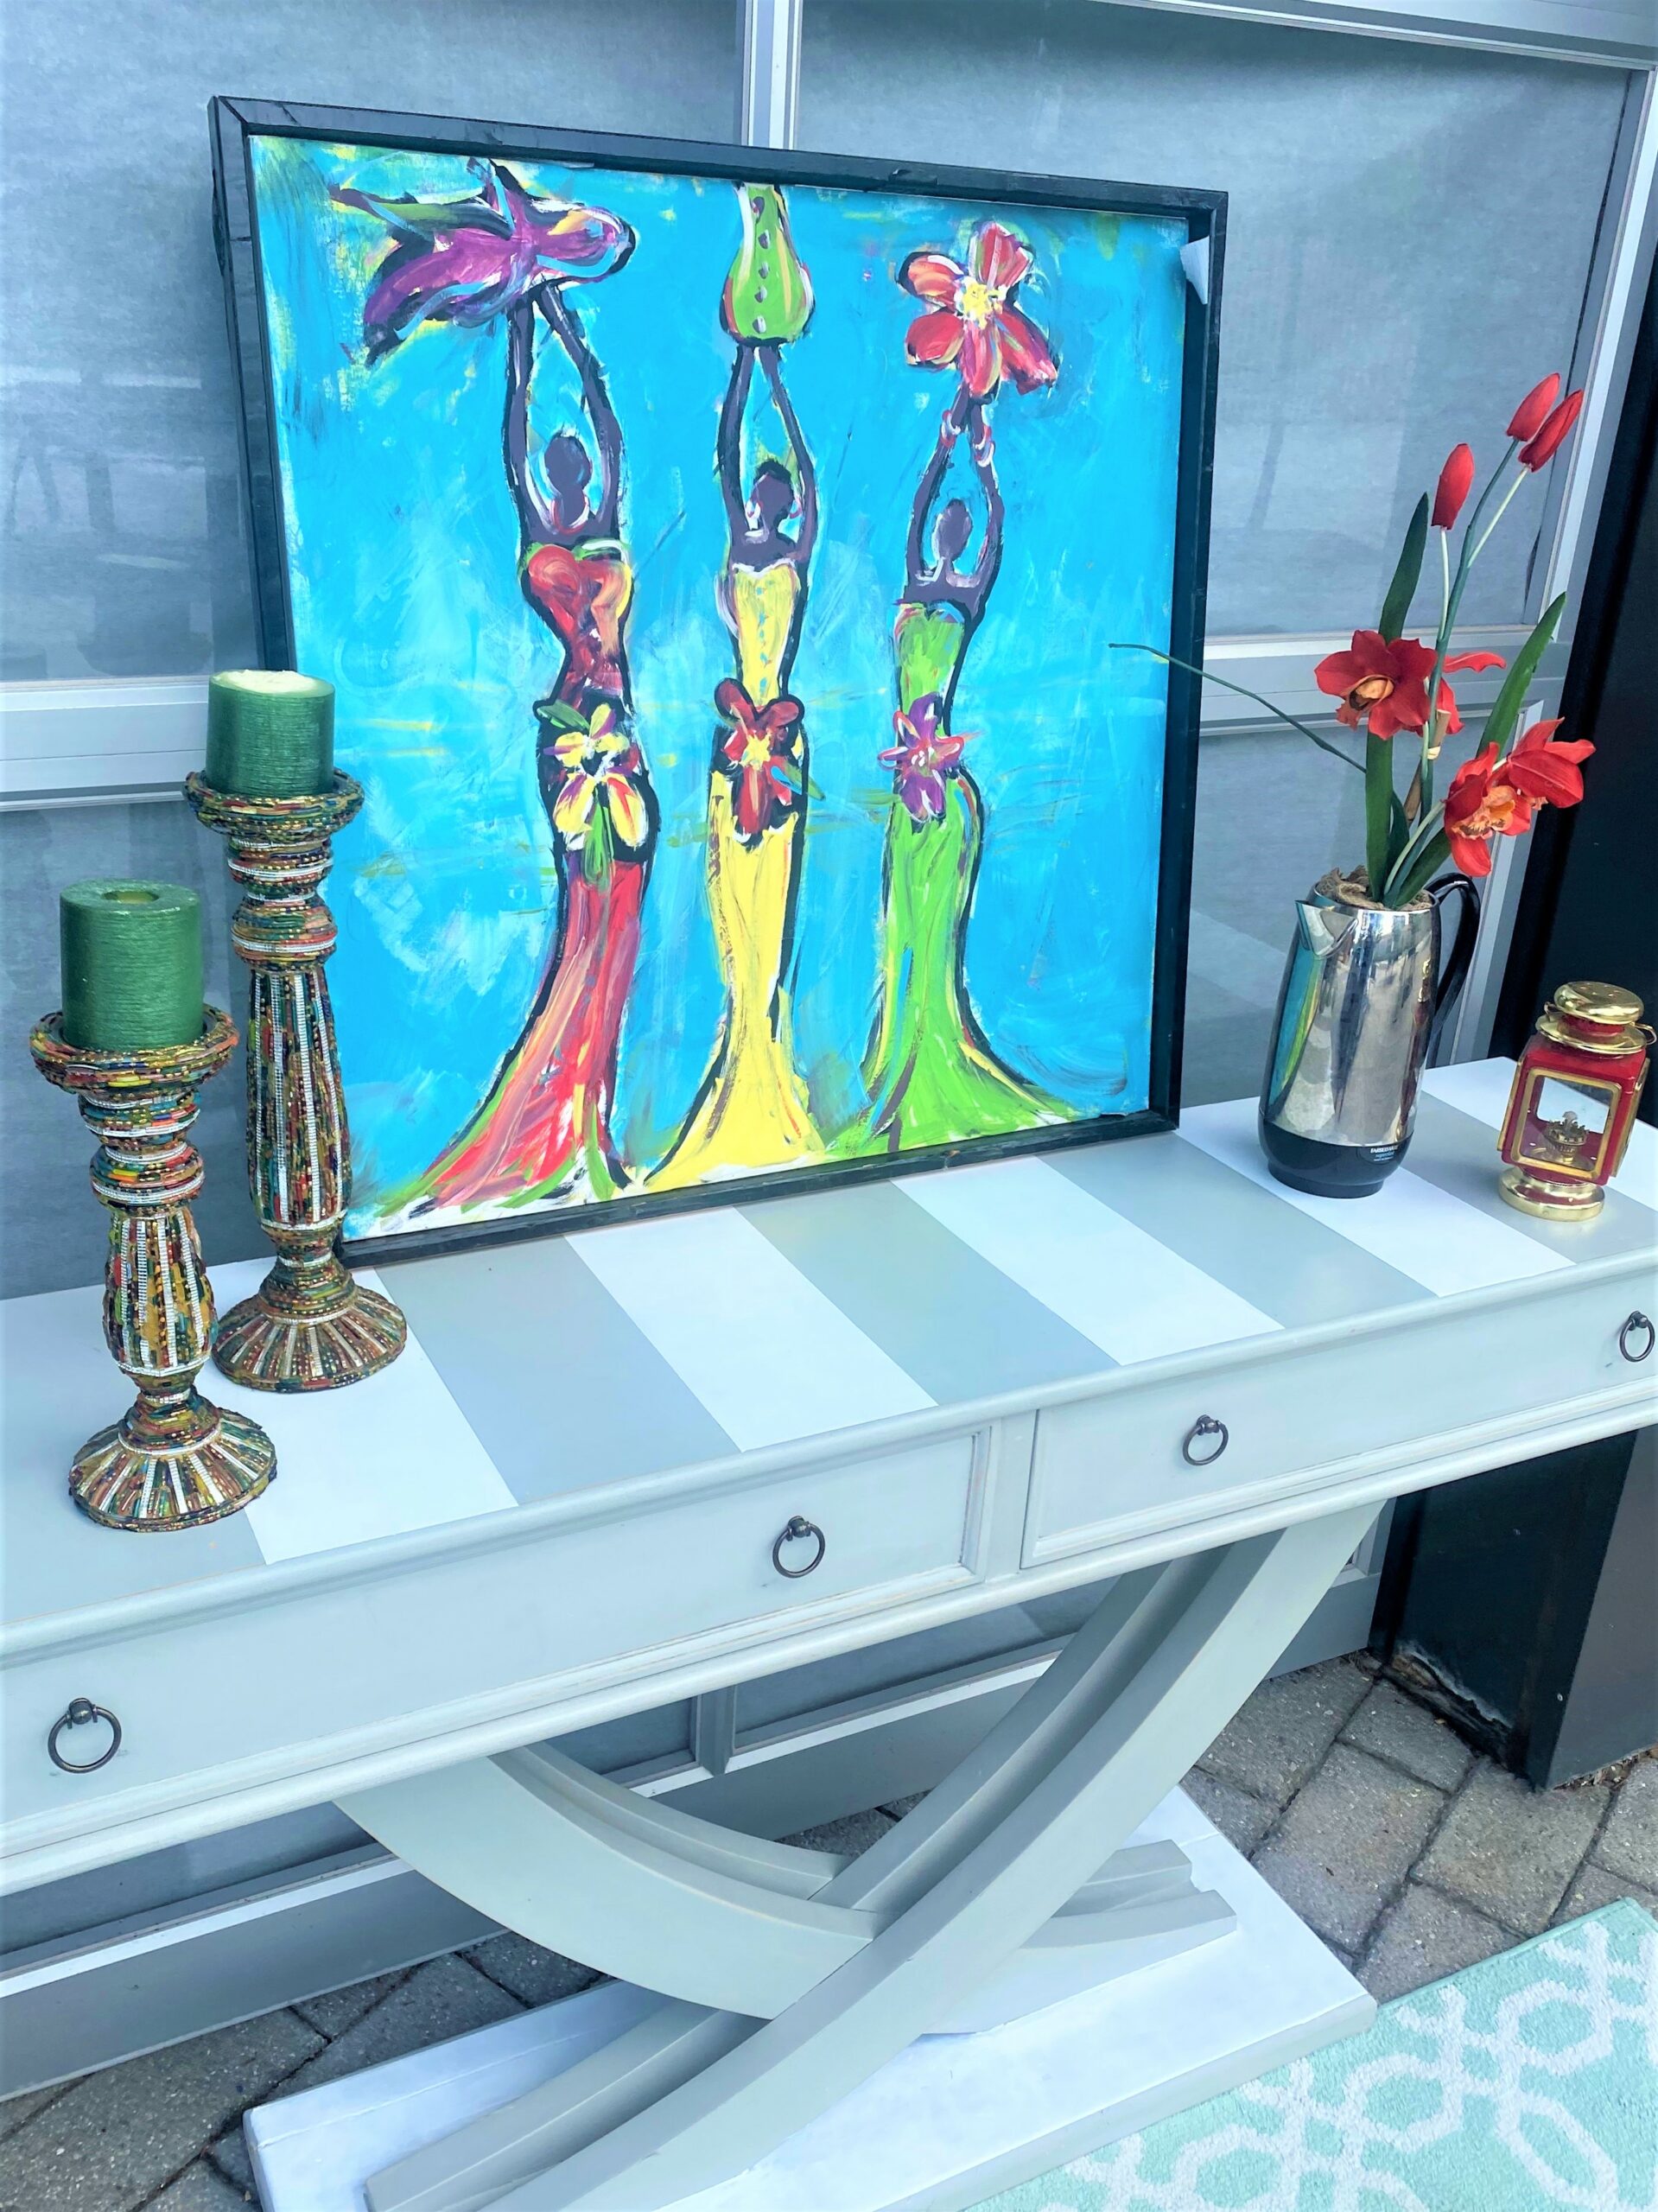

Many of the items featured here were found at Goodwill for just a few dollars and make things look like a million bucks!
You will love this bold, striped look not only in the summer but every day of the year!

Tim Kime
Artist, Motivational Speaker, Life Coach


