Make charming tree ornaments using flannel pajamas & repurposed items!
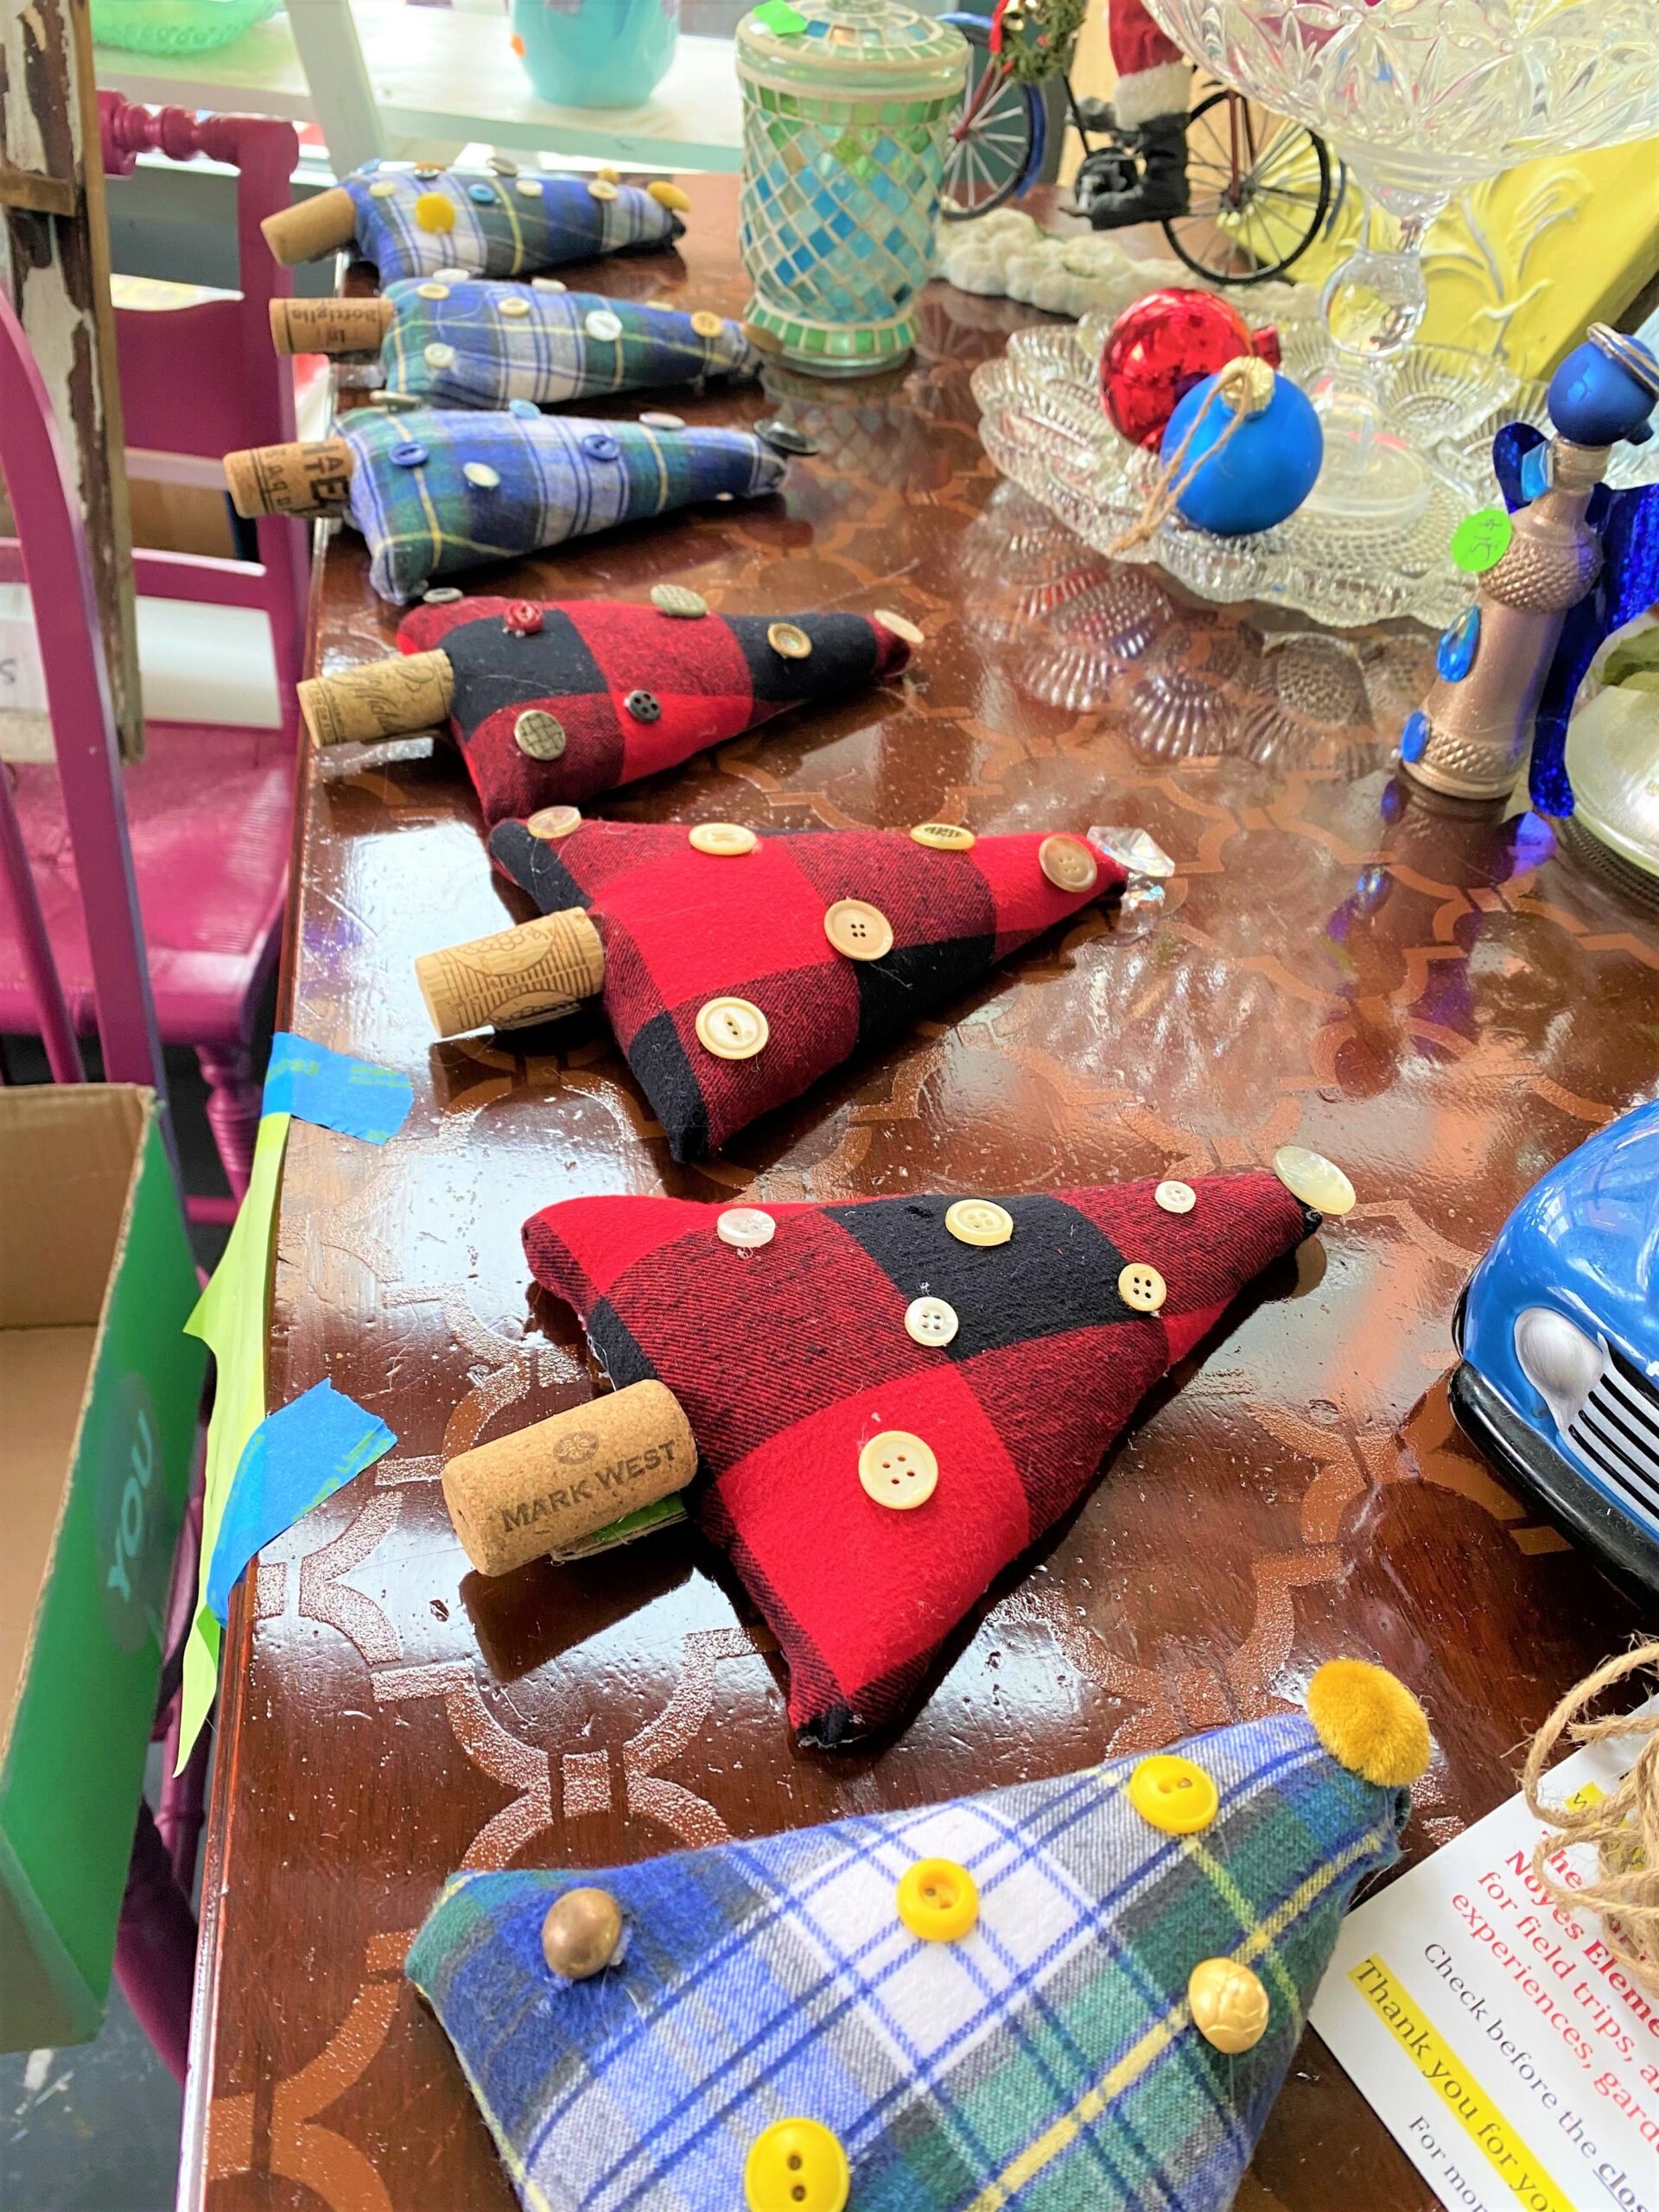
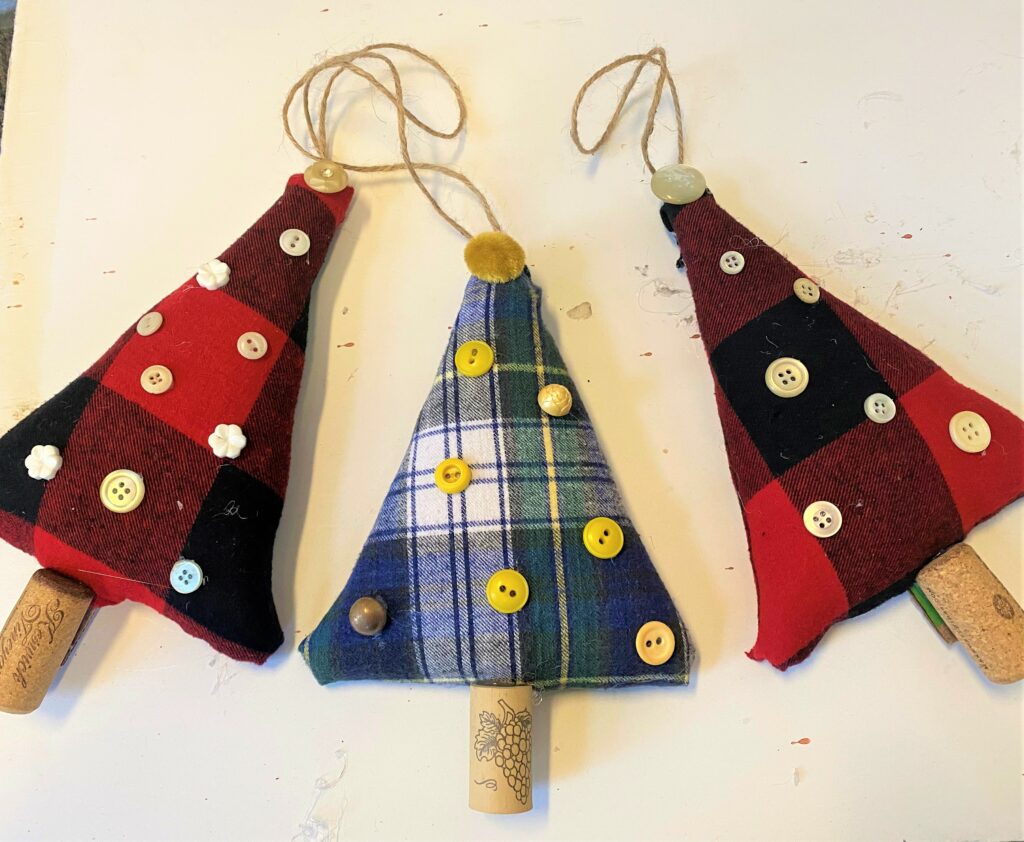
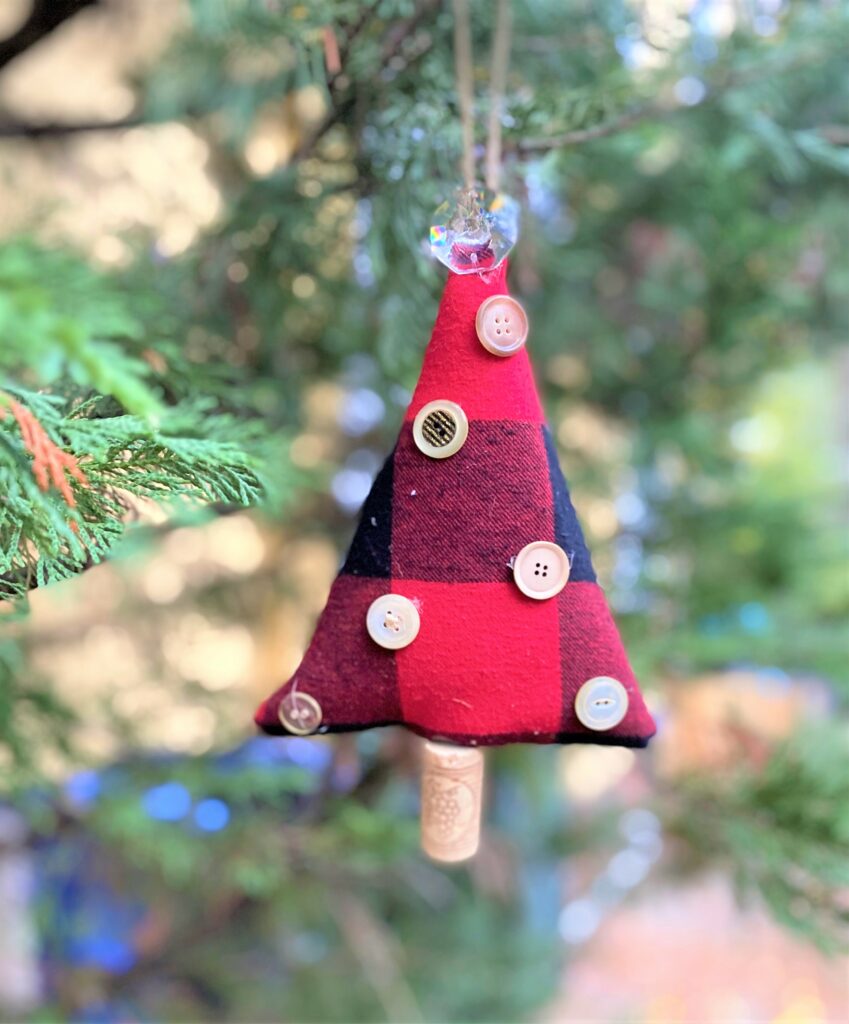
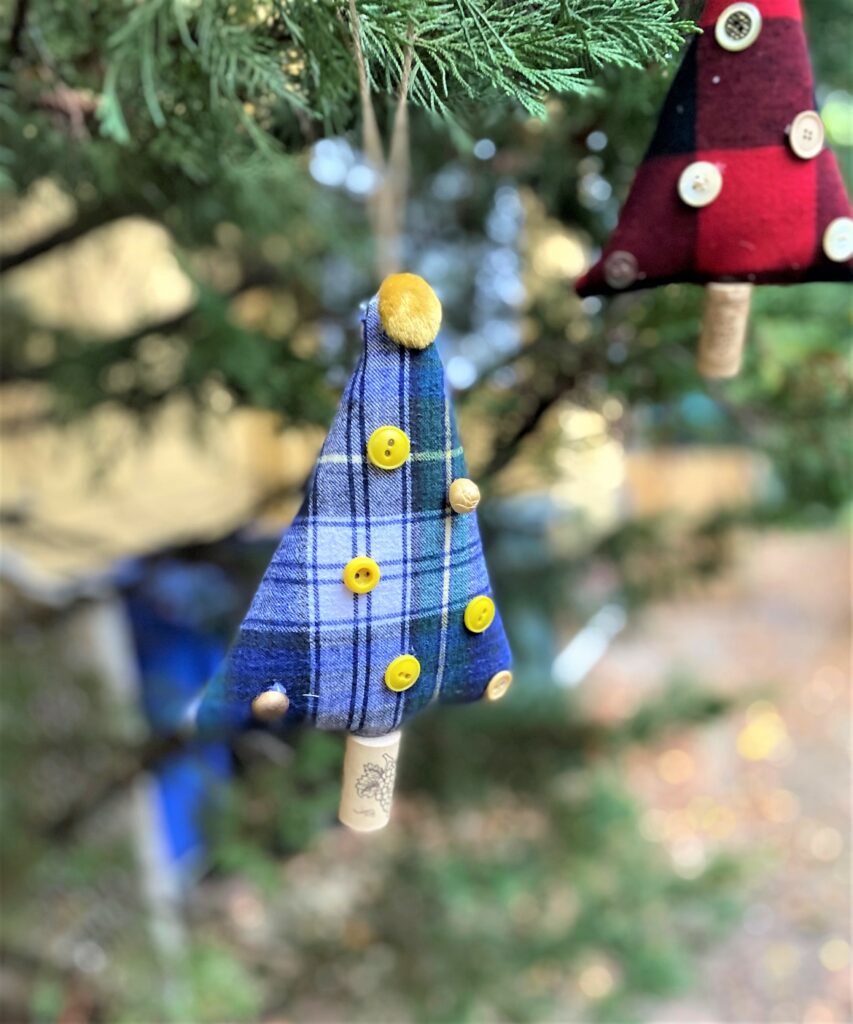
This week’s DIY project will make you warm and fuzzy inside and out because you’ll create tree ornaments from flannel pajamas! This easy project also repurposes cardboard, wine corks, and buttons in a totally charming, whimsical way. As a family fun activity for all, it’ll add cheer to your holiday season and your Christmas tree!
Items needed:
· Flannel pajamas
· Batting material
· Glue gun & glue sticks
· Scissors
· Pen
· Marker
· Thick cardboard
· Buttons, other items to “decorate” your tree
· Twine or string
· Craft spray adhesive
· Colored craft paper
1. Warm your heart & hands at Goodwill
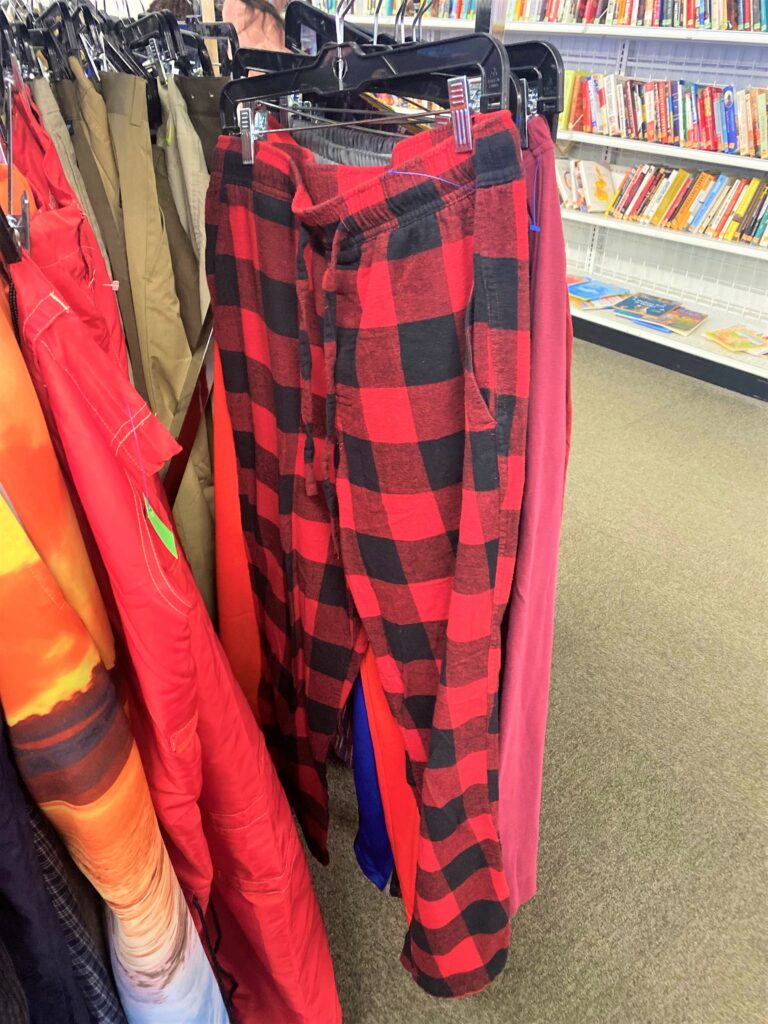
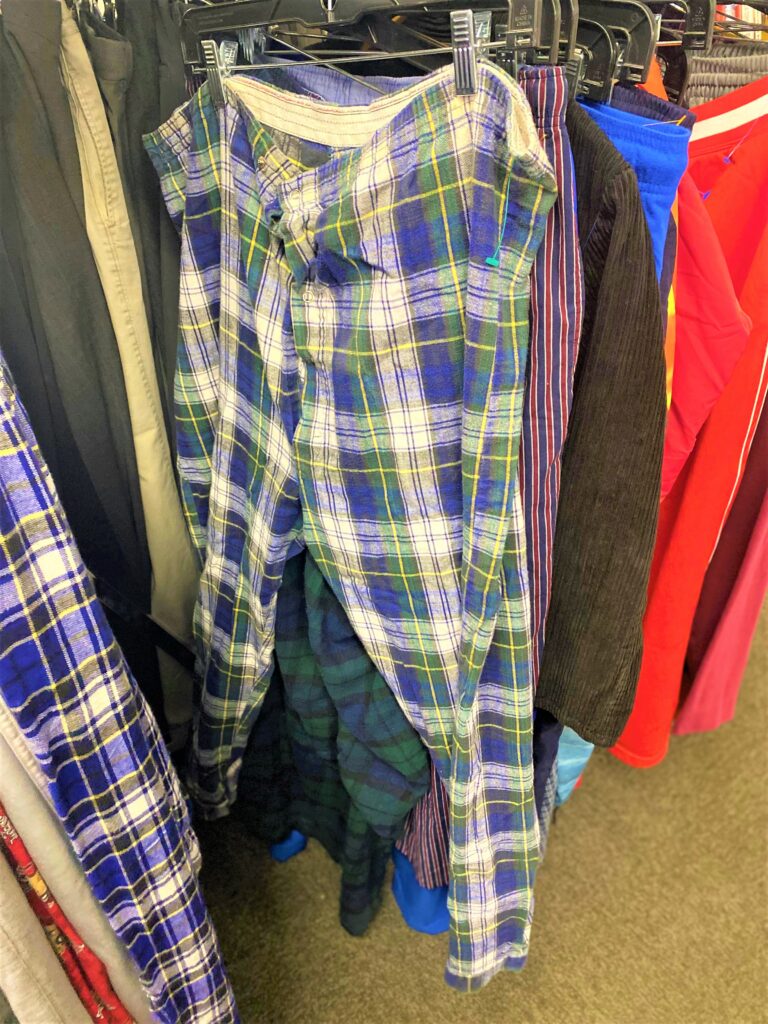
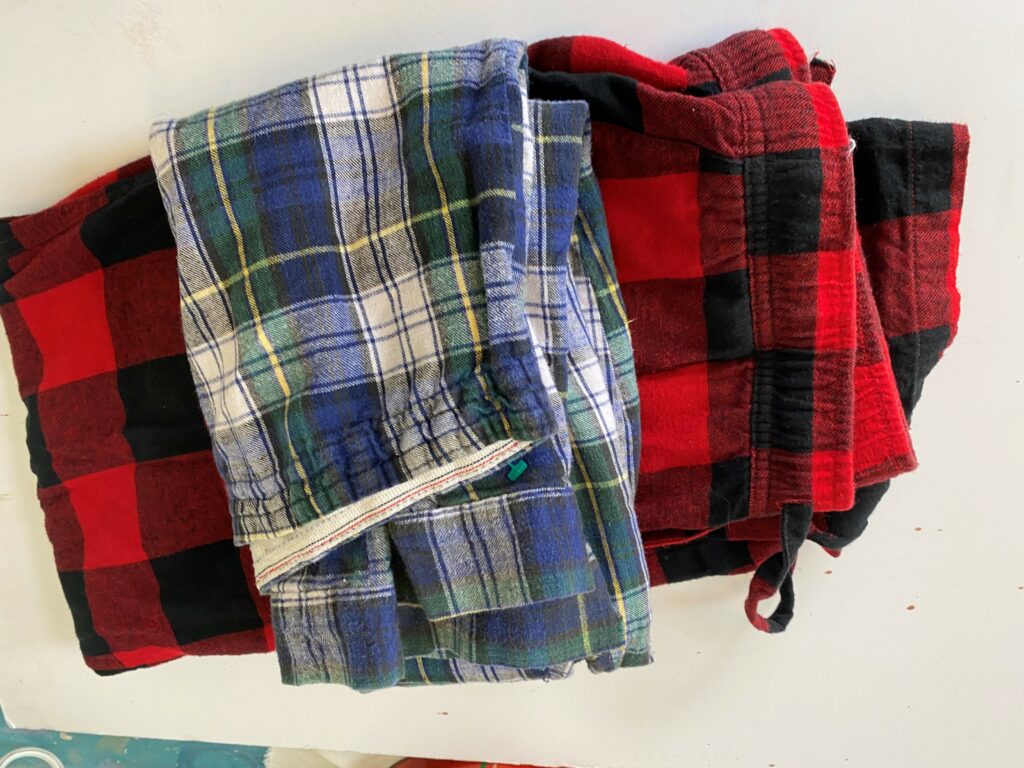
Stop by your favorite Goodwill store and begin your hunt in the Men’s section for flannel because you want to have larger items for the most material.
The flannel used for this week’s blog came from two pairs of pajama/lounging pants; there were several good options so I picked ones whose fabric had red and green in them tying them with a holiday feel.
2. Trace and cut your tree/ornament shape
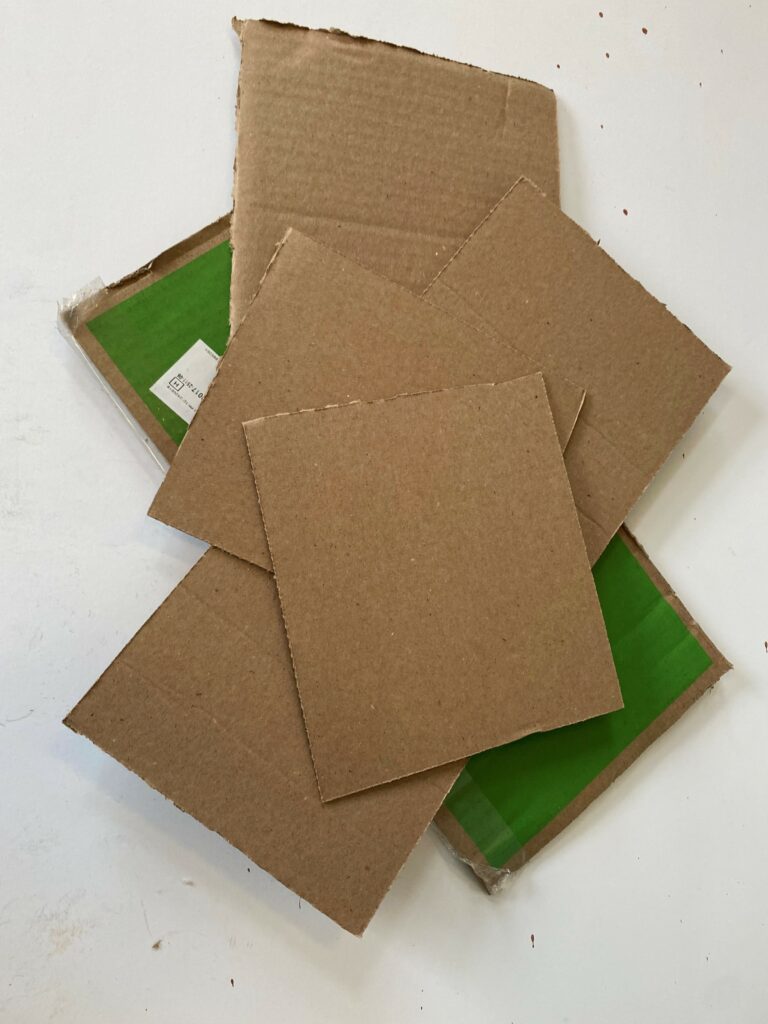
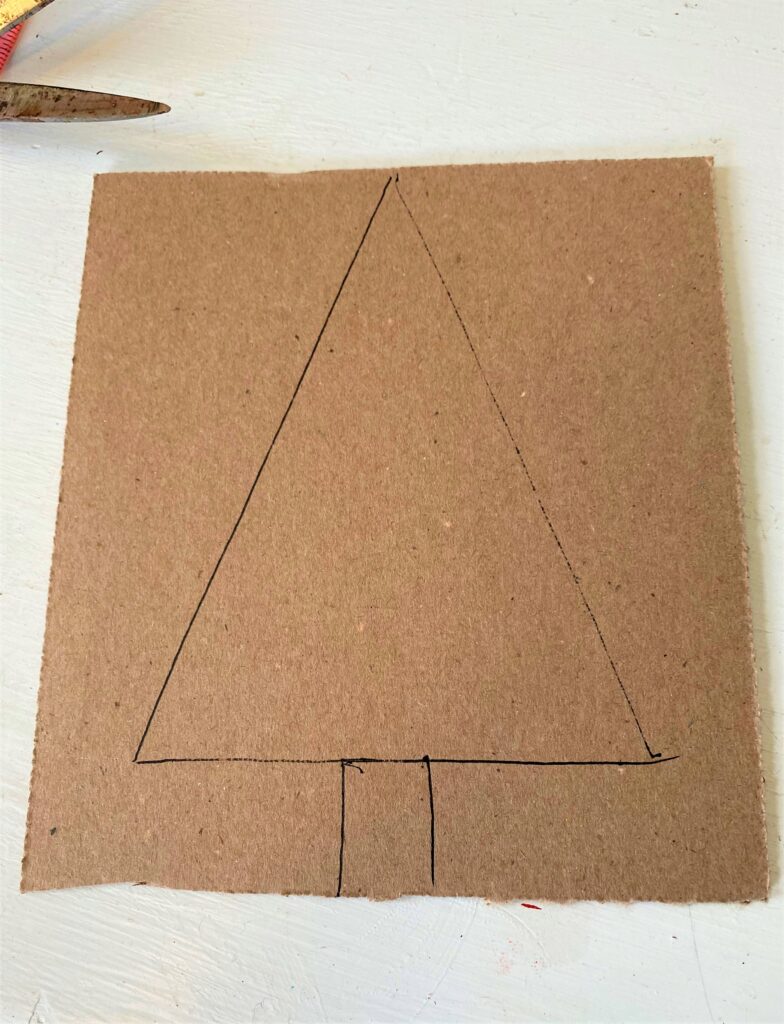
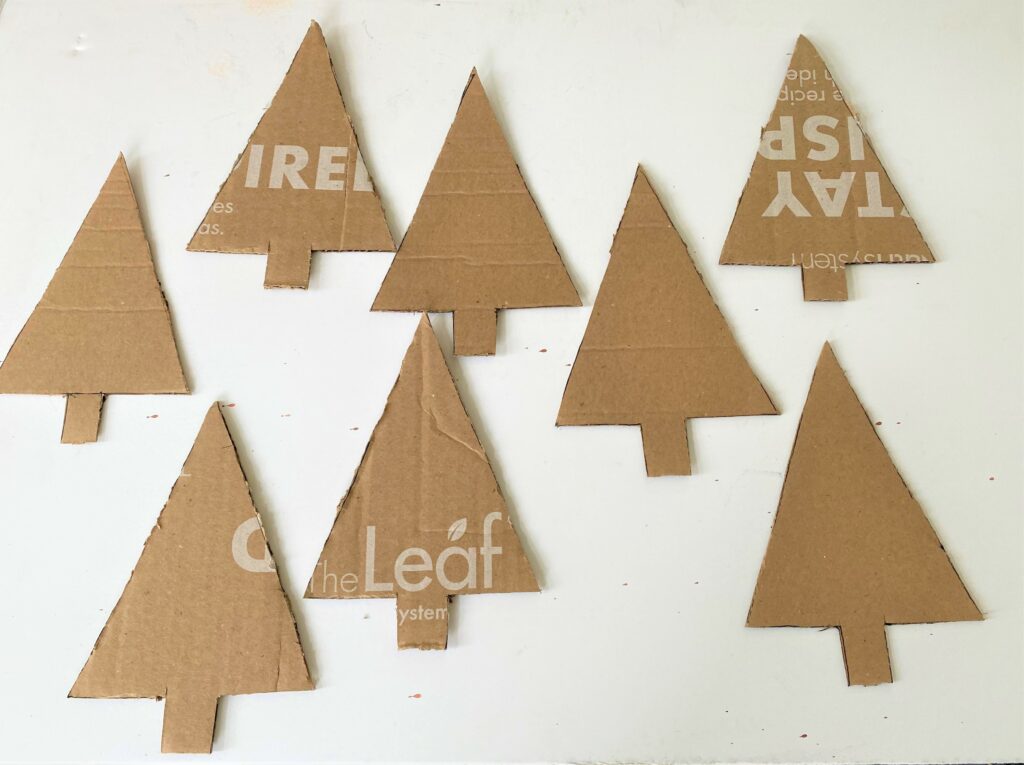
The trees for this project were cut from the flaps of a cardboard box, so that helped to determine how big each one would be.
- Create a triangle pattern from scrap paper then trace around it on your cardboard piece.
- To provide a place to secure your tree’s trunk, include a small rectangle box under the bottom part of the triangle pattern.
- Cut it out.
3. Use battering material to give it some cushion
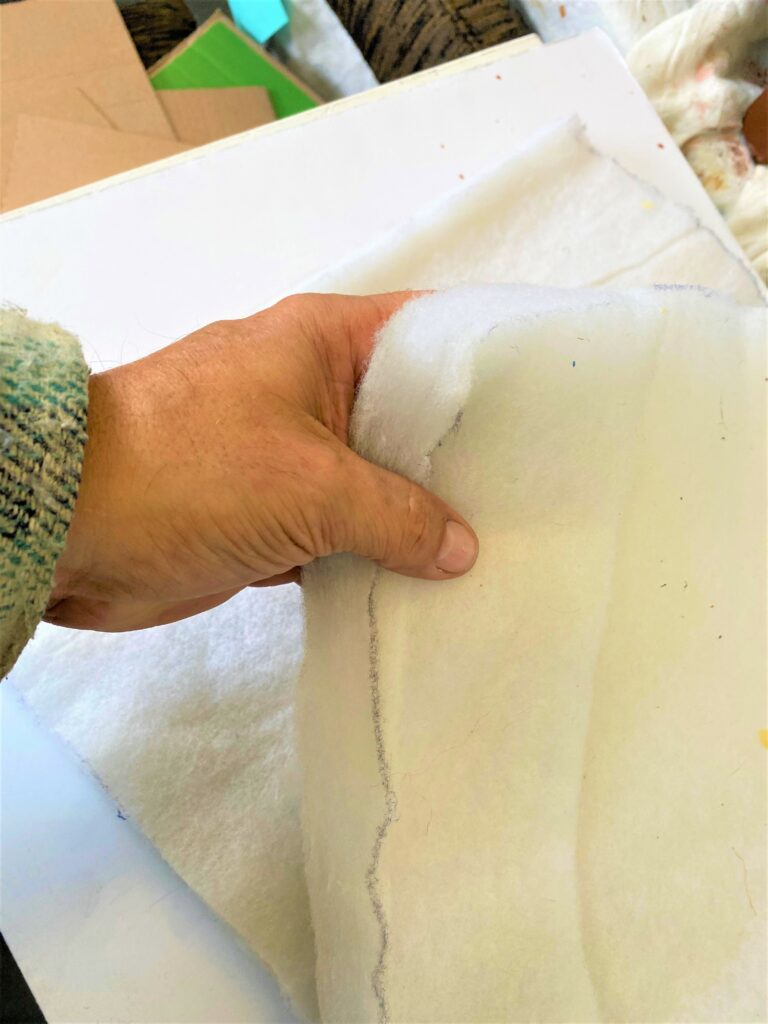
- You’ll want your tree to have a little fluff so trace around your cut-out cardboard tree on your batting material; this is the thick, light material used for chair padding and pillows. (Thankfully, I had some leftover from another project!) Arts & crafts or fabric stores have this available in small rolls.
- You could also consider picking up a throw pillow from Goodwill and using the inside foam/stuffing for this step.
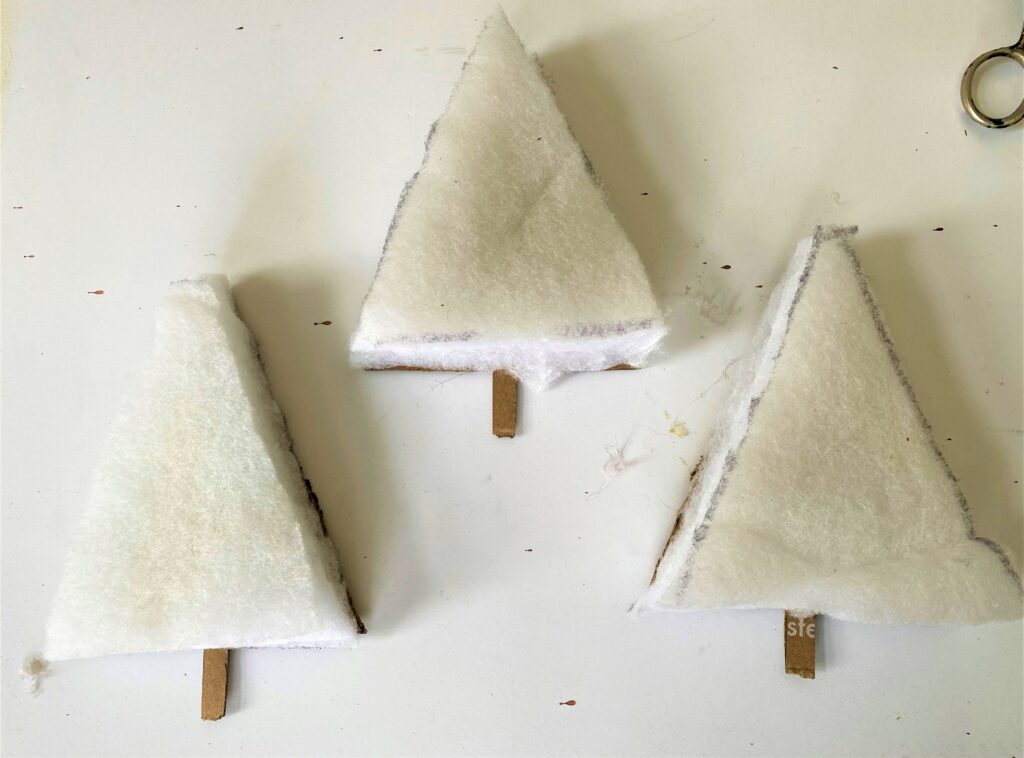
- After you cut out your tree’s triangle shape from the batting (you won’t include cutting the trunk part), secure it to the cut-out cardboard tree with your glue gun. As always be careful when using your glue gun, especially if little hands are helping with this project.
4. Cut open your pajamas, then cut your tree shape
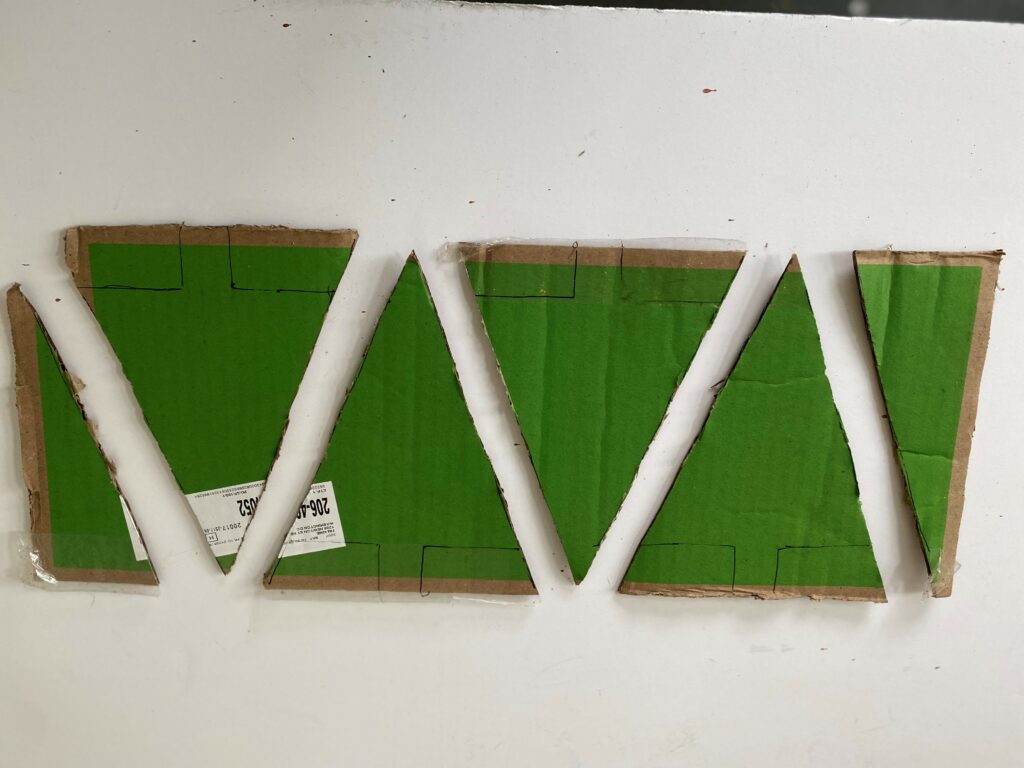
- With your sharp scissors, cut open the pajama parts to give you the material needed for your tree ornaments.
- The pajama bottoms were cut open along the leg’s seams to give access to the most fabric.
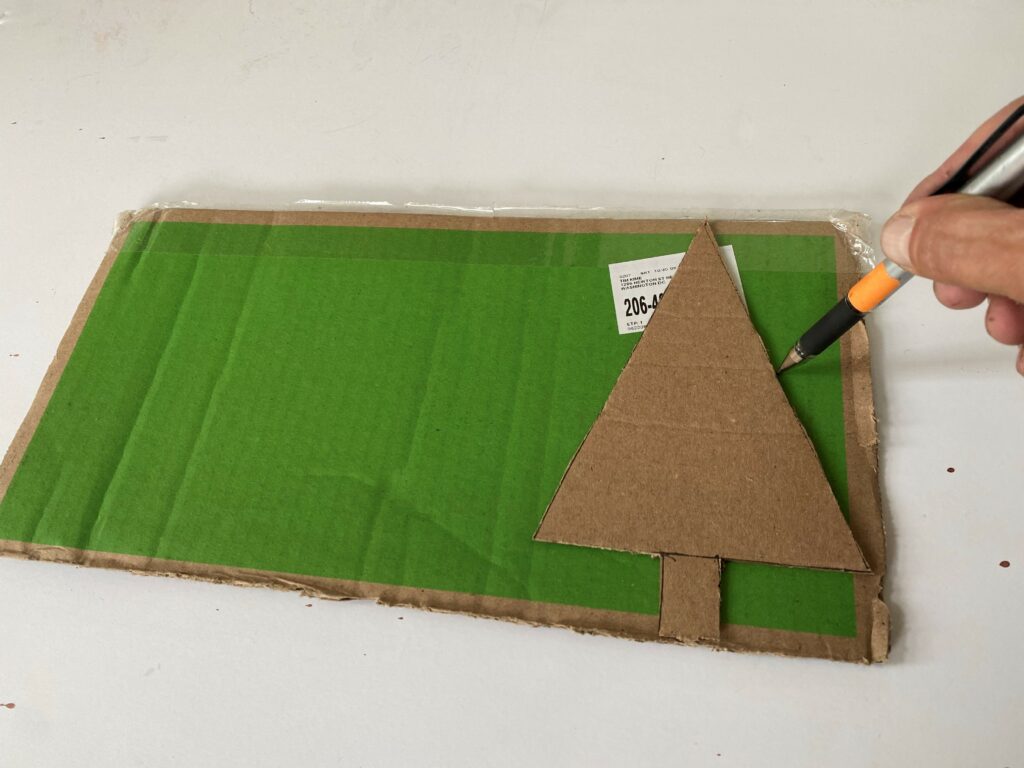
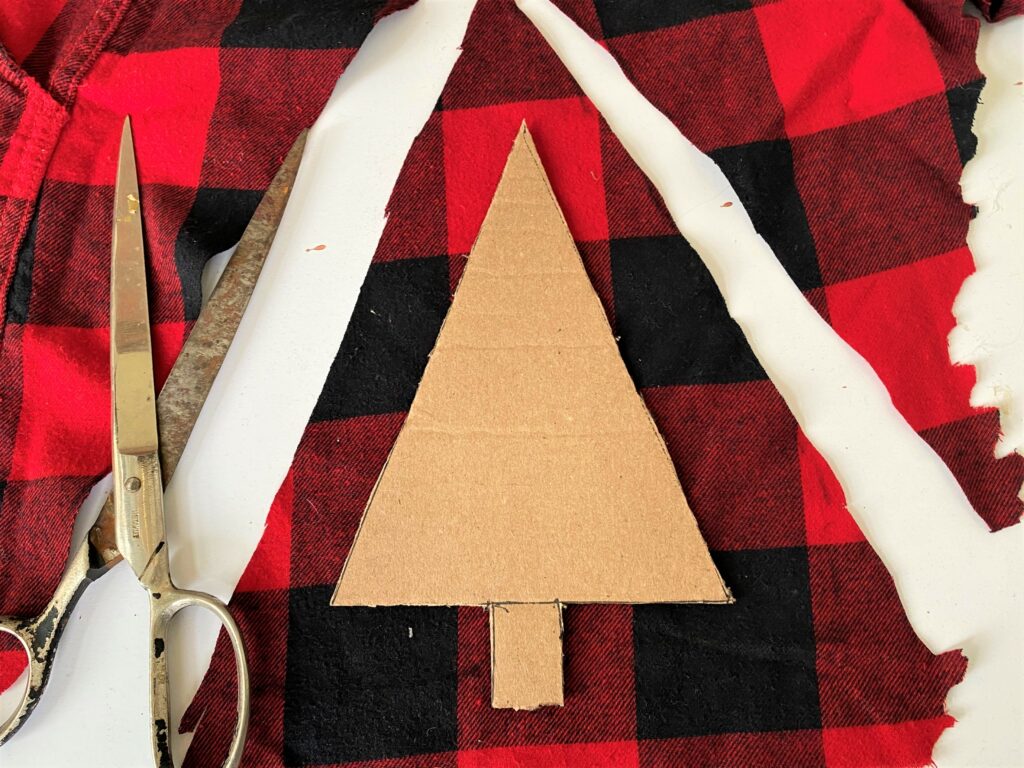
- When done, place your cardboard tree shape, with the batting attached, on a section of your flannel material.
- With your marker, trace its triangle shape; do so allowing lots of extra space and extra fabric.
5. Wrap, overlap, glue your flannel in place
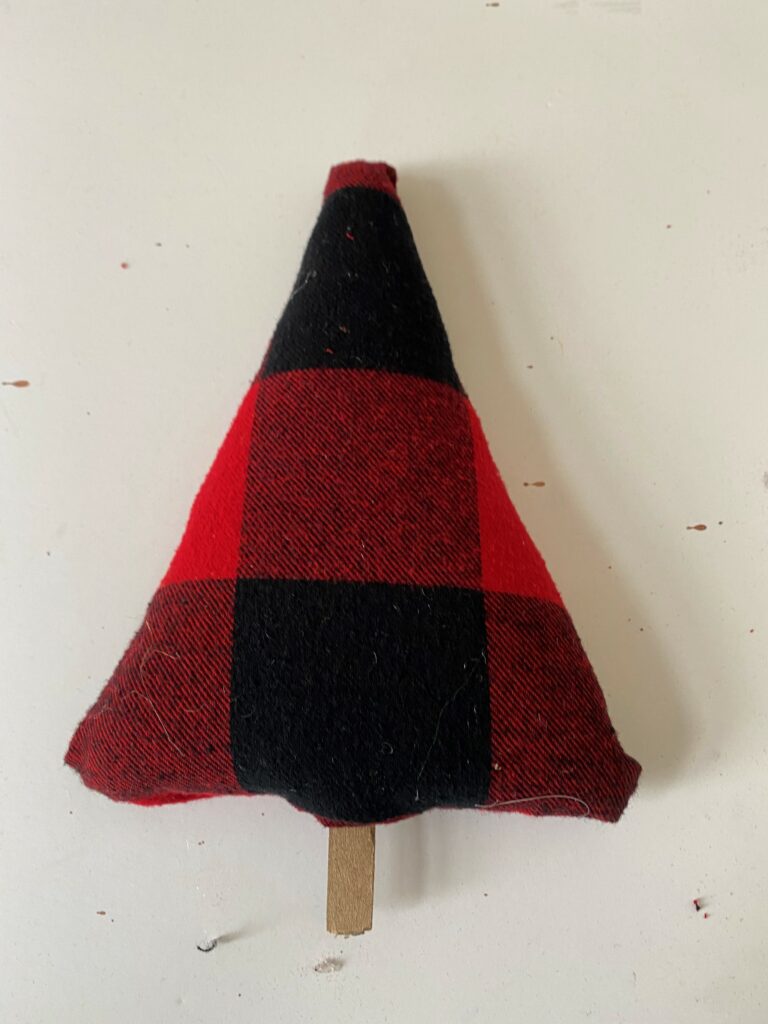
- Place your cut-out flannel triangle shape on your work surface, then put your cardboard tree on it with the batting side down.
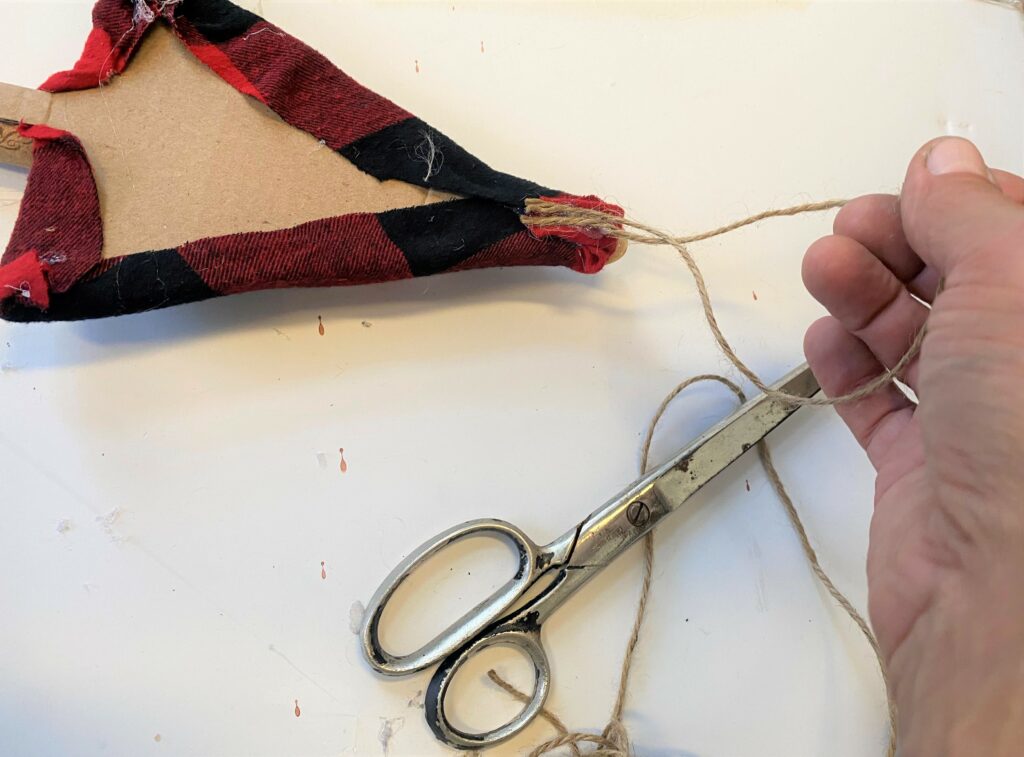
- Add a line of glue to one edge of the cardboard tree then carefully fold over/wrap your flannel fabric and secure in place on its backside.
- Repeat on your tree’s other edge and then the bottom section, working around its cardboard trunk, leaving that part exposed.
- You will likely need to trim the excess fabric away, especially in the corners.
- Add more glue from your glue gun to ensure your folded parts are secure.
6. You won’t whine when you add your trunk
- Flip over your flannel-covered tree so that the right side is up and facing you. The tree’s entire body should now be covered with the flannel.
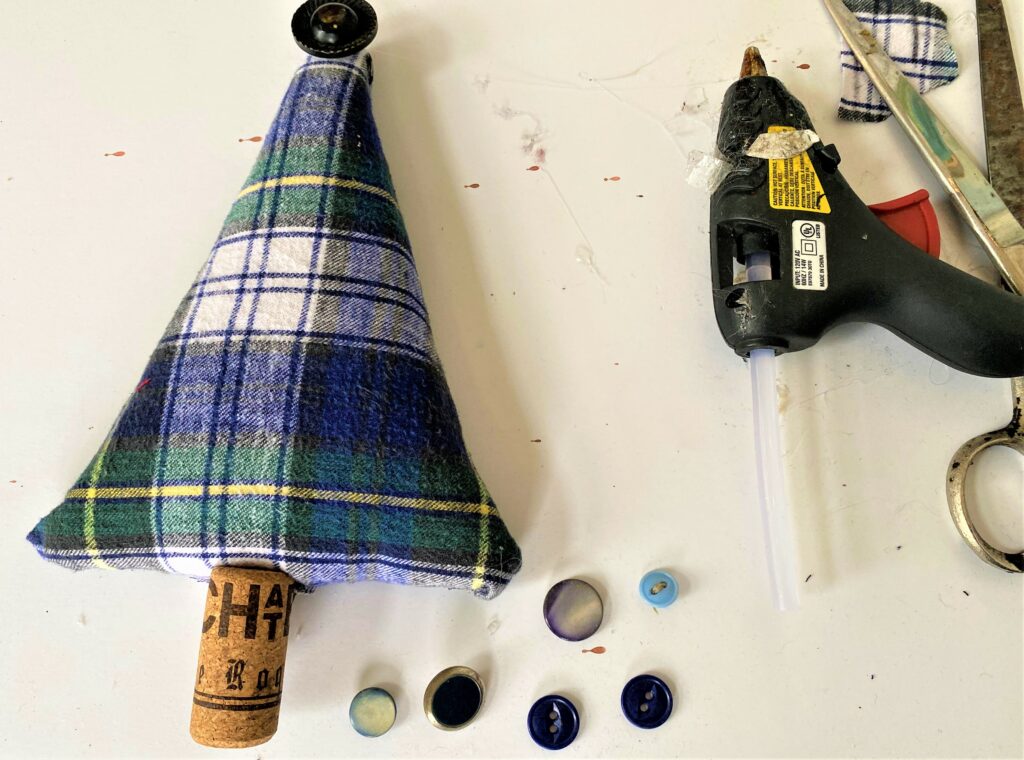
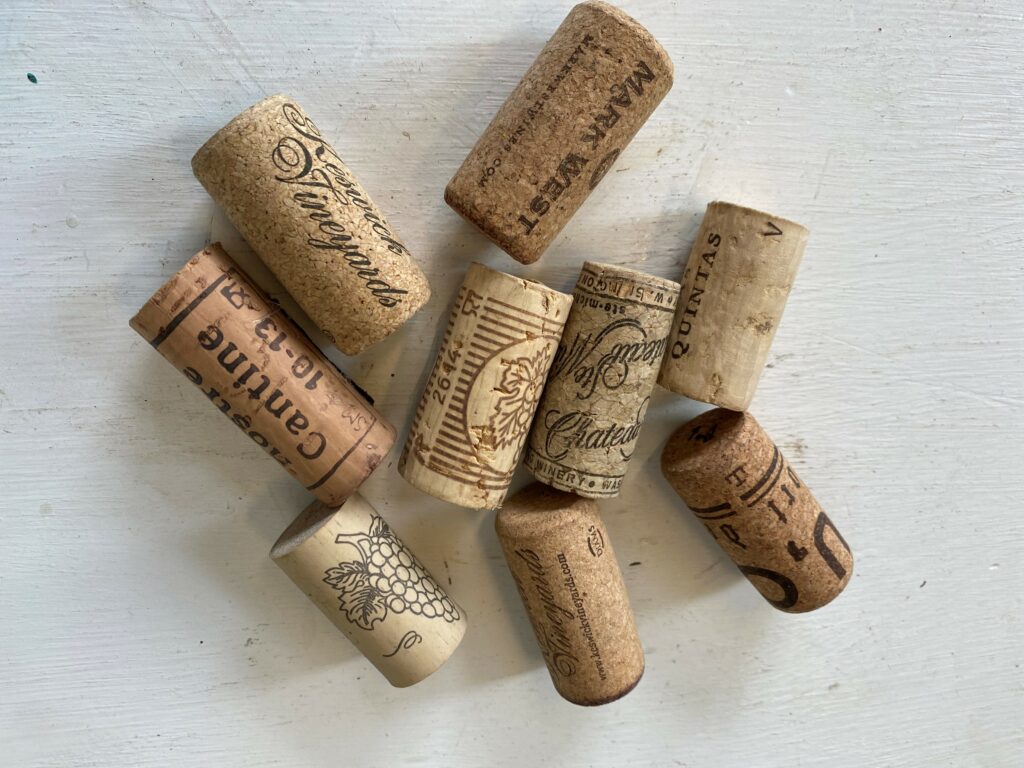
- The cardboard trunk piece is now sticking out on the bottom; use your glue gun to add glue to a wine cork then adhere it to this piece.
- You may want to add a little bit of glue to the top of the cork to ensure it is secure on the bottom fabric edge.
7. Decorate your tree with buttons, other items
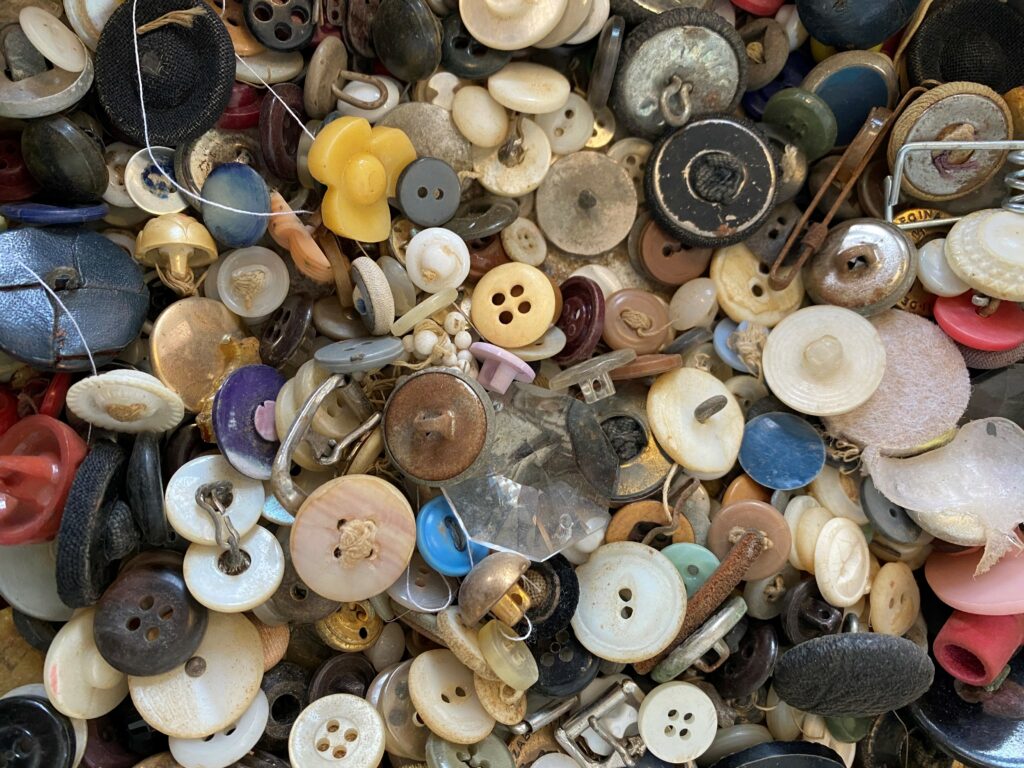
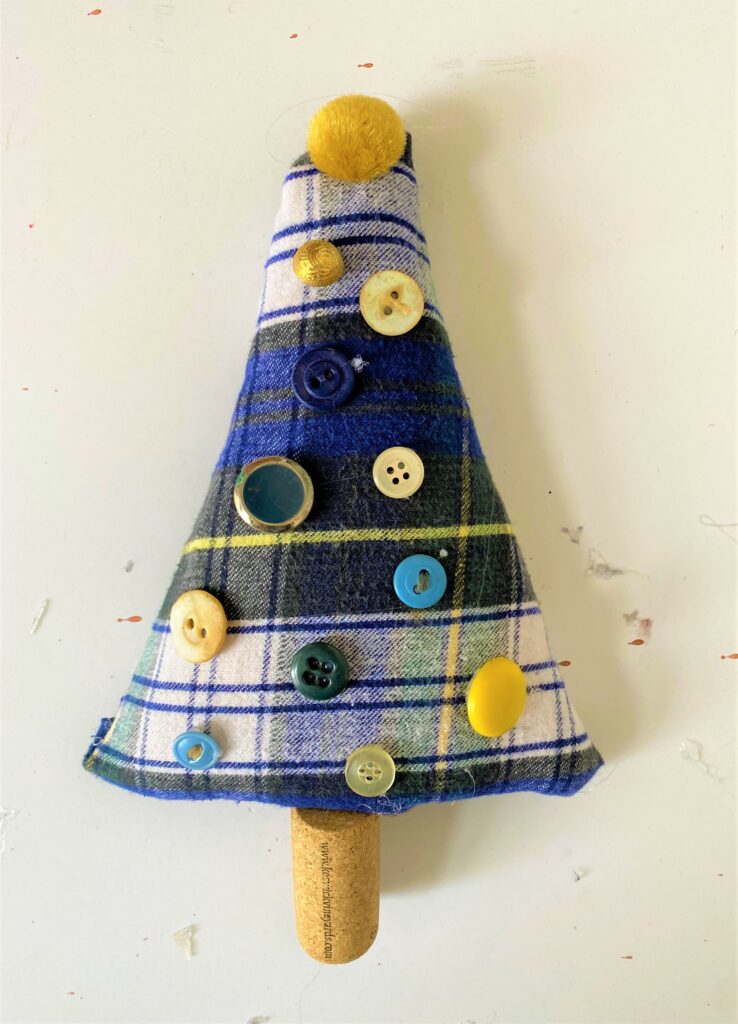
- Keeping with the reuse/repurpose look and feel, add buttons and other items. If you have old buttons to enlist for this purpose, that is ideal. (Thankfully, I had been gifted a tin of old buttons to use!) If you don’t have any, consider taking a shirt and removing its buttons for this project.
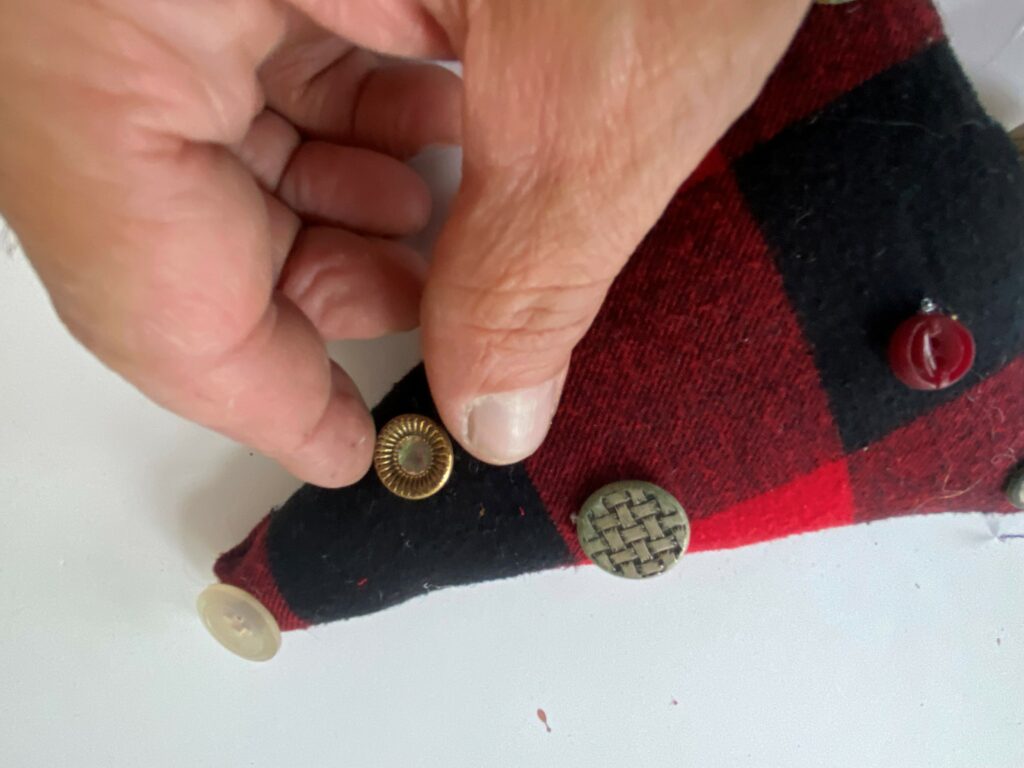
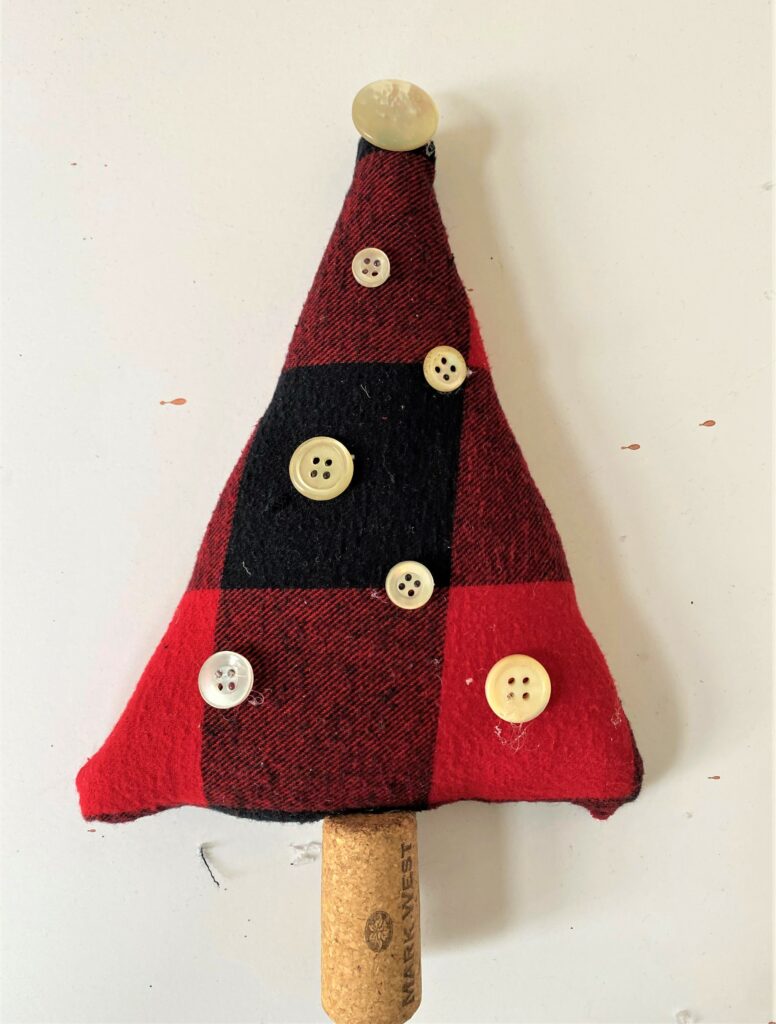
- Add a larger button to the top of your tree to serve as its star.
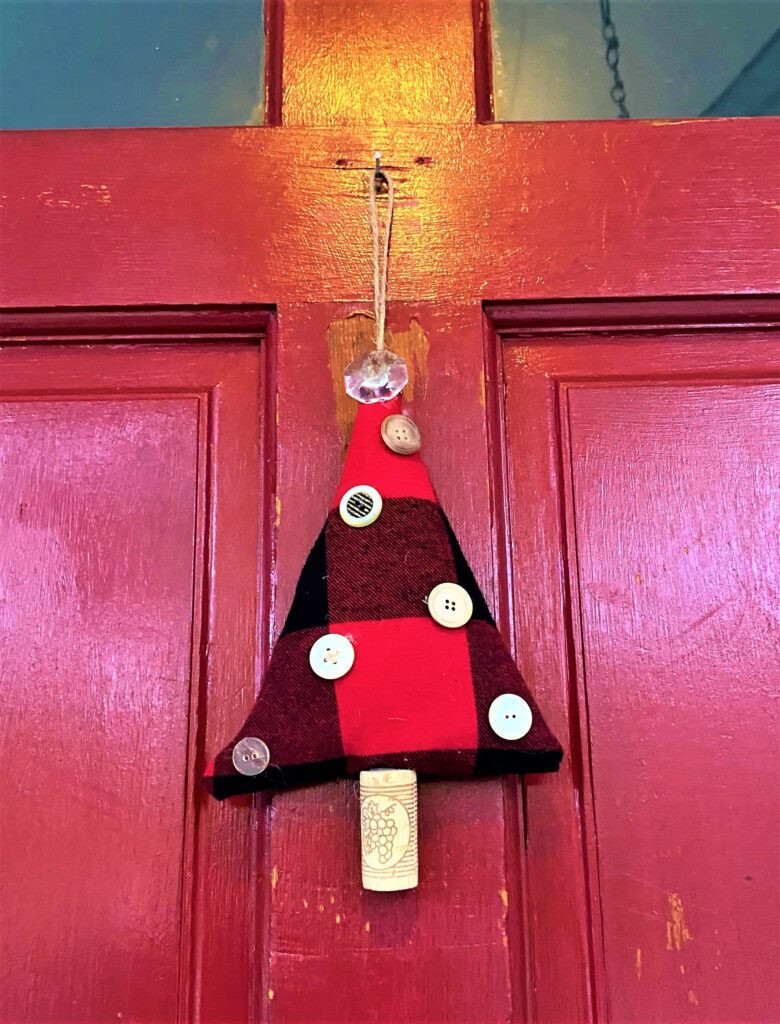
- Glue smaller buttons to serve as your tree’s ornaments. In my stash of items, I found a small crystal from a chandelier that was perfect to serve as a star on top of one of the trees.
What items do you have on hand to tap for this fun step? What about beads or other parts of jewelry you no longer wear? What about a metal bottle top as a tree star?
8. Add twine as its hanger
- Now that your flannel tree ornament is decorated with its button ornaments, carefully flip it over.
- With your glue gun, secure a piece of twine, looped over to its back.
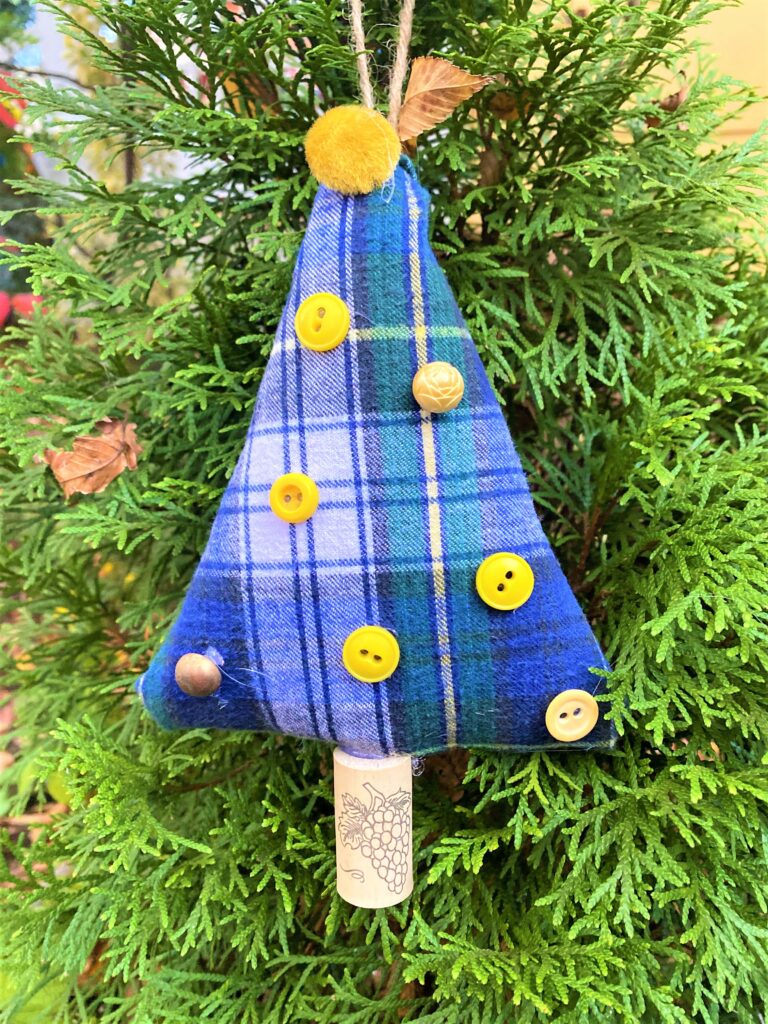
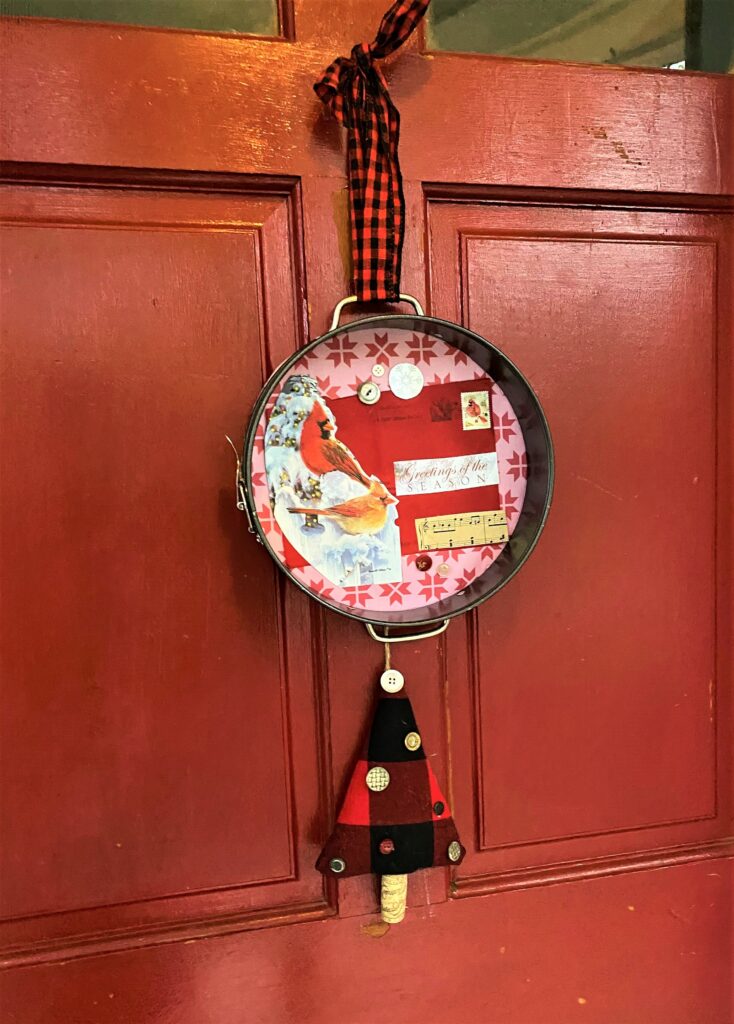
- Now you have a hanger on which to place your flannel tree ornament on your actual Christmas tree, your front door, your mantel or anywhere you want to add some holiday charm to your place!
9. Dress up its back with craft paper
- Last but not least, cover the backside with colored paper to give your tree a finished feel.
- Trace your tree shape on a piece of festive paper, cut and adhere with your craft spray adhesive.
- This will help to hide the folded-over flannel and hanger spot. Fa-La-La-La-La, you are finished!
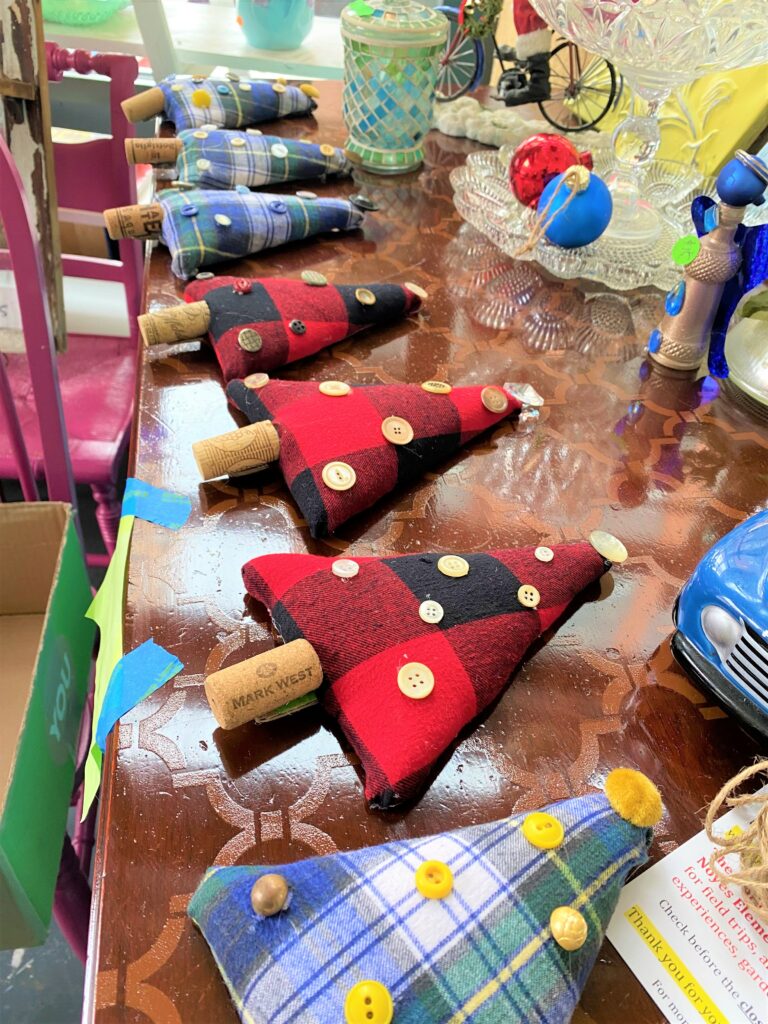
This charming ornament will make you feel cozy inside with all the compliments you will receive from family and friends….and maybe even from Santa, too!

Tim Kime
Artist, Motivational Speaker, Life Coach


