For just pennies, you can give a run-of-the-mill bulletin board the million-dollar treatment by repurposing high-end fabric samples.
Items needed:
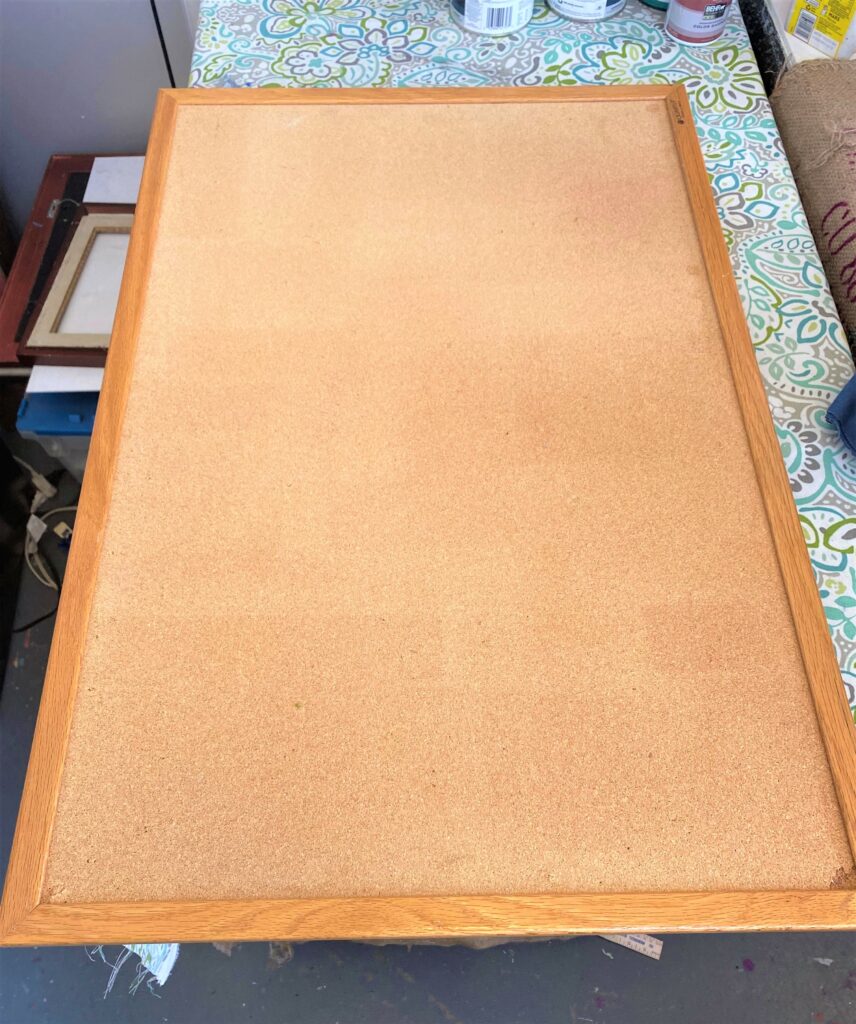
· Bulletin board in a frame
· Upholstery fabric samples
· Scissors
· Cardboard or paper
· Pencil
· Paintbrush
· Fabric glue
1. Shop ’til you drop at Goodwill
Part of the adventure of shopping at Goodwill is that you never know what you might come across that’ll inspire your creative, DIY juices.
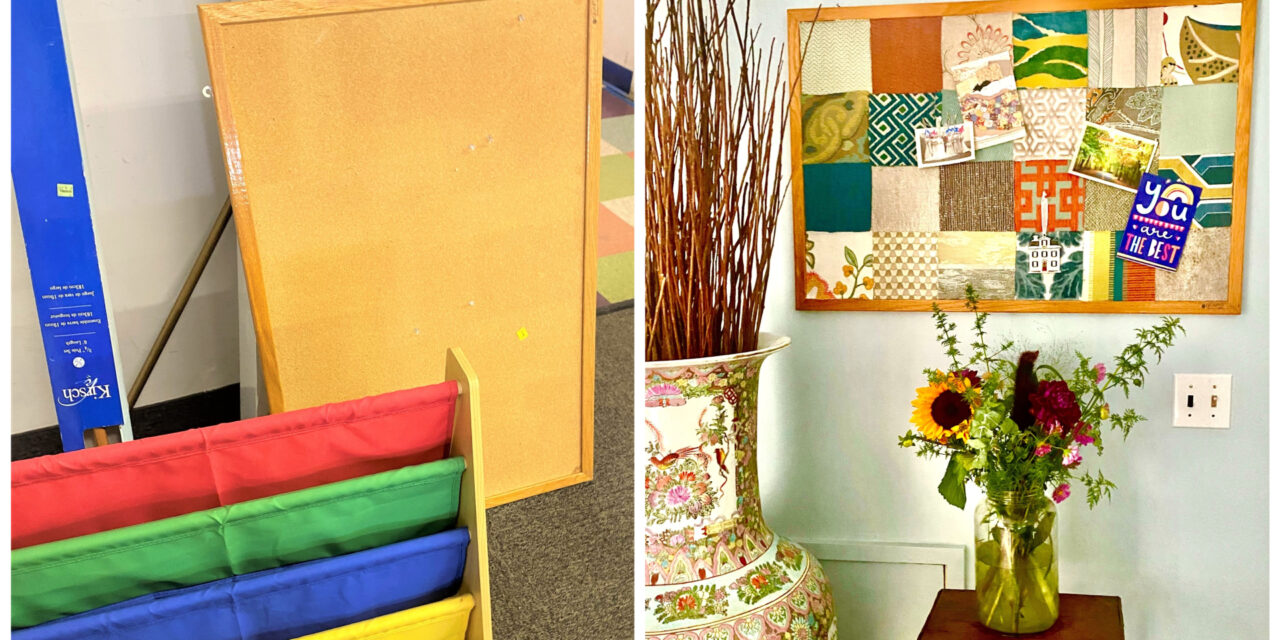
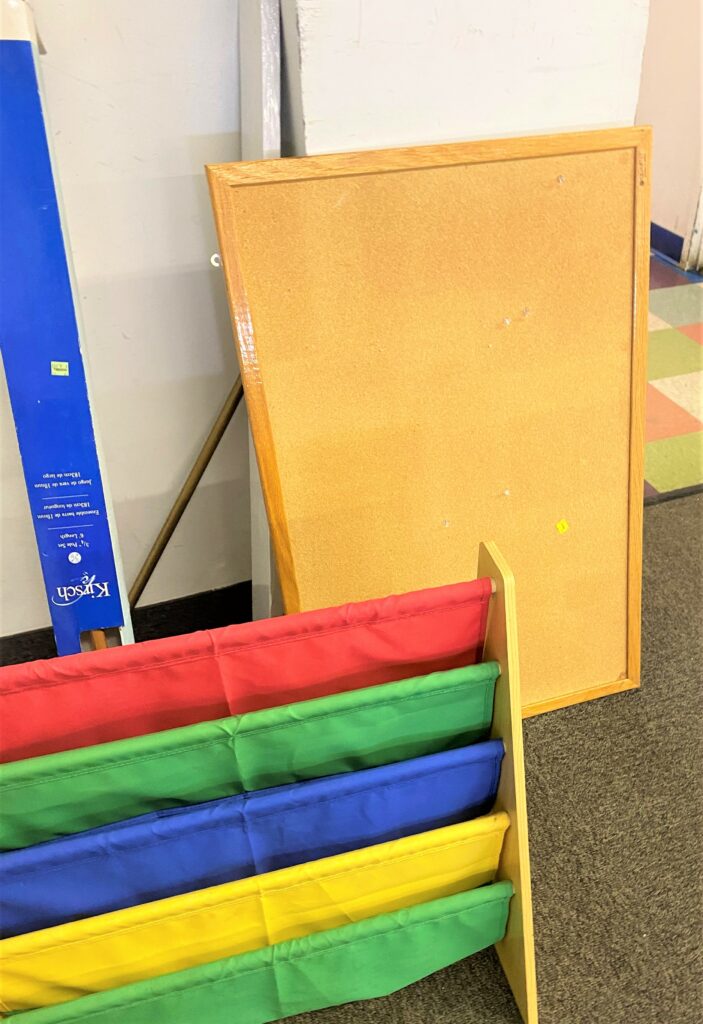
During a recent visit to the South Dakota Avenue, NE store (which has the bestest staff/team members ever!), I came across a big bulletin board. Given that this is back-to-school time, or at least planning for it, I wanted to do something that a student or parent might enjoy. And doesn’t everyone at any grade level need a place to post important information?
While there, I picked up a couple of wooden trays for future projects. My advice when shopping at Goodwill: If you see something you like but aren’t sure where or how you might use it, buy it anyway! For just a few dollars, it is better to take it home now rather than miss an opportunity later.
2. Measure your material
Somewhere along my journey, someone gifted me a bunch of fabric samples used by an interior designer for clients. They were elegant and richly made but were too small for recovering a chair seat. When I rediscovered them, I knew they would be perfect for this project!

If you don’t have such a fabric sampler on hand, you could buy several curtains from Goodwill and follow these same steps. The curtain fabric is often made from a sturdier fabric and comes in lovely finishes.
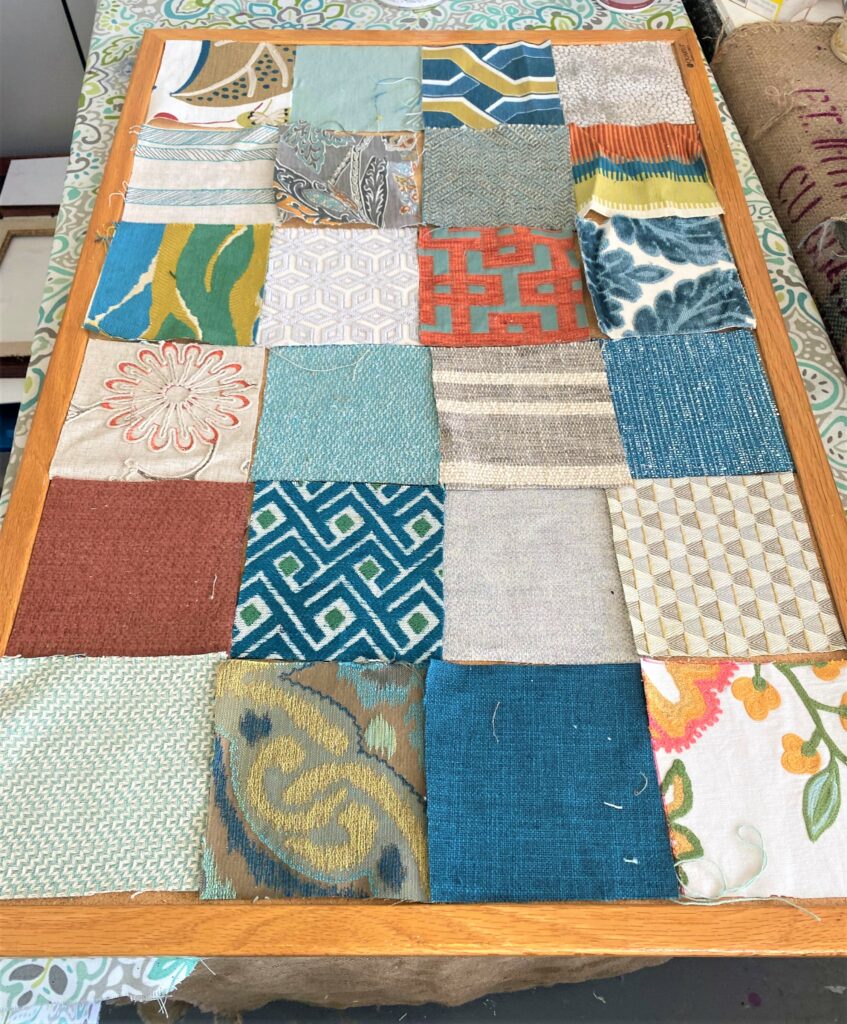
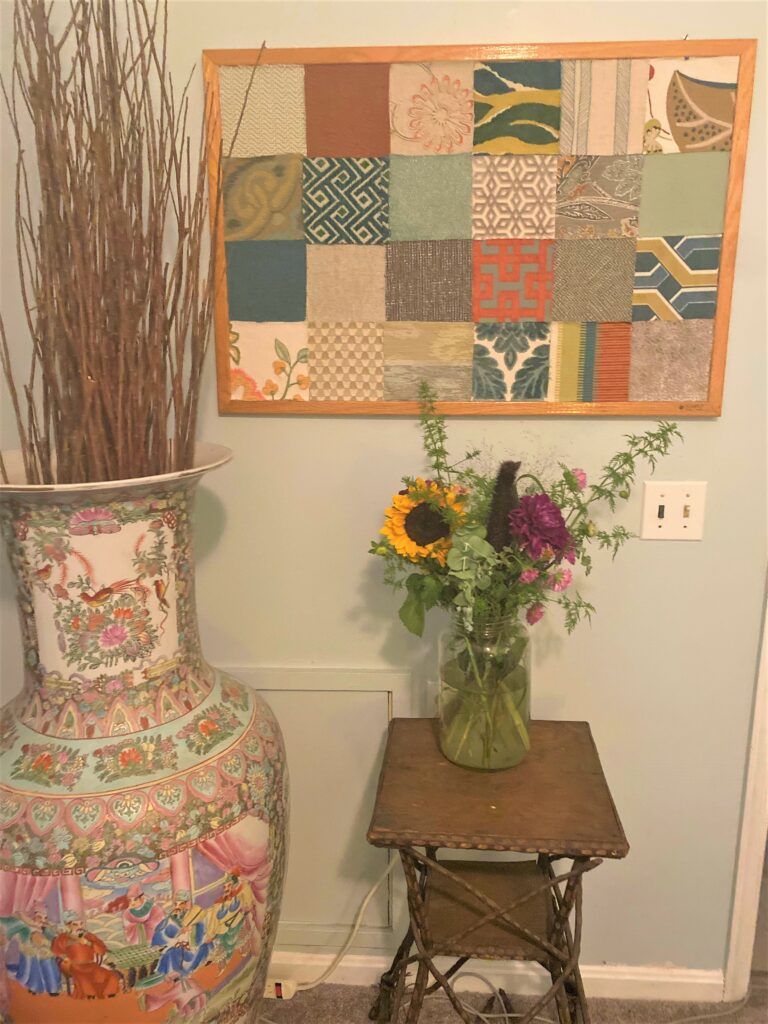
A grid pattern of squares made the most sense to me, so I measured mine out based on my bulletin board being 33 inches by 22 inches. Therefore, each square was five and a half inches. Measure your board and determine what size the squares should be.
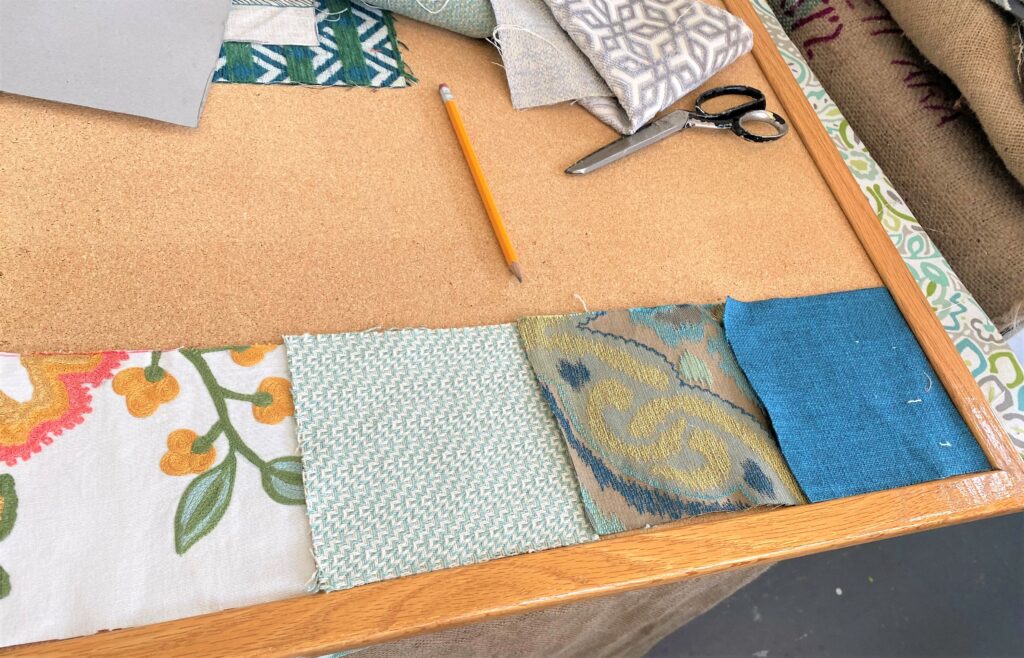
3. Create a pattern cut & away
Once you have your measurements and determine your square’s size, then create a pattern or template from cardboard or heavy paper. Use a pencil to trace around your pattern rather than a pen or marker; the ink from these could stain your fabric. As you pick your pieces, be sure to flip them over to ensure you are marking on the backside so that any lines will be on that side and not visible on your finished project.
Expert Tip: As you are selecting fabrics, be sure to look at both sides. Some fabrics look similar on their front and back; however, some fabrics’ backsides look very different from one side to the other.
Design Idea: If you have a lot of fabric samples, it can be overwhelming! Select two or three colors and chose fabrics that have those tones in them. My first color choices were blues, greens, and golds I selected several with orange for some additional pop of color. A monochromatic look works well, too. How pretty would a bulletin board be with varying shades of one color you love, like blue?
4. Rearrange until it feels right
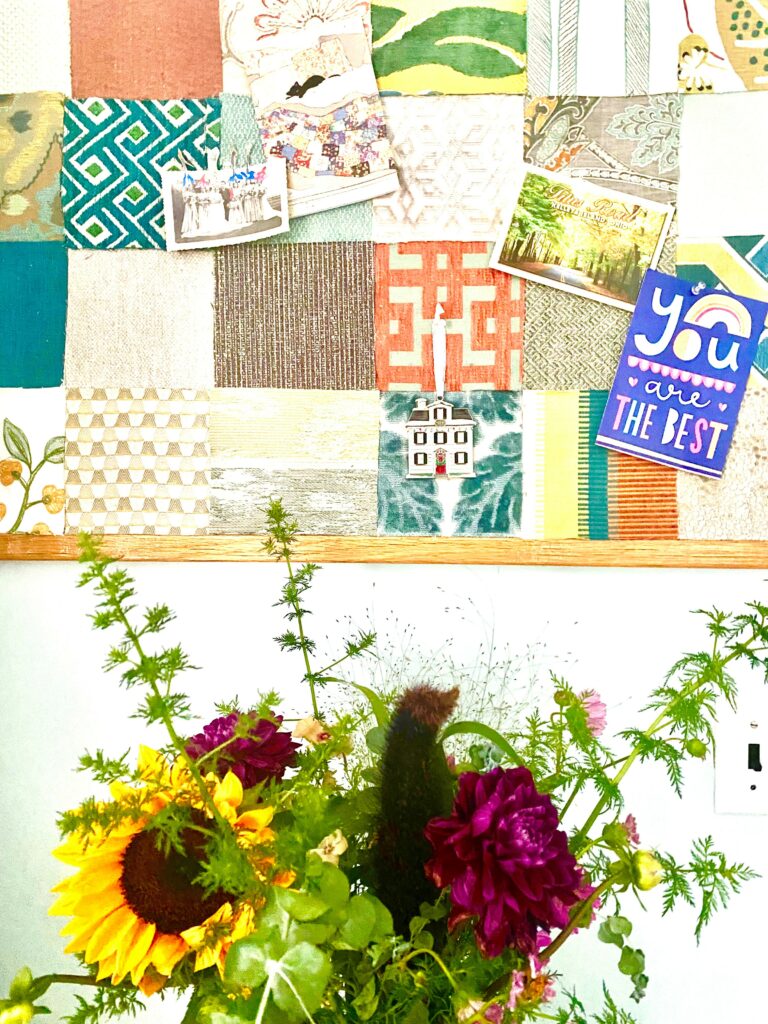
After all your fabric squares have been cut, you might want to move them around so things look good and balanced. For example, several squares had flowers in their designs so I made sure they were not next to each other. Also, some had stripes so I positioned some stripes to go up and down while others went right to left. Also, solid color squares were added strategically to complement the busier ones. It was so much fun to move my squares around until I got the look I wanted.
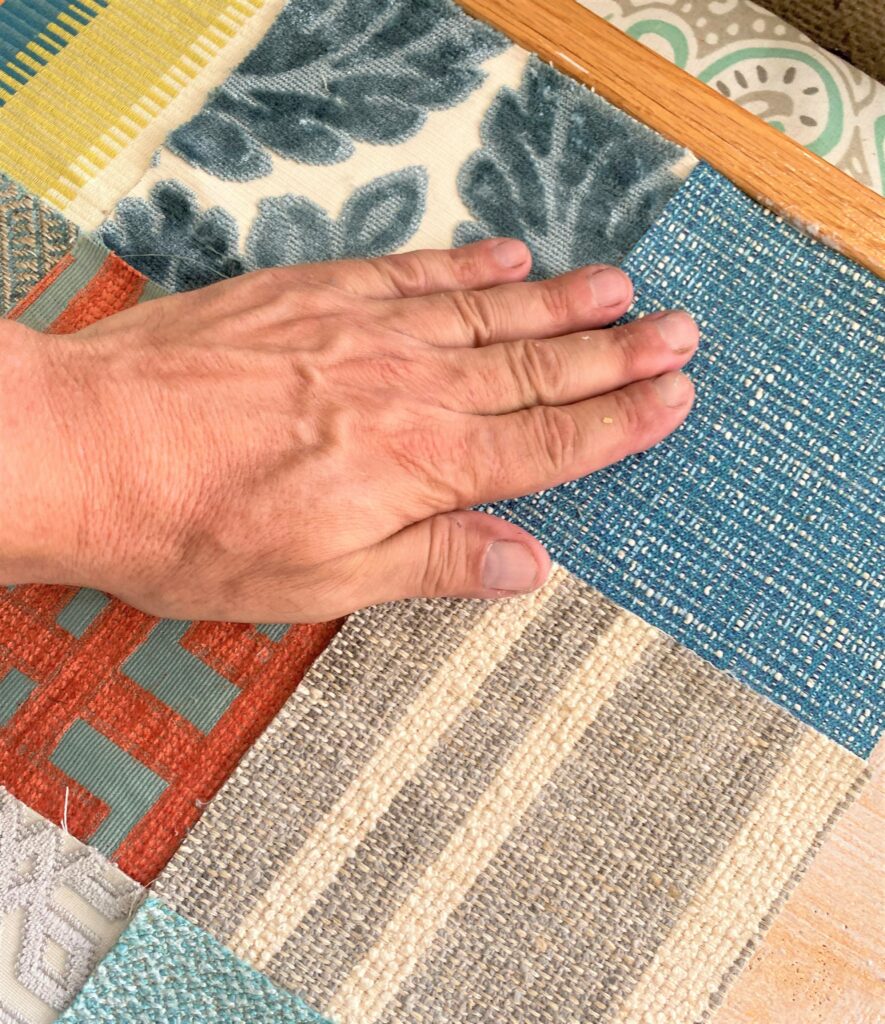
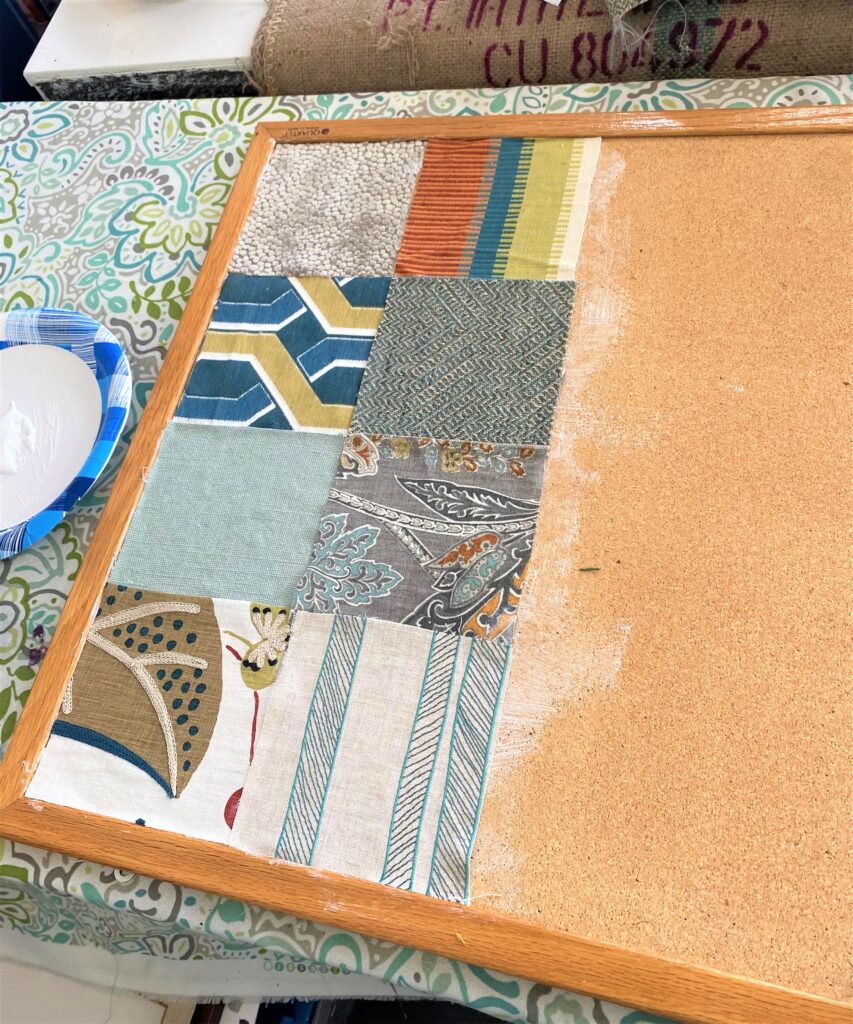
5. Go for the glue
After you have all your squares laid out where you want them, start along one side and remove a row of the squares. Brush on fabric glue then return the squares to their position. I started to stack squares from one row onto the next so that I could easily remember which one went where. After all your squares are in position, use your fingers to press out any wrinkles or bubbles in the fabric for clean, crisp look.
After this first round of gluing, you may need to return to your bulletin board with your scissors to trim away any threads and to smooth out edges. With a smaller paint brush, gently raise up any loose edges and carefully add more glue for a super tight fit. Let dry overnight.
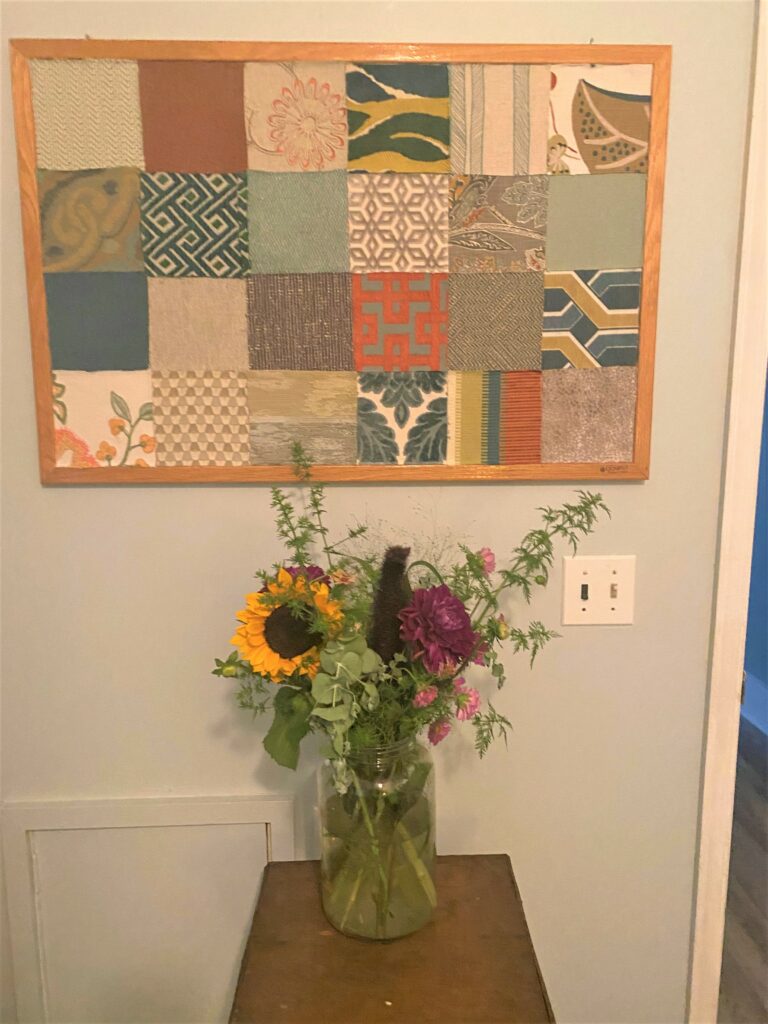
6. Hang up & display messages
Wow! The hardest part is to determine where you will display this fashionista’s dream board! How welcoming this will be in your foyer to ensure you see important reminders when you come and go.
How about hanging it next to your desk to post important events and deadlines. You could put it on your family room walls with photos of loved ones and cards received.

There are so many ways to use this as a tool, message center, or display (and so much fun!) that you might want to make two or three while you’re at it!

Tim Kime
Artist, Motivational Speaker, Life Coach

