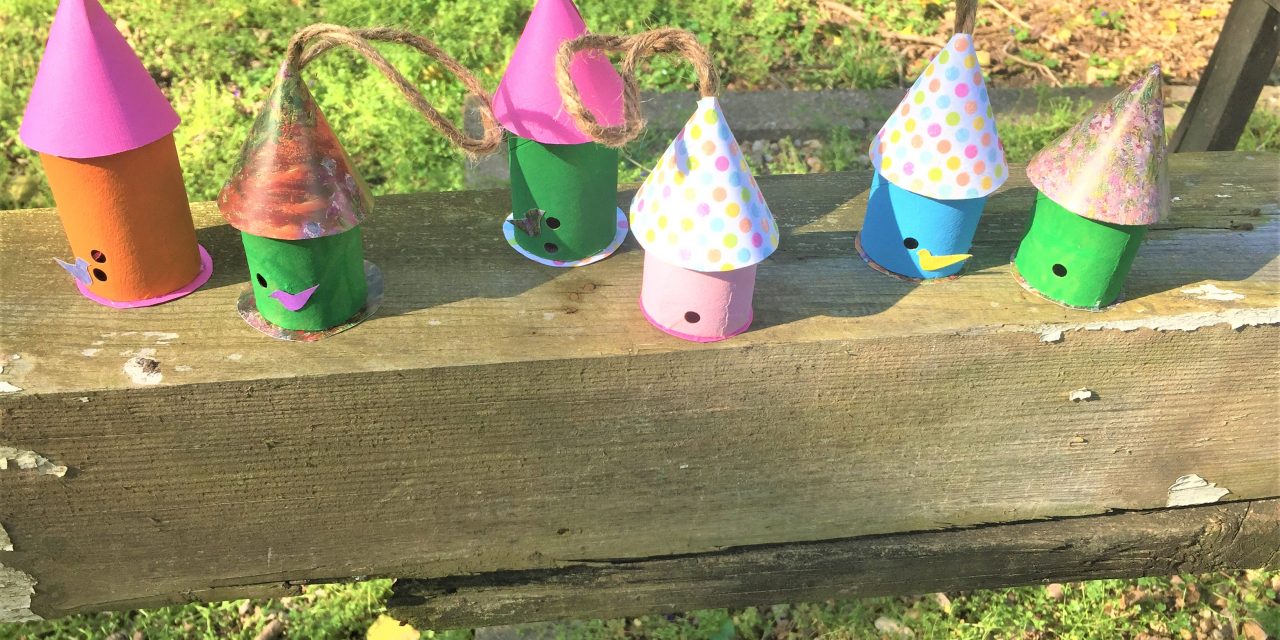
We’re on a Roll! Make a birdhouse from empty TP rolls.
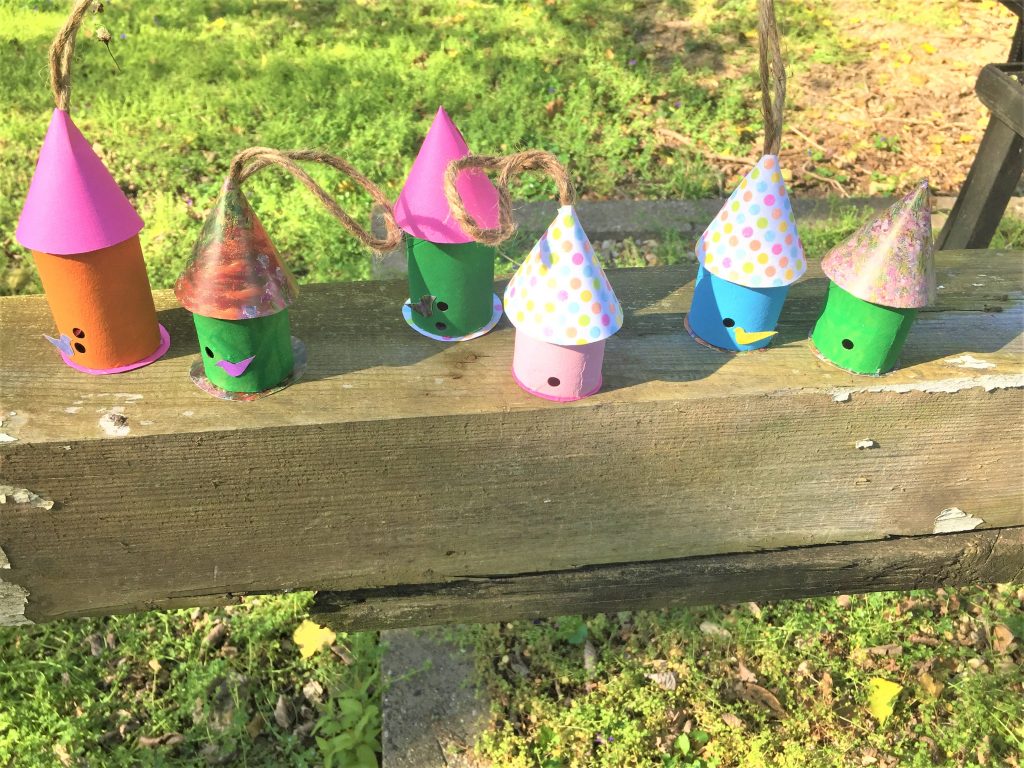
Here’s another crafty and easy DIY project that makes the most of all those empty bathroom tissue rolls: little birdhouses! These whimsical creations will brighten any place you hang or set them in honor of our feathered friends. Cheap and charming, everyone will smile—no matter what species they are.
According to Universeofsymbolism.com, “birds represent having the wings of possibilities, freedom of flight, precision and timing, perspective, vision and individuality.” Wow! And who thought they just chirped in a wonderful way?
Supplies Needed
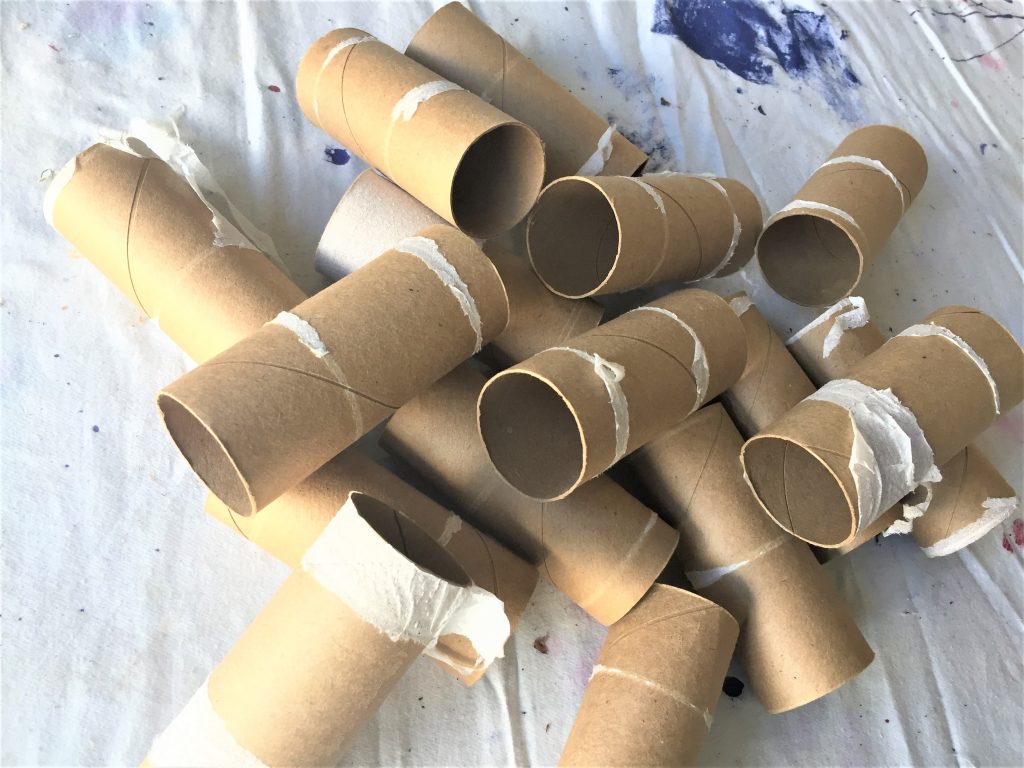
1. Cardboard toilet paper rolls
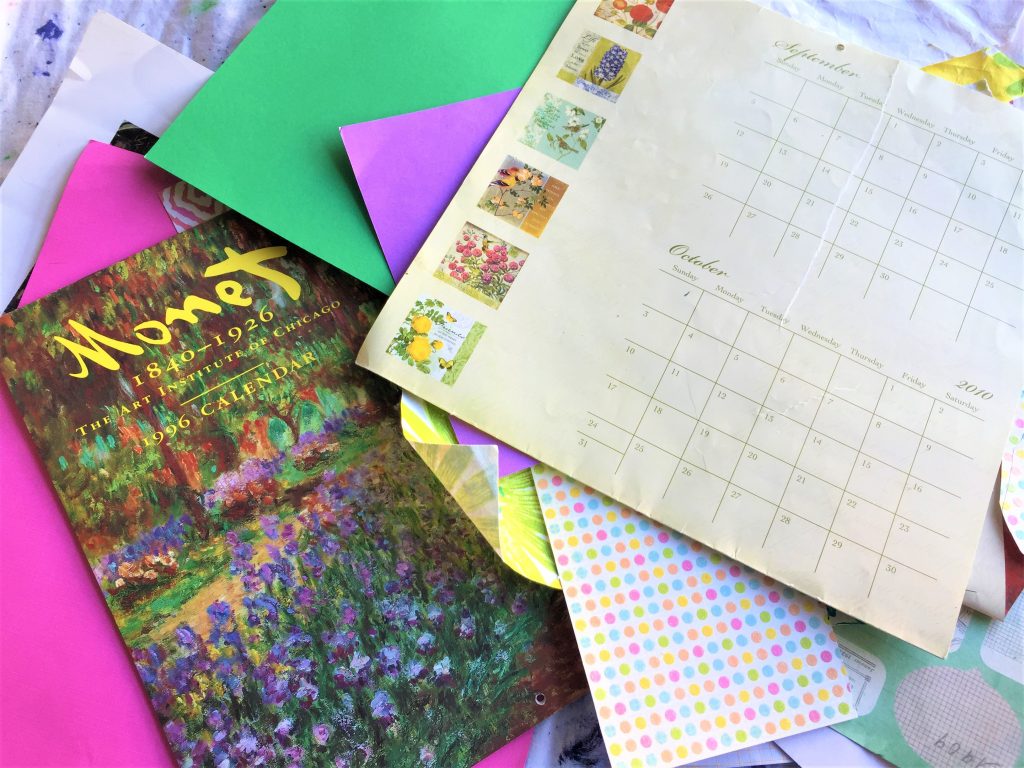
2. Craft paper, used calendars or old magazines
3. Colorful craft paints
4. Paint/foam brushes
5. Pencil or pen
6. Scissors
7. Hole punch
8. Glue gun & glue sticks
9. Twine
Time: 30 minutes each (not including paint drying time)
Step 1: Give your rolls a color bath
Select bright colors for this project so ensure these decorative ornaments catch attention.
- With a foam brush or small paint brush, add a layer or two on the outside of your empty toilet paper tube.
- Set aside to dry and go for a walk outside to get some fresh air (of course, keeping your face covered and with proper social distancing). Craft paints typically dry pretty quickly so you when you return they should be ready to go.
Step 2: Cut to size
Cut your tube in half for shorter birdhouses or remove one-quarter for taller ones. By carefully cutting in half, you will have two birdhouse per tube. Personally, I liked the variety of short and taller ones.
Step 3: Punch in an opening
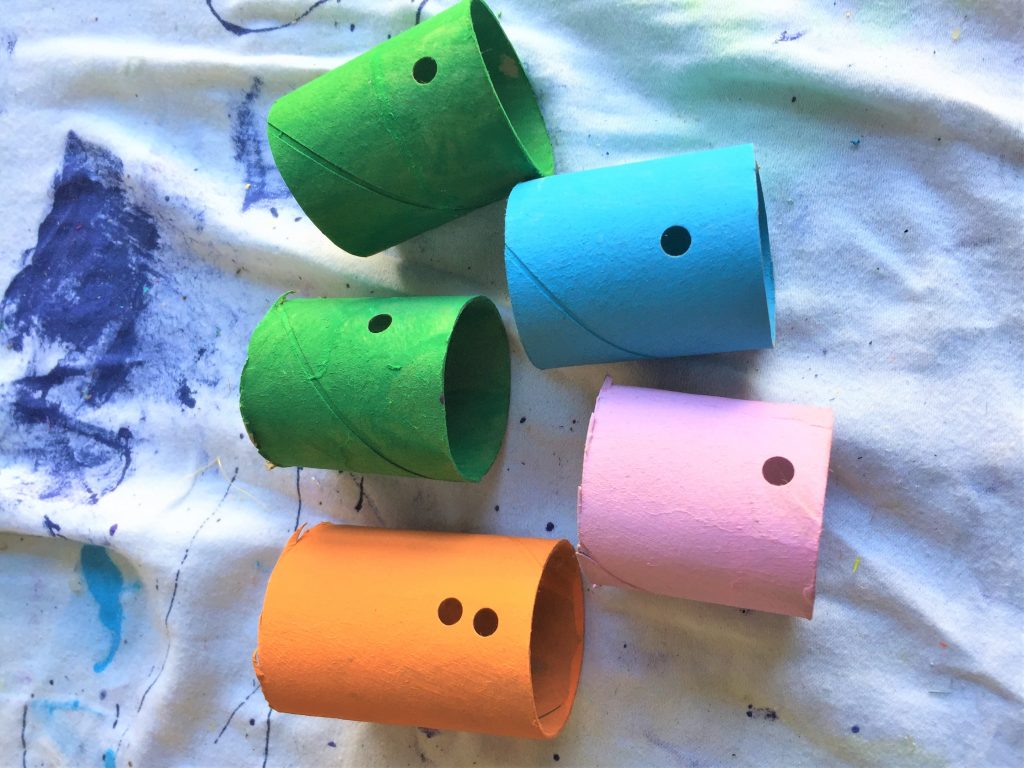
- To make it look like a birdhouse, use your hole punch to create an opening. Do so at a half inches from the bottom of your original clean edge, not the part you cut. And original edge will be sharper and look nicer.
- For the taller birdhouses, add two holes one on top of each other with a quarter inch between them.
Step 4: Trace and trim your roof
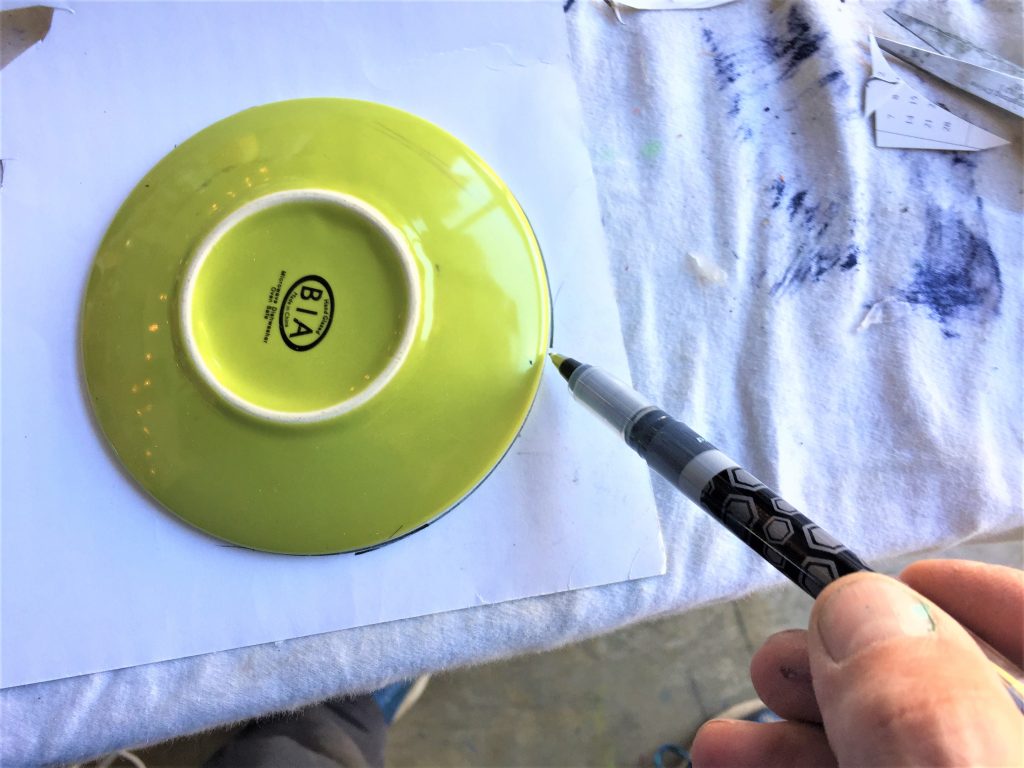
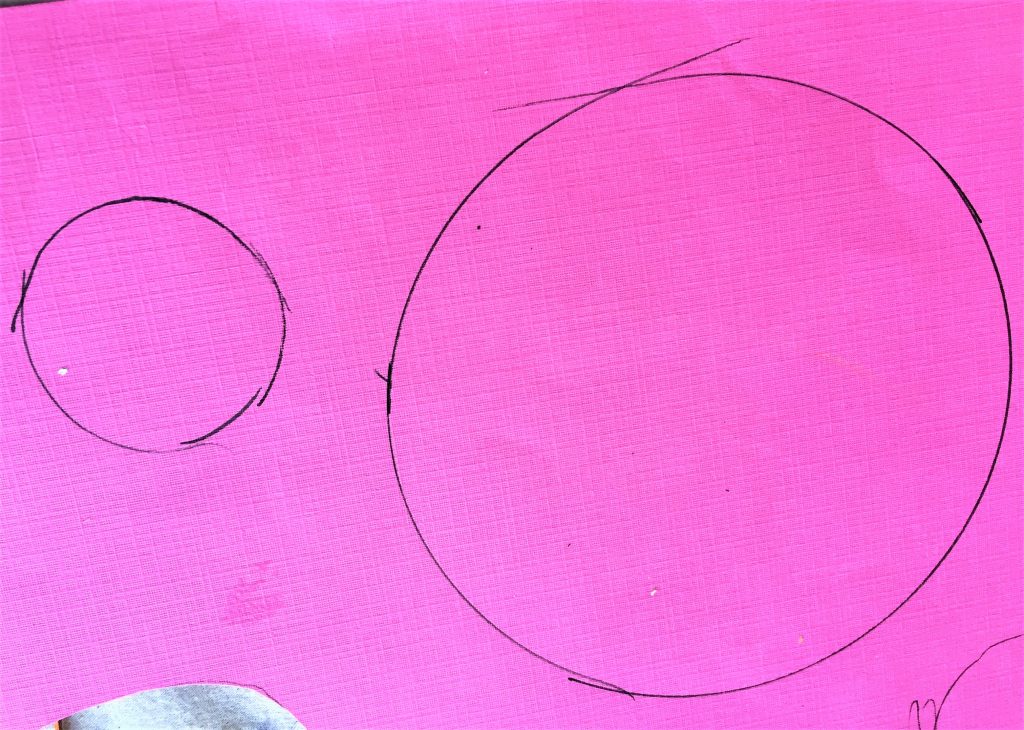
- If possible, find a bowl or small plate that is six inches across as a template for your birdhouse’s roof.
- Using colorful, patterned craft paper, old magazines or out-of-date calendars, trace around your plate with a pen.
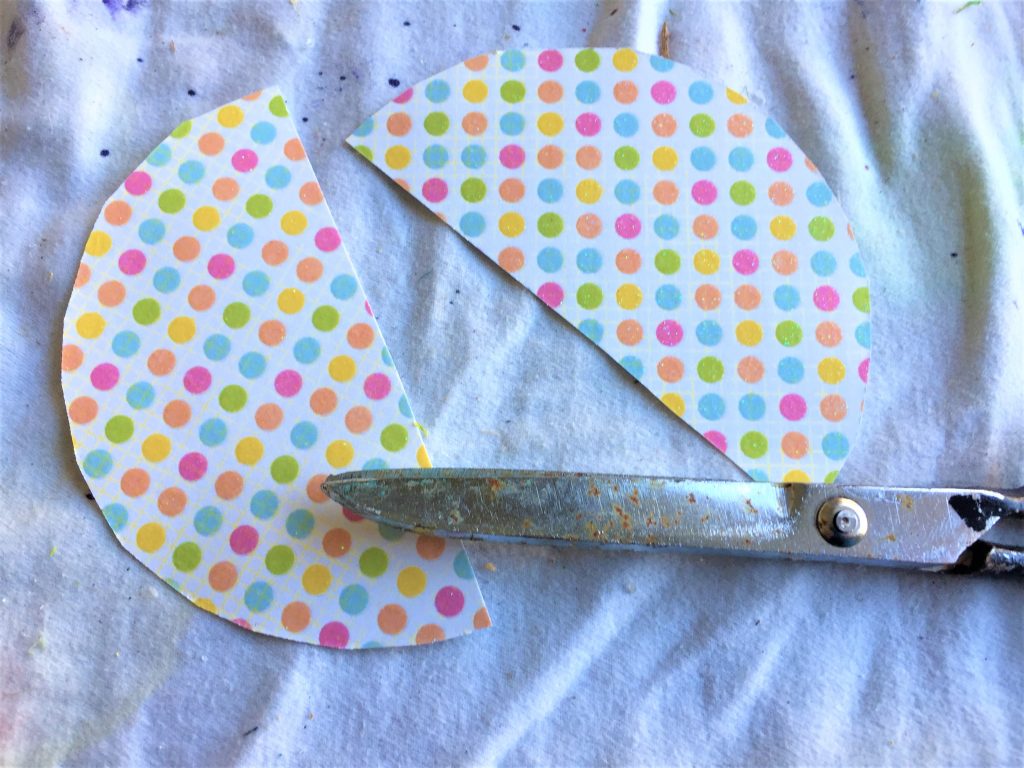
- Carefully cut out this circle then cut in half. Each circle will give you two roofs.
Step 5: Wrap in your hanger
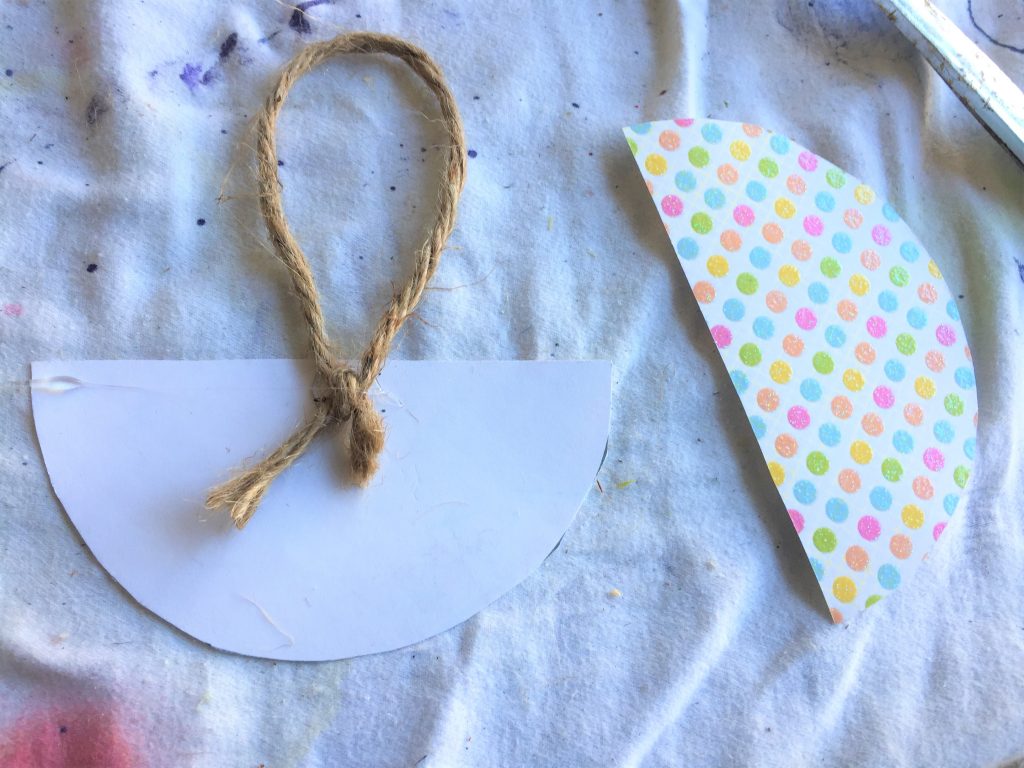
- Measure and cut a ten-inch piece of twine, fold in half and knot the two lose ends together.
- At your workstation, place one of the circle halves face-down with the curved edge pointing toward you.
- At the half-way point along the straight edge, add a small dab of glue for your glue gun then place your knotted edge on it.
- The loop, which will become your hanger, should be pointed up and away for you.
- To create the pointed roof for your house, you will take one side of the straight edge and wrap it around to meet and slightly overlap the other straight edge with the twine in the middle sticking up and out. This part is a little tricky so you will want to practice it before adding glue to secure.
- Once you are good to go with the rolling of the ends together, then add more hot glue along one edge and place the other edge on top. You might need to trim it a little where the two edges came together so that the roof is circular all the way around.
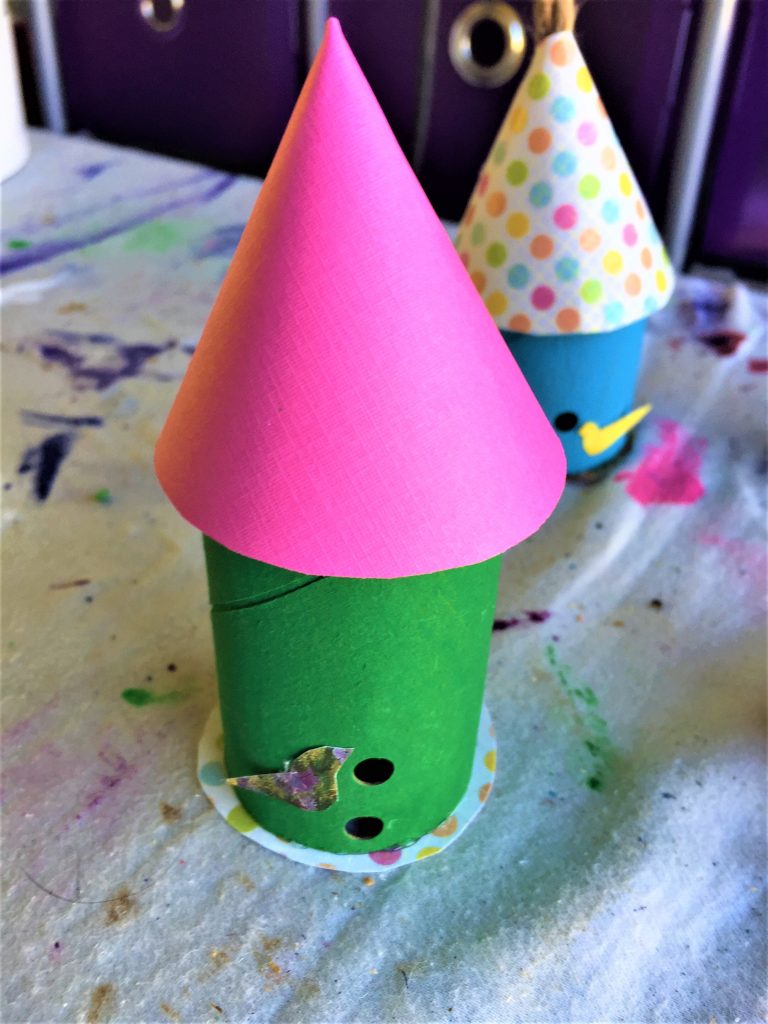
Step 6: Secure the roof
- Pick up one of your painted tubes with the hole near the bottom and your cut edge facing up.
- Along the top part, add a layer of glue then carefully place your room on top. It should overlap well so that the house’s “walls” fit neatly inside.
Step 7: Add a base
- To add a little bit more color and to finish of your birdhouse, it needs a floor or a base so any little imaginary birds will have a place to stay.
- Using a left over roll, not one that was painted and will be used, trace around it on the backside of a piece of colorful paper you want to use.
- Cut out the circle but leave plenty along the edge meaning don’t cut on the line you traced but leave space around it.
- Place the cut out circle face up with the colorful side visible.
- Add hot glue to the bottom of your birdhouse piece then place on top of the cut out circle ensuring you have plenty showing around your tube.
- With your scissors slightly trim it so all edges are the same width.
Expert Tip: I found that when I traced the tube and cut out the circle, it was hard to place the birdhouse on top and in the center. After several trials and errors, I found that leaving more paper was easier to position the birdhouse so all that was needed was to trim it a little bit. Always learning!
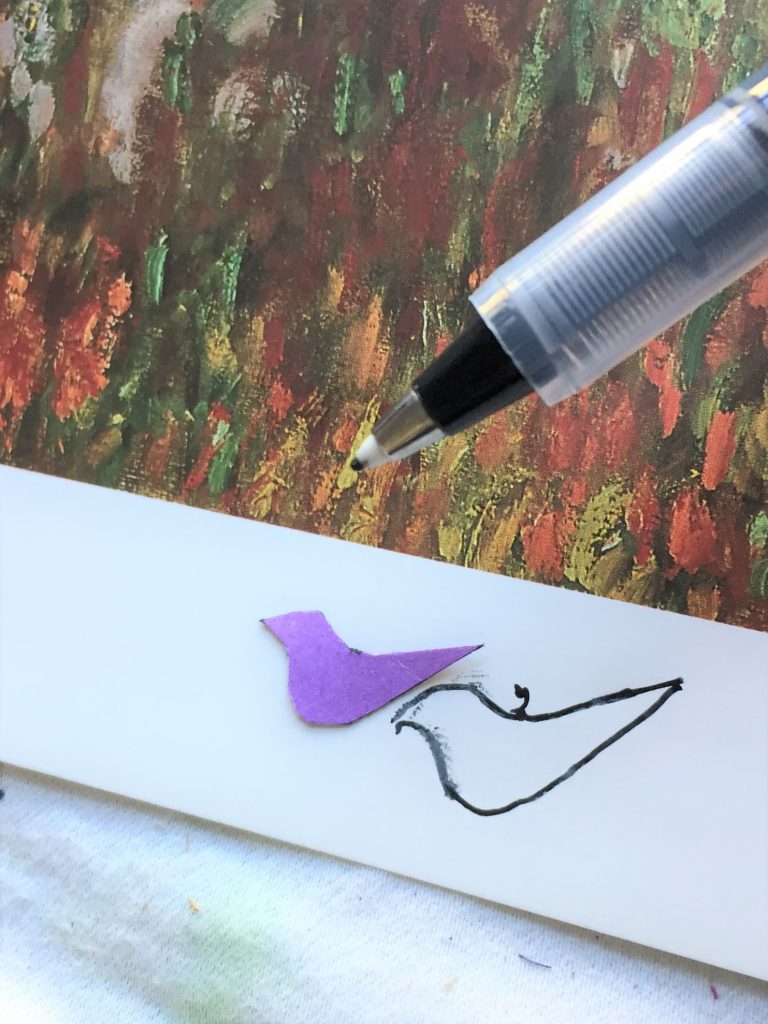
Step 8: Hatch a bird
- Sketch out a simple share of a sitting bird on a piece of paper.
- Cut this out and it will become your pattern/template for additional birds.
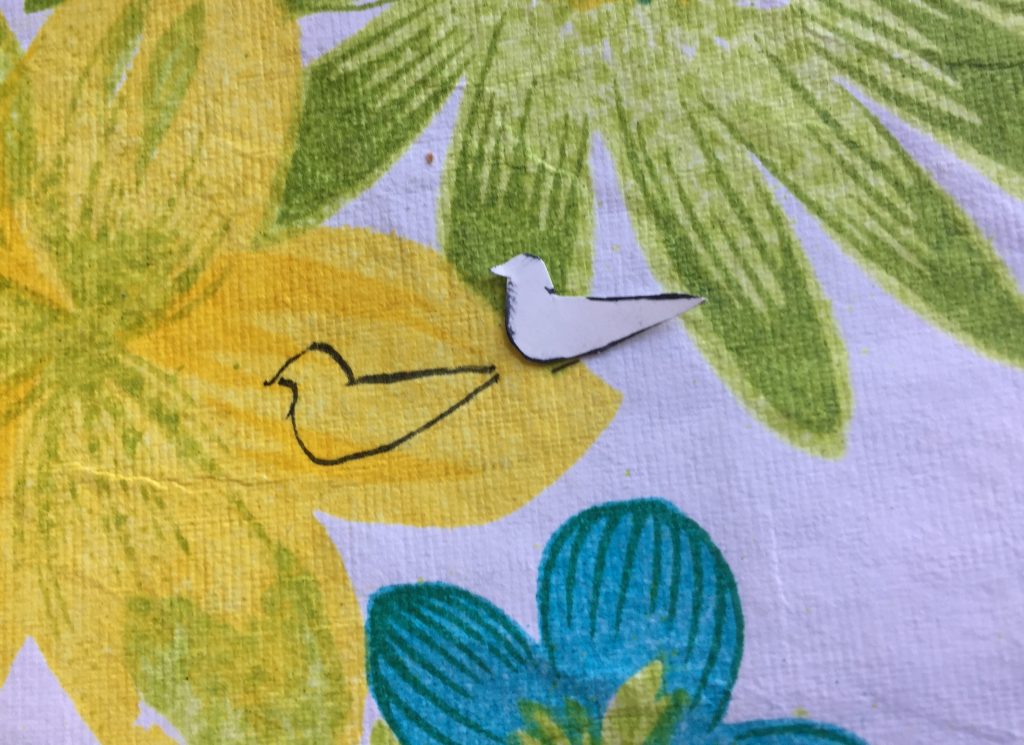
- On contrasting colored paper, trace and cut of the bird, again on the backside of the paper so when cut out, you don’t see your pen lines.
- Trace the birds so that some face one way and others face the other way for visual interest.
- Add a dot of glue to the bird’s center, then place near the bottom and by the hole where it would enter. Now this little bird cut out has a charming home!
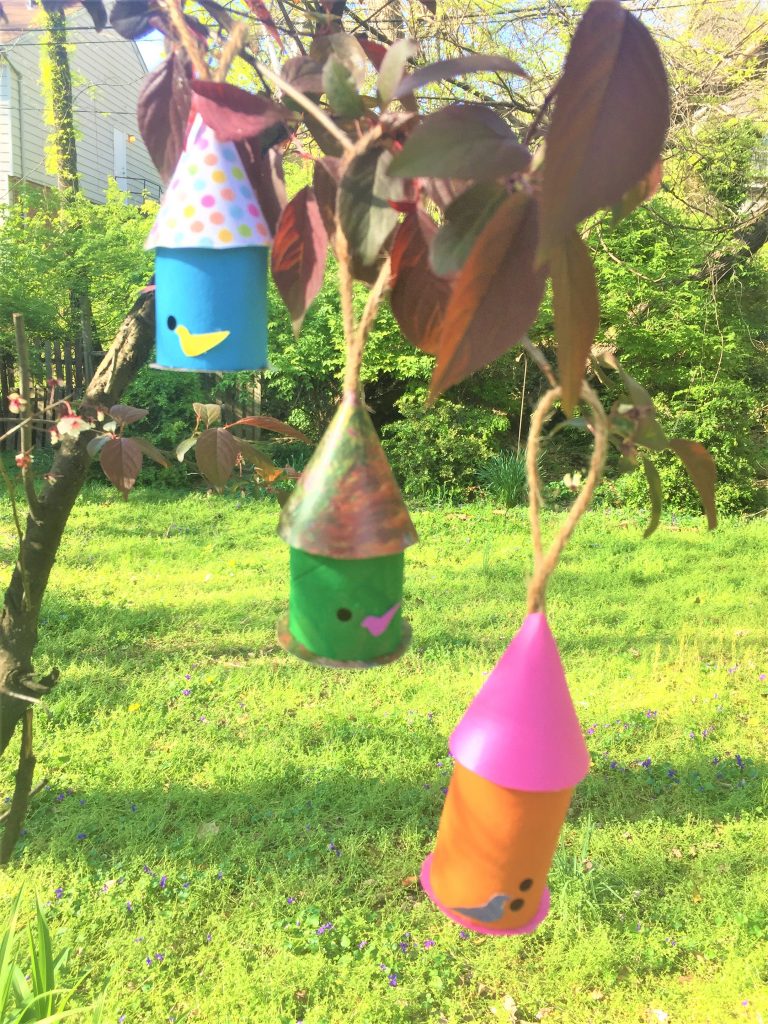
Step 9: Display & delight
Given how absolutely adorable these little bird houses are, you will want to display them for all to see.
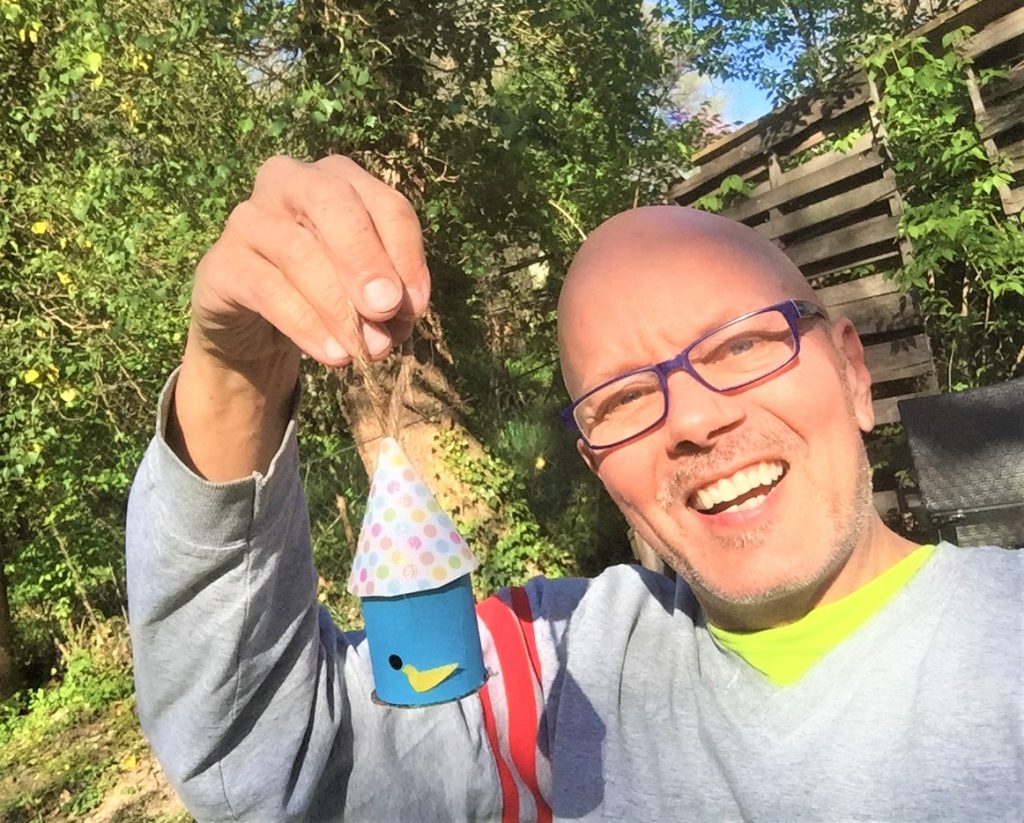
Maybe hang a trio of them on your front door?
What about placing them in a potted plant with sturdy branches?
Once we start having gatherings again (hopefully, very soon!), these would be great to make as favors for kid’s parties or at each place setting for a birthday celebration.
There are so many ways to use them to bring cheer, so let your ideas (and faith & hope) take flight and soar!

Tim Kime
Artist, Motivational Speaker, Life Coach
