Reflect Your DIY Talents Using Real Plants & Paint to Upcycle a Mirror
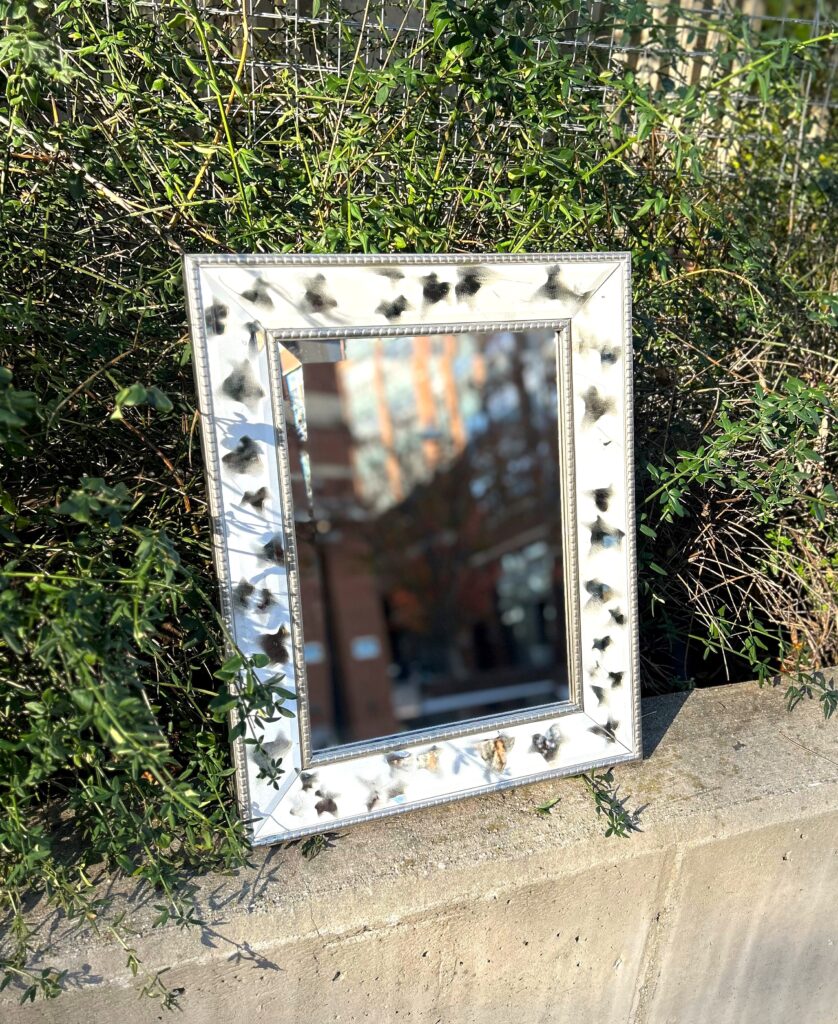
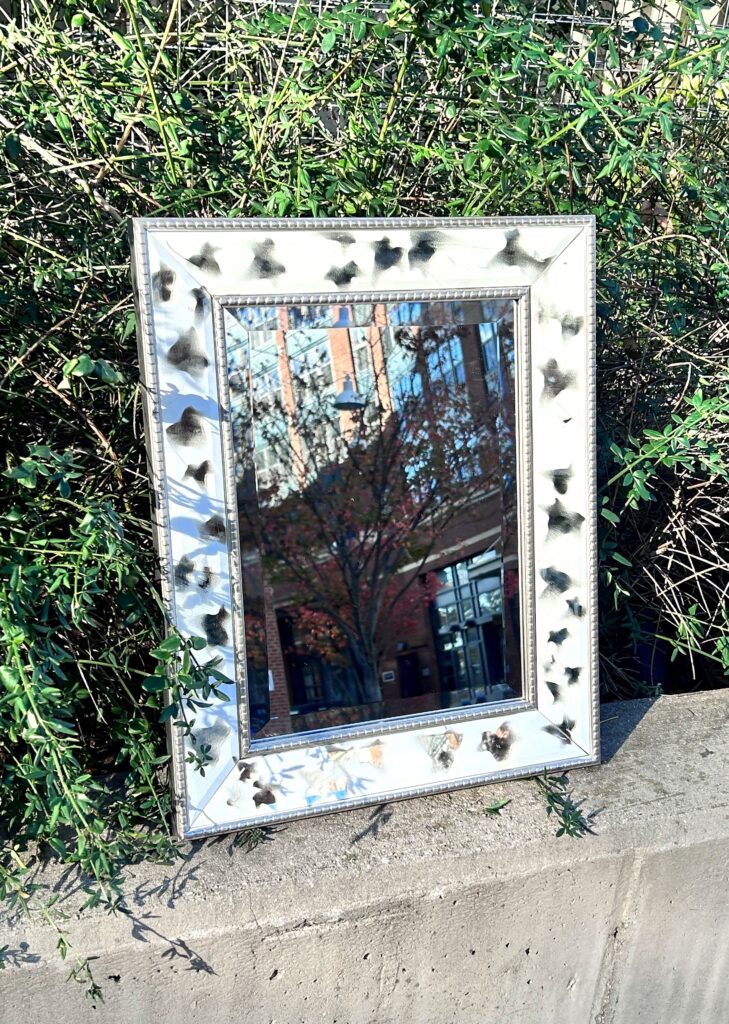
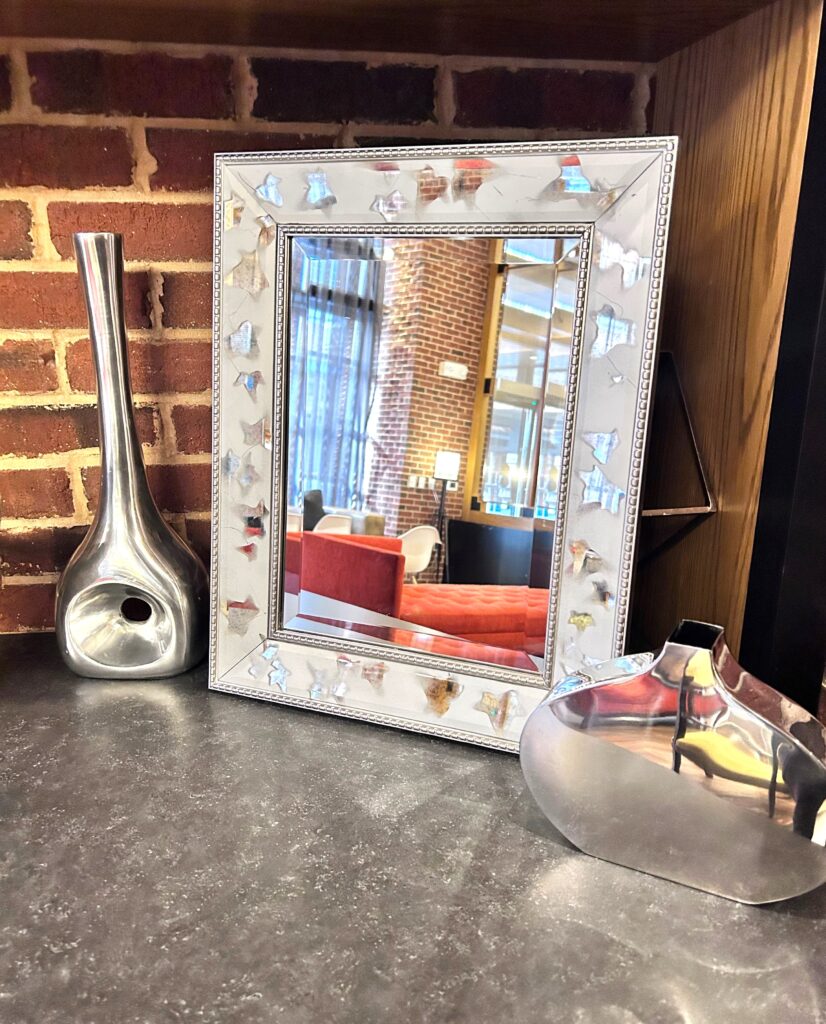
Make a Goodwill-found mirror shimmer using real plants and spray paints. Ivy leaves were paired with white spray paint to give a unique and timeless look.
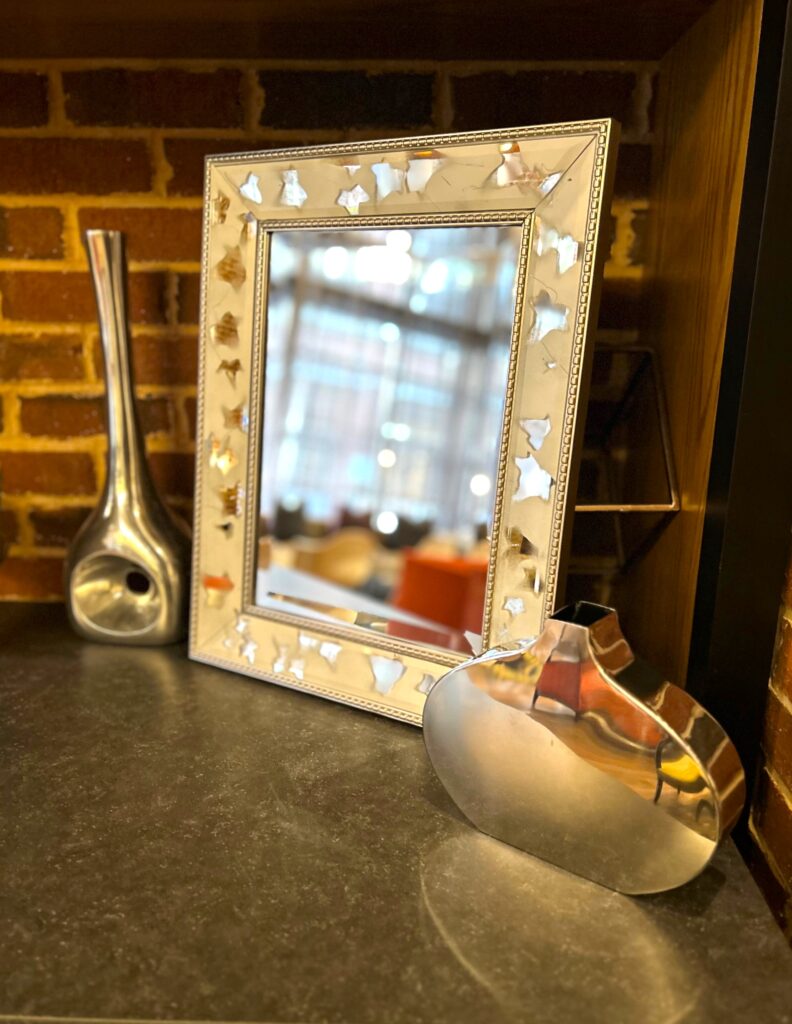
Here’s how:
Step 1: Shopping at Goodwill will ensure a good reflection on you
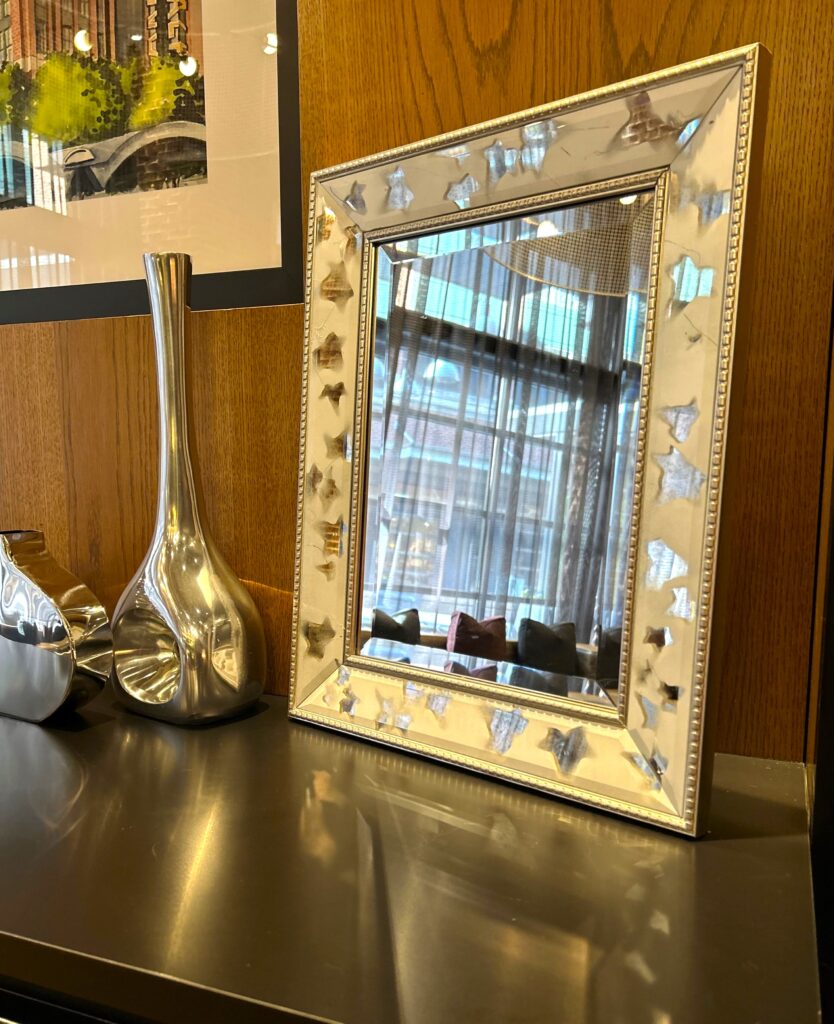
Mirrors are always a welcome addition to any room or space in your home, apartment, condo or office. Look for mirrors at Goodwill as they usually have an interesting assortment for under $20. The mirror featured here has beveled edges on both in the main mirror as well as the smaller parts framing it. From every angle, it reflected light, so it was an easy decision to buy it.
Also look for mirrors with flat, wider frames to embellish and jazz up this way, too.


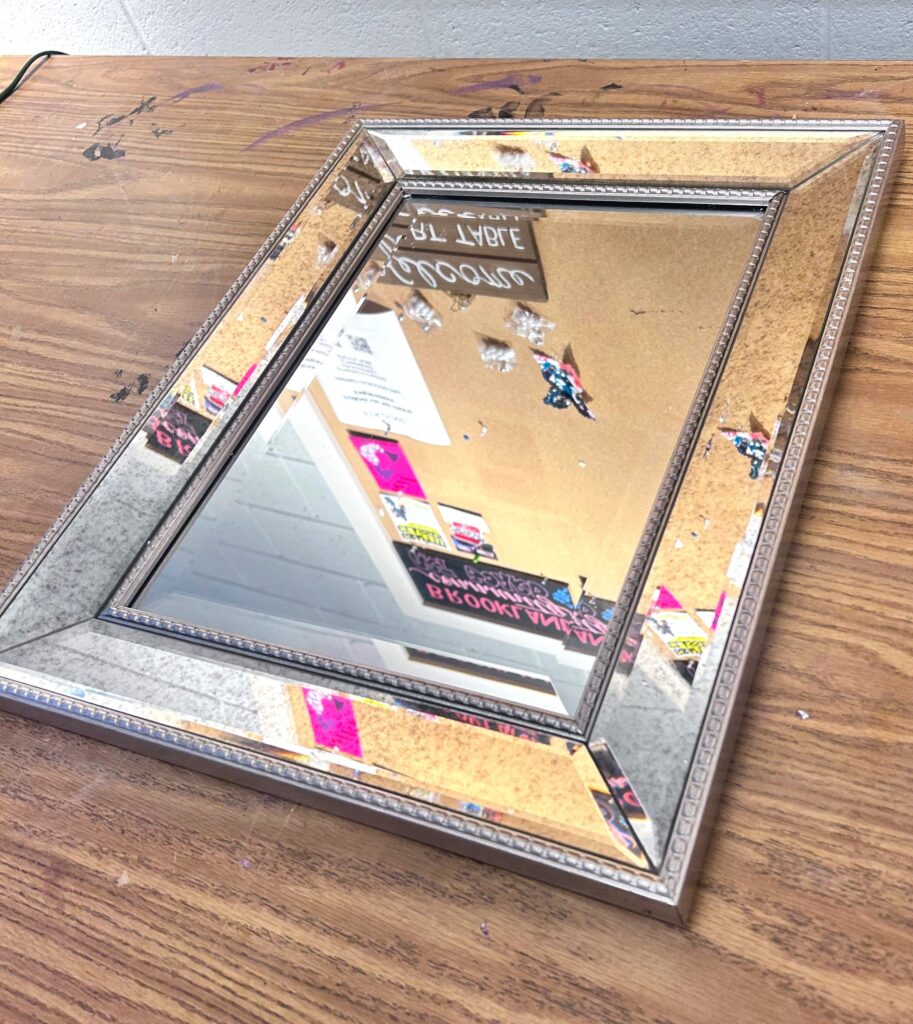
Step 2: Tape off the untouchables
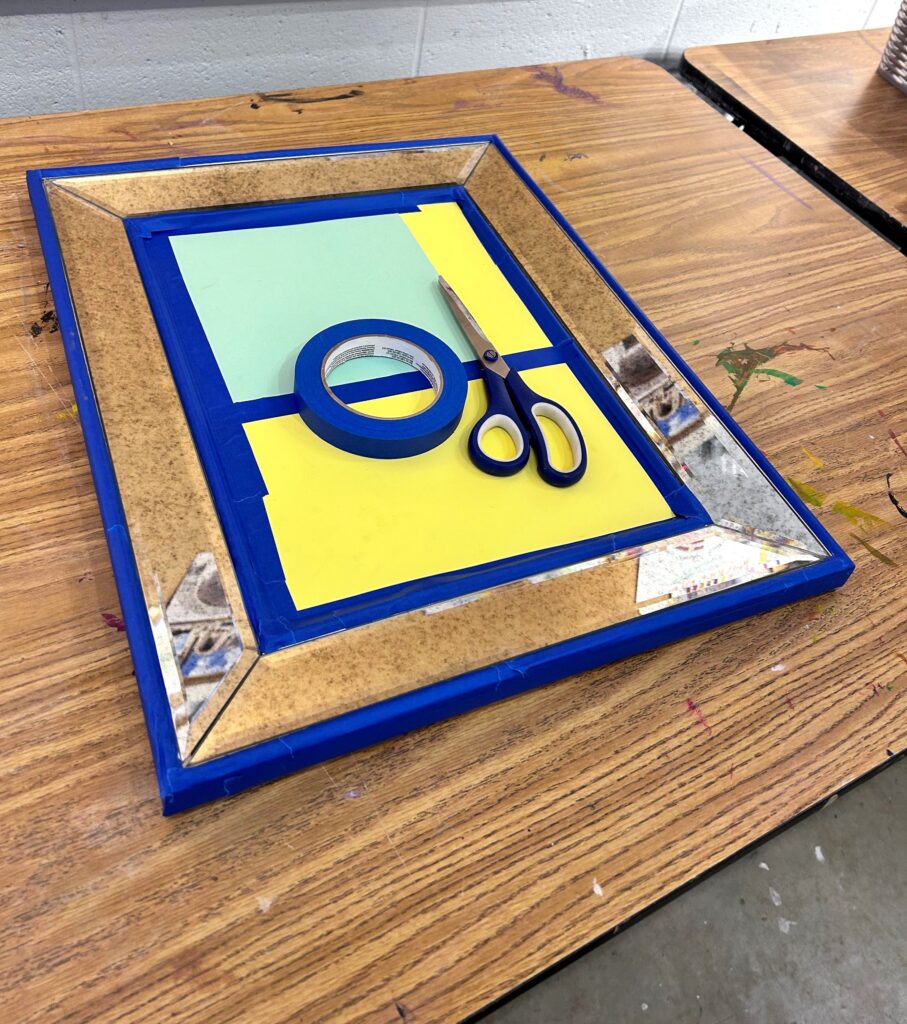
Use painter’s tape to cover and protect any parts of your mirror you want to remain untouched by paint. Scrap paper and newspaper are great to cut and place over the mirror glass.
Since the attention was focused on its outer frame, all other pieces got painter’s tape to protect them. The mirror frame was already silver-toned and reflective, so there was no need to change the color—which saved a step and some time.

Step 3: Secure your plant parts with dots of hot glue
Ivy is an elegant plant that, when used in home décor, always gives a timeless, classic look. A planter of it caught my attention so stems of leaves were clipped for this project. Always consider what you have around you to reuse for upcycling/DIY projects to keep your costs low.
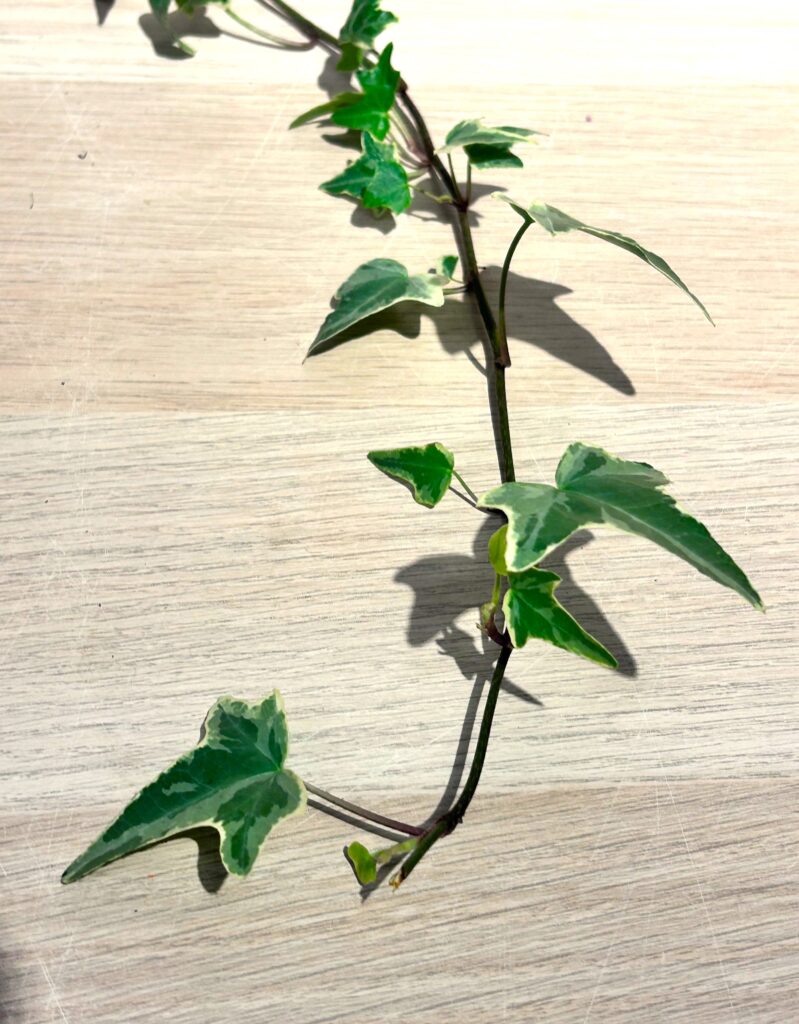
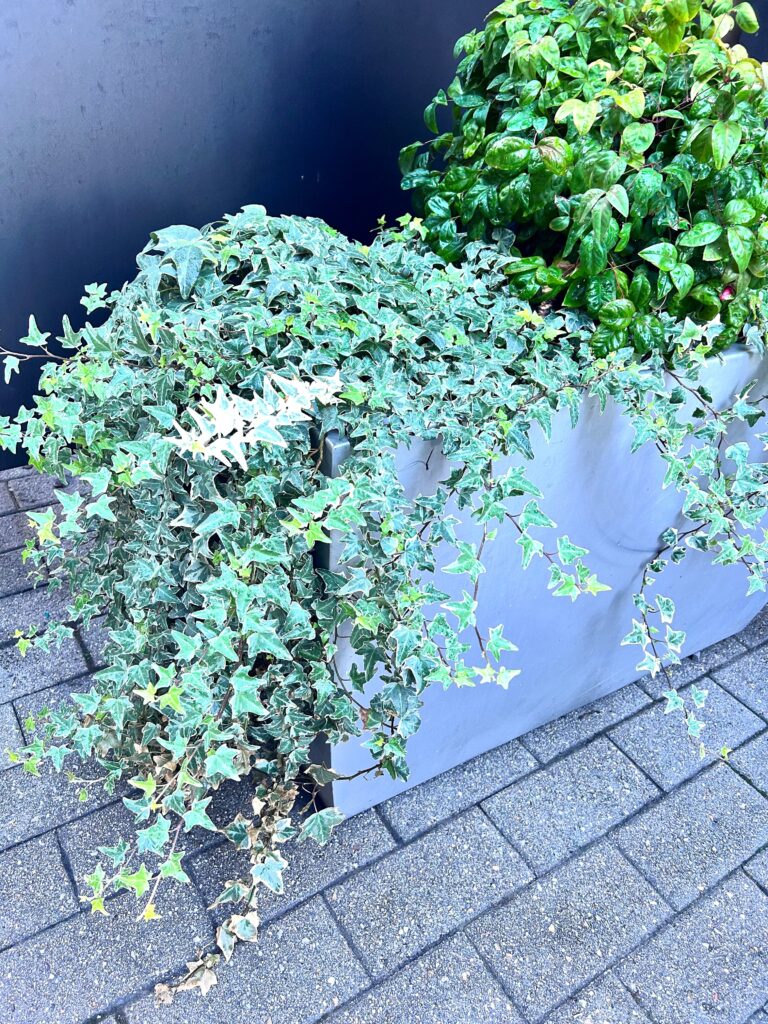
Seashells collected from your trip to the shore would be a lovely choice too. Small flower blooms, fern branches and even lemon slices are interesting options because of their special shapes. What do you have on hand that you could use for a truly one-of-a-kind look and feel?
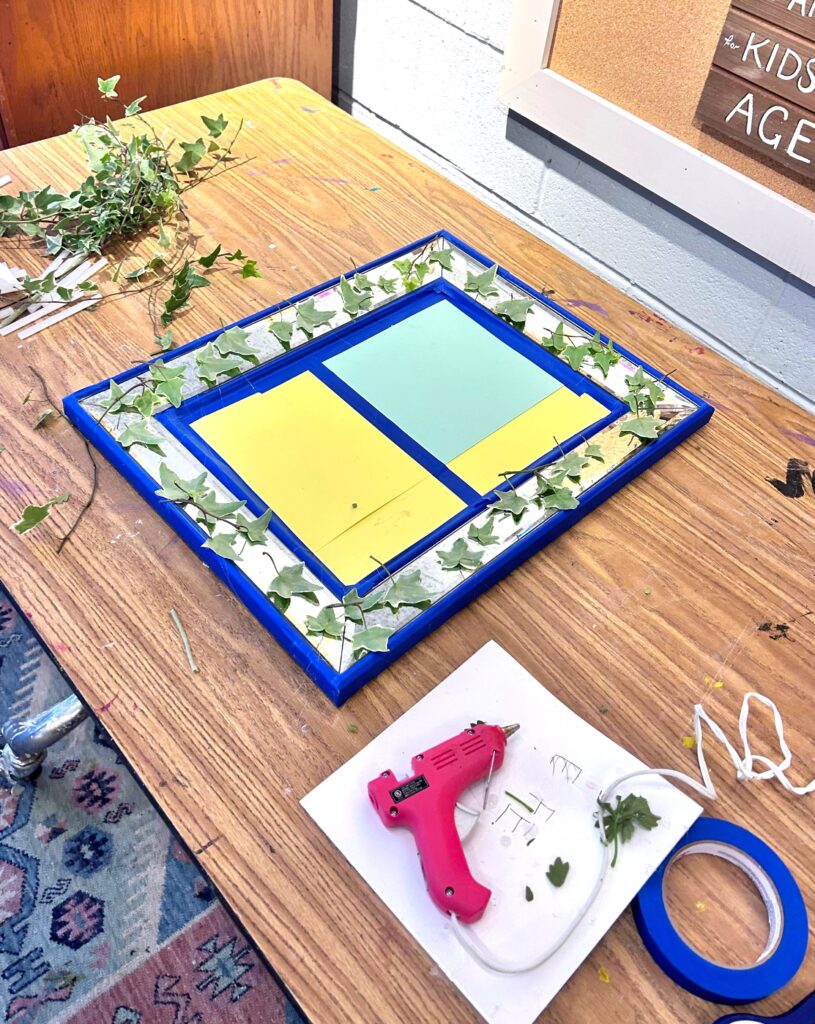
- Use your hot glue gun to put a small dot on each ivy leaf then place it on your mirror part to be painted.
- Repeat this so that the frame/outer edge has a nice flowing pattern of leaves which feel balanced yet organic. T
- he small glue dot will hold the leaves in place temporarily. As always, be mindful that the glue gun makes the glue very hot!

Step 4: Spray on some style
- Place your ivy leaf covered mirror outside, if possible, or in a well-ventilated space on a drop cloth.
- Add a very light layer of white spray paint, satin or semi-gloss finish.
- Now is when you will see the wisdom of using the hot glue gun dots to keep your leaves in place.
- The spray paint process creates air movement, by design, so the glue will keep things secure—and just temporarily.
- Let things dry completely.

Step 5: Take off tape, get rid of glue
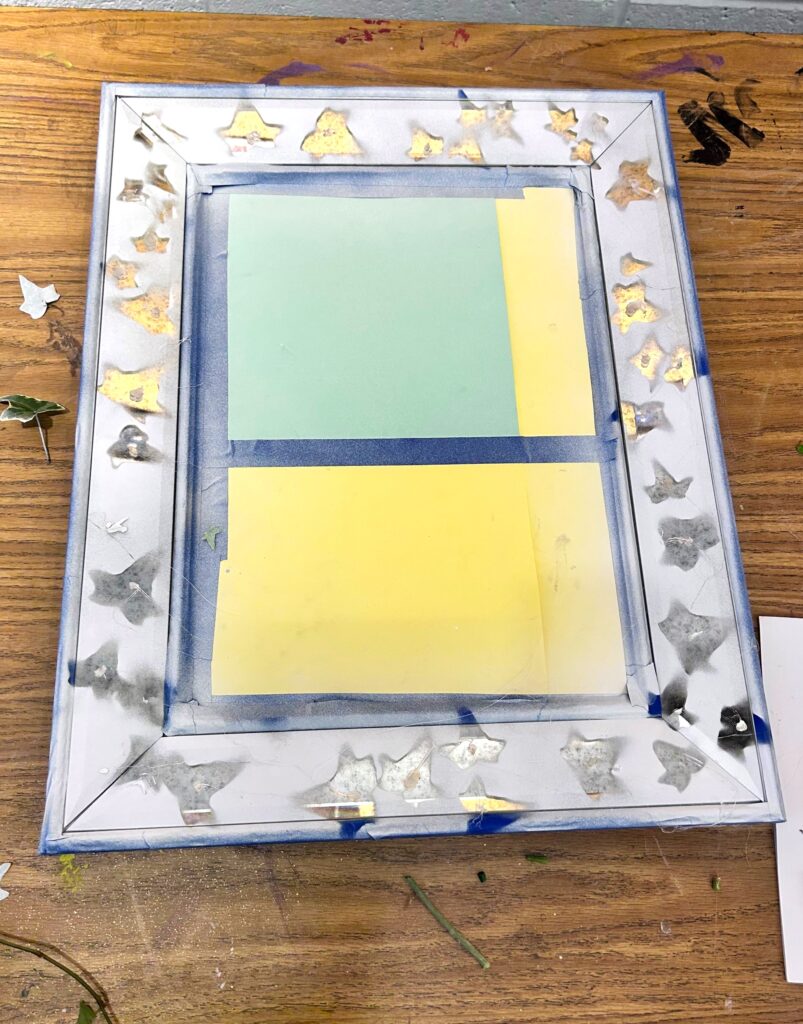
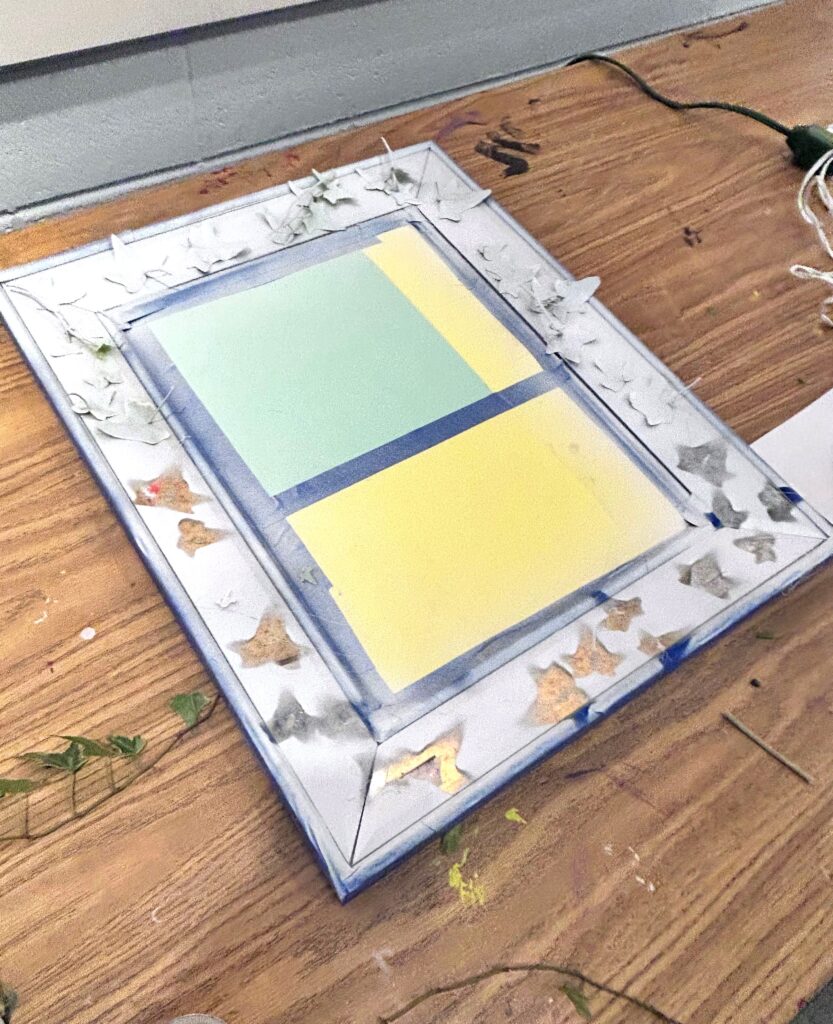
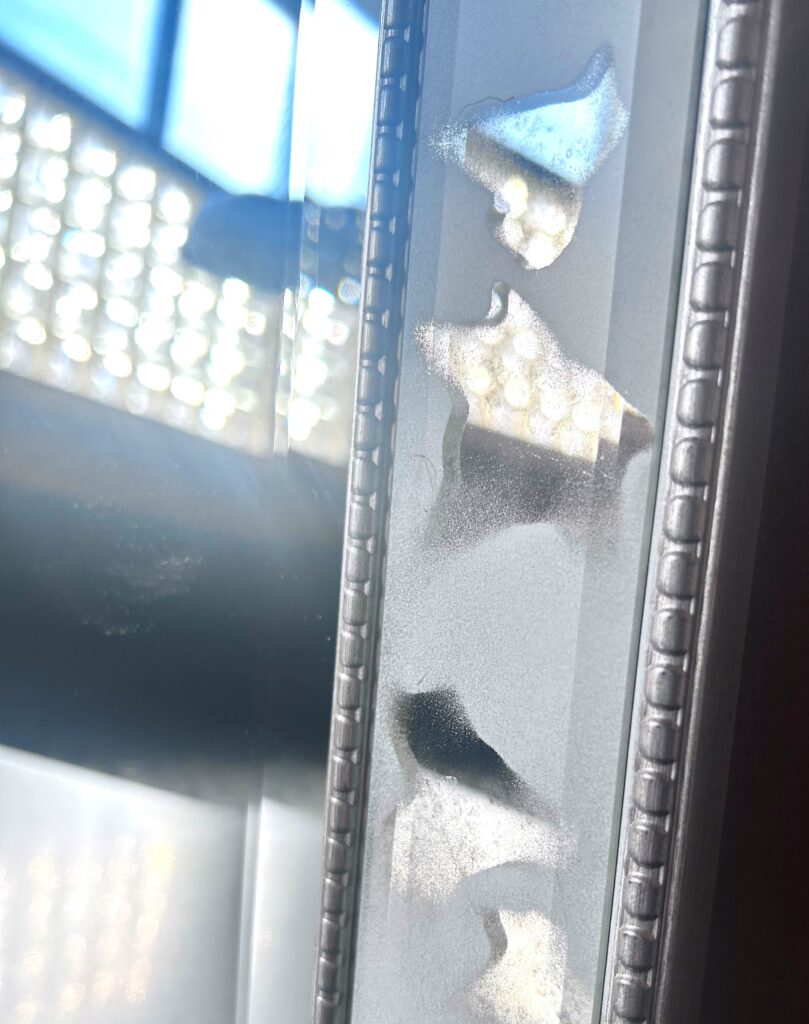
- Remove the spray paint covered ivy leaves from your mirror. They will leave their shapes behind on it—as well as their glue dot.
- The hardened hot glue dot should easily come off using your fingers or a flat head screwdriver.
- Take off all painter’s tape to reveal the mirror’s new, lovely look!
Step 6: Hang, display, enjoy
Your ivy mirror will look great on the wall in any space. Add interesting artwork with it. Position on a shelf with special accent pieces around it. Smile as you see your reflection in it because you did it yourself!




Similar Reads:
- How to Use Grains & Gold to Give a Thrifted Mirror a Timeless Transformation
- DIY: How to Upcycle a Mirror Inspired by Mid-Century Modern

Tim Kime
Artist, Motivational Speaker, Life Coach


