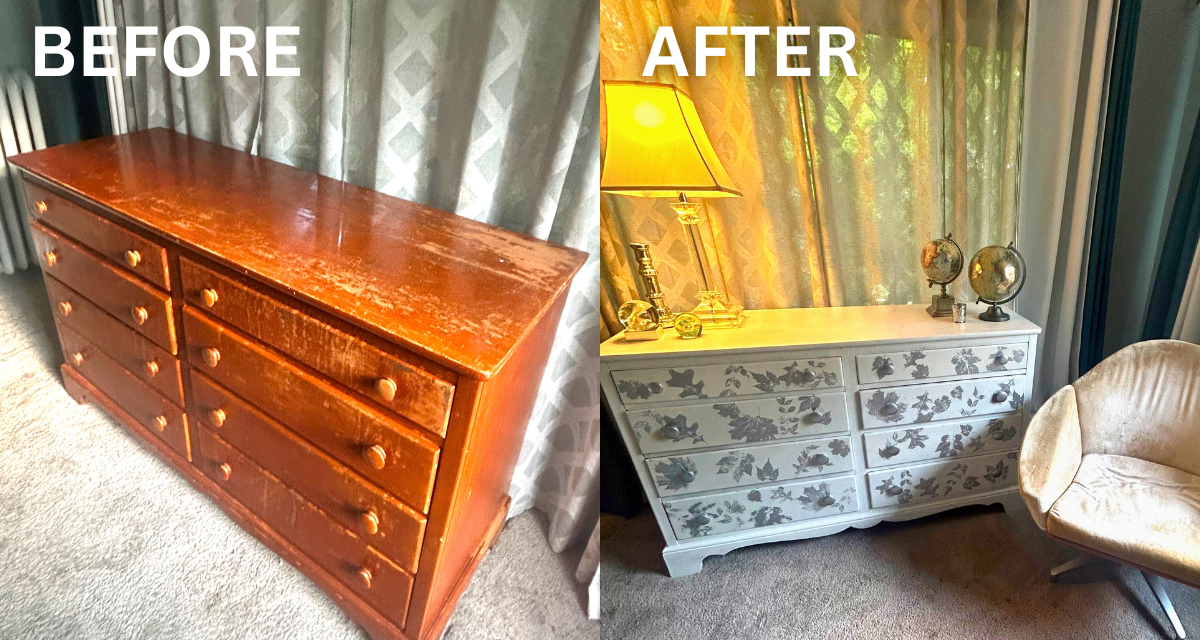
“Leaf” Your DIY Worries Behind: Upcycle a Dreary Dresser with Leaves & Paint
Inspired by a group art project where slices of real vegetables were used as stamps on canvases (see recent blog post), this DIY idea was brought from the garden inside to give a worn-out and weary dresser some sparkle and shine. This time, the seasonal twist was using plant leaves as stamps for a timeless transformation.
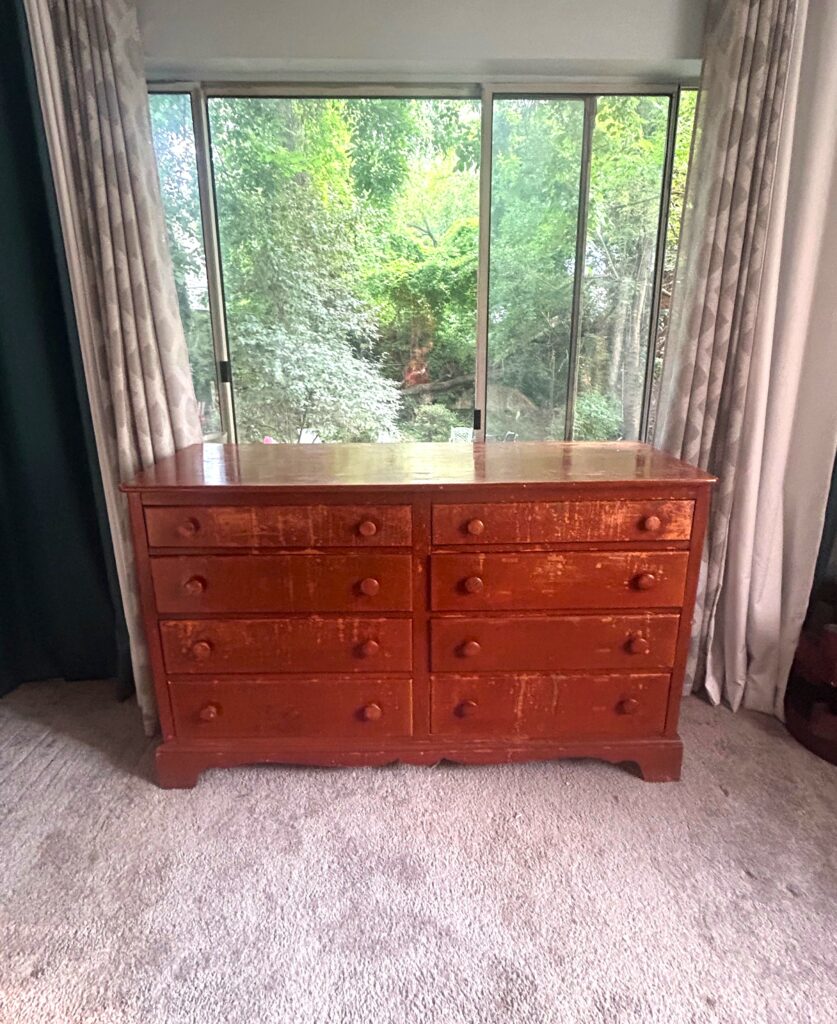
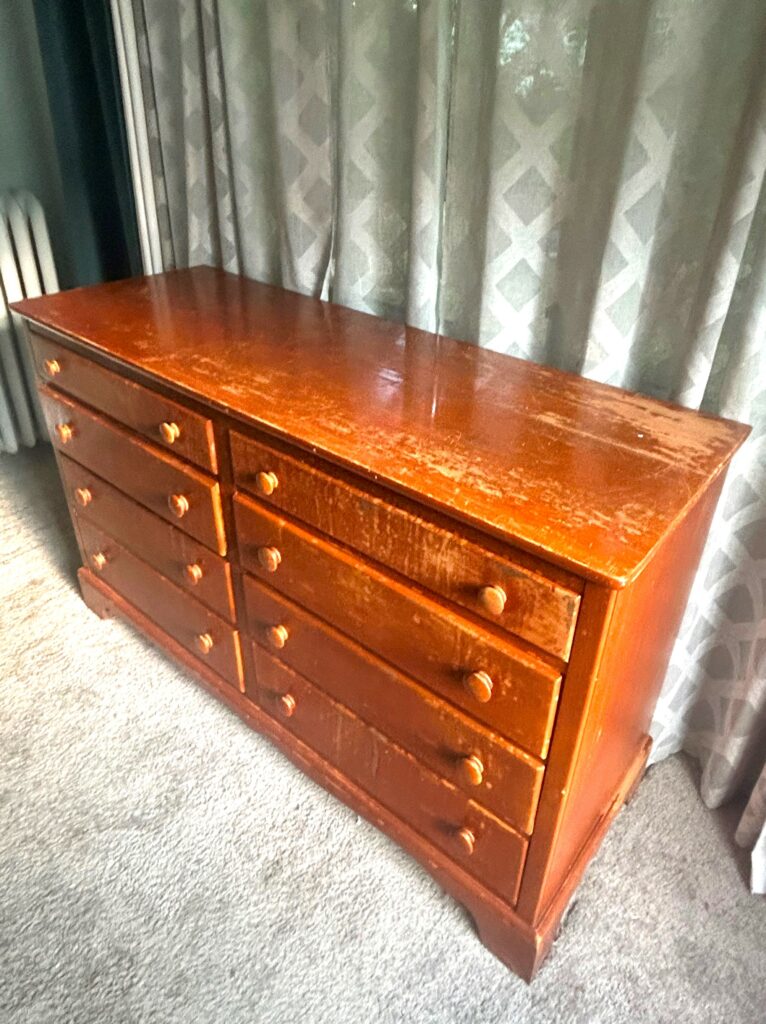
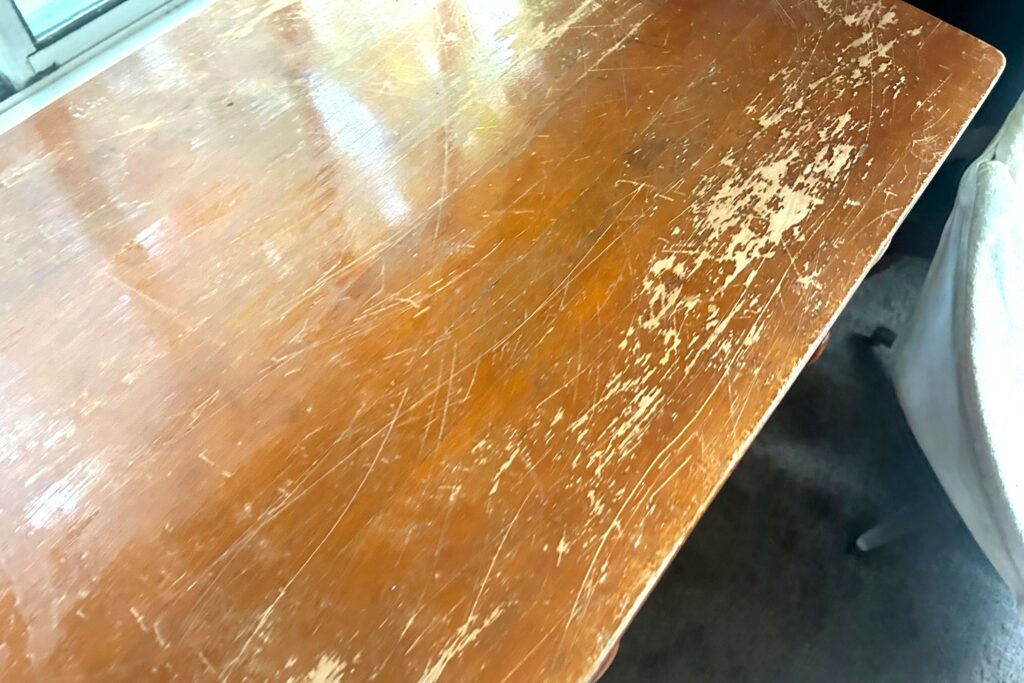
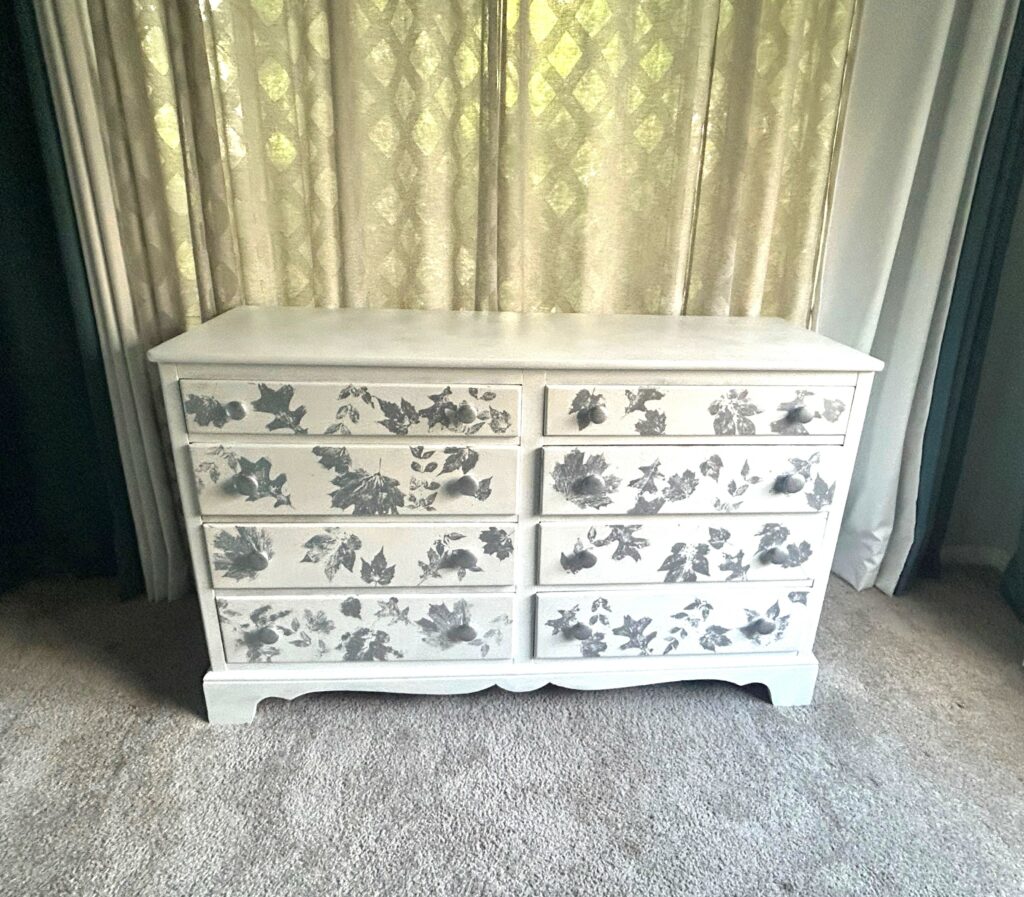
The dresser featured here was gifted to me by my late Grandmother Shirley and has been well-loved by me—maybe a little bit too much! Its finish was impacted by years of water stains, scrapes, and scratches. So for free (yes, free!), this heirloom now attracts the attention it deserves after collecting leaves from trees and outdoor plants to use as stamps (no cost) with leftover paints (also great for the budget).
Now, with its elegant new look, this piece looks like a transformed treasure. I hope I made my wonderful late grandmother proud. As one of the prettiest and most stylish people I’ve known, I’m confident its upcycled design would have gotten her approval!
Here’s how you can do it, too:
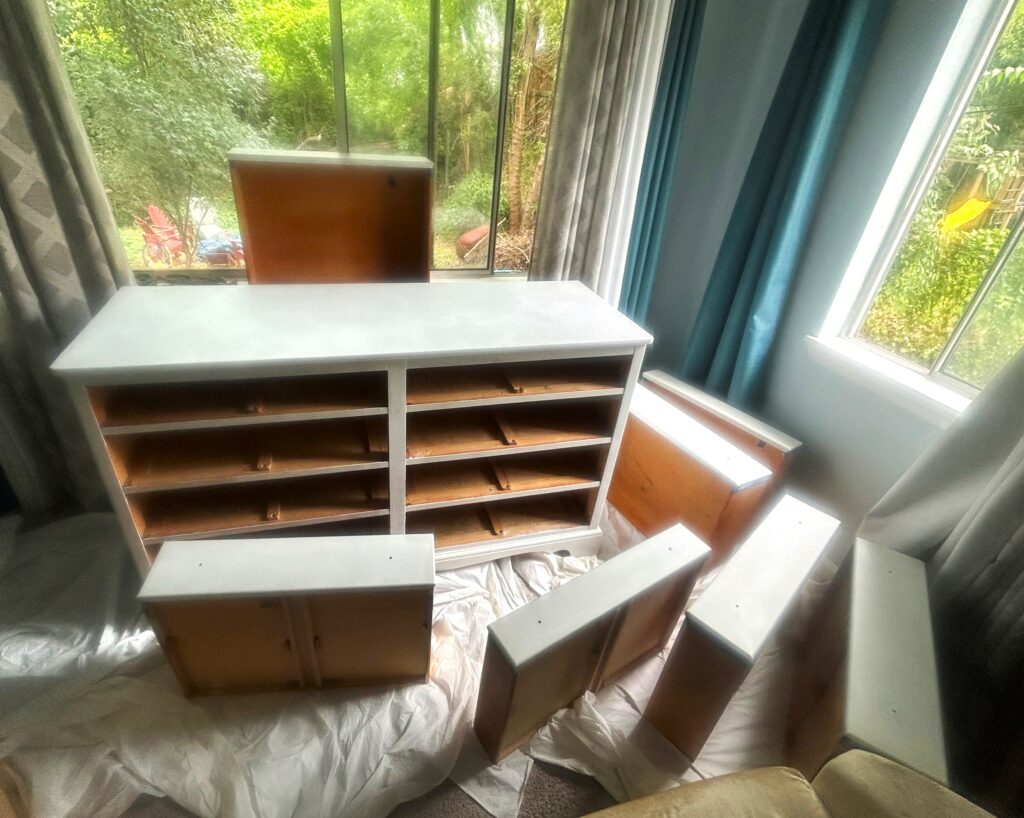
Step 1: Find a fabulous piece & your good at Goodwill
While I already had a dresser with great “bones” with which to work, you are very likely to come across a nice dresser, too, at Goodwill. They always have interesting and unusual items at any of their locations, so hunt for one with solid wood construction and attractive details. The very low price will be a small investment for a piece you will keep in your family for years to come, too.
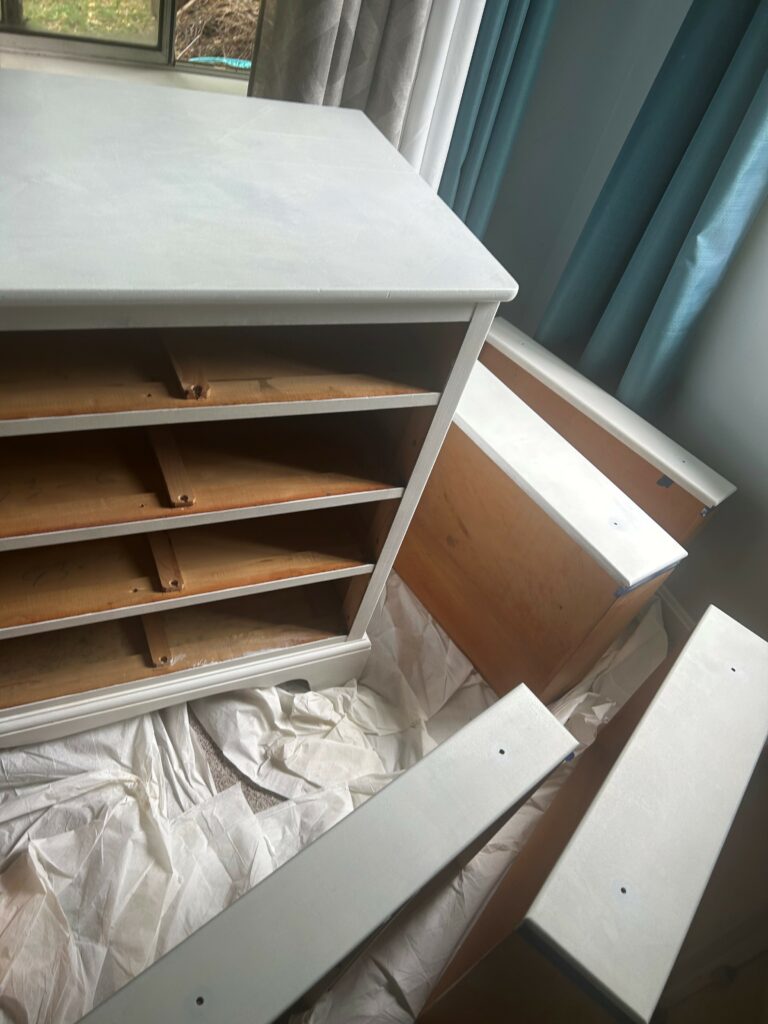
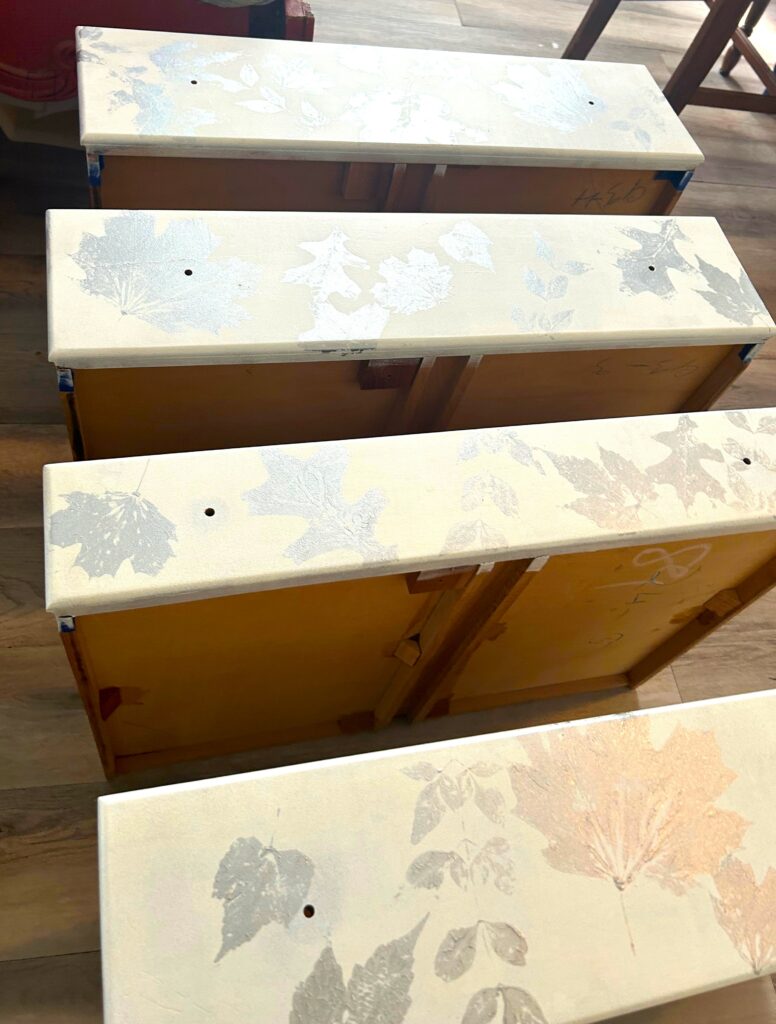
Step 2: Take time to identify parts & pieces
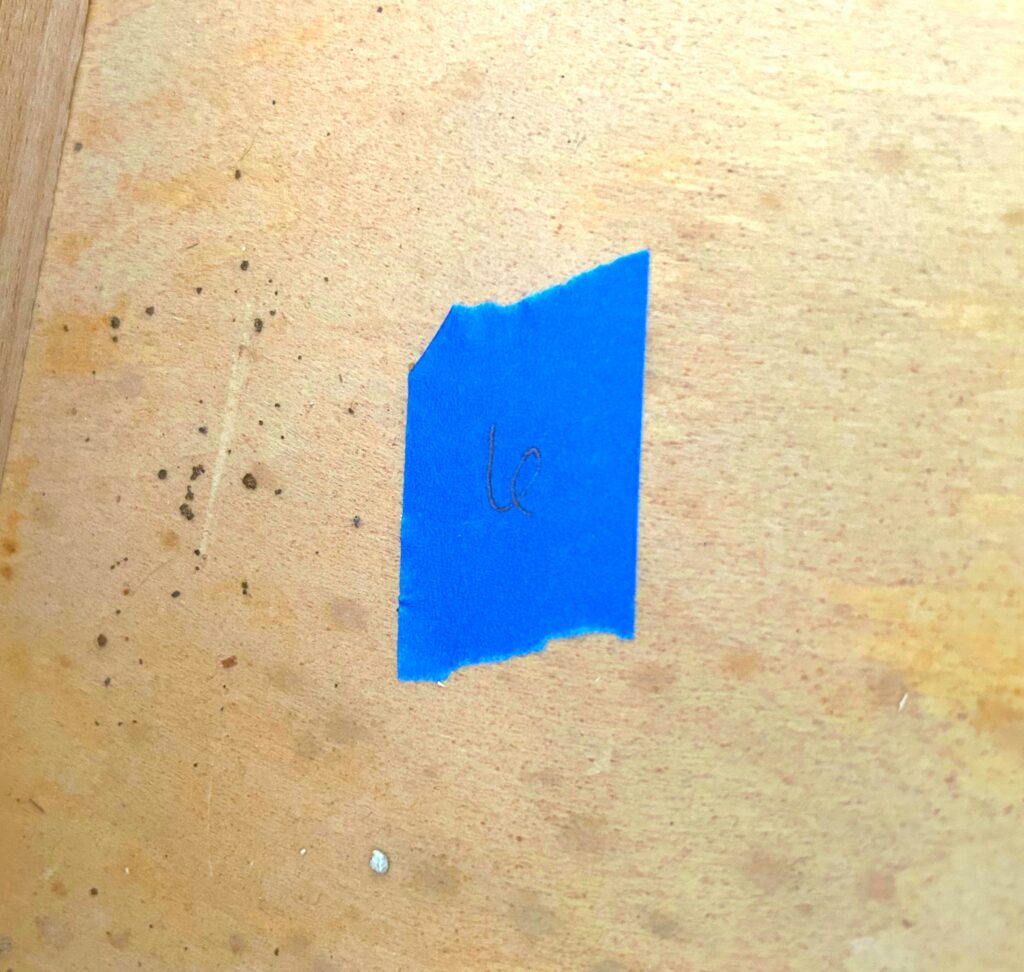
As you get started on your dresser transformation, identify each drawer by putting a number on painter’s tape and adding it inside. This will allow for very easy reassembly later.
Given the age of your dresser, sometimes parts warp or settle a bit, so a well-working drawer might do its job in one place but not another. Trust me, this step was learned the hard way!
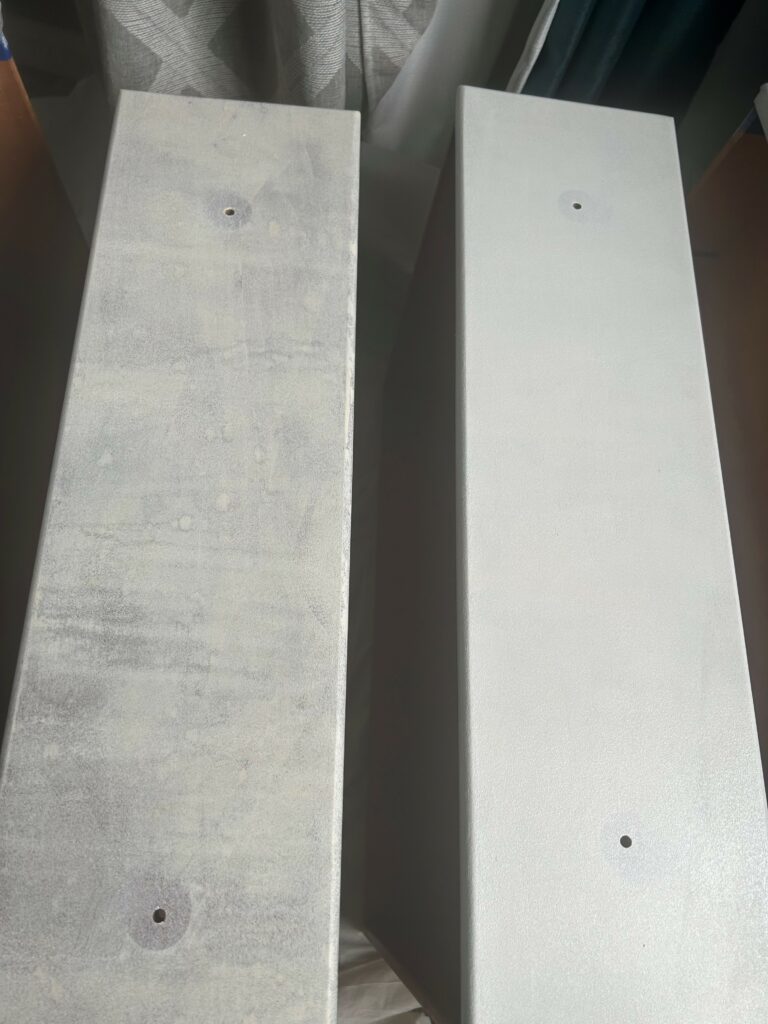
Step 3: Buff it up for beauty
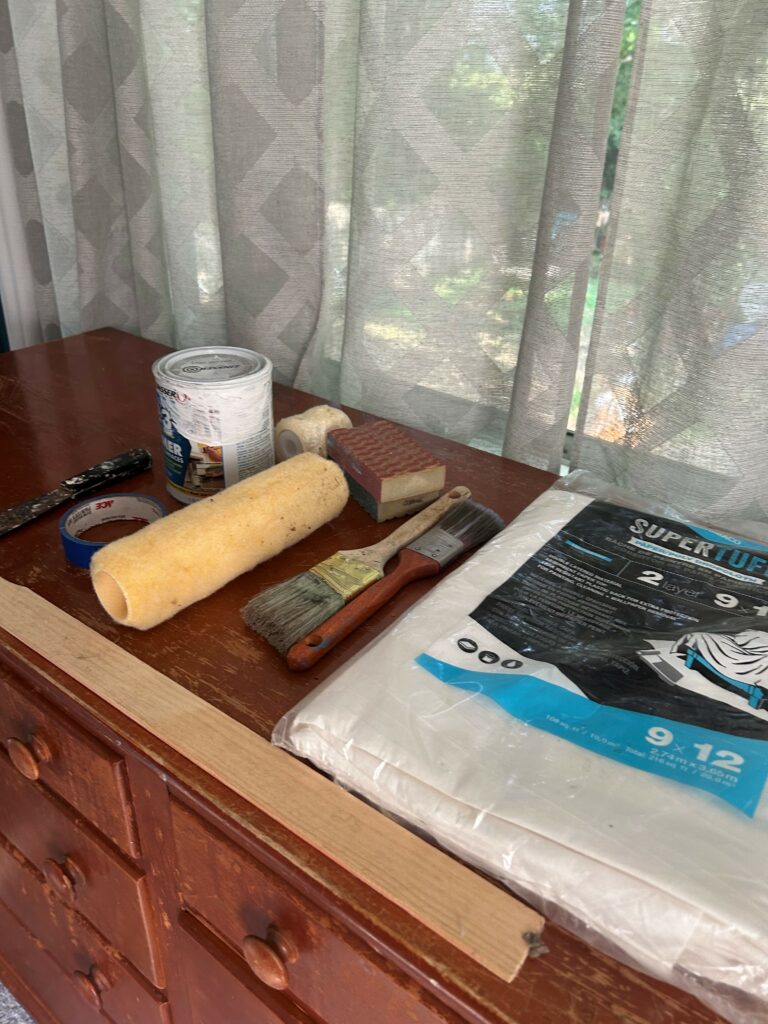
Take out your drawers, remove any knobs or handles, then use a medium to coarse-grade sanding block to buff up and rough up its current finish. The drawer fronts and their edges, as well as the dresser’s top, sides, and front, all got a good going over to make its shiny finish more paint-friendly. This is a very dusty step, so consider wearing a face mask to protect your lungs.
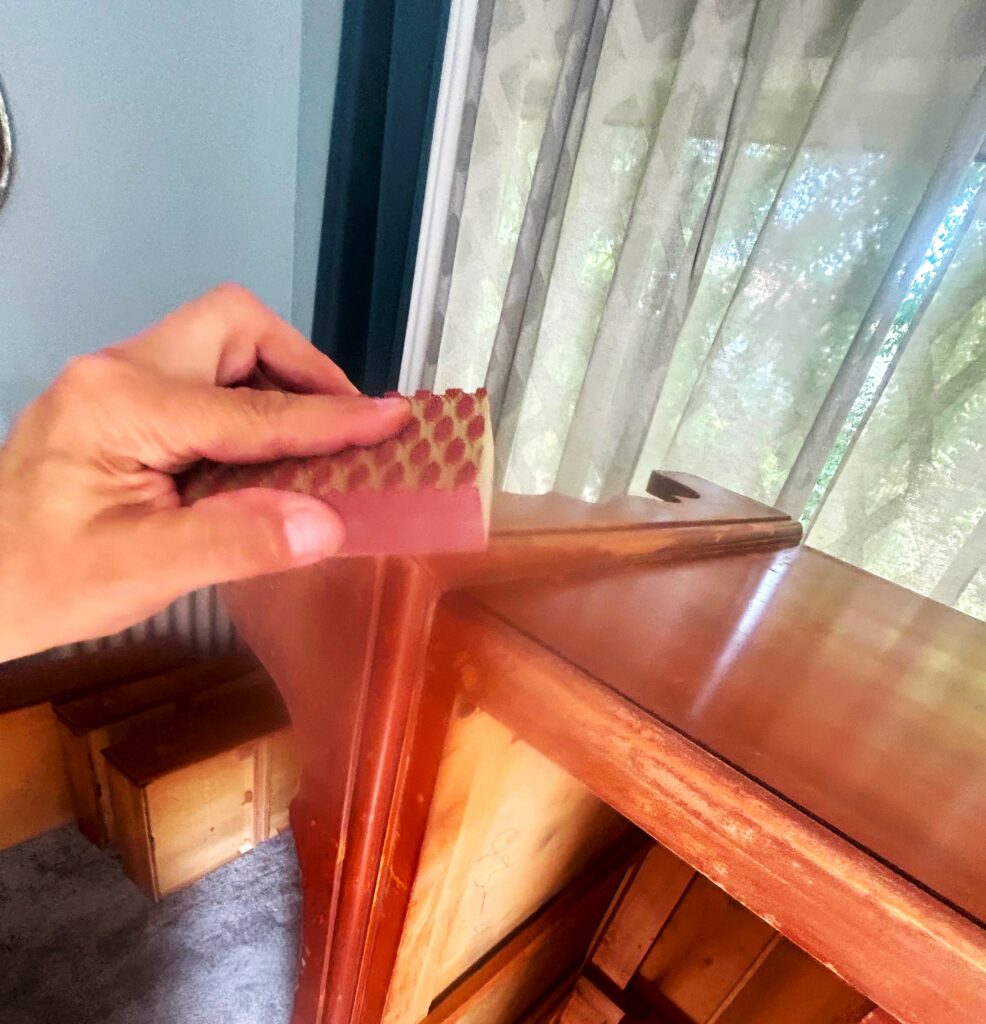
When done, use a soft, damp cloth or rag to remove all the dust created and any leftover dirt. Go over it a time or two to ensure your dresser (and now your blank canvas!) is clean and ready for a new look.
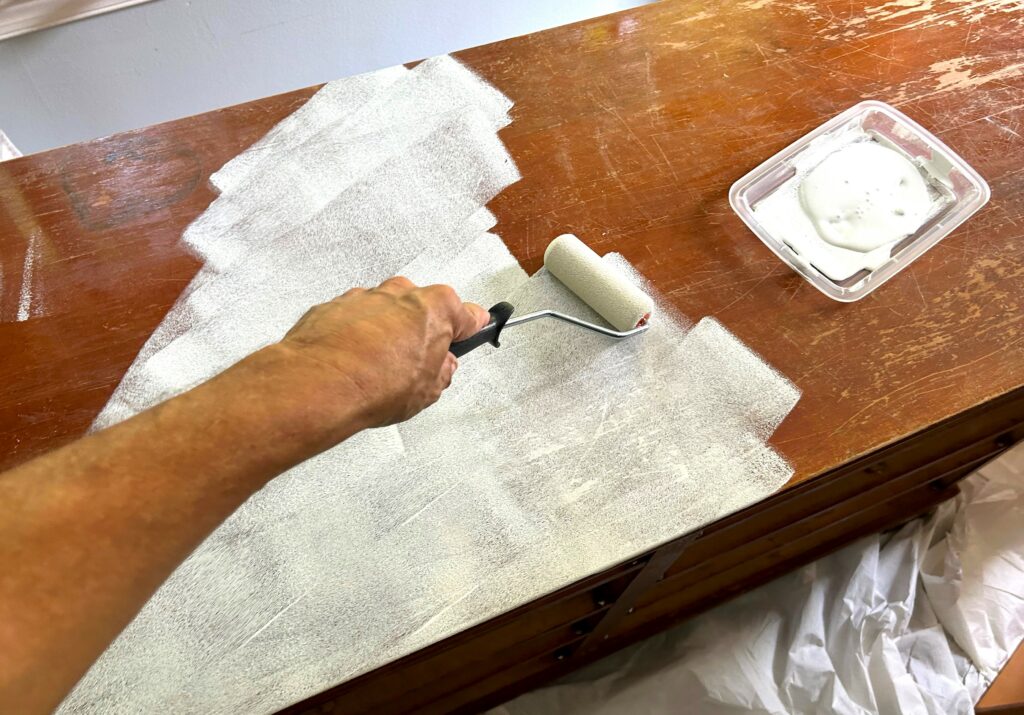
Step 4: Roll on the bright
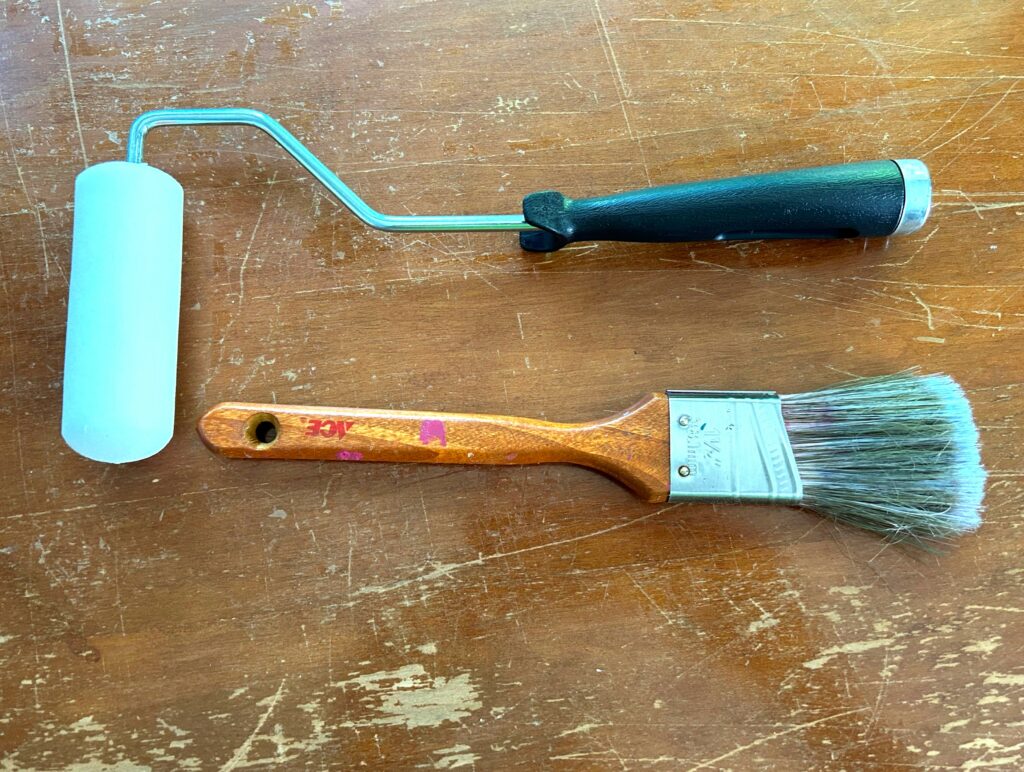
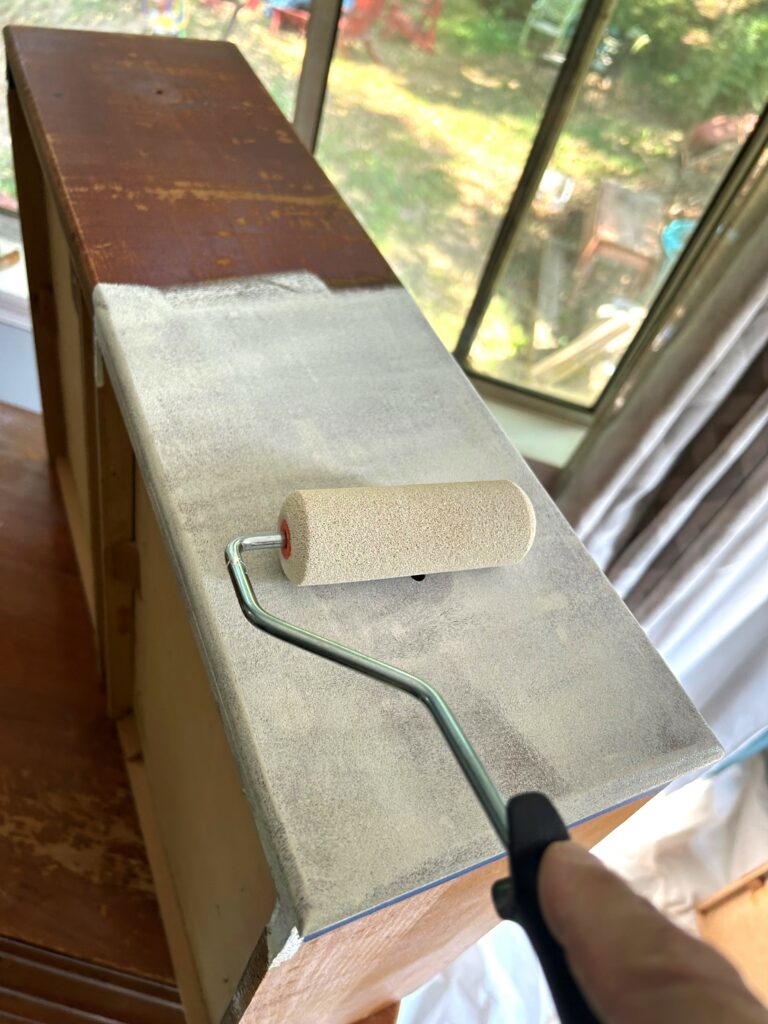
A crisp white paint tone was selected to make this dresser look totally contemporary and vibrant. The great news is I already had this color on hand, so again, it’s free, free, free! For this step, use a small roller brush designed for cabinets, furniture, and other small projects. Apply several light layers to ensure solid coverage. Allow plenty of time to dry between coats.
This dresser took three coats on the drawer fronts and four coats on its top and sides to give it a bright, solid look. Patience is a virtue, they say, so take time to add another layer to ensure your color pops.
A small trim brush was also used to get into the corners, nooks and crannies.
Expert Tip:
Use painter’s tape to also protect the sides of your drawers. This simple step will help to keep the paint where you want and allow for a professional final look for you project.
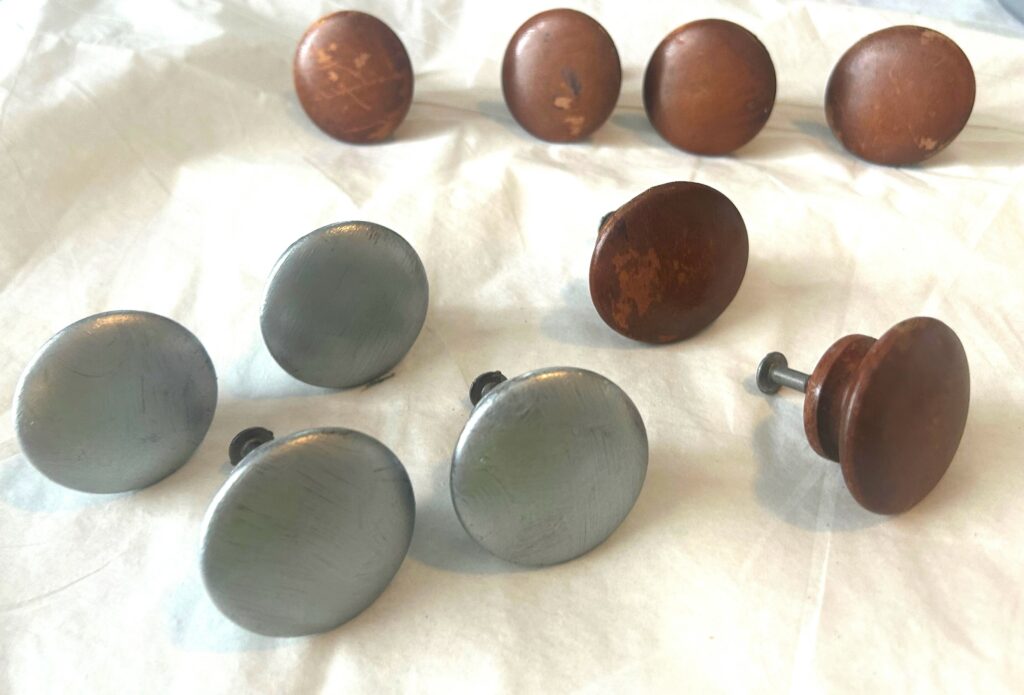
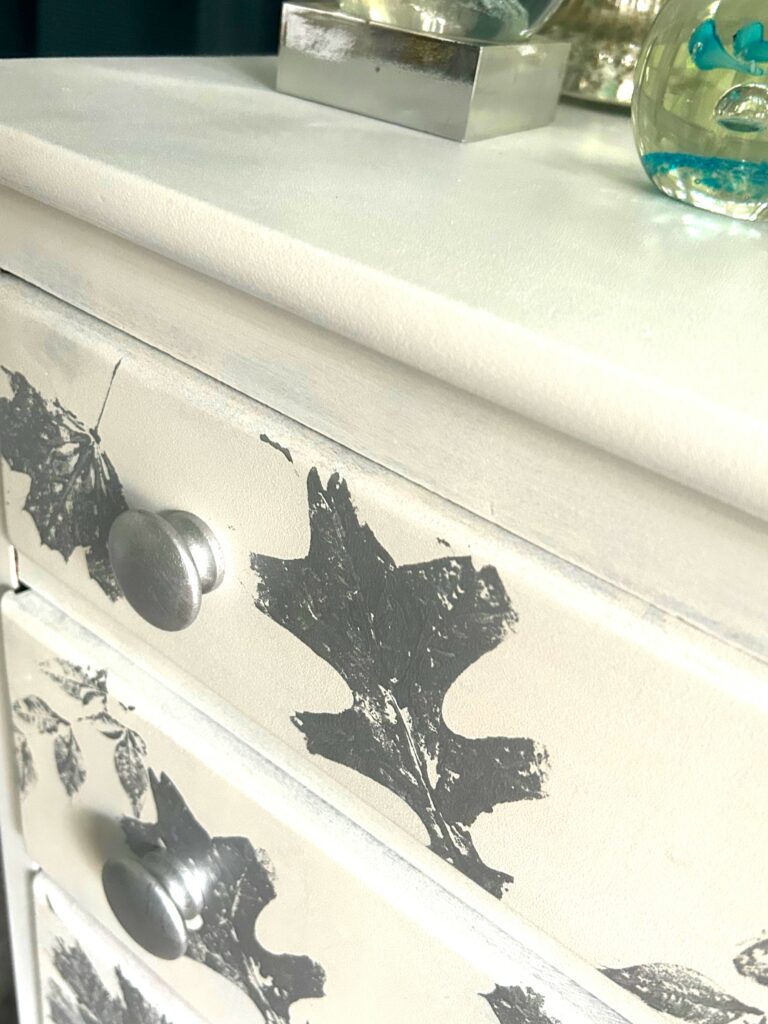
Step 5: Brush on the bling
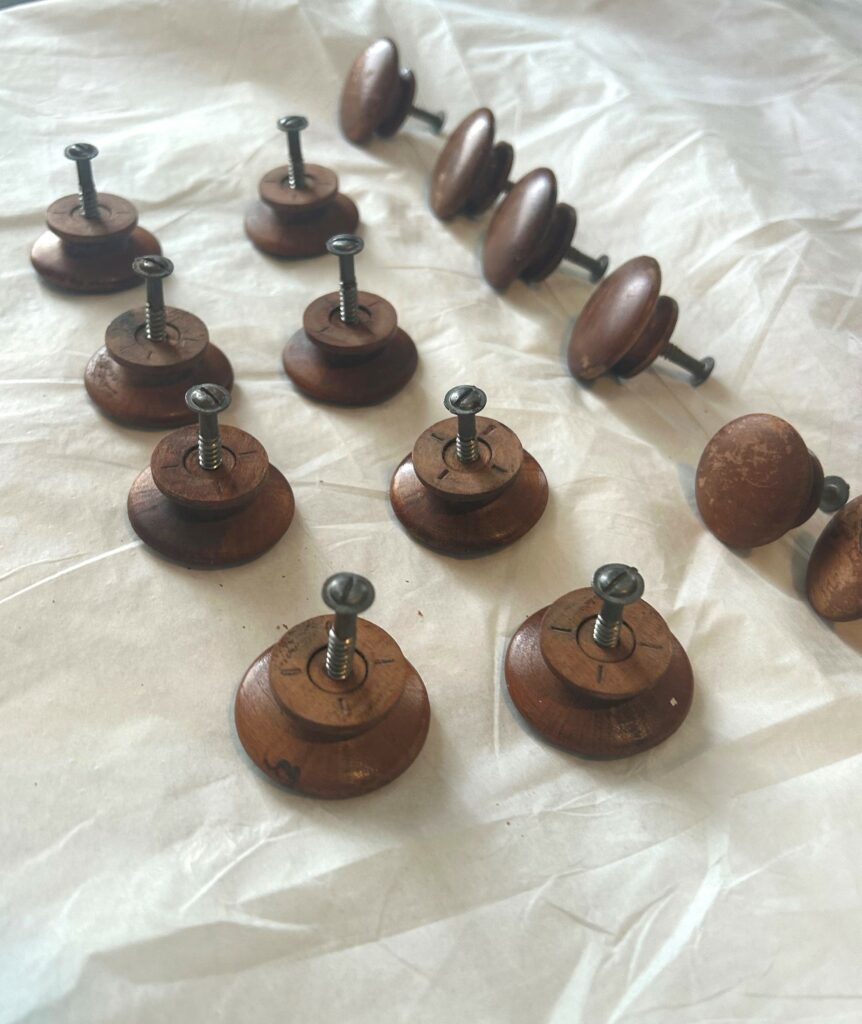
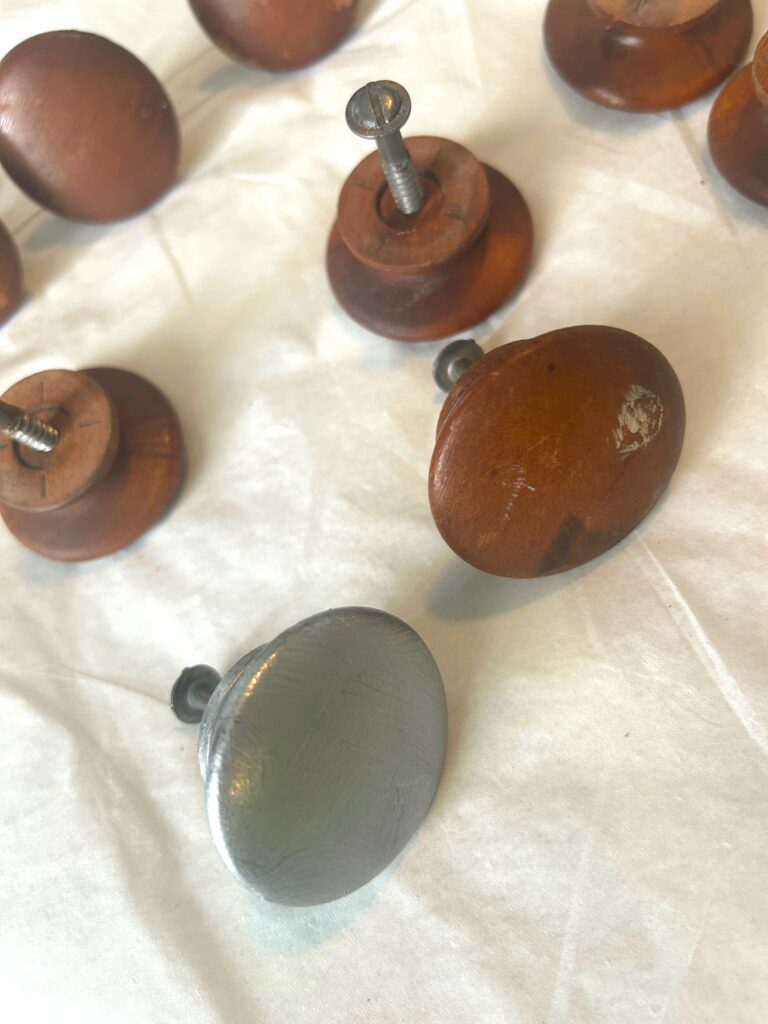
While your dresser is drying well, use the time to give its knobs some DIY love. Use silver paint to transform the existing knobs from sorry to shimmering. Enlist a small craft paintbrush to apply the paint.
Expert Tip:
An easy transformation to a furniture piece with knobs is to invest in new ones. This is a super simple step that can make a dated piece look delightful and contemporary.
My first thought was to do the same because the wooden knobs looked a little clunky to me. However, it occurred to me that my dear Grandmother would have used the existing knobs. I loved the thought of her hands touching them each time she opened and closed the drawers. That made it an easy decision to keep the original knobs and give them some sparkle with silver paint (also already in my paint supply stash and a gift from my dear friend Dianne.)
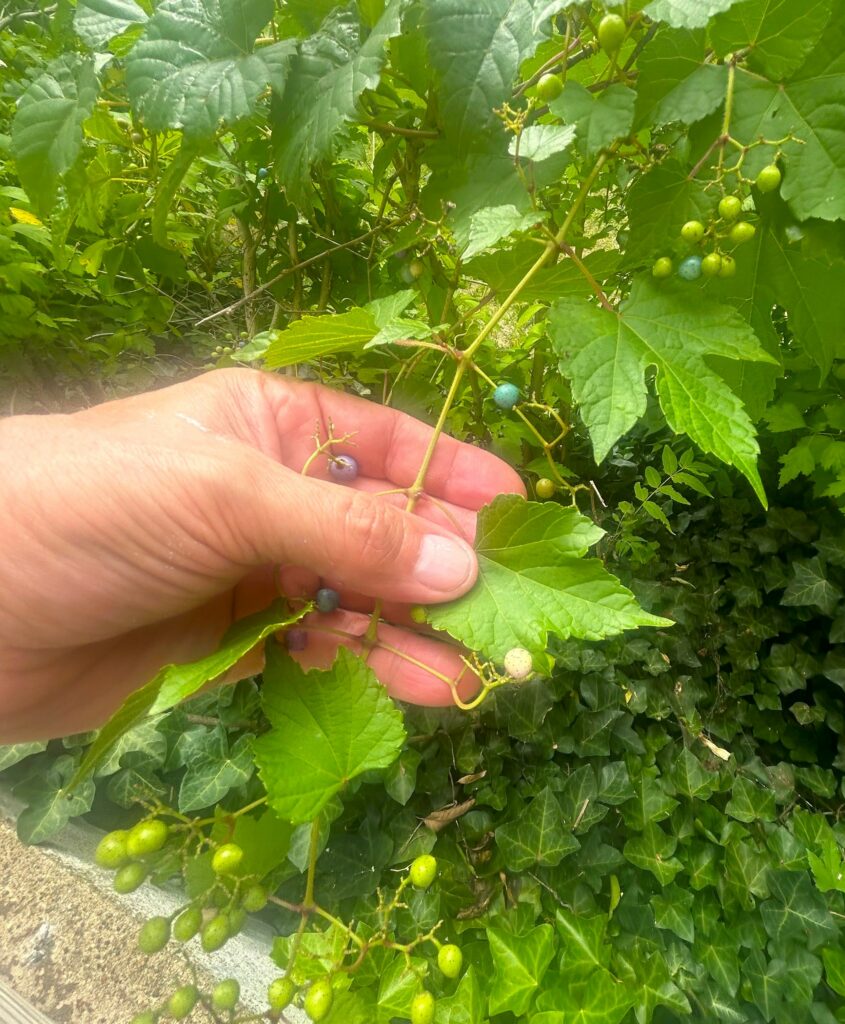
Step 5: Use leaves to stamp on style
On each drawer front, leaves collected from my yard were used to add a special beauty created by that great artist, Mother Nature. Take a moment to look around your yard to see the various shapes and sizes of leaves. If you don’t have a yard or garden, consider taking a stroll around your neighborhood to see what leaves you might “borrow” for this project. It is really joyful to take time to look at all the unique shapes, textures, and designs each leaf has.
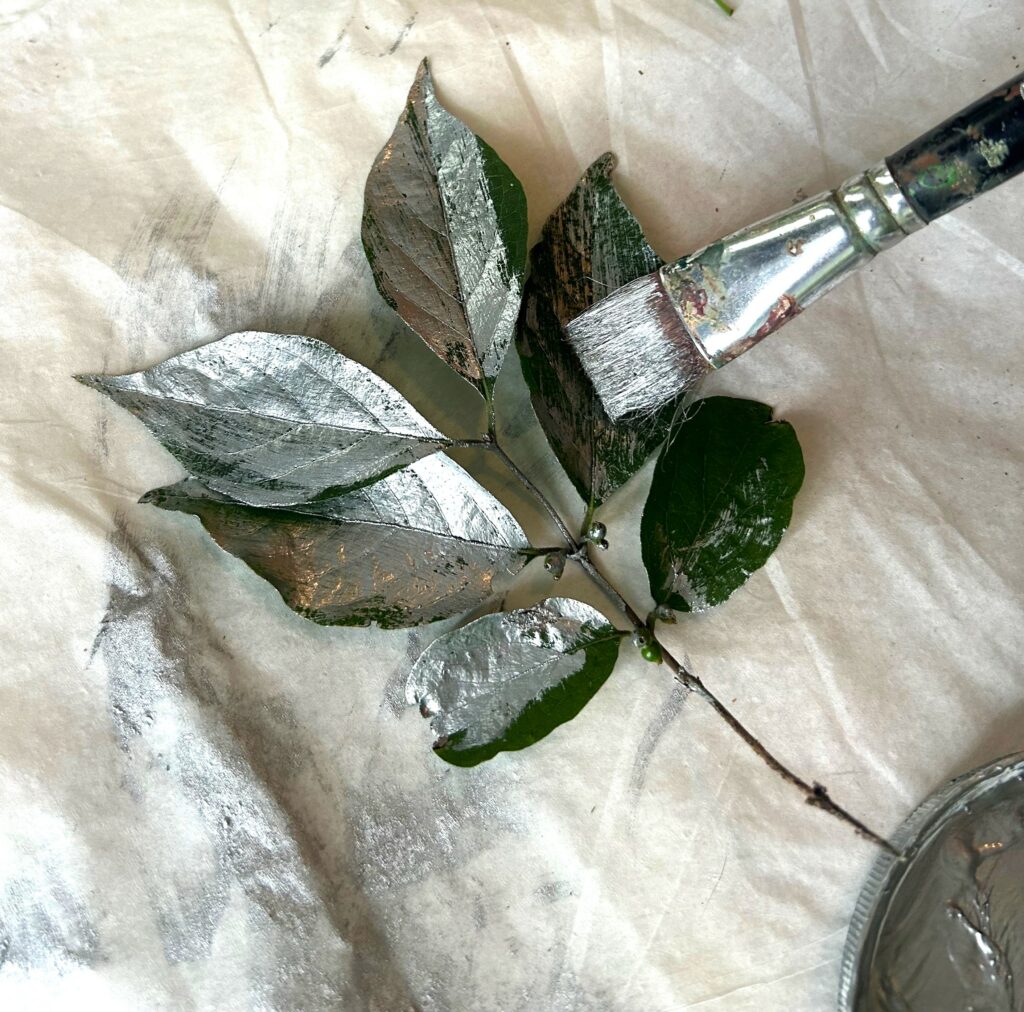
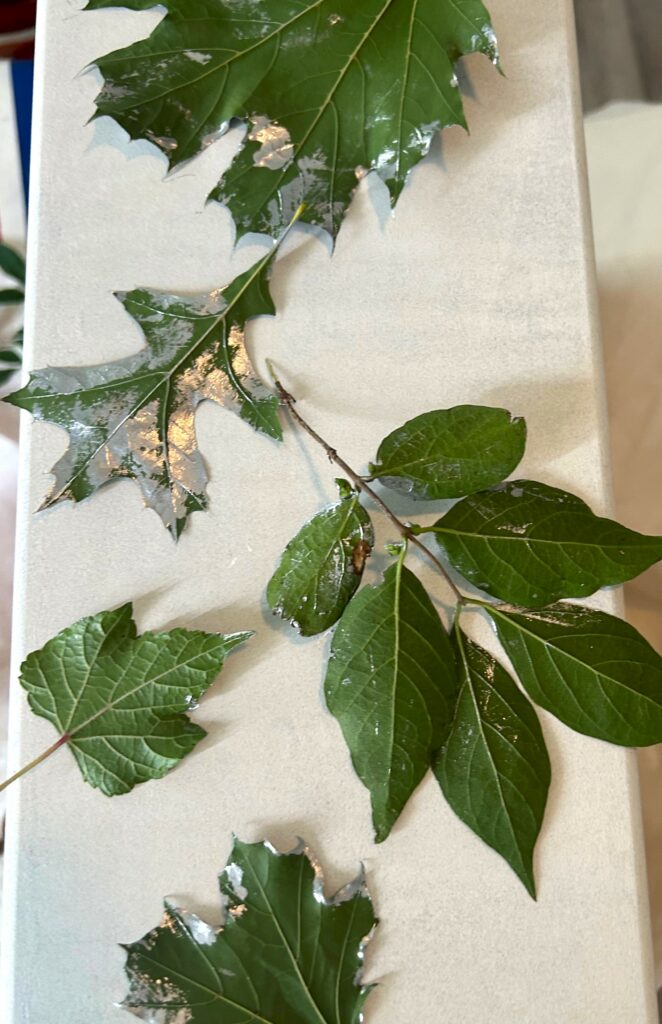
Place your white-painted drawer on your workspace with the painted side upward. Using your small craft brush, apply a light layer of silver to one of your leaves, and then place it on top of the drawer. Repeat this step with a variety of leaf sizes and shapes, placing them in a variety of directions. When they are all in place, put pieces of scrap paper on top and apply pressure to each leaf. This will help the paint to be applied from the leaf to your drawer front.
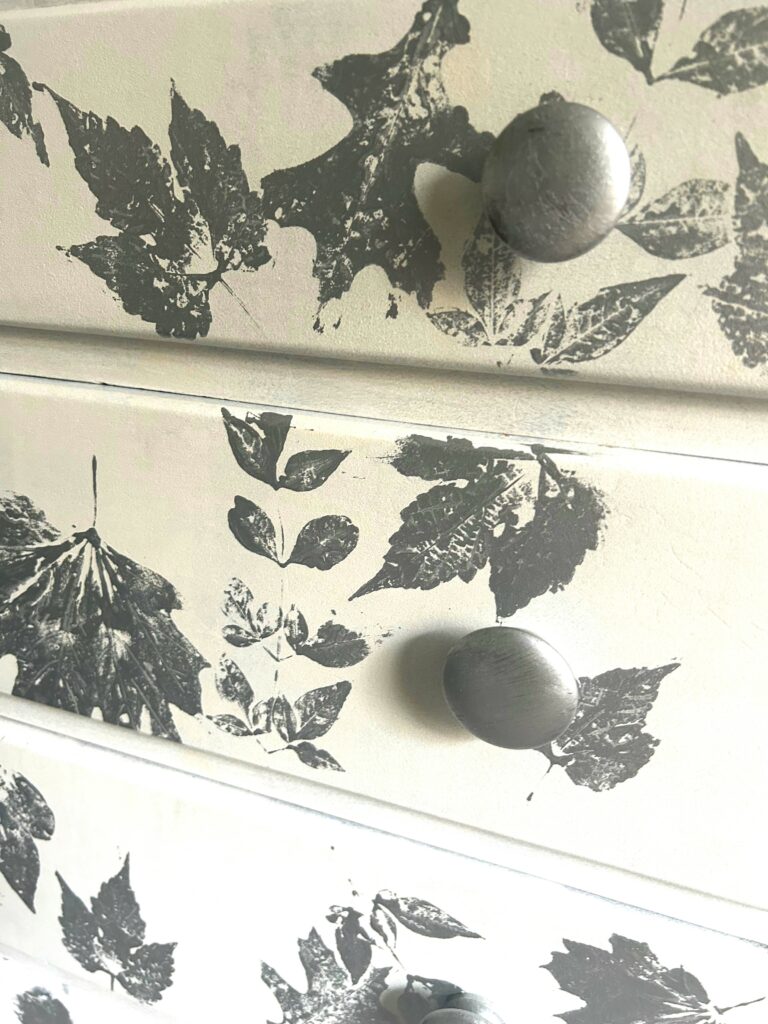
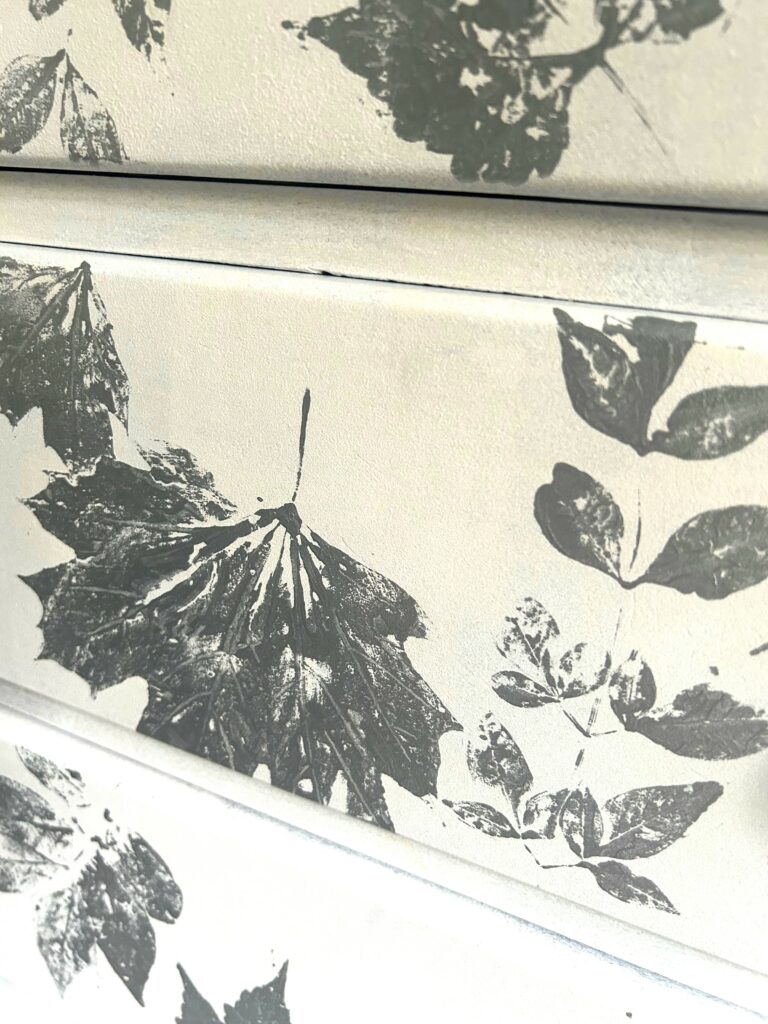
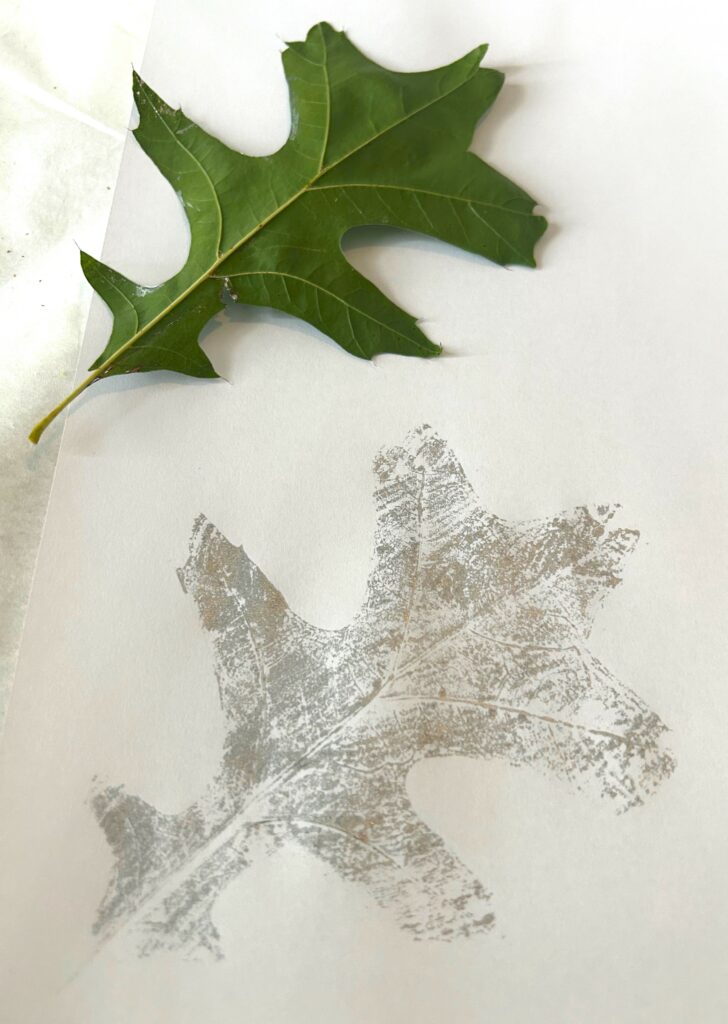
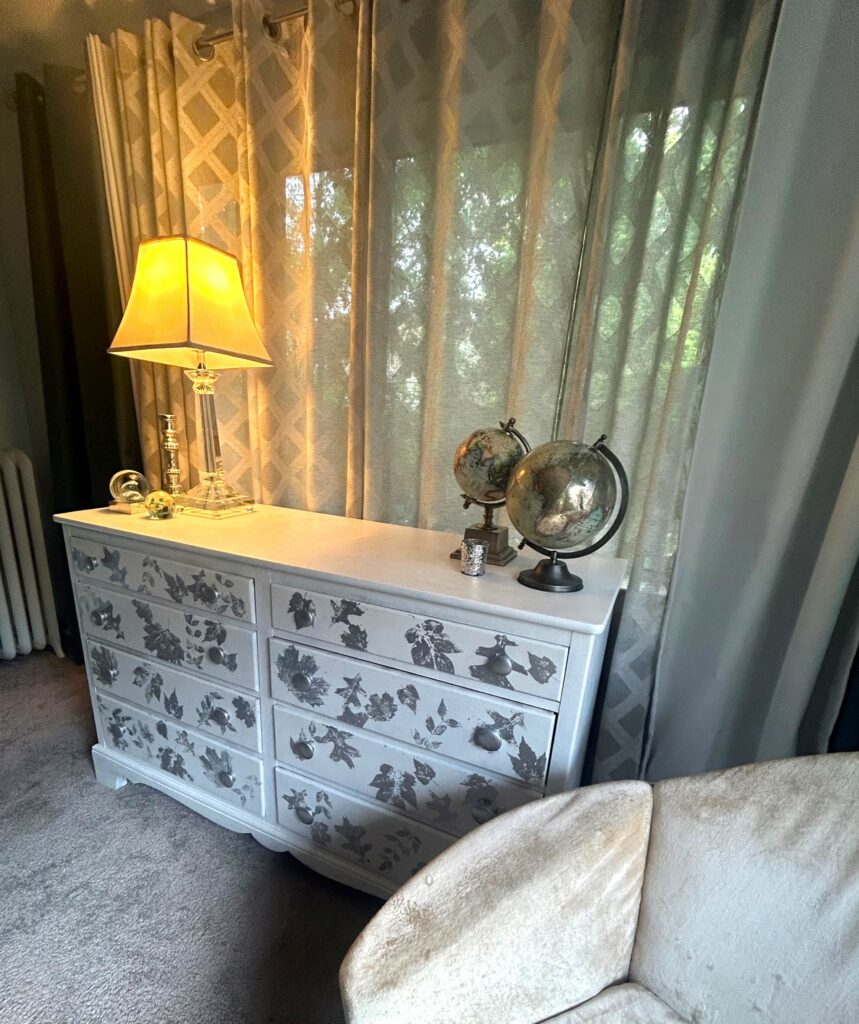
Carefully remove the scrap paper, and then each painted leaf. This step is so much fun because of the prints left behind on your drawer’s surface. The silver adds some shine and looks lovely with the white background.
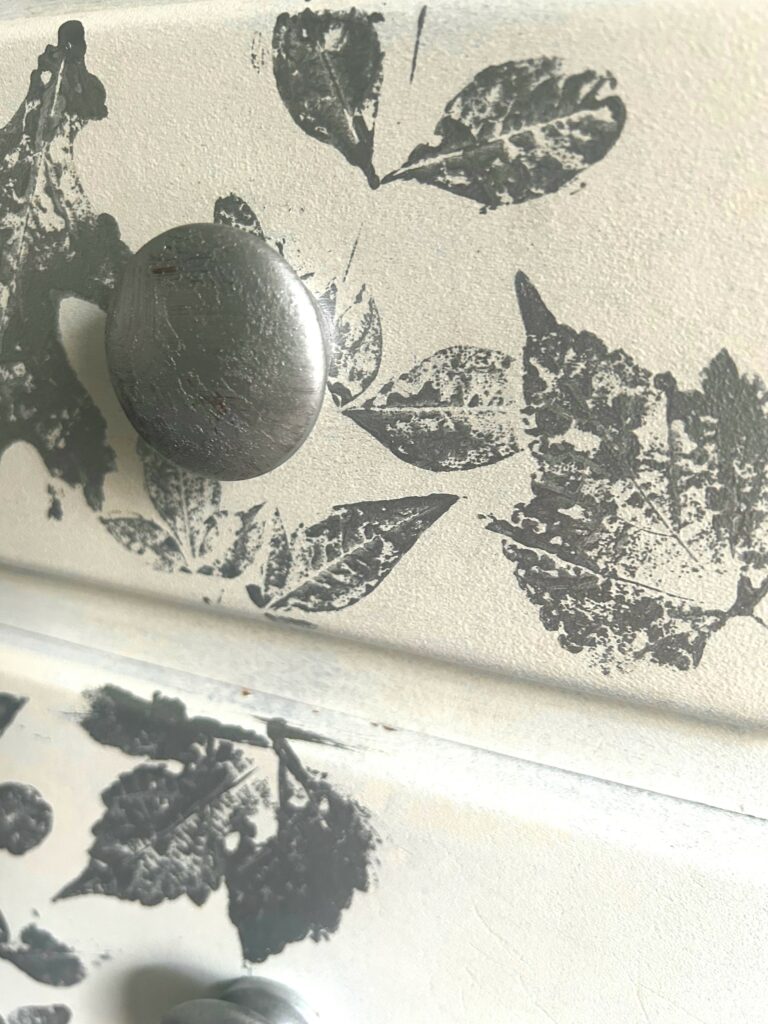
Expert Tip
When you remove a leaf and don’t think it left enough of a print behind, you might want to add another layer of paint to the leaf and repeat the step—but using your fingers this time. I found a good solid coat of paint and good pressure with my hands on top of the paper, which did the trick!
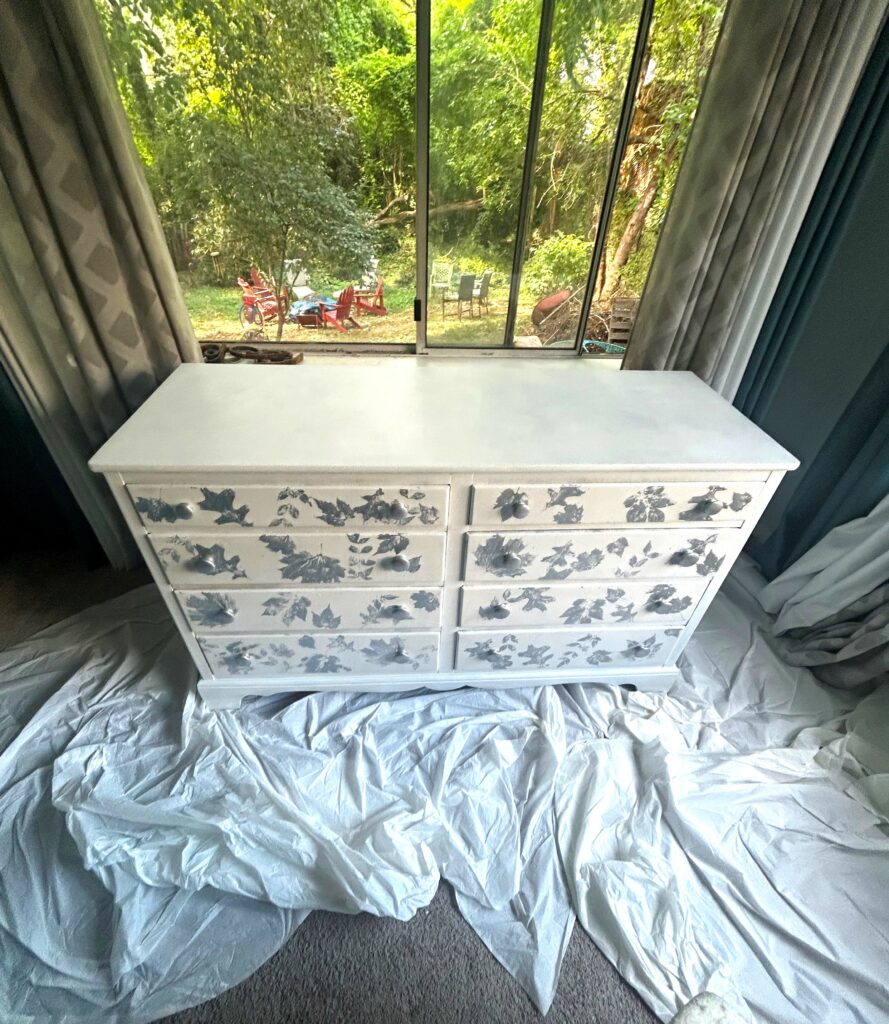
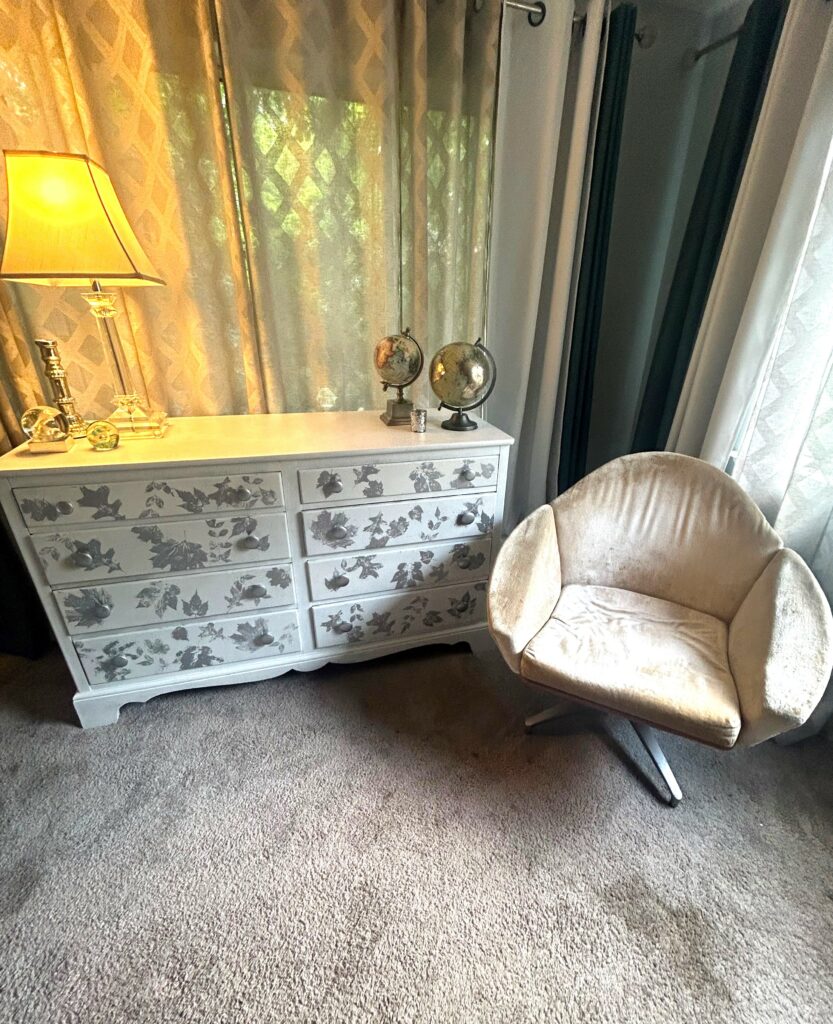
Step 6: Reassemble & add accessories
After all your dresser parts and pieces have dried completely, take care as you reassemble them. Remove painter’s tape along your drawer’s sides. Screw back on the knobs now, all in silver. Replace the drawers in their identified spots in the dresser’s frame.
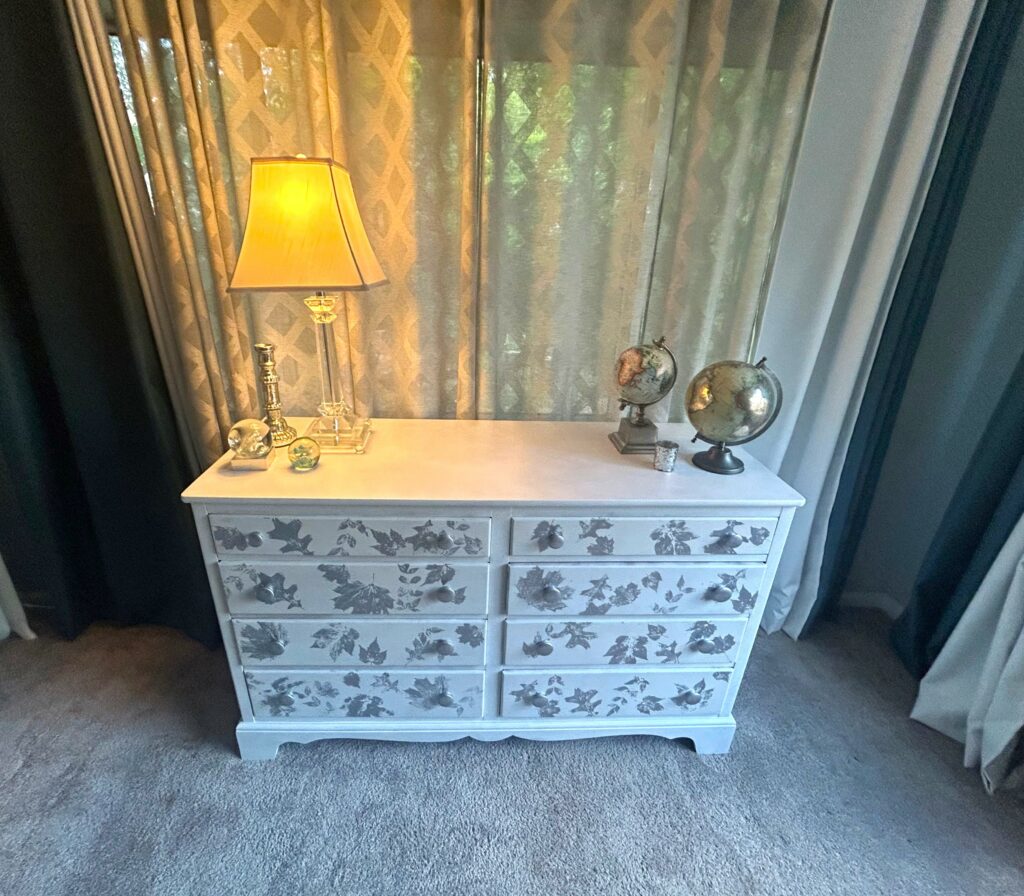
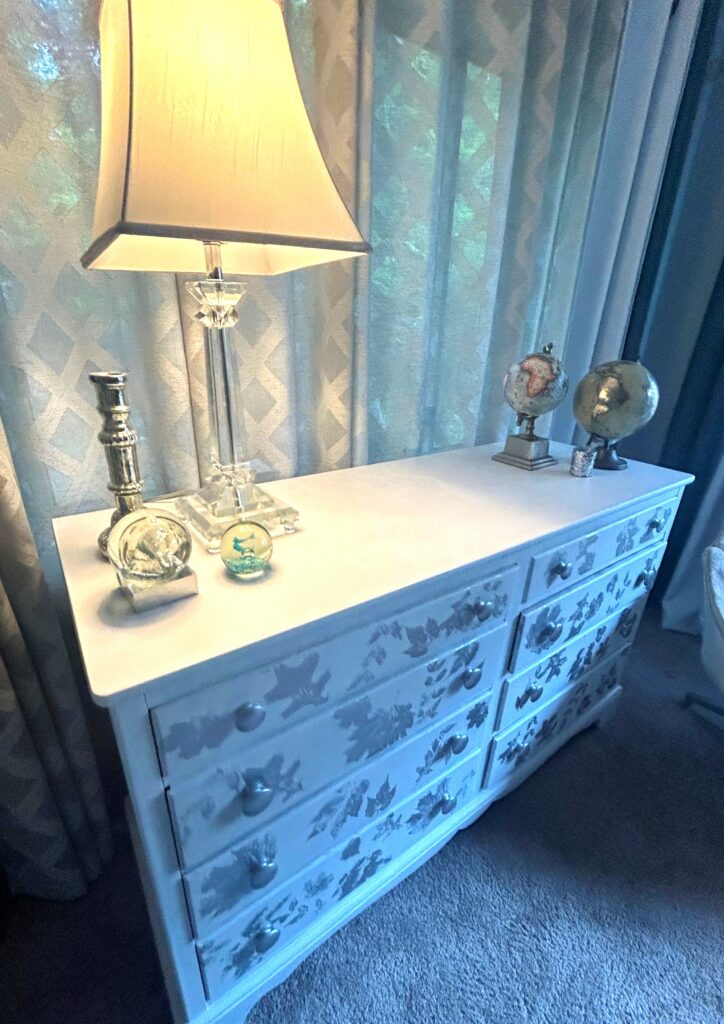
Now add handsome and functional accessories. A crystal-based lamp with a white shade was positioned on top. Small globes with shiny accents were added, too. A silvery snow globe and sequined-covered candle votive added more sparkle and matched the silver paint. Items like these can be found at Goodwill, too, for low, budget-friendly prices.
Hmmm, I just thought of one thing I would want to add: A framed photo of my grandmother so her presence continues in several loving ways!
Similar Reads:
- DIY: How to Use Oak Leaves as Stencils
- “Leaf” a Lasting Impression by Using Goodwill Finds as Decorative Stamps

Tim Kime
Artist, Motivational Speaker, Life Coach
