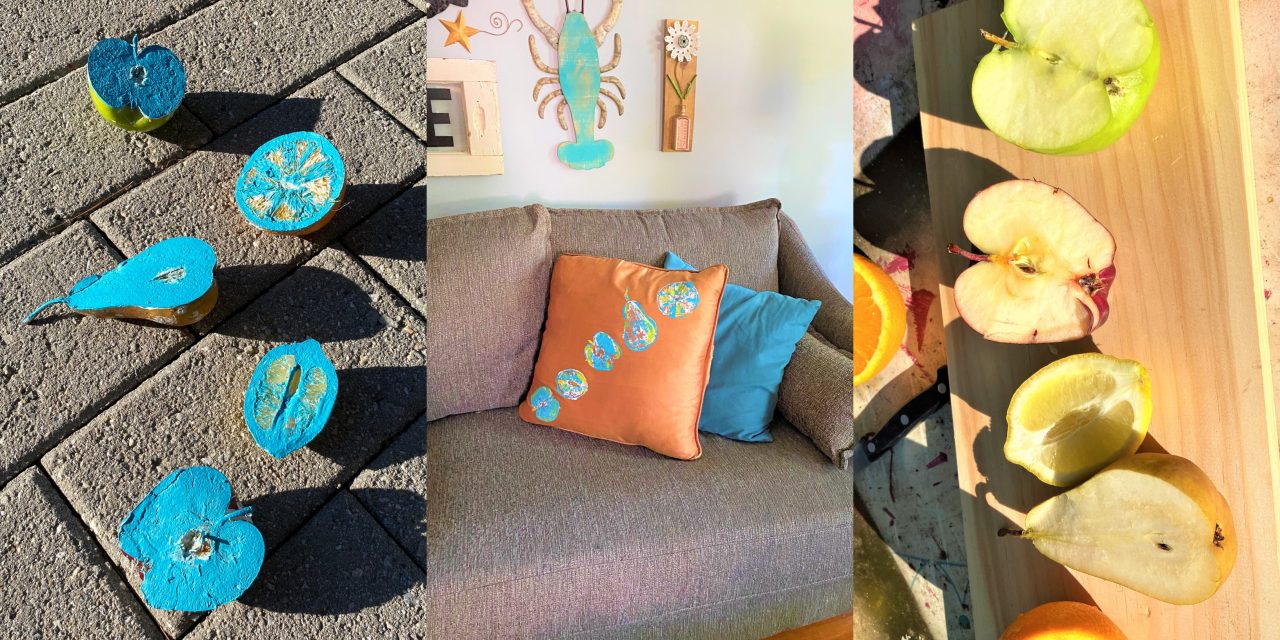
A DIY Project that’ll be the Apple of their Eye—Use Fruit as Stamps!
This is a very a-peel-ing project that celebrates the fruits of Mother Nature’s labors. Simple, timeless, universal and whimsical—all at the same time when you cut fruit in half, add paint then “stamp” on surfaces. This is a pear-fect, summertime project that is easy for all ages and all skill levels of DIYers. No need to pucker up— this isn’t a sour project rather one that is sweet, sweet, sweet! This makes a great gift for Father’s Day or for any main squeeze in your life!
Supplies Needed
1. Fresh fruit (apples, oranges, lemons and pears)
2. Bright paints
3. Paint brushes
4. Knife
5. Items to embellish with these stamps (Goodwill furniture, pillows, T-shirts)
Time: 45 minutes (not including paint drying time)
Step 1: Finding your fruit
Given that Farmer’s Markets are open this time of year and are safe due to social distancing and other positive health practices, consider stopping by your local neighborhood one to check out their fruit selection. Of course, your nearby grocer and corner general store are good options, too. For this project, I wanted a variety of fruits and it was fun to look at all the various shapes and sizes. Five different pieces were selected including apples and pears which had parts of their stems intact so as to add to the look of those fruits.
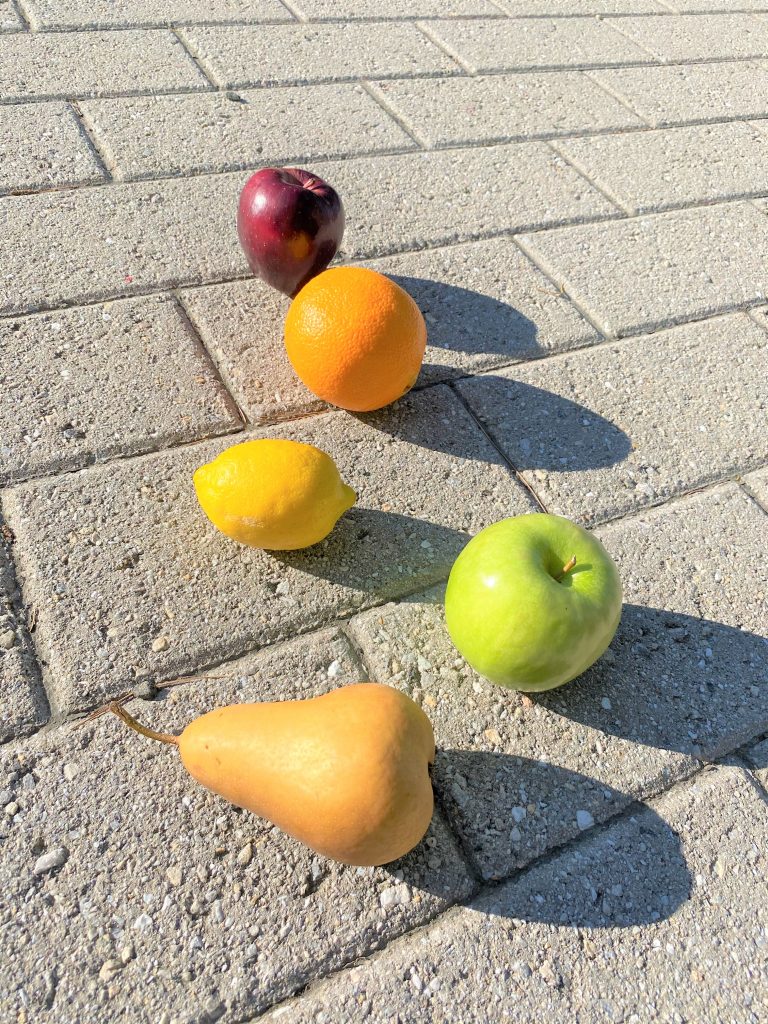
These fruits are also relatively solid and easy to handle. Strawberries get soft too quickly; clearly grapes, bananas and blueberries would present some challenges, too. You don’t want to slip up with this project! Pineapples are a little too big and cumbersome for this project.
What fruits do you have on hand or available at your local store that would be interesting to use?
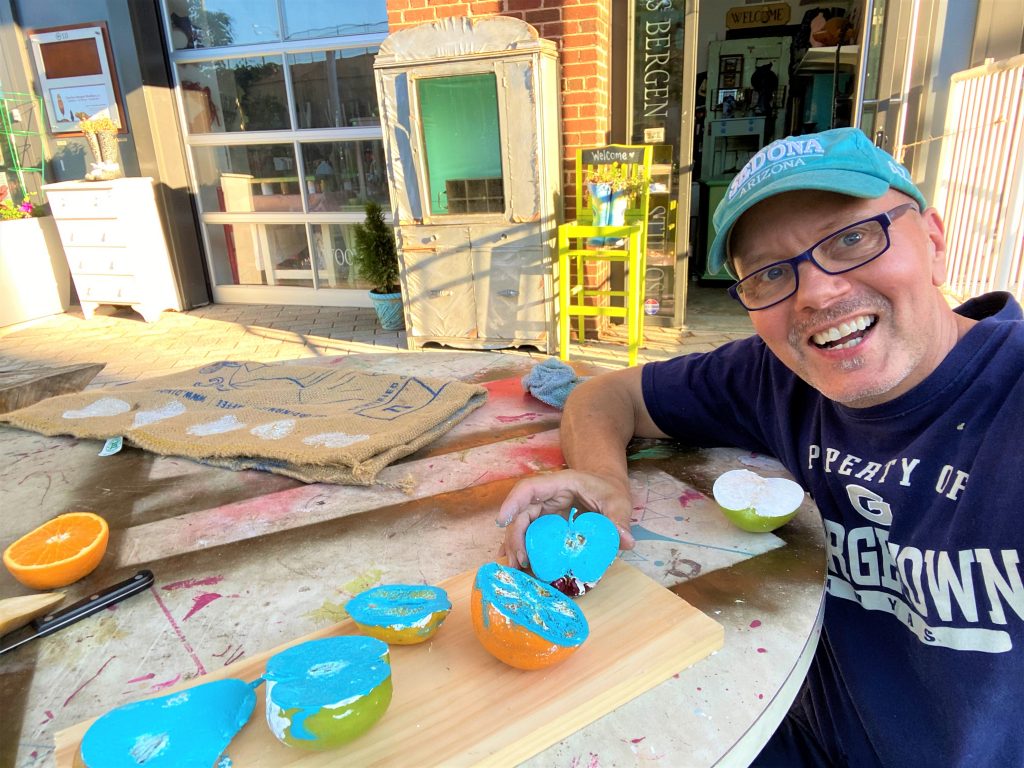
Step 2: Make a clean cut
Adults only for this step!
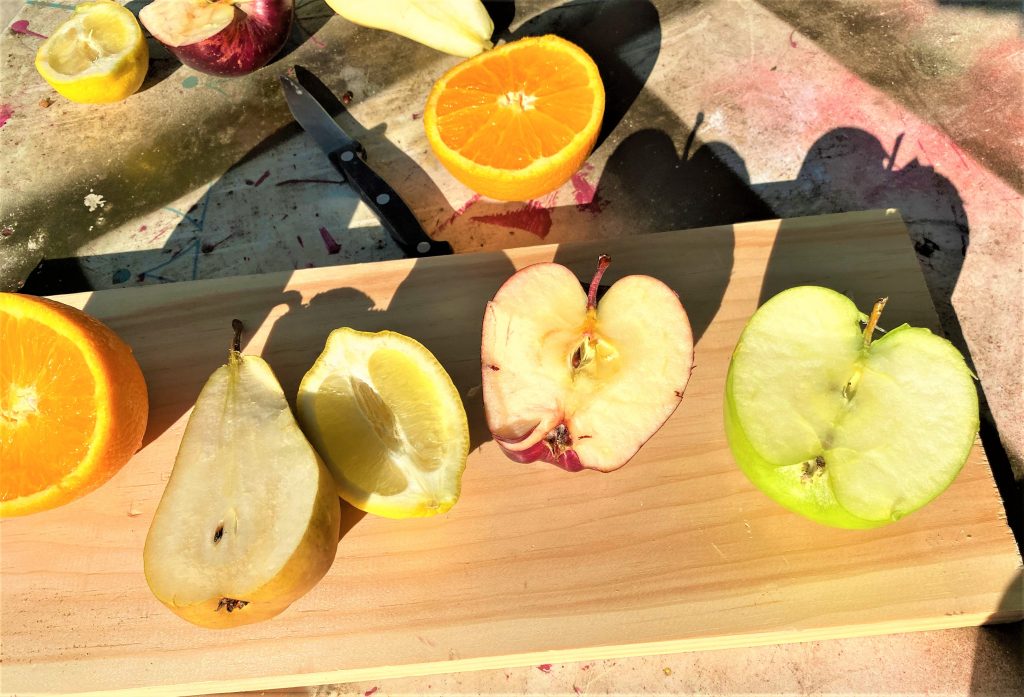
- With a very sharp knife, cut a piece of fruit in half trying to keep the cut as clean and smooth as possible. I used a small paring knife which made my cuts more jagged and not as flat as desired. A bigger knife is recommended.
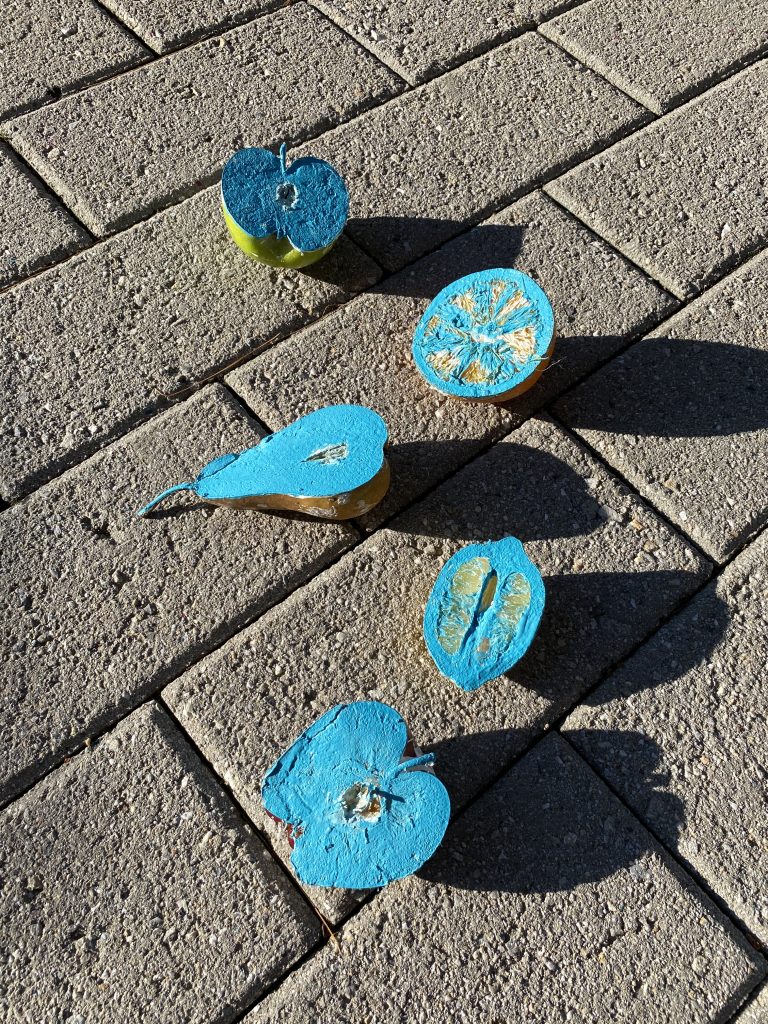
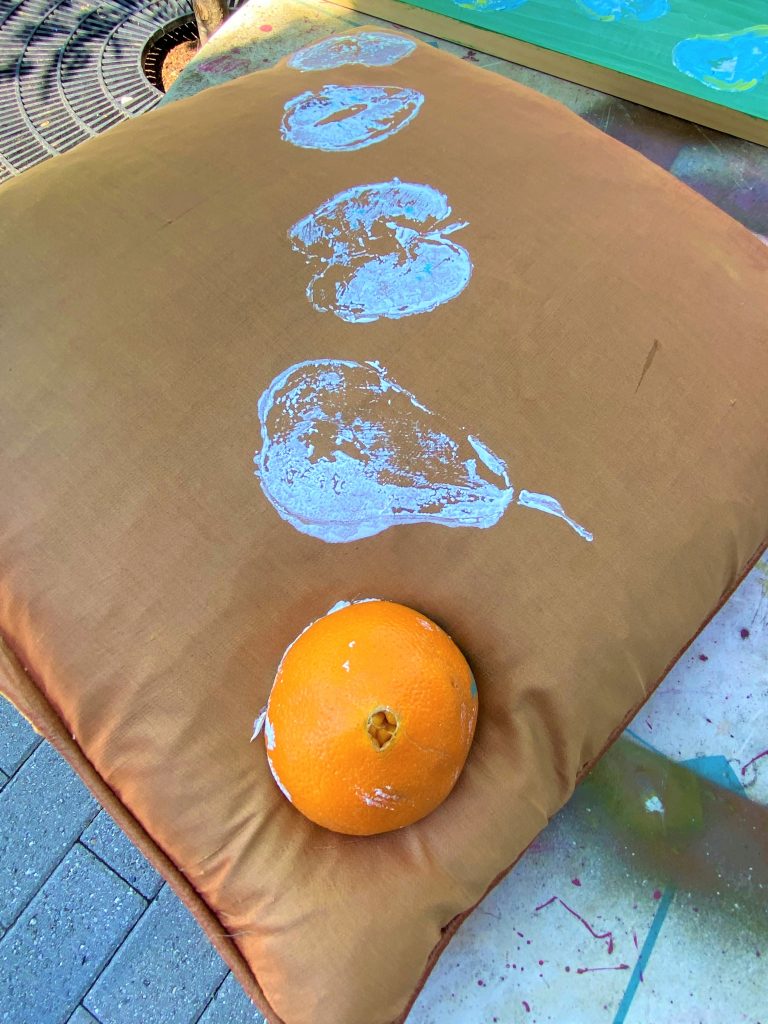
- Most of the fruit featured here were cut in half from side to side so you could see the shape of it; the orange was cut cross-sectionally to highlight its wheel-shaped, spoked design.
- When all are cut, carefully clean and put your knife away safely.
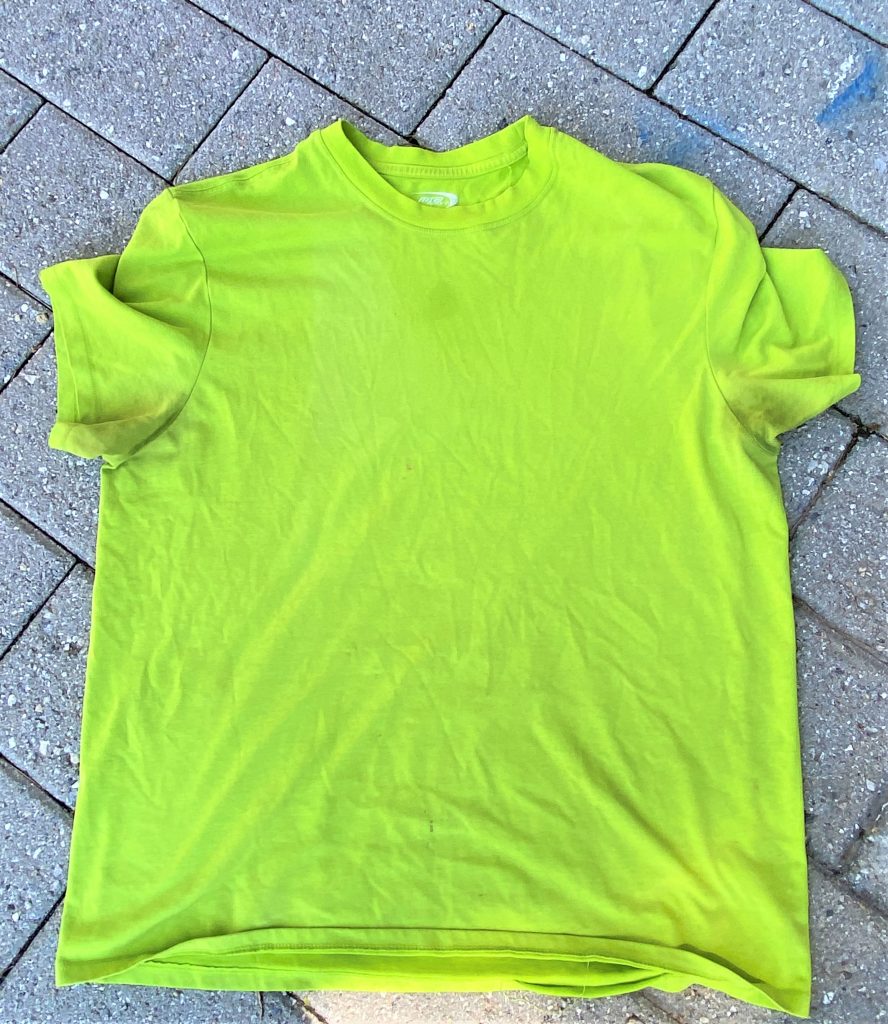
Step 3: Prep your item to get prettified
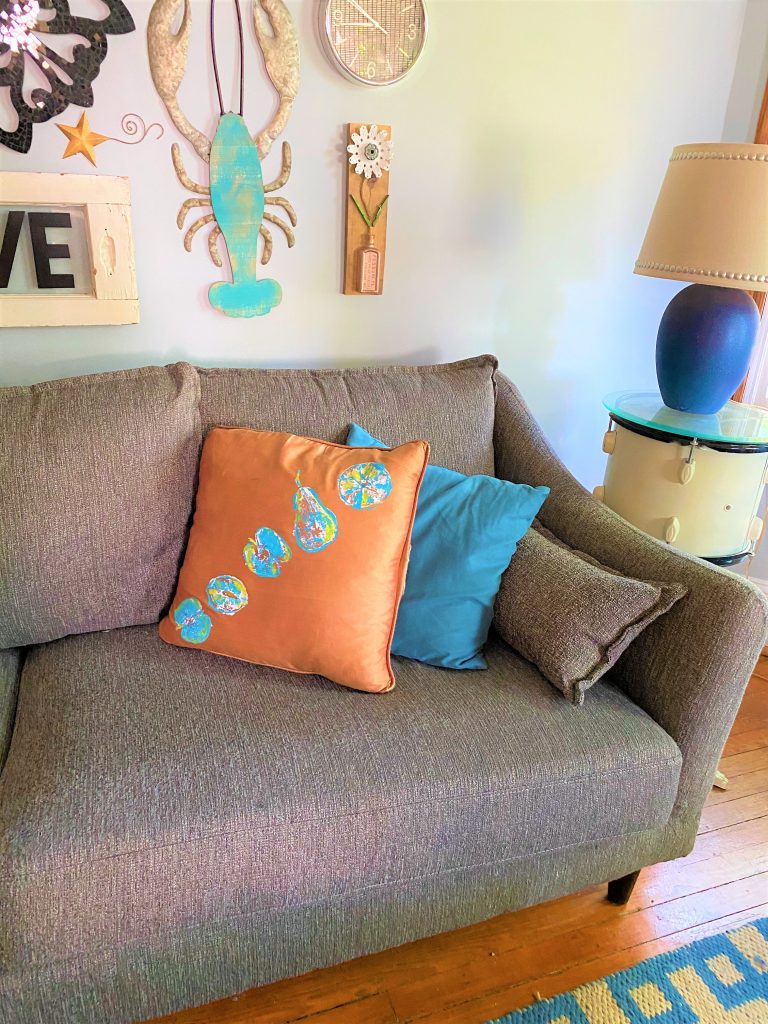
There are so many peachy keen ways to use your fruit stamps to add charm and visual interest to pieces. Everyone loves fruit so what will you produce? Do you have something available on-hand now? With Goodwill stores reopening, you can stop in to see the many options I am sure they have. A small painted side table, a silk pillow and a bright T-shirt were used here.
Step 4: Brush on layers 1, then 2
I selected white, turquoise and lime green paints for this project because I wanted it to be bright and cheerful looking.
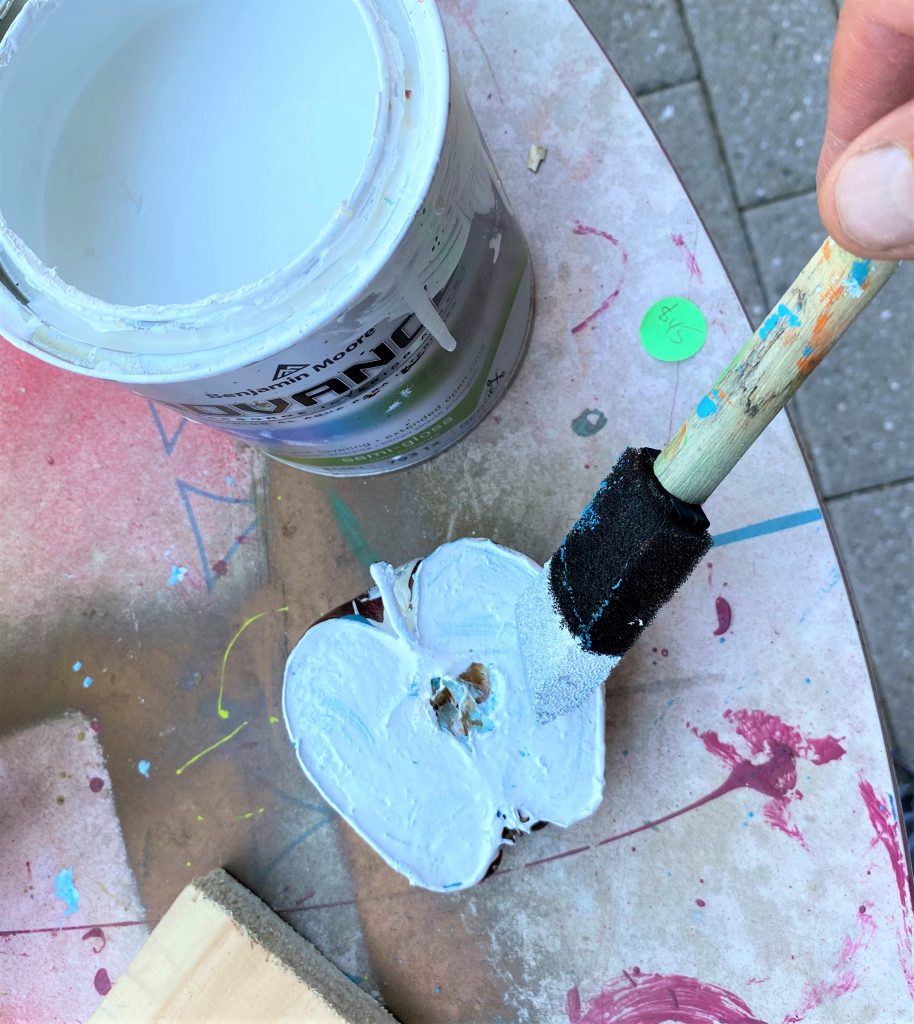
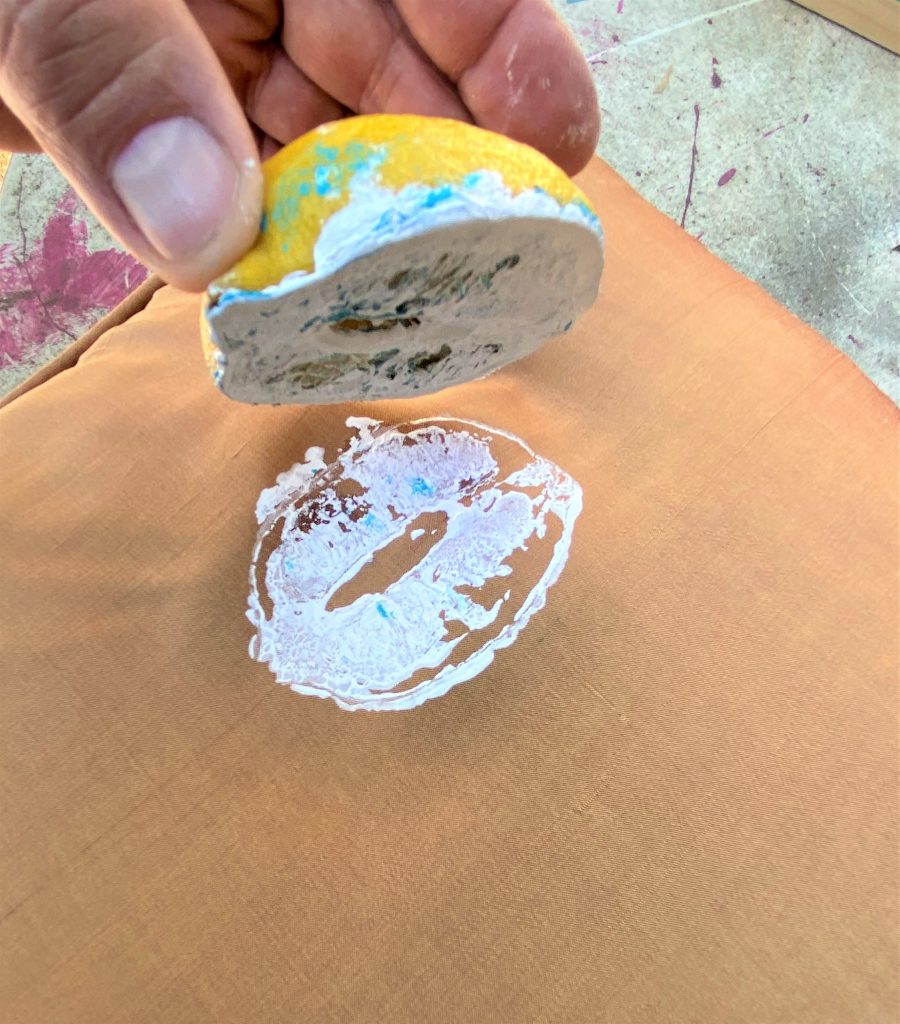
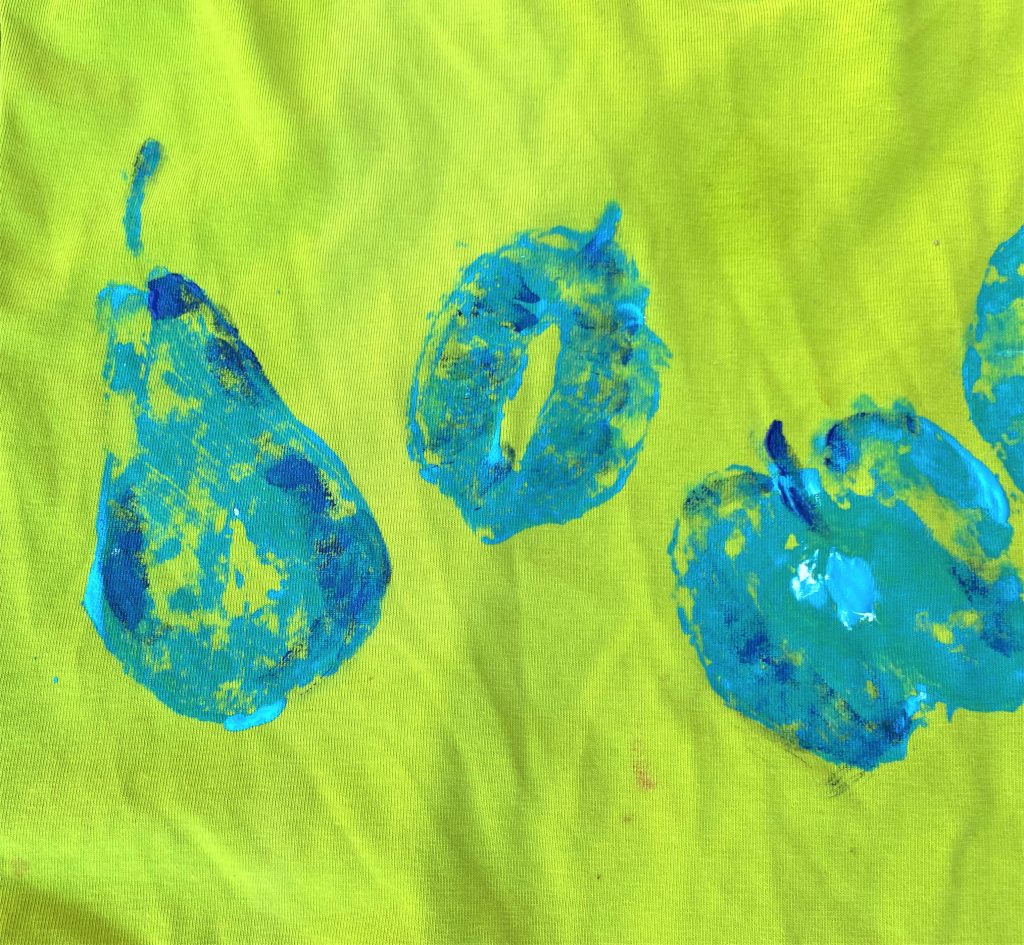
- Starting with white, brush on a nice solid layer on one fruit piece; but not too thick or drippy.
- Flip it over, place it on your item and apply solid pressure on your fruit piece to get the paint off of it and onto your item.
- Move onto the next fruit half, apply paint and repeat this step.
- Continue until you have used each one of your desired fruit items all in white.
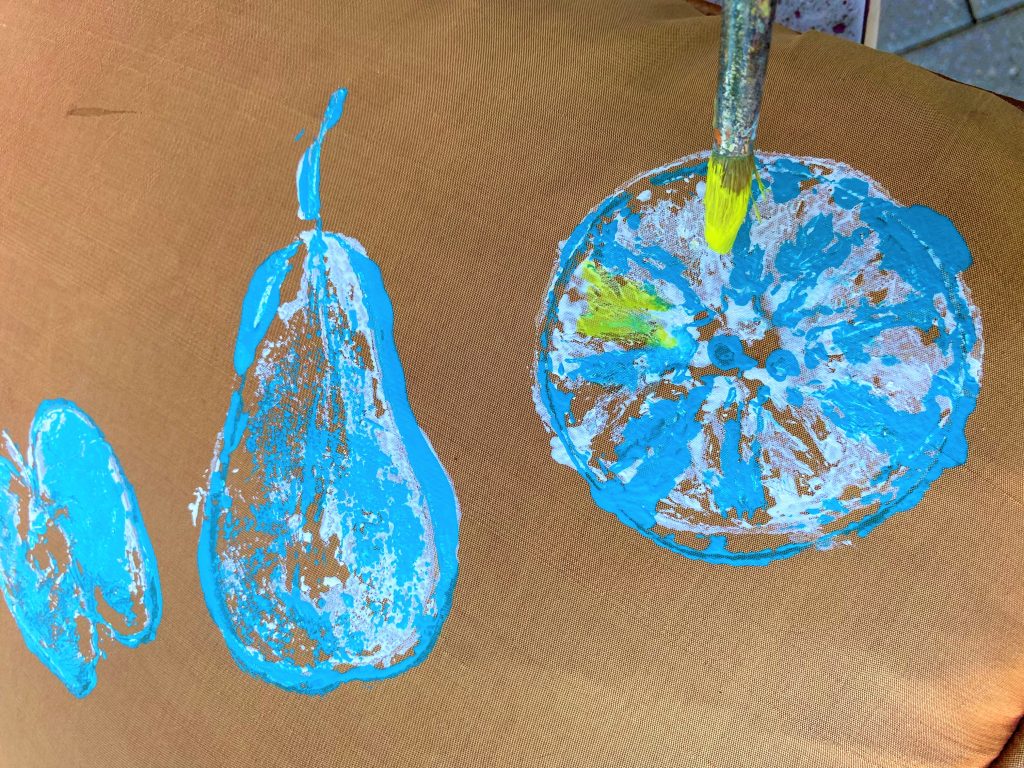
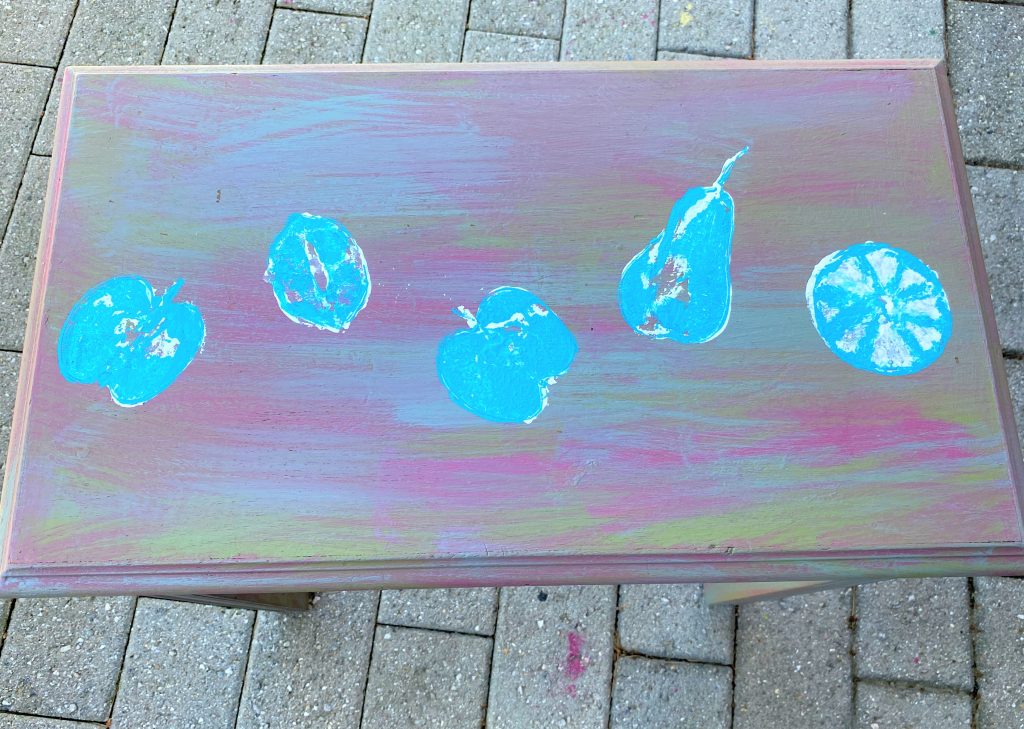
- Add the second color to your fruit (in my case it was the turquoise), so brush it on, flip it over and do your best to position it in the same place as the first.
- Repeat, repeat and repeat with each fruit half so the white layer gets a blue layer on top.
- If the white layer isn’t totally dry, that is fine as it looks nice to have a slight blending of the colors.
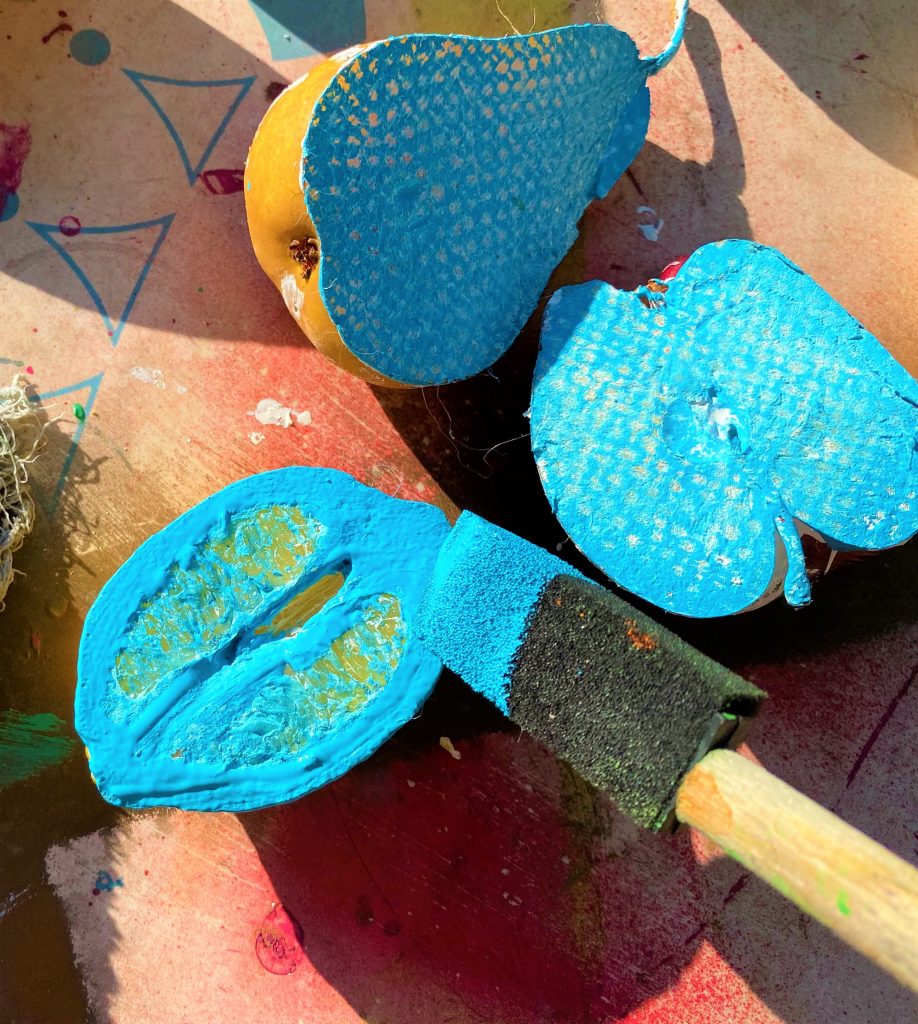
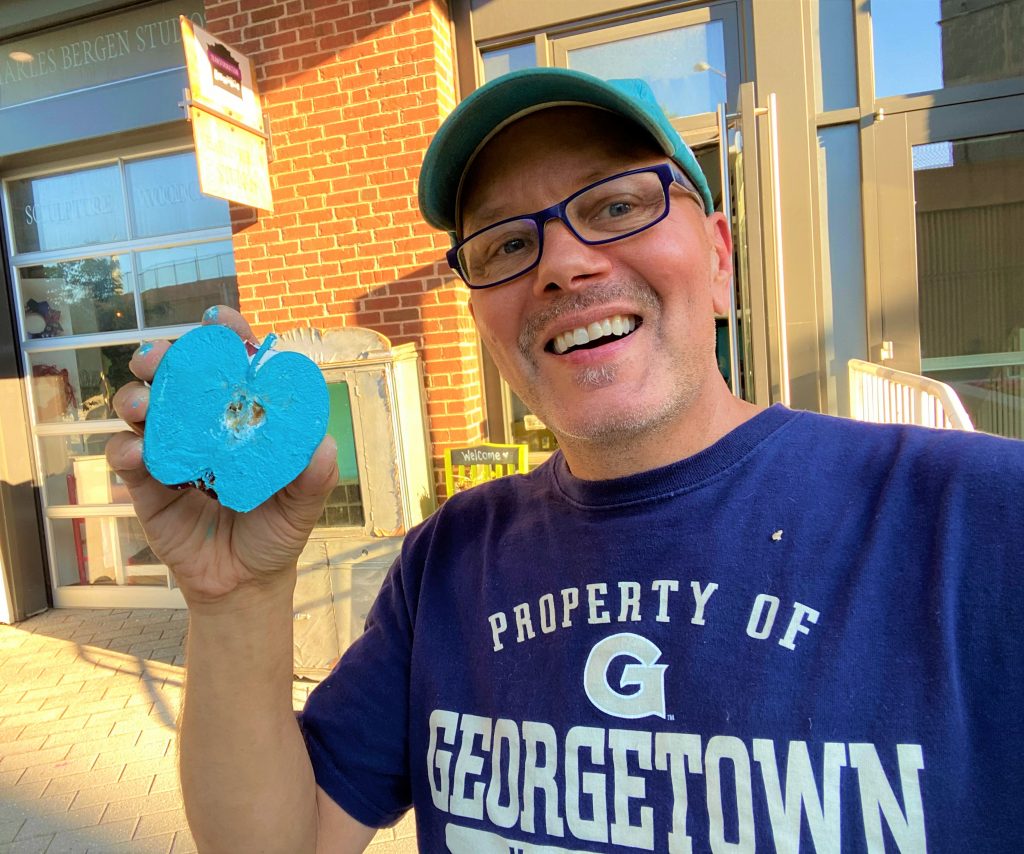
Expert Tip: When stamping on the paint, I found that some of the fruit’s shape didn’t come across well. Therefore, I dabbed on more paint, filling in some of those areas. I liked that the original surface showed through the various paint layers. You may need to do the same (dabbing on more paint) so that your apple stamp/shape looks like an apple.
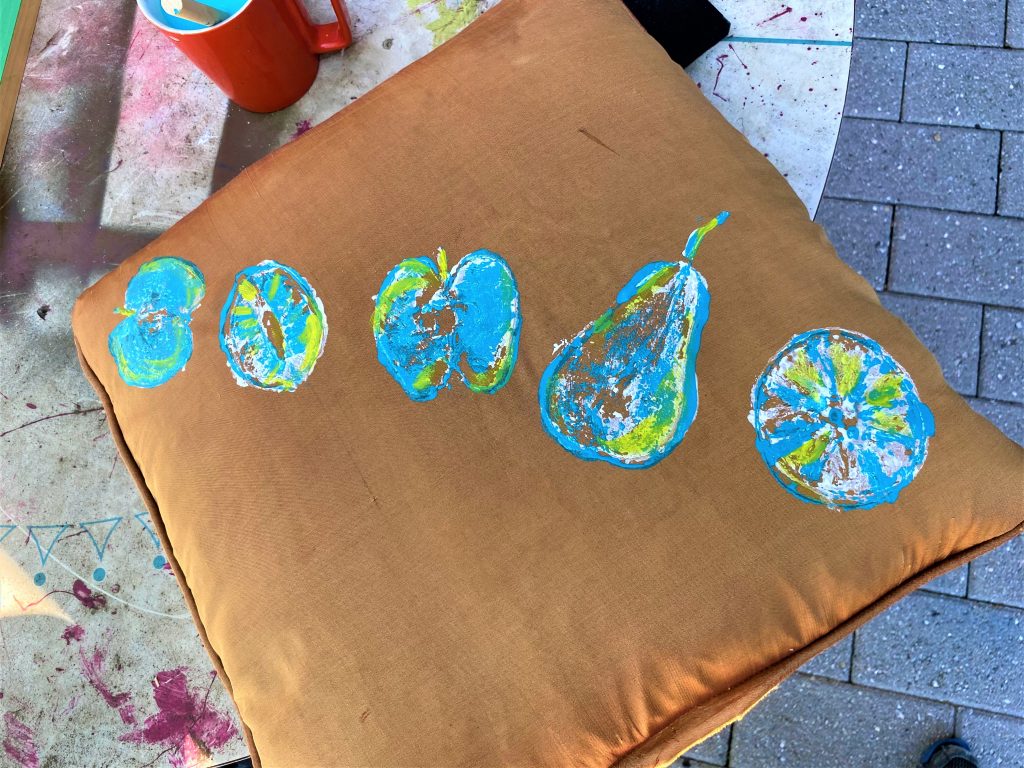
Step 5: Add highlights
- With a third color, use your small paint brush to add highlights.
- I brushed on my lime green paint along edges, on the stems and filled in the orange slices. Keep it simple and have fun. There is no right or wrong way; my only suggestion? Don’t worry about being perfect!
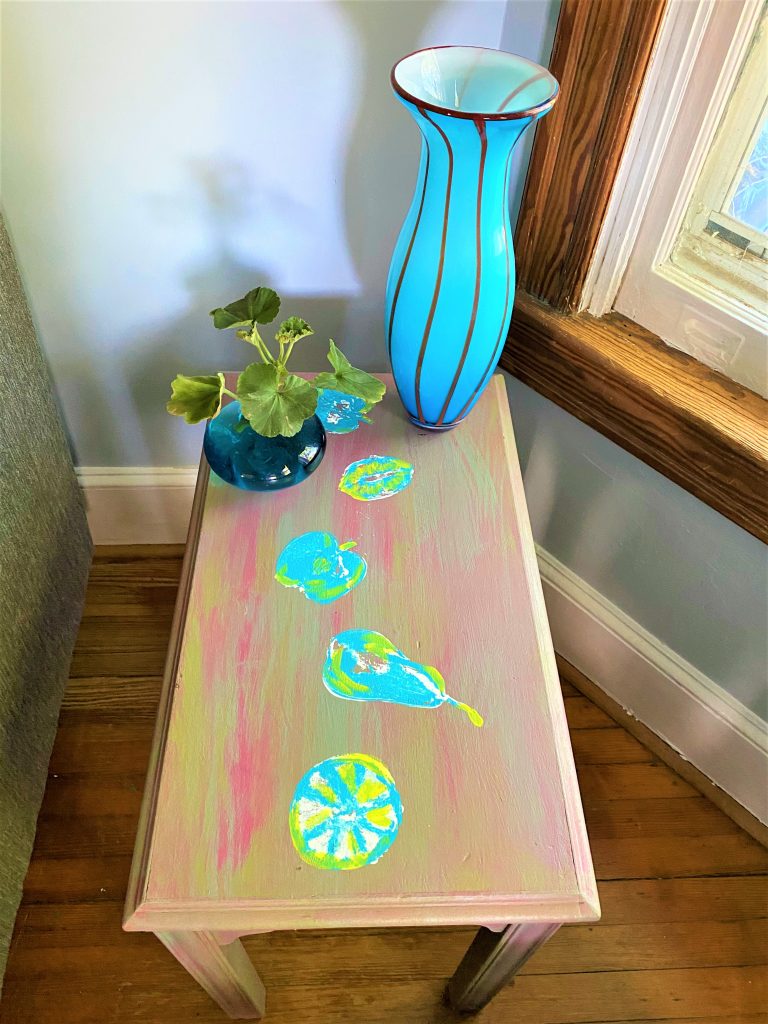
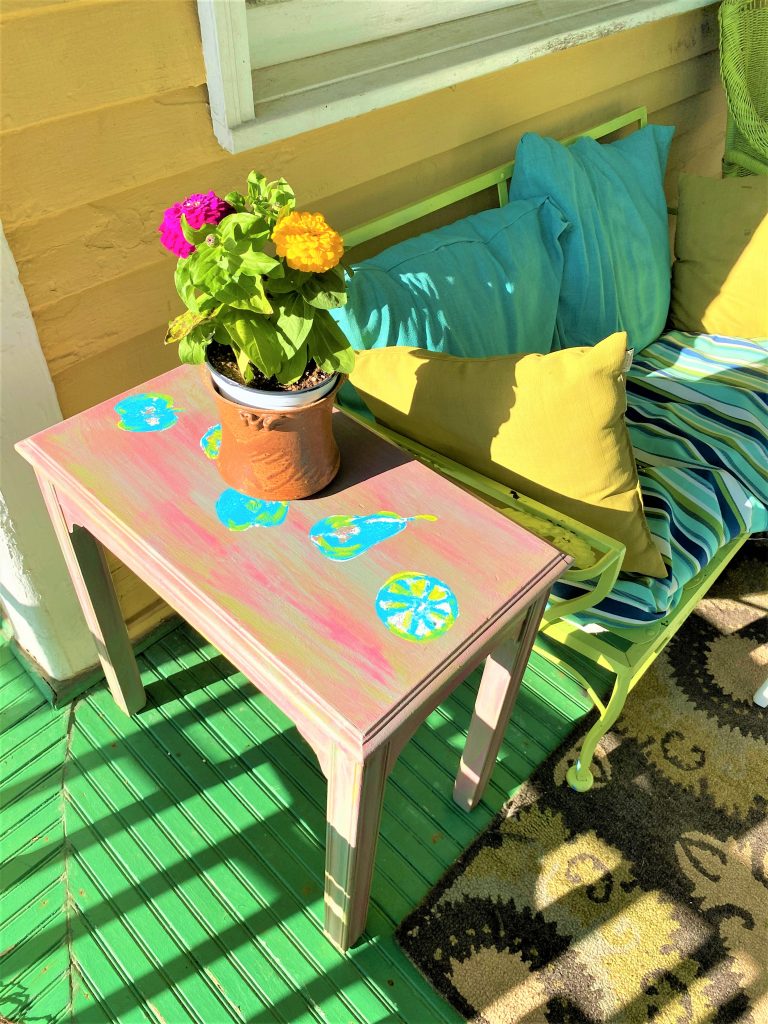
Step 5: Dry, display, do
Once dry, place your table in a favorite room, add a small plant or lamp.
Fluff up your pillow and put on your couch or easy chair.
Wear your T-shirt with pride for your creative talents that inspire healthy eating! “Orange” you glad you picked this?
I also just got some more inspiration and will try this project with vegetables in the starring roles! Pea pods, broccoli, radishes, onions, carrots…all will make great designs and are timeless too. Maybe kids won’t eat their veggies so you can make some funky art with them instead! You’re gonna have bushels of fans with these projects!


Tim Kime
Artist, Motivational Speaker, Life Coach
