A bulletin board is a great way to display photos and other mementos. But it doesn’t have to be boring! With a little paint, fabric, and ribbon, I customized a bulletin board from Goodwill into a fun, colorful memory board. You can too!
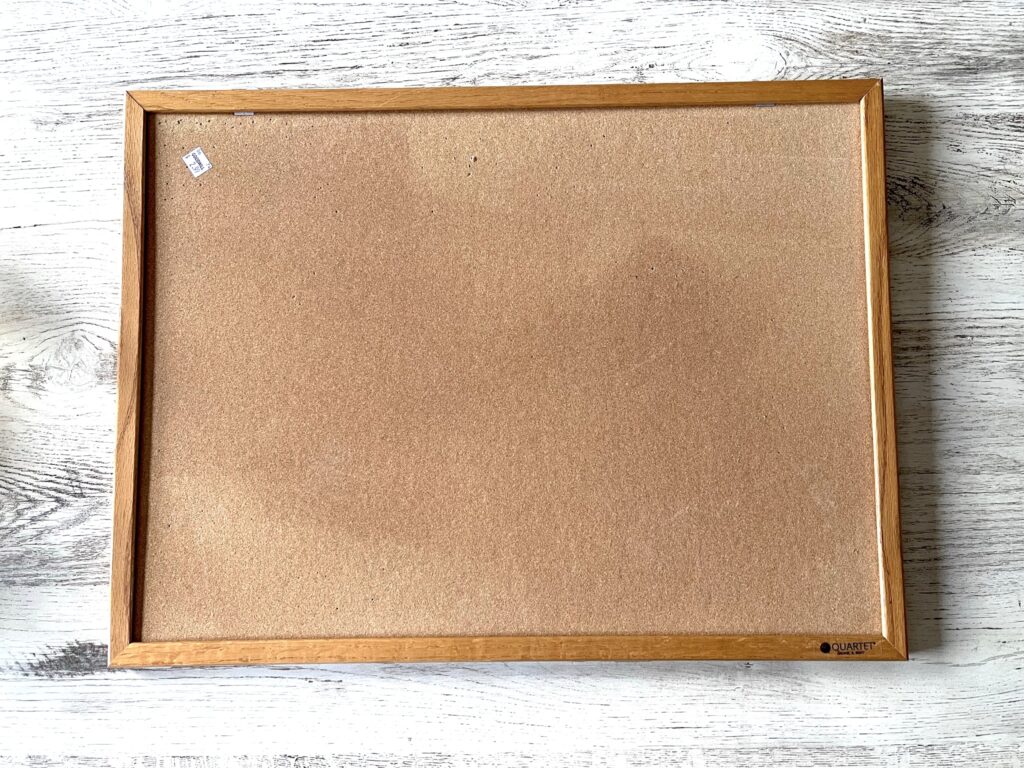
I found this cork bulletin board at the Annandale, VA Goodwill store. It only cost $2.99 … but it was a little blah.
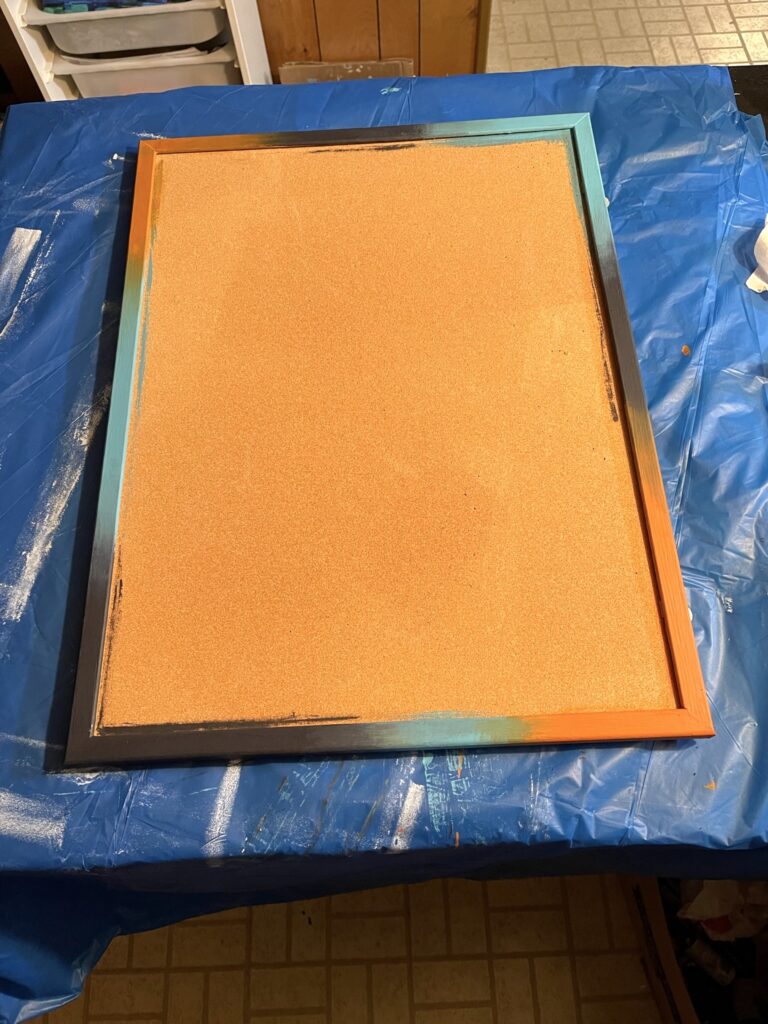
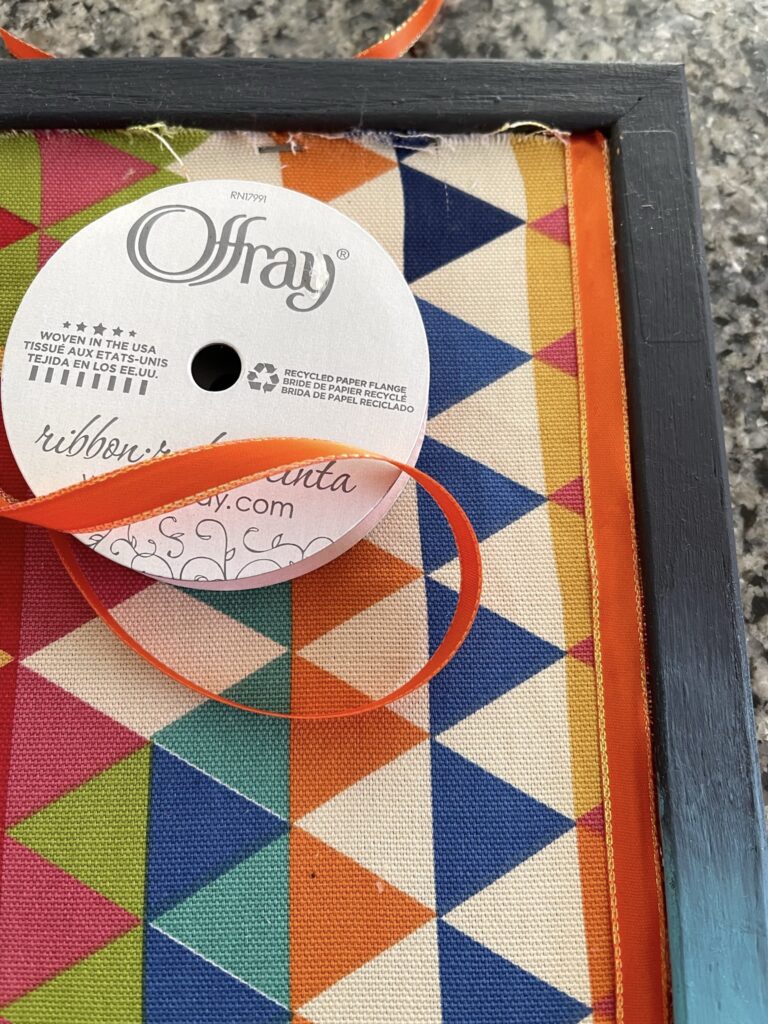
I had just enough fabric leftover from a previous upholstery project to cover the bulletin board. I choose paint colors to match the fabric — orange, navy blue, and light blue – also leftover from previous projects.
PRO TIP: You can paint small items like frames with little bottles of craft paint. They only cost a few dollars each, an affordable way to experiment with multiple colors on small projects.

First, I painted all three colors around the frame, randomly alternating them and overlapping where they met. I didn’t get too fussy about this step. I just painted colors wherever I felt like it and it all flowed together perfectly in the end.
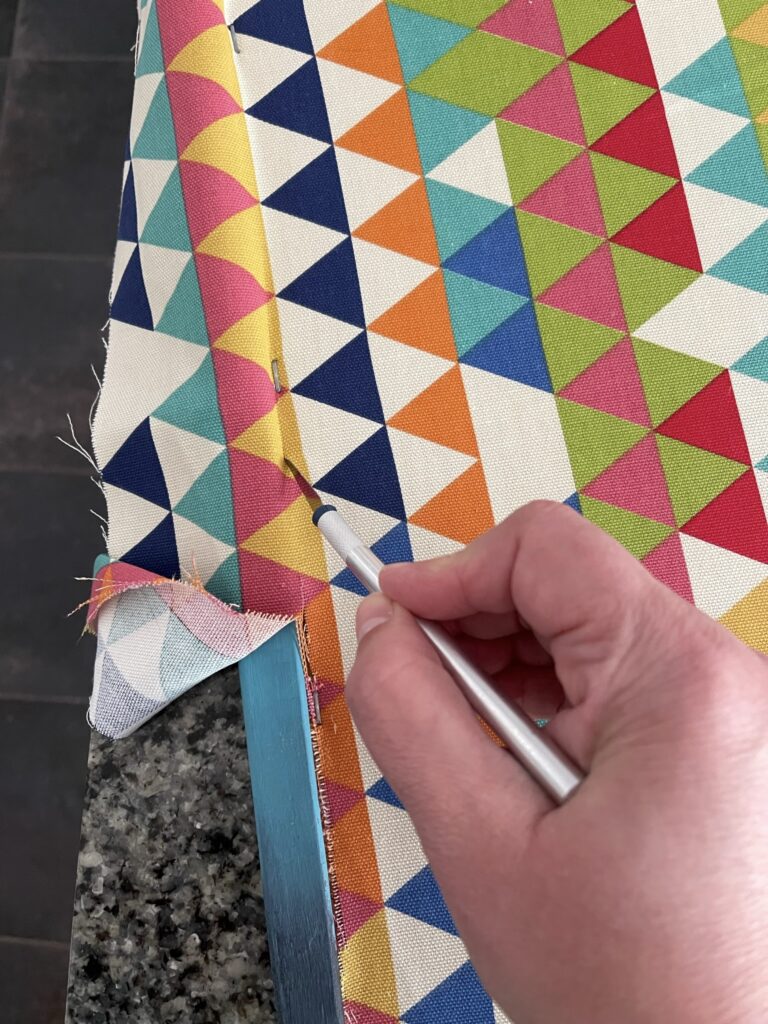
Then I stapled the fabric across the cork, trying to staple as close to the frame as possible. I probably should have left a little more room above the staples. It would have been easier to trim the excess fabric on the sides. I started with scissors but found an exact-o-knife worked better. I ran the razor blade across the edge of the frame for a (mostly) straight line.
Now the staples looked kind of ugly so I glued sparkly orange ribbon over them. This covered the staples and the raggedy edges where I cut, giving the bulletin board a finished look. I purchased the ribbon at the craft store to match the fabric. Two rolls cost 47 cents each.
I could have stopped here and simply pinned my items to the board with pushpins.
But I don’t like poking holes in my photographs. The next step allows you to tuck in your photos and other items onto the board without damaging the paper.
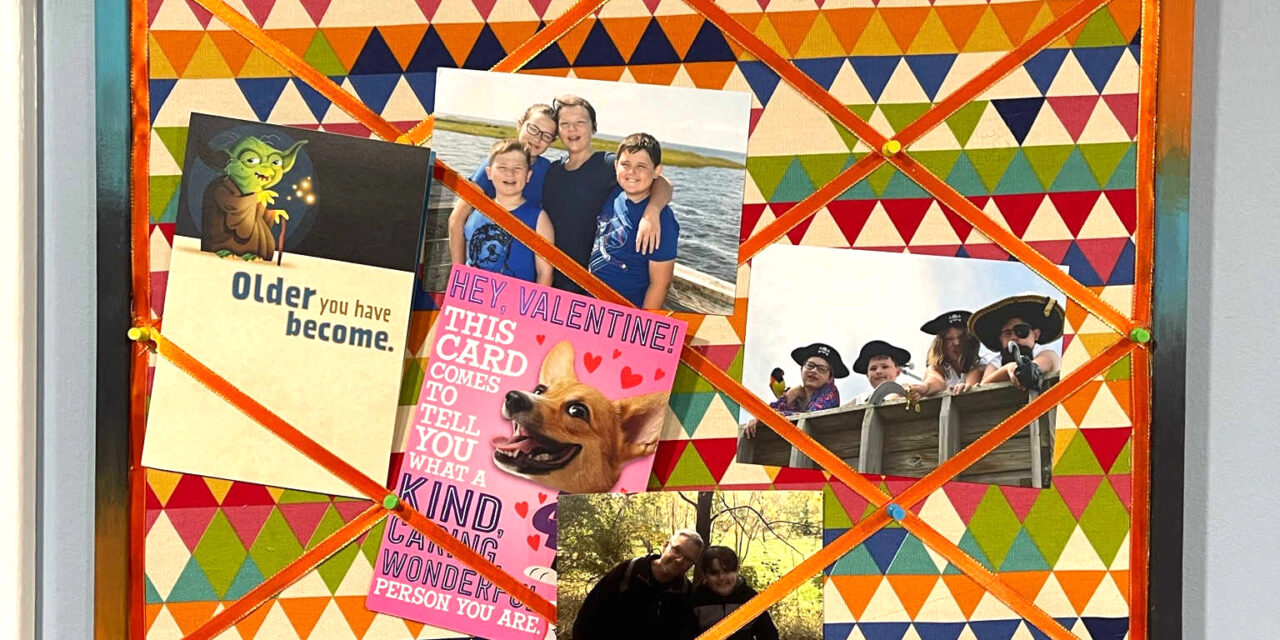
I simply crisscrossed ribbons onto the board, starting with a big X from corner to corner. I glued them in place on the corners and added a colorful pushpin for extra security (and a little flair!). Then I filled in smaller strips of ribbon to create an argyle pattern. I added a dab of glue where the ribbons overlapped the ribbon already on the edges. In the middle of the board, I did not add glue. Instead, I used only a pushpin at places where two pieces of ribbon intersected. I used multi-colored pushpins I purchased for about $2 to complete the boho look.
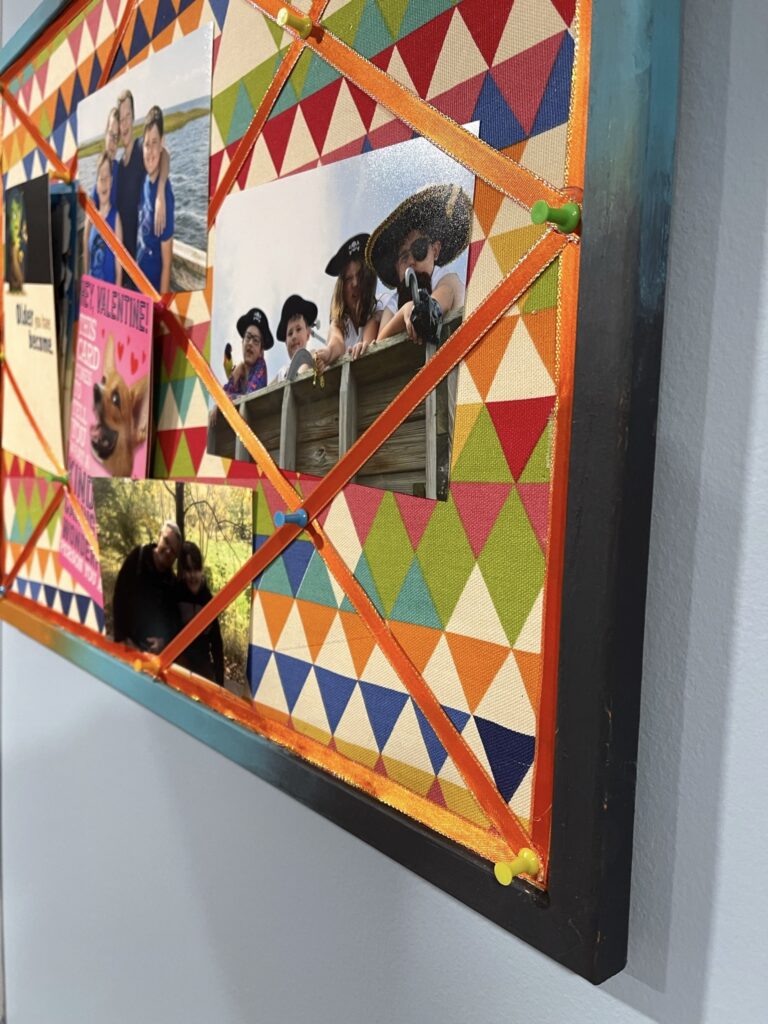
Now all that was left to do was find a few photos! I also added some cards. I love how it turned out. My customized memory board is functional, but also fun … and it fits my style perfectly!
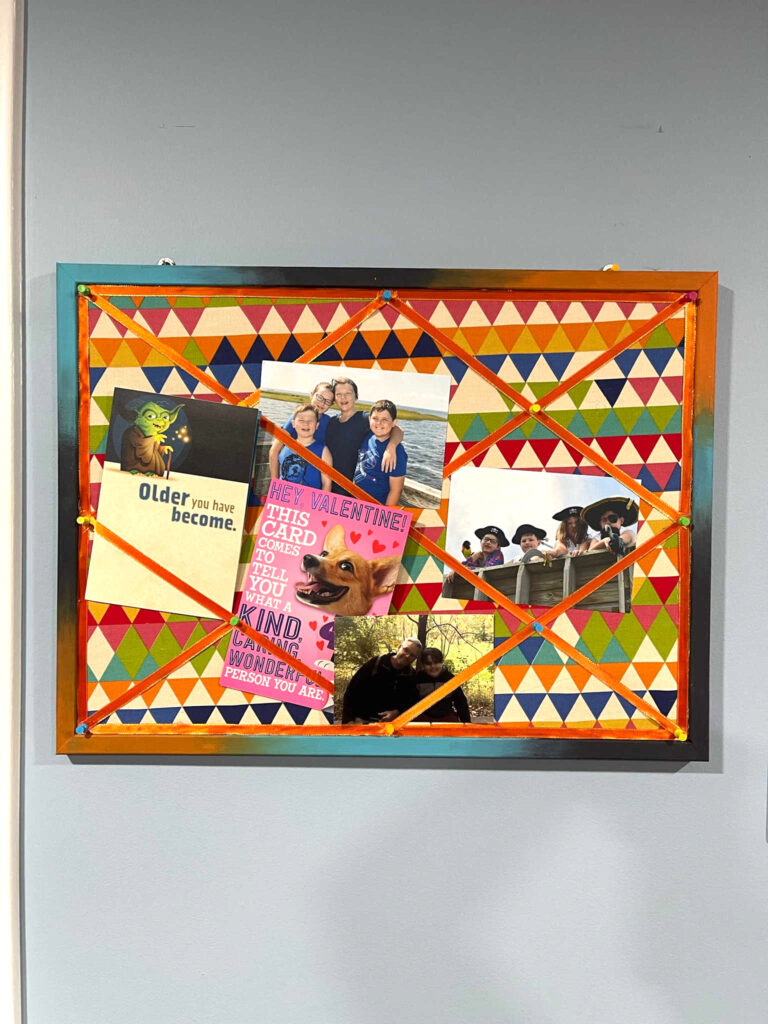
I spent about $6 on this project, including the bulletin board. You could easily customize a similar bulletin board to match your decorating style. Or choose a theme for your fabric and fill the board with photos and mementos relating to that theme. For example, my son plays baseball. It would be fun to find cute baseball fabric and use the board to display team photos. Palm tree fabric would be a cute way to organize photos from a trip to the beach.
There are so many possibilities. Creating a customized memory board is easy to do and each one is unique – just like your memories!


