
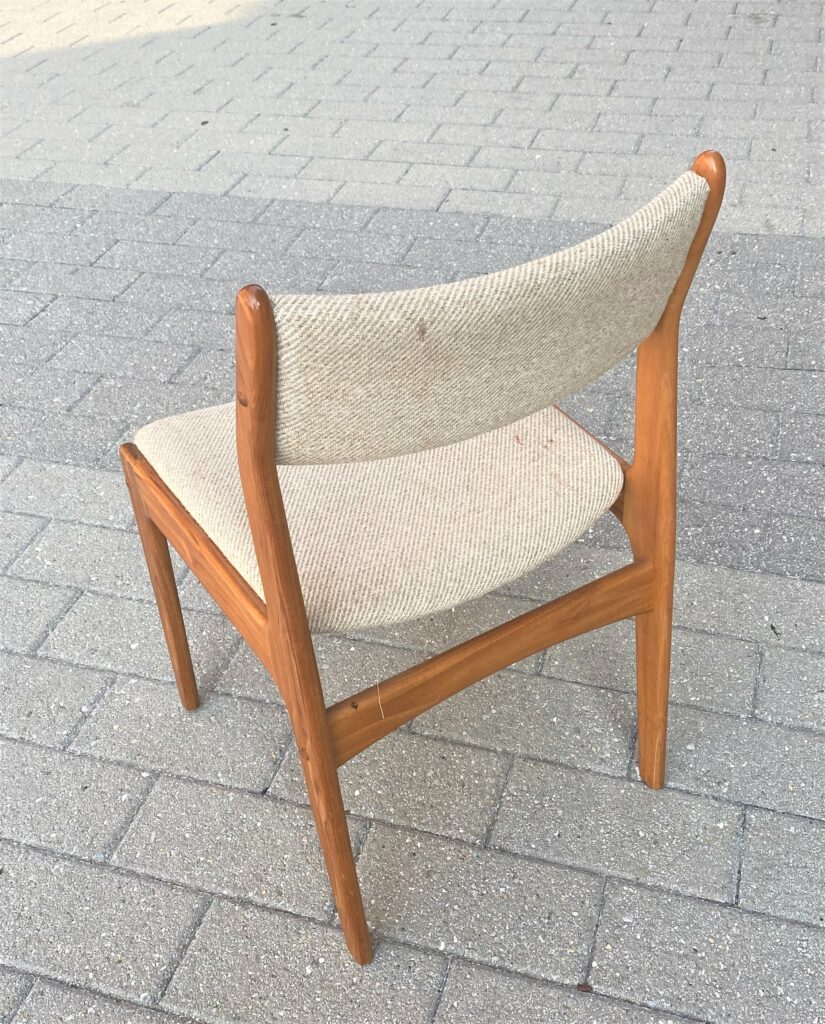
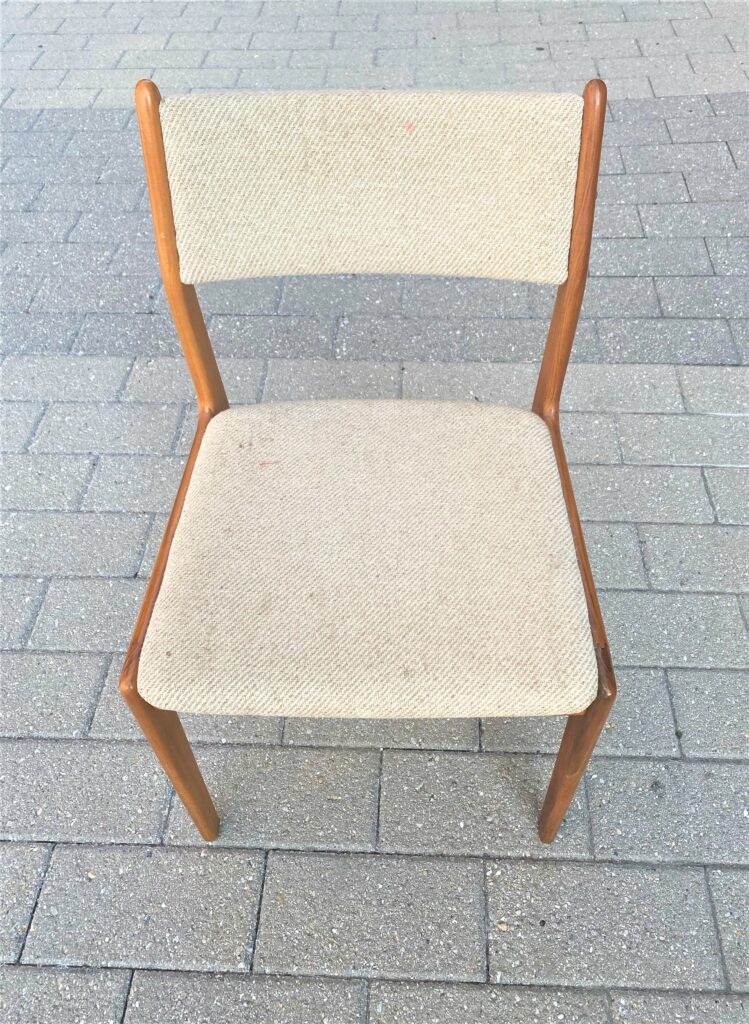
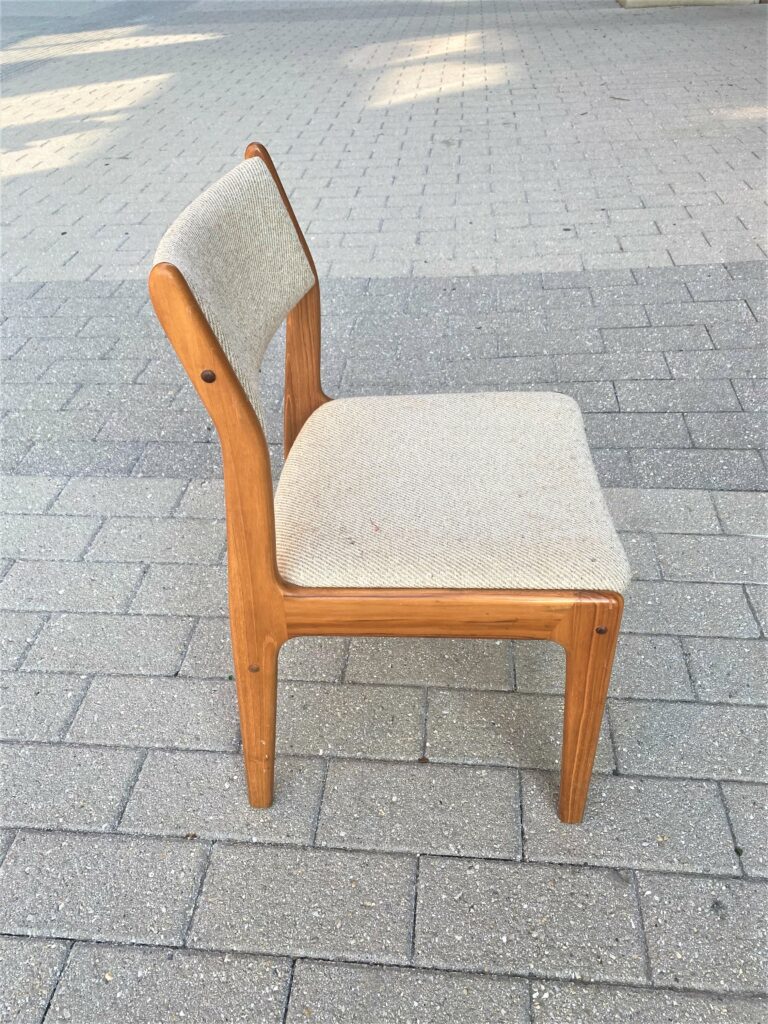
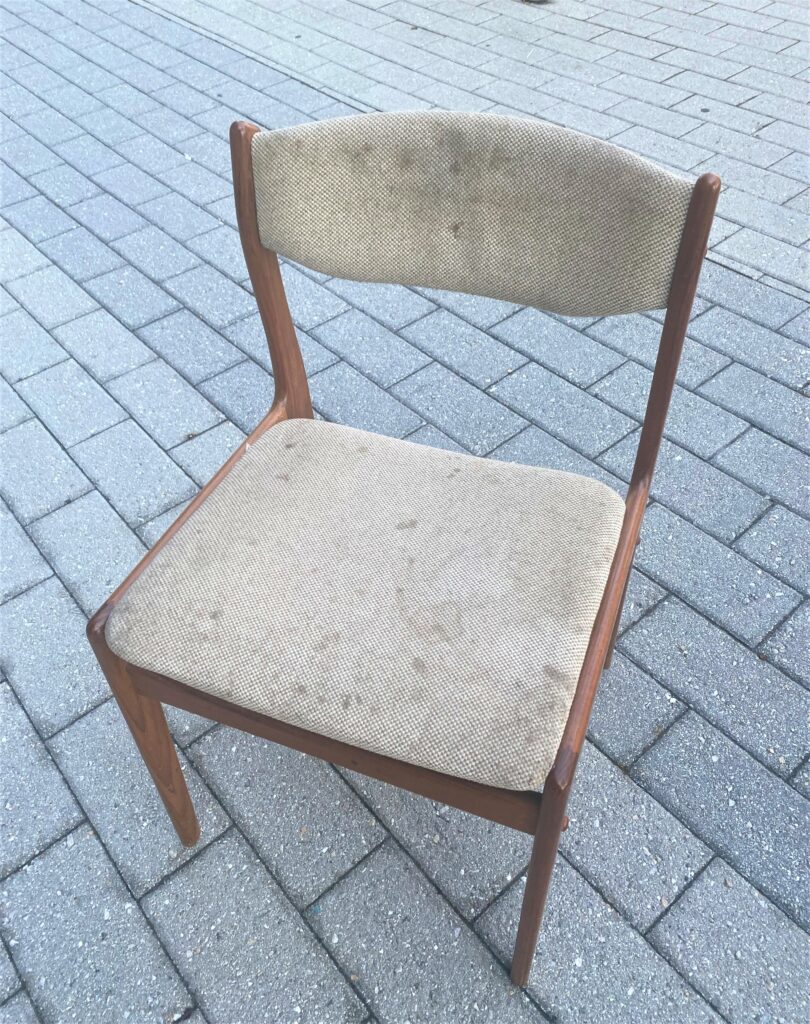
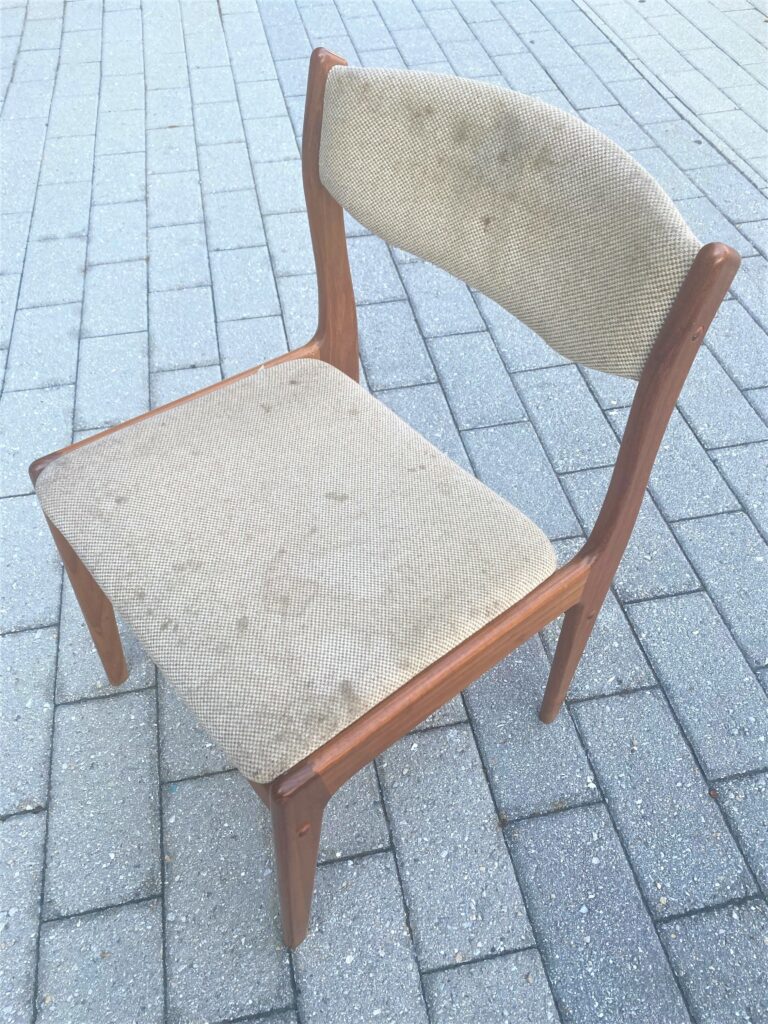
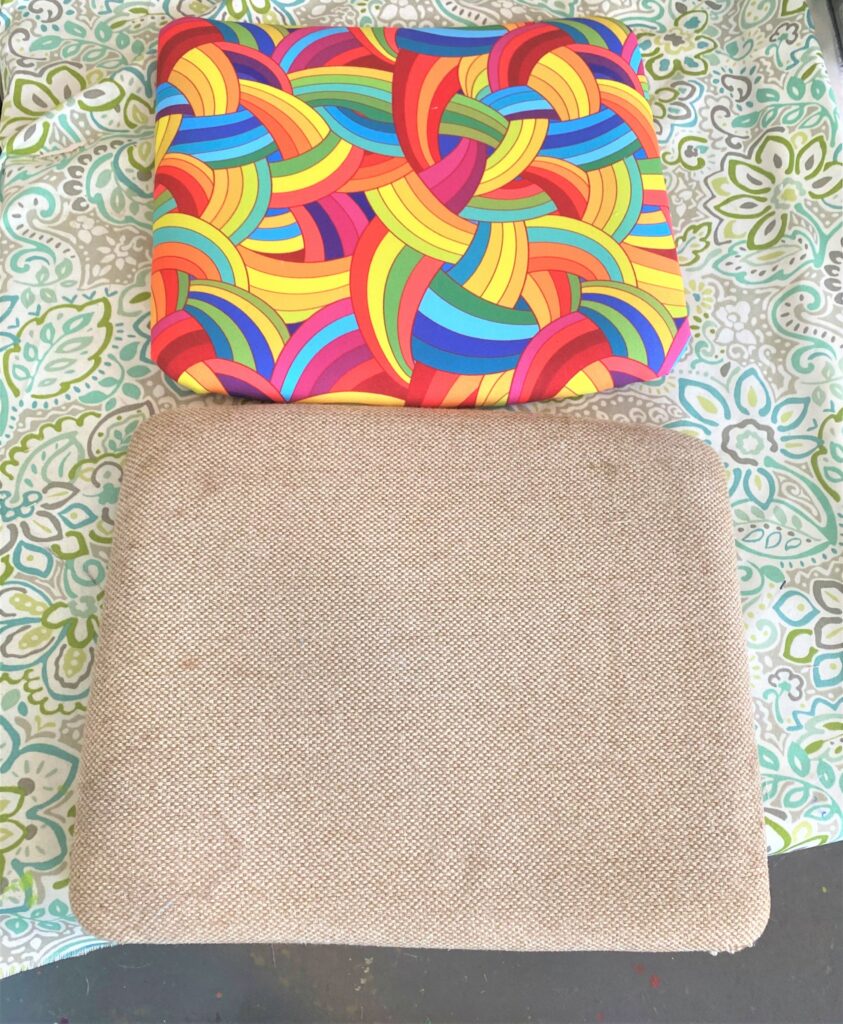
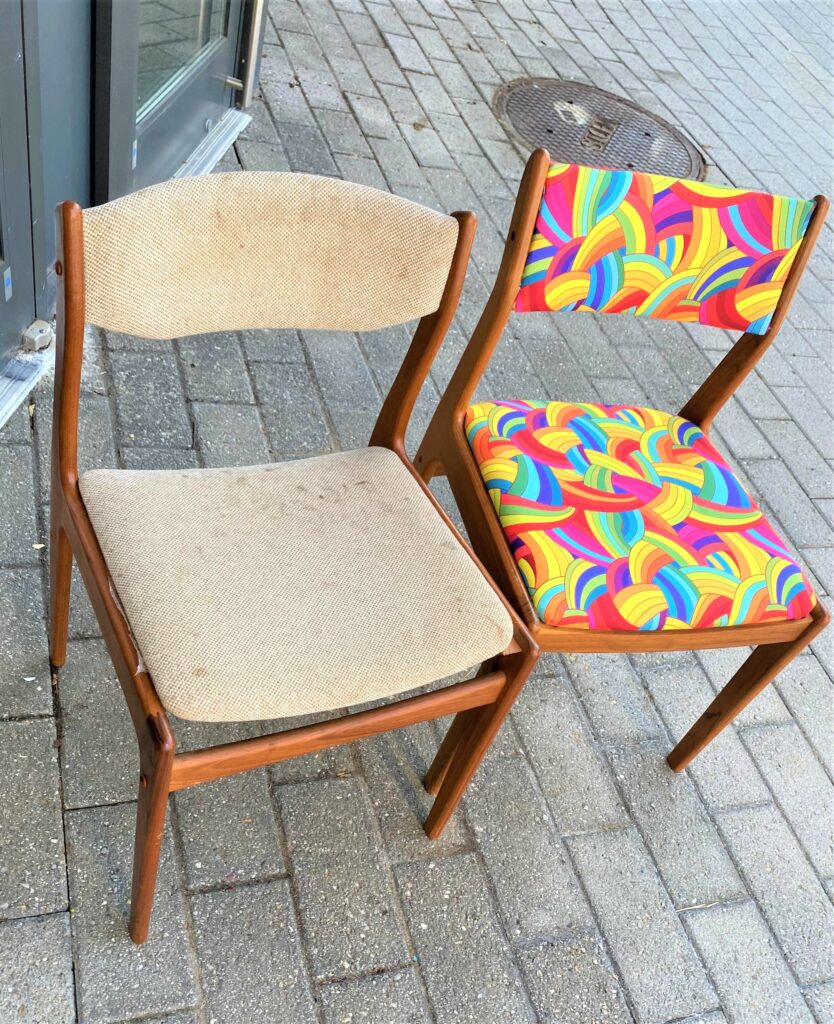
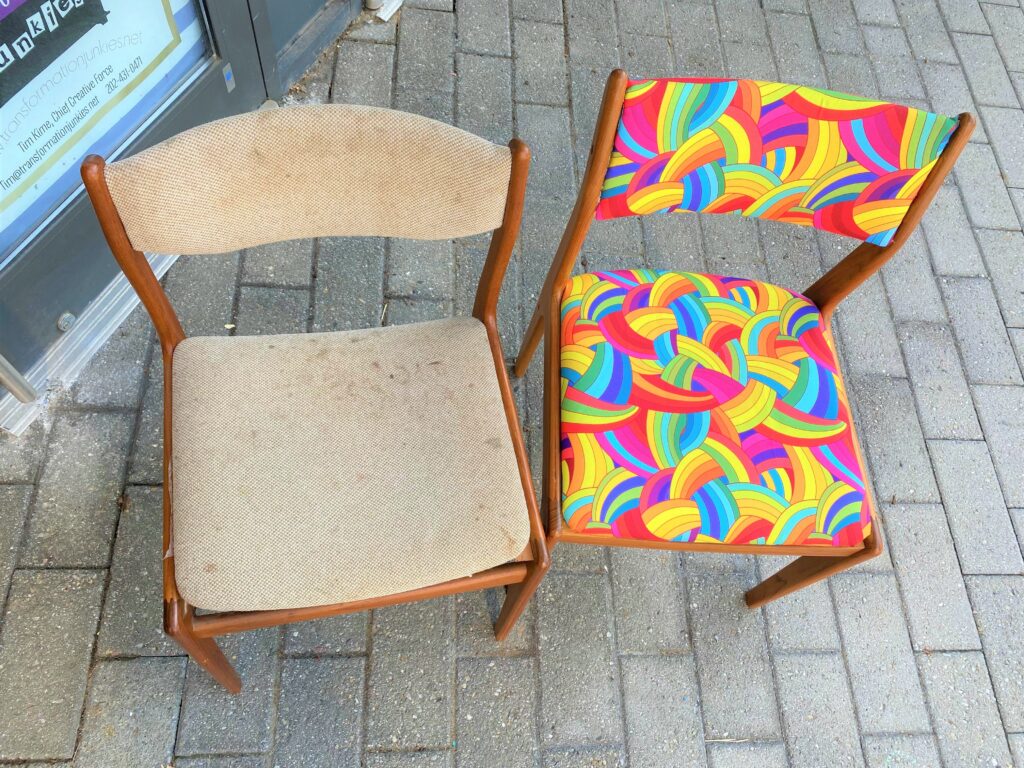
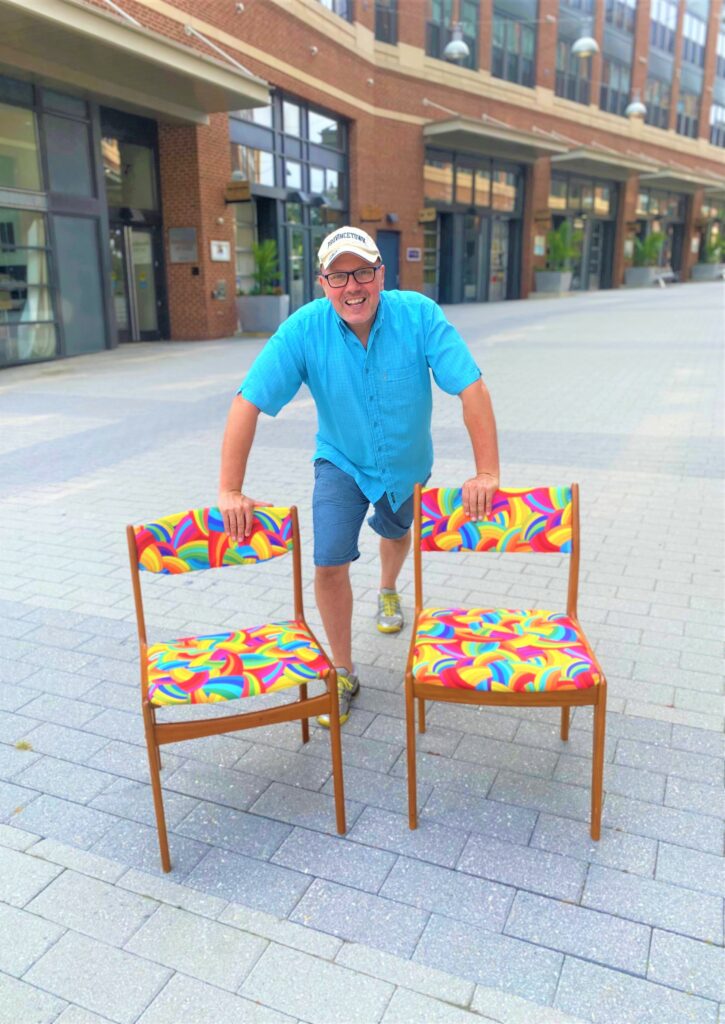
How do you take a set of kitchen/dining room chairs from a little grimy (no offense!) to a lot of groovy? By quite simply picking the right, fun fabric! This week’s blog features a set of chairs with great, clean lines and super solid construction. However, after 20 years of daily use—enduring spills from meals and drips from entertaining—these Scandinavian beauties had lost some of their good looks.
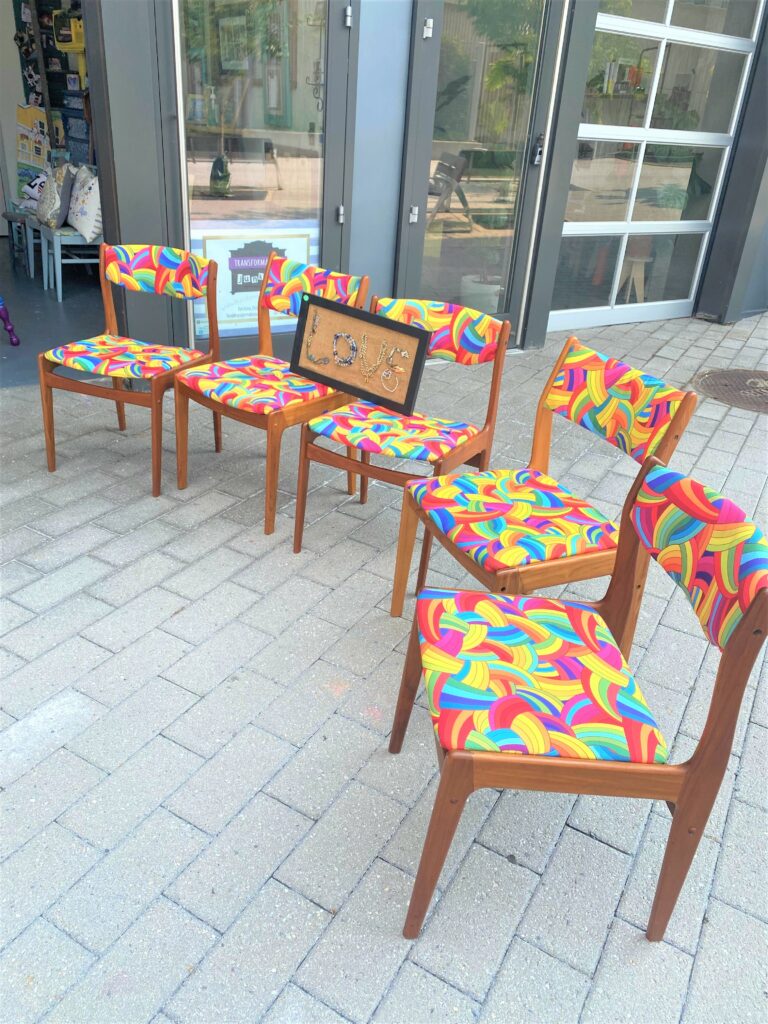
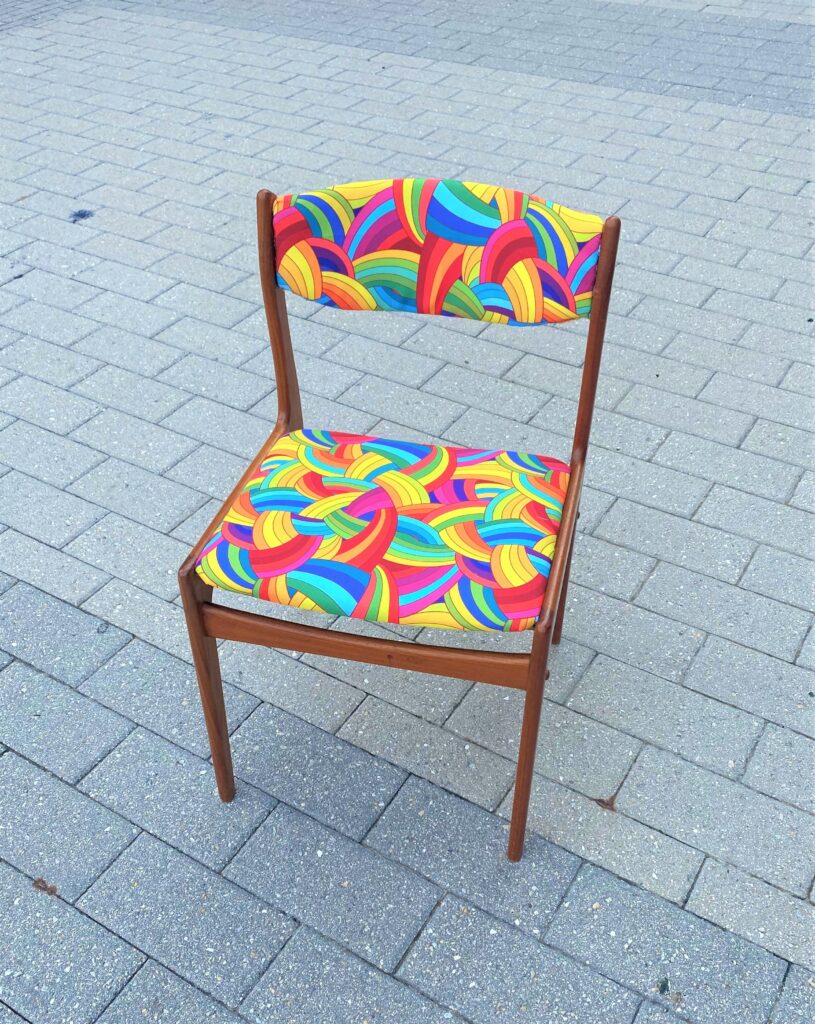
Colorful, graphic material with curvy rainbows makes all the difference and will inspire future, memorable moments for those gathered around the table.
Thanks to Michelle and Tannis for giving me the opportunity to transform the look and feel of their chairs—I am ready to join you all for dinner soon!
Supplies Needed
- Colorful upholstery fabric
- Staple gun
- Scissors
- Fabric glue
- Wood glue
- Screwdriver
- Small pliers
- Painter’s tape
- Sharpie
- Furniture wax
- Cloth rags
1. Number your piece
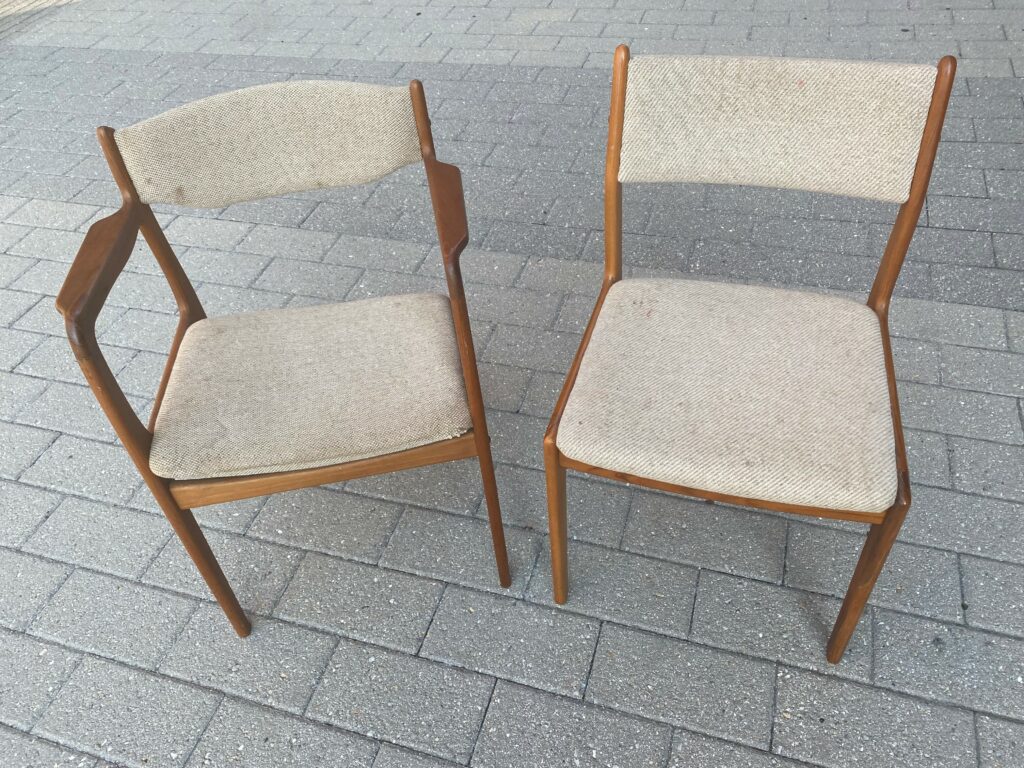
Michelle and Tannis’ chair set looked all the same but were actually three different styles that you might not notice at first. To ensure each back and seat piece went back together with its respective frame, numbers written on painter’s tape were then added to each piece. Therefore, seat #1 and back #1`would easily find their way, after its transformation, to be reattached to frame #1.
As you follow this step with your chairs, also be sure to place all your screws, bolts, and other pieces together too.
2. Reglue, retighten
To ensure your chairs are solid and strong for years to come, reglue any loose parts at this time. Wood glue is the best option for this step.
- Add glue then wipe away any access amounts and drips.
- Use your screwdriver to tighten any loose screws. Both will make your chairs feel brand new and super sturdy.
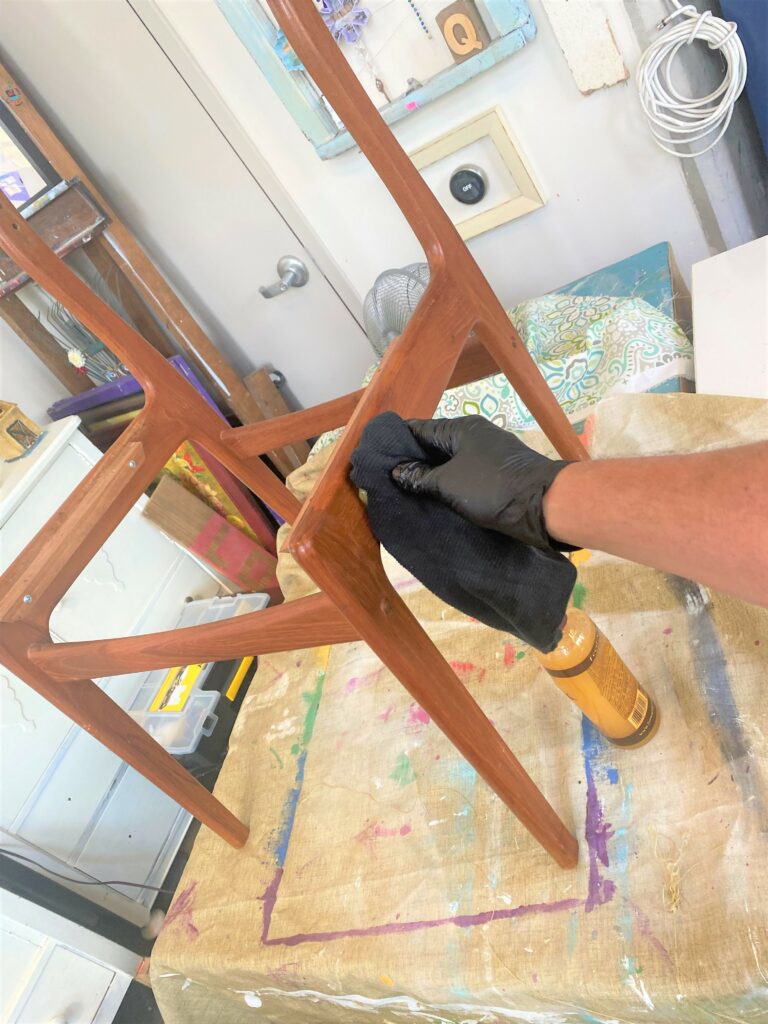
3. Wax on, wax off
Once your chair’s seats and backs are removed and things have been reglued and tightened as needed, this is the perfect time to give your wooden chair frame a refreshing, too. Following the manufacturer’s directions, use a soft cloth to apply furniture polish all over each surface, with extra focus on any scratches. This step helped to give each chair additional luster and shine.
4. Cut cloth carefully
Thankfully, this fun fabric didn’t have a design or pattern that needed to face one direction or another. This allowed me to so place the chair backs and sides in various positions to make the best use of the fabric. Be sure to leave extra fabric along the edges!
5. Staple on the transformation
Seats
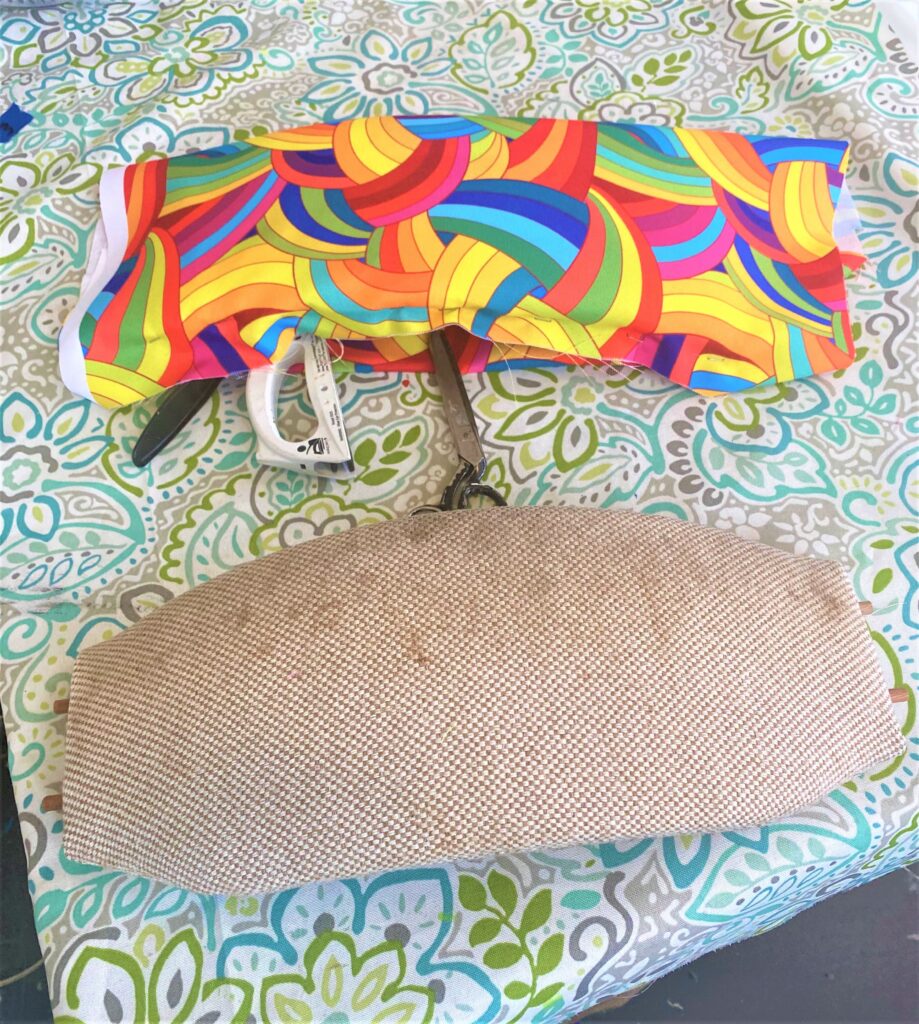
- Start with the chair seats as they will be easier than the chair backs (learned from experience!).
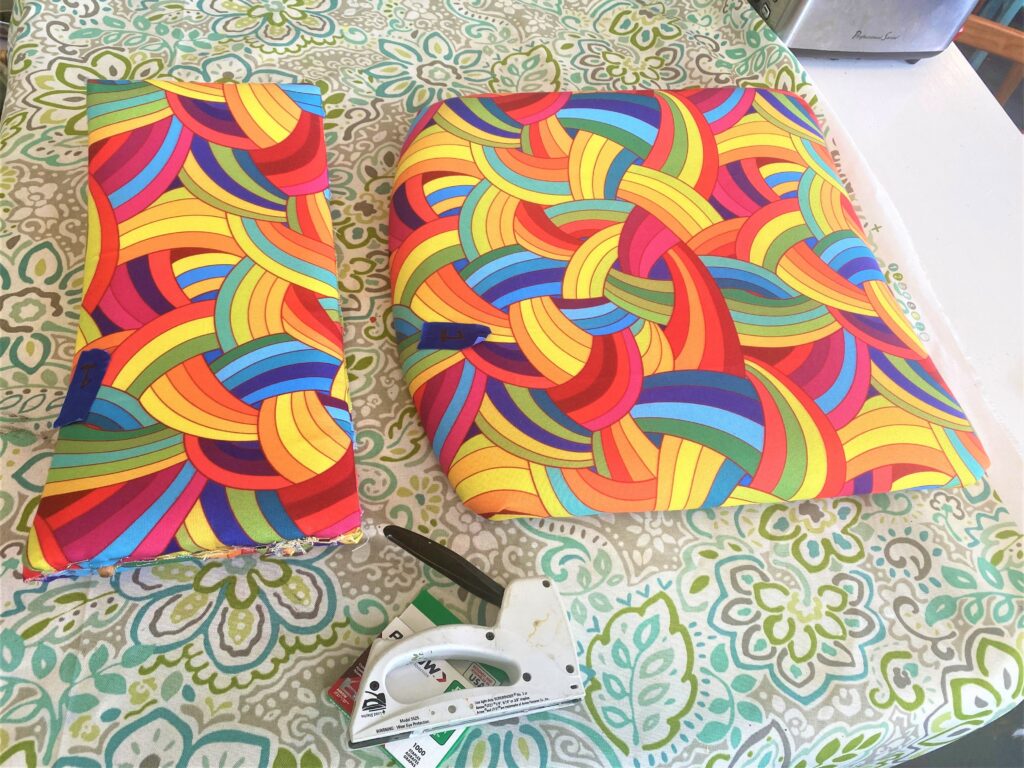
- Place your cut fabric piece with its good side downward/face down on your work surface and place your seat on it with its fabric side down too.
- Gently fold over part of the fabric along one edge and secure a staple or two.
- On the opposite edge, do the same; repeat on the remaining two edges. This will fold the material in place.
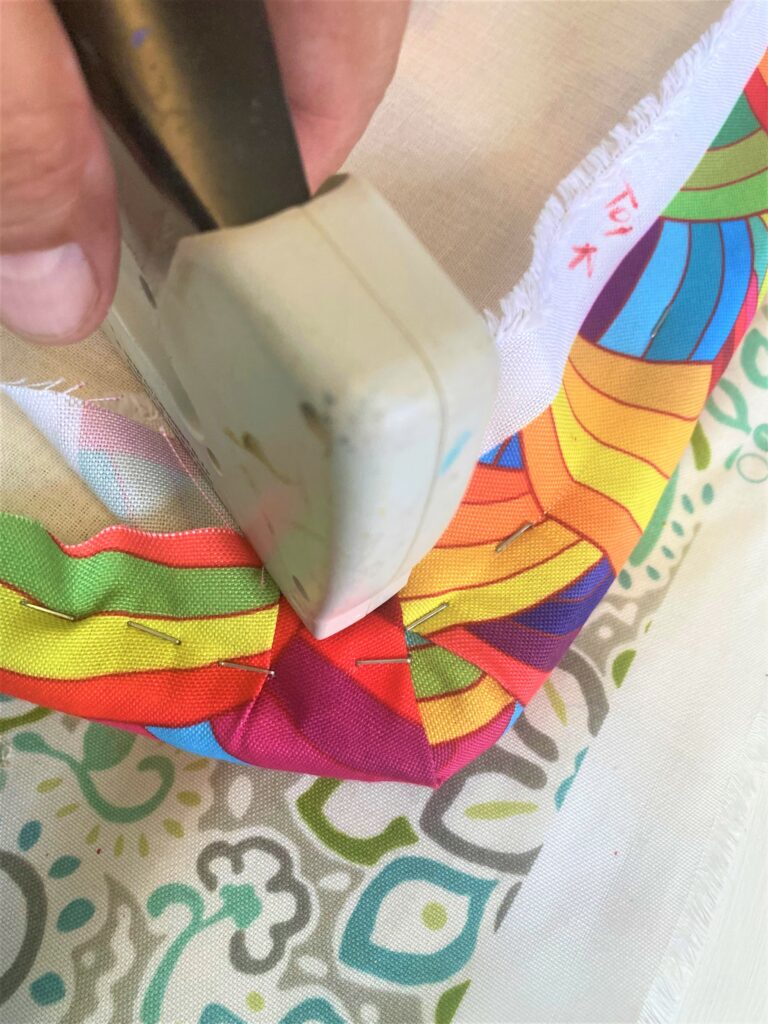
- Pull the fabric tightly and with care, adding rows of staples as you go.
- For the corners, fold the fabric so it lies flatly. Add more staples.
- Once your fabric is in place tightly, use your scissors to cut away any access.
Back
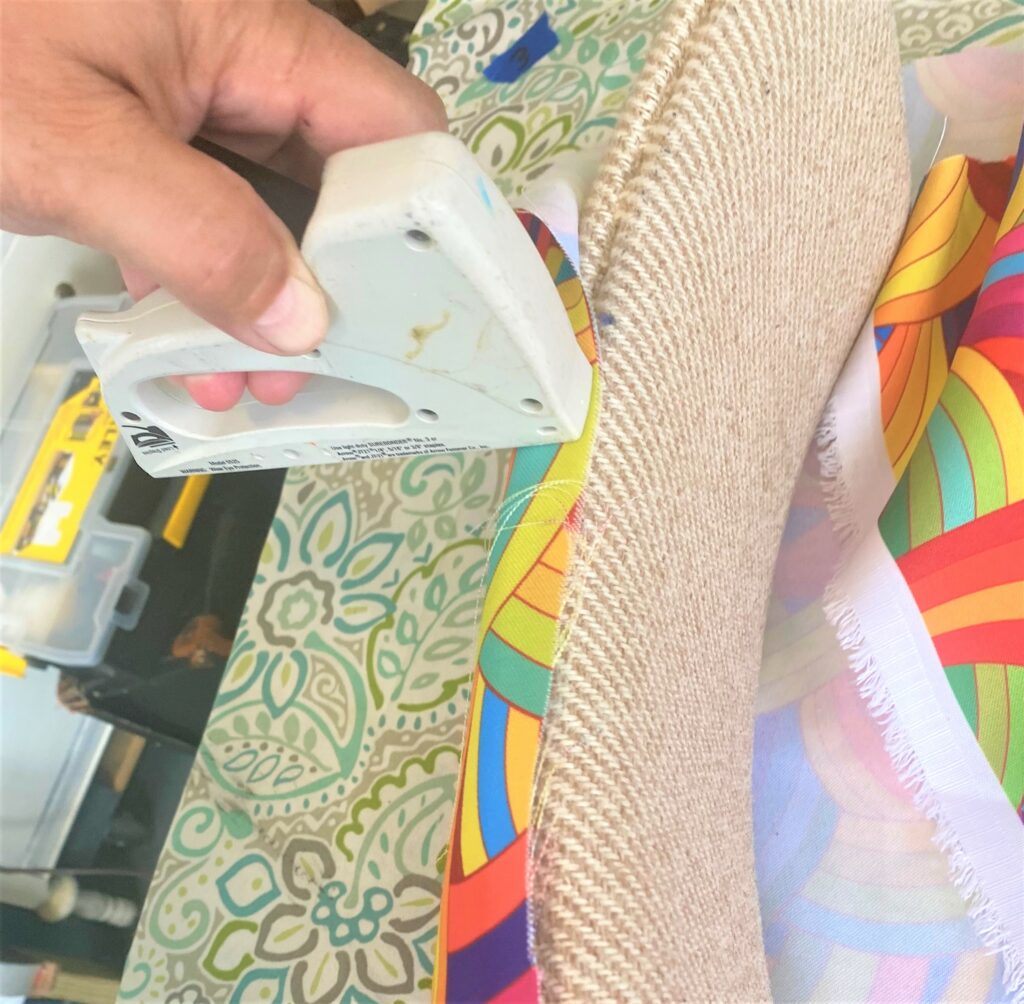
- This part was much trickier given its curvy shape and the sides which are pegged and screwed.
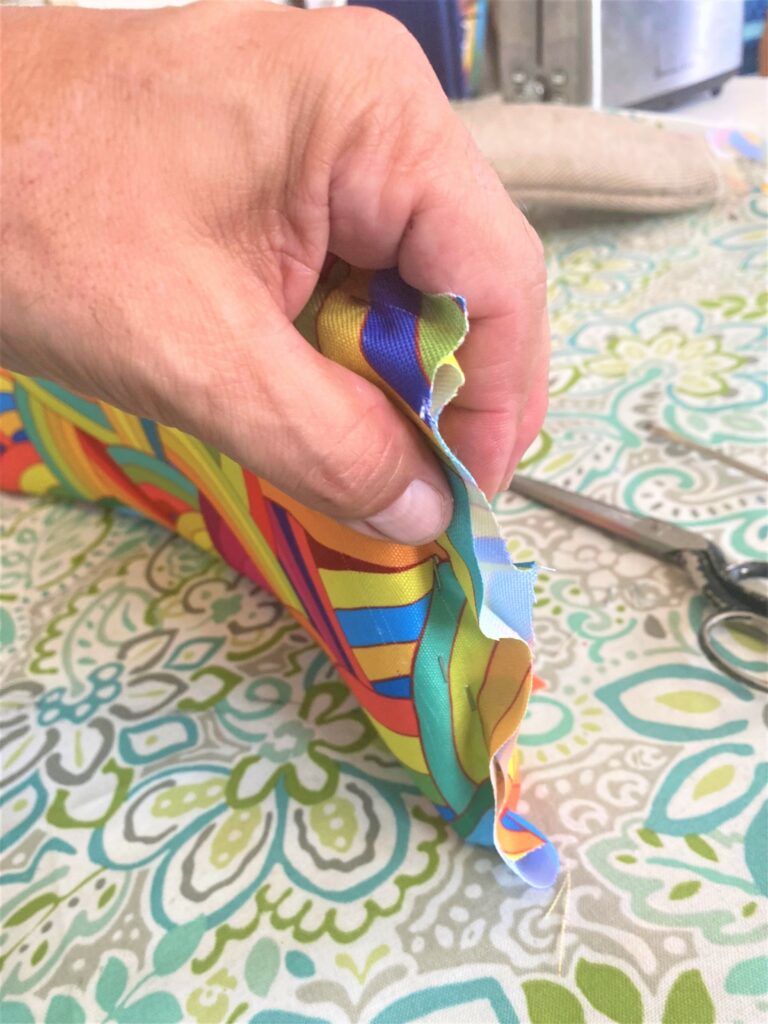
- For these chairs, the fabric was folded over one side, across the top then covered the other side and stapled in place along the bottom.
- After positioning the fabric, I stapled one edge along the bottom then cut away extra material.
- With the piece now almost wrapped like a burrito, more staples were added along the bottom along the other edge.
- Again, the extra fabric was trimmed.
- The sides required some stapling and trimming as I went. Some staples were positioned around the pegs to hold it in place. This step was the most tedious and time-consuming but worth it for sure!
6. Fabric glue “rough” edges
- To provide a tight seal and to secure any fabric frays, I used my finger to apply fabric glue along the bottom edge. While this would not be visible when in use, the fabric frays could be. The glue helped to give it more of a finished look.
7. Reassemble
Now is when your number comes in handy and saves you time. Put the right pieces with the right chair frame and screw them back into place.

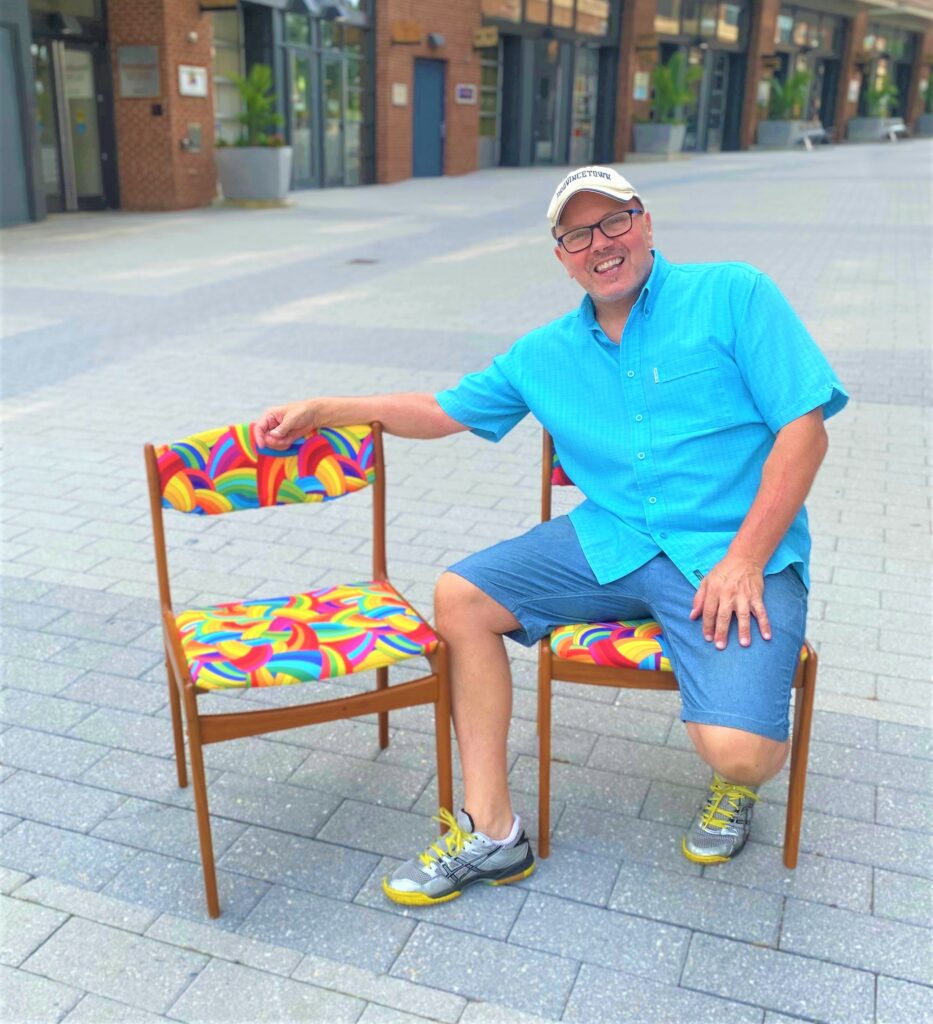
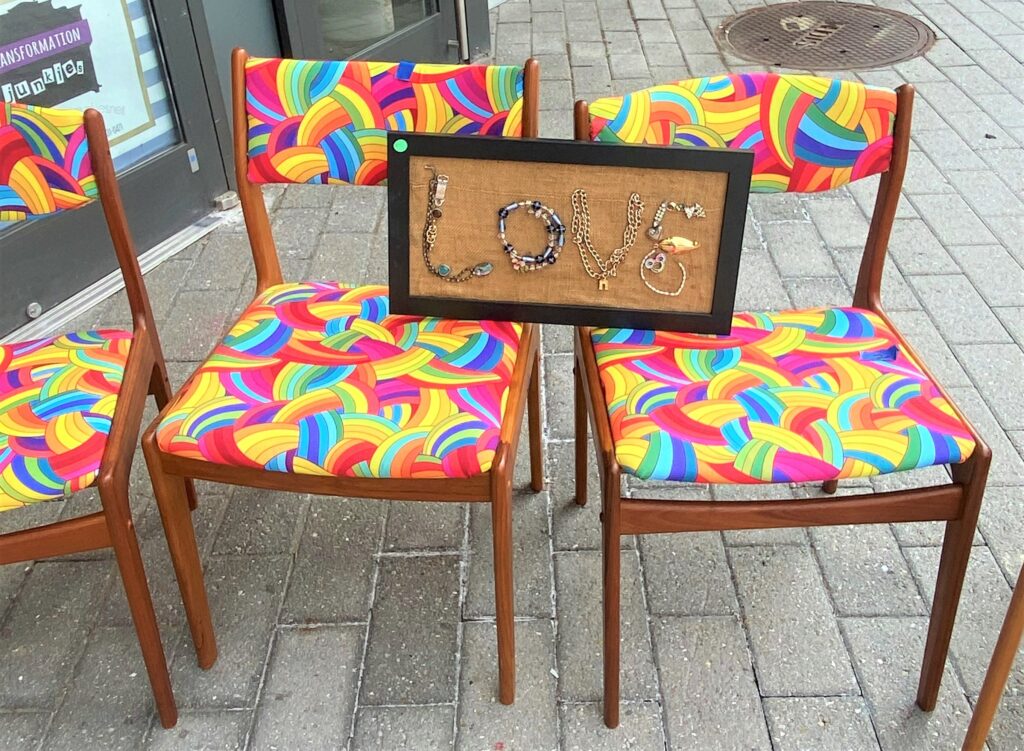
8. Enjoy!
Plan your dinner party or brunch gathering soon (and now that most of us are vaccinated) because you are going to want to show off your crowd-pleasing, fabulous chairs! As I worked on this project at my studio, so many people said how much they loved the final look. Great fabric choice, Michelle and Tannis!
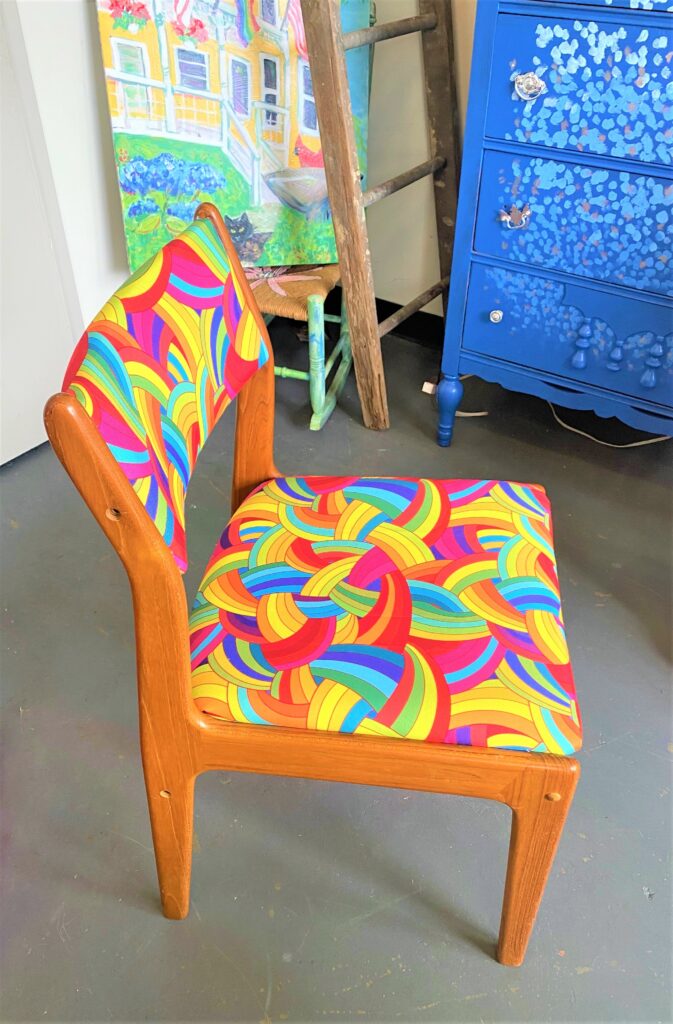
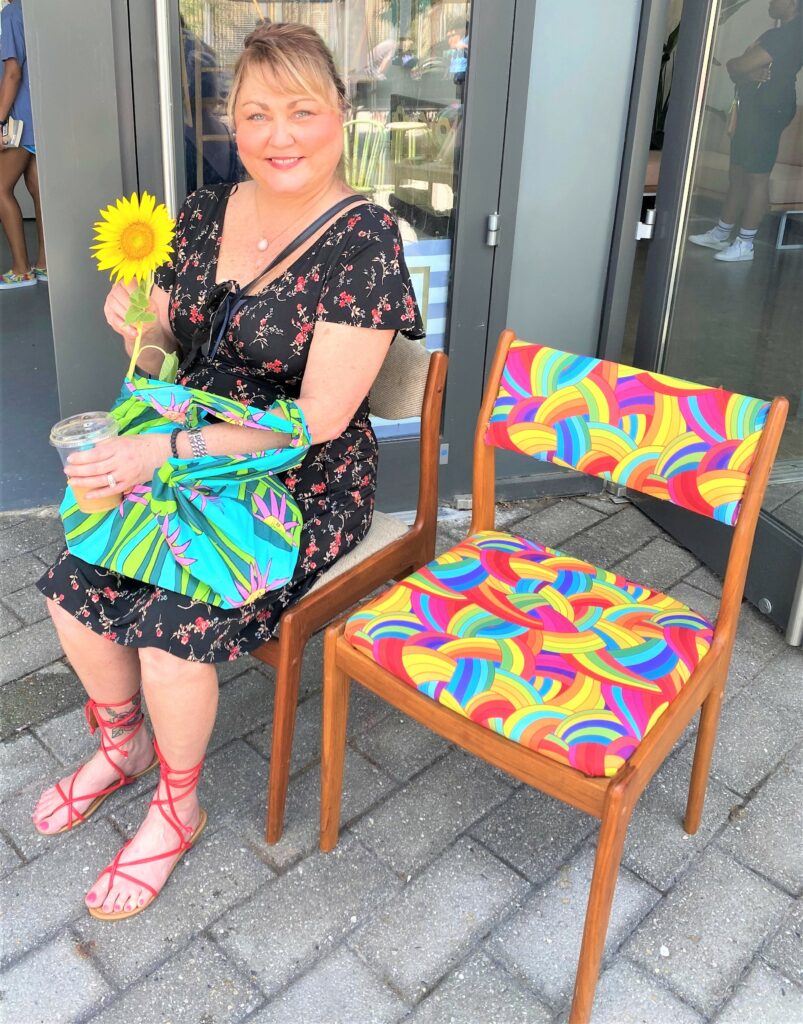
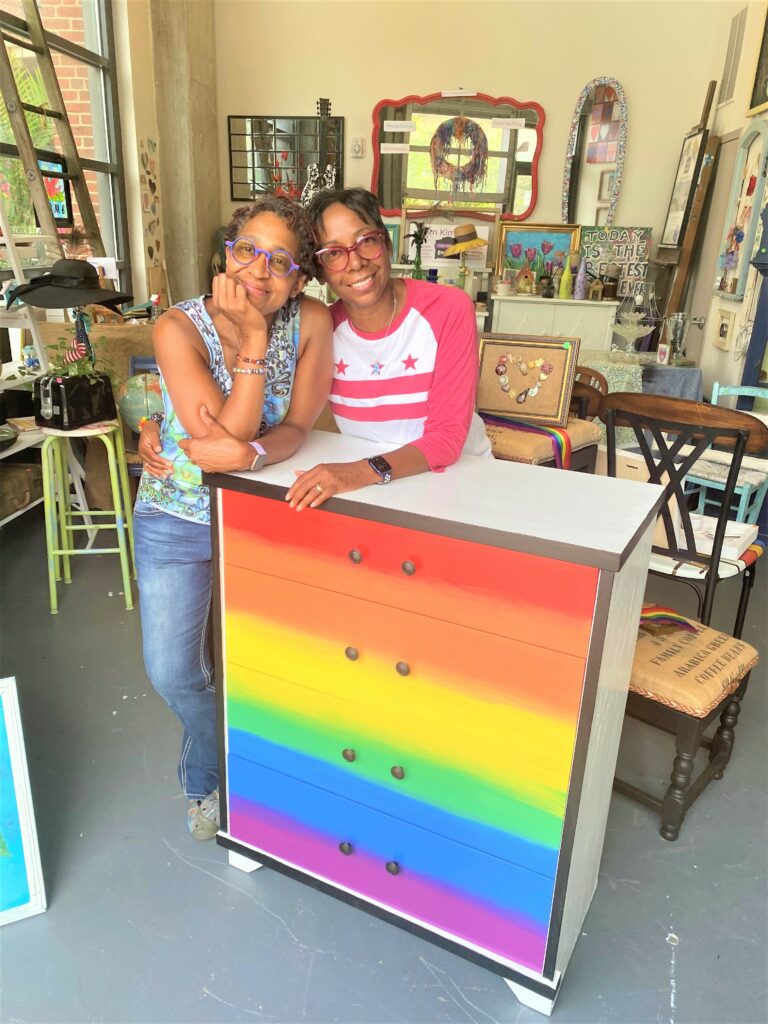
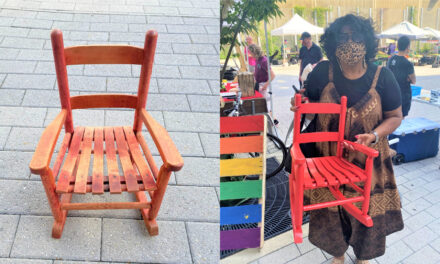
Michelle and Tannis are pictured with the Pride Dresser that they picked up from me! Thanks to much! For inspiration on creating your own rainbow-colored piece, check out my earlier blog which gives you easy steps to upcycle a piece you will love, too!

Tim Kime
Artist, Motivational Speaker, Life Coach


