
You don’t need to bottle up your feelings this Valentine’s Day—or any day. With a little creativity, simple upcycled bottles can be transformed into beautiful gifts your sweetheart, your BFF, or yourself will treasure.


Given the recent snowy, cold weather, this is the perfect stay-inside DIY to warm your heart while keeping cozy at home.
This project proves that discarded bottles—often overlooked—can become charming vases, décor pieces, or heartfelt gifts with just a few simple steps.
Here’s How:
1. Find the good in what you already have
Since many of us were homebound and Goodwill stores were temporarily closed due to the weather, it was the perfect time to “shop” our own homes.
Goodwill of Greater Washington cares deeply about our community and keeps its nonprofit retail stores closed to help everyone stay safe. We applaud that thoughtful decision—and it also invites us to look creatively at what we already have on hand.
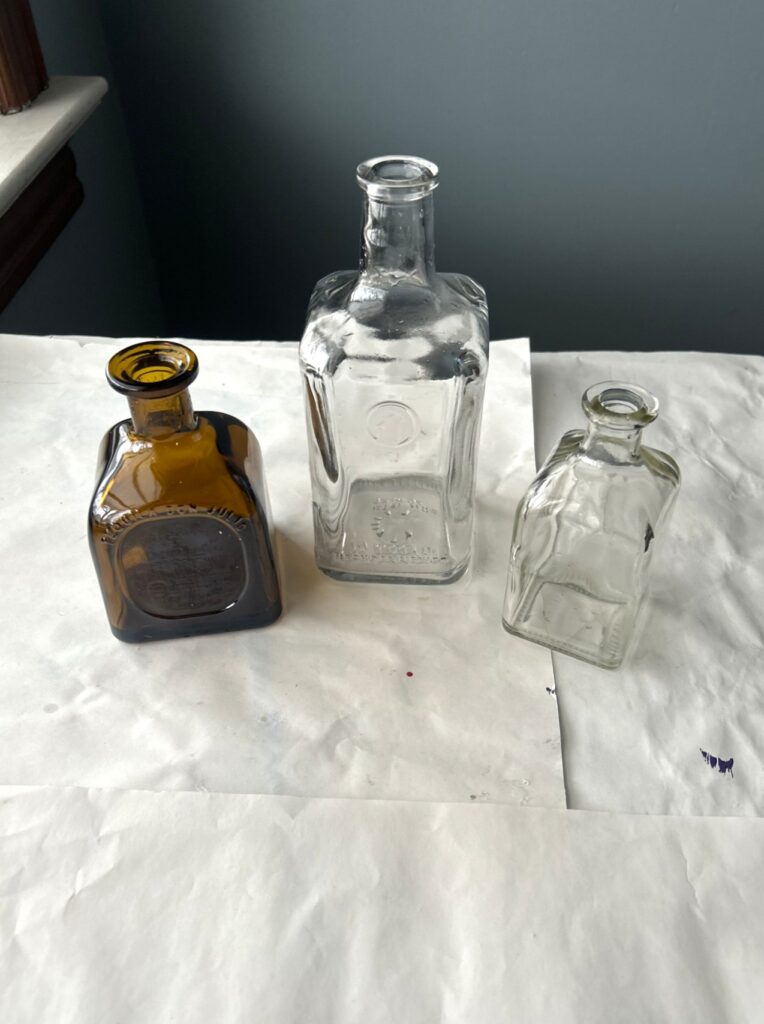
At home, I had several square glass bottles I’d collected on neighborhood walks before the snow. I also dipped into my arts-and-crafts stash to see what was at my fingertips for a fun, creative project.
Some of the supplies used—paints, brushes, twine, and buttons—were picked up at a recent Art Supply Swap, held in partnership with Finding Your Good and Tim Kime Art. (We are planning for another, so stay tuned for details!)


Thrifting Tip:
These same steps work beautifully with bottles, vases, and glassware you can find at Goodwill stores for just pennies a piece.
2. Soak away the labels—and soak in the clean
Fill your kitchen sink with hot water and dish soap. Gently place the bottles in the water and let time do the work. The glue will soften, and labels will begin to loosen or disintegrate.
Use your fingers or a dull dinner knife to scrape off the labels. You may need to soak them overnight to fully remove stubborn glue residue. Rinse and dry thoroughly.
3. Draw out your designs
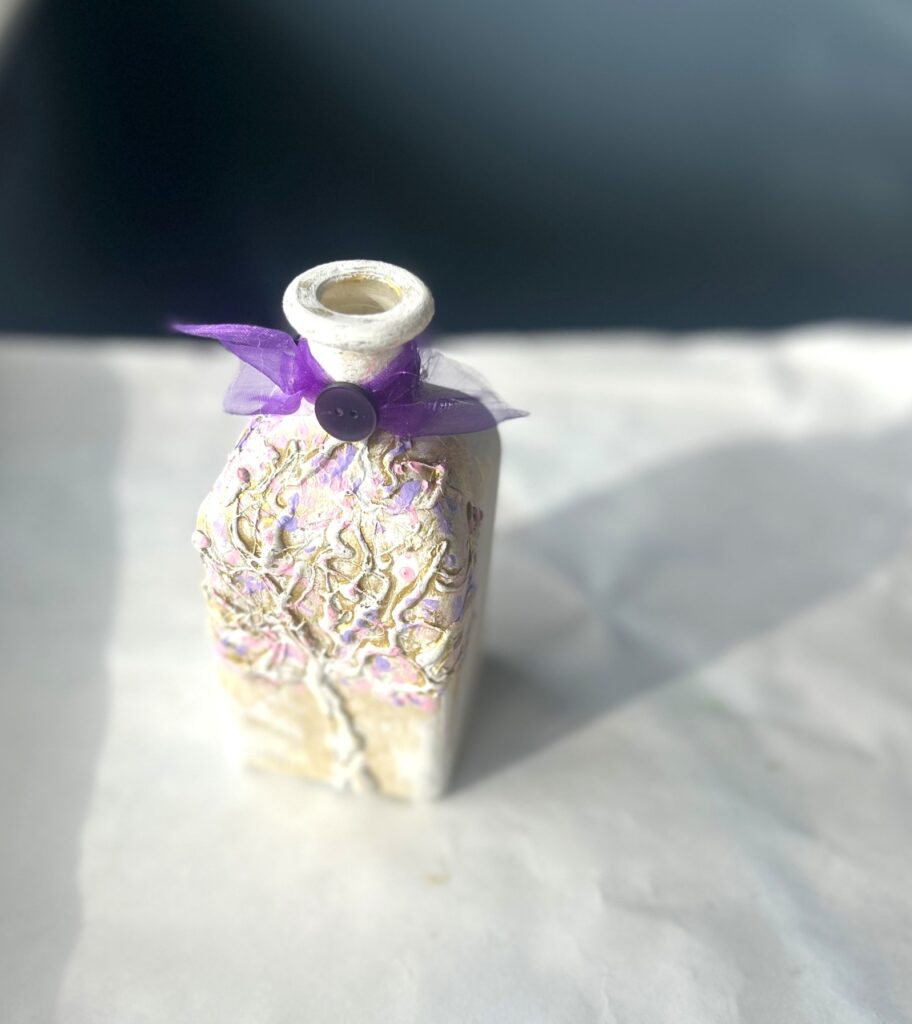
Sketch your ideas on paper before starting. I knew I wanted hearts on two bottles and a tree design on another.
What simple designs speak to you? This is also a wonderful step for younger artists—invite them to share their vision for the bottle’s transformation.


4. Use hot glue to add dimension, detail
This step is super fun—and a little tricky (and hot!). Use your sketch as a guide, applying hot glue directly to the bottle to create raised designs. Be sure to keep a steady flow of glue and have extra glue sticks on hand. For safety, adults should handle this step.
Expert Tip:
Don’t aim for perfection. The organic, imperfect lines give the finished piece warmth and character.


5. Layer on the love—with paint
Part A: Base layers
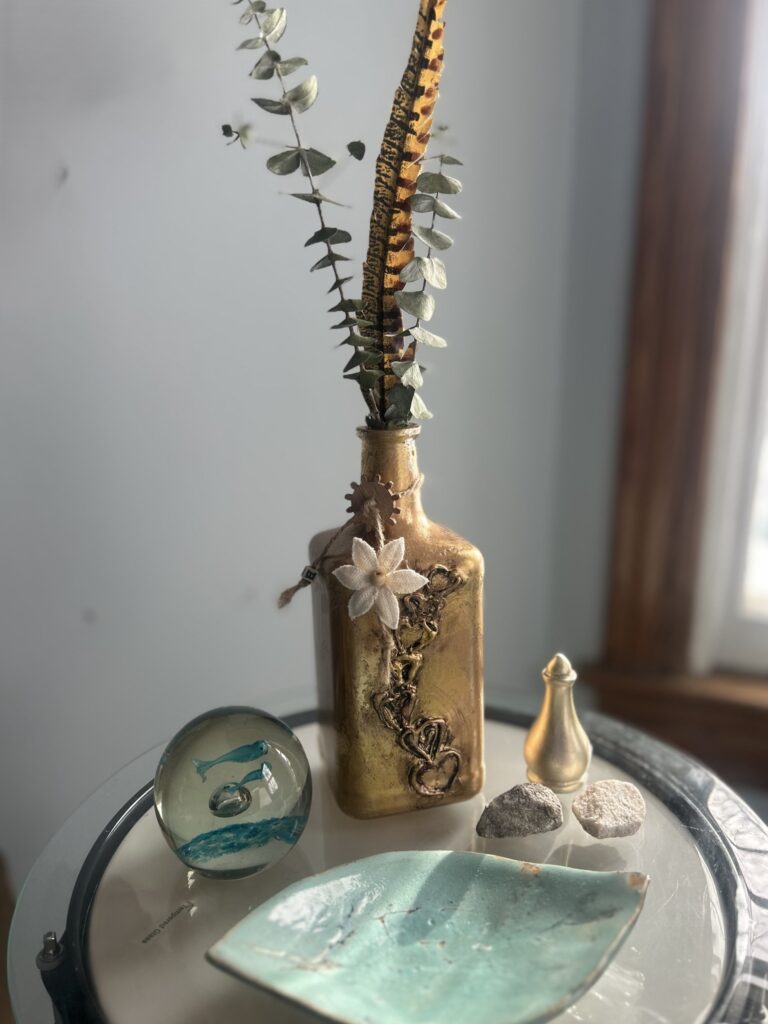
Start with your foundational colors. One tall bottle was spray-painted gold, then placed inside a cardboard box to catch the overspray. A wonky nozzle caused drips instead of a fine spray—and the texture turned out beautifully!
Another bottle received brushed-on white paint, which instantly made the raised glue details pop. A third was painted with gold craft paint using a smaller brush. Allow all paint to dry completely.


Part B: Highlight the raised designs
To make the hot-glue designs stand out, apply a contrasting paint color, then gently wipe it away.
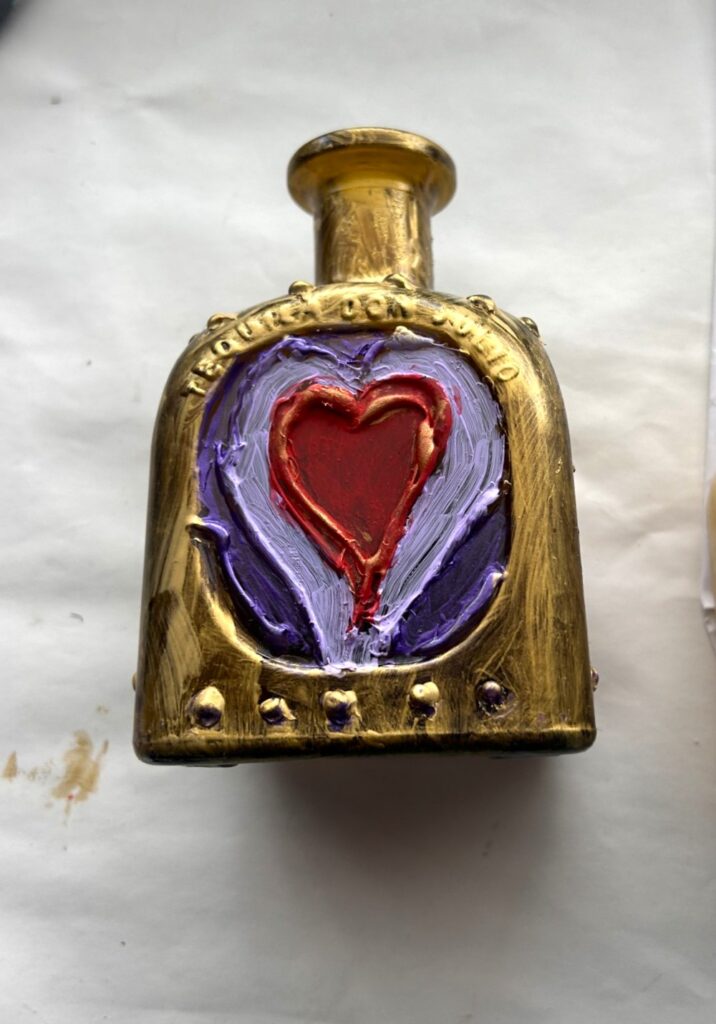
- On the gold bottle, black paint was brushed over the raised hearts, then wiped off with a damp paper towel—leaving definition along the edges.
- On the white bottle, gold paint was rubbed on and partially removed with fingers and a paper towel for a soft, luminous effect.


6. Bring out the details
Use small brushes to add accents and visual interest. Pink and lavender dots became flowering blooms on the tree bottle. The heart bottles were enhanced with reds, purples, and whites. You may need to layer paint to get the color just right.
Design Tip:
Not every detail needs another color. One heart on the tall gold bottle was briefly painted red—but I changed my mind. The gold and black tones were already perfect.


7. Embellish the bottle neck
Add finishing touches with ribbon, twine, buttons, beads, or paper hearts tied around the bottle neck. These small details give each piece personality and charm.


8. Gift, display, and enjoy


What would you name your beautified bottles?
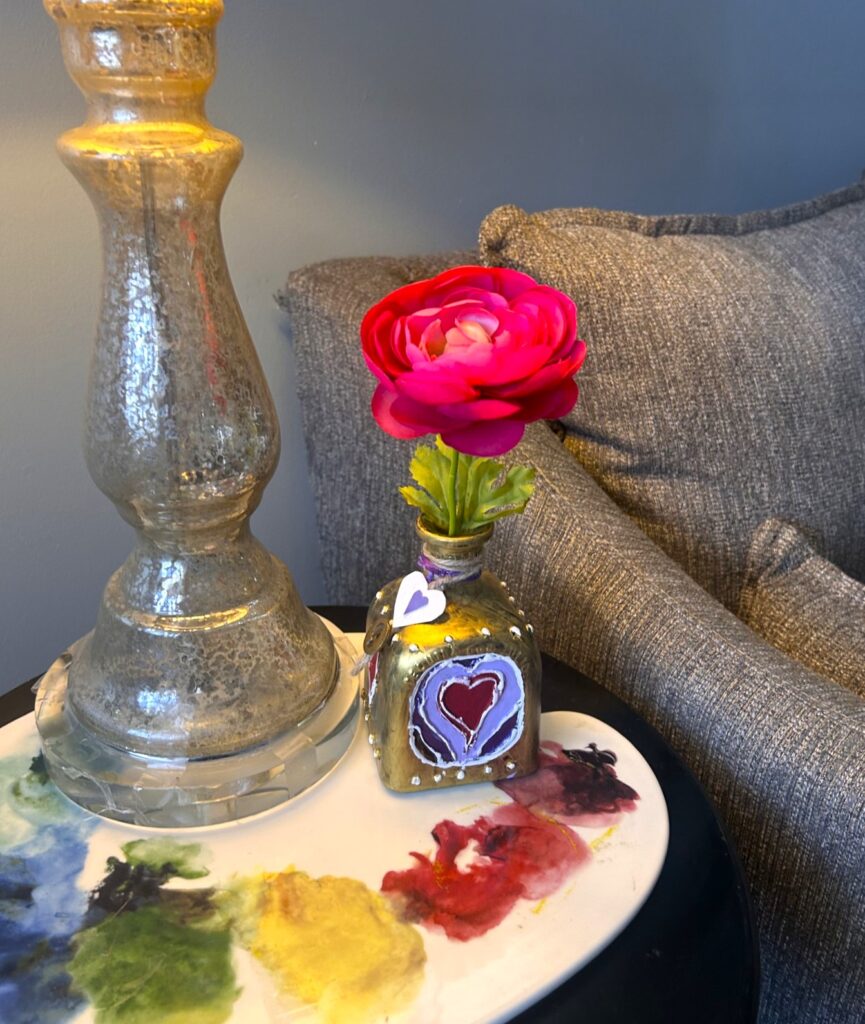
Give one to a loved one with a single blooming flower. Share one with a friend as a reminder that they’re cared for. Keep one for yourself and style it with other meaningful objects in your home.


Your DIY talents will be appreciated—and your care for Mother Nature will earn gold stars and happy hearts.
Similar Reads:

Tim Kime
Artist, Motivational Speaker, Life Coach
