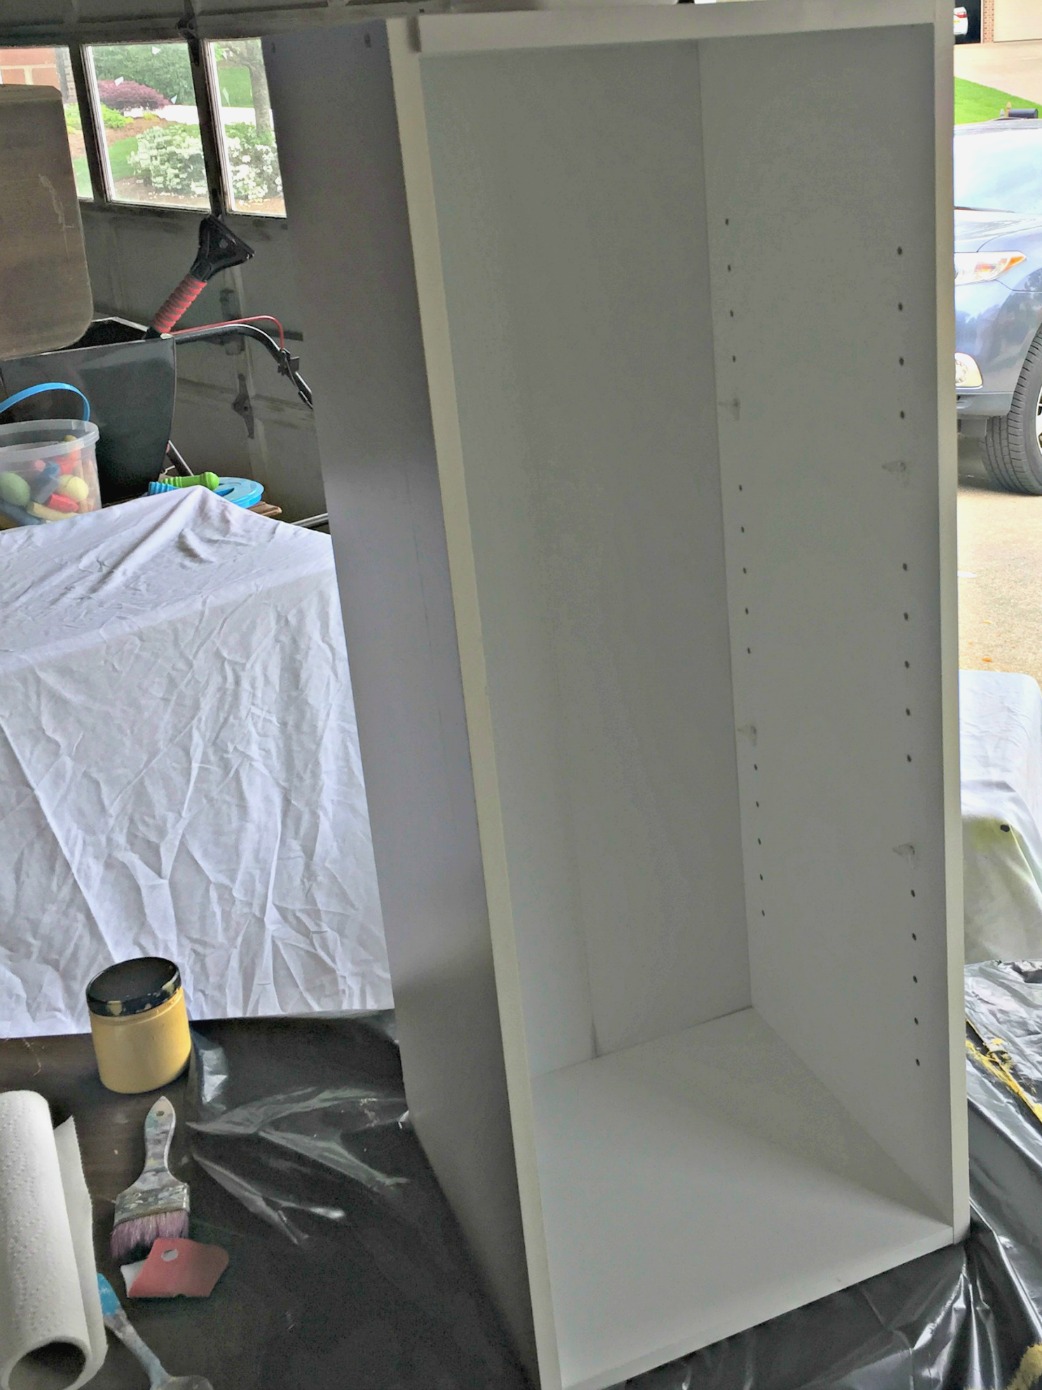
I found this little bookcase for $4.99 at my local Goodwill store recently. It was sturdy and functional—and a great price!
It was also a little…boring.
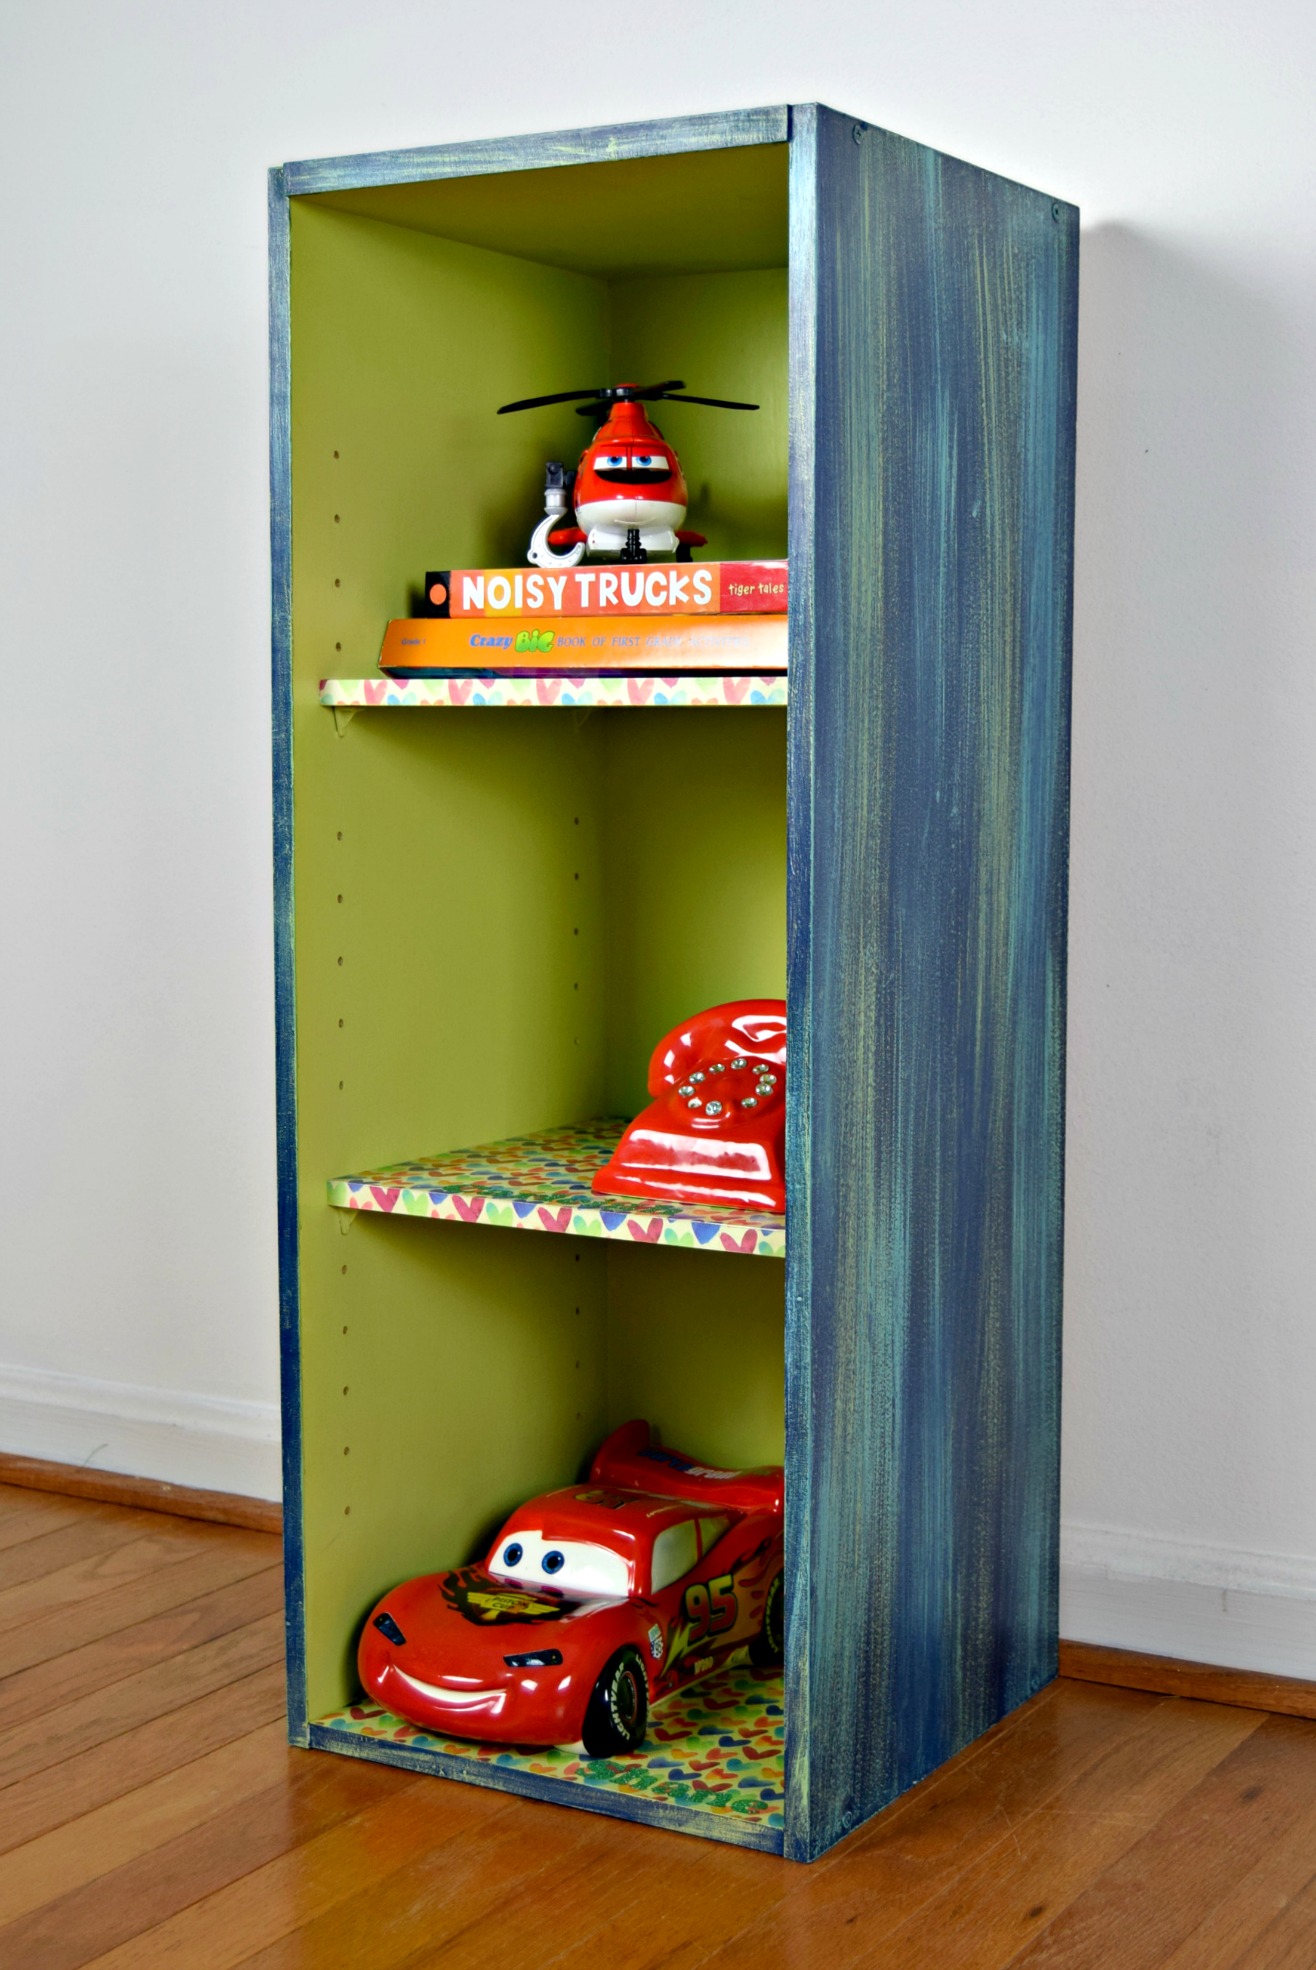
Boring furniture is no problem for me! I knew with a little paint and some pretty paper, I could easily transform this ordinary little bookcase into a stylish storage unit for my sister’s home.
Here’s how I did it.
Because the surface of this bookcase was slick laminate, I brushed on a primer first to help my paint stick better. Then I painted the bookcase dark blue on the outside and lime green on the inside to match the paper I planned to decoupage onto the shelves.
But I wasn’t finished yet.
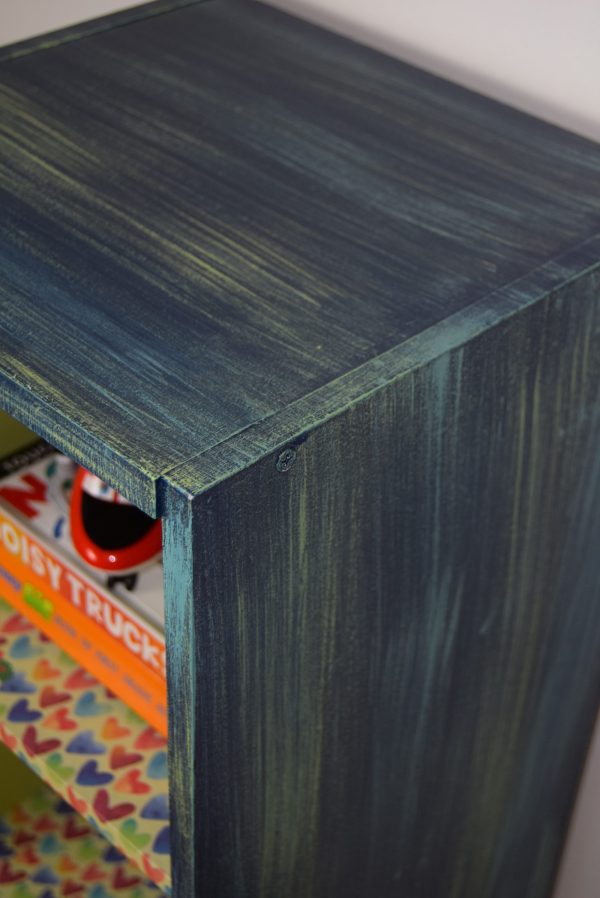
I used a painting technique called “dry brushing” to add more colors and texture to this piece. Dry brushing is a quick way to make simple paint jobs just a little bit fancier. It’s an easy technique for beginner painters.
The trick is to use very little paint, keeping the paintbrush fairly dry. (That’s why it’s called dry brushing!) I don’t even dip my brush into the paint jar. I just dab my brush into the paint that is on the lid. If you are using craft paint for this step, just a little squirt onto a paper plate is usually enough.
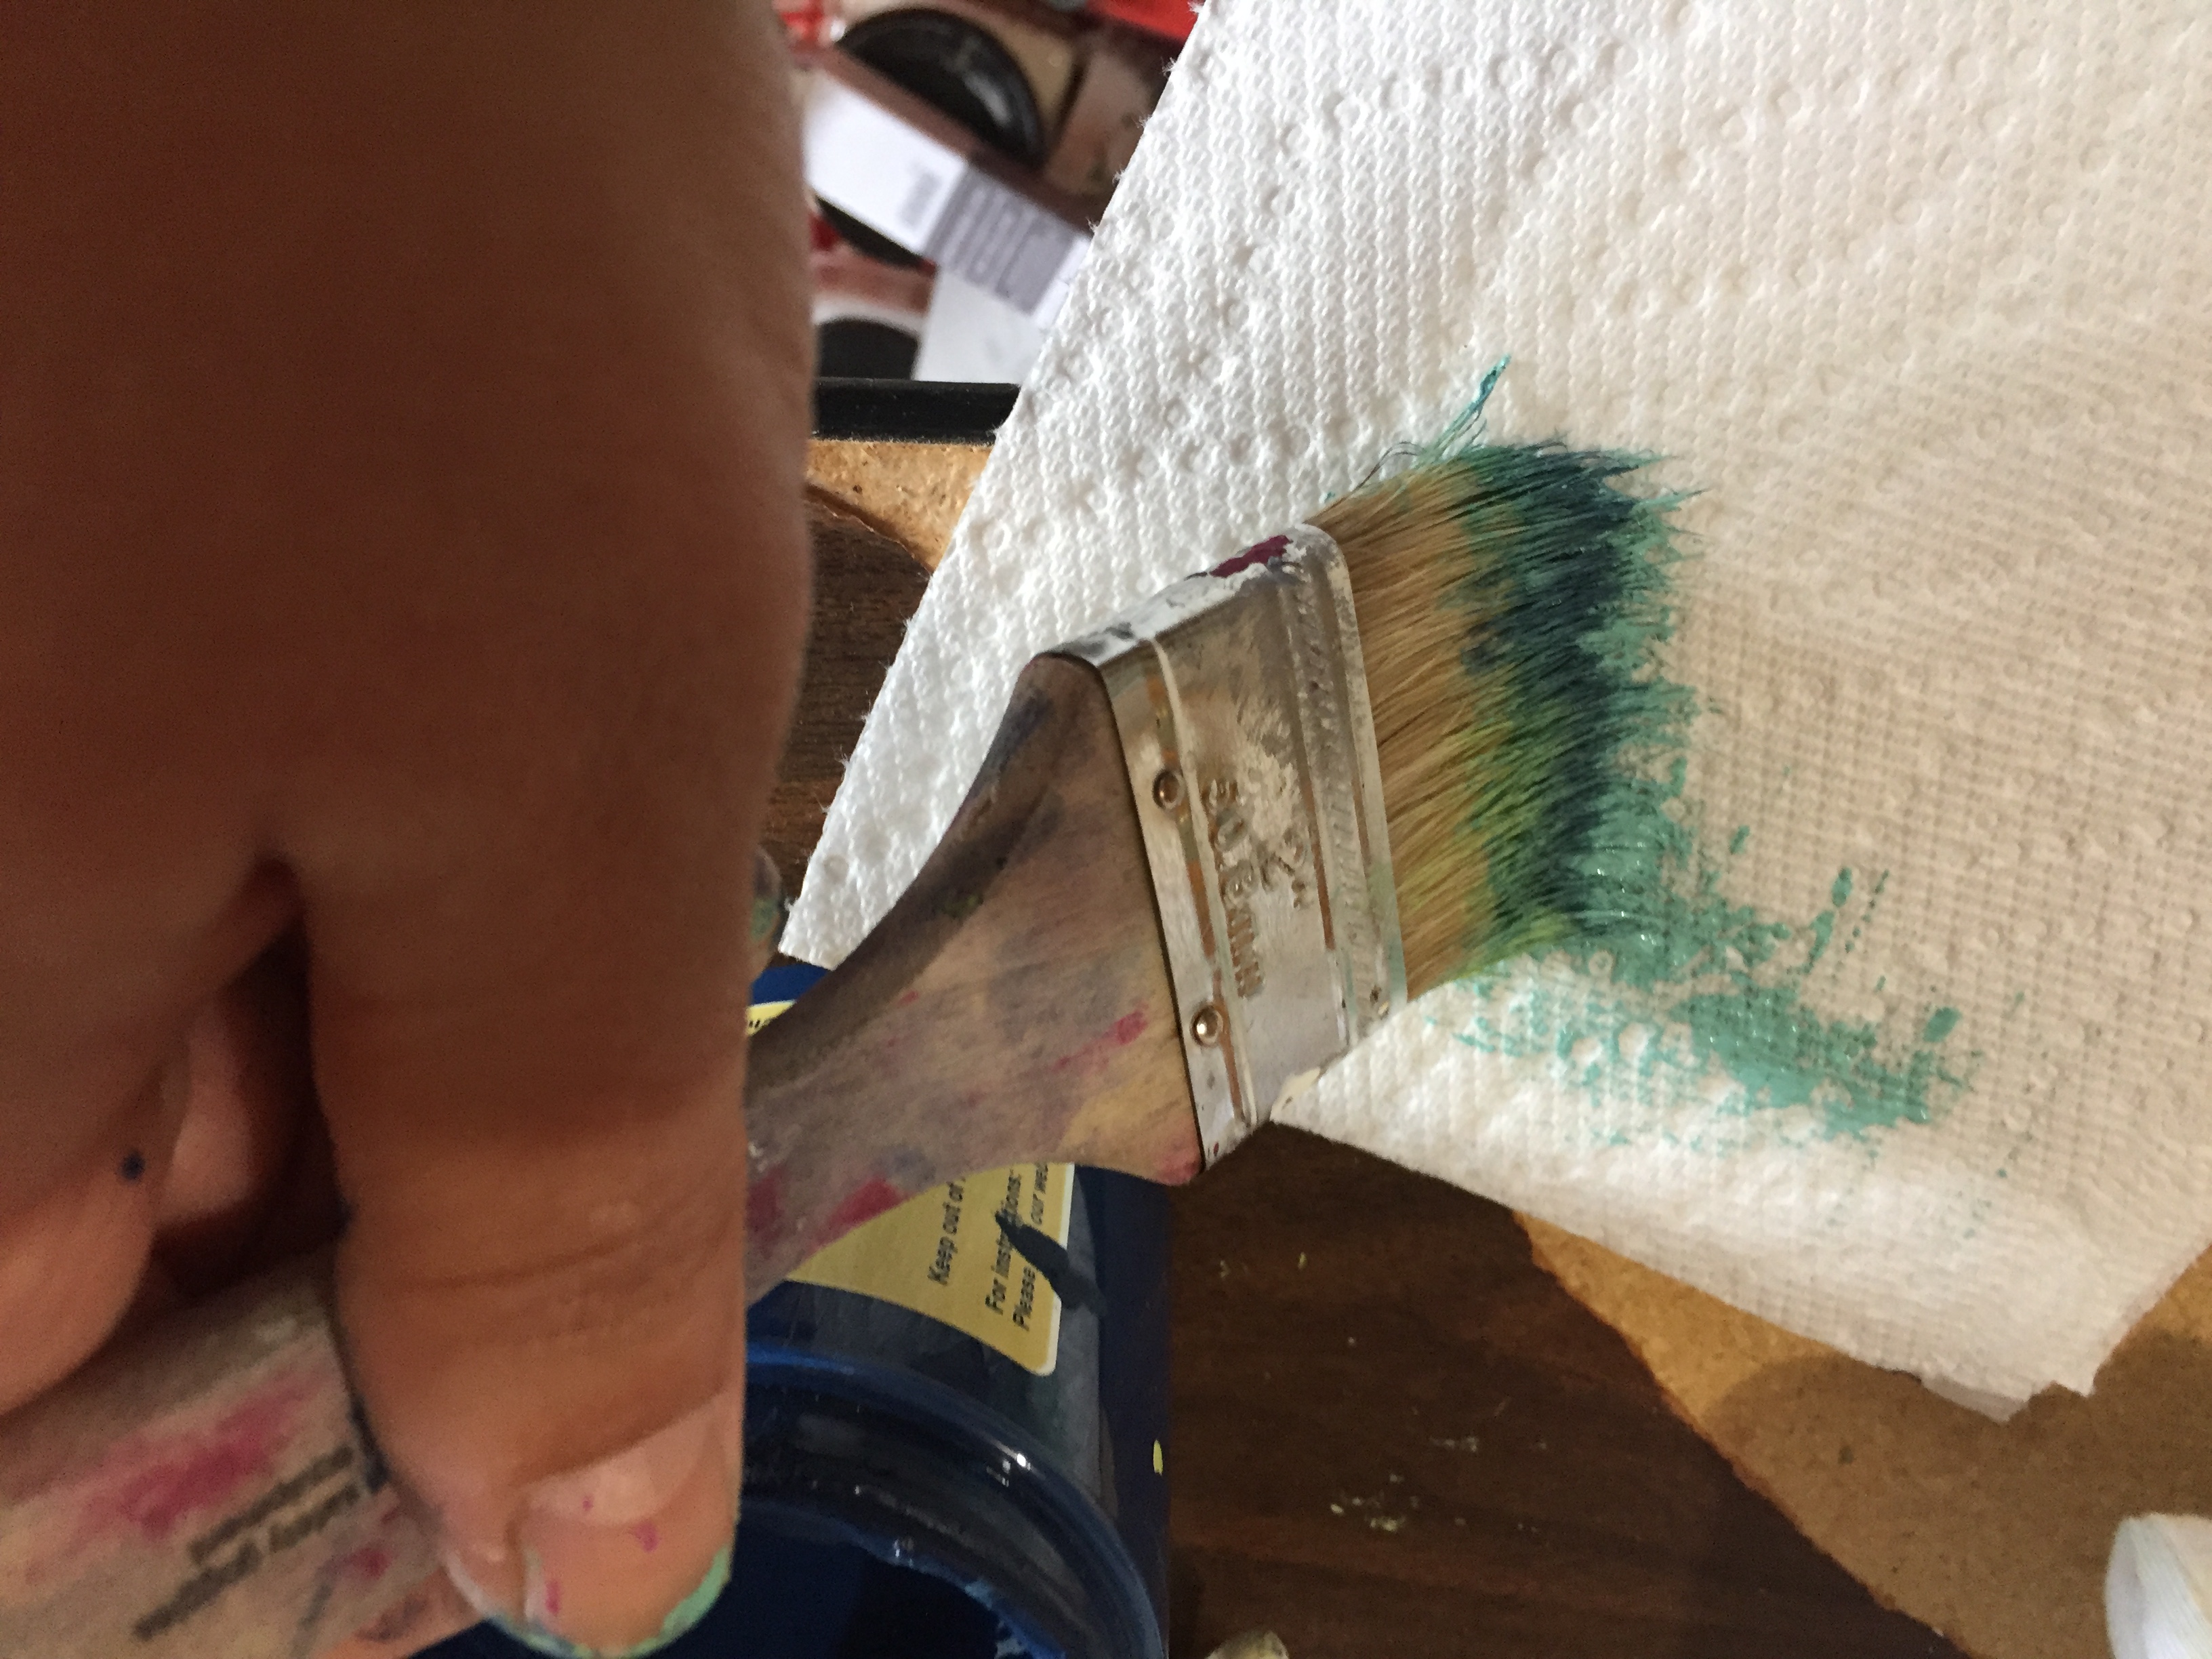
Then I pounce the brush onto a paper towel a few times until it seems like all of the paint is off.
Now I’m ready to paint.
Dry brushing isn’t like normal painting where you try to cover the entire surface with paint. Instead, you want to use a very light touch.
It’s more like “feather dusting” with the paintbrush than actual painting.
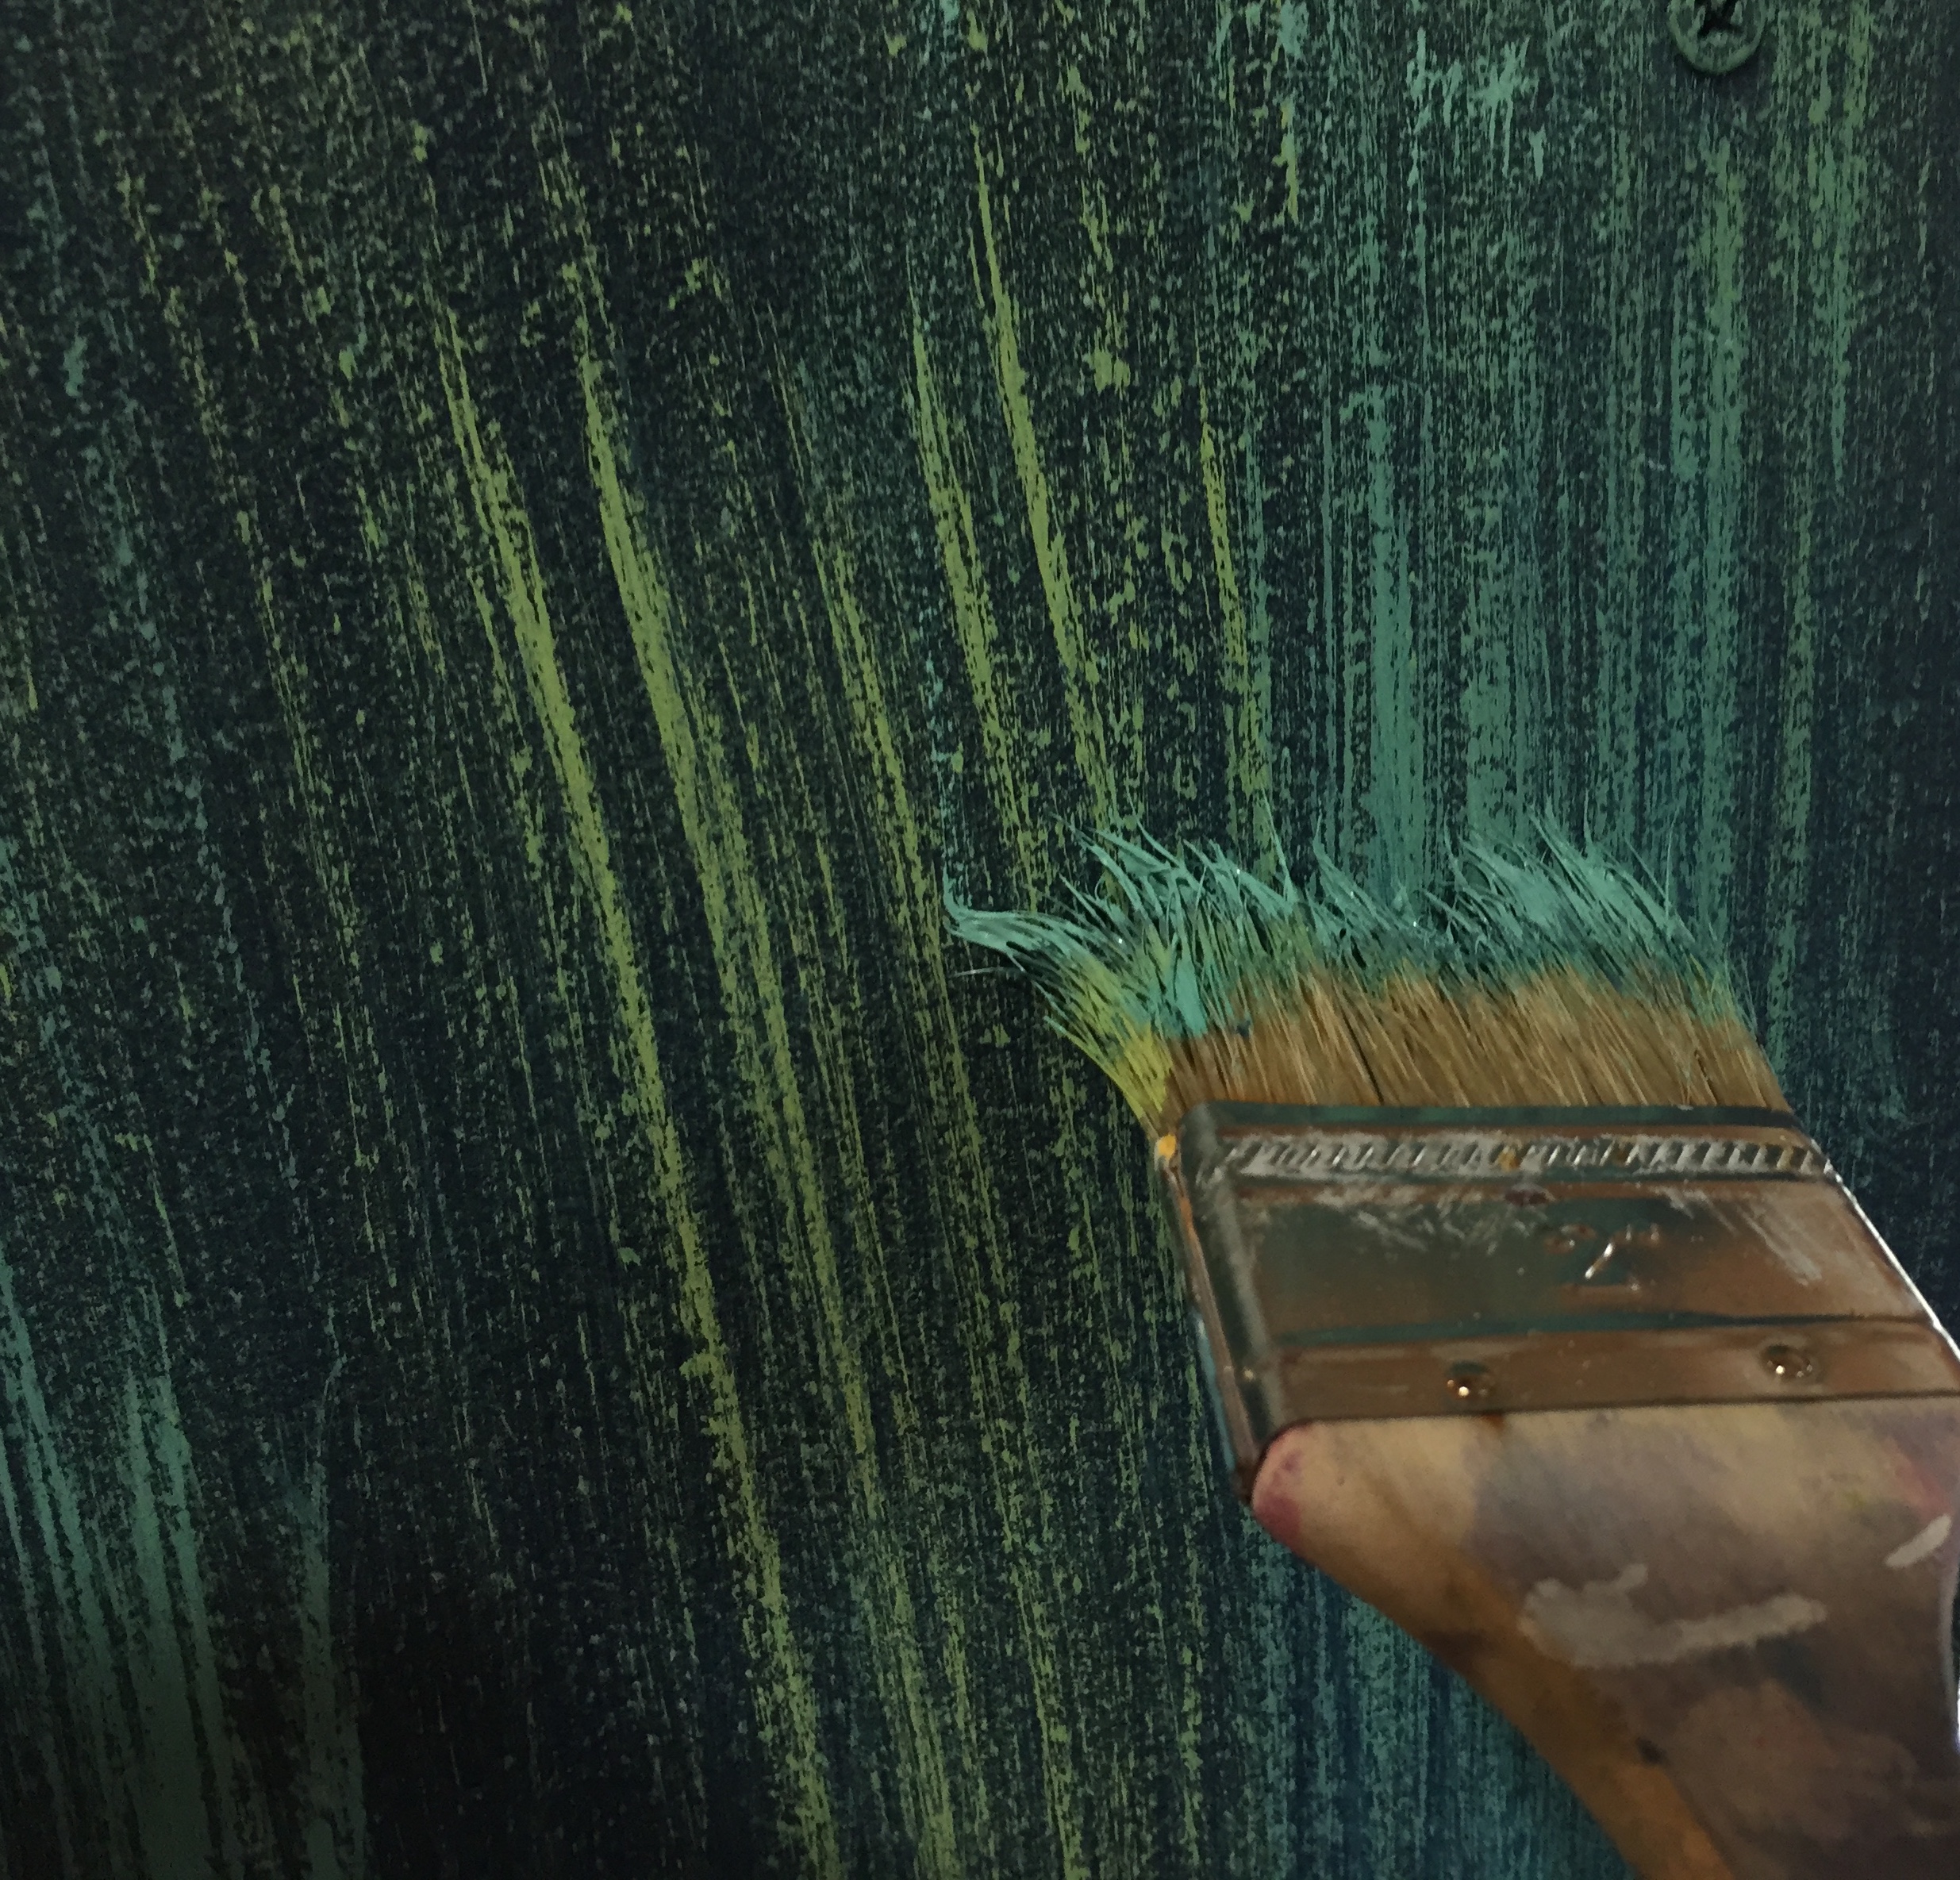
You will see a faint layer of paint appear on the surface with a lot of the original color still coming through. Then you can come back with more of the same color or new colors, building layers of colors and texture until the piece looks beautiful to you.
If you add too much paint, just come back and dry brush some of your original base color back into the mix.
Once the painting was done, it was time for the paper. I used special decoupage paper for this project, but any pretty wrapping paper or scrapbook paper will work. You can even do this technique with pretty paper napkins.
Brush Mod Podge over the surface. Then lay your paper over it and carefully smooth out any bubbles. I wrapped the paper around the edges of the shelves like wrapping a present.
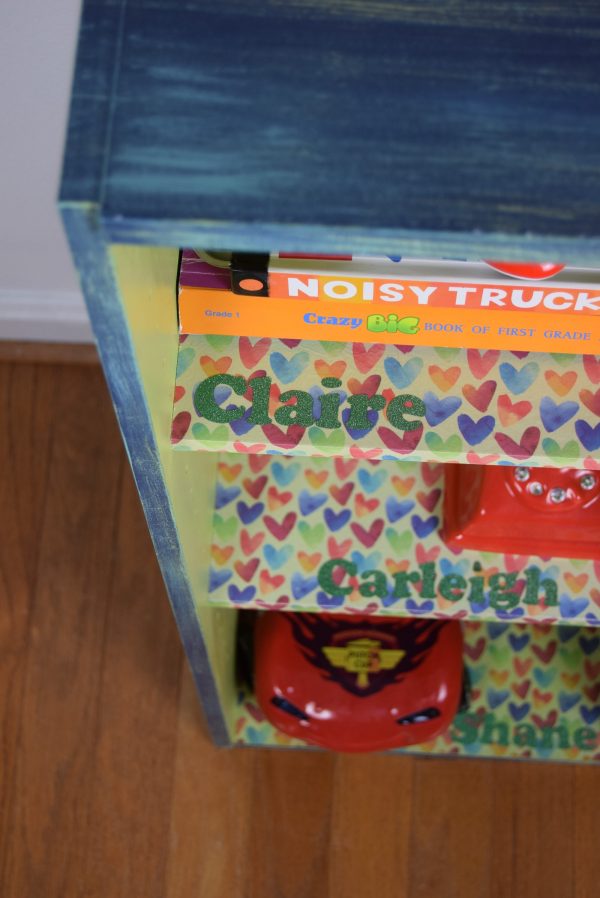
Finally, I added the names of my nieces and nephew to each shelf. I used a vinyl-cutting machine, but you can also do this with letter stickers to add a personalized touch to your project.
Now each kiddo has their own special cubbyhole to store their stuff—and the bookcase is certainly not boring anymore!
Courtney Mickalonis is an artist, teacher and treasure hunter at All Things New Again, her family’s furniture and paint boutique in Leesburg, VA. She finds old furniture that nobody loves anymore and makes it beautiful—and useful—again. Courtney teaches a monthly Learn How to Paint Furniture class at their Leesburg studio and offers a free online painting lesson every Friday on the All Things New Again Facebook page.


