My family and I had so much fun on our visit to the new Goodwill store in Sterling last month, we went back again. And this time, we added a side trip to the original Goodwill store in Sterling located across town in the Sterling Park neighborhood.
We got amazing stuff in both locations!

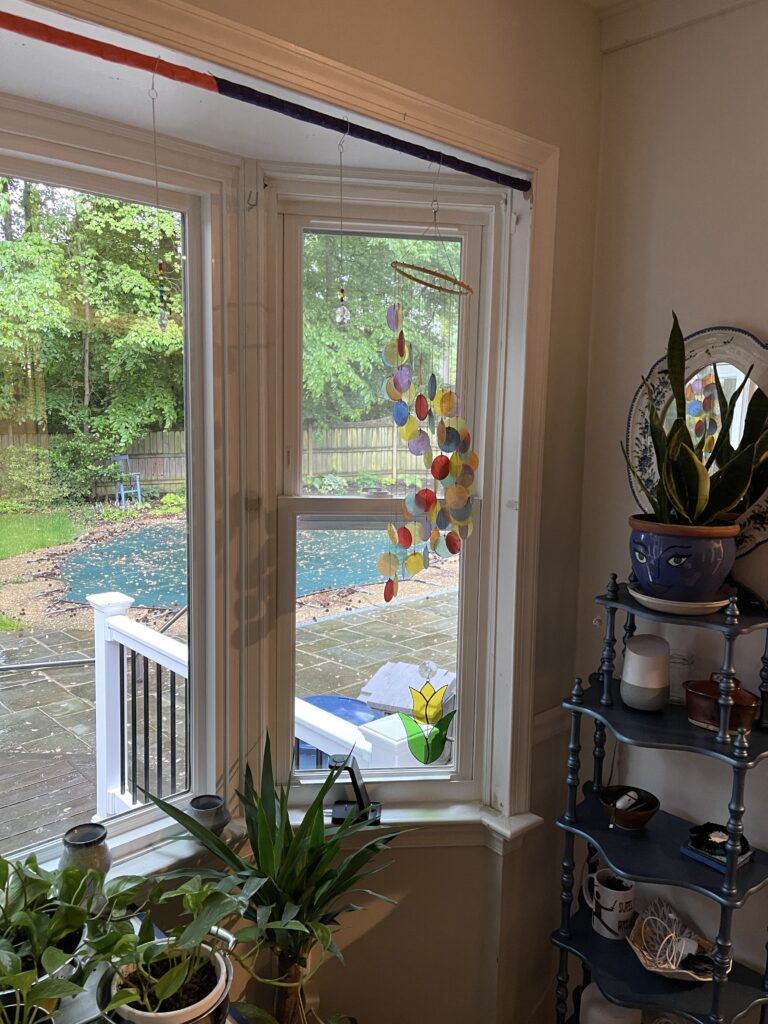
At the new Dulles store, I found a fun summer shirt, a bag of pretty ribbons for my art-journaling class and a suncatcher that was wrapped up so nicely in its original packaging I wasn’t sure if I would like it. But I bought it anyway — and I love it!
Here it is in the window of my kitchen plant corner.
At the second store, I found something that has been on my thrifting wish list for a long time! It’s a tall, skinny dresser for my entryway that will hold hats and scarves and all the other little things I try to cram into my too-small hall closet. But the space is tight and I didn’t want to purchase the dresser unless I was sure it would fit.

Luckily, my dad always carries a tape measure with him. That’s a good tool to take with you when thrifting for furniture! And the dresser is the perfect size for my space. Woo hoo!
Now I just need to find time to paint it to match my decor.
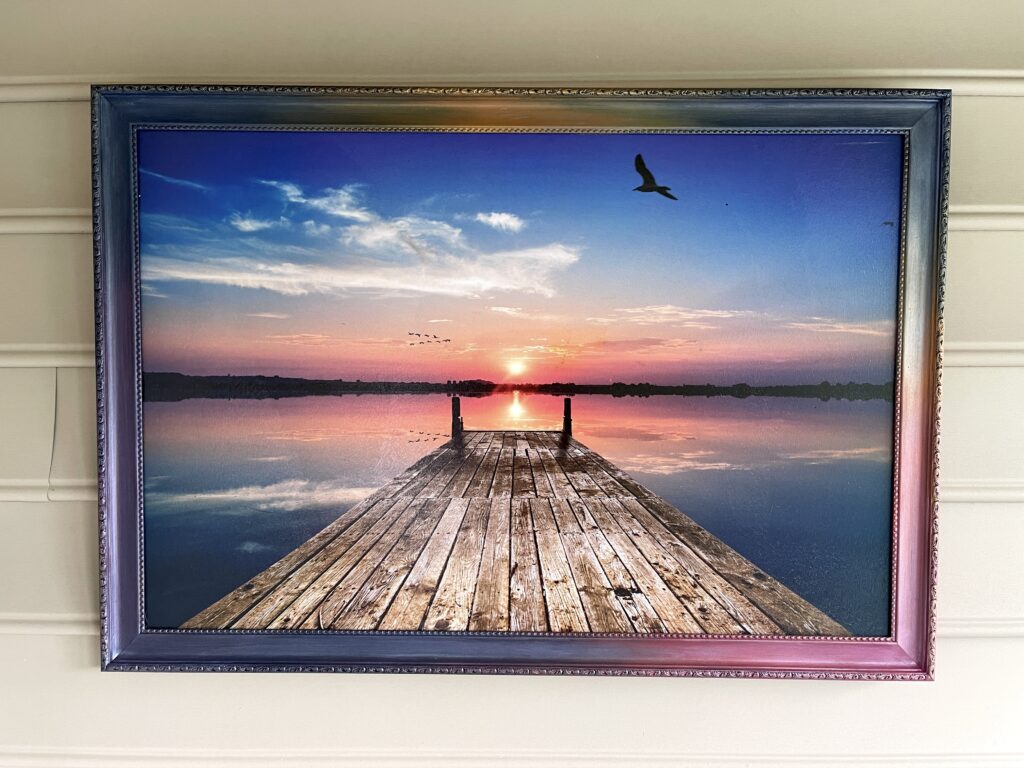
I did have time for a smaller project I painted with one of my sister’s finds. She loves the beach. This extra-large sunset artwork is the vibe she is trying to create on her screened porch.
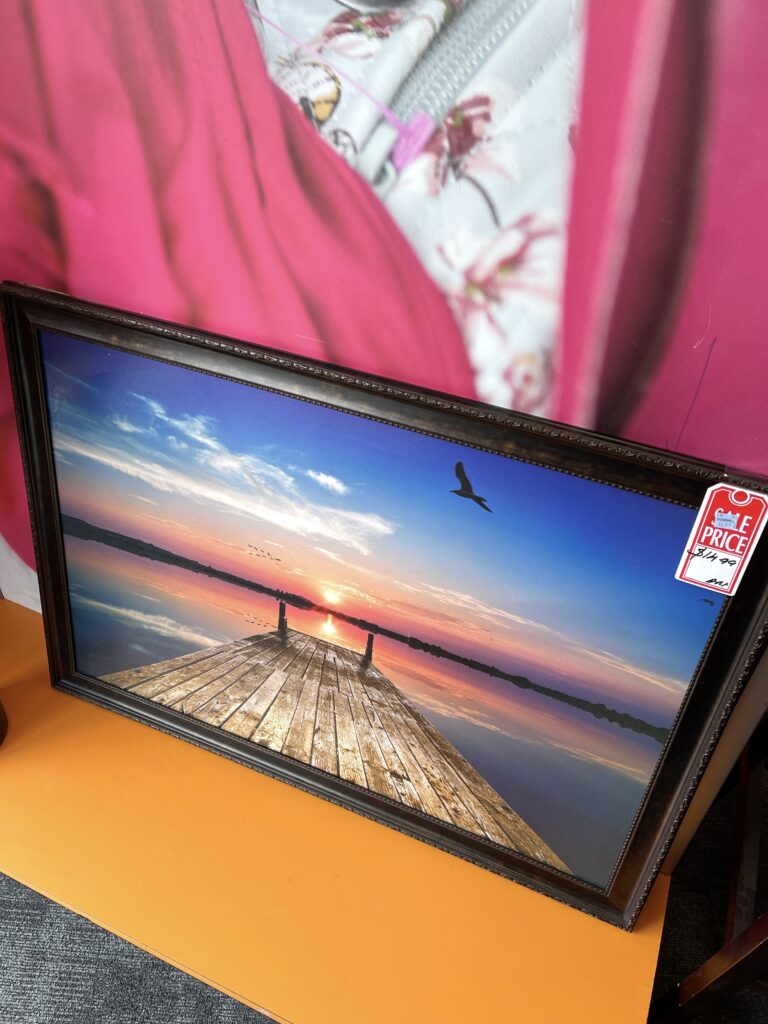
Well, it was almost the vibe she is trying to create. That dark wooden frame looked so heavy and out of place next to the vibrant sunset image.
She was going to pass on it, but I talked her into it and promised I could transform it into something she would love.
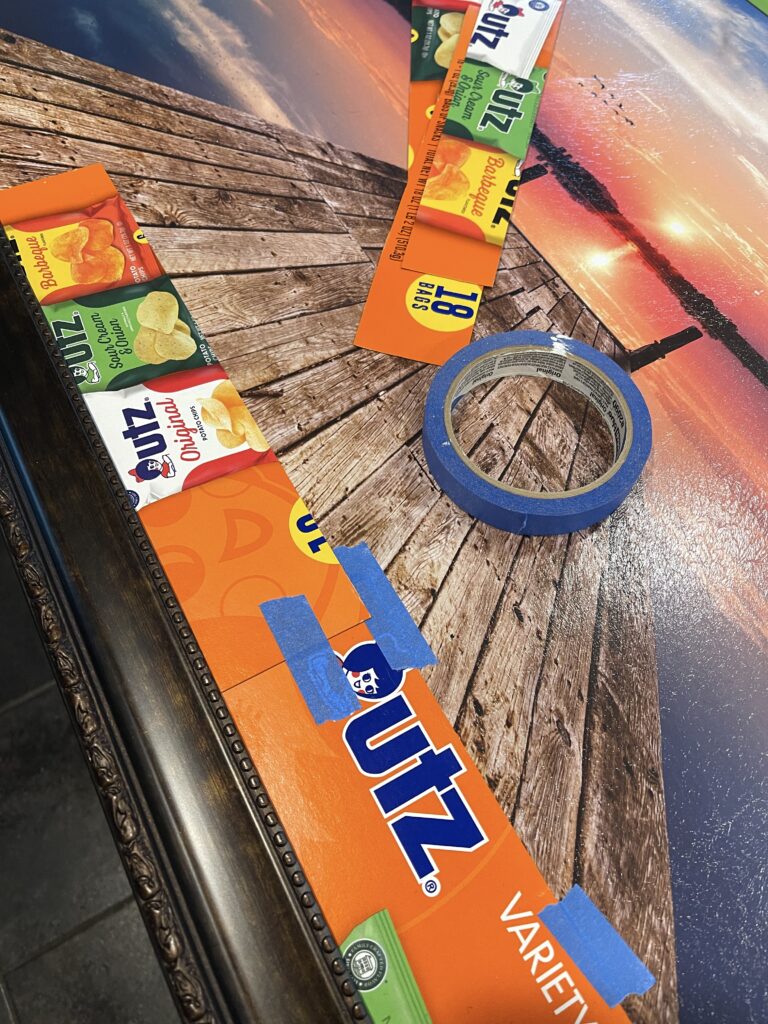
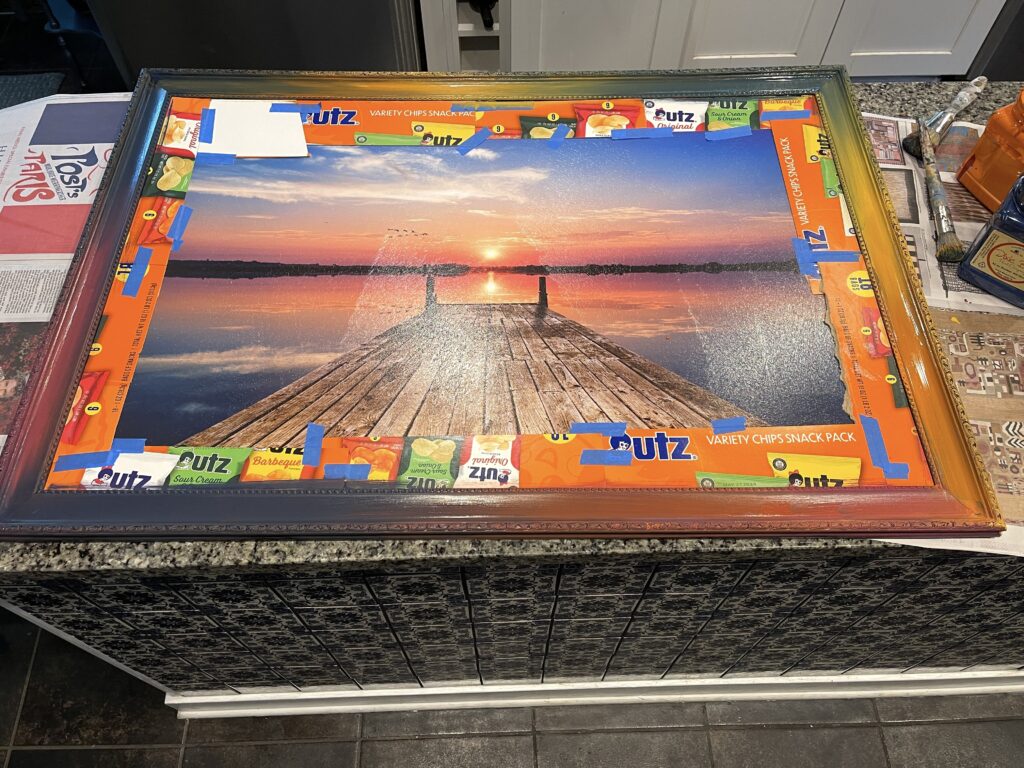
I wasn’t able to easily remove the artwork from the frame without damaging it. So instead, I started by slicing up a box with my straight-edge cutter and taping the cardboard sections all around the frame. This was a time-consuming step, but I think it protects the image from accidental paint drips much better than painter’s tape alone.
Once the prep work was complete, it was time for the fun part — painting!
I tried to match up colors from the image: a darker blue, hot pink and a golden yellow. Then I just painted all three colors at the same time all around the frame. They overlapped in spots and blended together to create new colors.
If you try this technique, please note: the first coat of paint probably won’t look good! That’s OK. Just get it on. This is the time to experiment. Try out color combos. See how you like the overall look. Then let it dry thoroughly. That part is important! Otherwise, the second coat of paint won’t stick very well.
The second coat of paint fills in any bare spots and lets you play with blending the colors more. This is when this technique starts looking beautiful.
On this project, I added a third coat of paint using small jars of shimmery craft paint. These paints are more transparent than regular paint and they would not cover up the dark wood by themselves. However, applied over their matching colors, they added a little bit of shimmer and glam to the frame.
Here it is hanging on my sister’s porch!
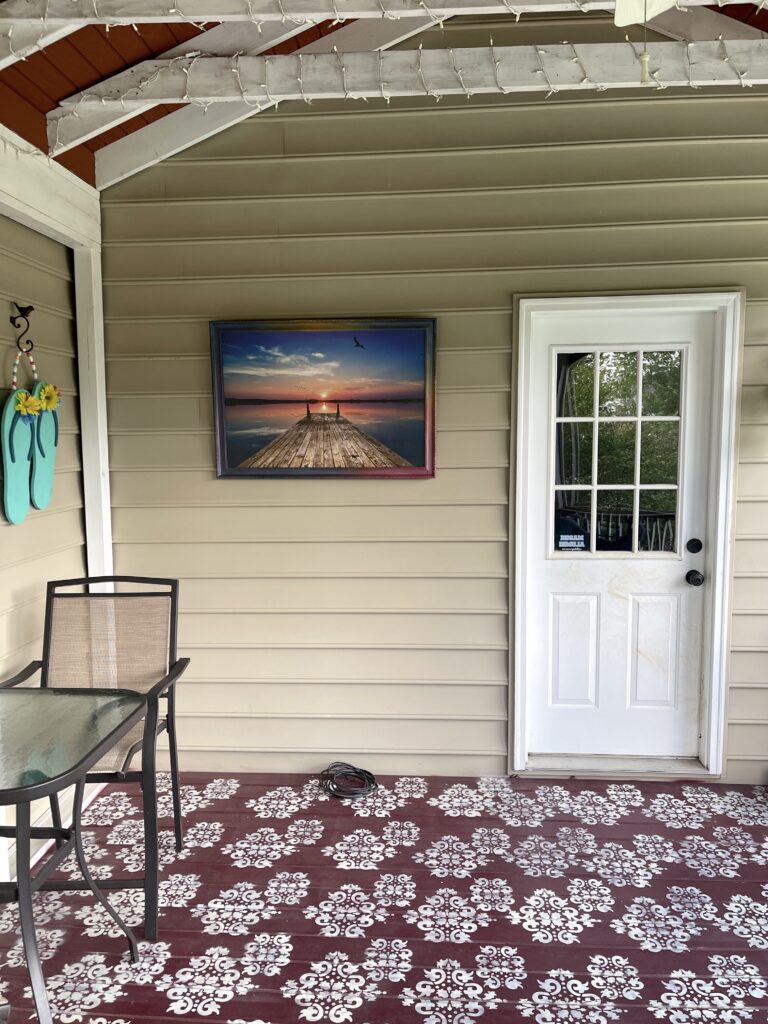
Isn’t it amazing what a little bit of paint can do? It transformed a heavy, outdated frame into a vibrant statement piece. My sister loved it! A shimmery sunset is the perfect ending to a fun thrifting day.
Similar Reads:

