Everyone loves the soft texture of a comfortable sweater. So why not create this feeling with household items to give them a cuddly and inviting look and touch? This DIY is perfect for holiday decorating and adding warm accents to your home during the cold winter months. This is such a simple project that is surely to spark heat in the form of positive comments.
Age Level: Kids (with supervision), teens and adults
Items needed:
1. Sweaters
2. Pillows, jars, vases or bulletin board
3. Scissors
4. Glue gun & glue sticks
5. Staple gun
6. Fabric tape
7. Iron
Time Requirement: 30 minutes per project
Cost: Approximately $4 per project
$5 per sweater
$2 per pillow
$0 for reused jars or vases
$2 for bulletin board
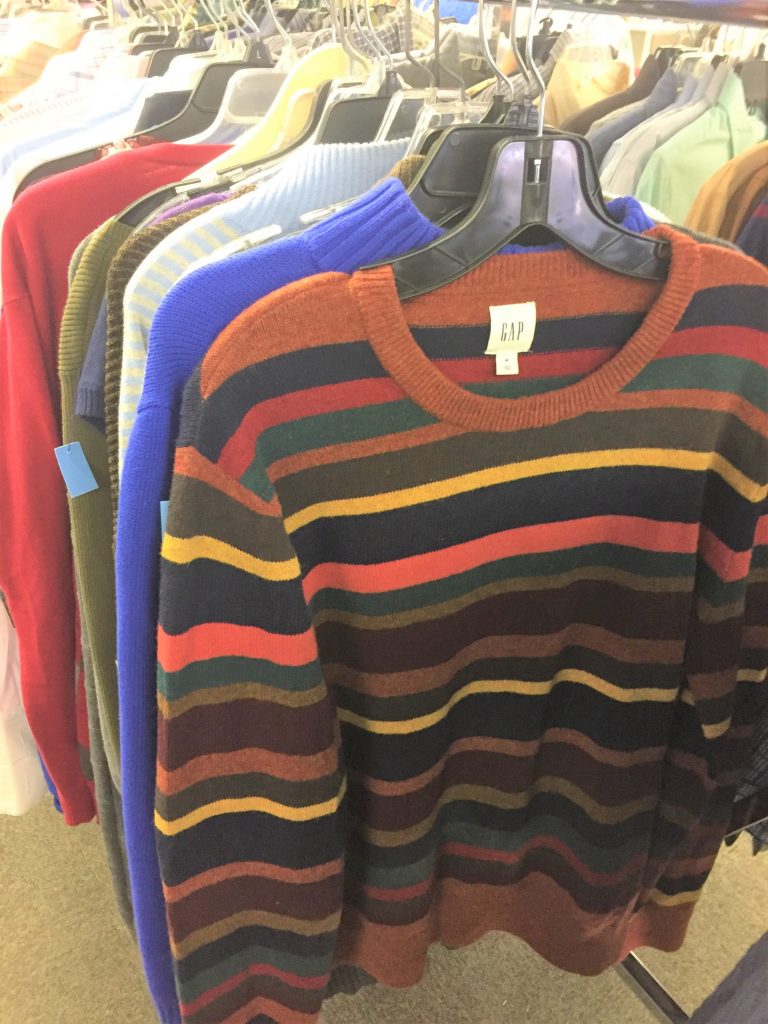
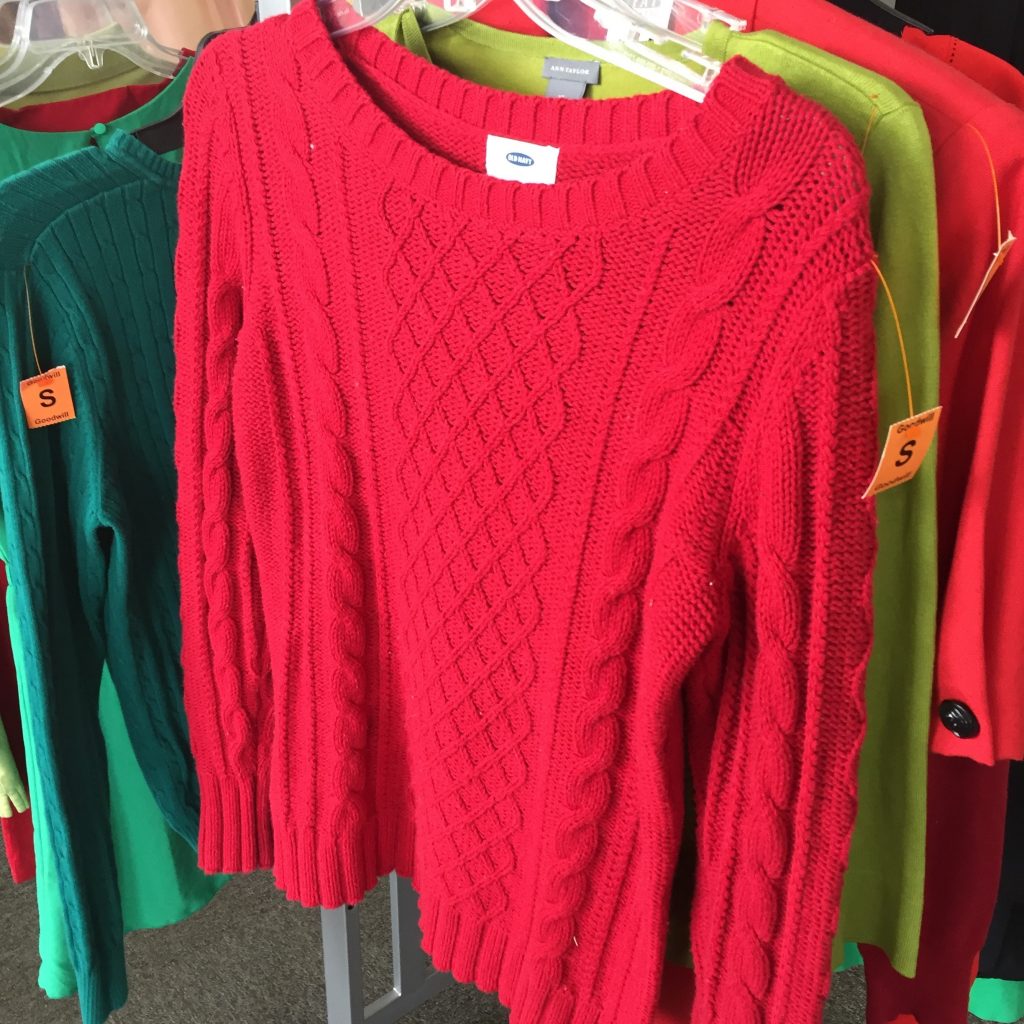
Step 1: Shopping & sales at Goodwill will leave you warm inside
Your favorite Goodwill always has great sweaters available, so you will have many choices for this project.
Be sure to you check out both the Men’s and Women’s clothing sections for a variety of options.
Given that it’s the holiday season, I selected a striped sweater that had red and green among its colors. I picked up a red one with interesting knitted details and a yellow one to match. Consider ones that are not cardigans (that button or zip up the front) so you will have both the entire front and back of the sweater to use for your projects.
Option 1: Posh pillows
Goodwill also has many accent pillows for sale. Look beyond their colors to find interesting shapes and ones without any decorative embellishments that may show through once covered.
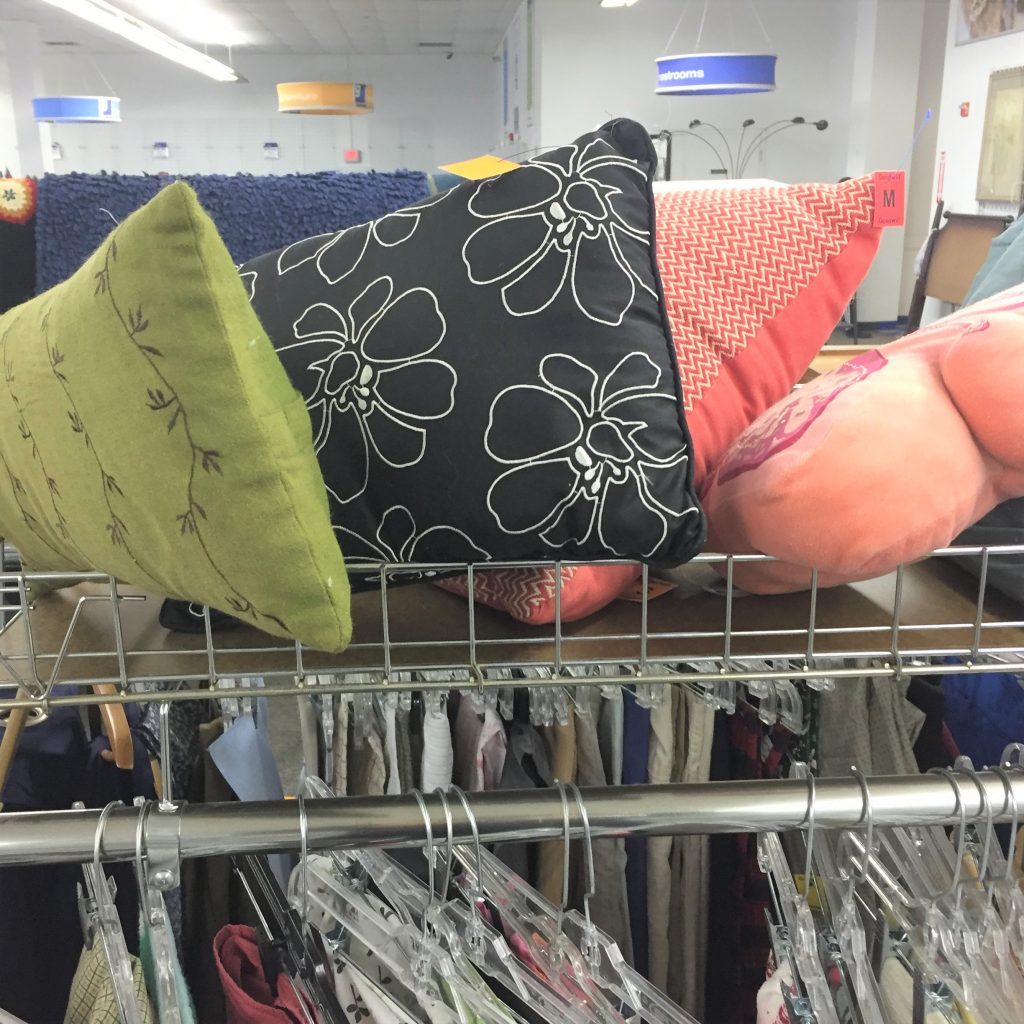
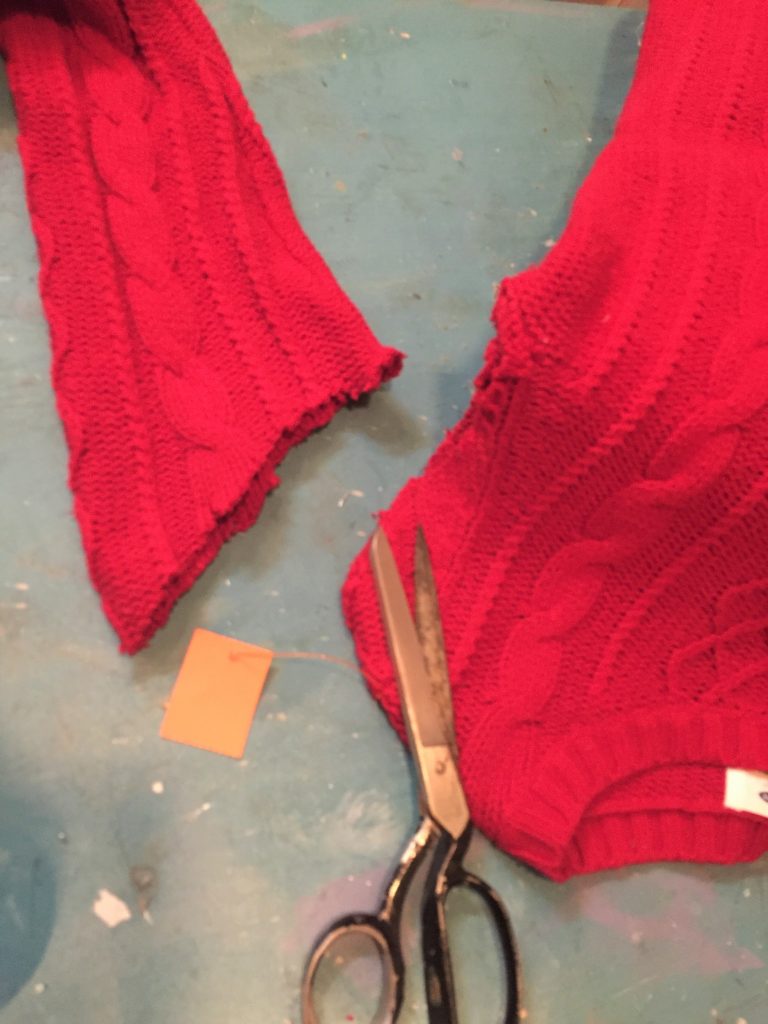
Lay your sweater flat on your workspace then place the pillow on top. Cut off the sleeves so you have just a square or rectangle of the sweater’s former front size.
Remove and save the extra material for the other projects. Next, almost like wrapping a gift, pull up the sweater around the pillow so it is enclosed by the sweater fabric with its sides coming together along the edges of the pillow. There should be extra material to allow you to fold it over, place some fabric tape along the seam and iron it to hold. (If you have a sewing machine and know how to sew, you could use it here to sew the sides together.)
Repeat this step so that all edges are closed and will keep the pillow inside. Ensure any folding or seems are on the back side so that when you flip the pillow over, the front is smooth. Again, think gift wrapping where the bottom or sides are where the taping and edges come together.
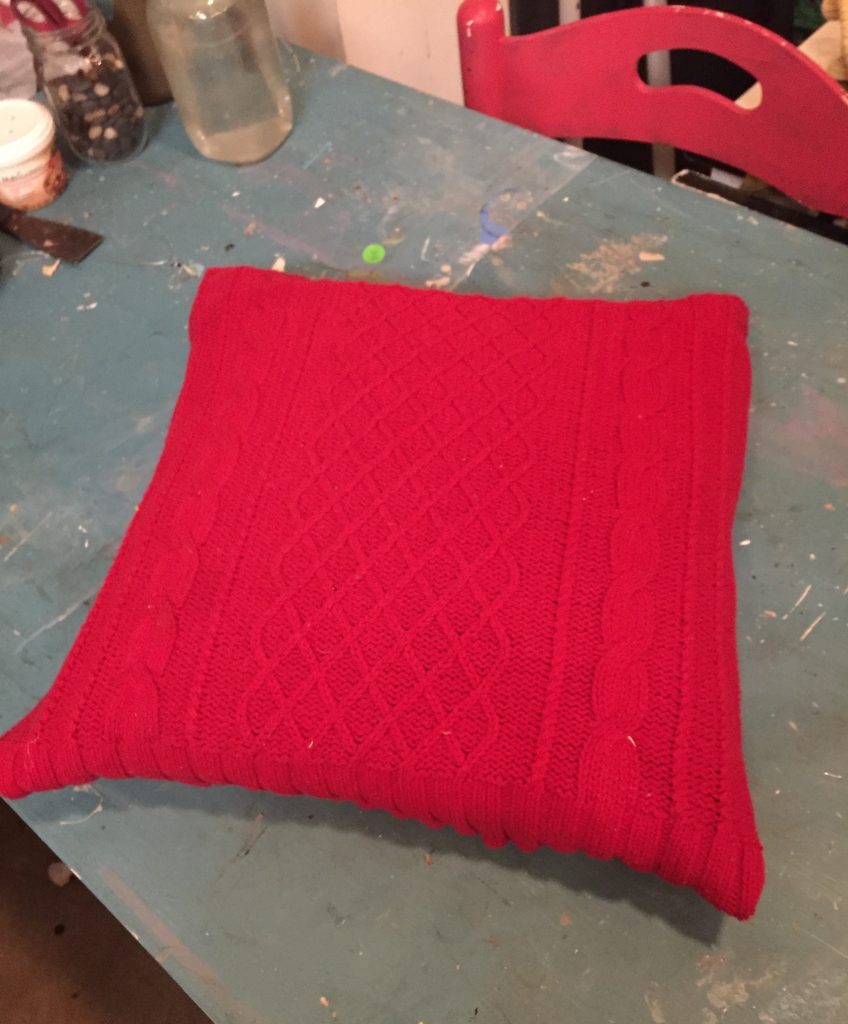
Repeat for each pillow; the three sweater choices now look great together as a set of cuddly pillows to add a fun accent to your sofa, chair or bed.

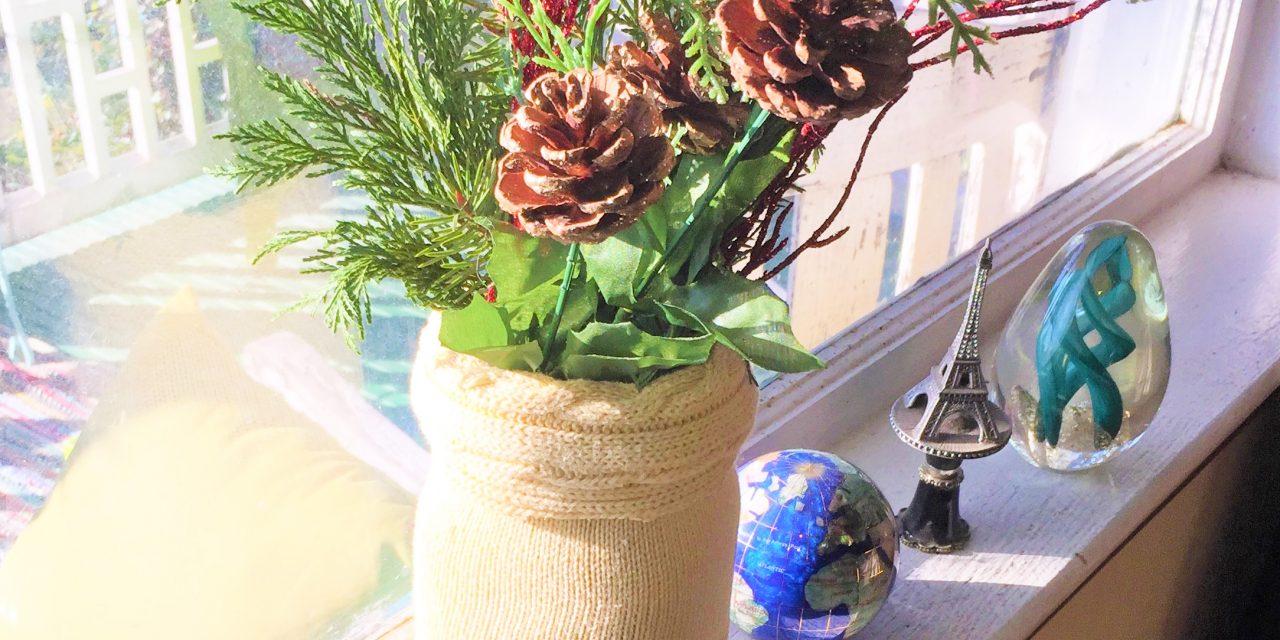
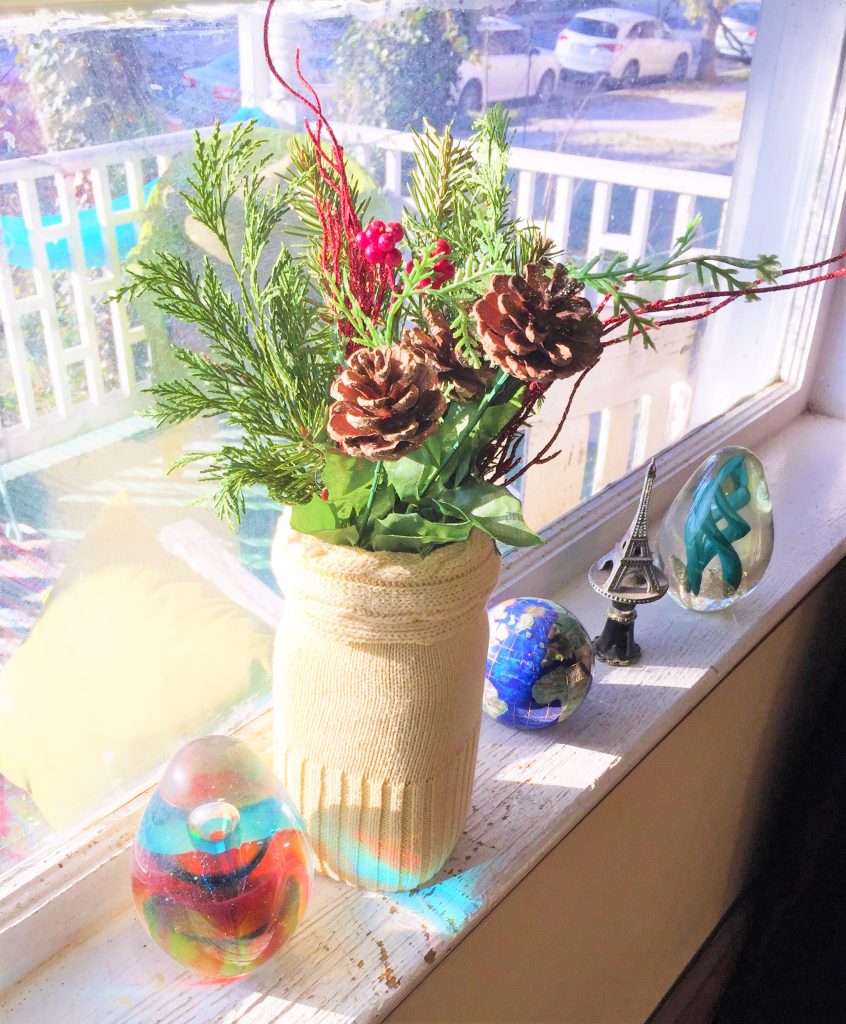
Option 2: Sleeve-covered containers
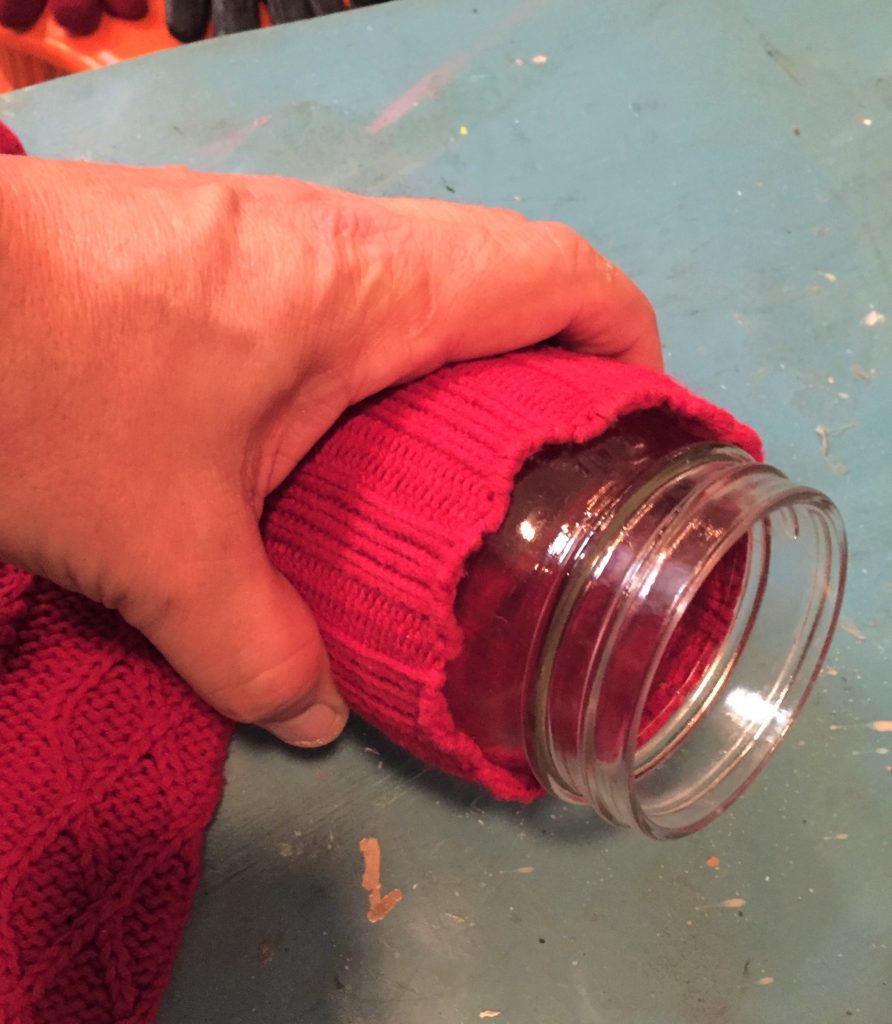
Grab one of the sweater’s sleeves that you cut off. Insert your jar, vase or slim container into the sleeve so that its cuff is a at the top. Fold over the cuff and push the sleeve up so the top of the folded sleeve is a little bit above the container top. Cut the sleeve off just below the container’s bottom with a little extra material left over.
With your glue gun, place glue along the container’s top edge by pulling the sweater sleeve away, adding glue then place back in place along the top. Remember, the glue is very hot so if you have kids helping with this project, please do this step for them. Flip the container over and add hot glue to the bottom and carefully secure the sweater edge in place. You are done!
For one of the containers, I did this in reverse so that the sleeve cuff was at the bottom so it created a nice textured stripe along the bottom. Glue in place along the bottom then trim the extra from the top, and add glue along the top edge. For visual interest, a leftover piece with knitted detail was glued along the container’s top edge.
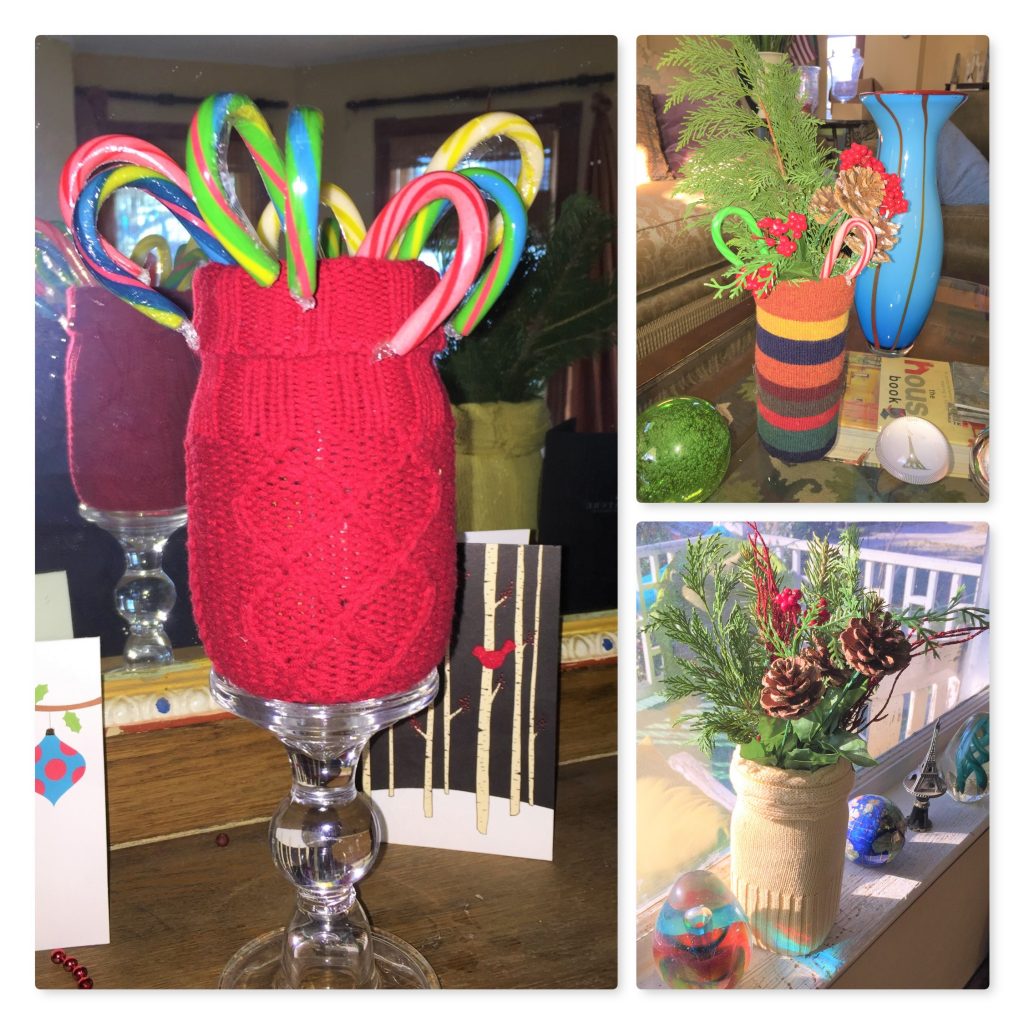
A sleeve from each sweater was used so when they are placed together, they compliment each other. Add candy canes, pine branches or even fresh flowers. These could be enlisted, too, to hold pens and pencils or slim paint brushes. Even uncooked spaghetti pasta would look great in one of these sleeve-covered containers!
Option 3: Fuzzy message board
Since the front side of the sweater covered a pillow and a sleeve to transform a container, you have the whole back side for another project. This means it is time to make a fuzzy bulletin/message board! Goodwill often has bulletin boards for sale, too, in its Housewares section where wooden items hang out.
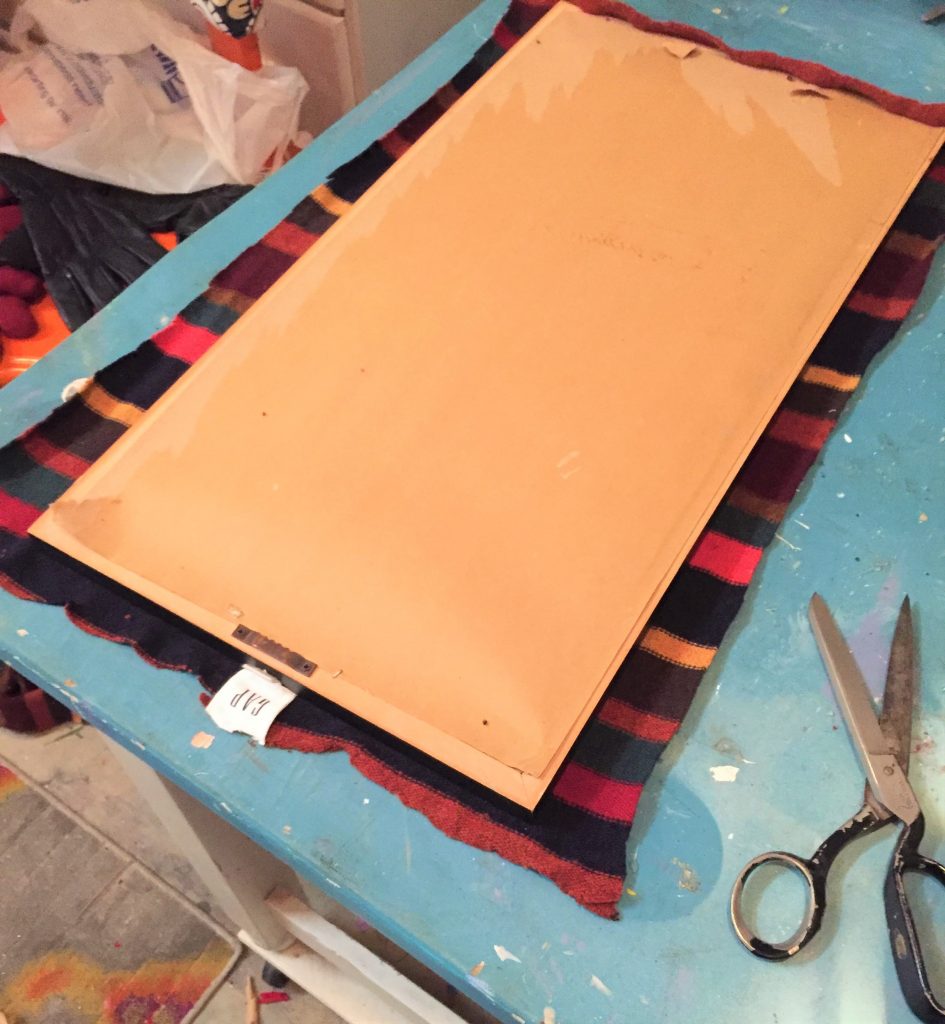
Place the sweater back on your work surface and put the bulletin board on top. You will want to consider a medium to small sized bulletin board so that the sweater fabric is able to cover the whole front side of it and the edges. Trim the access sweater away leaving an inch or so extra. With your staple gun, secure it in place on the back side of your bulletin board. Add a couple of staples along the center of one side, then go to the opposite side and so the same. Then go to the other two sides and repeat this step. This will ensure your sweater piece is where you want it. Then go around the add staples along the edges.
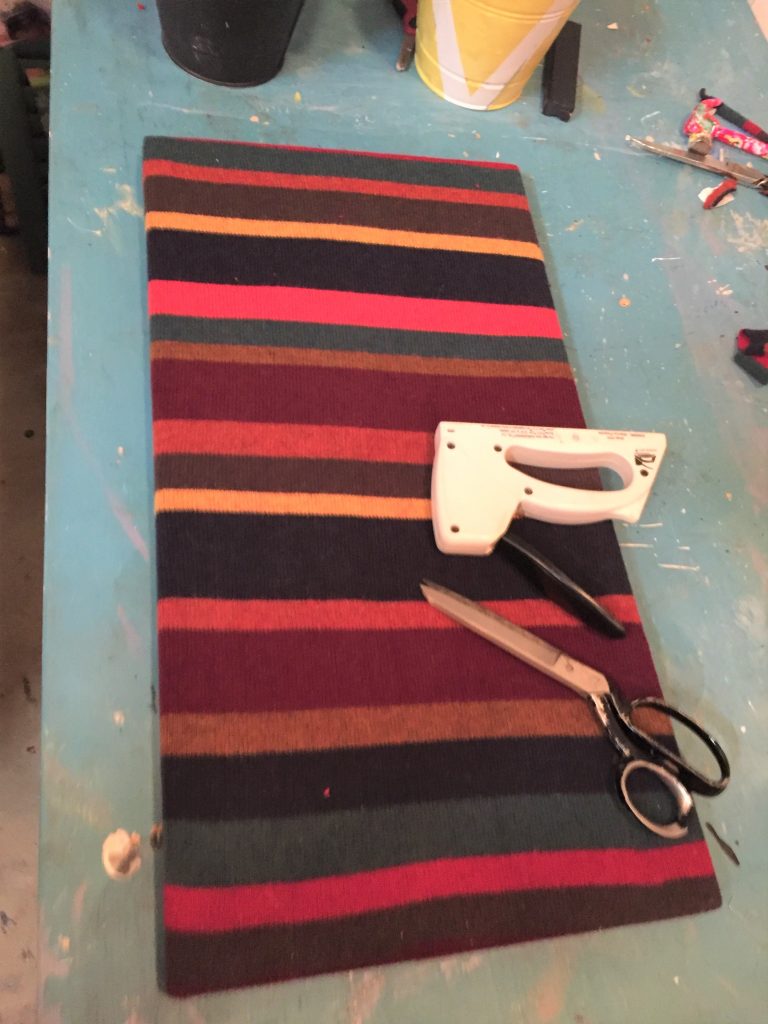
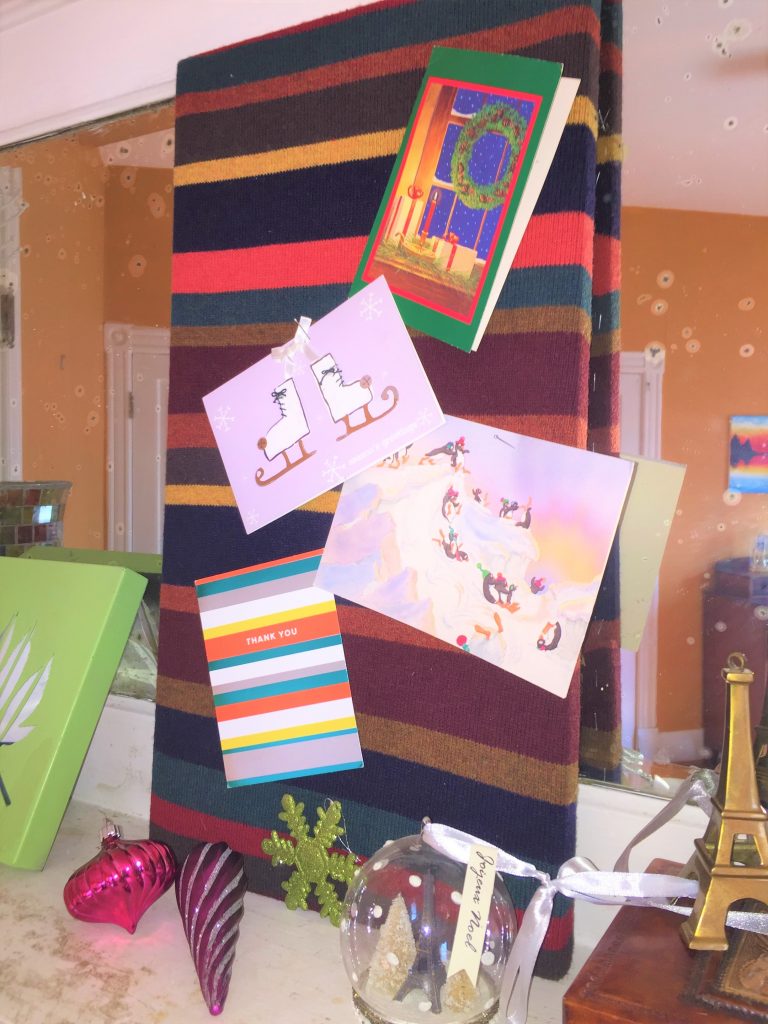
Again, trim away any access fabric, then flip over and it is ready to hang up! With push pins, you could use this to display cards received during the holiday season.
At other times of the year, this will be an inviting place to display reminders, notes and other items in your office, kid’s room or anywhere in your home.


