You’ll shout, “Bravo!” when You Transform Trays with Wine Corks!
No need to whine with this easy upcycle that uses bottle corks to create a fun and festive tray.
This is perfect for serving family and friends—or yourself—no matter what is on the menu!
So many thanks to my artist friend Domonique Goldring-Williams for gifting me the corks and inspiring this delectable transformation! You had me at Merlot!
Age level: No minimum age since no drinking is involved. However, adult supervision is requested due to hot gluing and cork cutting
Ability level: Deliciously simple!
Items needed:
1. Wooden serving tray (or an old frame to turn into a tray)
2. Spray paint
3. Old wine corks (approximately 150 per tray pictured)
4. Glue gun & lots of glue sticks
5. Small, sharp knife
Time requirement: 90 minutes
Cost: $15
- $5 for wooden serving tray
- $5 for spray paint (with lots for your next project!)
- $5 for glue sticks
- $0 for used corks
1. Goodwill will serve it up for you
With all the summer parties and outside meals, you will love creating this easy DIY project that will be used often.
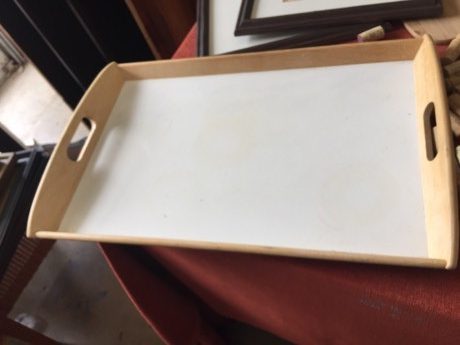
At your favorite Goodwill store, head to the aisle that has shelves of wooden items.
Look for a tray with handles to upcycle in this delightful way.
If you don’t find one you like, you can also turn a frame into a tray, too! See the end of this post for details on that process.
2. Spray on style
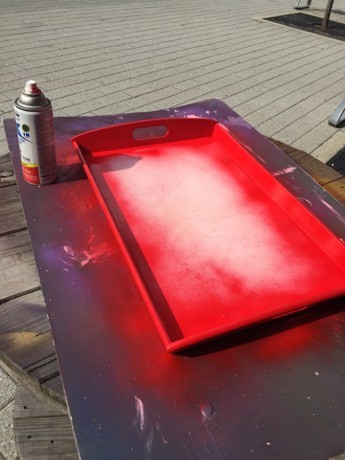
To brighten up your tray, spray paint is an ideal and easy option!
- Wipe the tray down then place outside or in a well-ventilated area.
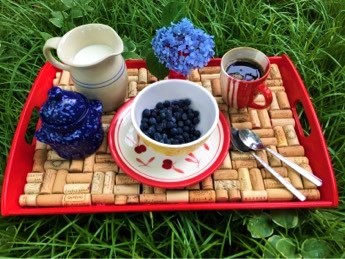
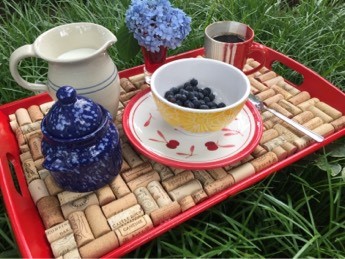
- If your tray has metal handles, you could remove them now if you don’t want to paint them. A bright red tone was selected since red is a favorite color in restaurants and kitchens (doesn’t it spark hunger?); you could select any bright color to add energy and interest to your tray; or if giving as a gift, select the recipient’s favorite color.
- As with any painted project, spray on a light coat and don’t worry about perfect coverage.
- You will come back several times with light layers to avoid drips.
- Let dry for several hours.
3. Position corks, glue and repeat (and repeat and repeat and repeat!)
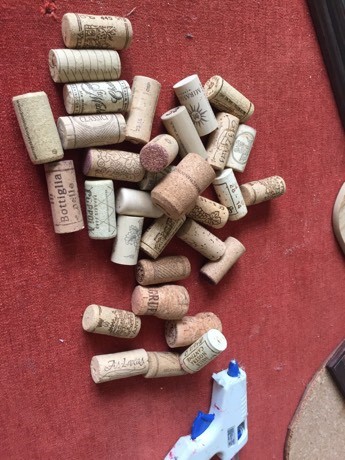
Select corks, specifically from wine bottles, because their edges are straight; champagne corks have a larger top (kind of a mushroom shape) that won’t line up well.
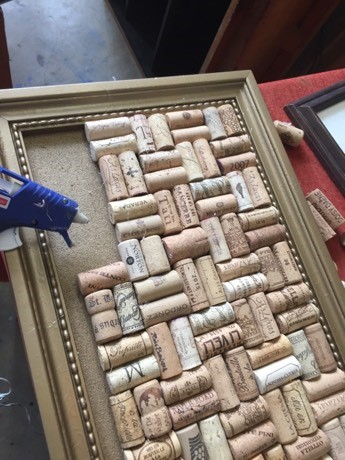
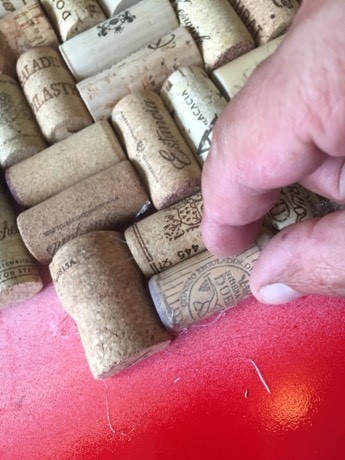
- You will place two corks next to each other, then secure in place with your glue gun.
- Place the next two in the perpendicular direction, add glue and put in position.
- You will alternate two corks together vertically, then horizontally.
- This step will take time and LOTS of glue sticks. Hopefully, you will have a large collection of corks, so you are able to pick pairs that are the same length.
4. Cut corks to fill in the edges
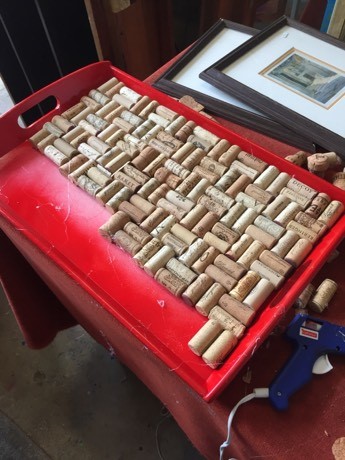
- Once you have covered your entire tray with pairings to corks, you will likely have some space along an edge that is a little bit too slim for a full cork.
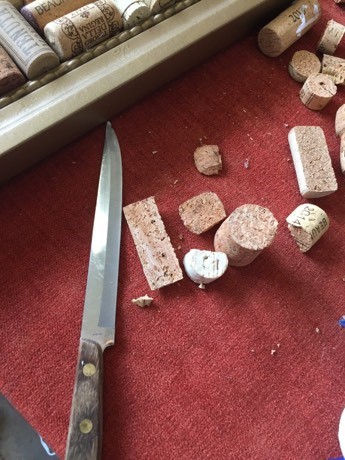
- With a sharp knife, carefully cut the cork.
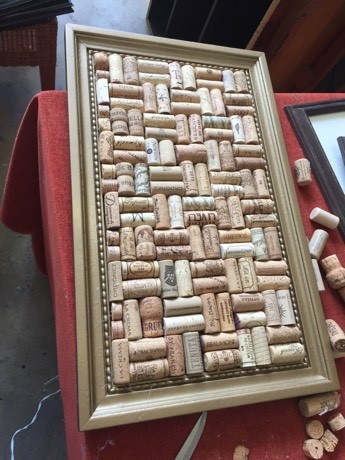
- Glue in place and continue. Ideally, you will want to continue the look of two corks together so you might have to cut off end pieces or you might have to cut a cork in half, from top to bottom.
- Look at this step as finishing a puzzle.
5. Add beverages, snacks, enjoy (and repeat and repeat and repeat!)
Ready for a lovely evening?
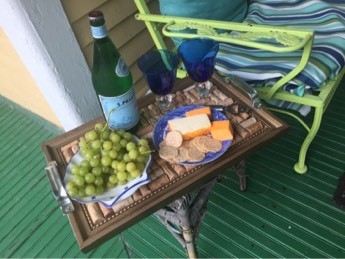
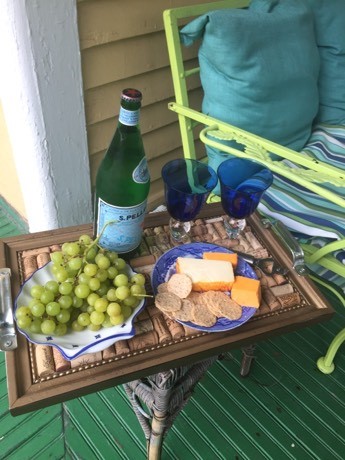
Then use your tray to carry wine, cheeses, fruits and sweets to your favorite outdoor space!
Use this tray to start your morning by placing coffee and breakfast foods on it.
Even on a rainy day, this welcoming tray will make things brighter!
Another Option: Transform a Frame into a Tray
You might be inspired to turn a wooden frame into a tray, too. I transformed a small bulletin board into the gold toned one here. Follow all the same steps outline here and at the end, drill holes and attach cabinet handles on the frames’ shorter sides. It is truly that easy!
FYI: Most of the dishes, mugs and glassware featured in this blog were picked up at Goodwill, all at great prices. There are always so many wonderful things that you will truly find your good, at a good deal, at Goodwill!


