Make your next special celebration a huge success by picking up pieces from Goodwill to upcycle as decorations.
From centerpieces to themed-décor to fun accents, transform your party from expected to crowd-pleasing with these six glitzy (and easy) steps that will make you wanna be dancing in the streets!
Happy 50th and thanks to my friend Grace for the chance to make her party décor memorable and magical like her!
1. Select your dream theme
Let’s be honest, bringing together people you love for a special gathering, like a milestone birthday or anniversary, is the most important thing. So, why not show your peeps you care by treating them to an evening they won’t forget? And a theme gives people something to connect and talk about while together. It can often inspire their attire for the event, too.
Grace wanted her birthday bash to feel glamorous, sparkling and have a rock & rock/disco dance club feel to it. This important and fun decision gave us a direction to go for colors, decorations, games and more.
Expert ideas: Is the guest of honor a sports fan? Tie the theme to their favorite team and use team colors. Does the happy couple have a favorite vacation spot? Use that as a place on which to build the event design. Do they have a hobby then enjoy, say gardening? Weave flower pots, seed packets and small gardening tools into the decor. There are so many ways to go that will be it totally fun for all!
2. Color helps set the tone
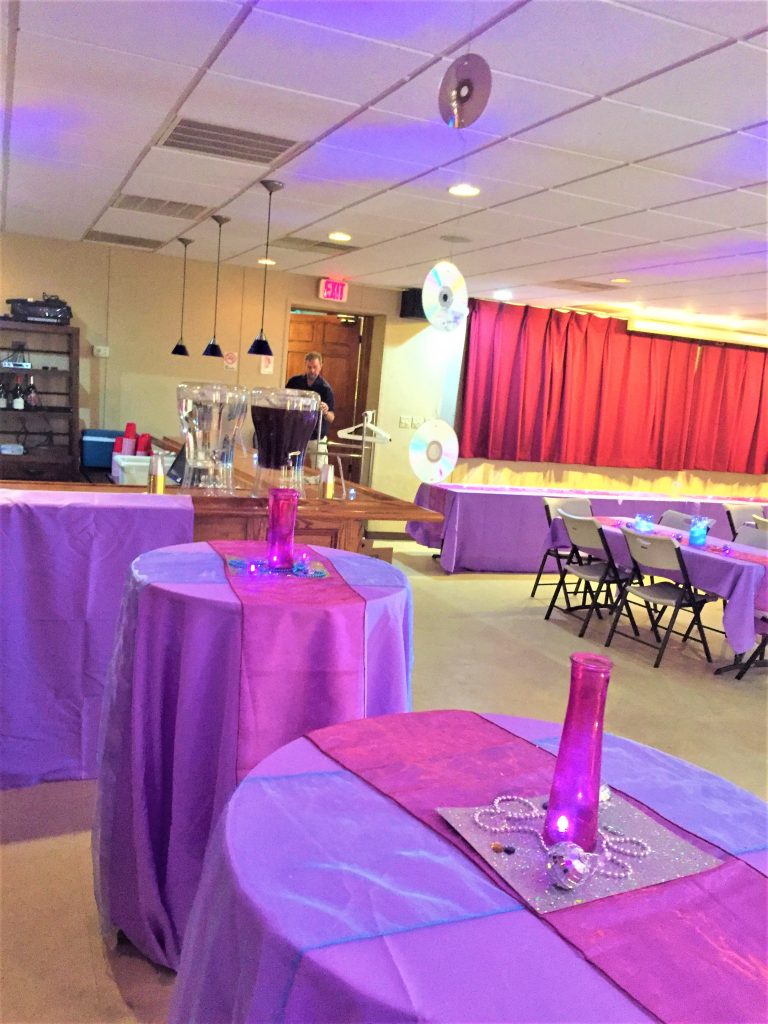
For this event, an eye-catching photo of singer Katy Perry was used as inspiration and had shades of lavender and silver in it so we ran with those hues. The event space used was perfectly fine. Functional? Yes. Disco feel? No. Table clothes, table runners and napkins picked up some of the tones and laid a great foundation on which to build.
Using her bargain-hunting talents, Grace found many great deals online for this part of the décor.
Even if the only thing for your event was to order or borrow colorful linens, your party would look great. And we want you to take it to the next level, so read on!
3. Sparkling centerpieces right at Goodwill
Every event table, both for guests as well as for food, drink and registration, is a spot for some sort of centerpiece or decoration. Flowers are fine but can be very expensive and might give your gathering more of a wedding feel than you want. Again, that is fine but I want your event to truly be one of a kind.
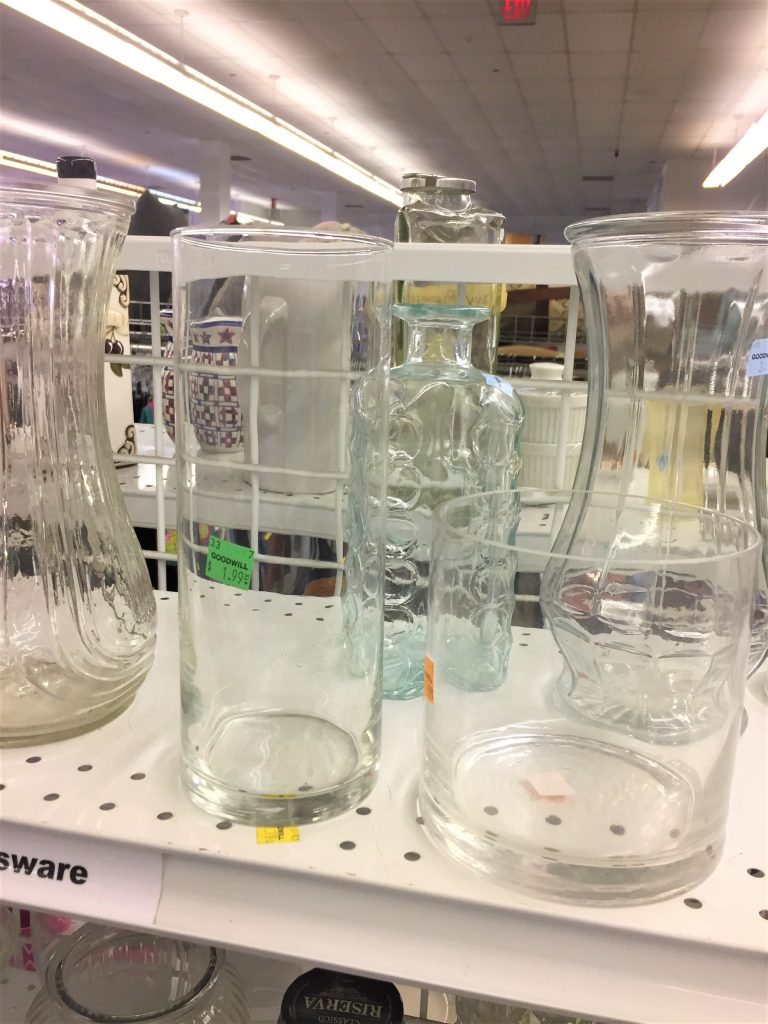
My solution? I hit my favorite Goodwill store (on South Dakota Avenue, NE with the best staff ever!) to hunt for clear, glass vases to upcycle.
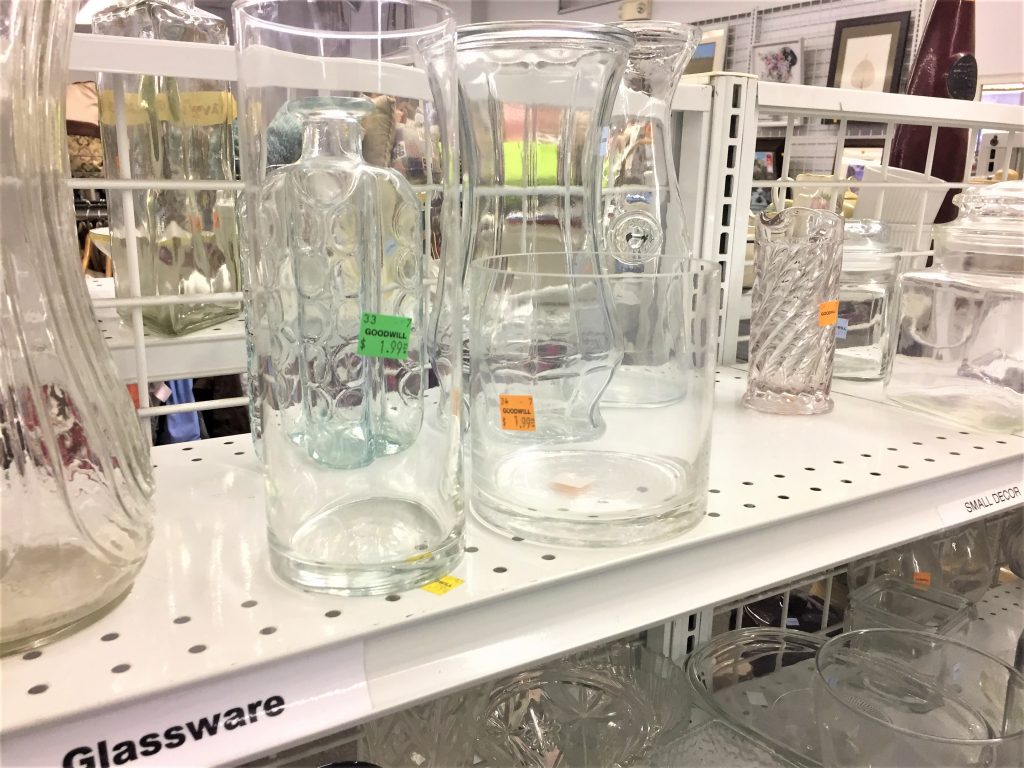
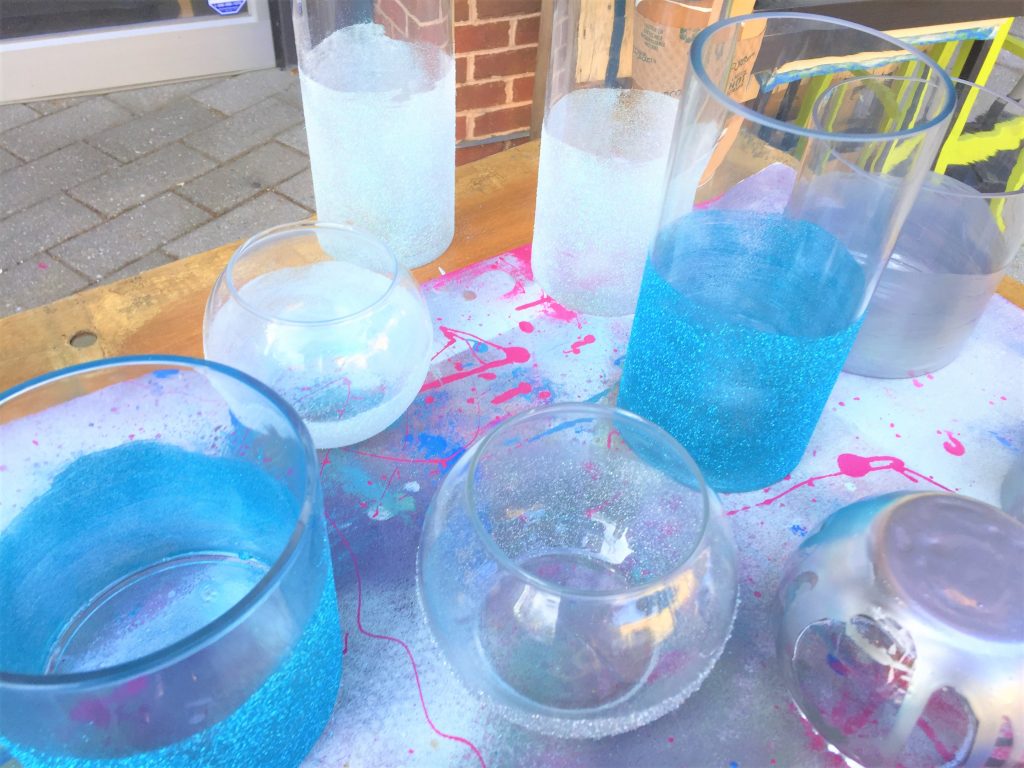
Simple and sleek round vases were planned/hoped for and Goodwill did not disappoint!
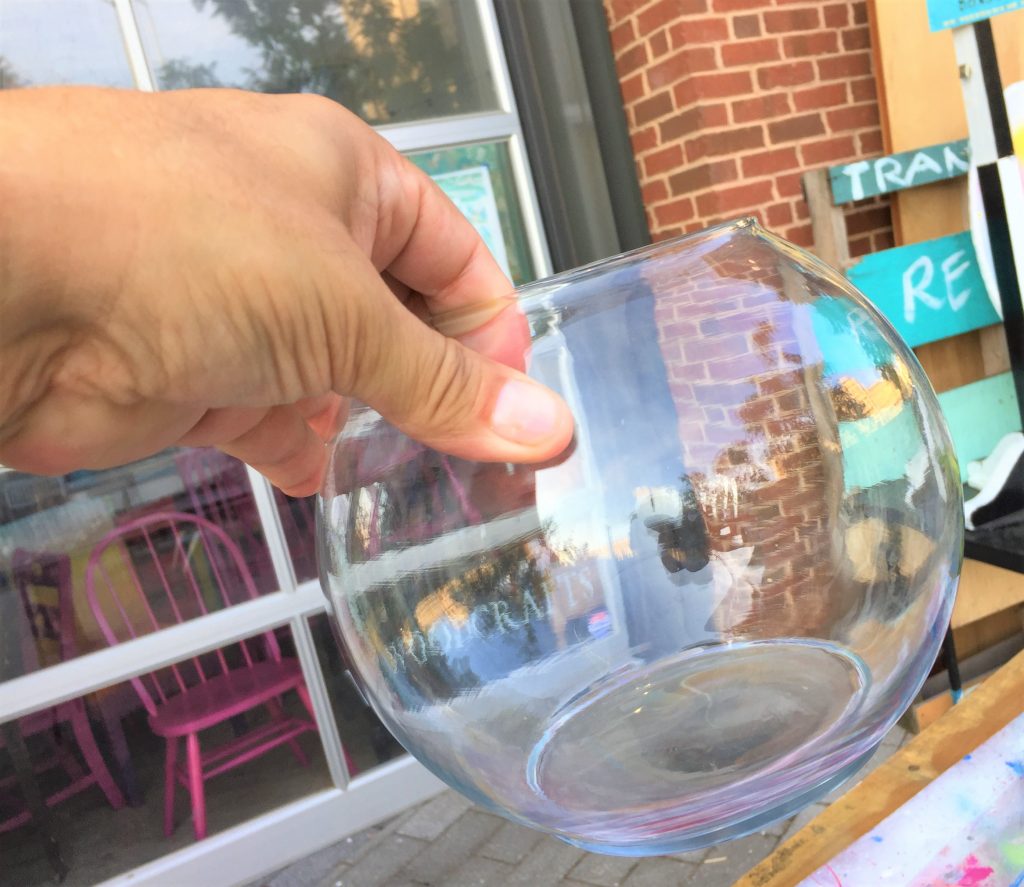
In addition, and unexpectedly, I found a handful of globe-like vases, so they went home with me, too. And what is so wonderful about shopping at Goodwill is that you might hit a tag sale like I did, so some of the items—already with a great price—-were half off that day! Score!
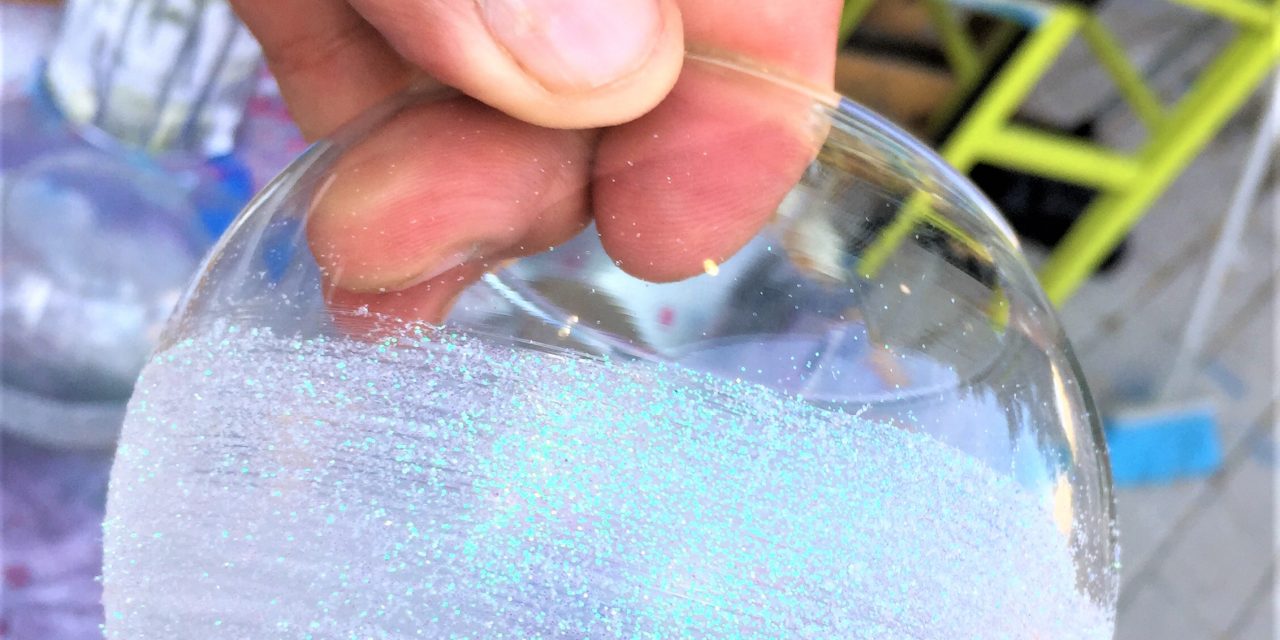
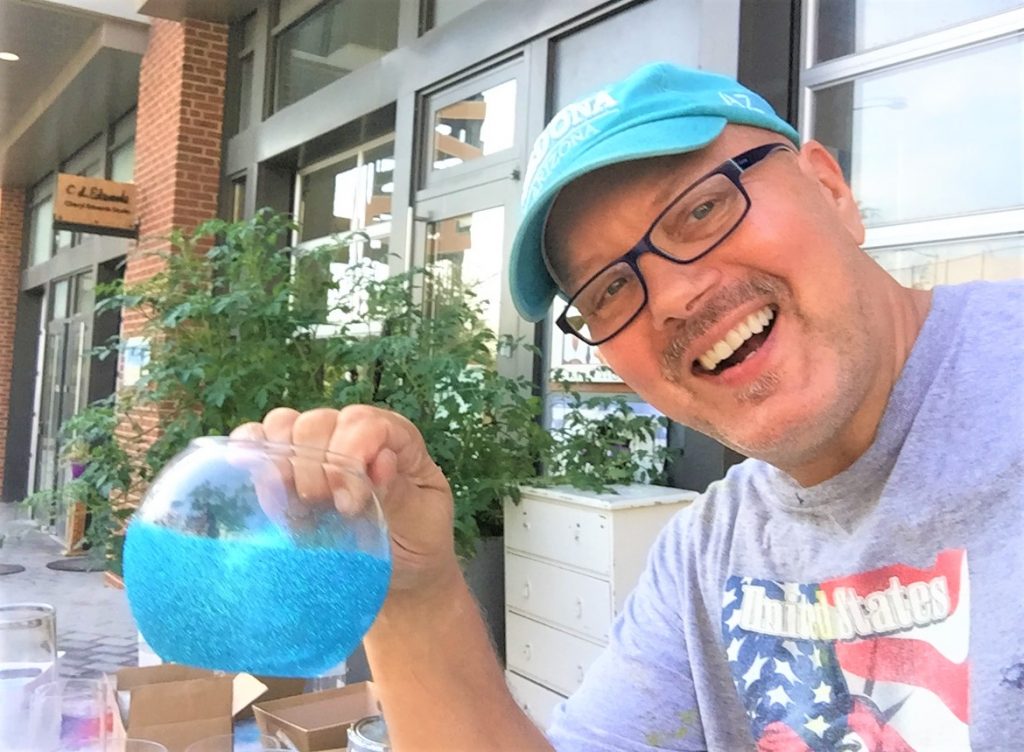
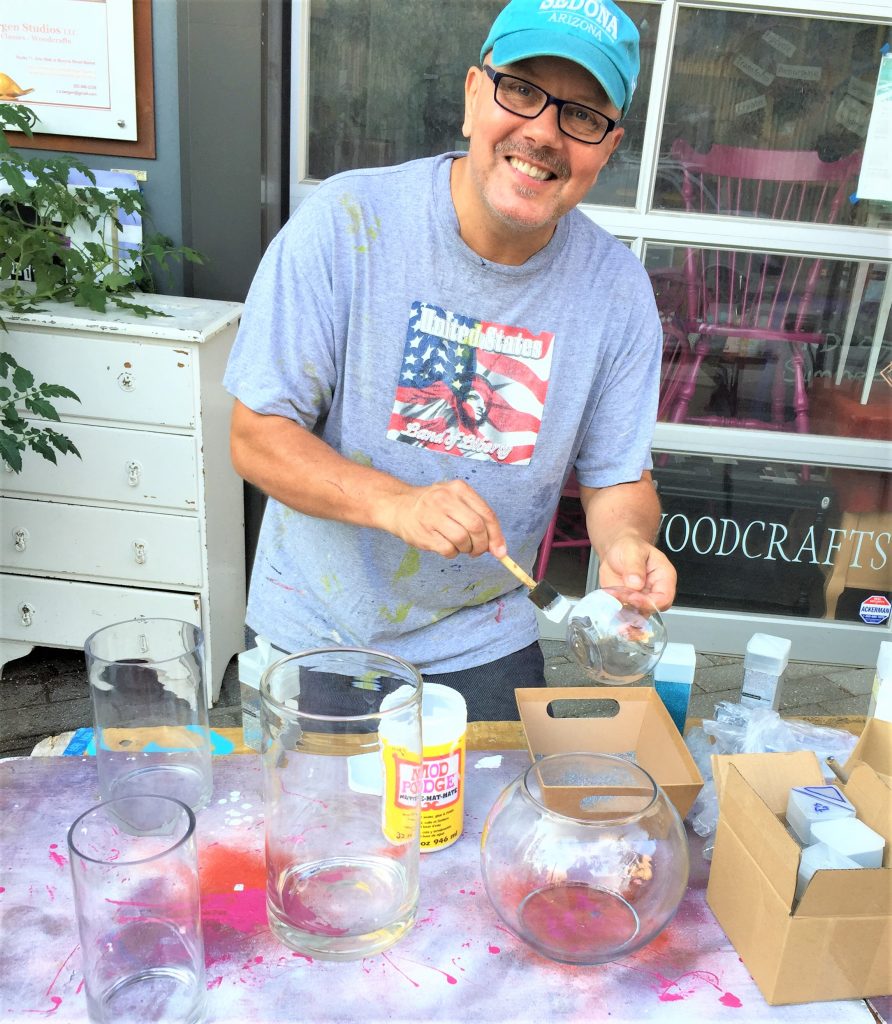
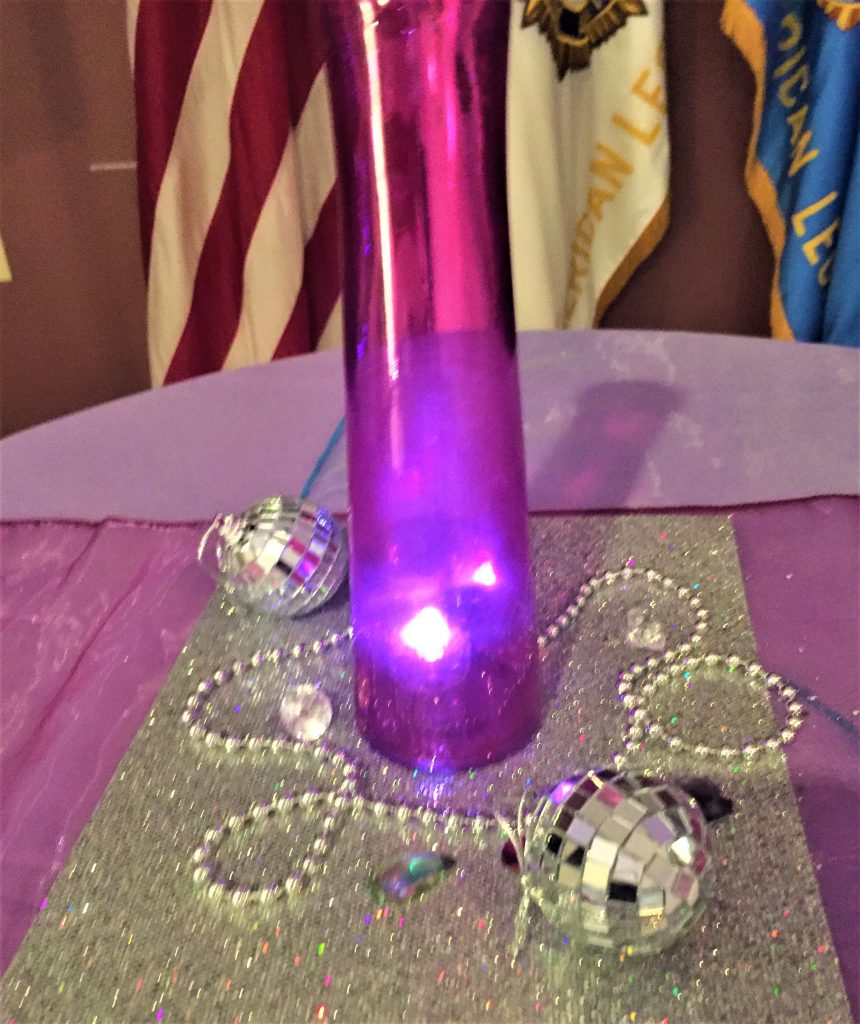
To transform them from clear to clearly spectacular, I enlisted my trusty friend: Mod Podge. To make the various vases look connected and part of a set, I brushed on Mod Podge on the bottom half of the vase then sprinkled glitter on it. Mod Podge dries clear so all you saw was the splash of color which shimmered and shined. Glitter in silver, a luminous white and teal were used to tie into the tones for the event and looked so vibrant, cool and night-clubby when placed together.
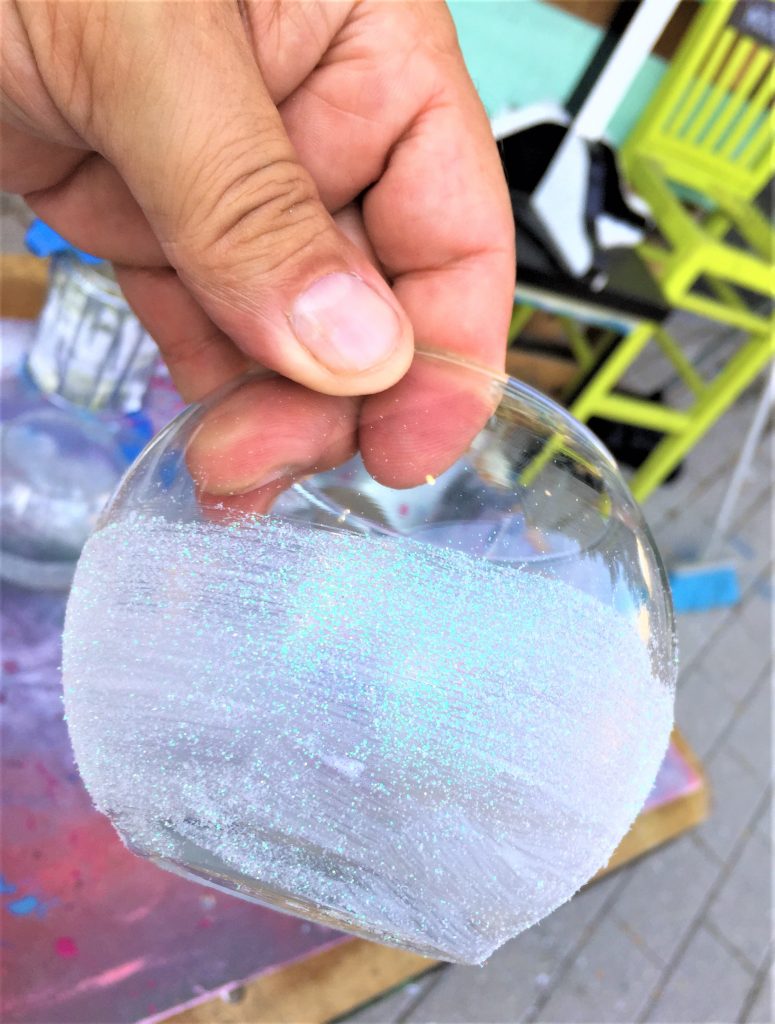
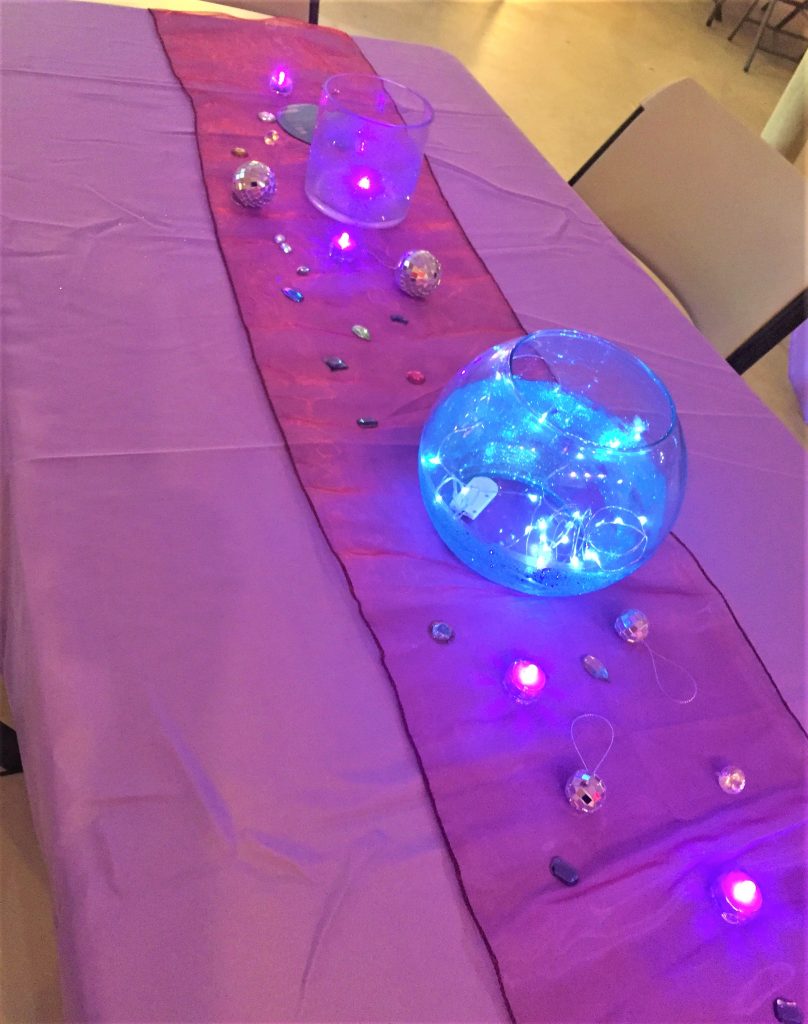
Carefully place your pieces aside to dry. Gently wrap them when moving them to your party place to protect the glitter accents. Once in place on the tables, add tea lights or strings of little “fairy” lights to make them and your table sparkle. These, too, were found online and also can be picked up a dollar store or arts & crafts store.
In addition to the clear vases, I found some bright pink/fuchsia colored vases that matched the color scheme. Tea lights were added, too, to repurpose them into candle holders. A small mirrored tray and silver tiled full-length mirror were purchased, too, to give additional options for adding glam to the room.
Expert Tip: If you are inspired to do this easy project, then sprinkle on the glitter over a box or container to catch it. This will save time on your clean up and allow you to use the extra glitter for other projects for your event (like the moon in Step 6) or other future DIY projects. Glitter can be very messy and hard to clean up out of carpeting and rugs so do this project over a floor that is smooth and can be easily swept up. (No glitter in a room with carpeting, right Michael Frohm?)
4. Bring on the bling…and disco balls
I can’t think of something that fit our theme better than disco balls. Small ones were added to each table which reflected the light from the glitter covered and lighted centerpieces. These, too, were found on-line. Sometimes you can find items like these in the Holiday Décor section at Goodwill, too, since people often decorate Christmas trees with them. Really!
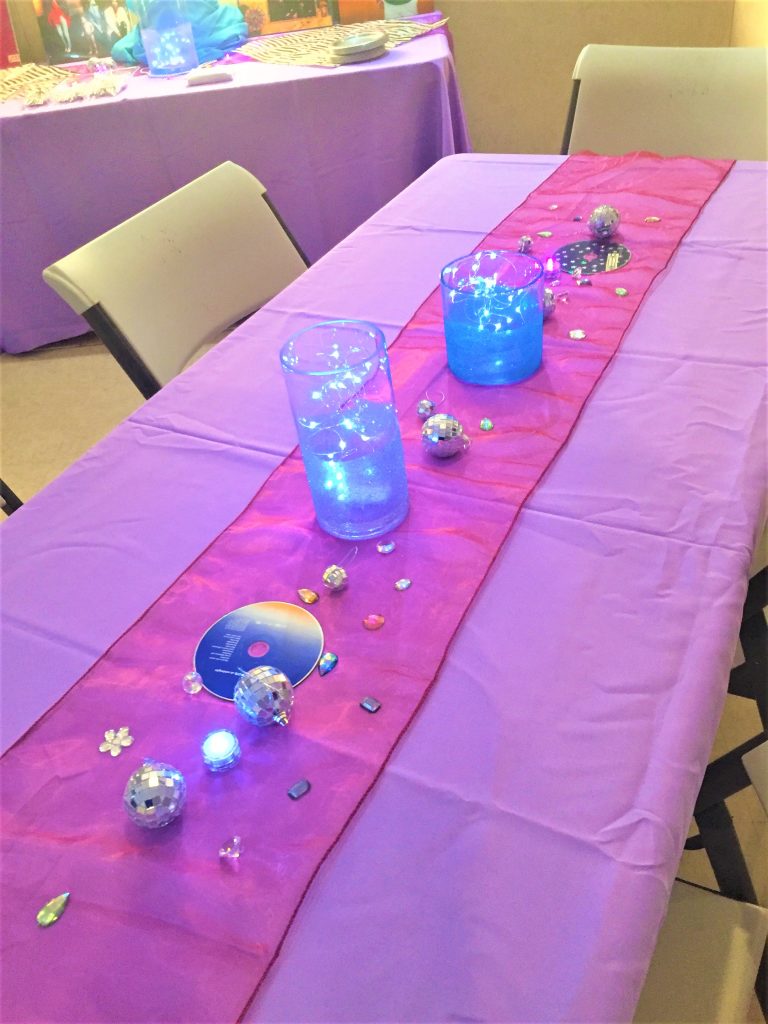
We had to have some bling so inexpensive plastic diamonds and jewels were spread around on top of the table runner. They looked like a million bucks when sprinkled in with the centerpieces and disco balls. They, too, added more sparkle and glamour to each table. These came from a local arts and craft store and came at a reduced price thanks to coupons! Gotta love that—bling on a budget!
.
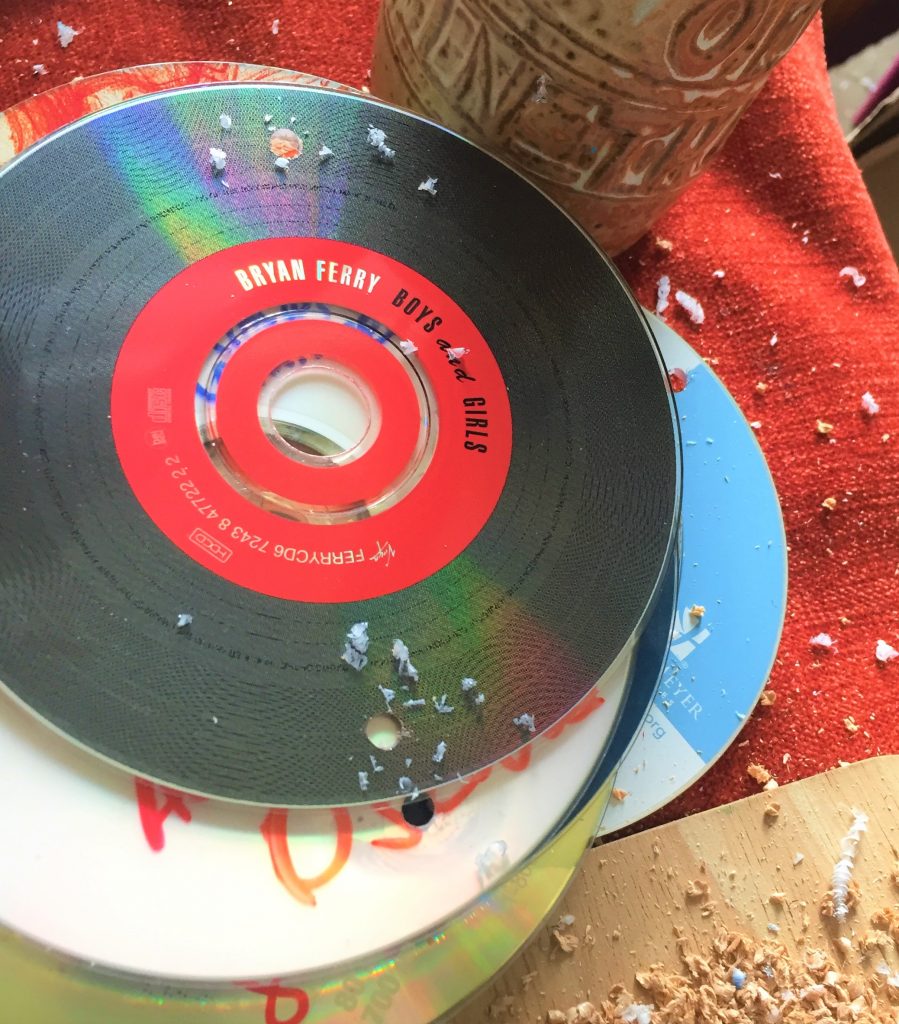
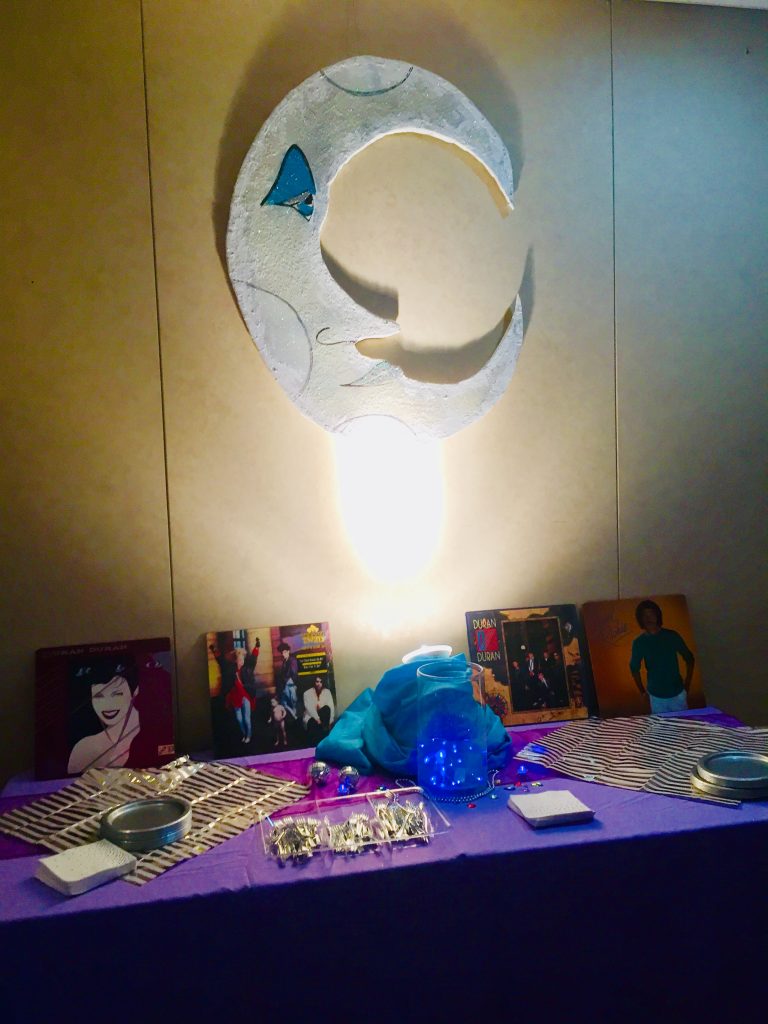
5. Rock & Roll décor with CDs, albums—and Freddie Mercury!
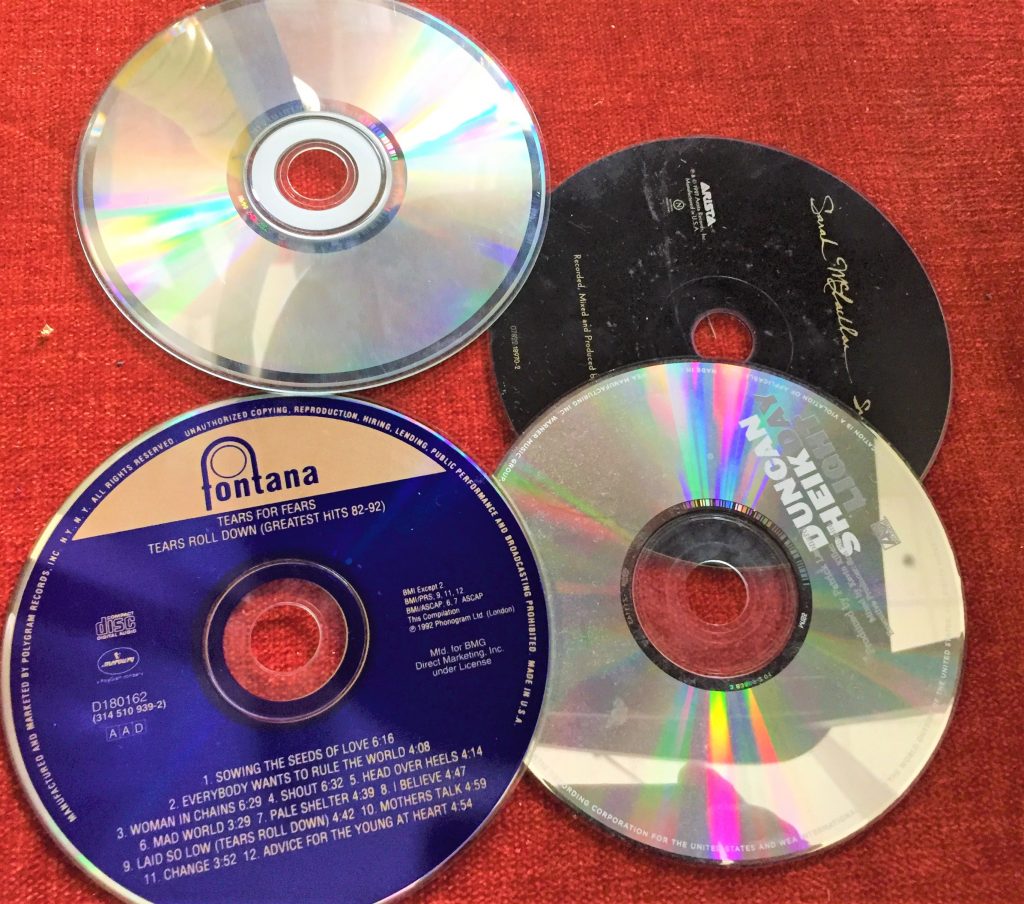
To continue with our Rock & Roll/disco theme, we enlisted old CDs and record album covers to serve as art and decoration. You will find lots of these at Goodwill for nearly next to nothing. (We did upcycle Grace’s for this project so each one was a group or singer she loved making the décor very personal to her.)
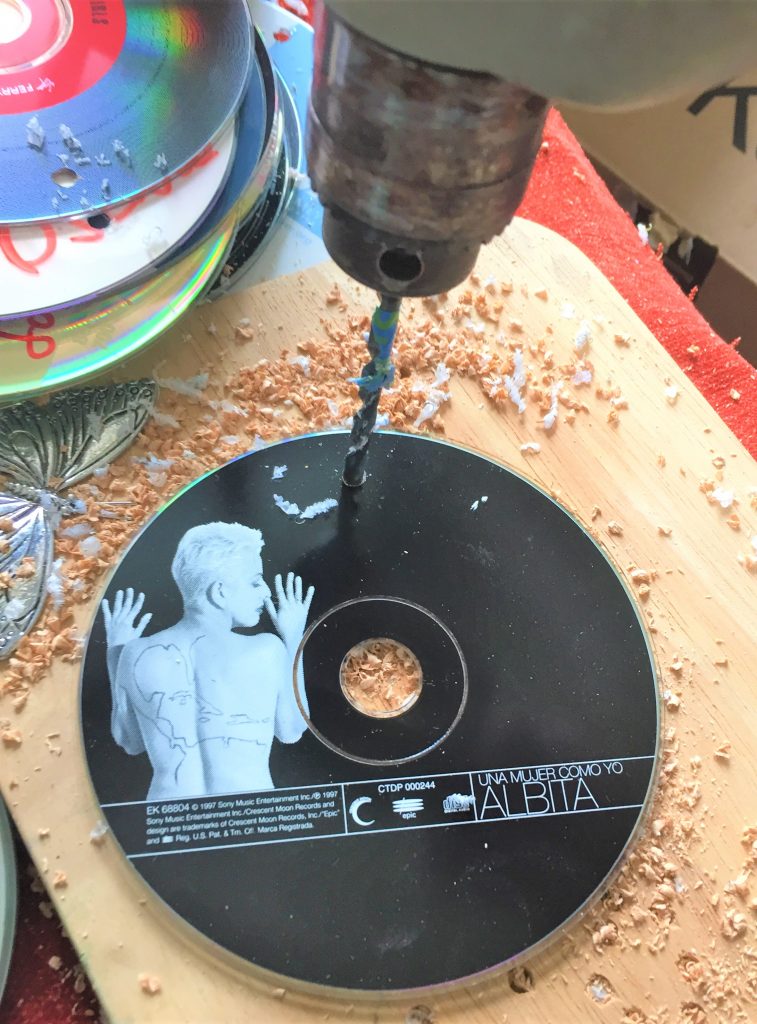
I drilled holes in the top and bottom of the CDs, then strung (or is it stringed?) them together using thin wire. These were hung (or is it hanged?) from the ceiling around the space to add another festive element which also reflected the lights and added more shine around the room.
We took advantage of one of the walls which had a bulletin board finish to it so used clear thumb tacks to add CDs to it. The wall then had fun dots on it which added visual interest and reflected light, too. Several CDs were added to each guest table as well to connect the theme to where people would eat and added an unusual conversation piece to the table setting.
Album covers were placed on tables along the wall and in the restrooms to add color and whimsy to these areas, too. Again, like the CDs, these were contributed by Grace and were a fun conversation piece for attendees.
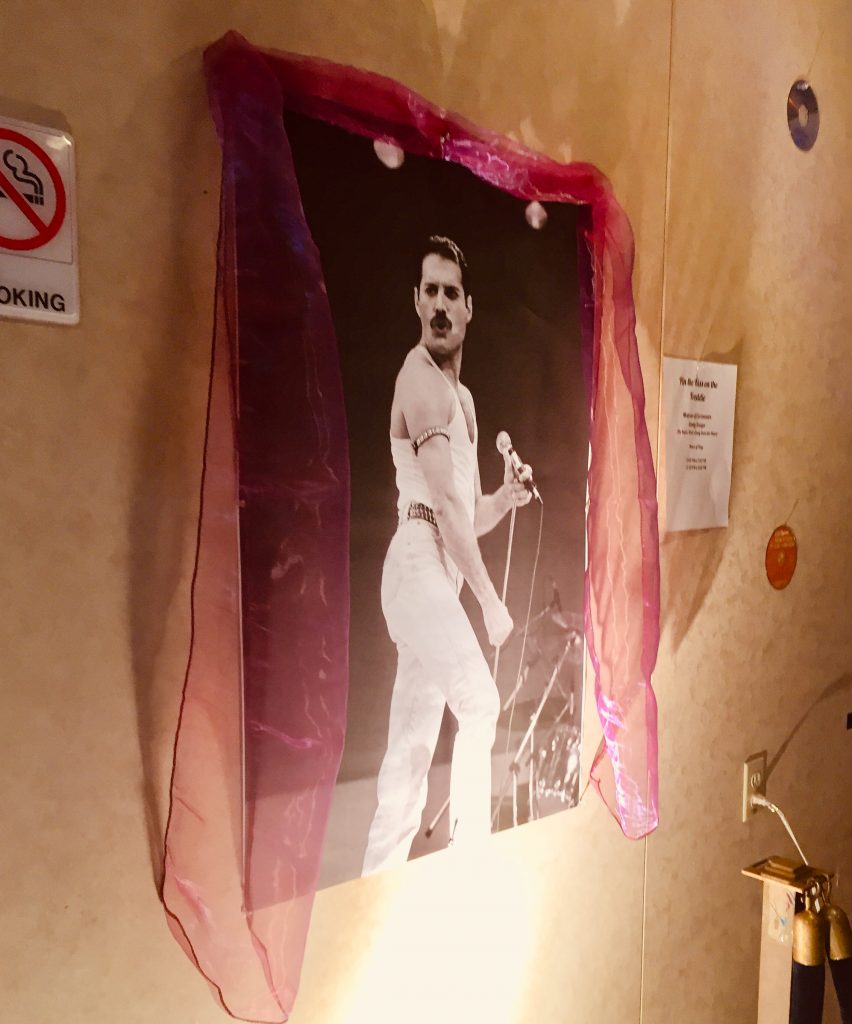
The icing on the cake was the “Pin the Kiss on Freddie Mercury” game. A poster of Freddie was pinned to the wall. Guests were blind folded and spun (or is it spinned?) around then placed a kiss-shaped sticker on Freddie. It was hilarious to see where “he” got kissed. This poster was put in a frame at the end of night and given to Grace as a gift. What a totally out of the box idea! Thanks to her neighbor Cindy for making it happen and adding her talents to the high energy of the evening.
6. Give her the moon!
As a special gift, I created a moon modeled after the one from Studio 54, the mother of all discos.
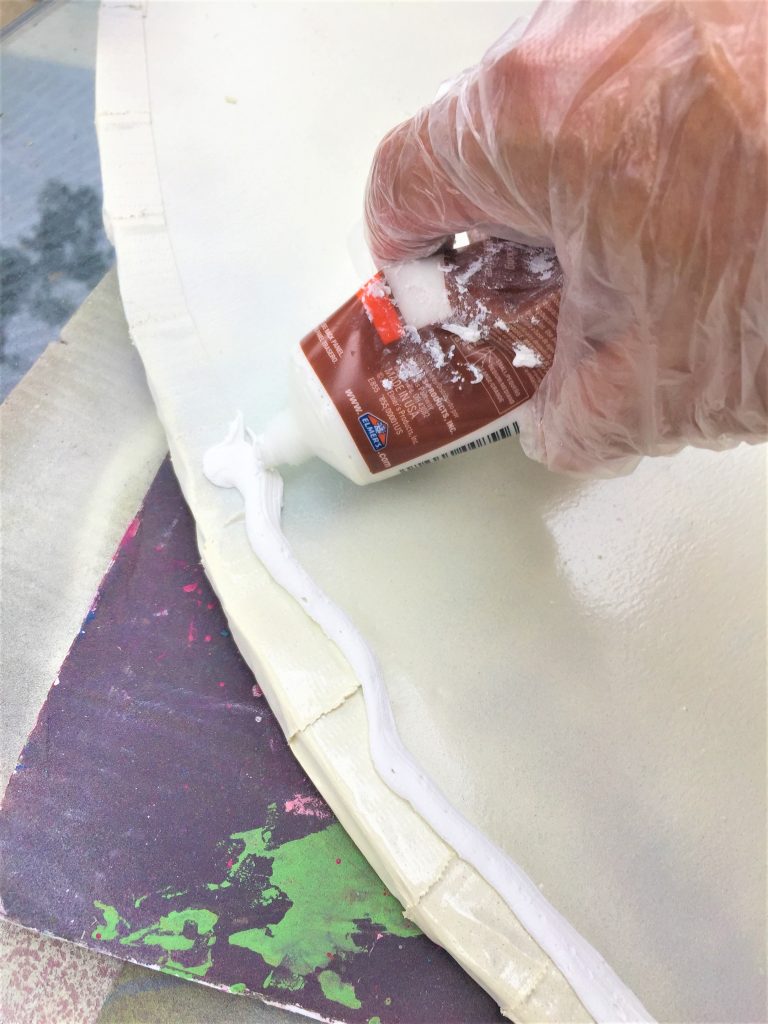
On a big piece of foam core board, I sketched out the design and cut it out with an exacto/box cutter knife. To mask the raw edges, I used white duct table then covered it and the front of the piece with white wood filler to give it a textured look. Once it dried, I spray painted the piece with white and gray spray paint.
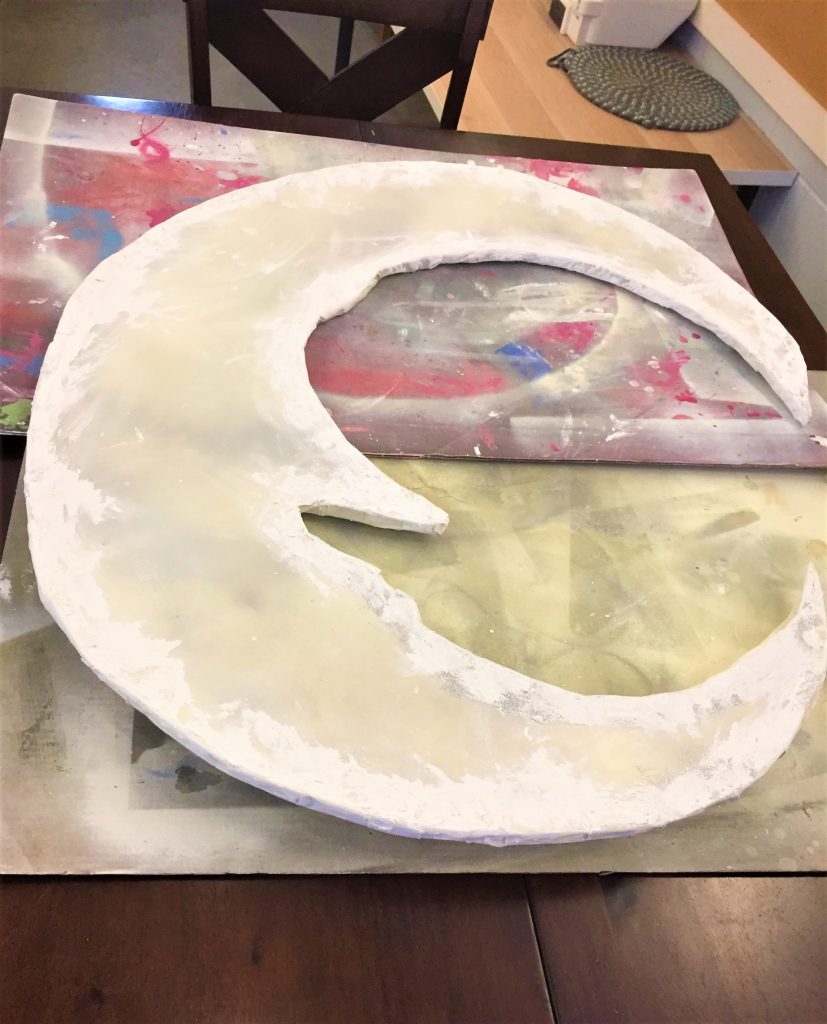
After it was dry, I used a black sharpie to draw in the eyes, nose, lips and other details, again modeling the Studio 54 moon. Using Mod Podge and a small foam brush, I applied this glue to different sections and sprinkled white glitter on top. This step was repeated with the eyes, lips and craters to add colors of pop to the piece. After it dried, a piece of wire was knotted then taped to the back so it could easily displayed on the wall under a spotlight.
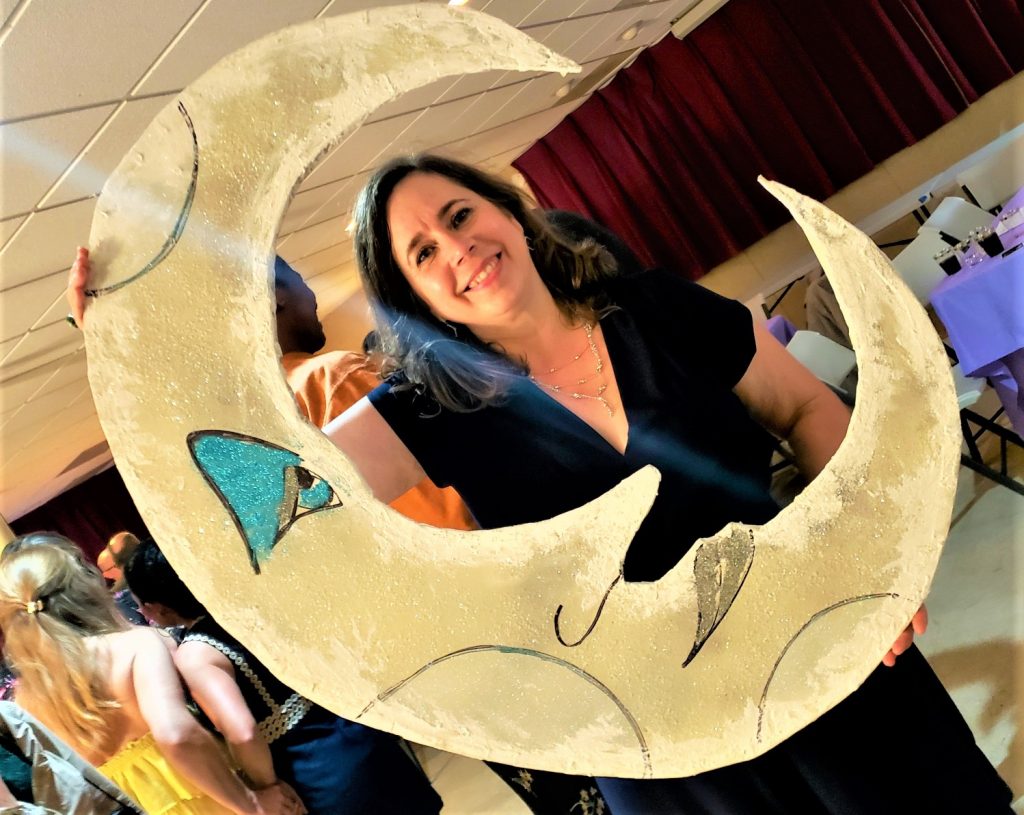
I was so happy with how it turned out and thankfully, Grace loved it! (And thanks to my studio next door neighbors Topaz and Melanie for gifting me the glitter! A community that creates together, stays together!)
Other tips for a successful and smashing event
- Name Tags
Always have name tags! While the guest of honor or special couple knows everyone, help to make the event friendly by making it easy to remember names. Set up a name tag station and invite someone to be there to ask people to fill them out with the colorful, thick markers you provide. And another way to support your event’s theme is to have stickers for folks to embellish their name tags. Also, given we live in the DC area, encourage people to write where they grew up and add that to their tag, too, to provide another way for people to connect. We could have asked people to write their favorite muscial group!
Invite servers, wait staff and bartenders to participate, too, by writing out name tags so you and guests may refer to them by their names. This helps to get them involved too and provides a friendly environment.
- Restrooms
We spend so much time decorating the event space that often a very well-used set of rooms get overlooked. As mentioned earlier, carry your theme into the restroom by adding items to the countertops by the sinks. We added albums and small tea lights to keep the energy in every room!
- Outside
Based on where your event is being held, be sure to decorate the outside space so guests know where to enter and to help set a great tone right from the start. We taped extra table runners that were tied together and CDs around the outside door. Guests knew they were in for a special evening as they walked up to the event.
Again, so many thanks to Grace and Goodwill, along with many other helpers and contributors, for the chance to create a wonderful backdrop for a totally fun, fabulous and rocking 50th!


