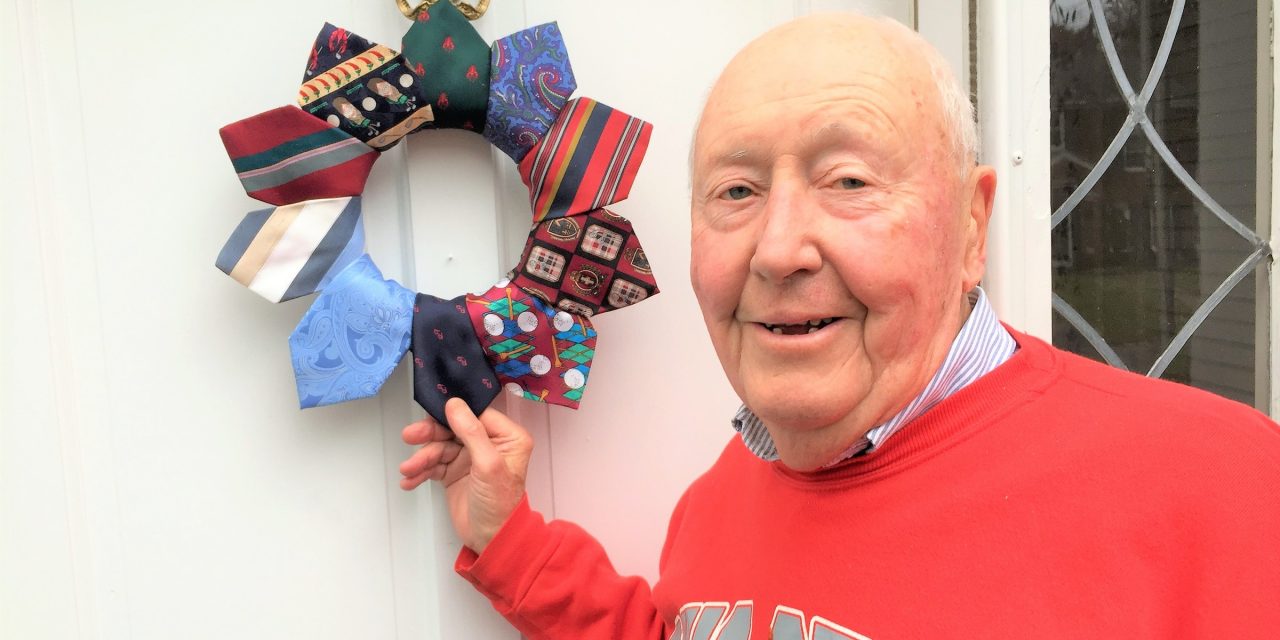
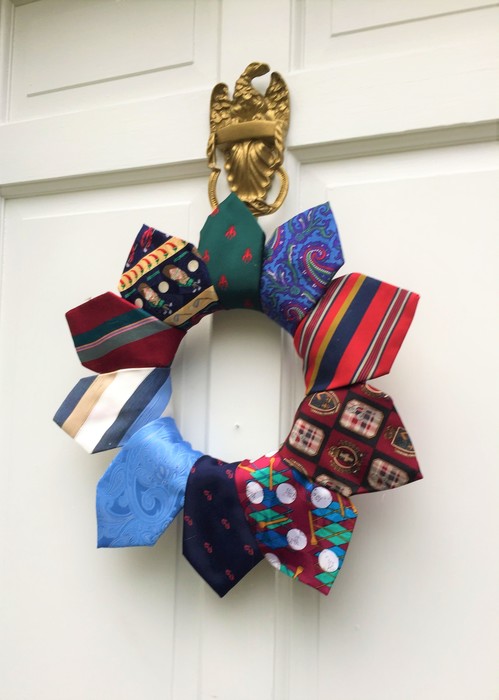
Here’s a DIY idea that’s dressed for success — upcycle old neckties into a dapper wreath. This project is “knot” hard to do and will easily generate compliments. A great holiday gift for the well-dressed man or woman on your list or anyone deserving this a tailor-made decorative piece.
Age Level: Teens and adults
Items needed:
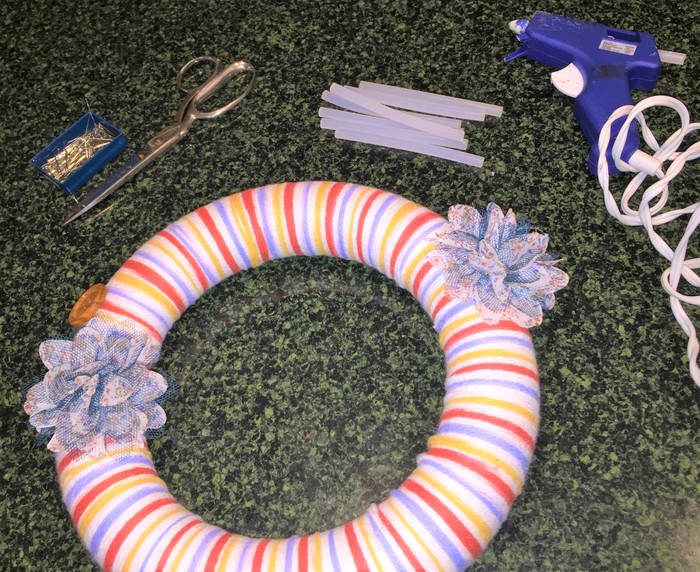
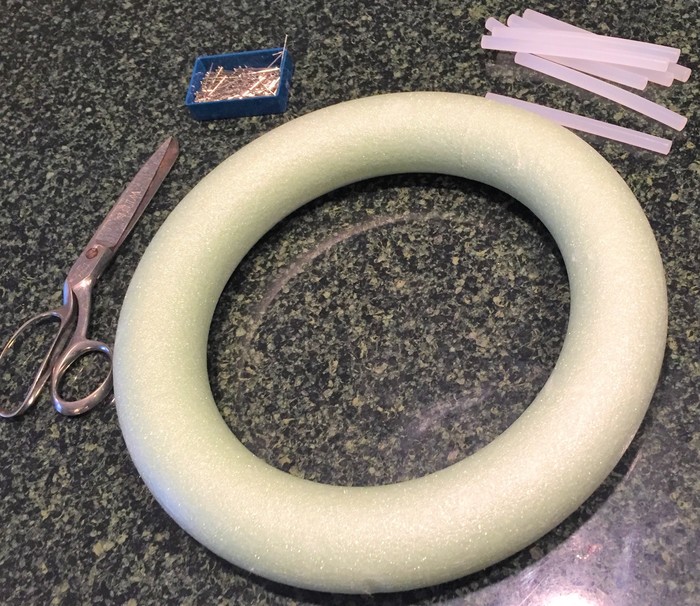
- 12 to 14 neckties
- Foam wreath form or cardboard cut into wreath shape
- Glue gun & glue sticks
- Scissors
- Straight pins
- Twine
Time requirement: 1.5 hours each
Cost: Approximately $20
- $2 to 4 per tie
- $1 for foam wreath
- $1 for glue sticks
- $1 for straight pins
Step 1: Take a tailor-made trip to Goodwill
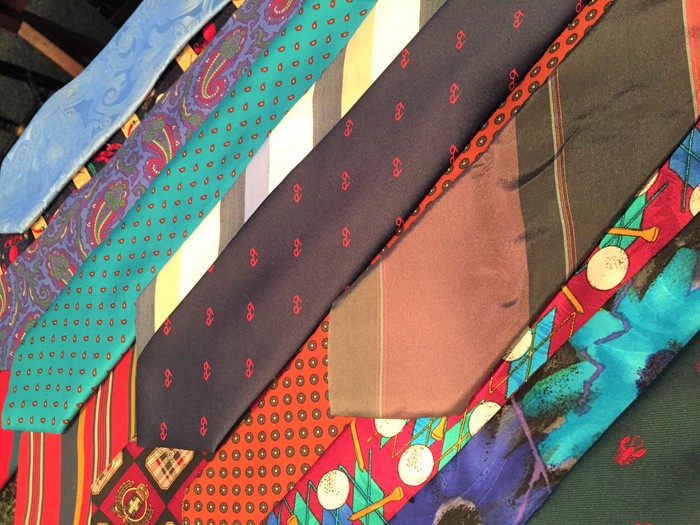
The primary materials for this project – neckties – can be found in the Men’s section of your Goodwill retail store. A true staple at any location, you are sure to find many fashionable choices for this project. Given that it’s the holiday season, you might want to select ties in reds and greens or blues and whites. However, an array of colors looks great, too. Or select ones in the same shade for a single pop of color. These latter options will make your wreath timeless and great to display any time of the year.
Step 2: Cut to the chase
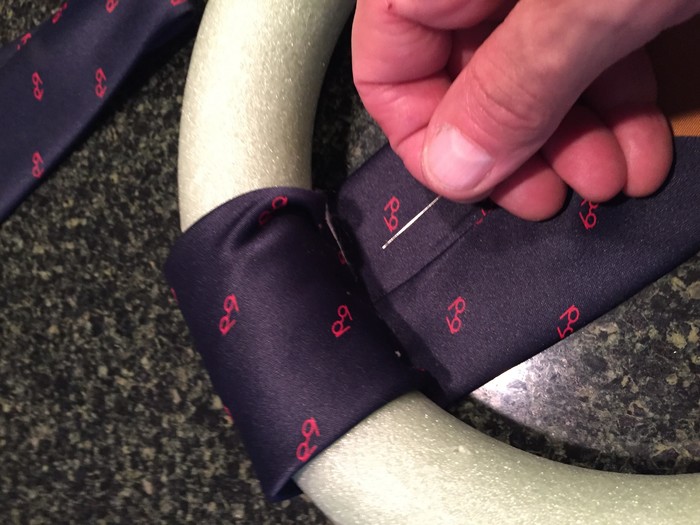
With the first tie you plan to use, lay it face down on your work surface and place the foam wreath form on top to the tie’s wider tip (the part that would be the front of the tie if it were being worn). Pull the thinner end into the wreath so it covers it; cut it off here. There will be lots of “leftover” pieces to discard and reuse for a second wreath. This first cut piece will be your pattern for the other ties which will be used. Cut the other ties; you may need ten to twelve for this project. Place the wider, cut ends aside to use for this wreath. Save the remaining long pieces.
Step 3: Pin and glue in place
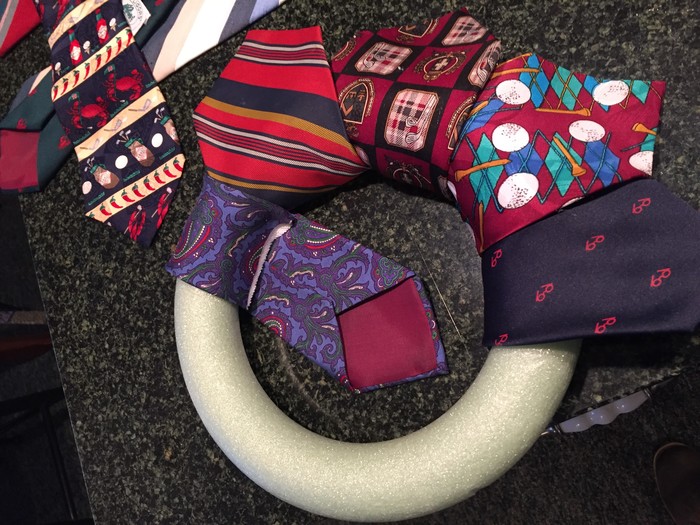
Place the cut tie piece face down and place the foam wreath form back on top of it. The pointed end should be in the center of the wreath. Wrap the cut end of the tie so that the cut end covers the foam form; use two to three straight pins to hold in place. With your glue gun, add glue under the place where the tie is now located; you may need to unwind the tie (which will be held in place by the straight pins), add glue then place the tie back on top. Do the same with the next tie piece, placing it face down, securing the end with straight pins, adding glue and re-wrapping the tie. Be sure to overlap the second tie over the first.
Continue to work your way around the foam form until it is covered with the tie pieces, one overlapping the next.
Turn your wreath over so the front side is down. Using the pins and glue gun, ensure none of the foam form is showing between the pieces.
Step 4: Bring in the reinforcements
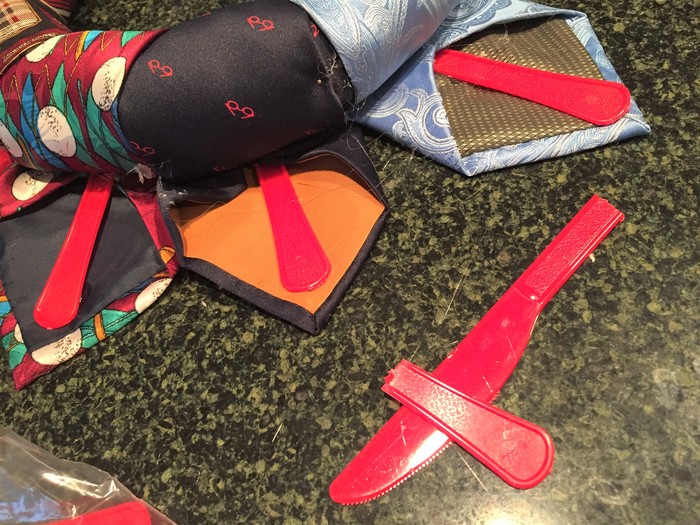
Based on the ties you use, some of the ends of the ties may flop down slightly. Therefore, you will want to add small braces on the back or underside of the ties. Popsicle sticks, the ends of plastic silverware or coffee stirrers are good options to glue in place so that when you hang your wreath, the necktie tips will display nicely, looking like a blooming flower.
5: Add a hook & hang it up
To provide a place on which to hang your necktie wreath, loop a piece of string, ribbon or wire into a circle and glue into place. A round plastic ring was used for this project. You could even use a medium sized washer or a large paper clip. Once the glue dries, flip it over and hang it on your front door. A nail will hold it in place or you can use another small piece of string to tie it to your door knocker. Step back and admire this truly handsome and happy wreath. You might be tempted to leave it up all year to show your fashion sense!
Optional—Second necktie wreath using cut away pieces
Save your scraps—don’t discard the left-over ends of your neckties; enlist them to create another wreath with a matching yet different look.
Expert Suggestion: To tie (another pun!) into the theme of these wreaths, consider gluing buttons on top or tying old cufflinks to add visual interest and bling. You could even glue on an old zipper on it for a truly unusual and whimsical embellishment to this project!


