This DIY project will be glad you are going downhill—at least on the ski slopes! You won’t wipe out when you upcycle old ski poles into a new windchime that will capture attention and make music, whether or not they are calling for snow.
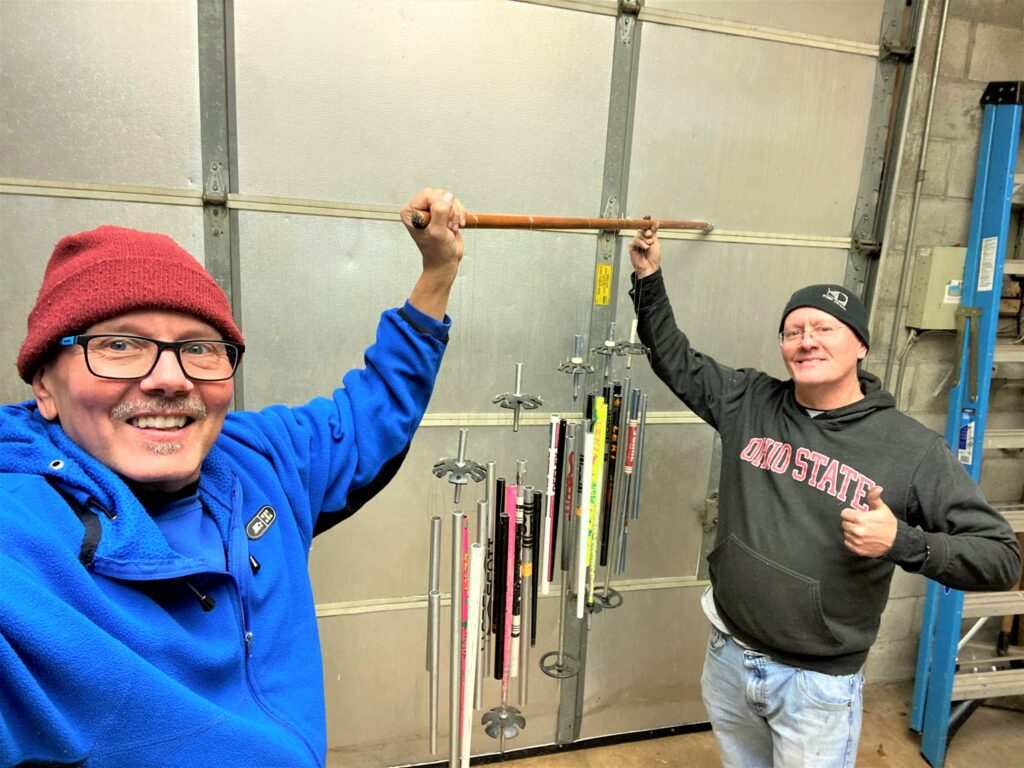
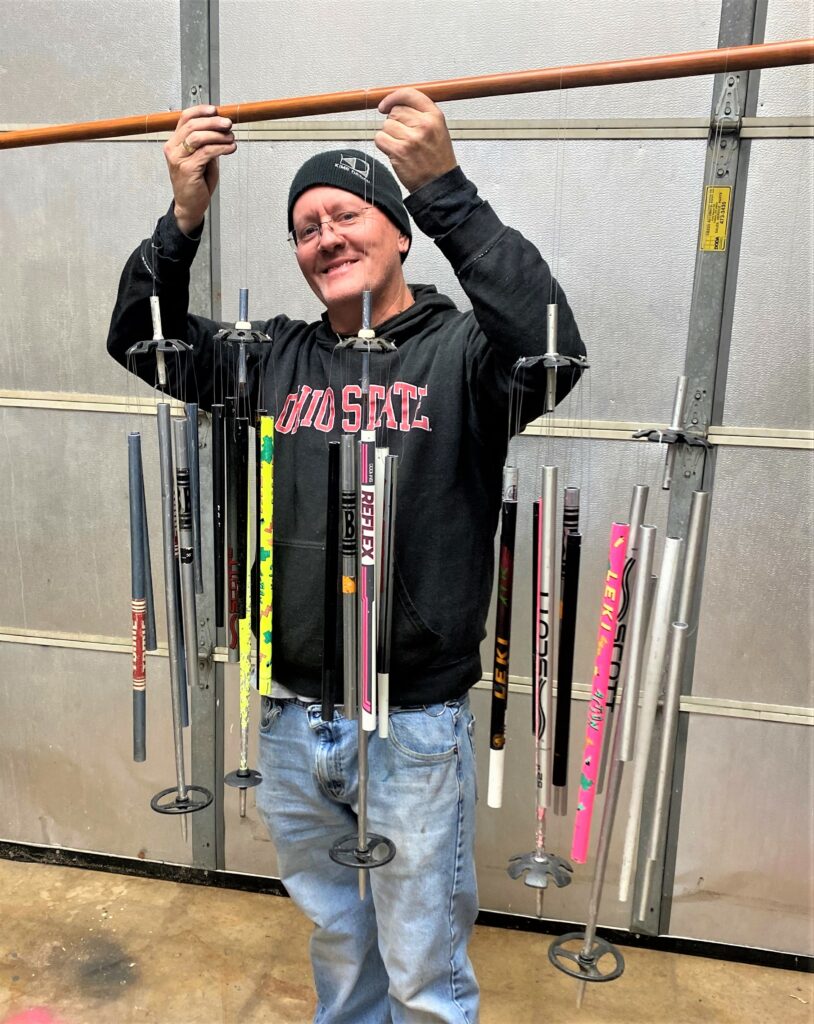
In addition to creating totally unique and eye-catching (and ear-catching) windchimes, this project also came me a chance to go down memory lane—or memory slope—because I did this project with my brother Todd while visiting my hometown of Toledo. Full credit goes to him and his creative mind for coming up with the idea and providing the space to make this DIY project happen. And even more fun, the poles belong to our family and were used over the years as we moved from the bunny slopes to mogul-covered runs.


Items needed:
· Metal ski poles, four per wind chime
· Clear fish line
· Drill with bit for metal projects
· File
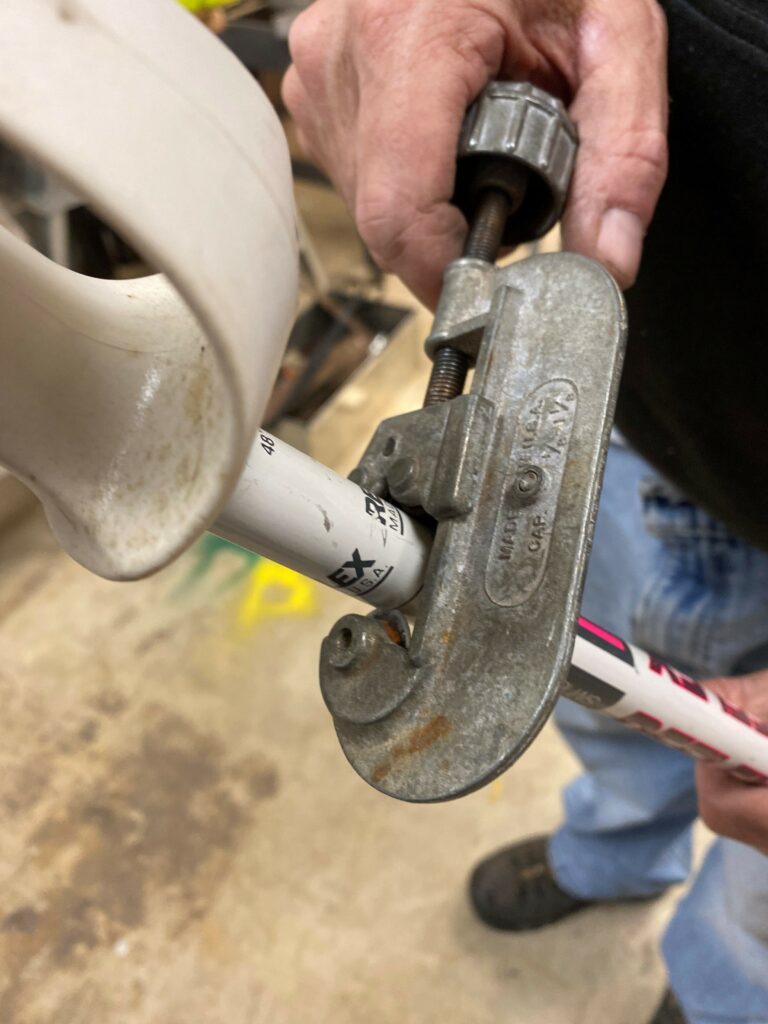
· Jig saw or handheld pipe cutter
· Scissors or wire cutter
1. Move from amateur to pro status when you find your good at Goodwill
Did you know that your favorite, neighborhood Goodwill store sells donated sporting goods and equipment? For athletes—and DIYers—of all skill levels and experience, you can find equipment to keep you active (and creative) all year-long.
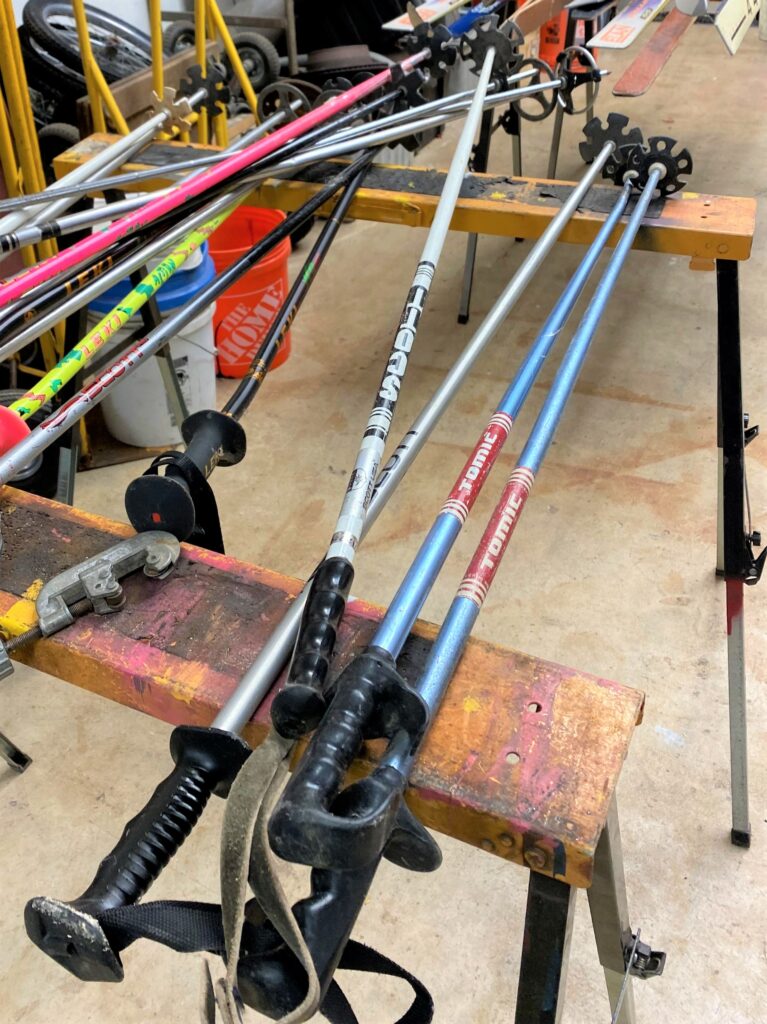
While the ski poles featured here came from my parents’ home, you are likely to find some of your own for this totally cool DIY project. Look for two pairs of ski poles to upcycle and the more “used” looking the better because it adds to the visual interest and appeal.
2. Cut pieces to make chime parts
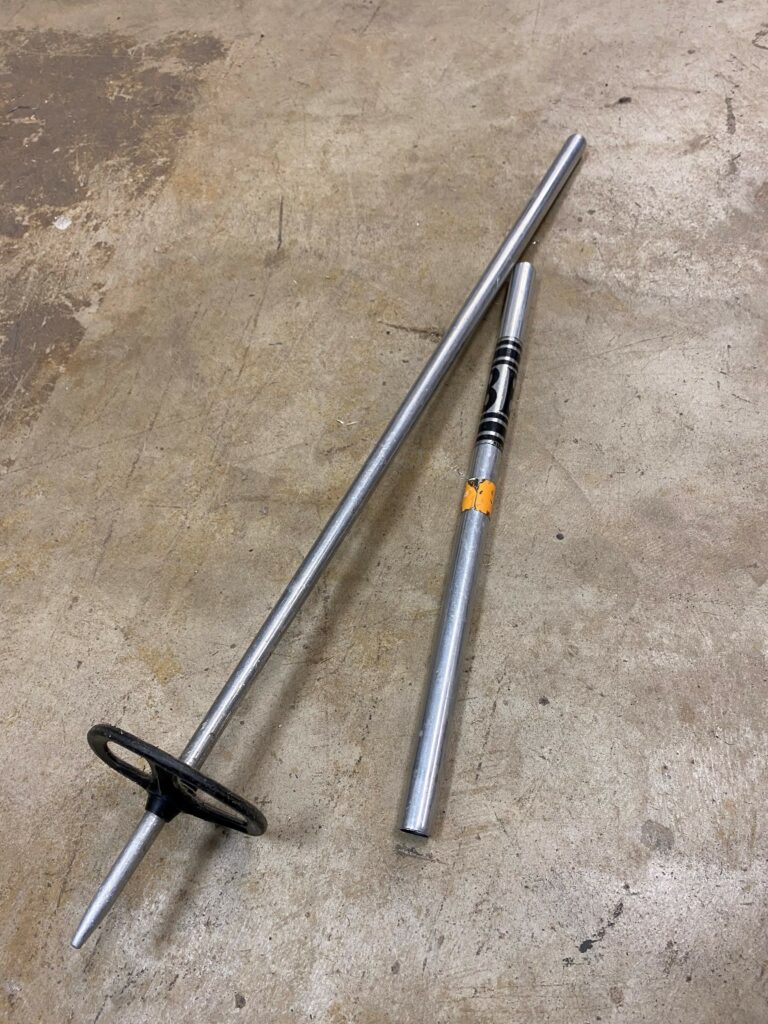
Each ski pole windchime has three primary components to make it work: a top cap, a center striker/clapper and 5-6 hanging tubes. Here’s what each of those are and how to make them.
1. Top Cap: Ironically, the top cap comes from the ski pole’s basket located near its bottom! Ski poles have “baskets” on the end opposite their handles which prevent the pole from going to deep into the snow. It allows the pole to support a skier as they maneuver down the slope. This part will become the top and center hanger for the windchime, so carefully use your saw or pipe cutter to cut if off from the pole and allocating approximately two inches below the basket when turned upside down with the pole’s pointed ending facing upward.

2. Center Striker: The longest part of the windchime will be the center striker, also called the center clapper. The center striker will hang from the top cap and allow the other parts to bump up/strike against it to make the chime’s musical tones. Use a second ski pole and measure up from the bottom upward so its basket is part of the center striker. Its length can range from 8 to 12 inches. Use your saw or pipe cutter to remove the handle and pole from above that 8 to 12-inch line.
3. Hanging Tubes: Use the other parts of your ski poles to create the hanging tubes. Based on the length of your center striker piece, you will want to cut the 5-6 tubes shorter than it, so they fit easily between the top basket and center striker’s basket, too.
3. Drill baby, drill
Now all your parts are cut, so use a file to buff up and smooth out any rough edges along the cut edge. With your drill, add holes to the top AND bottom of your top cap. For the center striker and hanging tubes, drill holes at the top of each with about a half inch from the edge.
Expert Tip
Given the roundness of the pole and its smooth surface, your drill bit might slip and slide because it doesn’t have anything to grab on to, so to speak. Therefore, if this happens, you’ll want to take a hammer and nail to tap in a small indent where you want your hole to be. When you drill again, the indent will help the drill to do its job better!
4. No need to tell a big fish story when stringing it all together
1. Cut a piece of fishing wire and thread it through the hole you made in your top cap piece. This will serve as your windchime’s hanger so create a loop big enough to allow it to hang over a hook. Hang it up on a hook or over your workspace with a pole or other device so it will hang as you construct your chime.
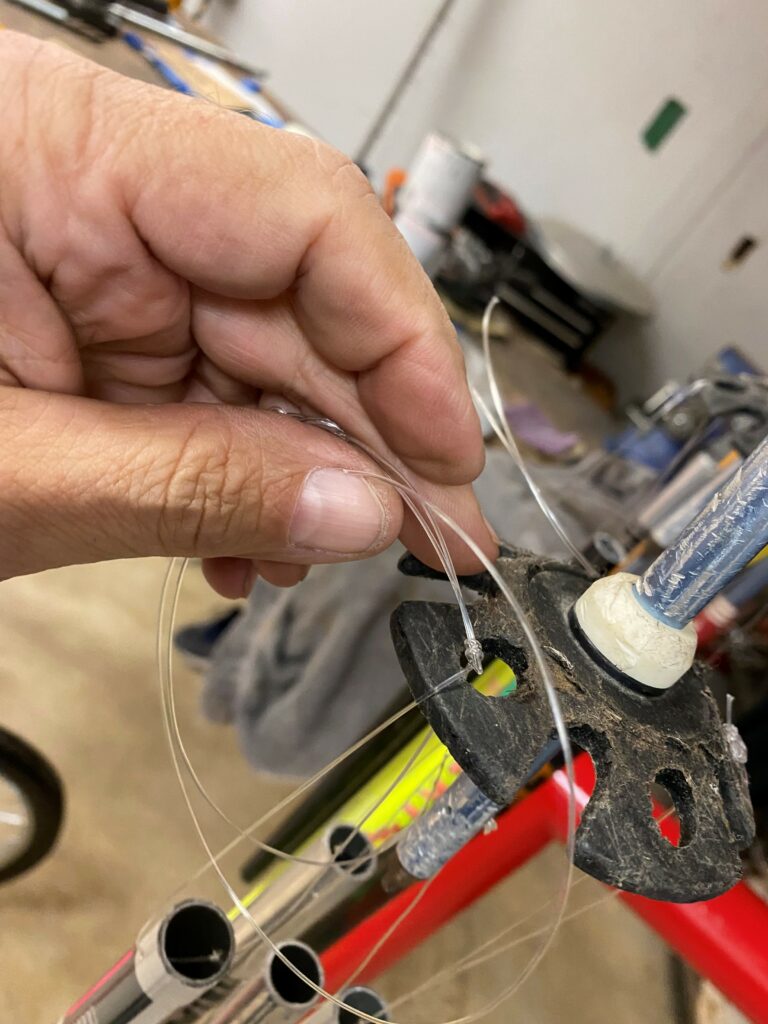
2. Next, pick up your center striker part and thread the fishing wire through the hole your drill in its top then, using the same piece of wire, thread it through the bottom hole in the top basket to connect the two parts. Tighten the wire so there is about an inch or two of space between the top basket and center striker when it hangs.
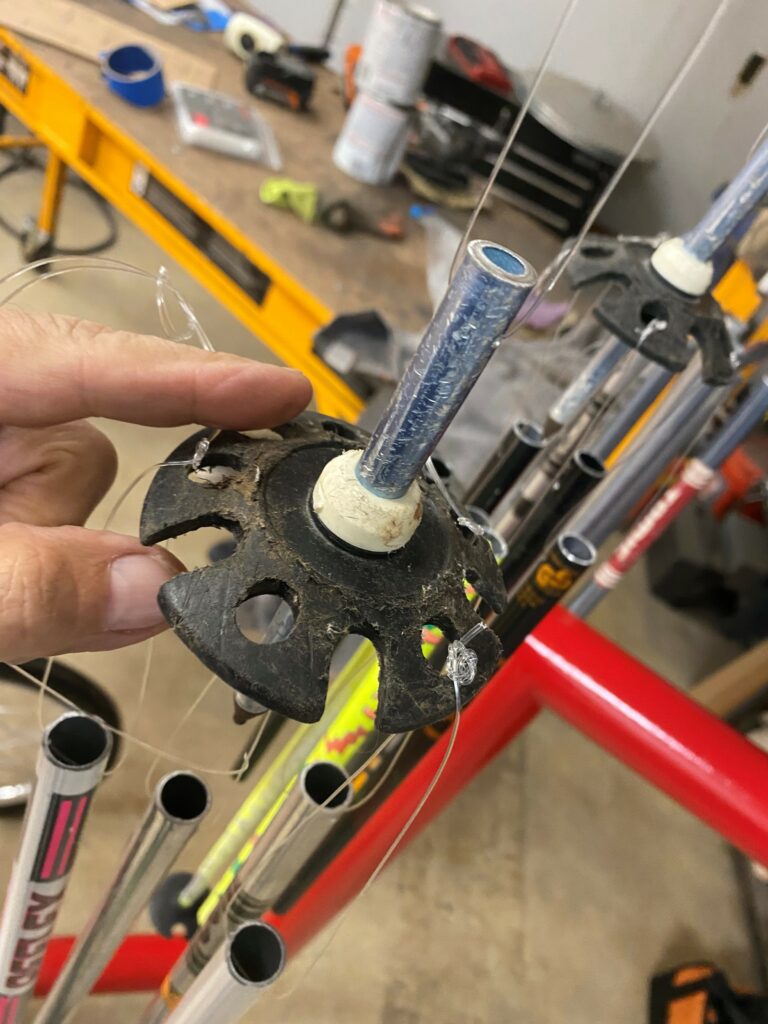
3. Lastly, thread a piece of wire through the hole created in one of the cut tube pieces. Then secure that wire from the tube to the top basket’s hole. Based on the design of your basket you may need to do this step five or six times. Most of the baskets on the ski poles used here had a lovely snowflake design with five parts. Double check your knots to ensure tight then cut away extra wire.


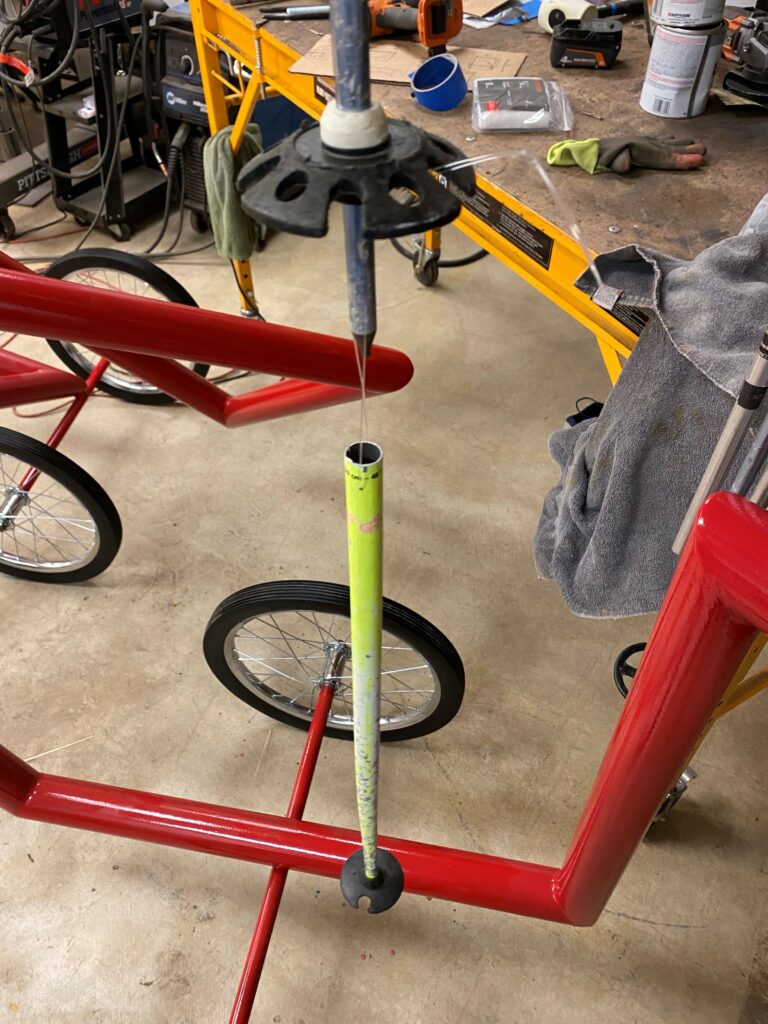
5. Find a place to hang it to see hear & see it
The windchime created with our family’s ski poles is now proudly displayed outside my parents’ kitchen window, where they can see it catch the wind, and they can hear it as they come and go. This transformed piece now sparks fond memories, too, of snowy days gone by and great times together on the slopes. And a new memory was made as my brother and I created it together. With all this good stuff happening, time to give this DIY project a gold medal!


Tim Kime
Artist, Motivational Speaker, Life Coach


