No offense to our grandmothers (mine was a great role model), but they often had homes full of furniture items that have been handed down from other places and eras so they don’t fit today’s design aesthetic. While often discarded, these pieces could be given a new life with just a little effort. When you visit the furniture department of your local Goodwill, be sure to look beyond those out of date styles to see the what the piece could be. With some vision and a few dollars, you can easily give it a starring role in your home, and make Grandma proud in the process.
Ability level: Moderate
Age Level: Older teens and adults
Items needed:
- Furniture piece (I selected two side tables)
- Spray paint, black with a satin finish and silver with a glossy finish
- Small sponge brush
- Painter’s tape
- Fine sandpaper
- Screwdriver
- Drop clothes
Time requirement: Two hours per piece, not including paint drying time
Cost: Approximately $20 each
- $5 to $10 for side tables (I nabbed this pair for $5.99 each…really!)
- $10 for spray paints
- $5 for painter’s tape
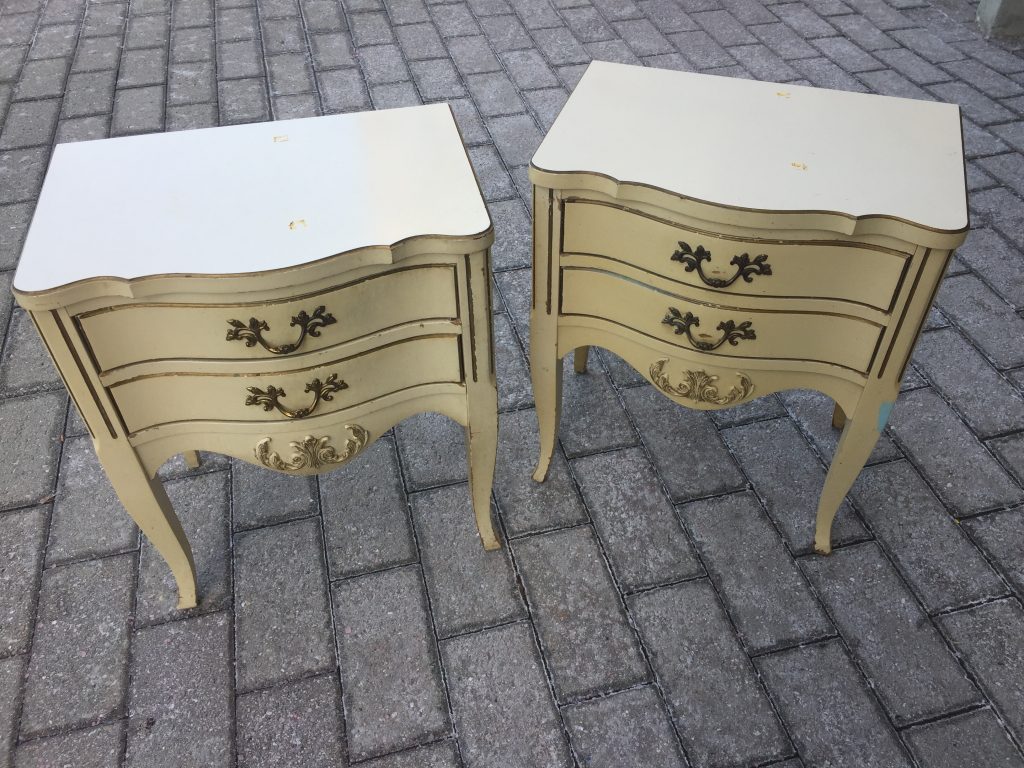
Step 1: Letting the Happy Hunting Begin!
The fun of shopping at your favorite Goodwill is that are always new and different items so you never know what cool and unusual pieces might be waiting there to head home with you. Though the side tables for this project reminded me of the bedroom sets of the past when all pieces—from headboard to desk to dresser to mirror to side tables—all matched, their interesting lines made me look twice. And when I saw the price, I knew they were destined for a transformation. Like this pair of soon-to-be beauties, look for pieces that are solid and constructed well. Even the drawers on these end tables are strong and well-built. Don’t let a funky color or ugly hardware scare you away.
Step 2: Wipe Away the Years
To start your piece’s transformation, be sure to remove all the hardware and put it aside in a safe space so all knobs or handles and screws stay together. With fine grade sandpaper, very lightly sand all surfaces of your piece. You are not removing the current color or finish, just priming the surface for painting. With a soapy damp cloth, wipe down your entire piece to ensure all surfaces are clean and ready for paint. Do the same with all the drawers to ensure all sides are clean and dirt and dust free. While this is the least favorite part of the transformation process, it will ensure the paint adheres well.
Step 3: I Surrender to Spray Paint
Found at your local hardware store, spray paints come in so many fantastic colors. While I love to use a can of paint and brushes because you can do so many great finishes that way, for this project I wanted a smoother finish that spray paint offers. And it only takes minutes to use spray paint to transform an item. With the curved legs, scalloped top edges and flowering handles, these pieces spoke old Hollywood to me, so I opted for timeless elegance with my color palette: black and silver. This color combination gives any out-of-date item an immediate contemporary look that fits in any home, condo or apartment of today.
Step 4: Paint One On
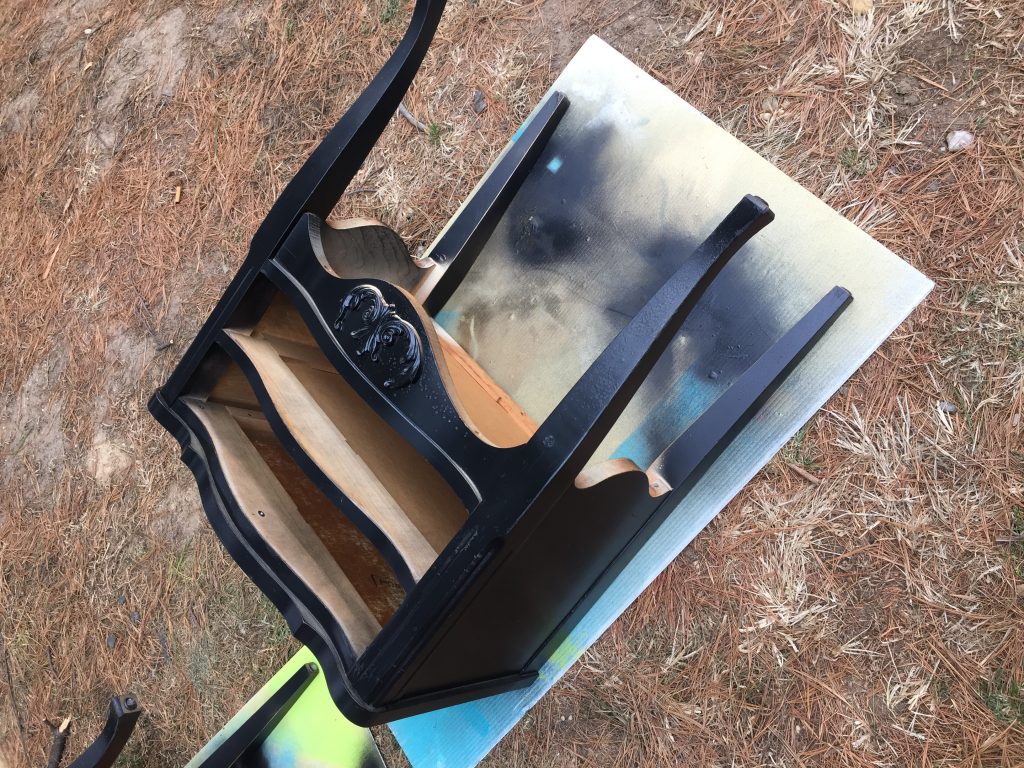
Move your pieces outside or find a place with lots of ventilation for the spray painting of your items. Be sure to cover the area with drop cloths, old sheets or newspapers because spray paint goes much farther that you might think. Read the instructions on the side of the can to ensure the best application possible. When you do start spraying, think about adding several light layers. Your first coats of paint don’t need to be perfect and cover every spot. (I have experienced that paint runs if you spray it on too heavy…not a cute look!) Add one light layer, let it dry for several hours (or overnight if possible) then add your second layer, again allowing time to dry. One important tip: be sure to turn your piece on its side and lay it on its back to ensure you cover every nook and cranny.
After you have covered the entire piece with several light coats and it is covered completely, let it dry overnight.

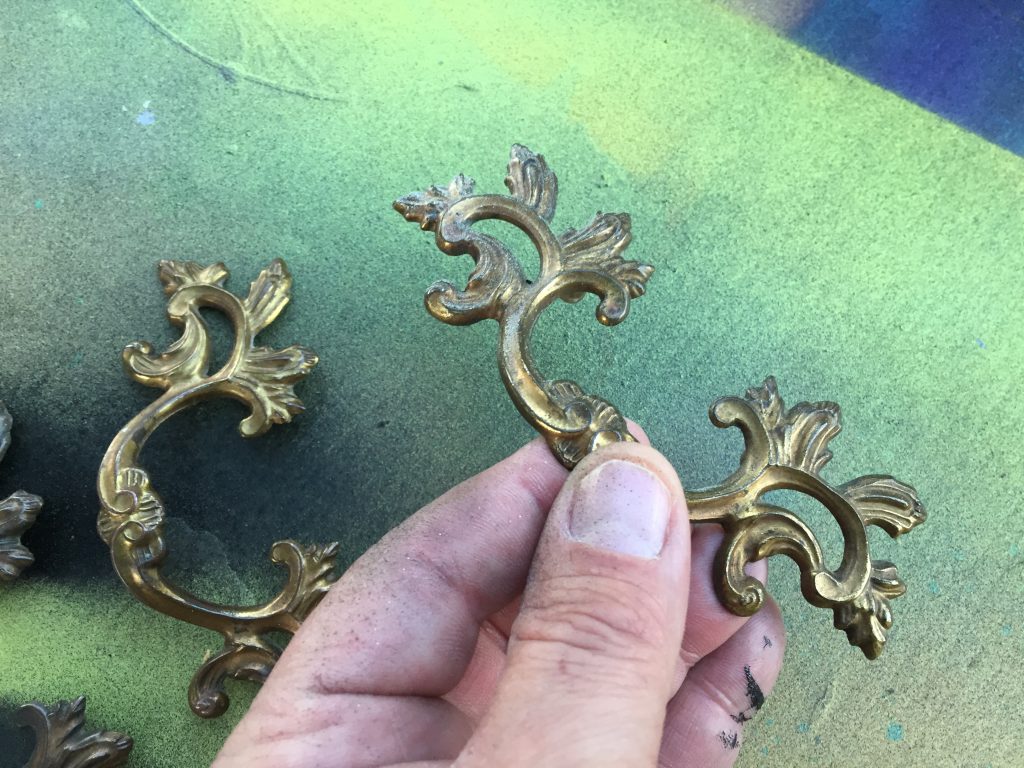
Step 5: Time for the Bling!
While your piece is drying overnight, it is the perfect time to give those worn out and tarnished knobs or handles their new look. Wipe them down to remove dirt from years of being touched by fingers, then dry them. Place them on a drop cloth, away from your other pieces, then grab your silver glossy spray paint. With just a couple of quick sprays from a variety of angles to ensure complete coverage, your knobs will be instantly transformed! Based on your piece, you can invest in new knobs or handles for an immediate update. However, I always encourage folks to consider using paint first because it is inexpensive and new knobs can cost a pretty penny. Also, it is really exciting to see how great old handles can look with spray paint. There is also something cool about keeping all the old pieces together in a new transformation.
Step 6: Adding Zing
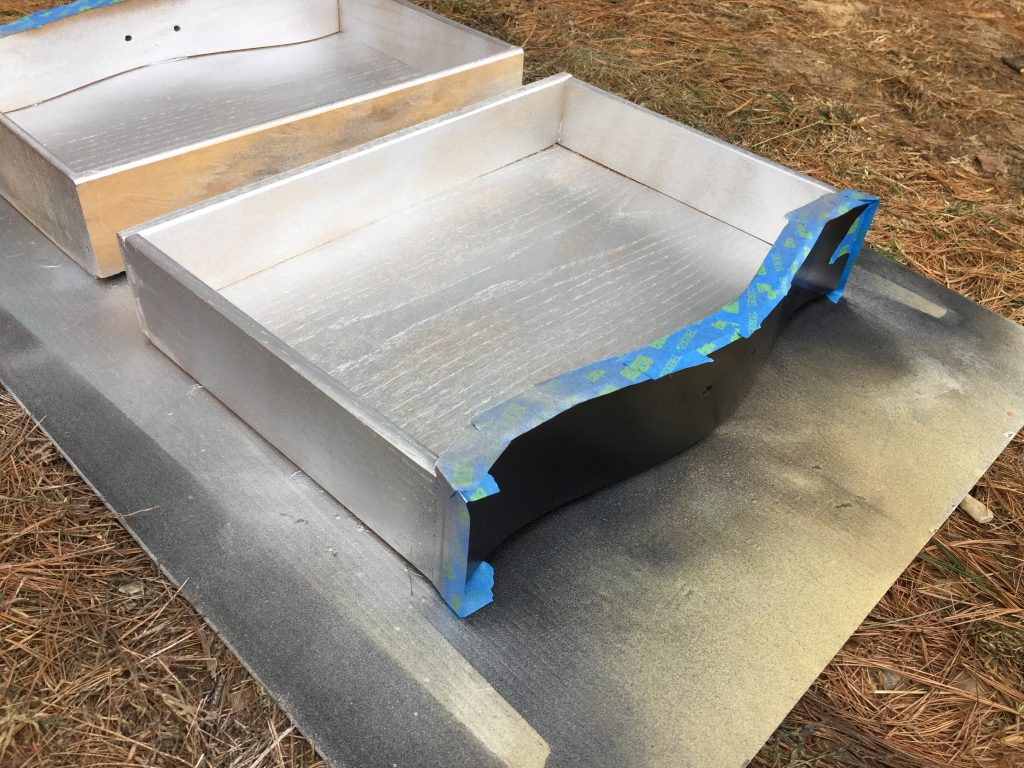
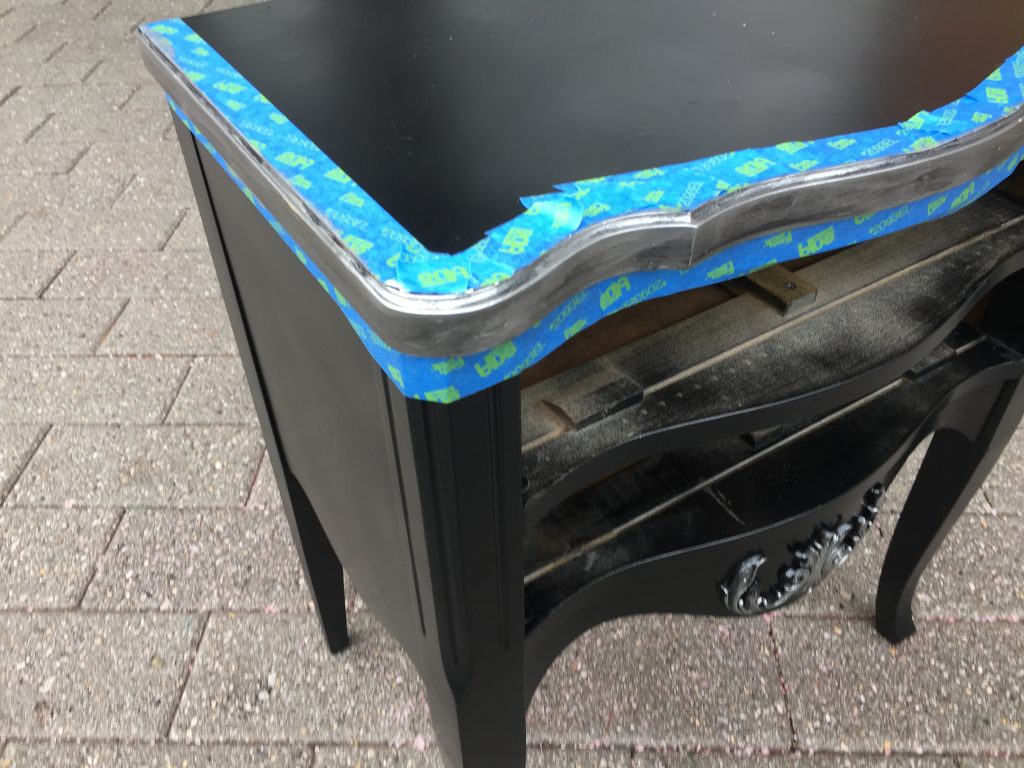
To take your piece to the next level of glamour and to make it really eye-catching, consider painting the drawer’s inside and outer edges (other than the drawer fronts). I kept with the color scheme and painted these parts silver, too; it was also cost effective because I already had the paint. For the drawers, use painters tape to cover the front panel edges. Give the inside of the drawer and outside edges a light coating of paint, let dry for a while then come back to touch up and fill in the gaps. By doing this step, your entire pieces looks finished and you will enjoy the flash of color when you open its drawers. Another idea: use colorful papers, maps or wallpaper on the inside bottom of the drawer to add even more color and fun. You can personalize your piece even more by doing so.
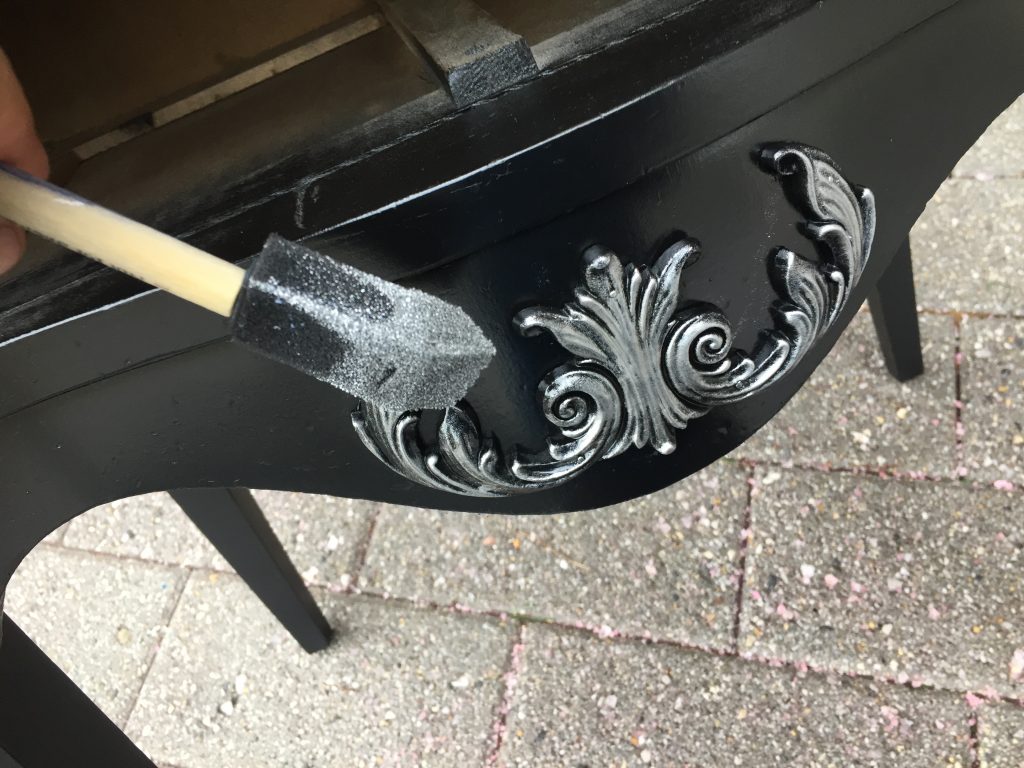
In addition to adding some unexpected flair to the drawers’ insides, consider adding some color to any of the details or an edge on the piece. My two side tables had a flowery carved detail below the drawers that disappeared when painted black. Using a sponge brush, I sprayed the paint into a cup then dabbed on the paint to the detail making it pop out and call attention to it. Also, I did the same by painting to top’s edge. I prepped it first with painter’s tape then dabbed several coats of silver. Again, give it plenty of time to dry before moving or using.
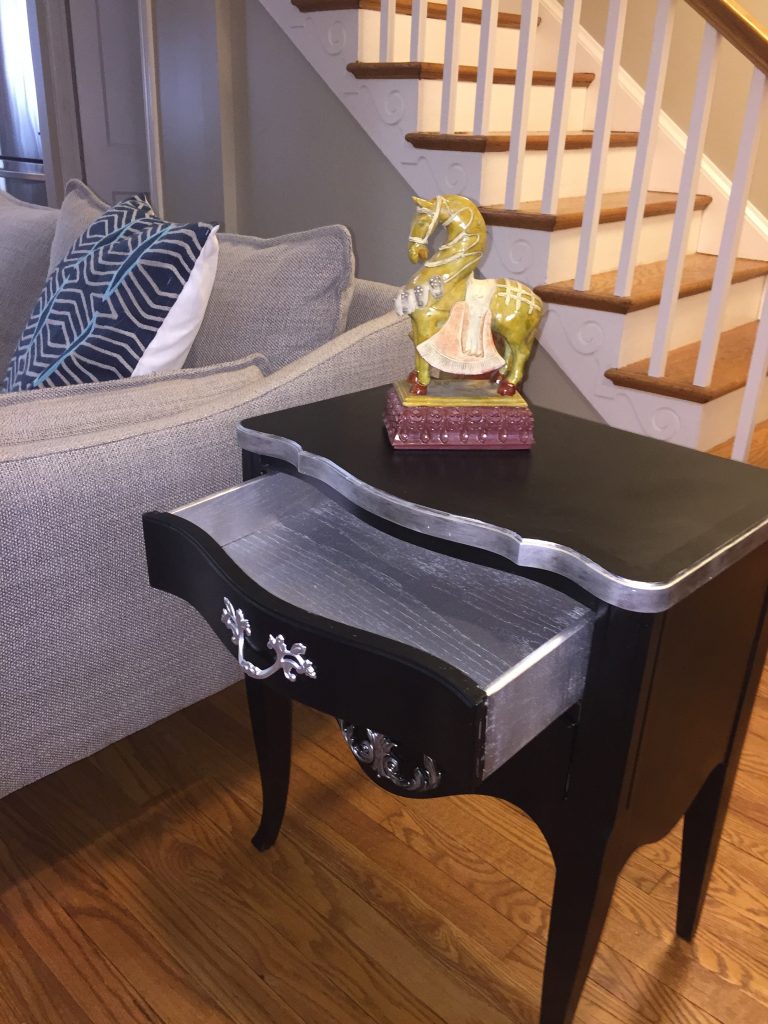
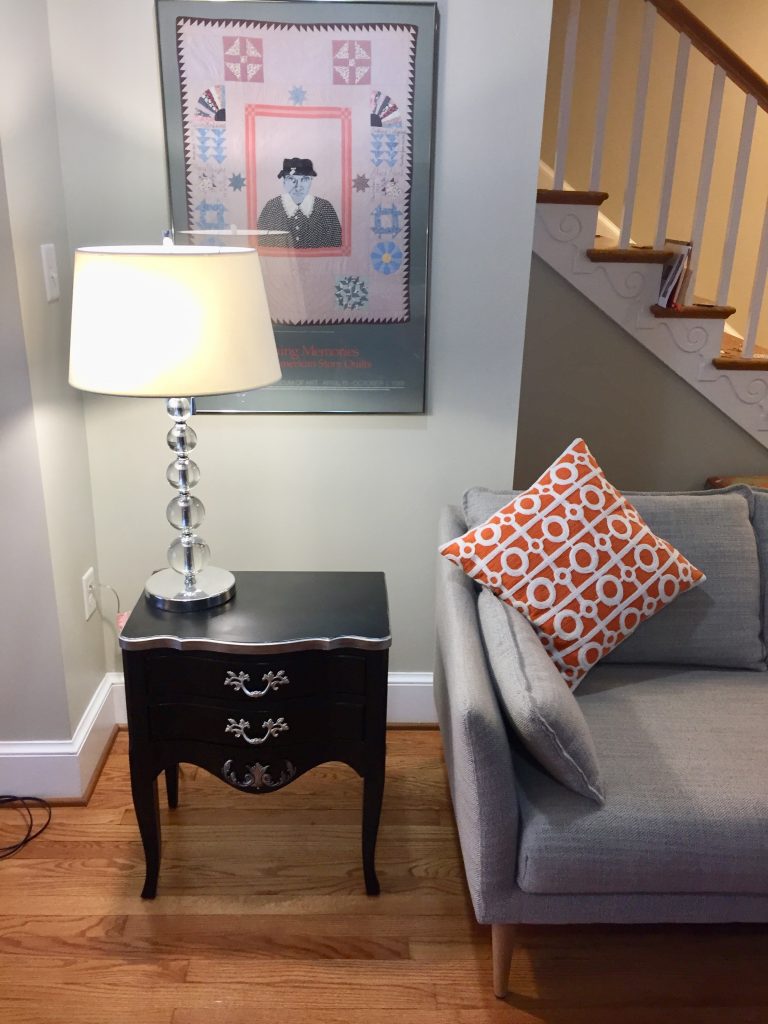
Step 7: Decision Time: Where to Place Your Pieces?
Given the size, style and its new timeless, elegant look, the tough decision is where will these pieces go? They would look fantastic in the bedroom as side tables or strutting their stuff on either side of the couch in the living room. Or place one in the foyer and one in the bathroom to added some punch and storage to those spaces. So many options! One thing is sure…Grandma will be thrilled to know that her beloved item, once destined for the attic, is now center stage in your home.
Tim Kime is an artist, life coach, connector. He is President of Kime Leadership Associates offering executive coaching, meeting facilitating and motivational speaking. He is also Chief Creative Force of Transformation Junkies which upcycles furniture and other household items into functional works of art. He combined his two passions—unleashing the potential in people and transforming items with the launch of the Art of Possibilities Workshops. These workshops are part upcycling, part dreaming, part goal setting.