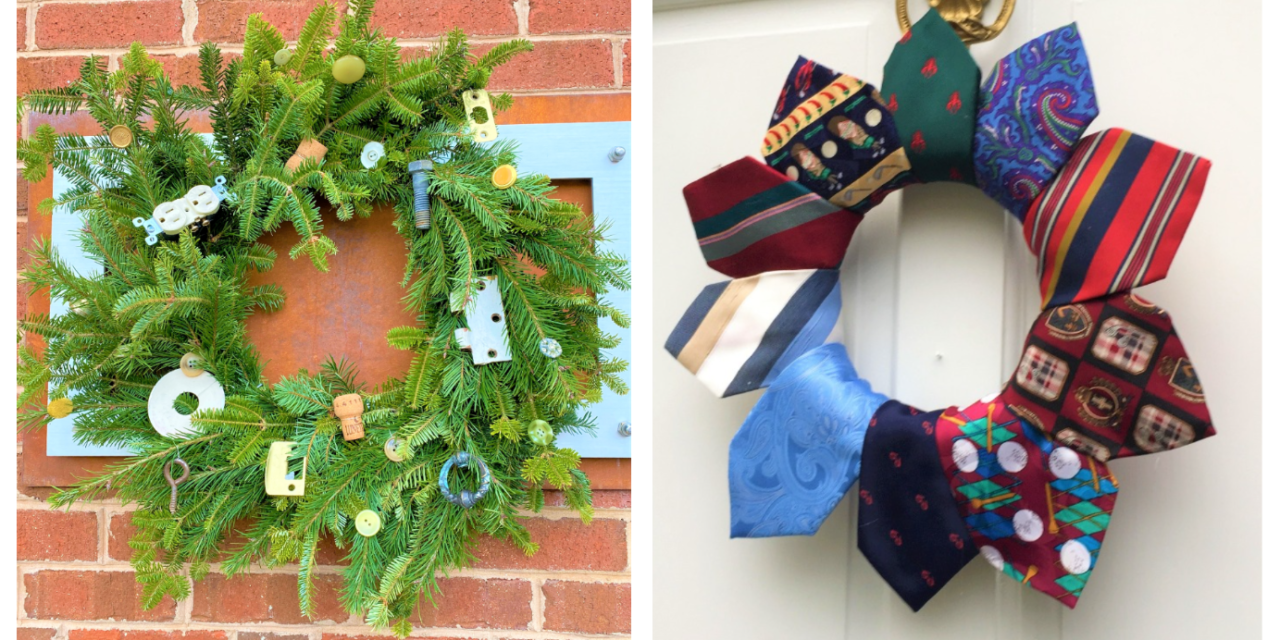
Why just use Christmas ornaments and holiday-colored ribbons for your wreaths when it is so easy and fun to use unexpected items? Door hinges, kitchen utensils, sweaters and even neckties get a new role when repurposed as part of your holiday décor. No one will say, “Bah Humbug!” when they are greeted by these unique front door wreaths that you’ll want display all-year long—or at least well past the holiday season.
Did you know the tradition of Christmas wreaths is said to have begun in Germany in the 1500s and the idea possibly stems from the use of wreaths in Ancient Greek and Roman times, used to crown those with significant achievements or community rank, or placed on their door? What will your wreath represent to you this year? Hope? Creativity? Family? Transformation?
And speaking of transformation, many of the items featured on these wreaths were found at Goodwill (which is all about transforming lives and communities) so be sure to stop in soon to see what is there to inspire your holiday creativity!
Design Idea 1: Old hinges, corks & button get the chance to shine
Supplies Needed: Pine wreath, wire, scissors, hinges/corks/buttons
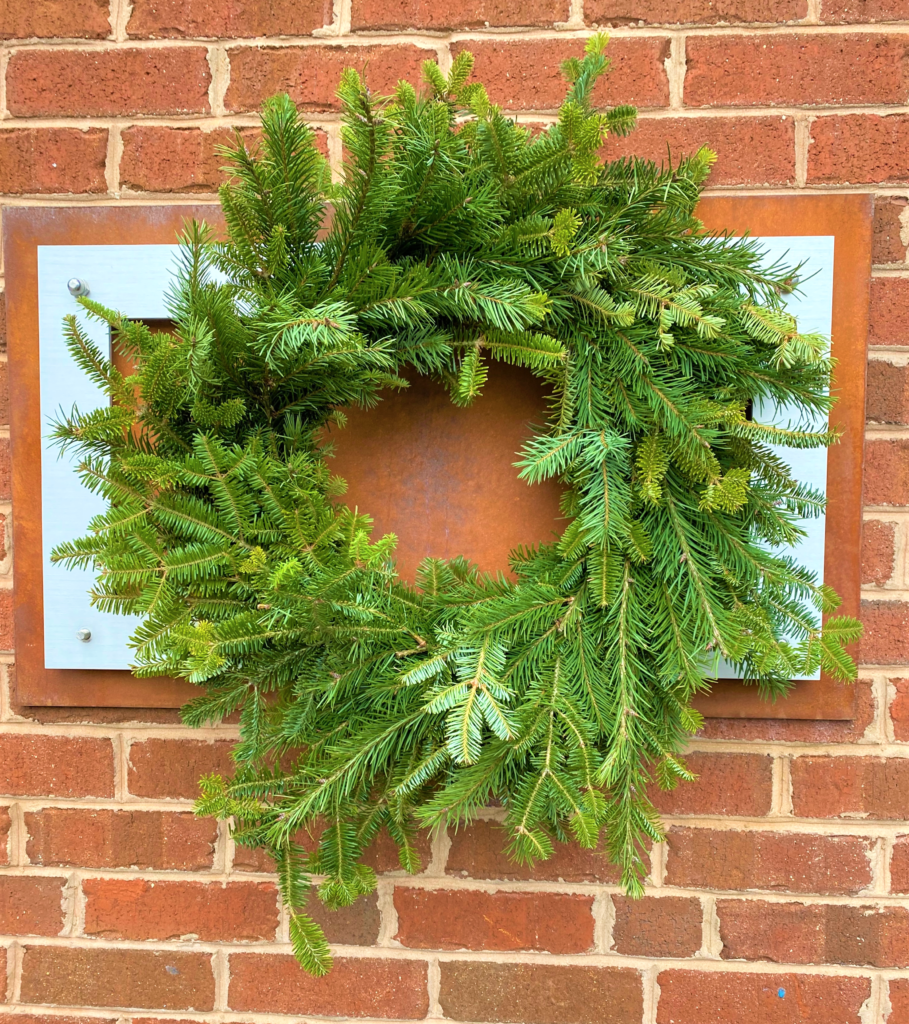
Here’s How: Most places which sell wreaths this time of year, from Farmer’s Markets to big box hardware stores, offer the basic, undecorated wreath featured for this creative approach. I was gifted one this weekend by Rachel of the Farm Fresh Market outside my studio.
It was smelled so good and was pretty as is, but it was time to give it the Tim Treatment!
Do you have a junk drawer or bin that holds all those random household items? If so, dig in to see what items you can use to wire onto your wreath.
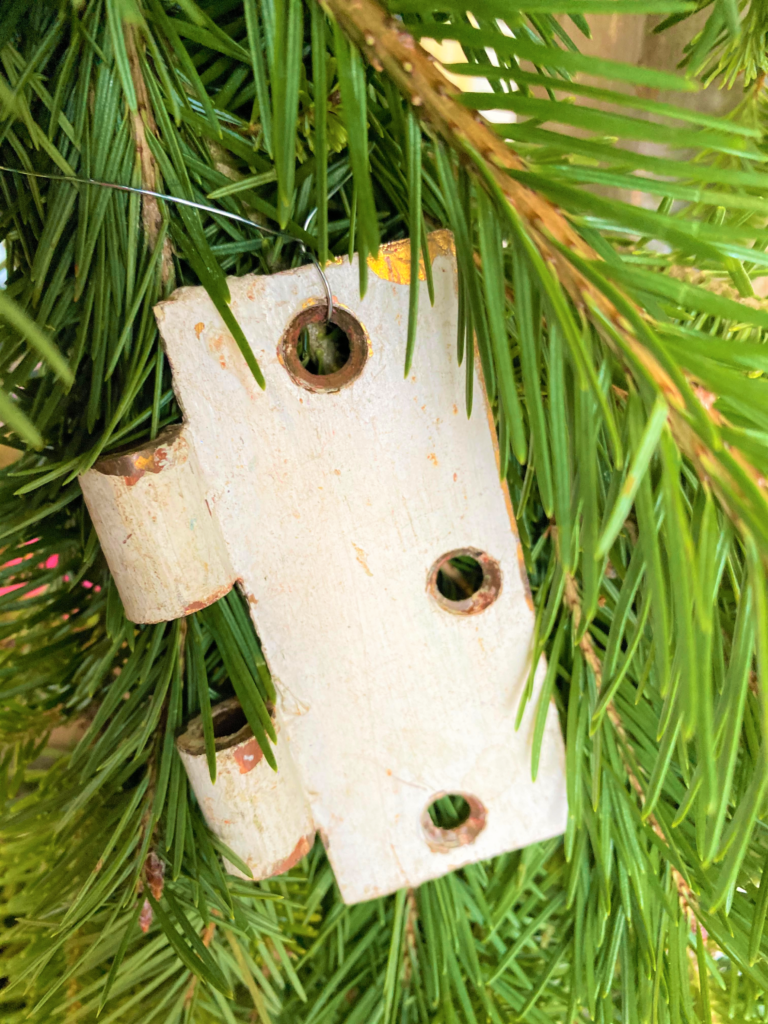
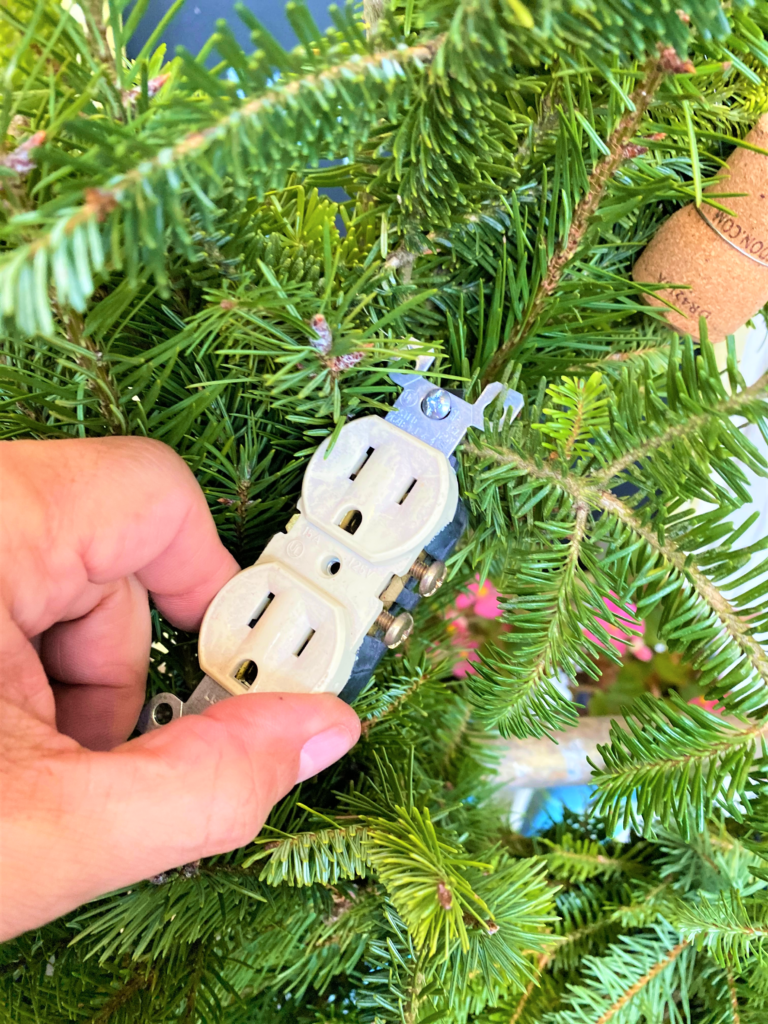
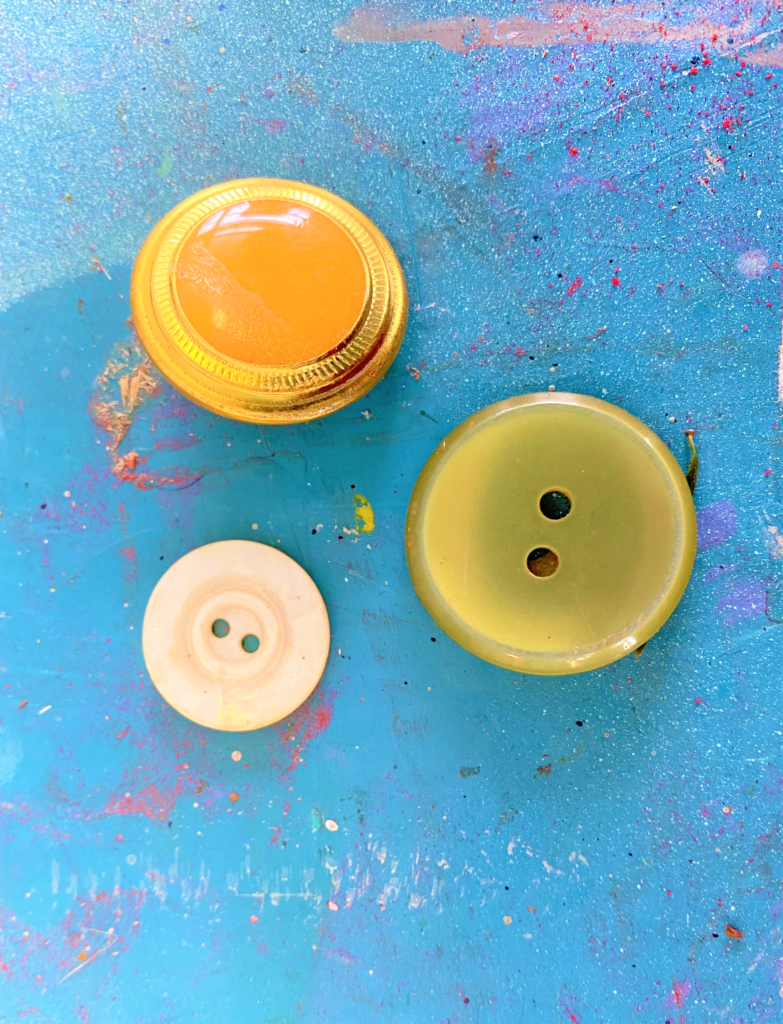
In my bin, I found hinges that were brassy and shiny, so I used them and their tones on which to create this unique wreath. Small bolts, lamp parts and wine corks were wrapped in wire then threaded through the pine branches and tied securely on the back. A friend, Angela, gave me a cookie tin full of old buttons, so I dug through it and found shiny buttons also in the gold/tan/off-white color family. More wire was used to attach them, too.

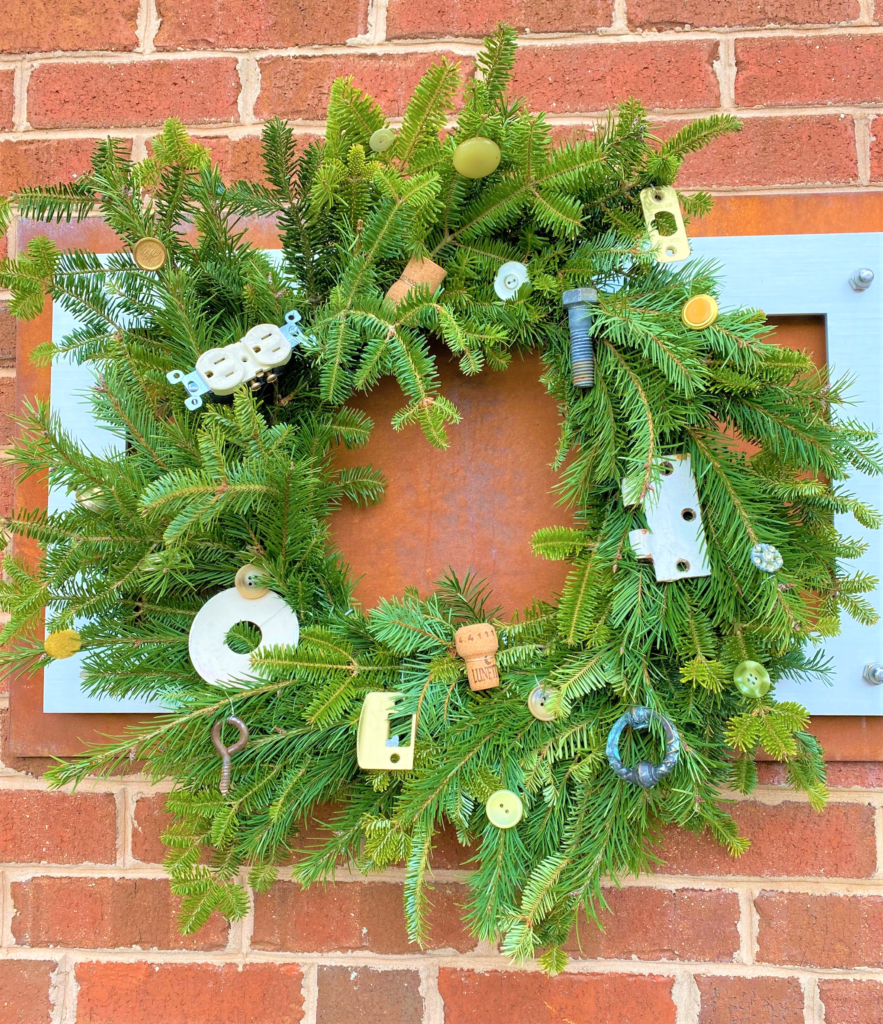
To make your wreath look balanced and intentional, place each bigger repurposed item in a position like numbers on a clock. Fill in the spaces with corks, again, placing them around the wreath and not clustered together. The last step will be adding your buttons, so they add visual interest to any open spots.
Design Idea 2: What’s “knot” to love? Repurpose neck ties
Supplies Needed: Foam wreath form, neckties, straight pins, plastic knives, glue gun
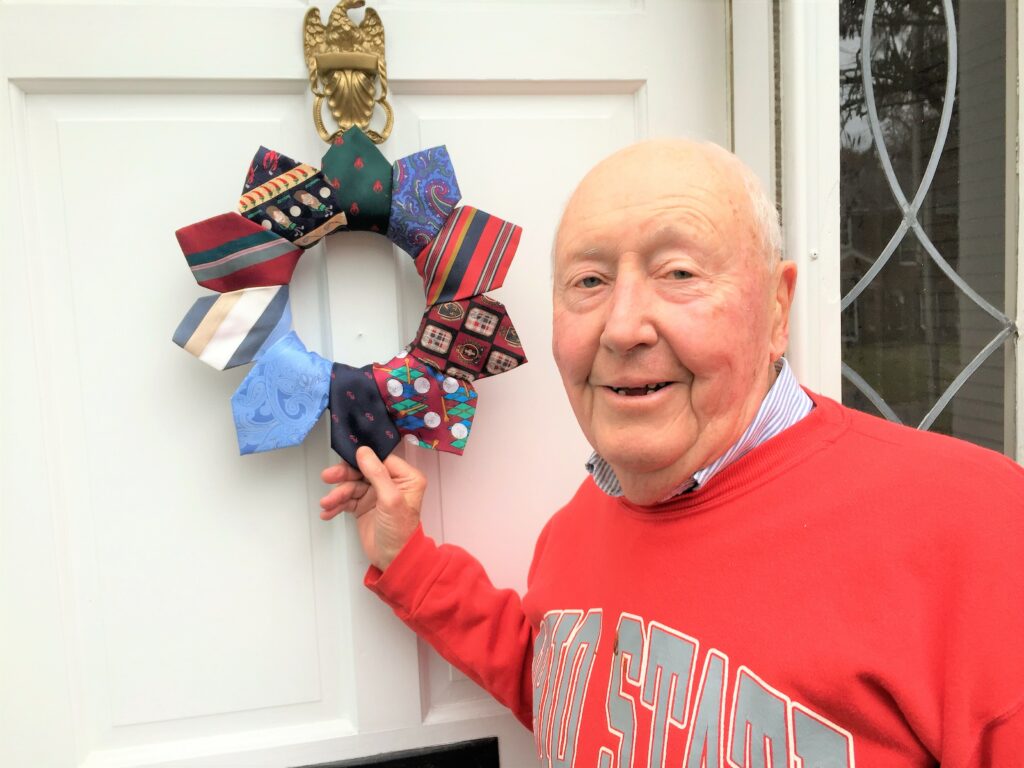
Here’s How: The ties used here which were “borrowed” from my Dad (many thanks!).
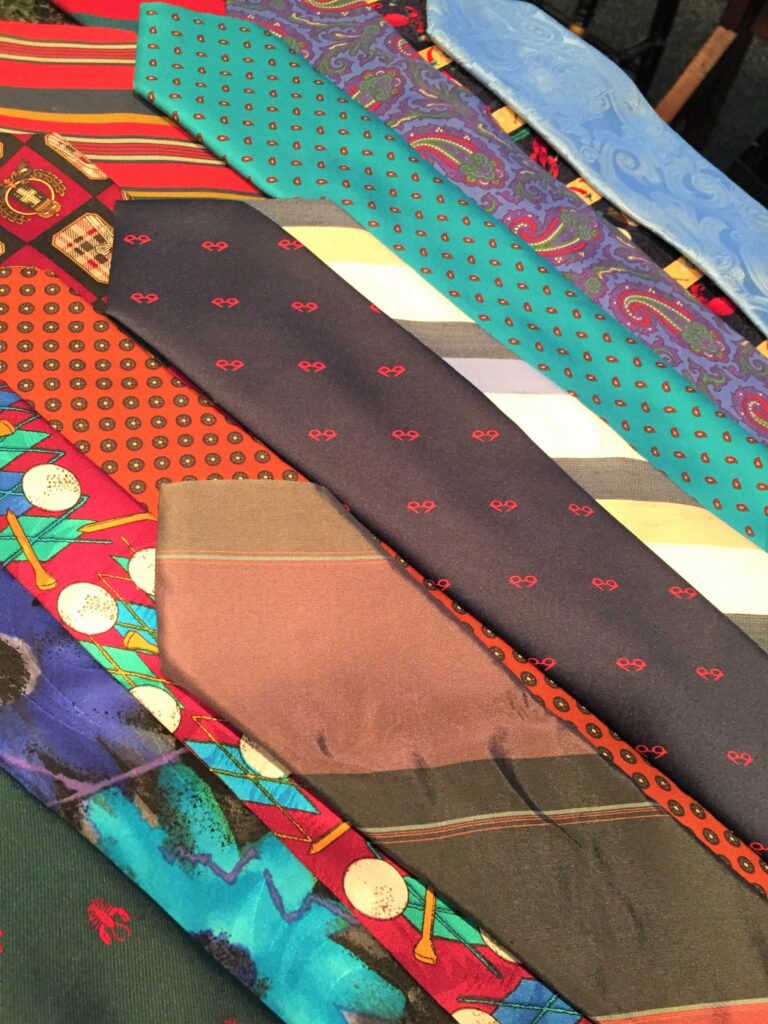
- Wrap a tie around your wreath form so that the wide end that usually points down when worn, is on top.
- Cut the rest of the tie away leaving enough for the material to go around the form and be covered by the wide, pointed end.
- After all your ties are cut to size, start with one and pin the cut end to the form, wrap the tie around it, pining as you go.
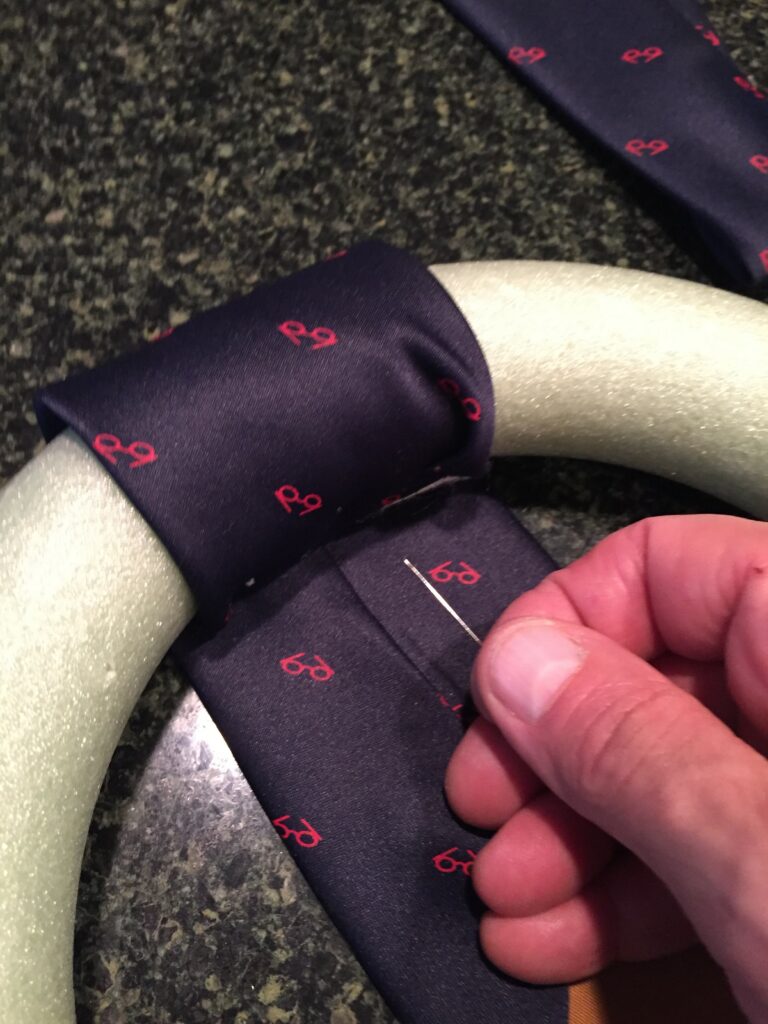
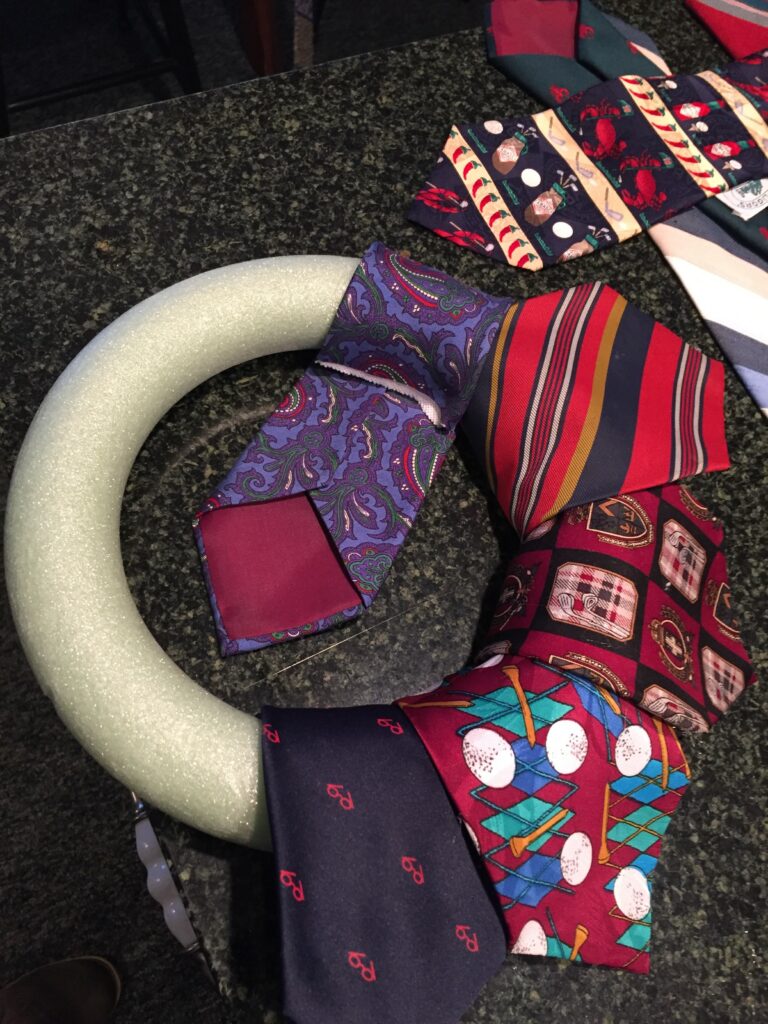
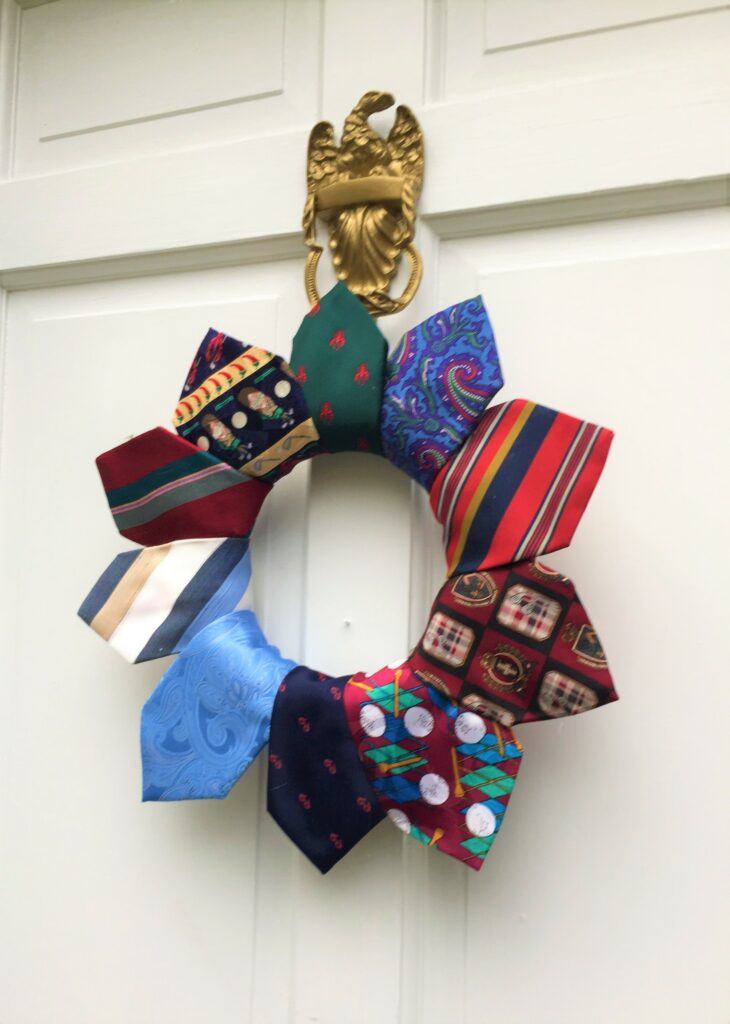
- Your pointed tie end should stick out on top and your tie pieces should look like flower petals.
- Use your glue gun to secure the wide end in place.
- Plastic knives were glues on the ties’ backsides to have them point out vertically for a sharper look.
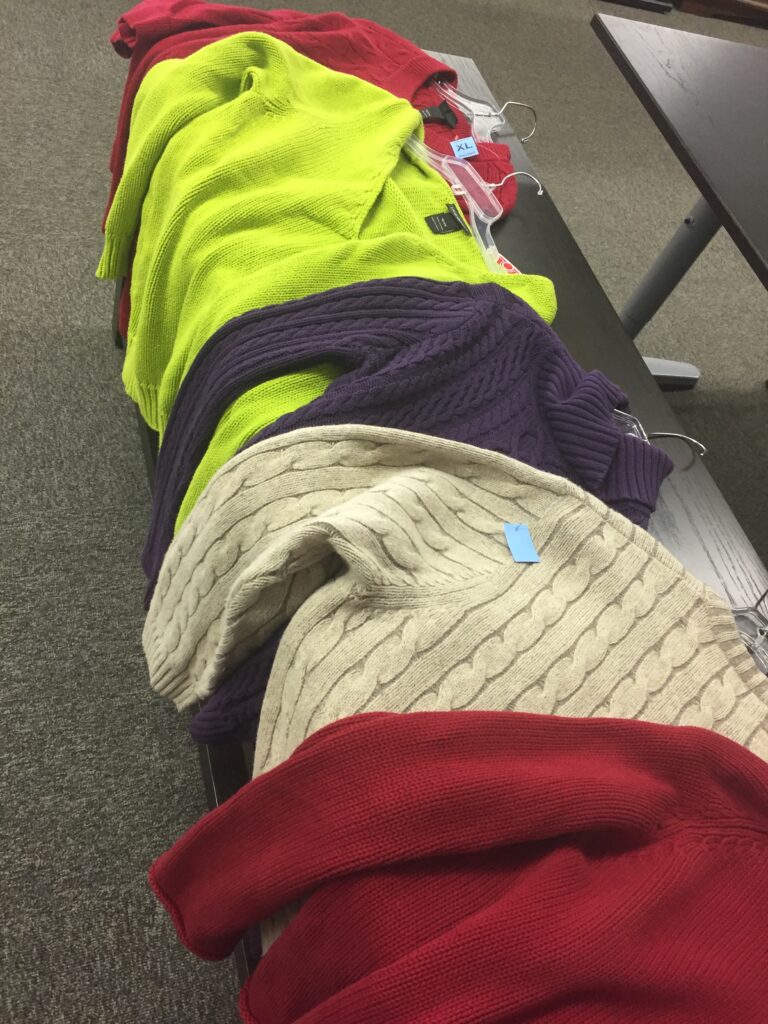
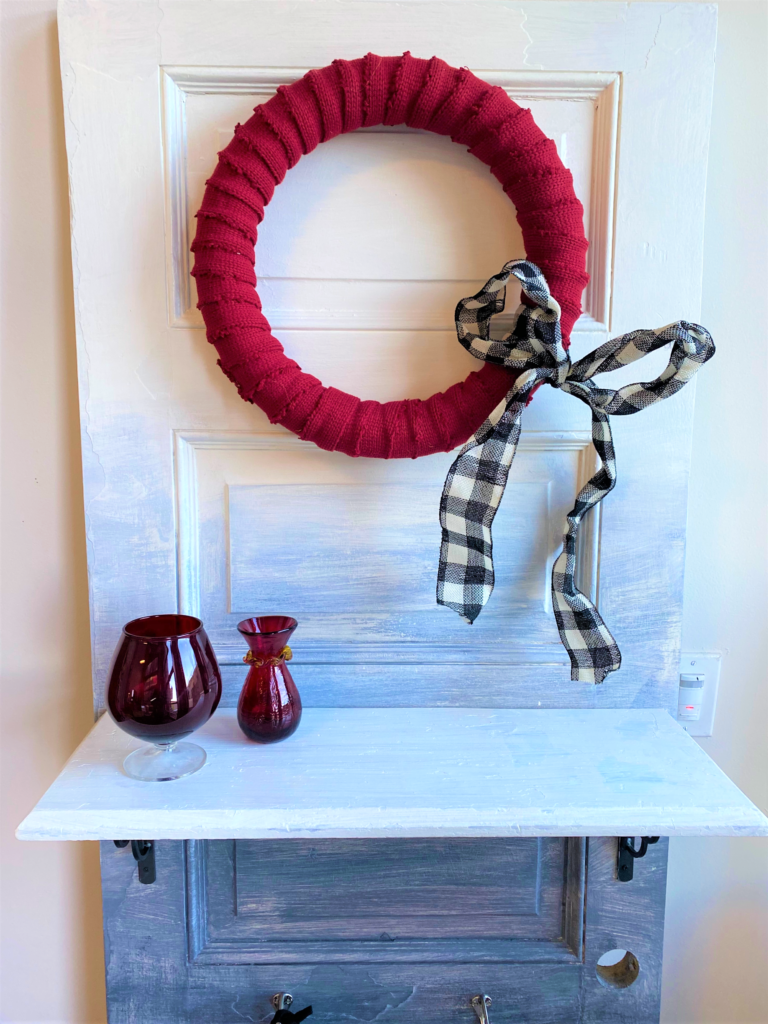
Design Idea 3: Cut a sweater to create a cozy one
Supplies Needed: Round wreath form, sweaters, scissors, glue gun
Here’s How: There are several ways to approach creating a sweater wreath. Here are two:

A. Option 1:
- Cut the sleeves open along the seams.
- Lay the open sleeve piece over your wreath form, then turn it over and glue it along the back.
- Place the other sleeve piece on the other half of the wreath form and do the same.
- Your two sleeve pieces should cover it with one sleeve over half of the circle and the other sleeve part covering the other.
- For the wreath featured here, a colorful scarf was wrapped around it, too, to dress it up and add more fuzzy fun to it.
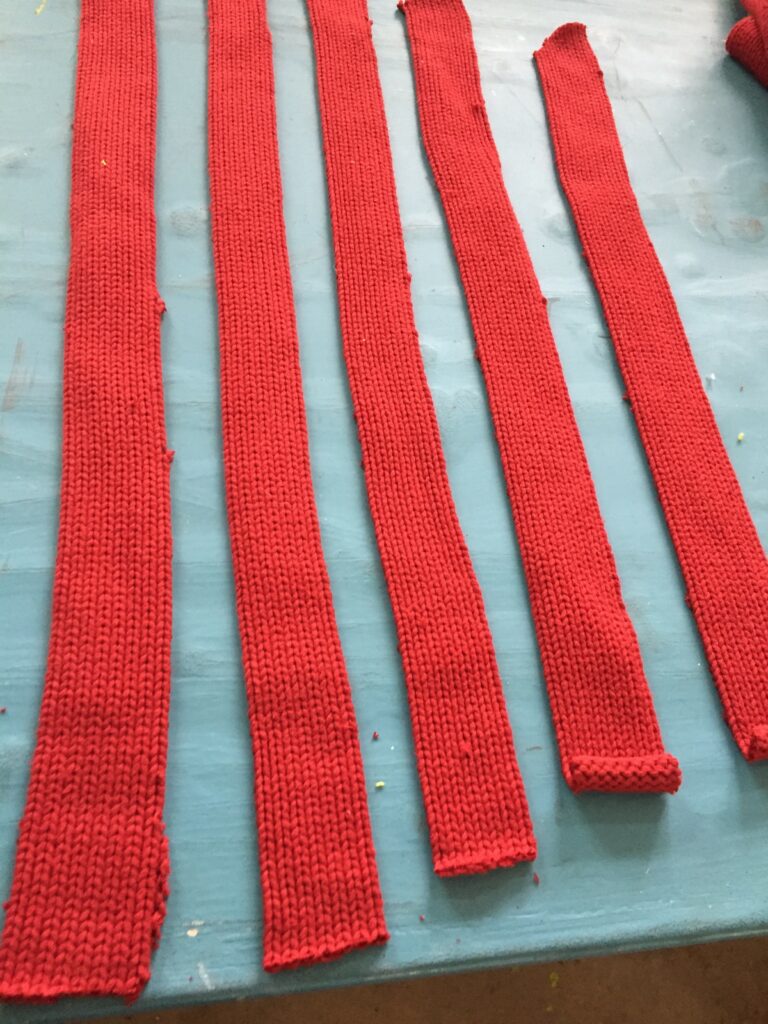

B. Option 2:
- Lay your sweater on your workspace and cut the body section of it into long strips, about three inches wide. These strips will be used to wrap around the wreath form from top to bottom.
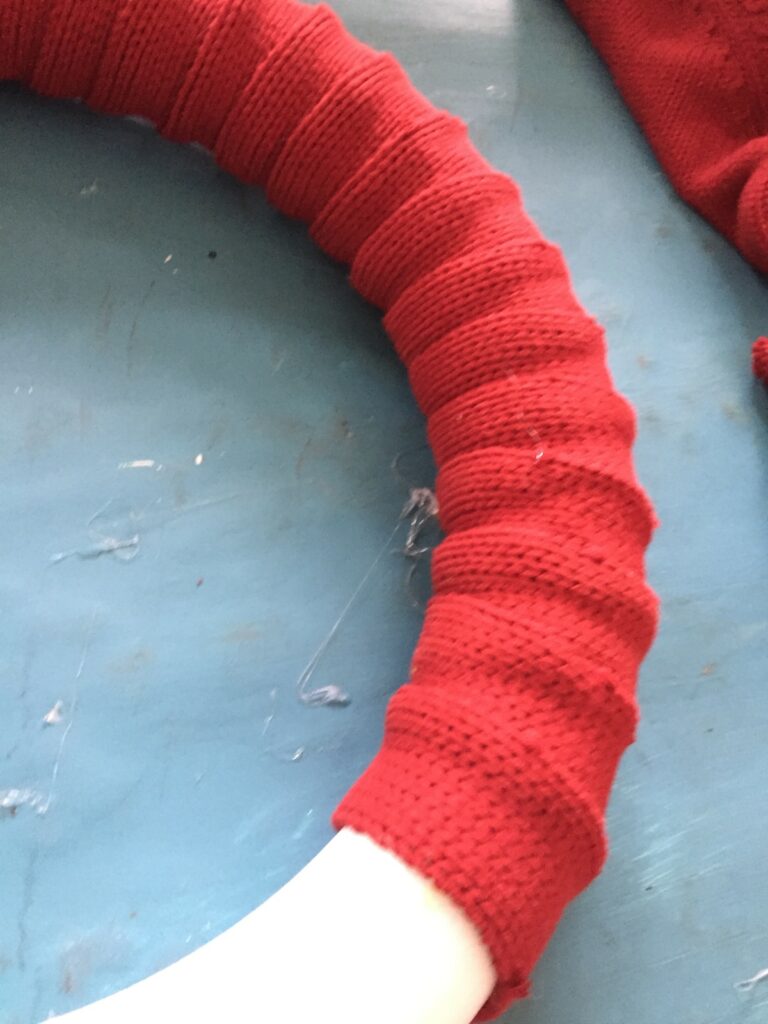
- Use your glue gun to secure the piece in place, then coil it around your form ensuring you overlap it as you go.
- Secure it in place with more glue then pick up the next sweater strip and continue the process until the entire wreath form is wrapped with the sweater fabric.
- Add a colorful bow and you now have a wreath that is warm and welcoming!
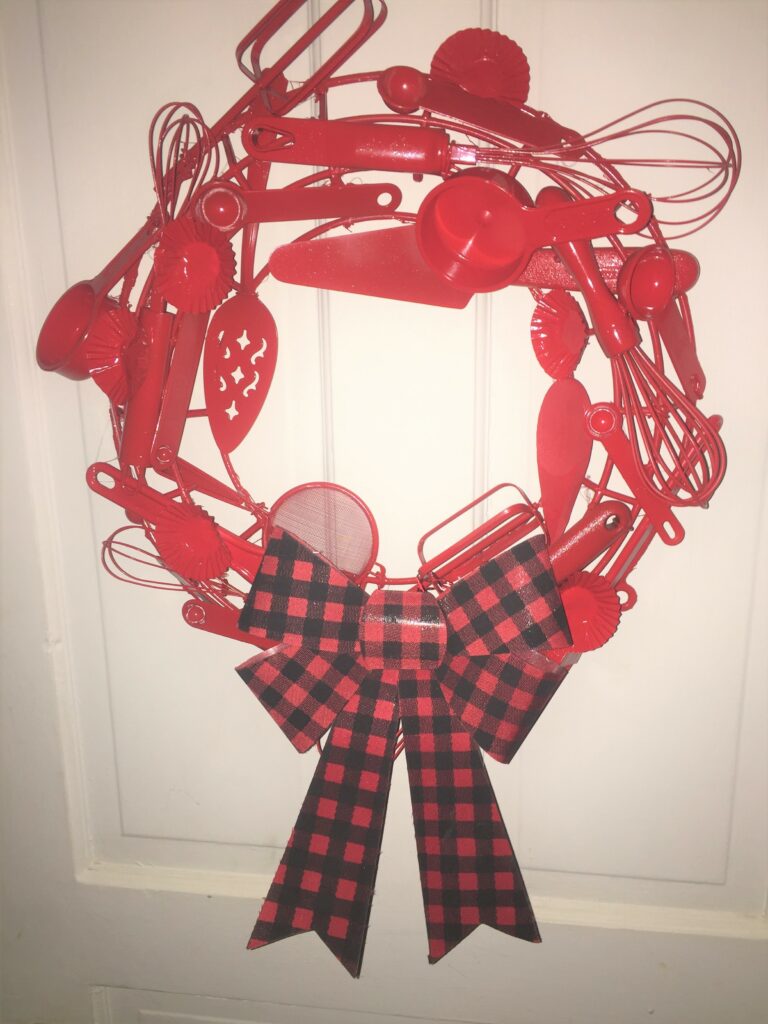
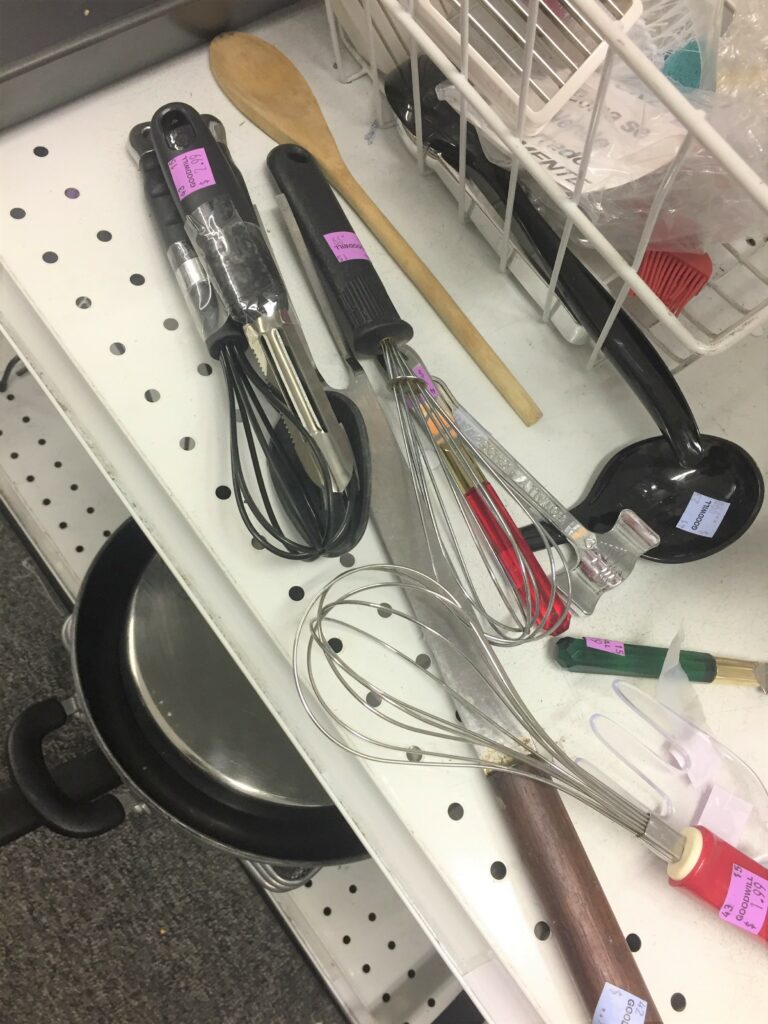
Design Idea 4: Reused utensils serve up style
Supplies Needed: Metal wreath form, various kitchen utensils, glue gun, wire, spray paint
Here’s How:
- Pick up a metal wreath form from your favorite arts & crafts store or find a wreath that has such a framework and remove the current artificial branches from it leaving just the frame.
- A framed form is needed for this design idea so that the form “disappears” when painted and also to provide places to wire and glue your utensils and other items. Goodwill has oodles of utensils that will work well for this project.
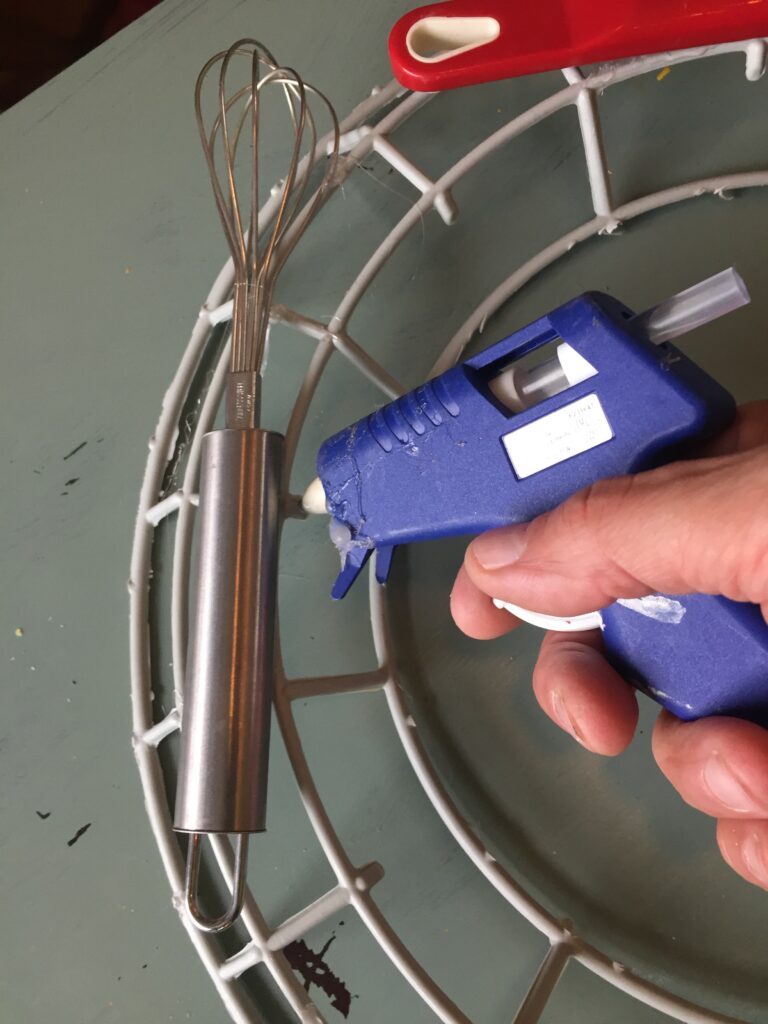
- Use your wire to attach the larger items like serving spoons, strainers, small rolling pins, etc.
- Enlist your glue gun to secure your smaller items like plastic measuring spoons and muffin papers.

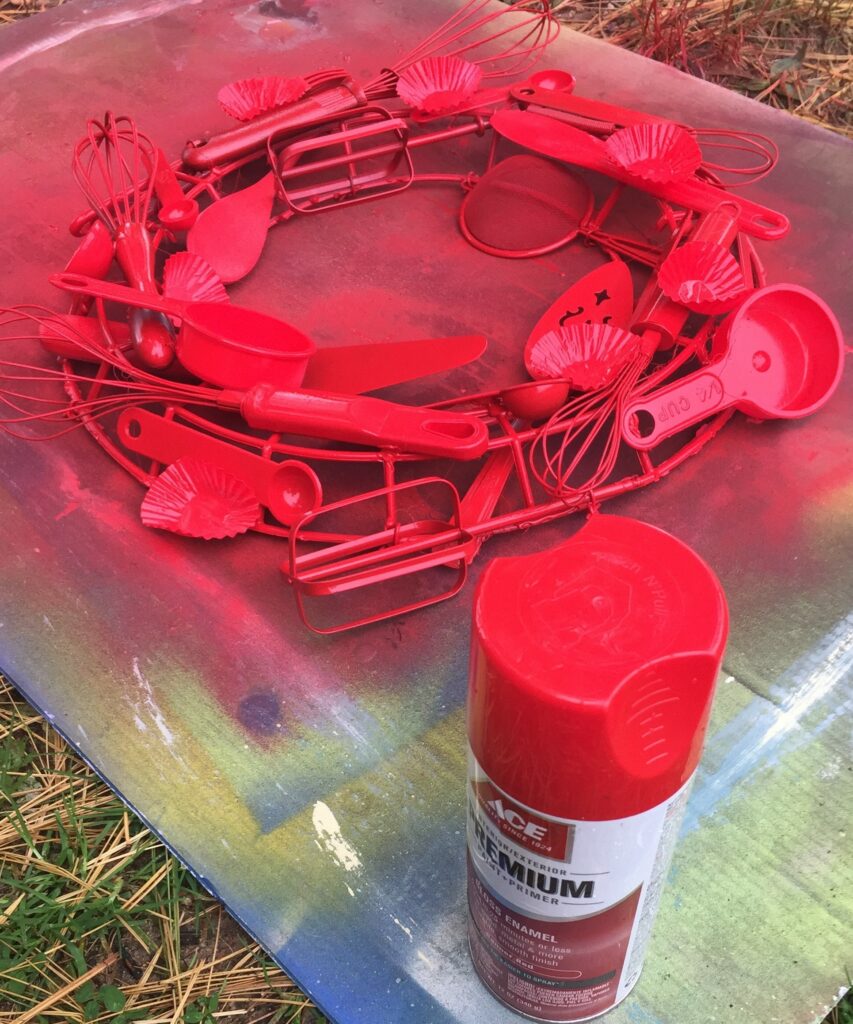
- Place your wreath form with all the items secured on a drop cloth and ideally, in a well-ventilated space.
- Spray on a light coat of paint and let dry before flipping it over and adding another layer to the backside.
- You will need to look at your wreath from a variety of perspectives in order to ensure solid coverage of every angle, side and part of your items. Bright red was used for this wreath and its whimsical feel makes it at home on your front door or, after the holidays are over, on your kitchen wall.
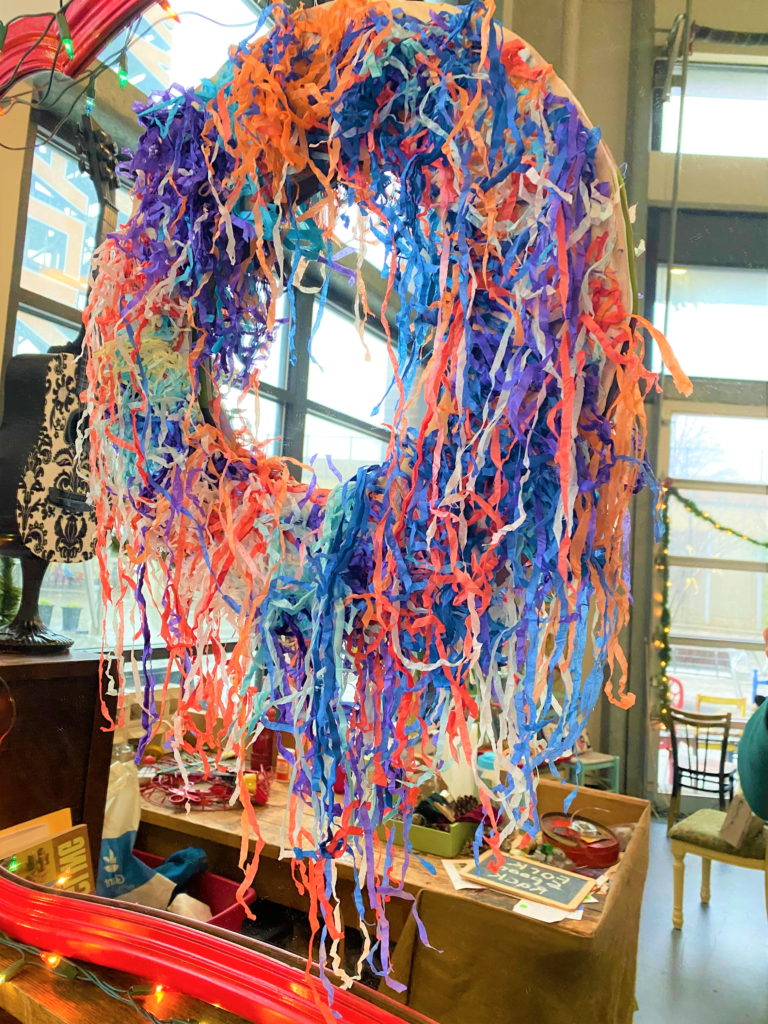
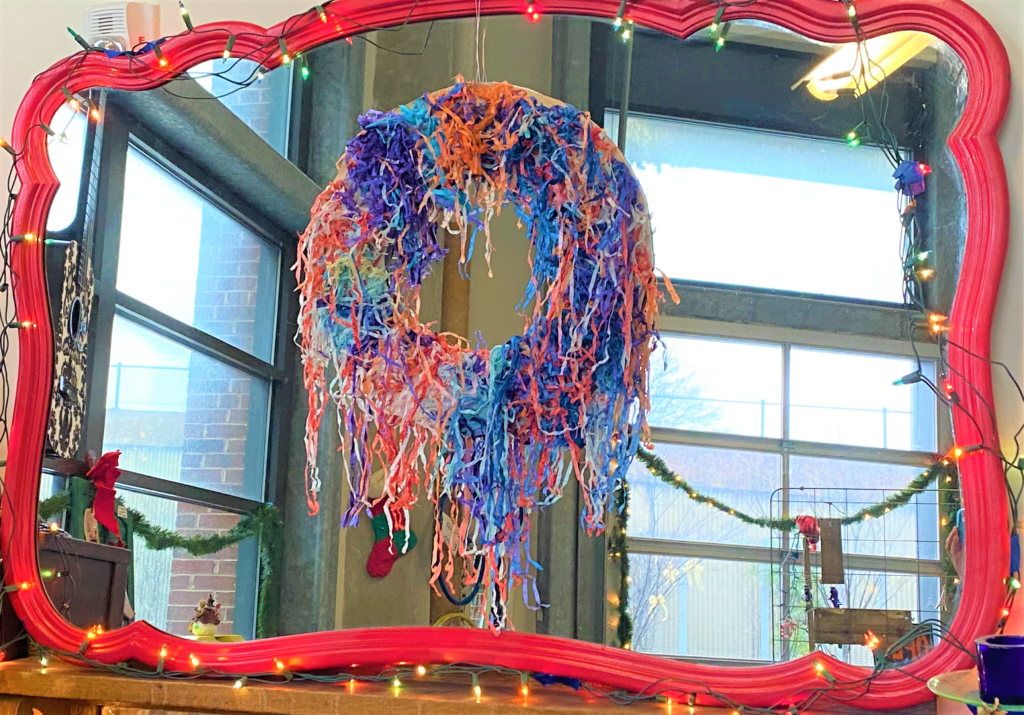
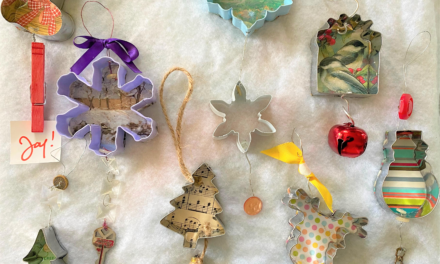
Design Idea 5: Cheers to using confetti
Supplies Needed: Heavy cardboard, paper confetti, scissors, glue
Here’s How:
- Use heavy cardboard from a good-sized box or old political yard sign.
- Trace around a serving platter for the outer edge; use a small plate to trace the center hole.
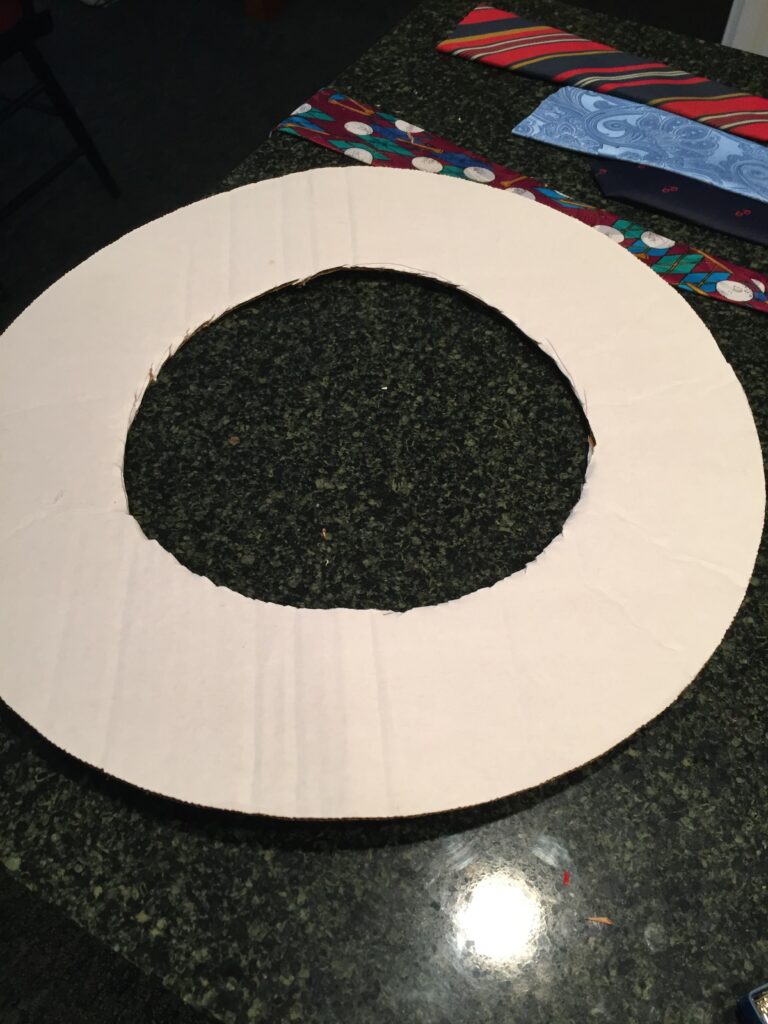
- With scissors, cut away the unwanted parts so you end up with a circle with a hole in the center….your wreath!
- Brush on a layer of glue then add shredded, colorful paper used for confetti or that come with gift packaging.
- Pile it on, covering your entire cut out flat wreath shape.
- Let dry, add a wire hanger and display! You will cheer about how fun it looks!
What other ideas do you have to create fun, festive and unexpected wreaths? Share your photos and your own DIY projects so we may share with others to inspire them!

Tim Kime
Artist, Motivational Speaker, Life Coach