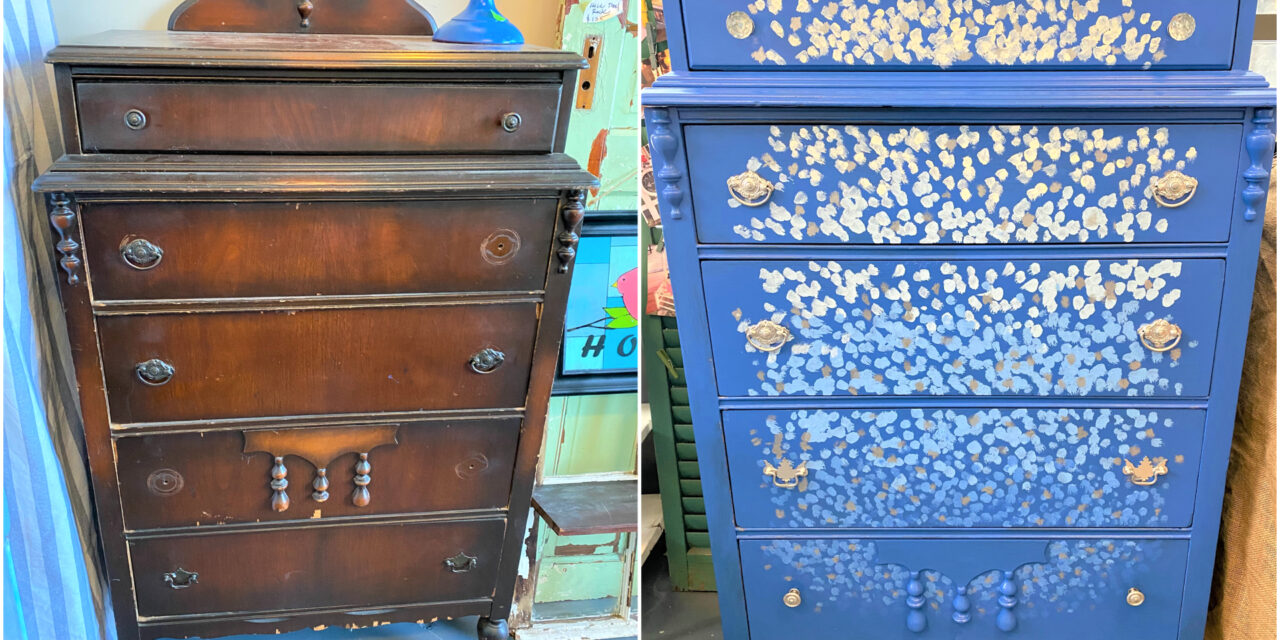
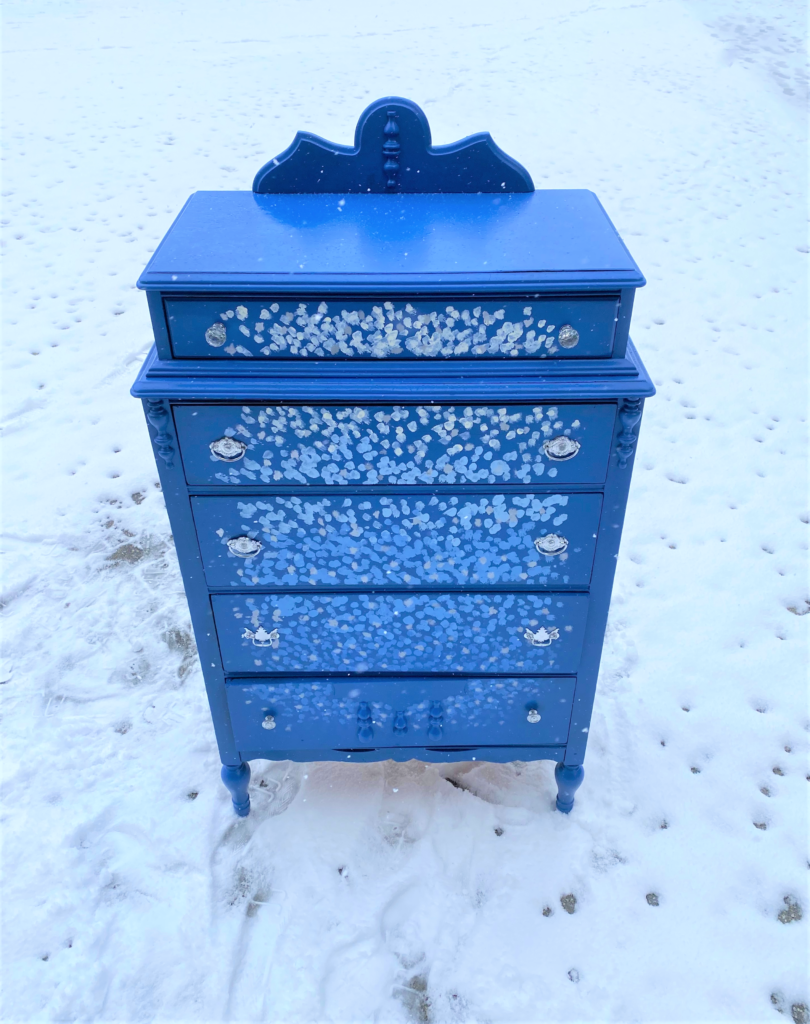
How about using the recent snowy weather as inspiration for your next project’s design? Here’s a twist on the “ombre” approach—which is a gradual shading of colors from light to dark—using the look of falling snow. Shades of blues and whites with silver sprinkled in will have you “Frozen” in delight when you see how cool your piece will be!
No need to head North when you bring the current season into your upcycled pieces. From icy knobs, to its painted fluttering snow, your piece will actually be stoned cold unique and look beautiful in your home space, no matter the season or time of year.
Supplies:
1. Tall dresser
2. Blue paint
3. White paint
4. Paint brushes including a small detail one
5. Paper plates or bowls or small disposable containers
6. Silver spray paint
7. Medium or coarse sandpaper or sanding block
8. Painter’s tape
9. Crystal or glass knobs
10. Screwdriver
11. Polyurethane
1. No slip-sliding as you shop at Goodwill
Thanks to Goodwill for always keeping safety at the top of its priorities for its customers and employees. Before you head out to Goodwill to shop for a piece for this wintery weather inspired DIY project, check to confirm the store hours. Due to the recent very bad weather, stores were closed and hours were delayed to keep all safe and sound. When you do carefully venture out in the cold, many warm people will be there to greet you, along with lots of hot deals! You will shiver in excitement when you find the perfect piece for this project. A tall dresser is best because it gives you the “vertical” you need to show off the various shades of blue.
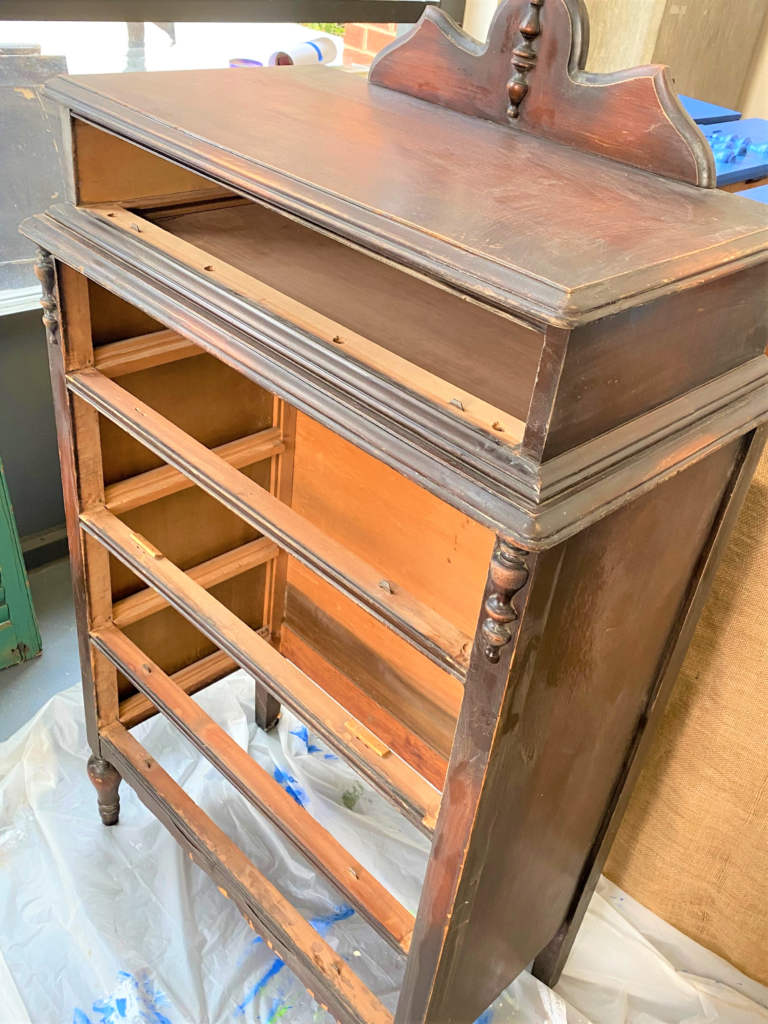
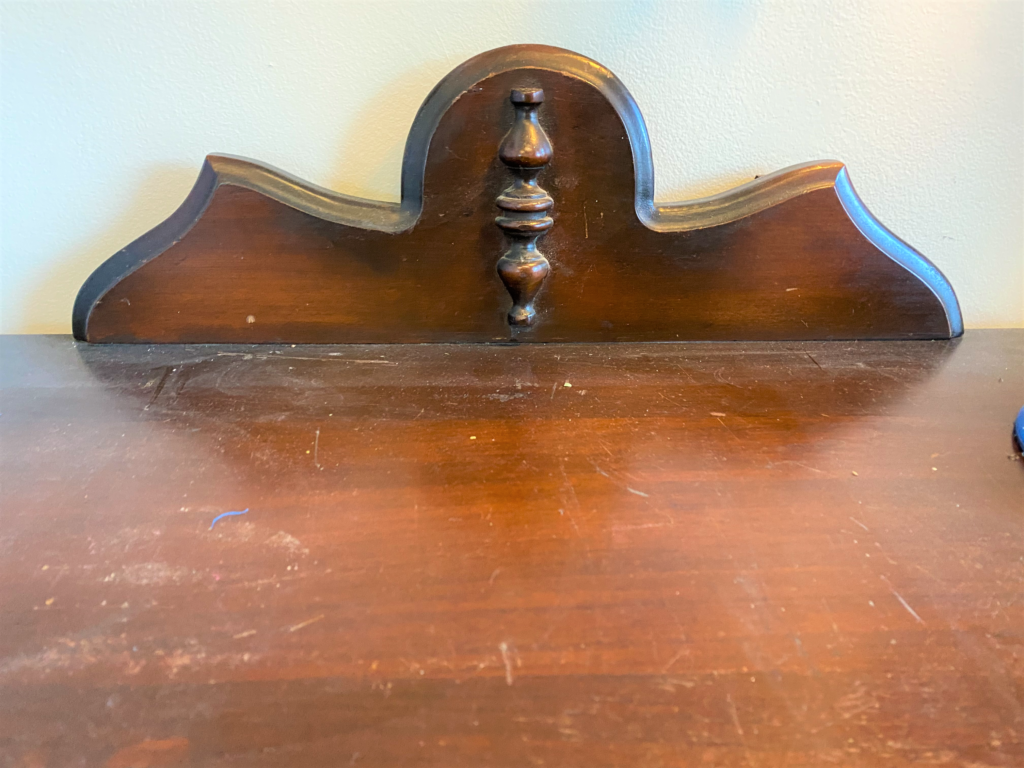
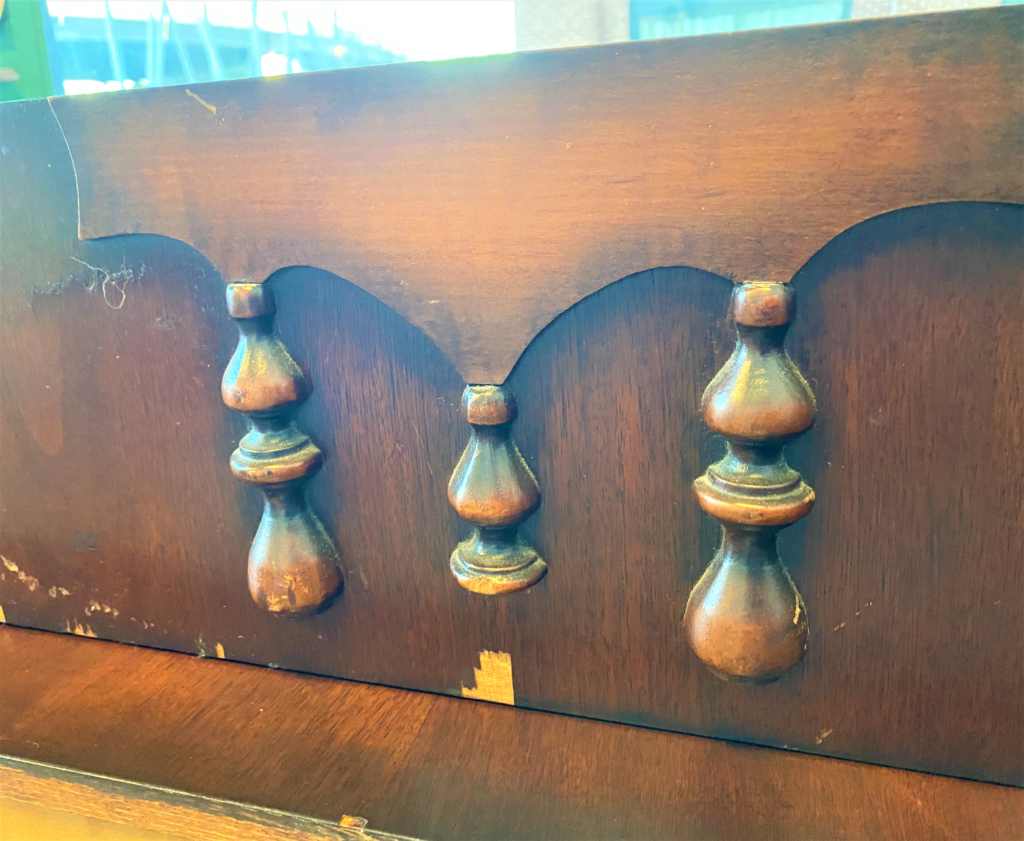
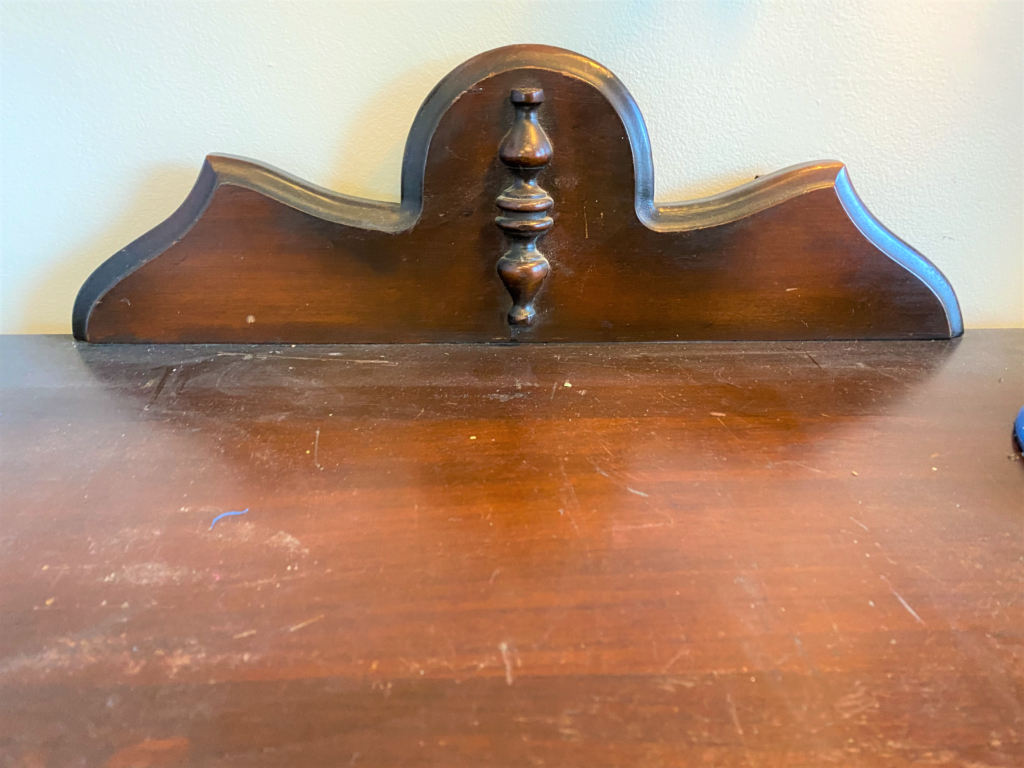
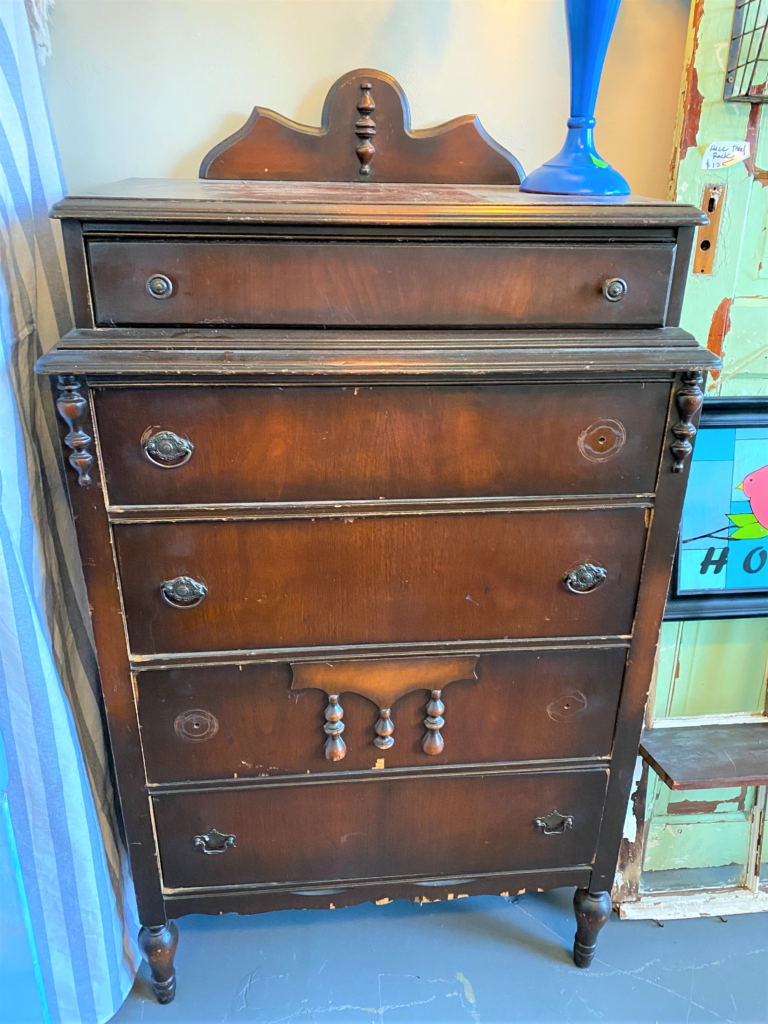
Why this piece? The dresser taking center stage here was solidly built and had beautiful carved details. I loved that it had shapely legs, too! It looked so tired and weathered when I found it. Do your best to look past a piece’s sorry shape or dated colors to see its good construction and well-functionality.
2. Let’s get rough
- Remove the drawers and unscrew the knobs (carefully setting them aside for Step 5), then use some medium or coarse sandpaper to rough up the current finish. We don’t want it to be to slick or shiny but rather slightly buffed-up, so the paint has a surface on which to grab. Don’t aim for perfection in terms or removing the entire coat of varnish or paint. This is a dusty step so you might want to wear your face mask.
- Once done, wipe your piece down from top to bottom and inside and out to ensure a clean canvas for your painting.
3. Be bold with blue
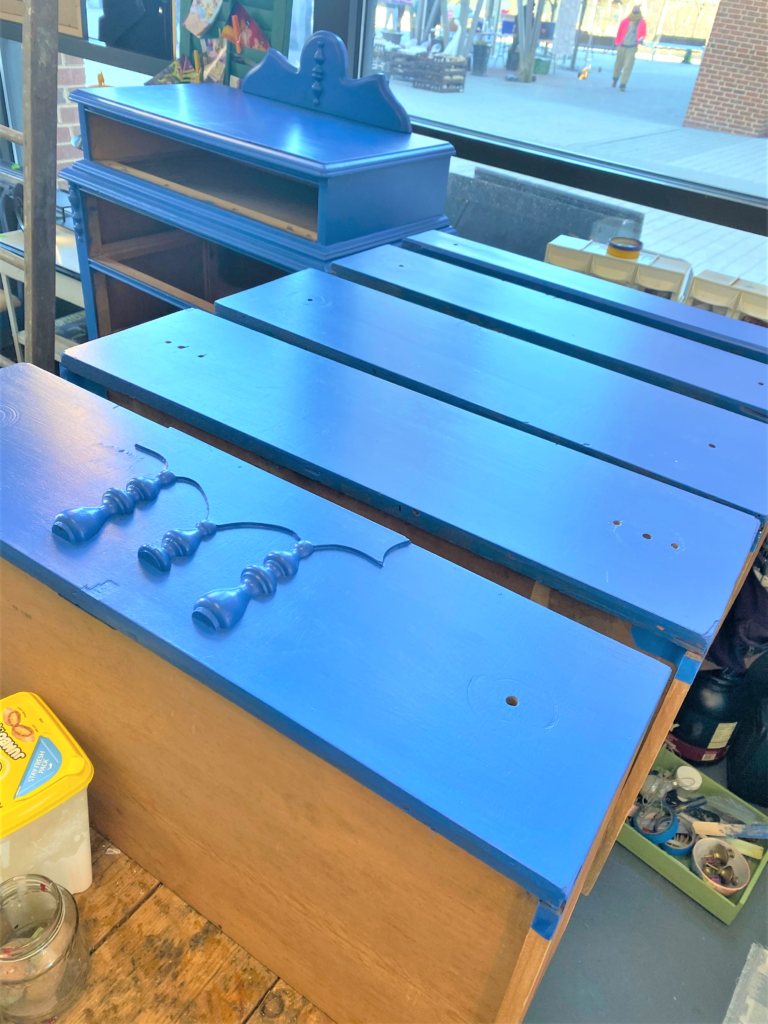
- Use painter’s tape along the sides of your drawers to keep them paint-free and to provide a nice, clean line along the side.
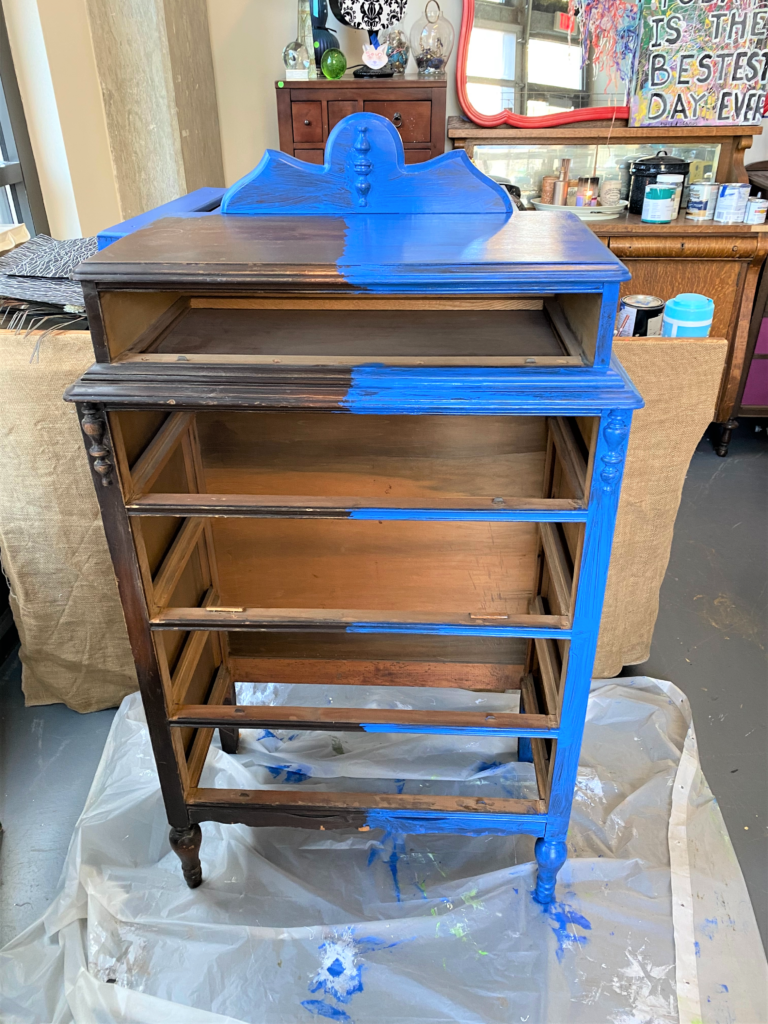
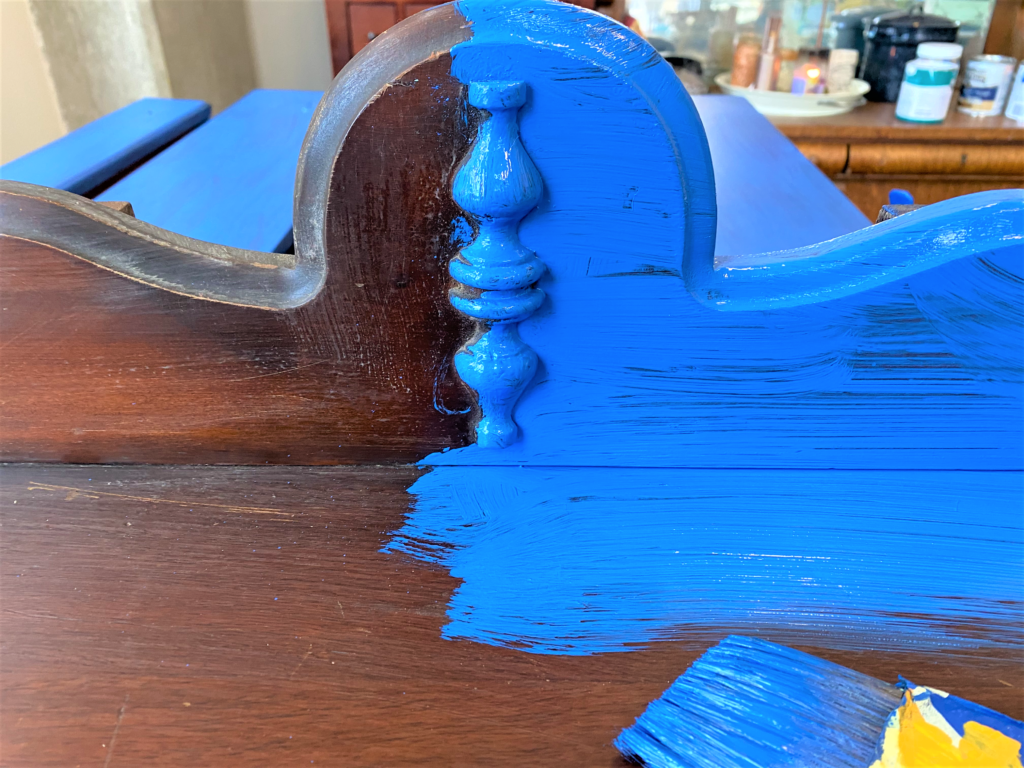
- Brush on your bold, royal blue, giving the entire piece a light layer. As you will see, your piece’s original tones will show through, but not to worry. You will give your dresser and its drawers at least two to three paint coats to ensure solid coverage.
- In between layers, allow plenty of time for drying overnight if possible.
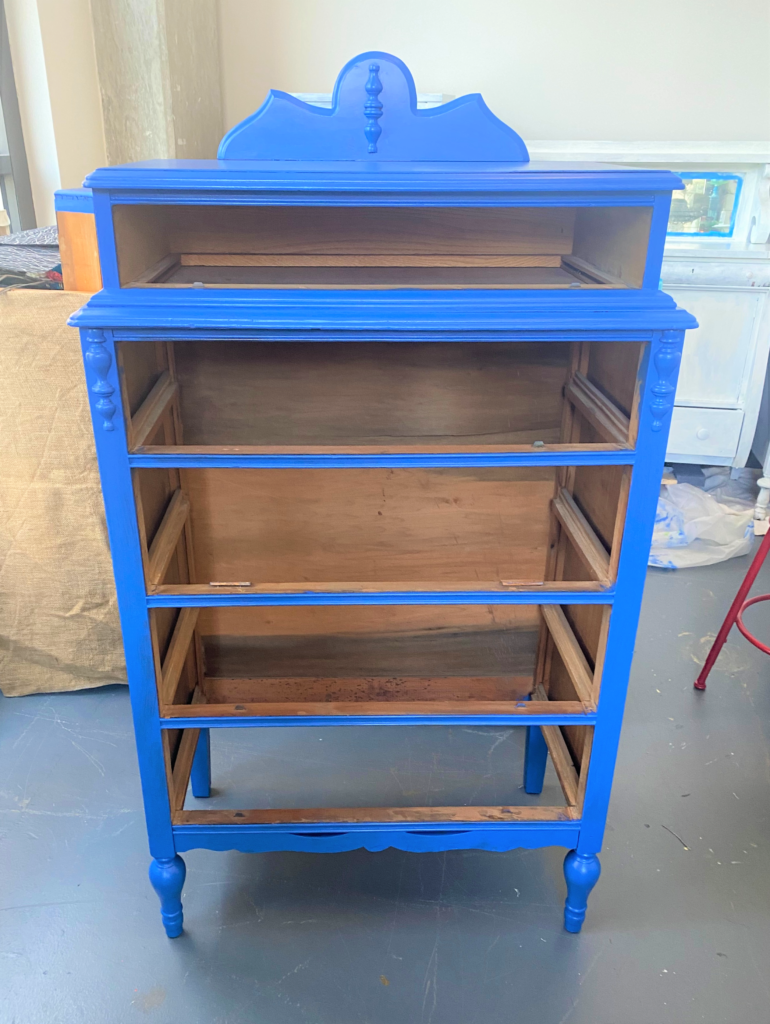
Design idea: I love the idea of giving an old piece a bright and bold color. It immediately makes an outdated item look fresh and vibrant. The blue also looks great in any space and certainly makes a statement. This project certainly would have looked great stopping at this step; however, we want your piece to be truly one of a kind so read on!
4. Dot on the ombre design
Ombre is a great look for a tall piece because you’re able to see a color’s tones from light to dark.
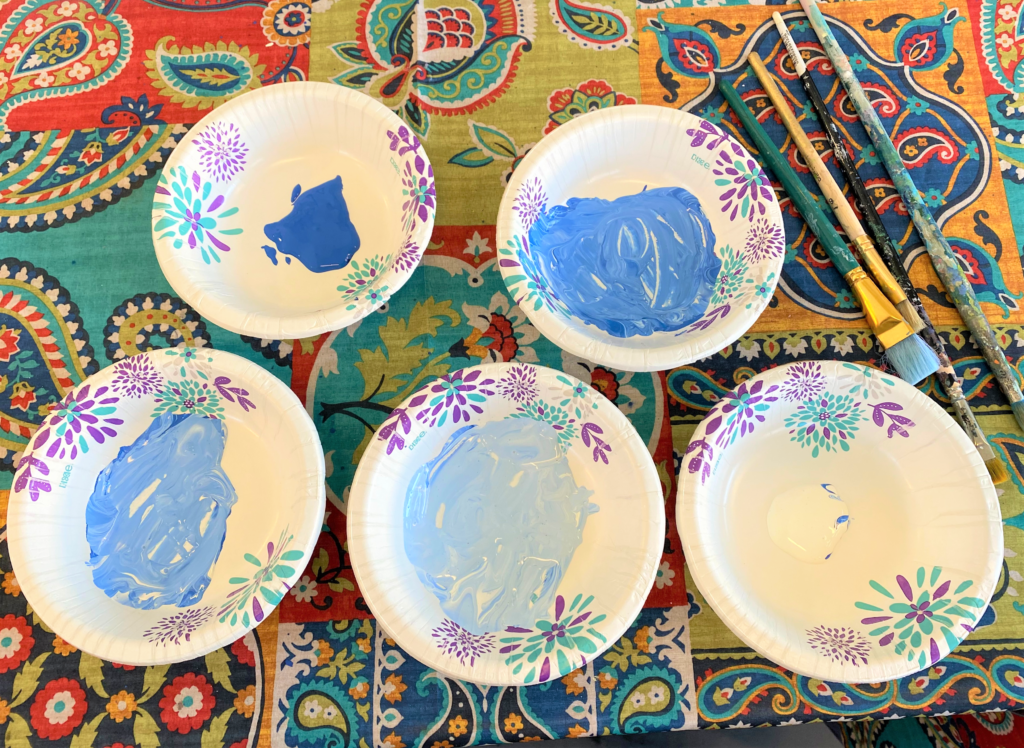
- In containers like plastic cups or paper bowls, add some blue to a couple and of white to a couple.
- Mix in more of one tone so that it is easy to see how the shades go from a crisp white to the bright blue.
- Line up your dresser drawers together on your workspace, placing the top drawer at one end and the bottom at the other.
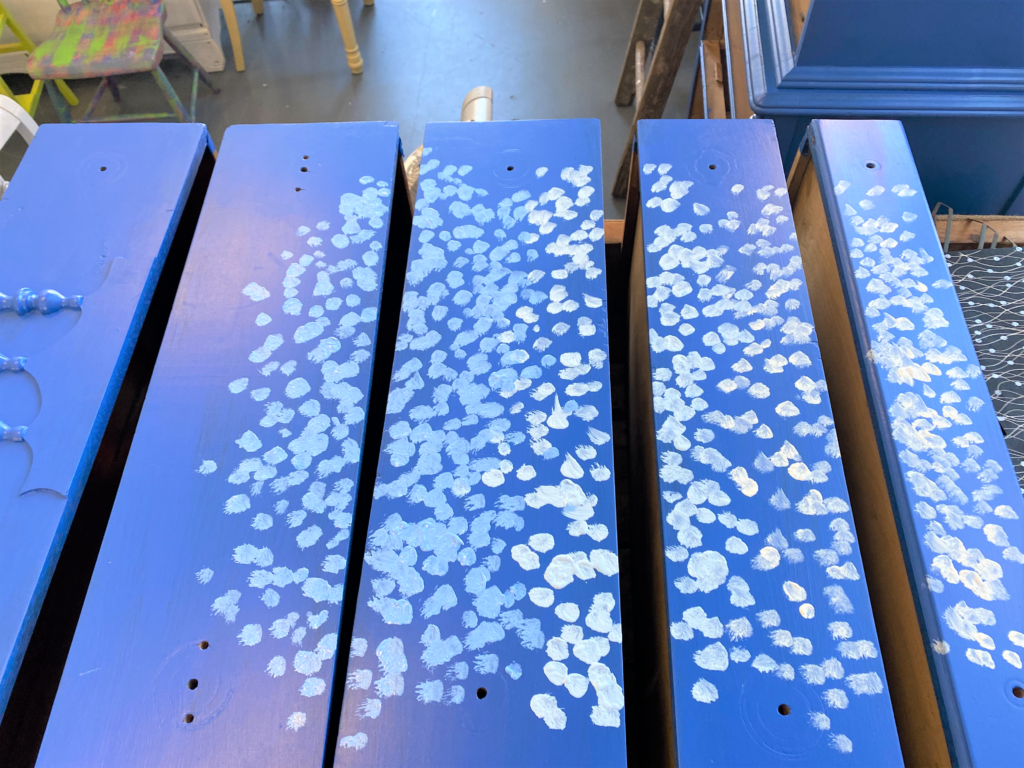
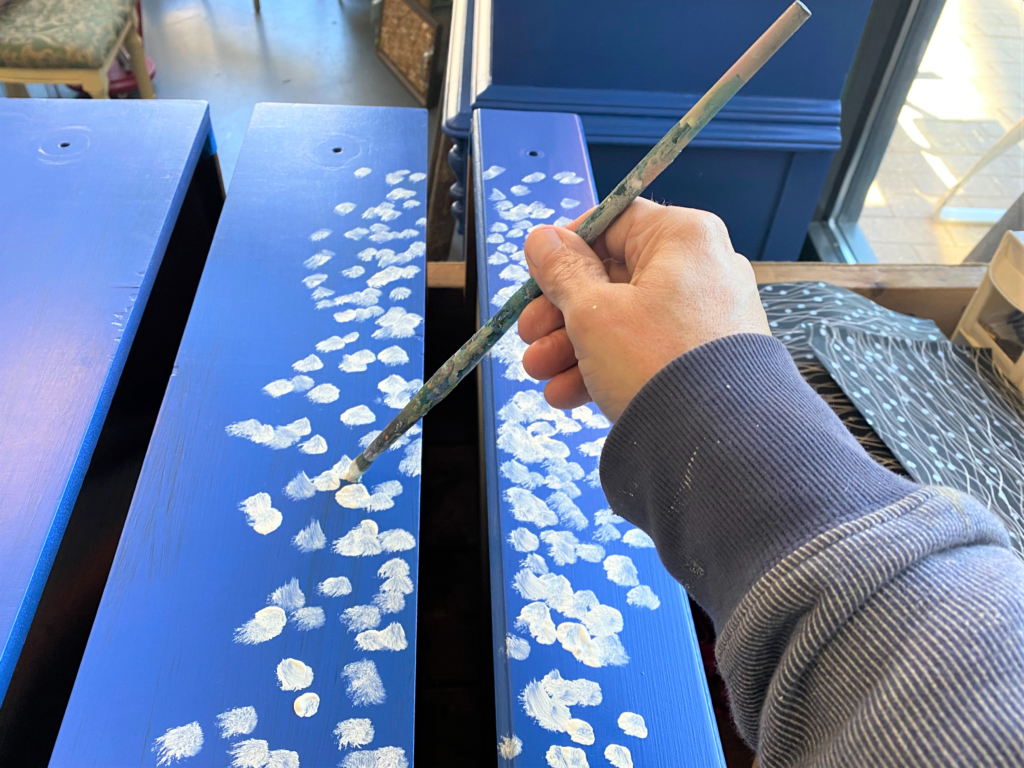
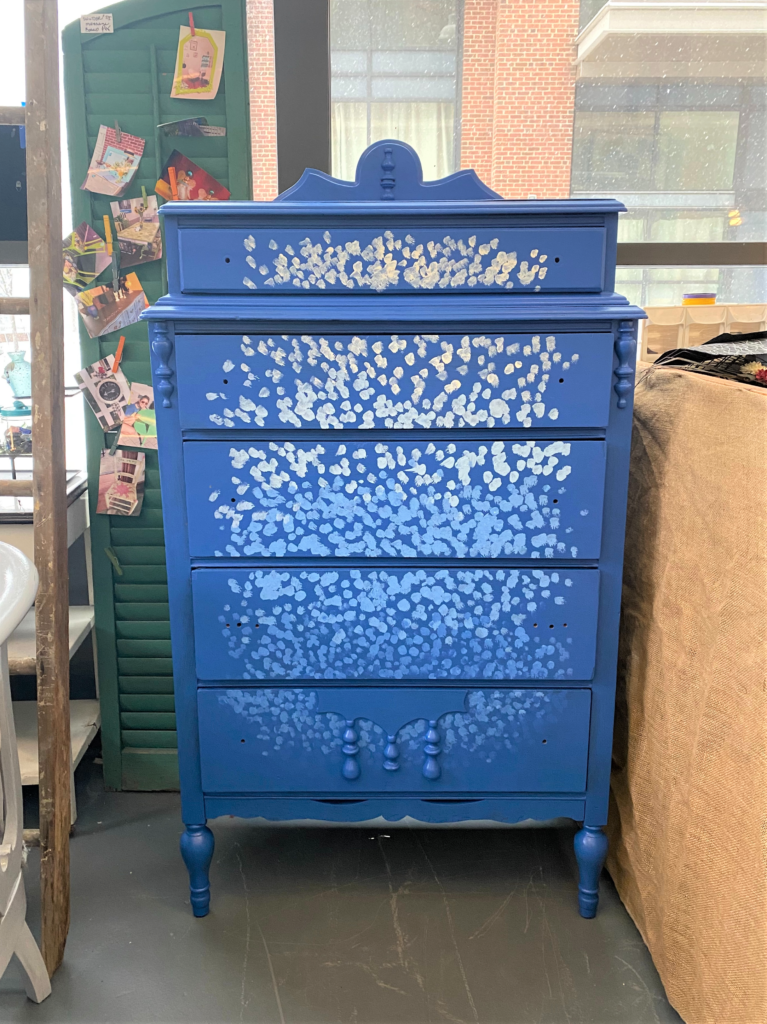
- Start with your top drawer and, using a detail/smaller paint brush, dot on white paint along the front surface. Have fun with this step; you can’t put a dot in the wrong place given the design’s flowing and organic feel.
- On the top part of the second drawer, add more white dots to connect it to the top drawer.
- Then, use your lightest blended white and blue and add more dots to the bottom half of the second drawer and the top part of the third drawer.
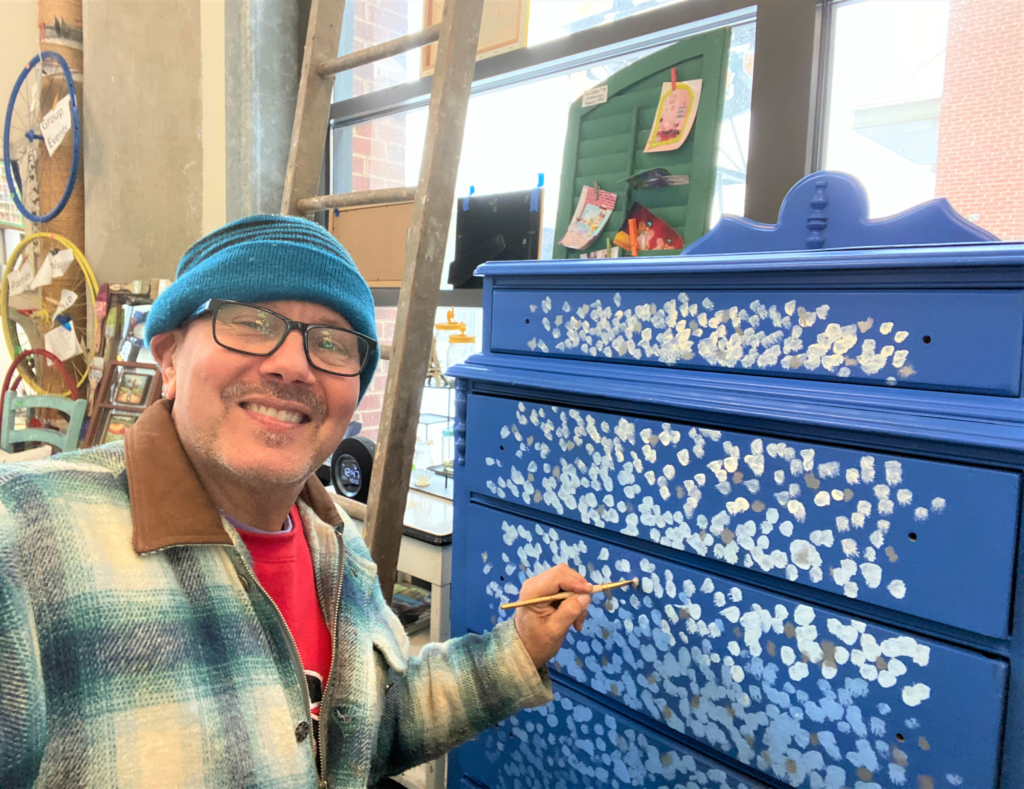
- Use the next tone on the scale and add more dots to that drawer’s lower section and the next drawer’s top section. Continue this step until the bottom drawer has dots of the darkest blue.
- Step away and see where you might want to overlap more of the dots to easily see the gradually darkening tones.
- Let dry.
5. Silver adds shimmer
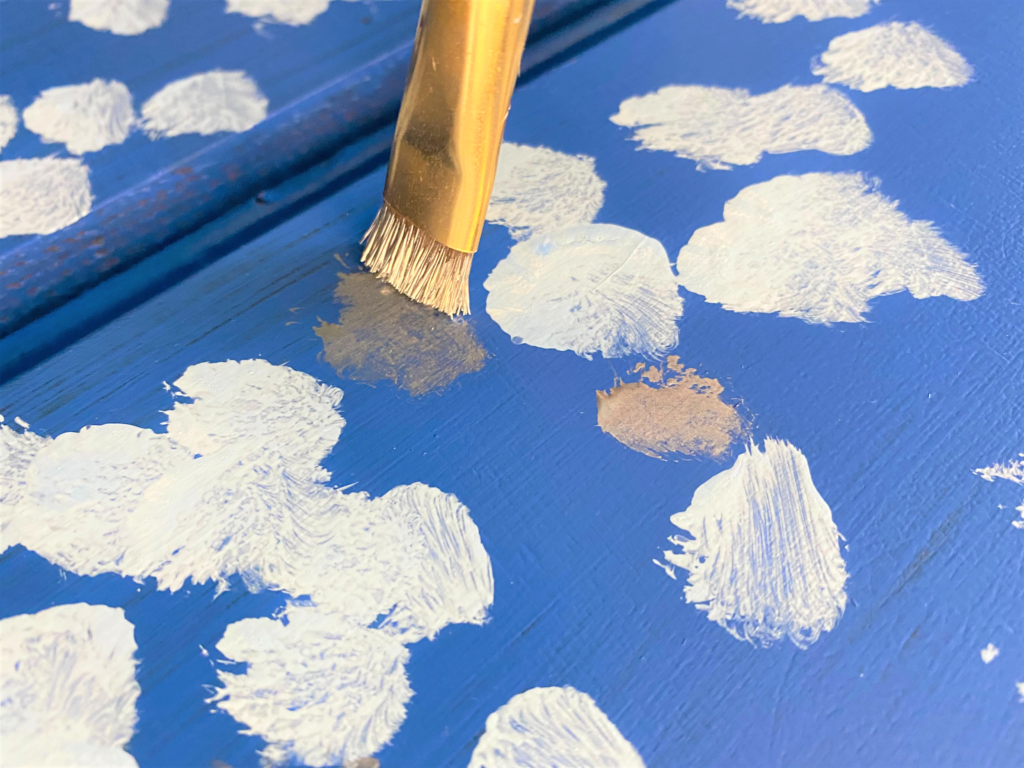
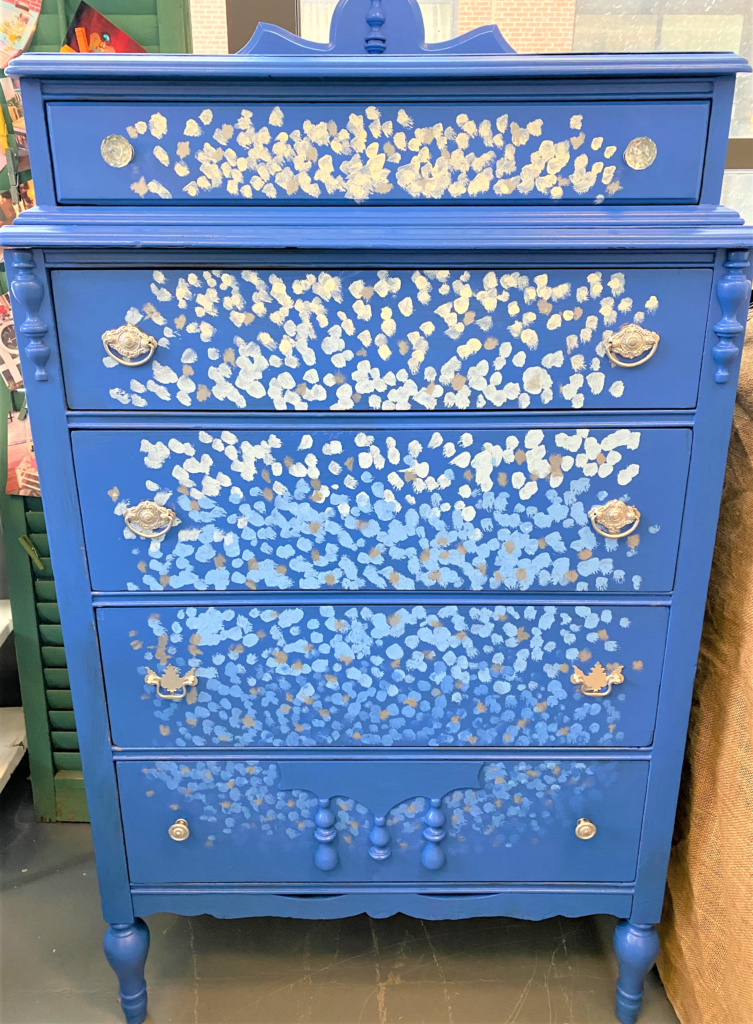
- To provide reflection to your piece and a cohesive look from top to bottom, use your detail brush to dot on silver. This will give your dresser some added visual interest and help to reflect light. Such a fun step!
Expert Tip: Silver paint can be expensive. To get around this cost, consider purchasing a can of spray paint with a mirror-finish or bright silver tone. In my paper dish, I put the can’s sprayer close to the bottom and sprayed in some of the silver paint. I then used my brush to dab on the silver, transferring it from the dish to the brush to the drawers. You may need to repeat this “close spray” technique several times as the paint may dry quickly. Another benefit of using spray paint this way is that is also ties in perfectly to the next step….painting the hardware!
6. Reuse your hardware
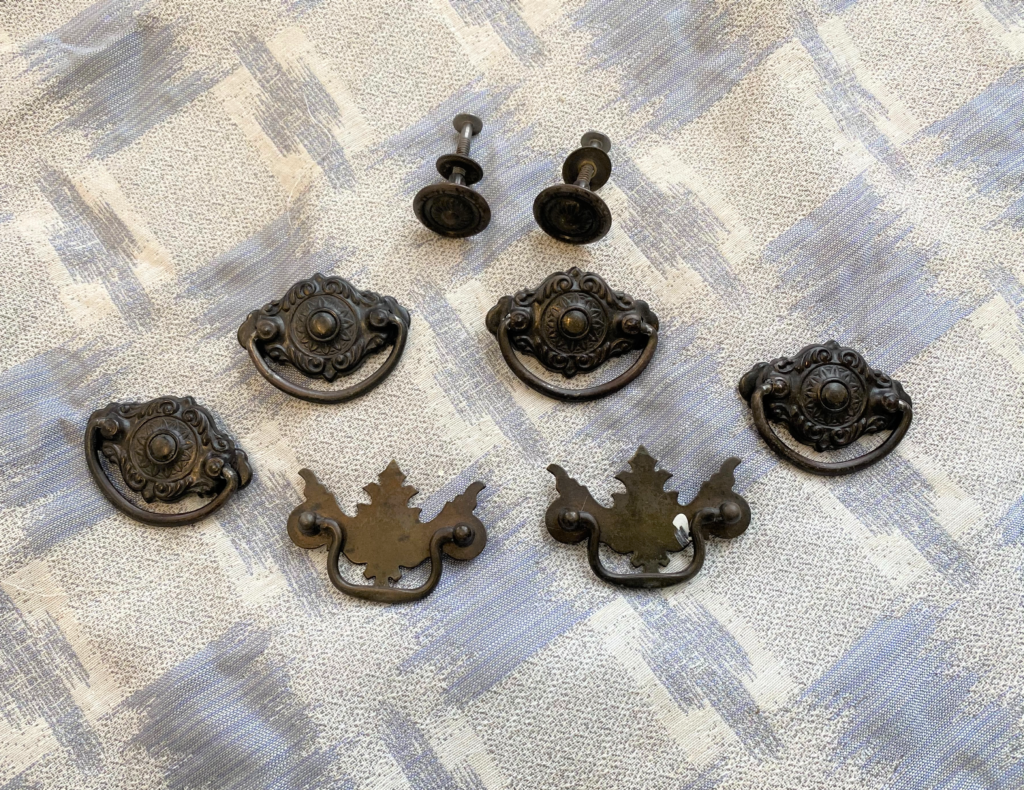
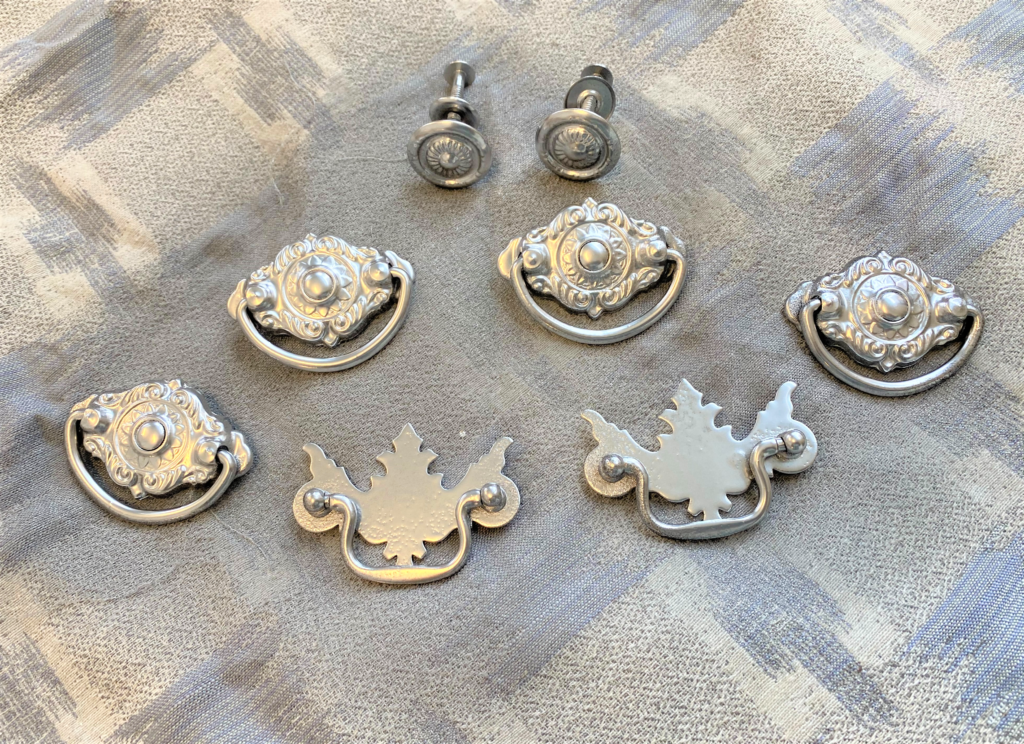
For me and likely for you, too, part of the upcycling fun is to transform a piece with as little cost as possible. Heck, that’s why we love shopping at Goodwill because of the dirt-cheap prices on great pieces. One way to save money is to reuse the existing hardware by giving it a makeover, too.
- Using the silver spray paint from Step 5, add a light coat to your hardware.
- Let dry and add another coat.
- As you are able to see from the photos in this blog, the drab, dark and mismatched knobs and handles got a shiny new look and now match the silver dots/detail on the dresser.
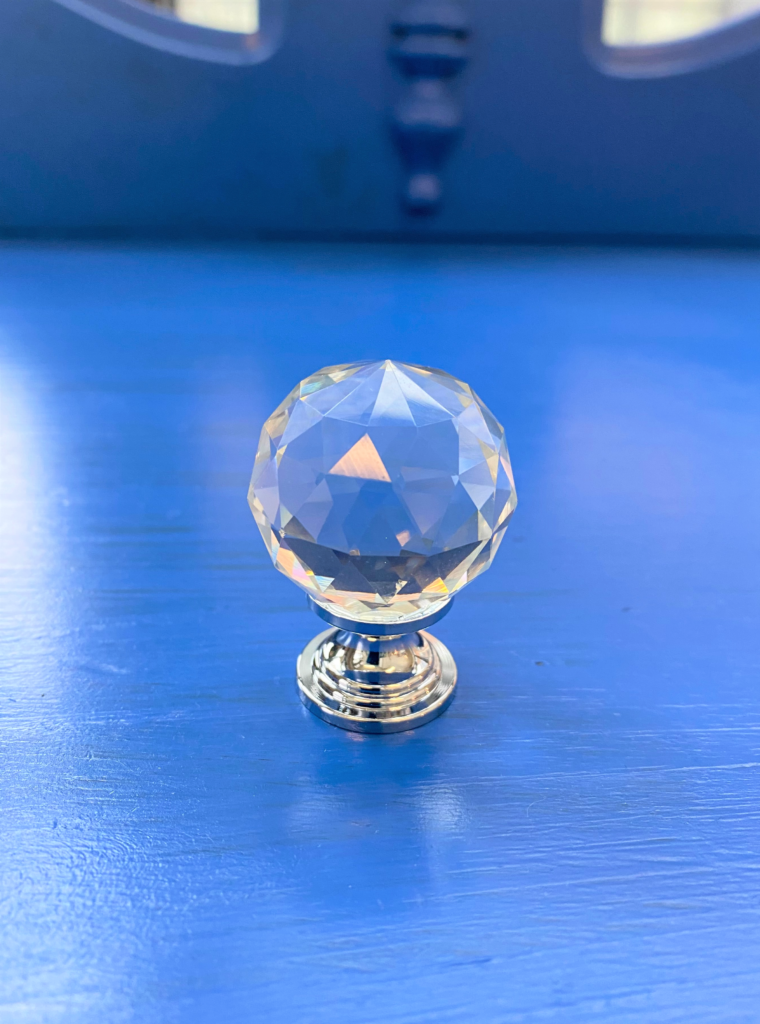
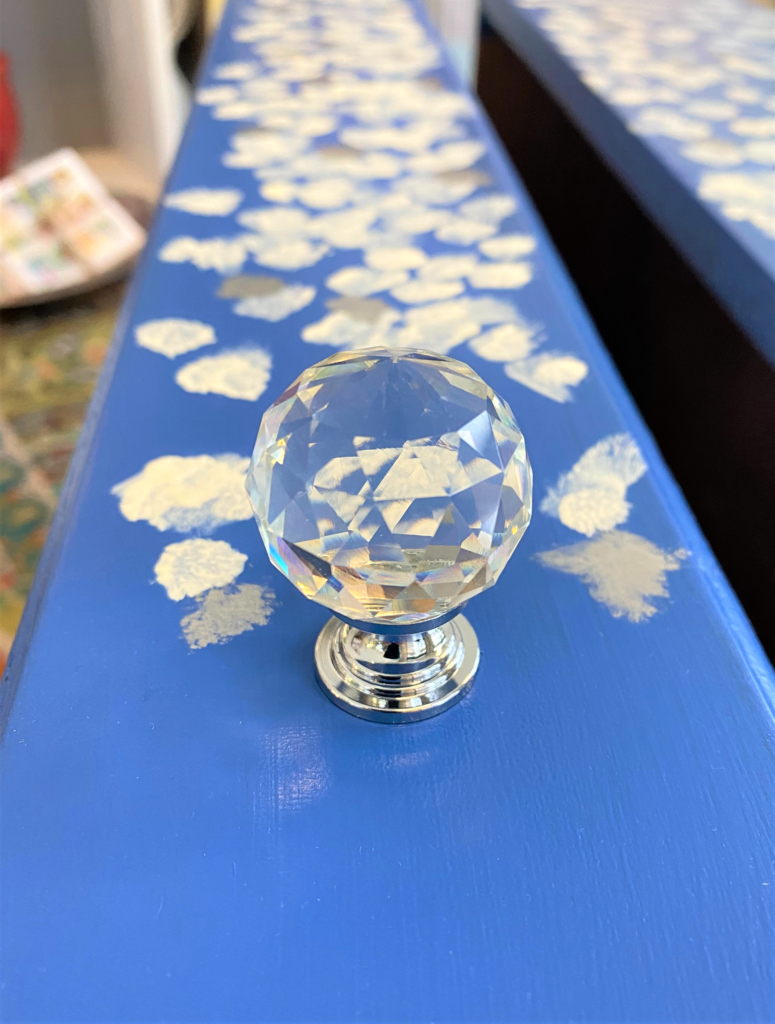
Design Idea: To tie into the wintery design, I picked up two glass, carved knobs. They were pricy so I only picked up a few and secured them on the top drawer where they had some prominence. I loved that they looked like carved ice or mini-ice sculptures! They also added some cool bling to the overall look. Honestly, I am glad I didn’t spend more to buy these knobs for each drawer because the knobs in various shapes and sizes added to its overall whimsical, charming feel.
7. Protect your piece with poly
To give your design some special treatment and to ensure it holds up well over years of use, brush on a light layer of poly. This will keep your hard work from “melting” away over time and allow it to be friendly to cleaning and dusting. Let your piece dry and then it will be ready to add some wintery beauty to the inside of your space!


How might Mother Nature or the current season impact the design or colors of your pieces? Given the all the white tones presented by winter, how nice would mismatched pieces look with a bright white paint with silver accents or hardware? Shades of gray always look nice in any décor and in any room. Show us your design ideas and inspiration so we can continue to celebrate the seasons and show our love for the magic of Planet Earth.

Tim Kime
Artist, Motivational Speaker, Life Coach


