
Power to the Pumpkins: Don’t Smash Them—Upcycle Them!
Leave out the ho-hum and add humor and horror when you follow these simple steps to create a plethora of eye-catching (and heart-stopping) pumpkins. Use thrift store finds to add to real pumpkins or to make whimsical ones from repurposed pieces. Have fun with colors and design, so these festive fruits totally stand out from the creepy crowd.
Here are three ideas for your creative consideration!
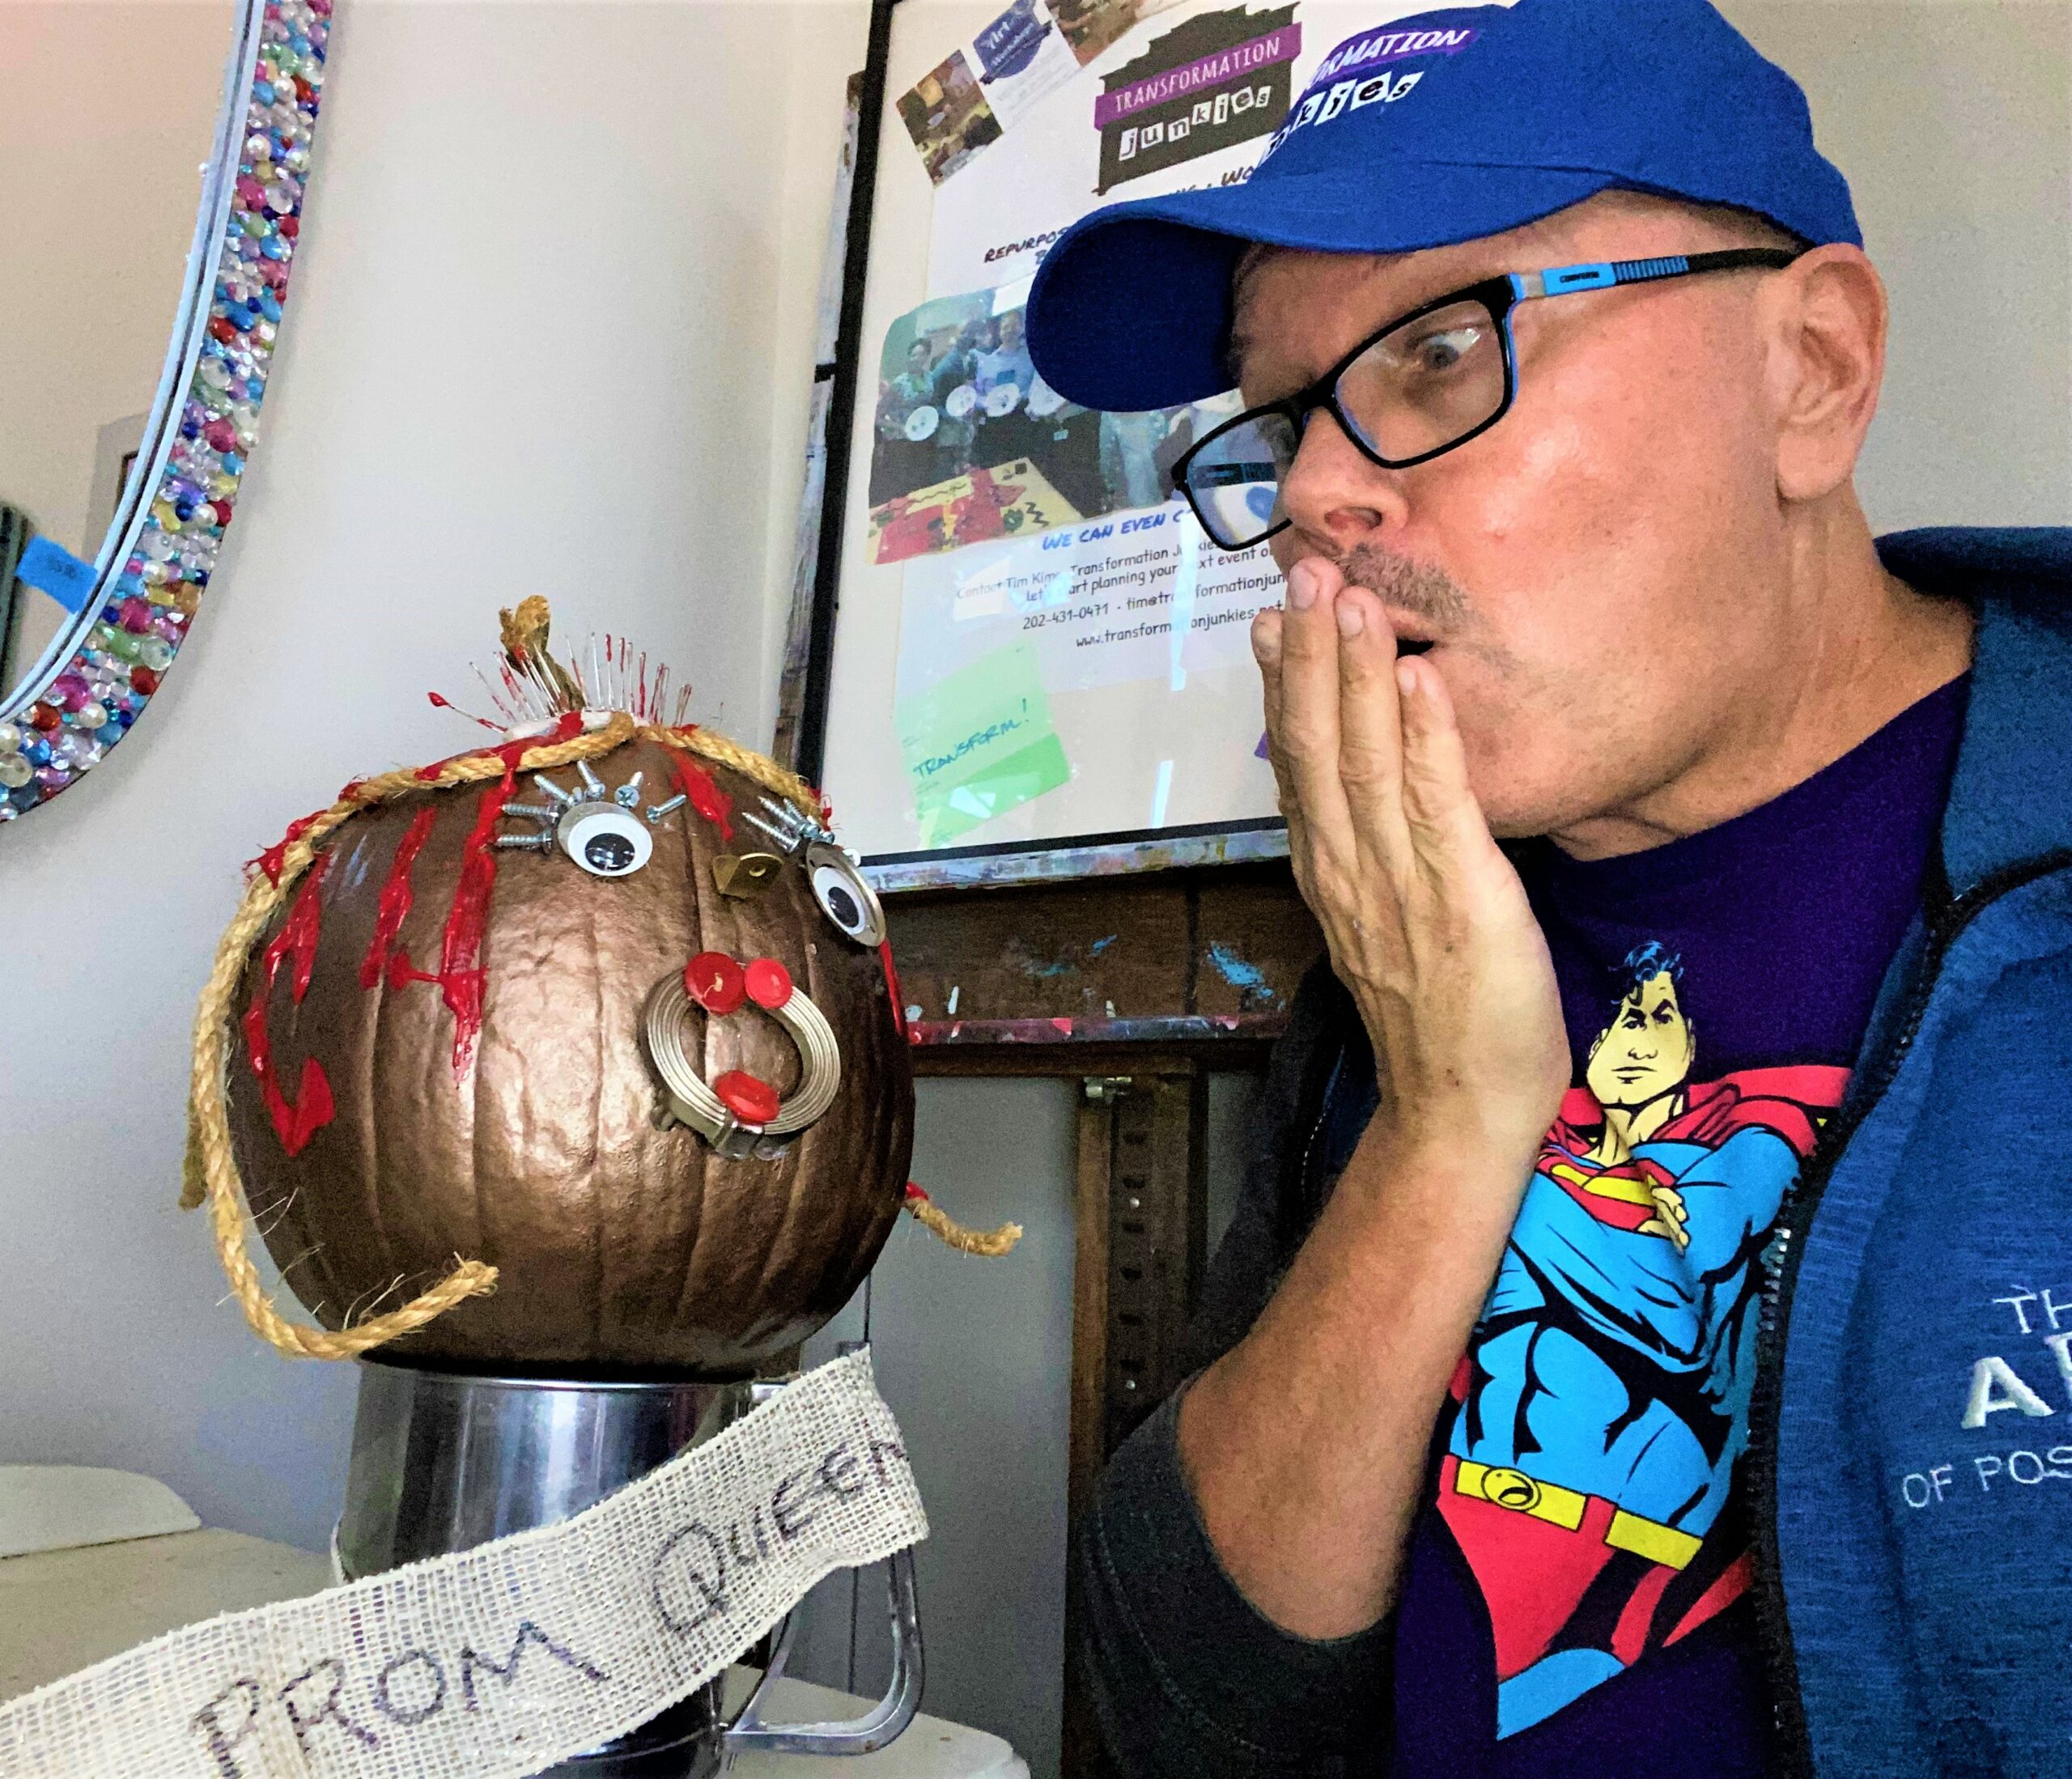
1. Embellish with Goodwill Finds
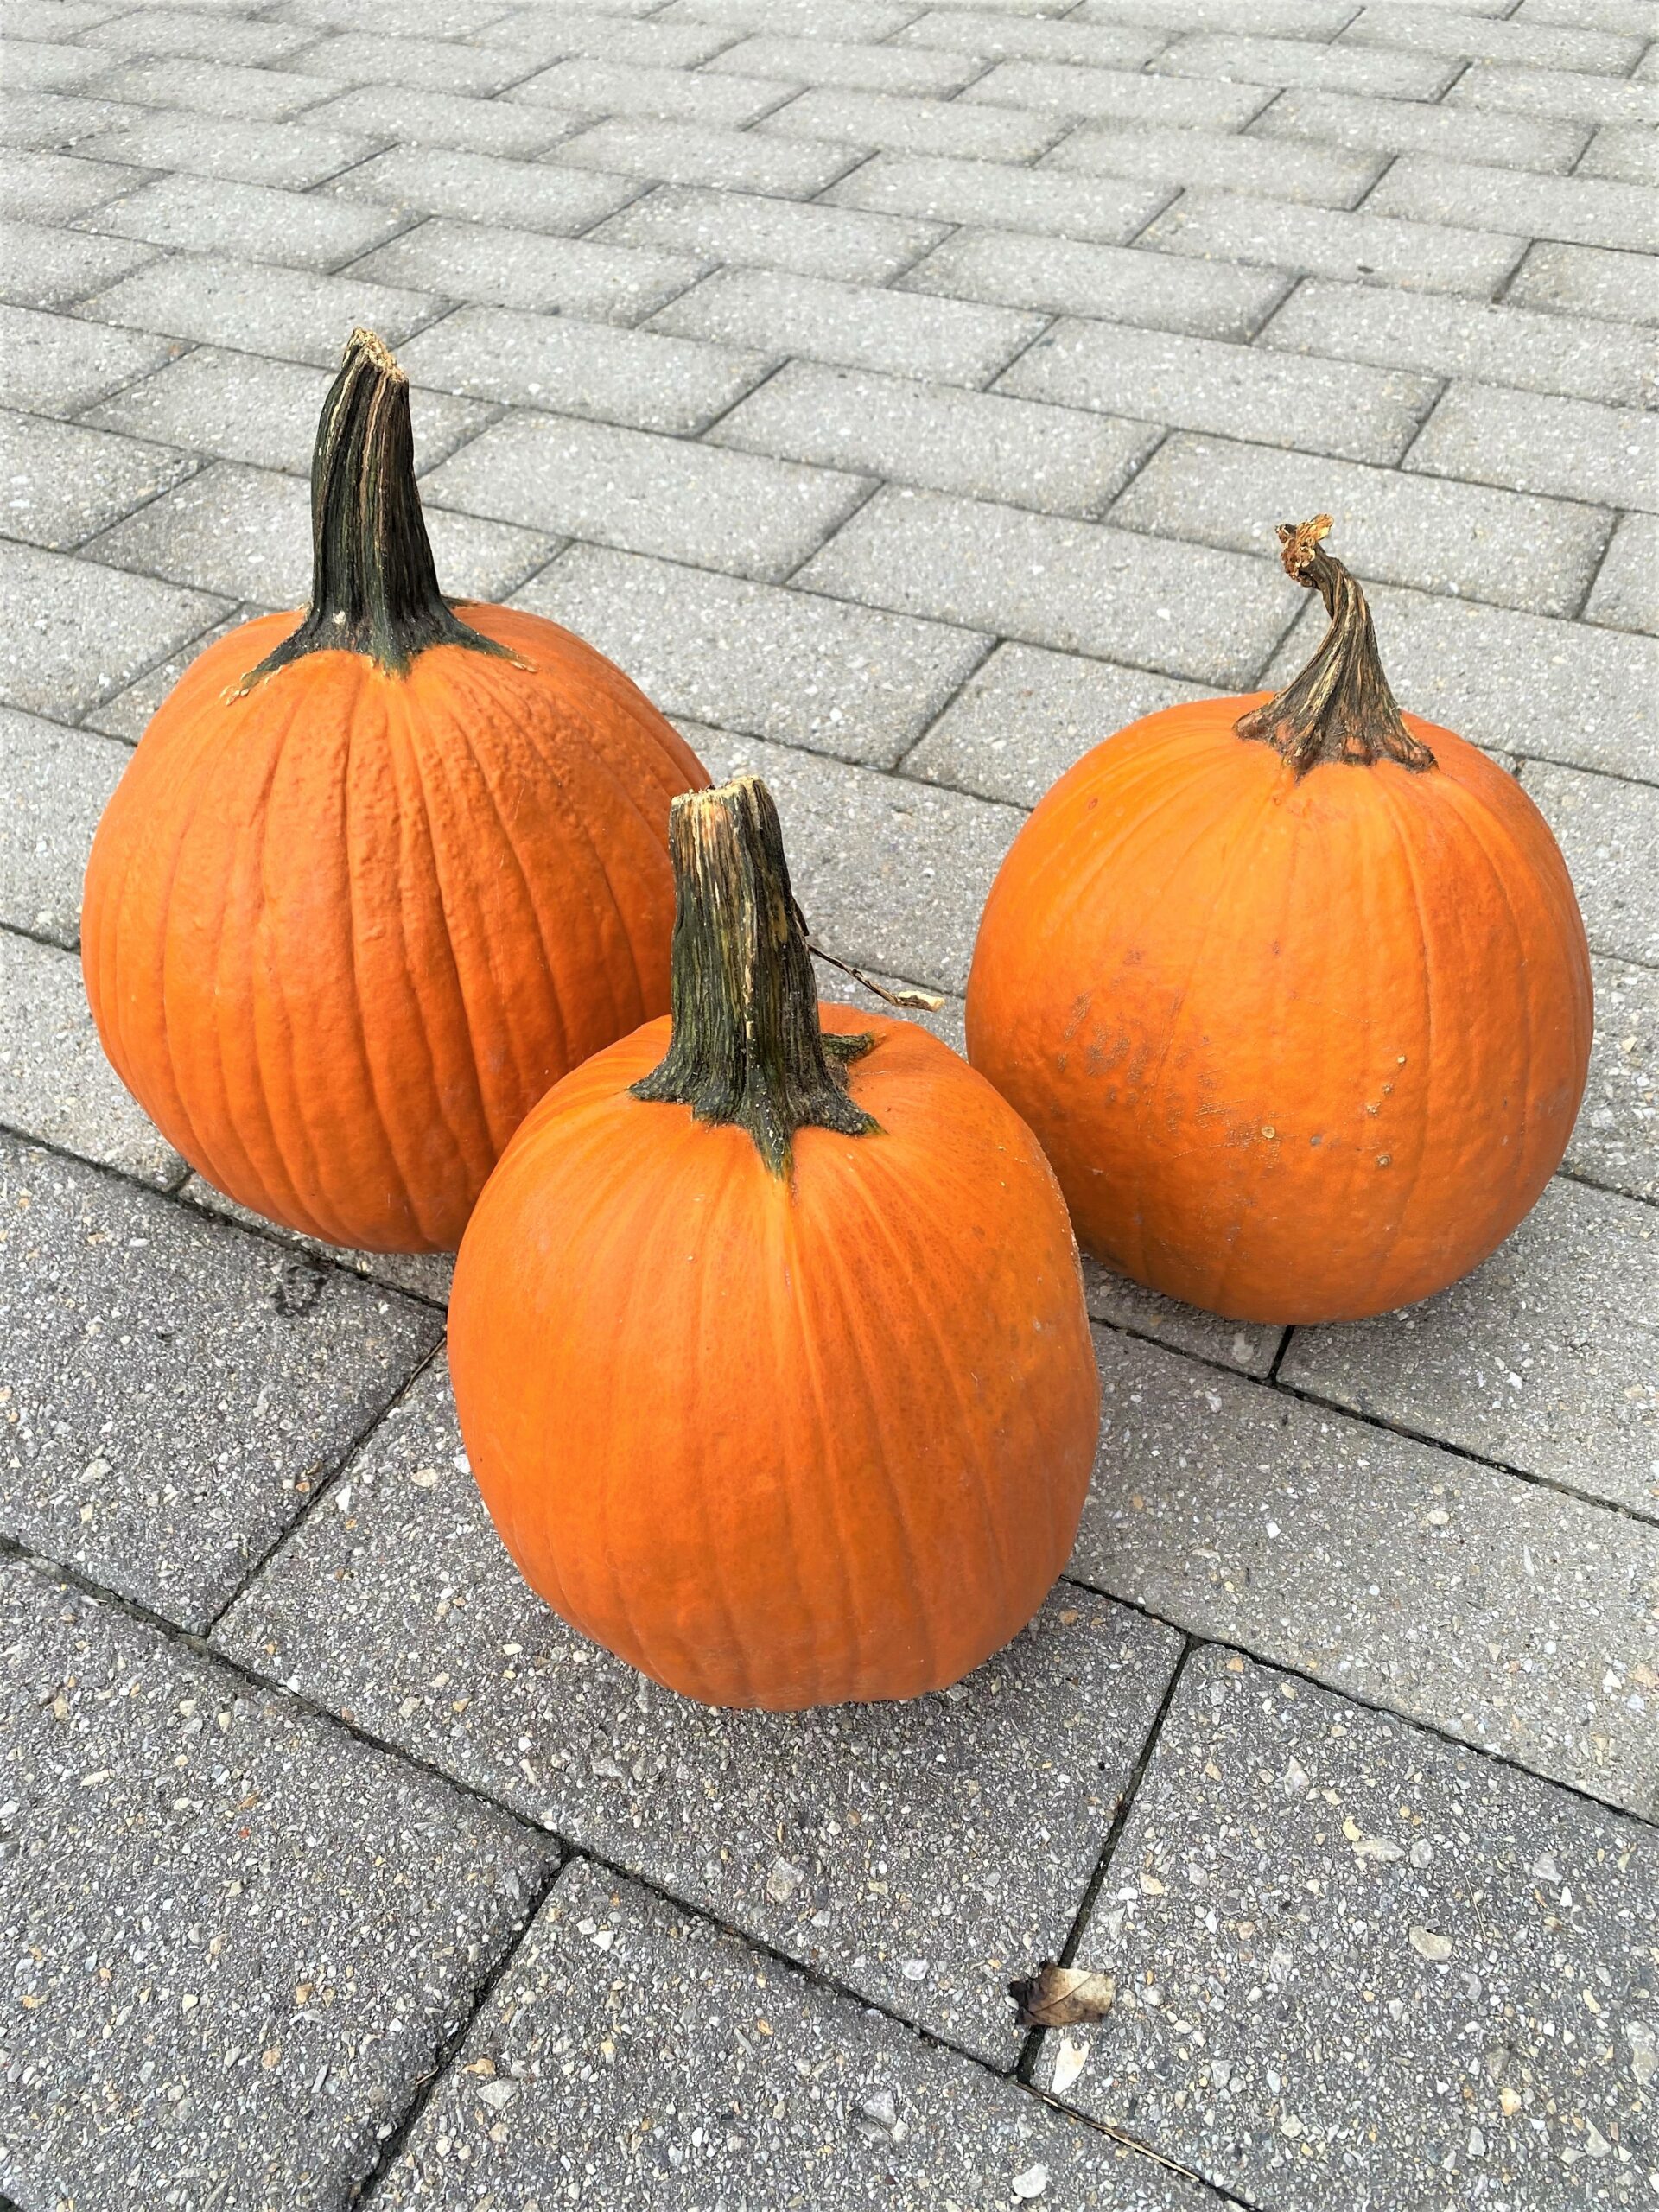
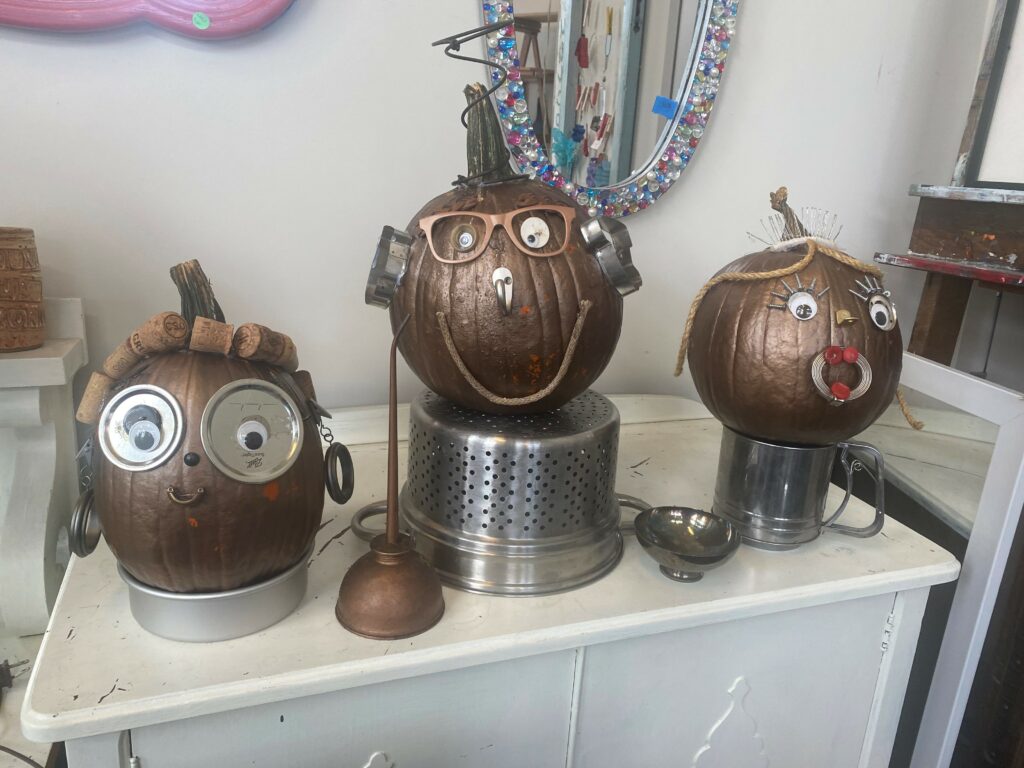
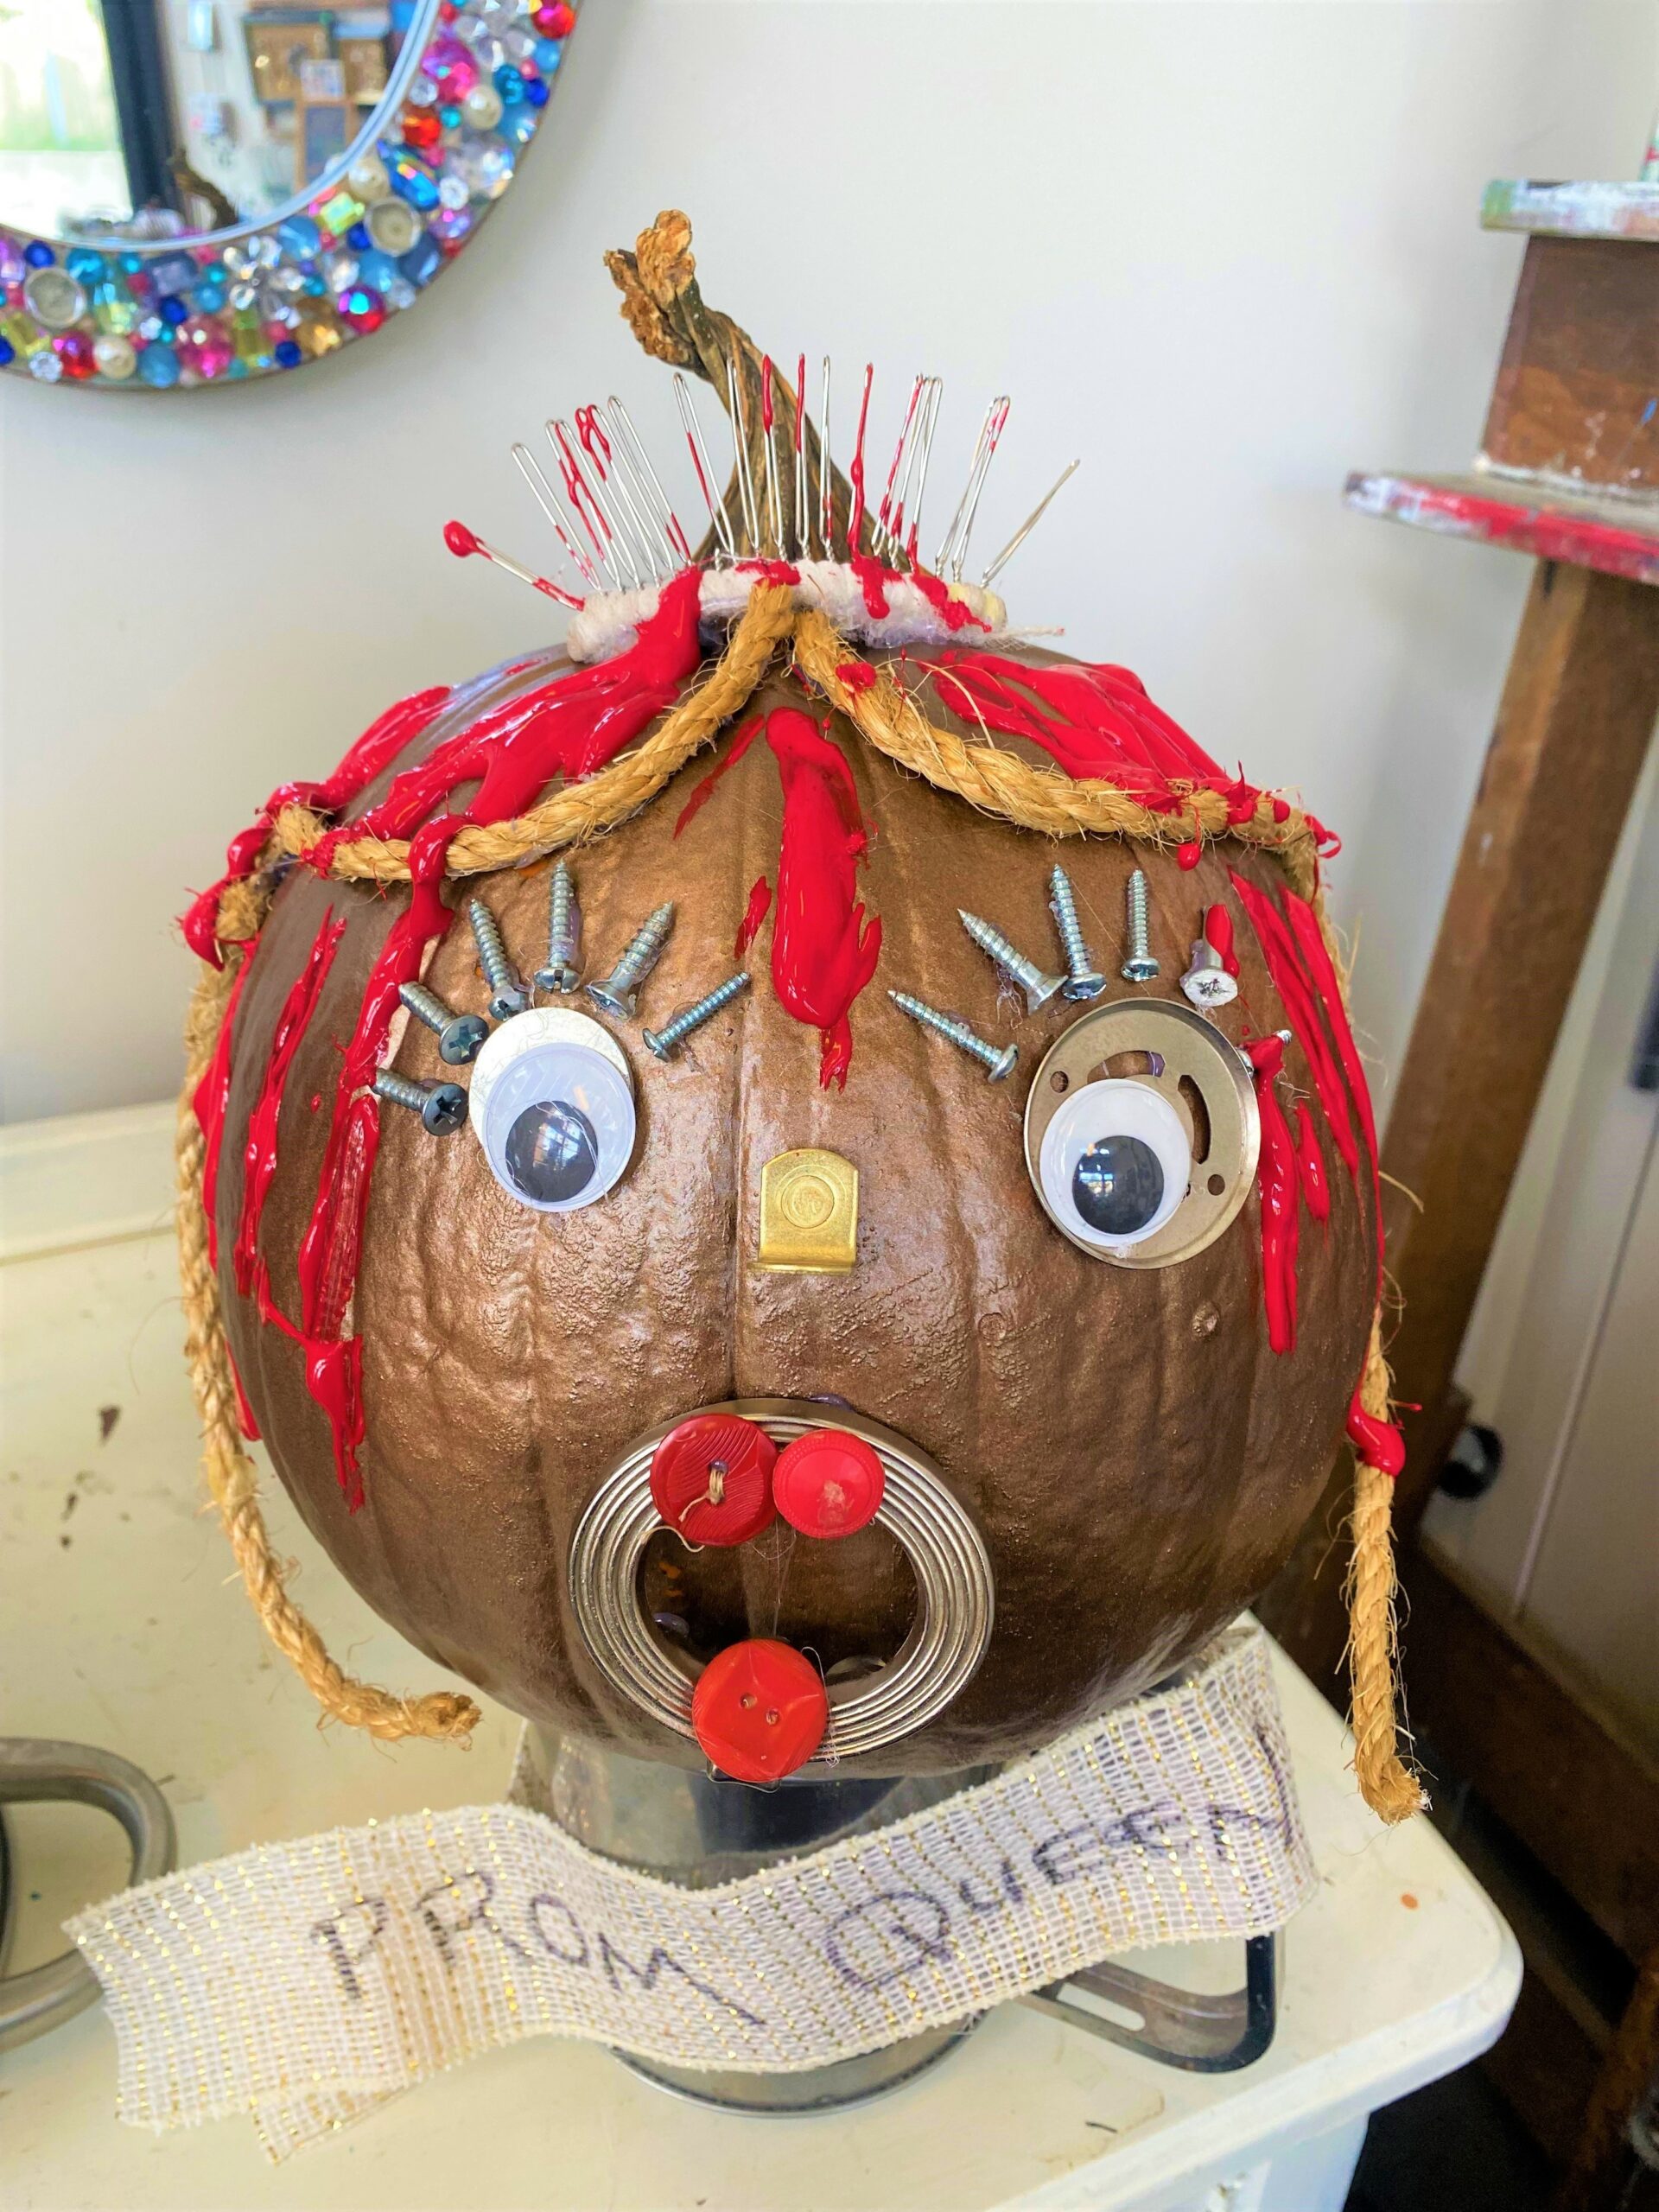
Raise up your pumpkins, literally and figuratively, by using household items as stands/necks/foundations on which to build. Scary Carrie and her friends get a frighteningly fun makeover when thrift store purchases are used as noses, ears, eyes, and even a tiara.
Here’s How:
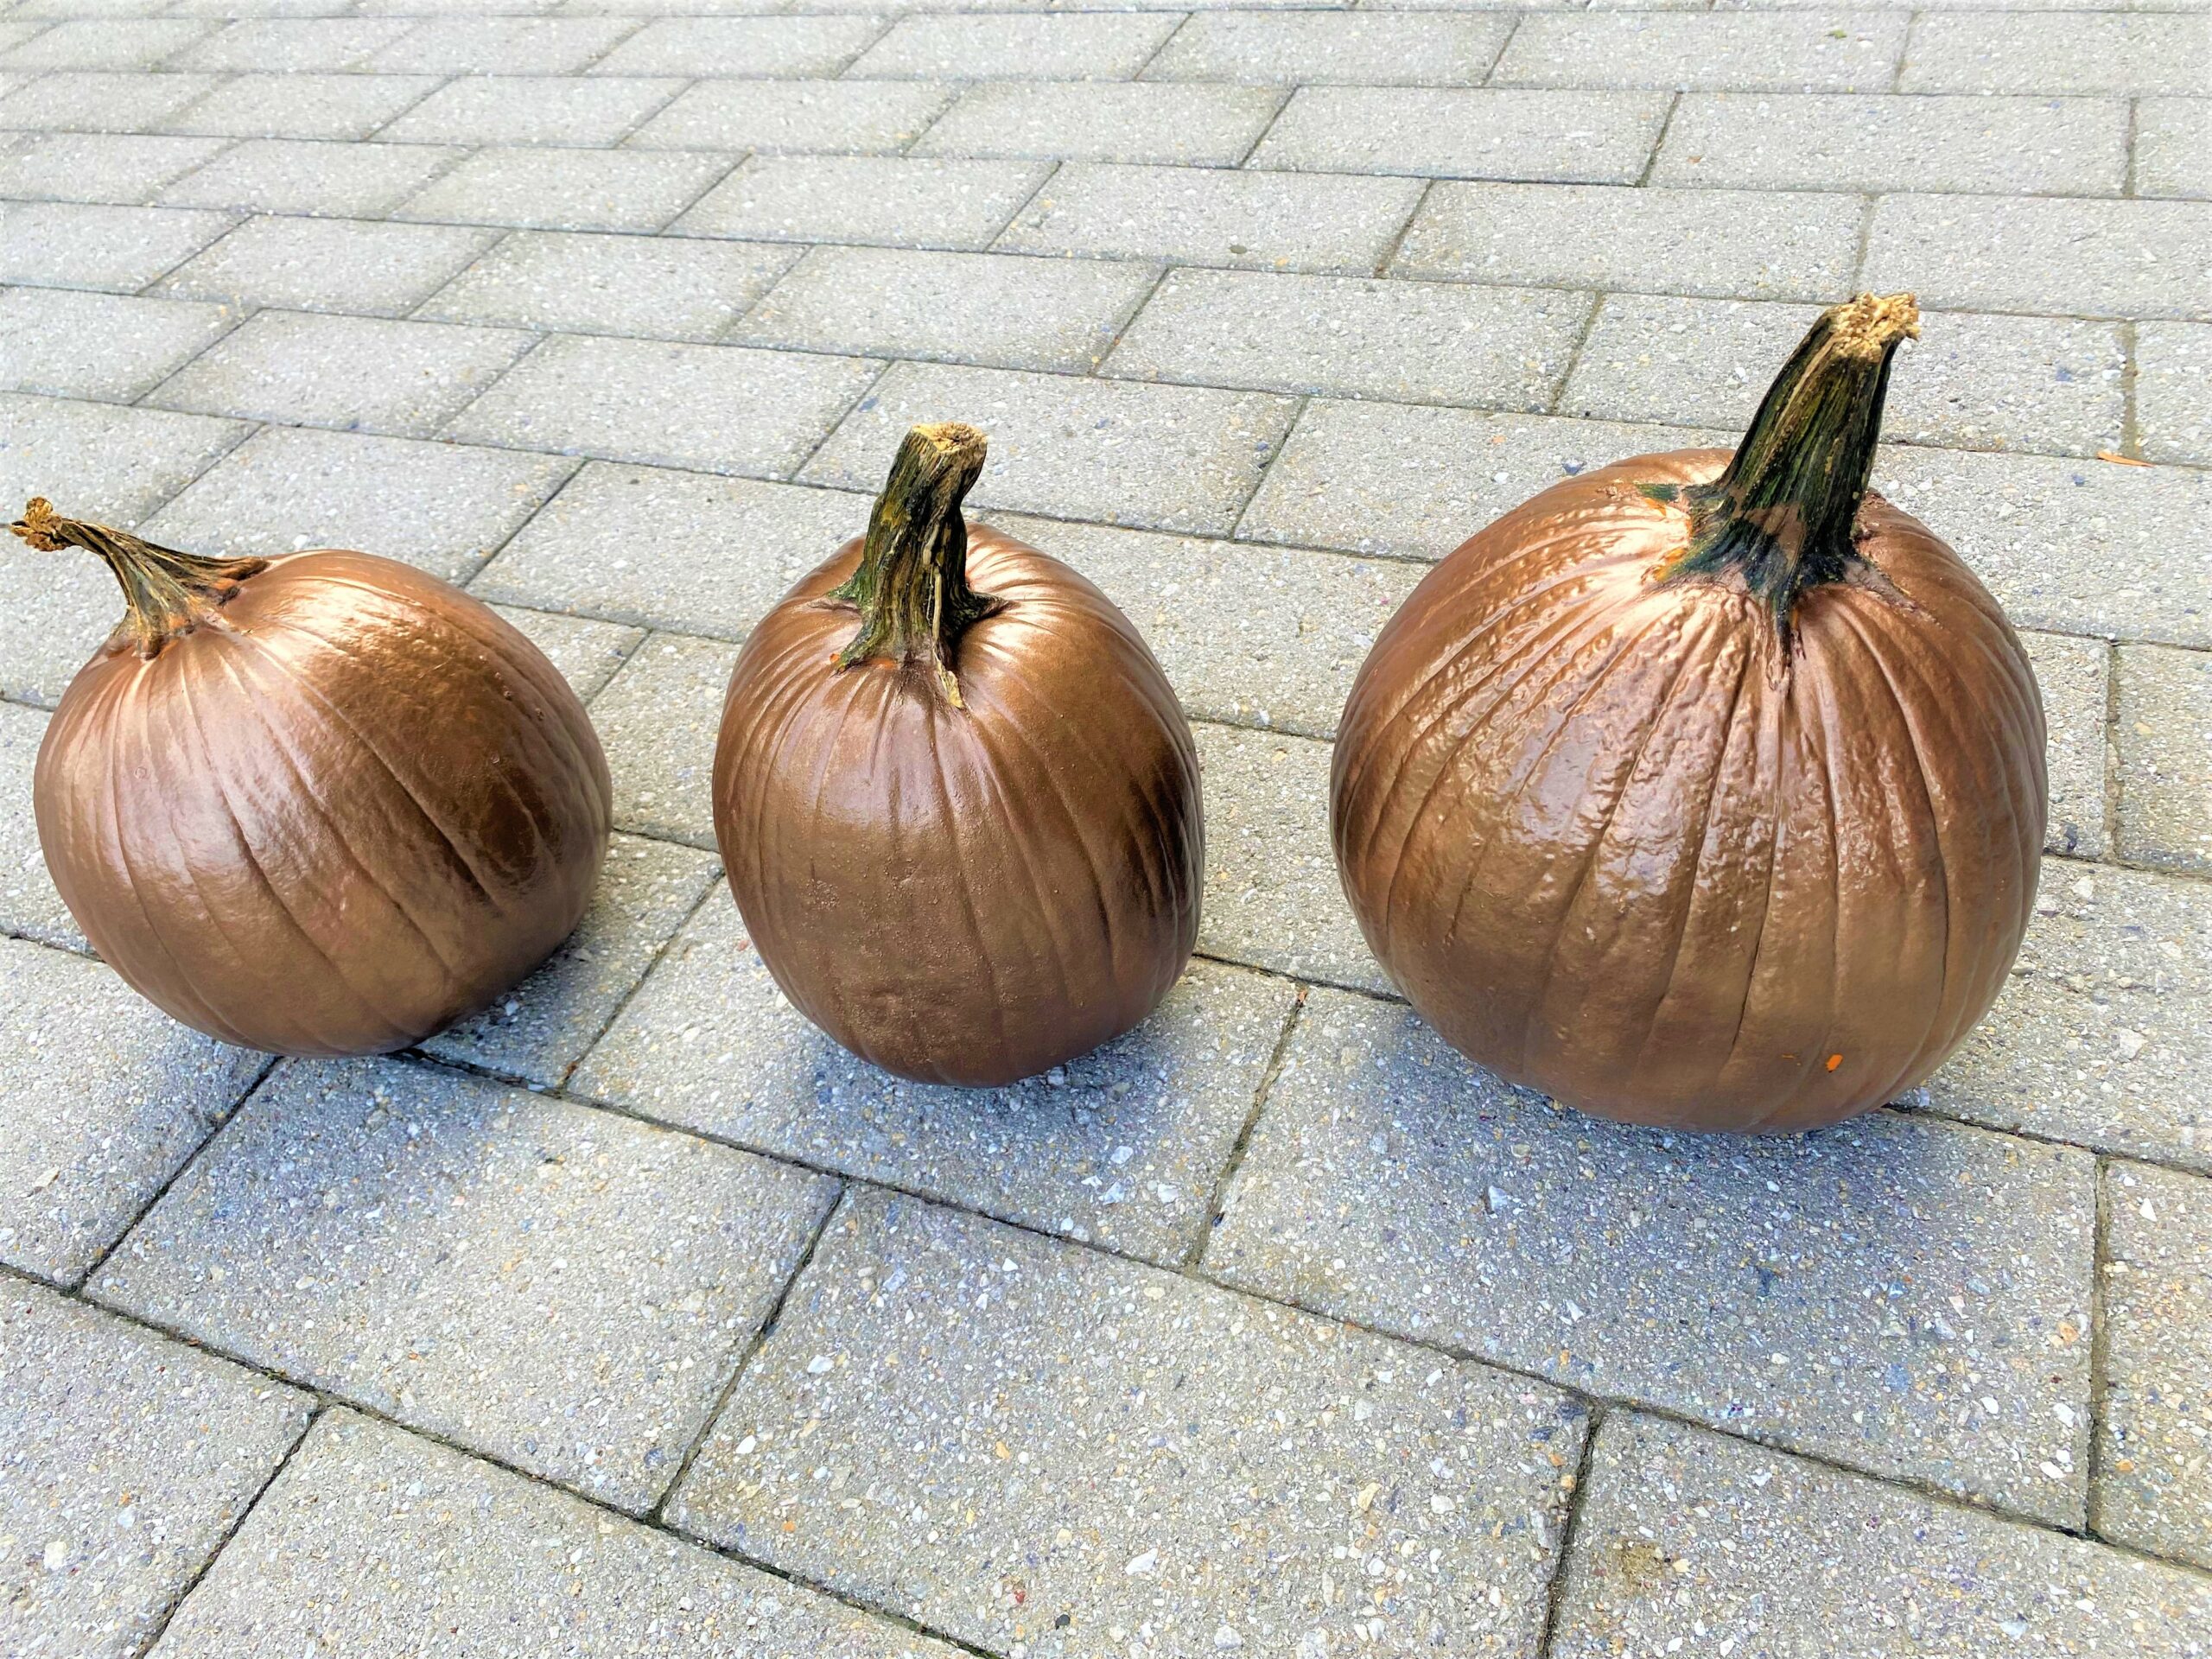
- Think about painting your pumpkins shades of bronze to make them stand out from the others in the patch. Avocado green or a medium-toned gray would make for a ghoulish base for these funky faces.
- Place your pumpkins outside and spray on a light layer or two. Let them dry and roll ‘em over to get all sides.
- Place them on a small round pie pan or a flat-bottomed pasta strainer/colander. These make great neck options for the pumpkin’s head.
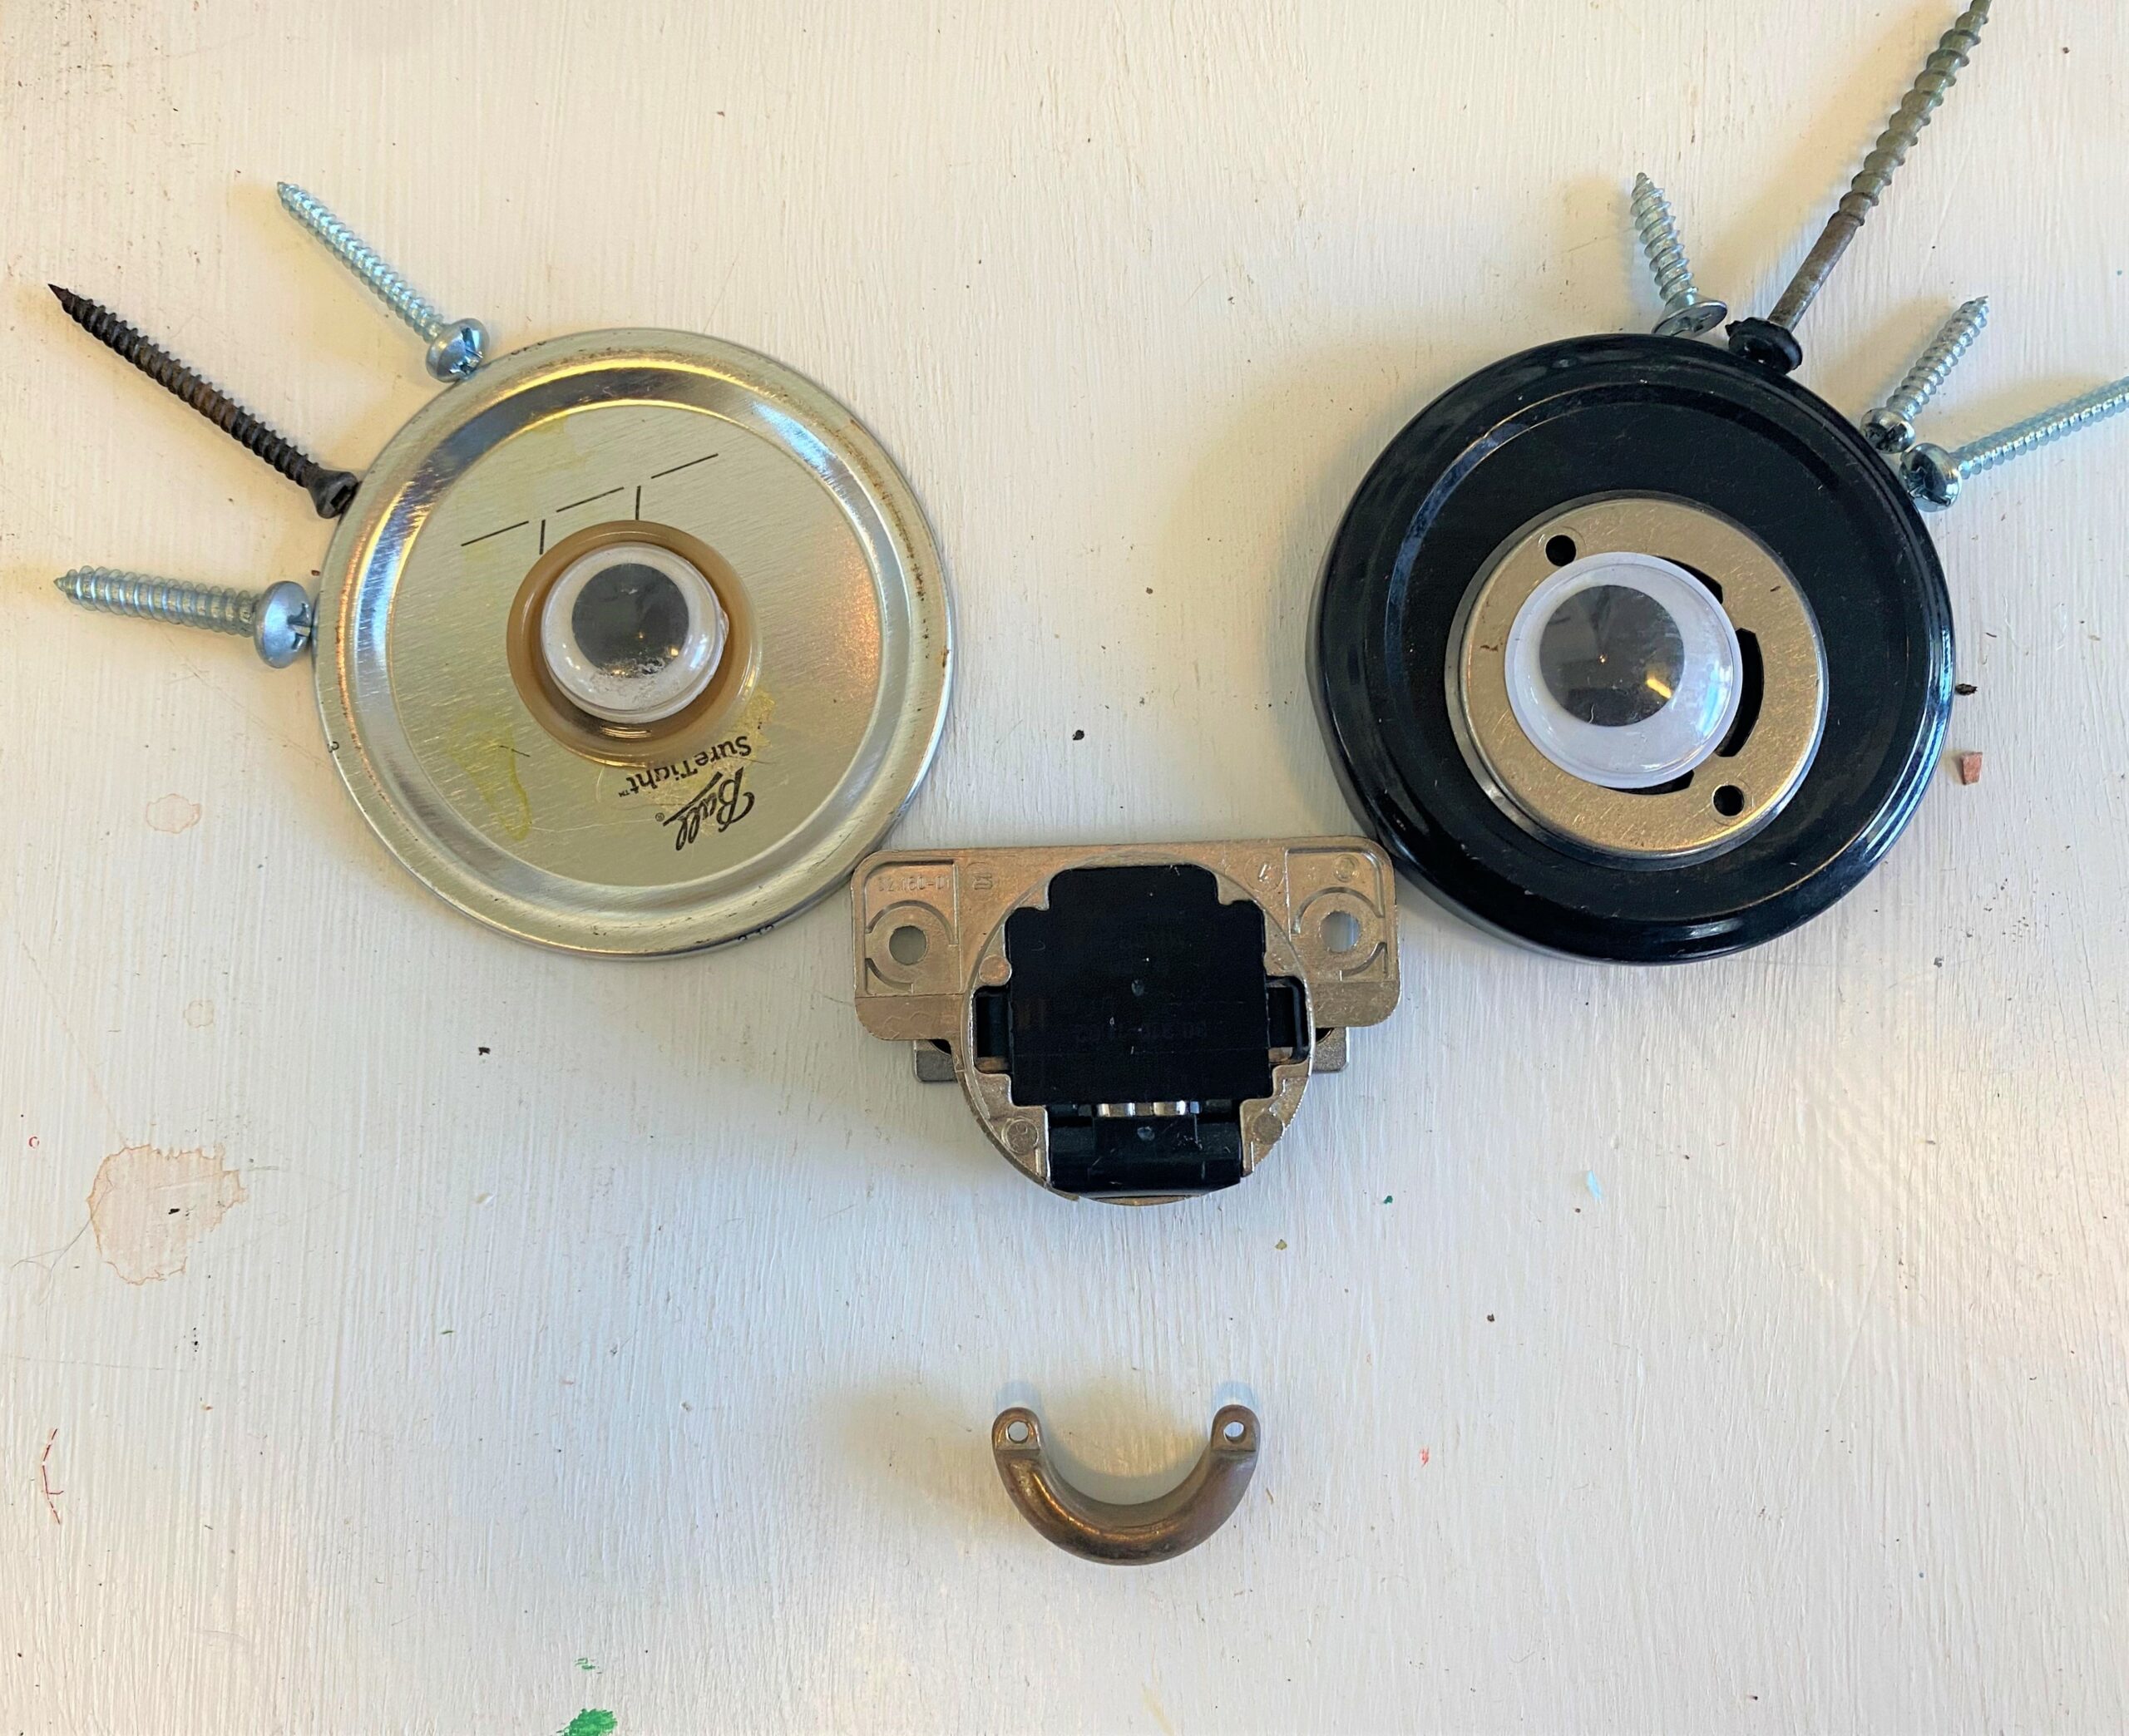
- Use your glue gun to add things like jar lids as eyes, wine corks as hair, hooks as noses, and even cookie cutters as ears! Prom queen Carrie’s tiara was made from a hair accessory.
- Secure those wiggly “googly” eyes picked up from the dollar store.
- You may want to use craft paint to add freckles, lipstick, scars, or even blood drips.
You won’t need an exorcism to bring out your inner DIY demons, that’s for sure!
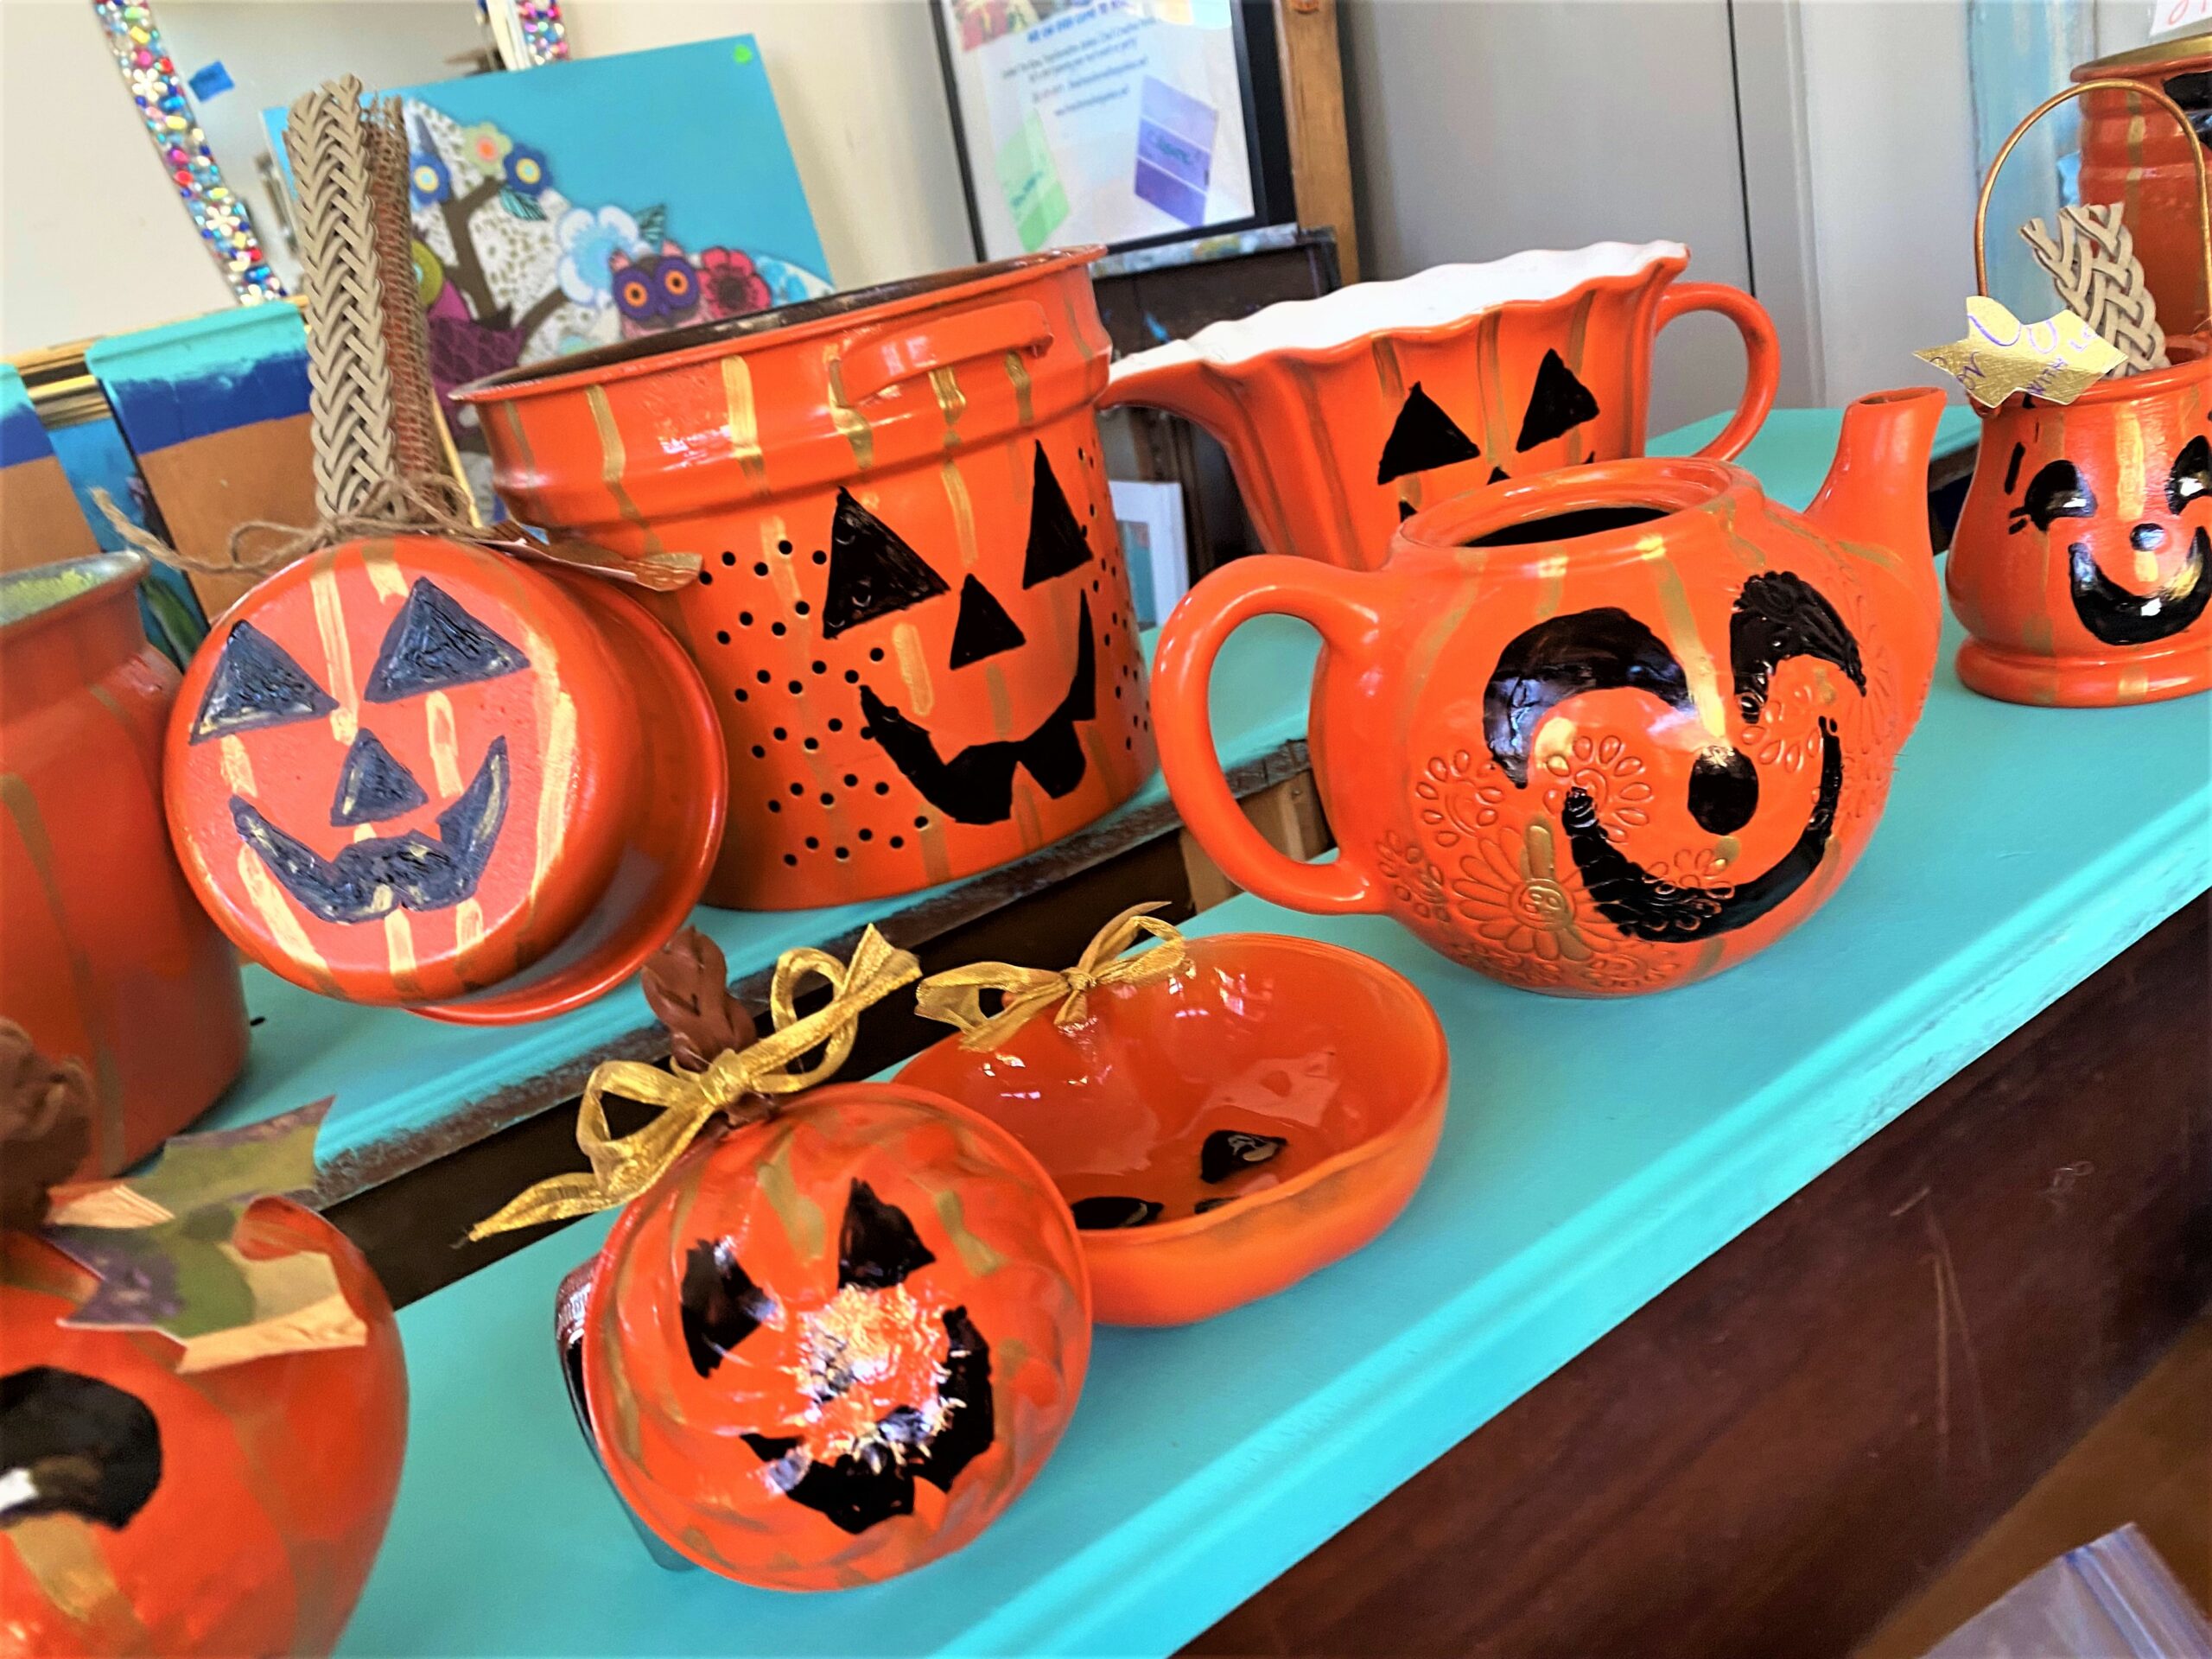
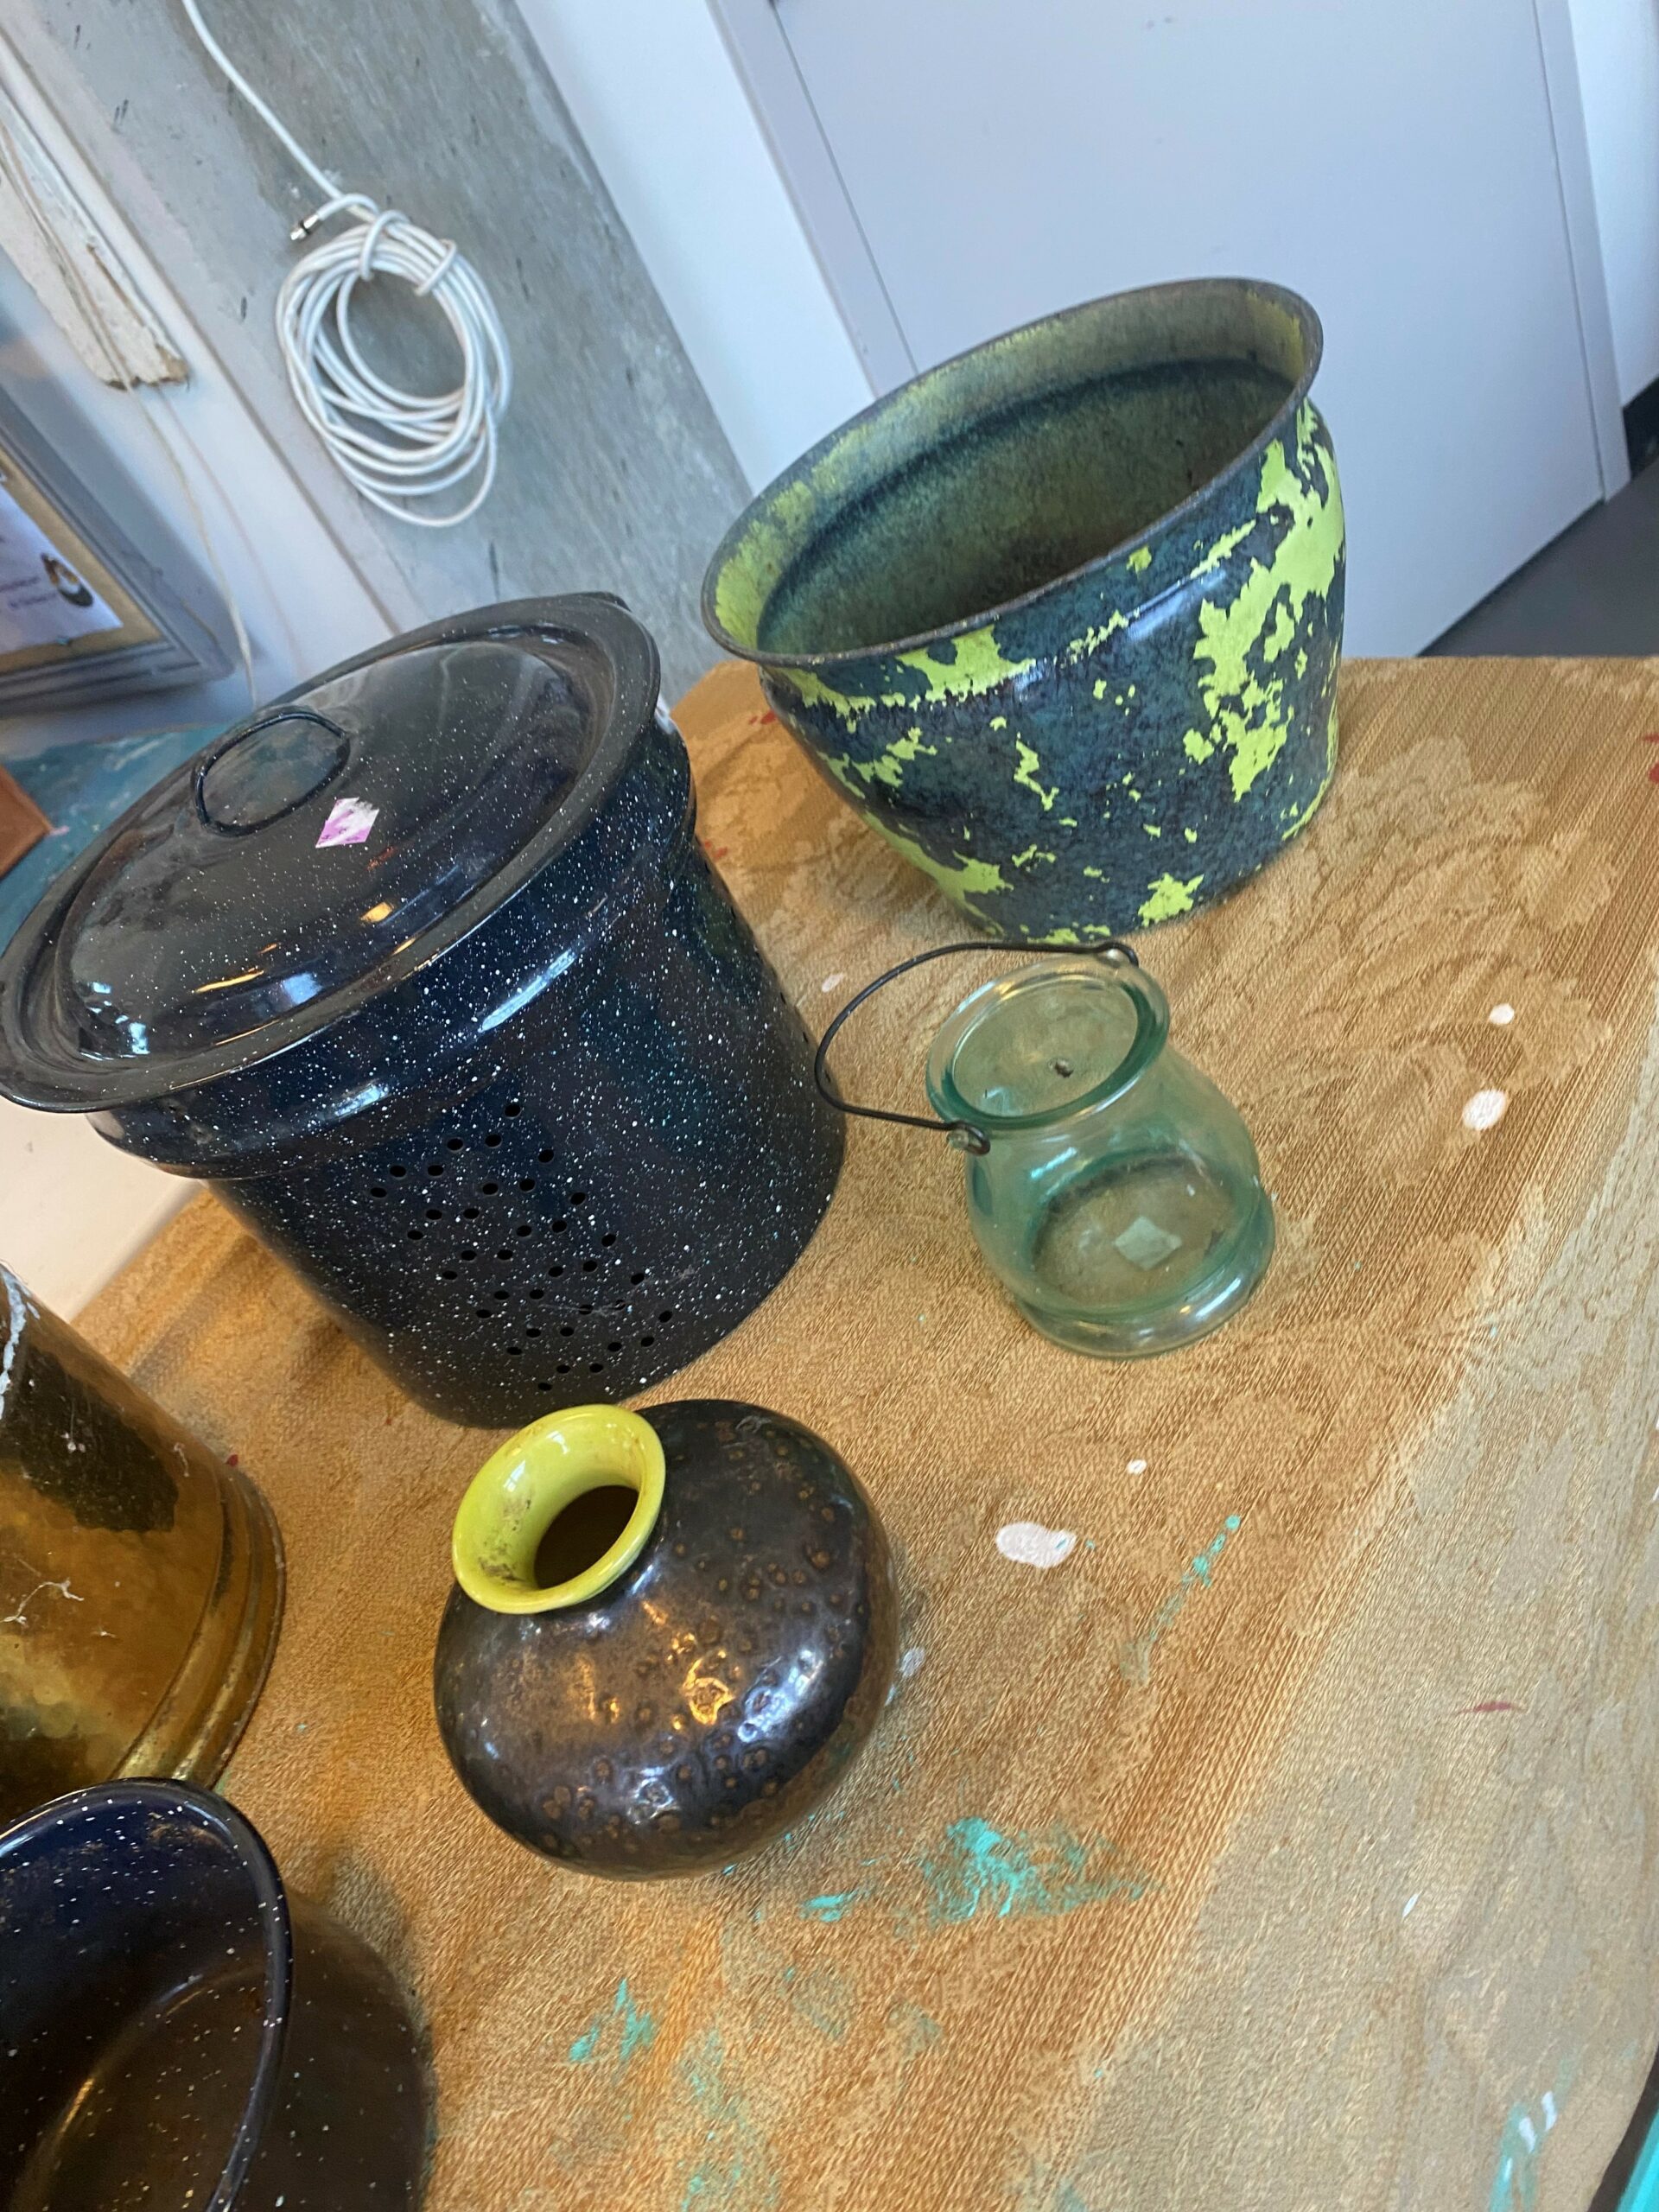
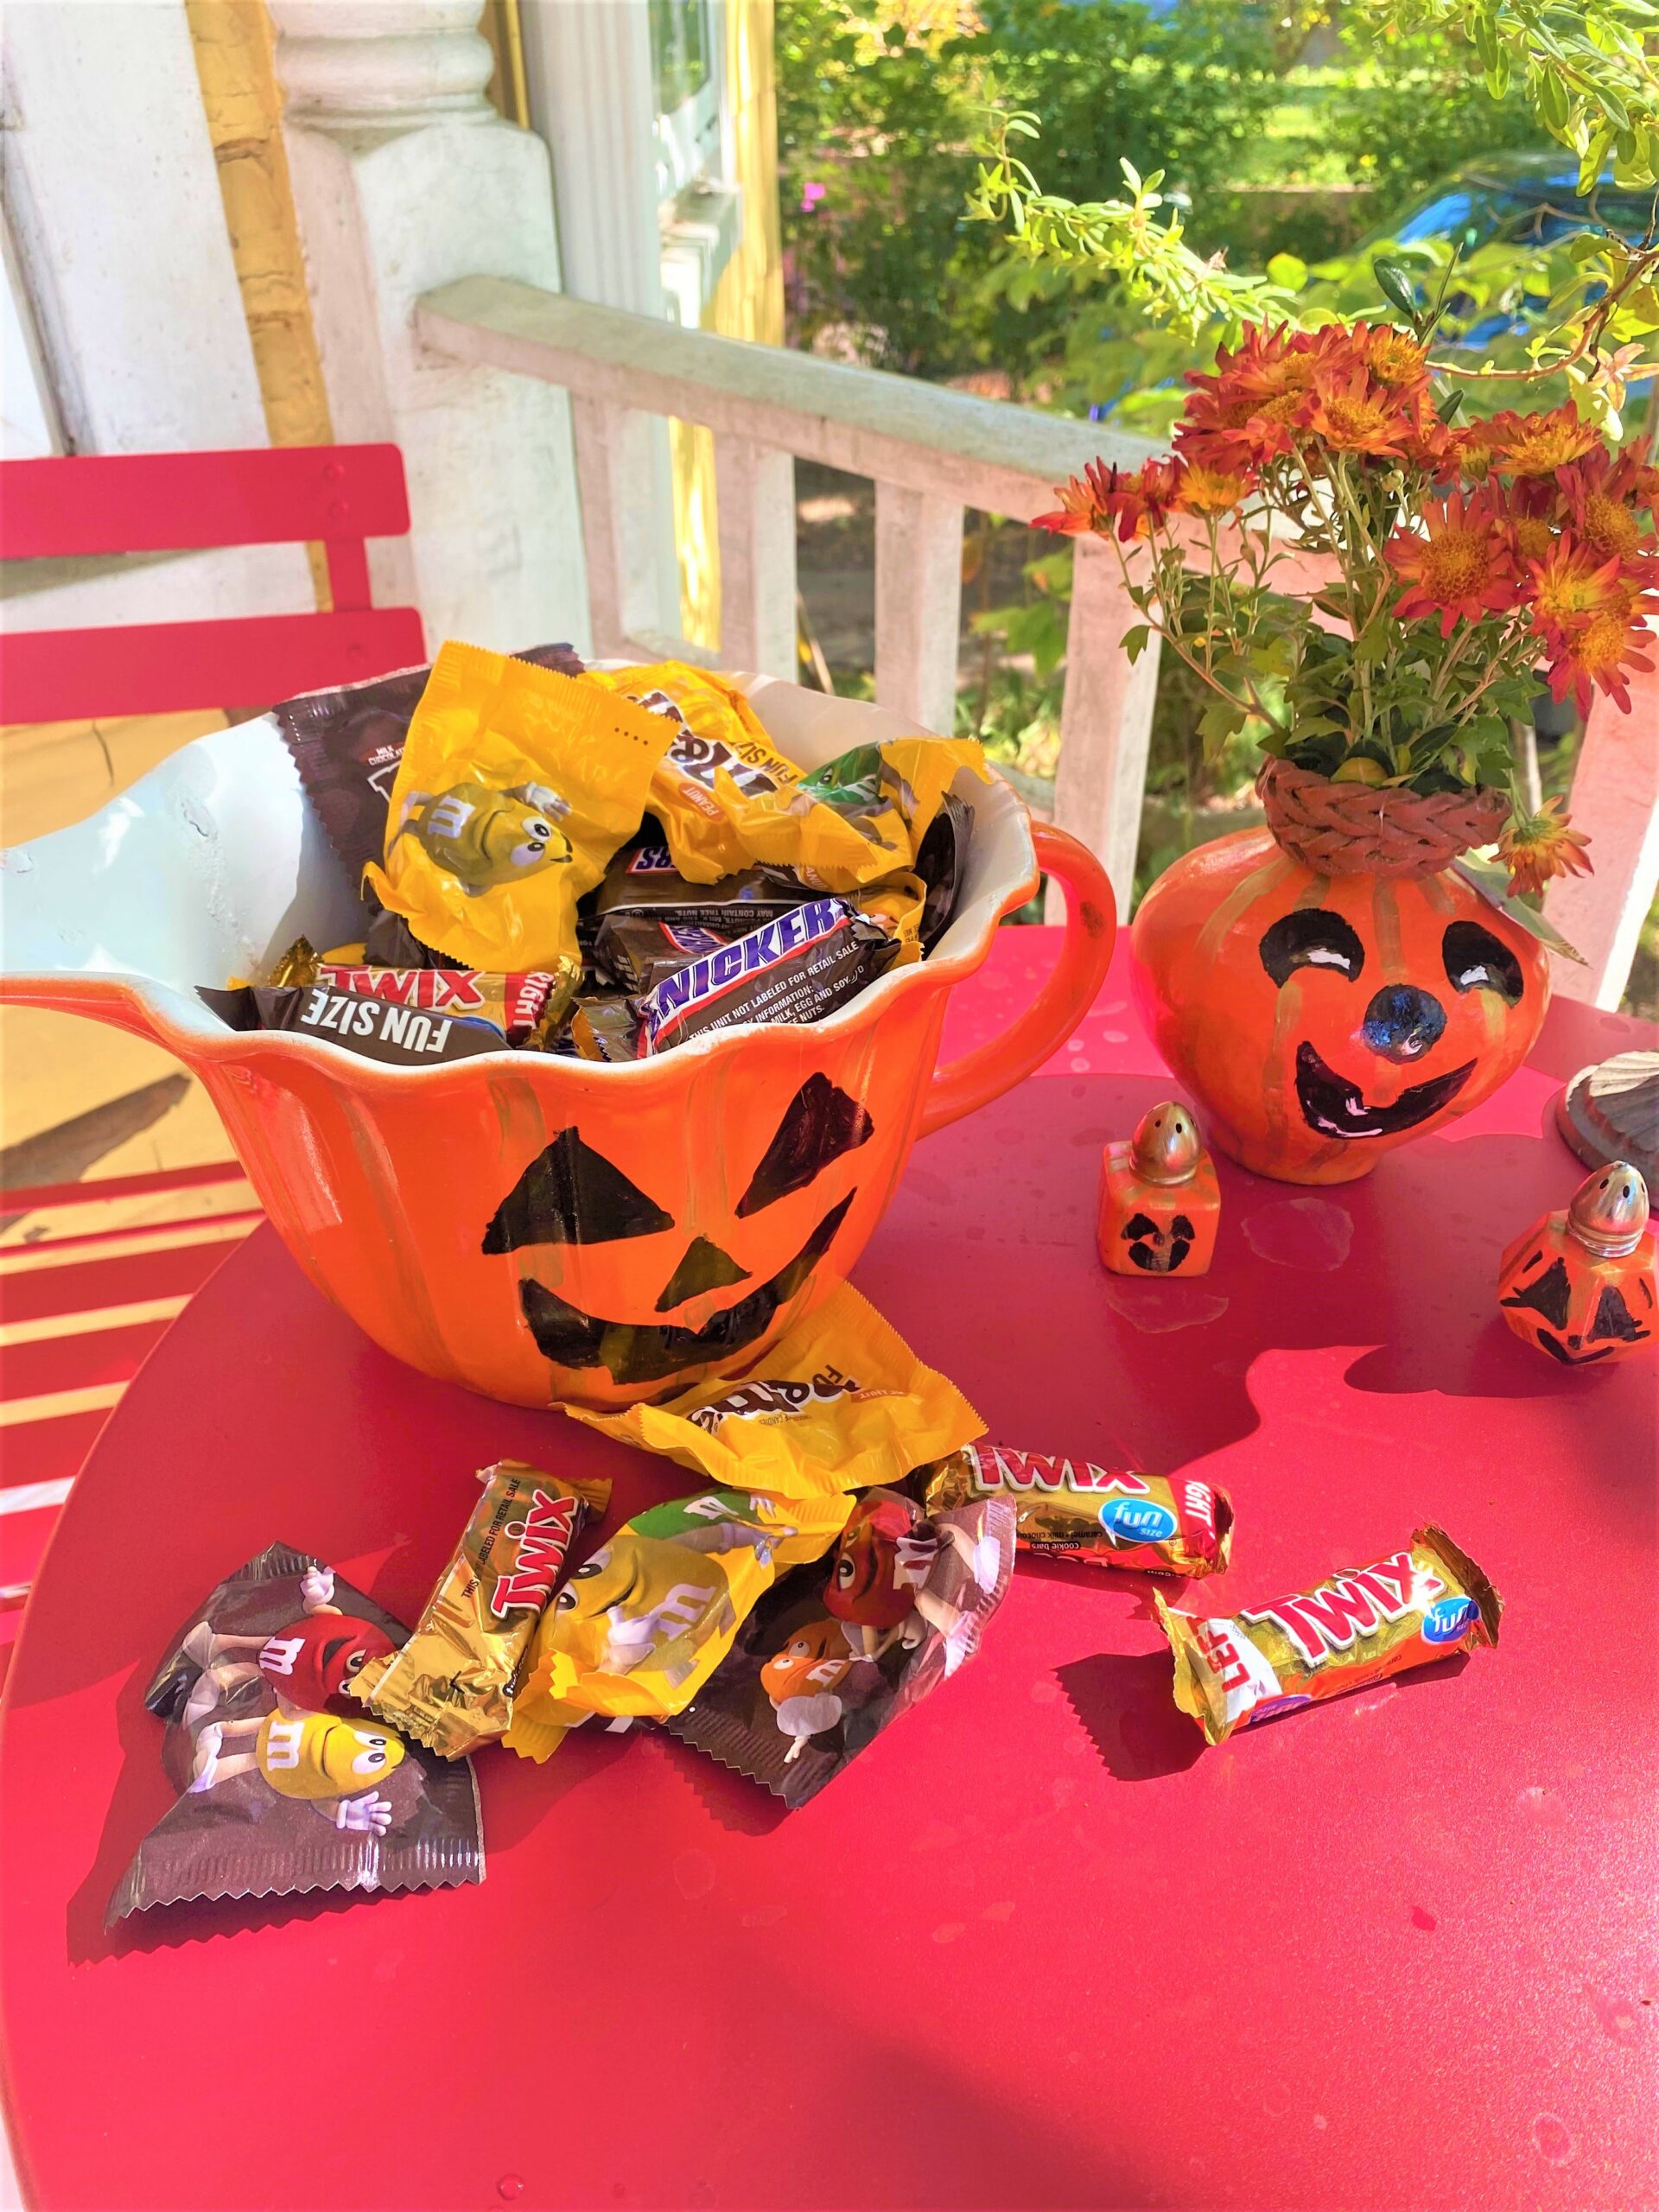
2. Give a Second-Hand Item a Festive First-Class Transformation
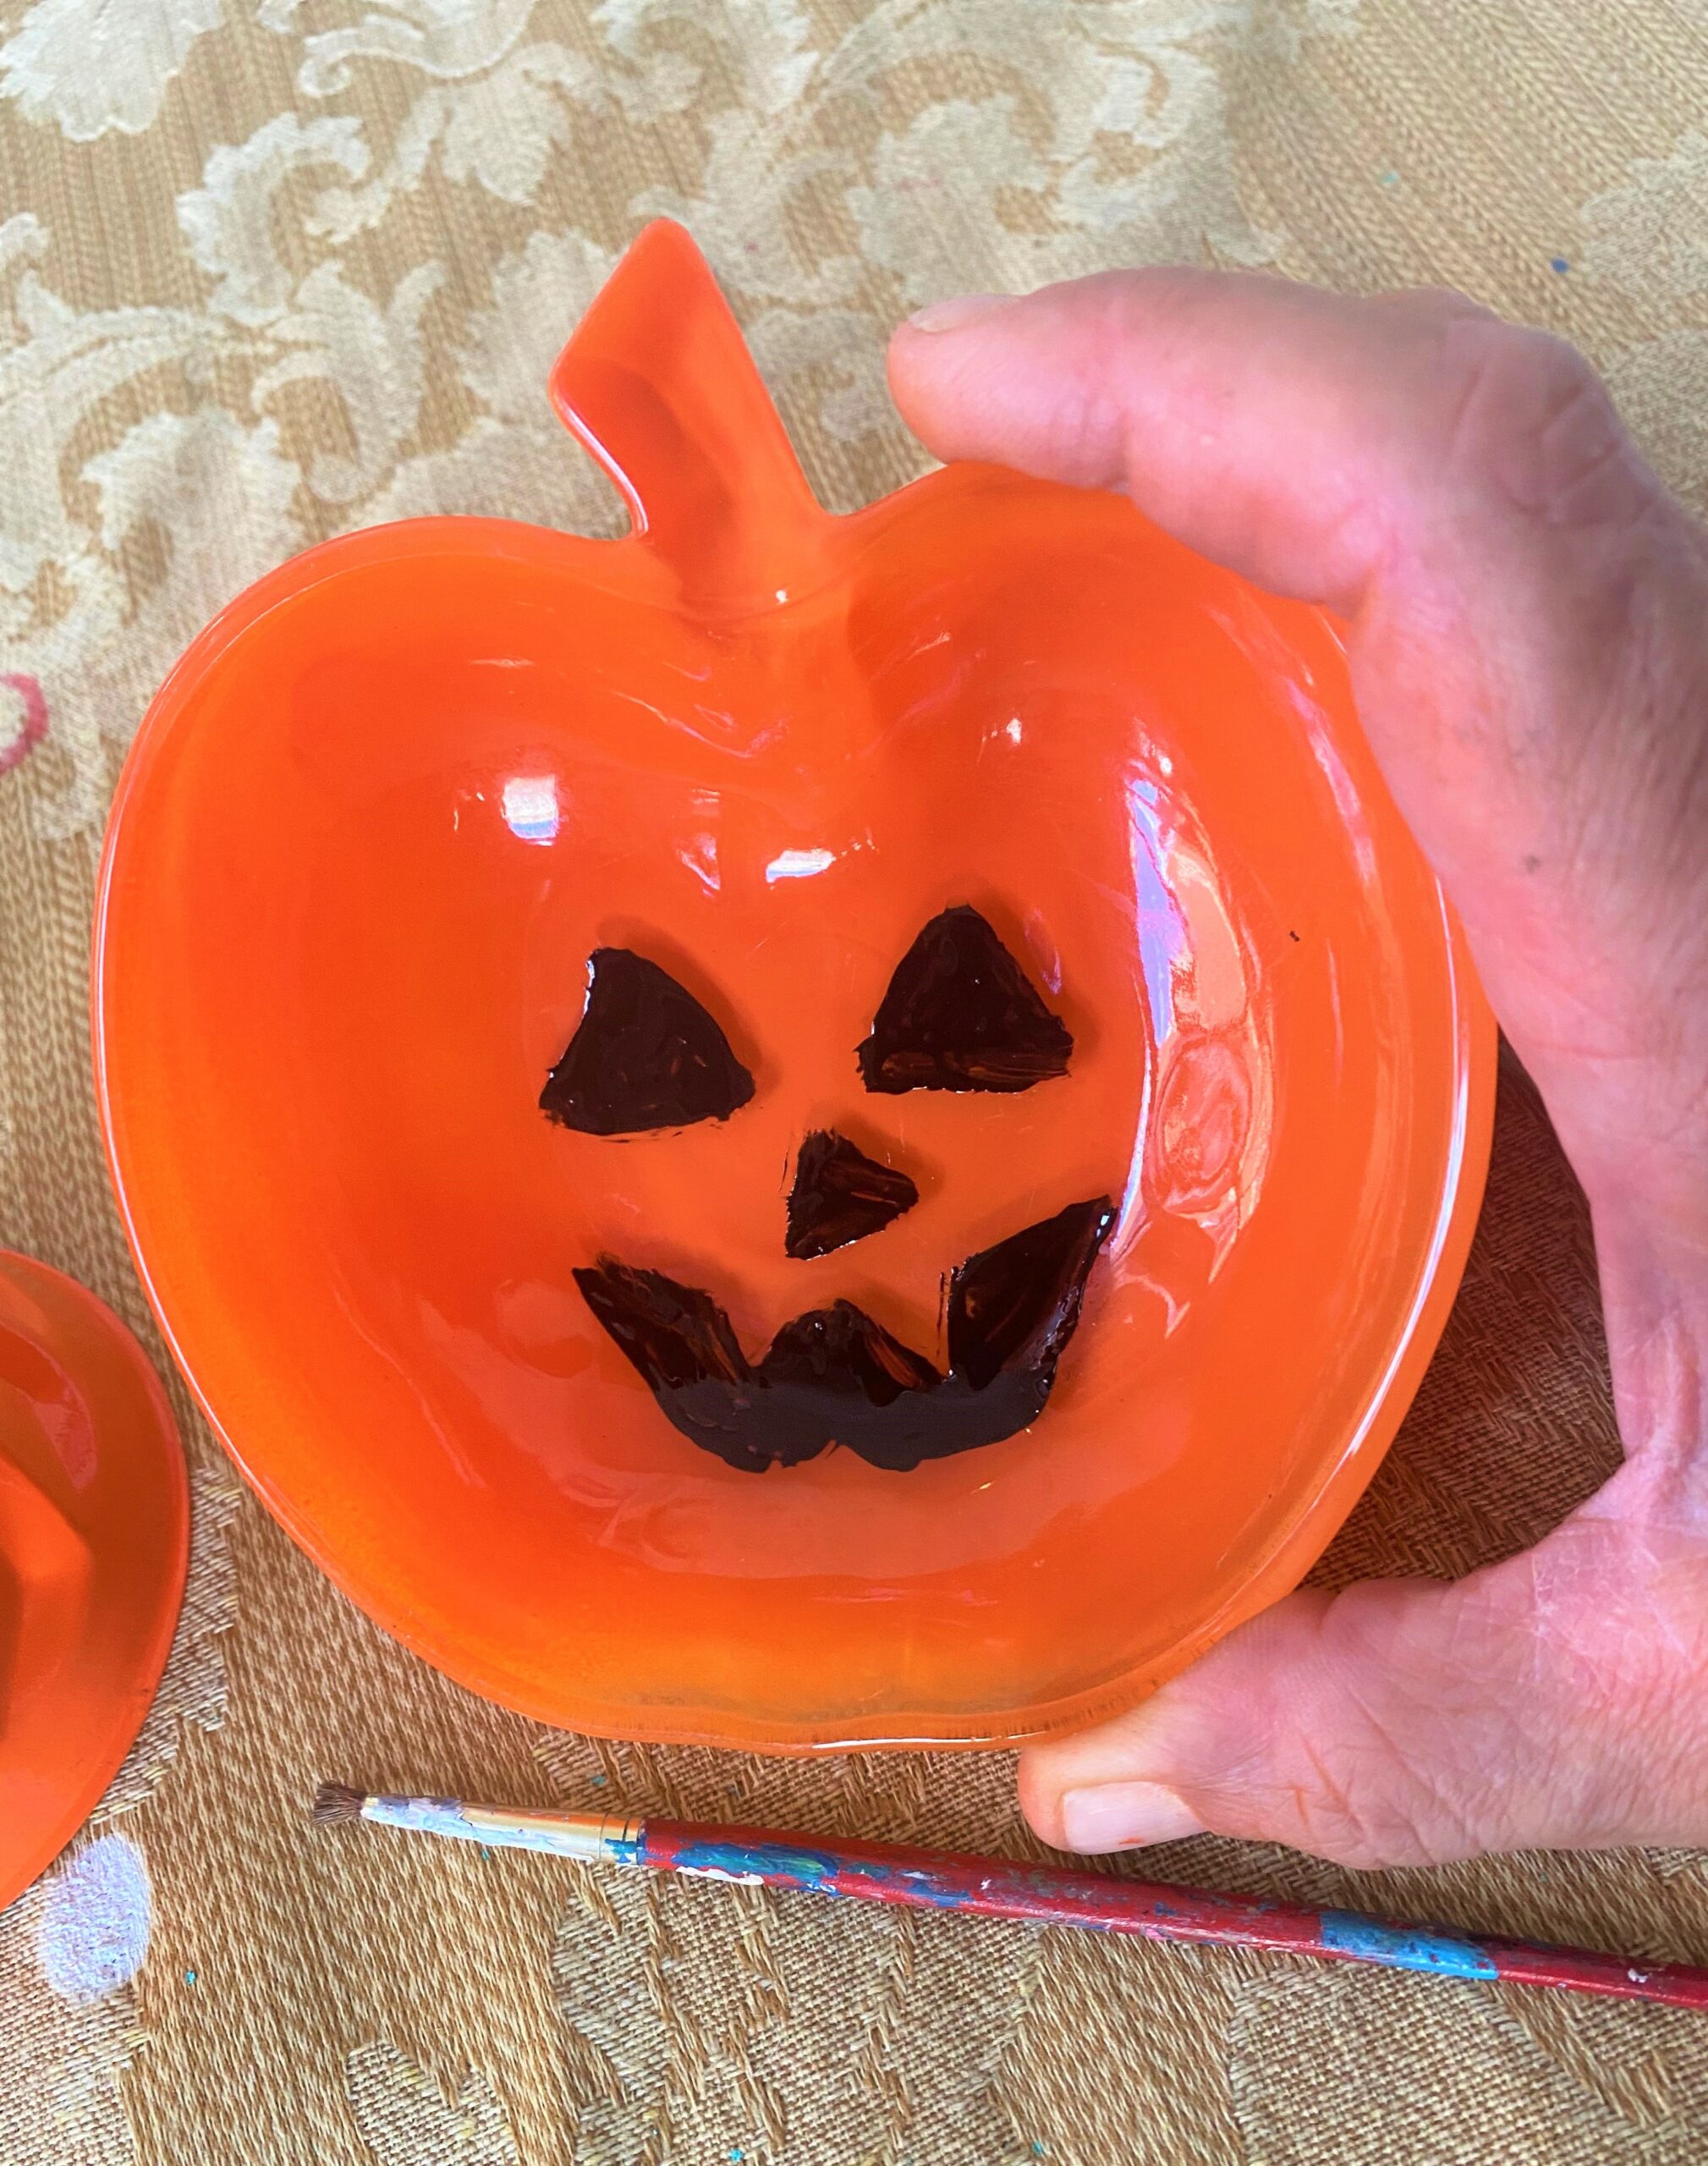
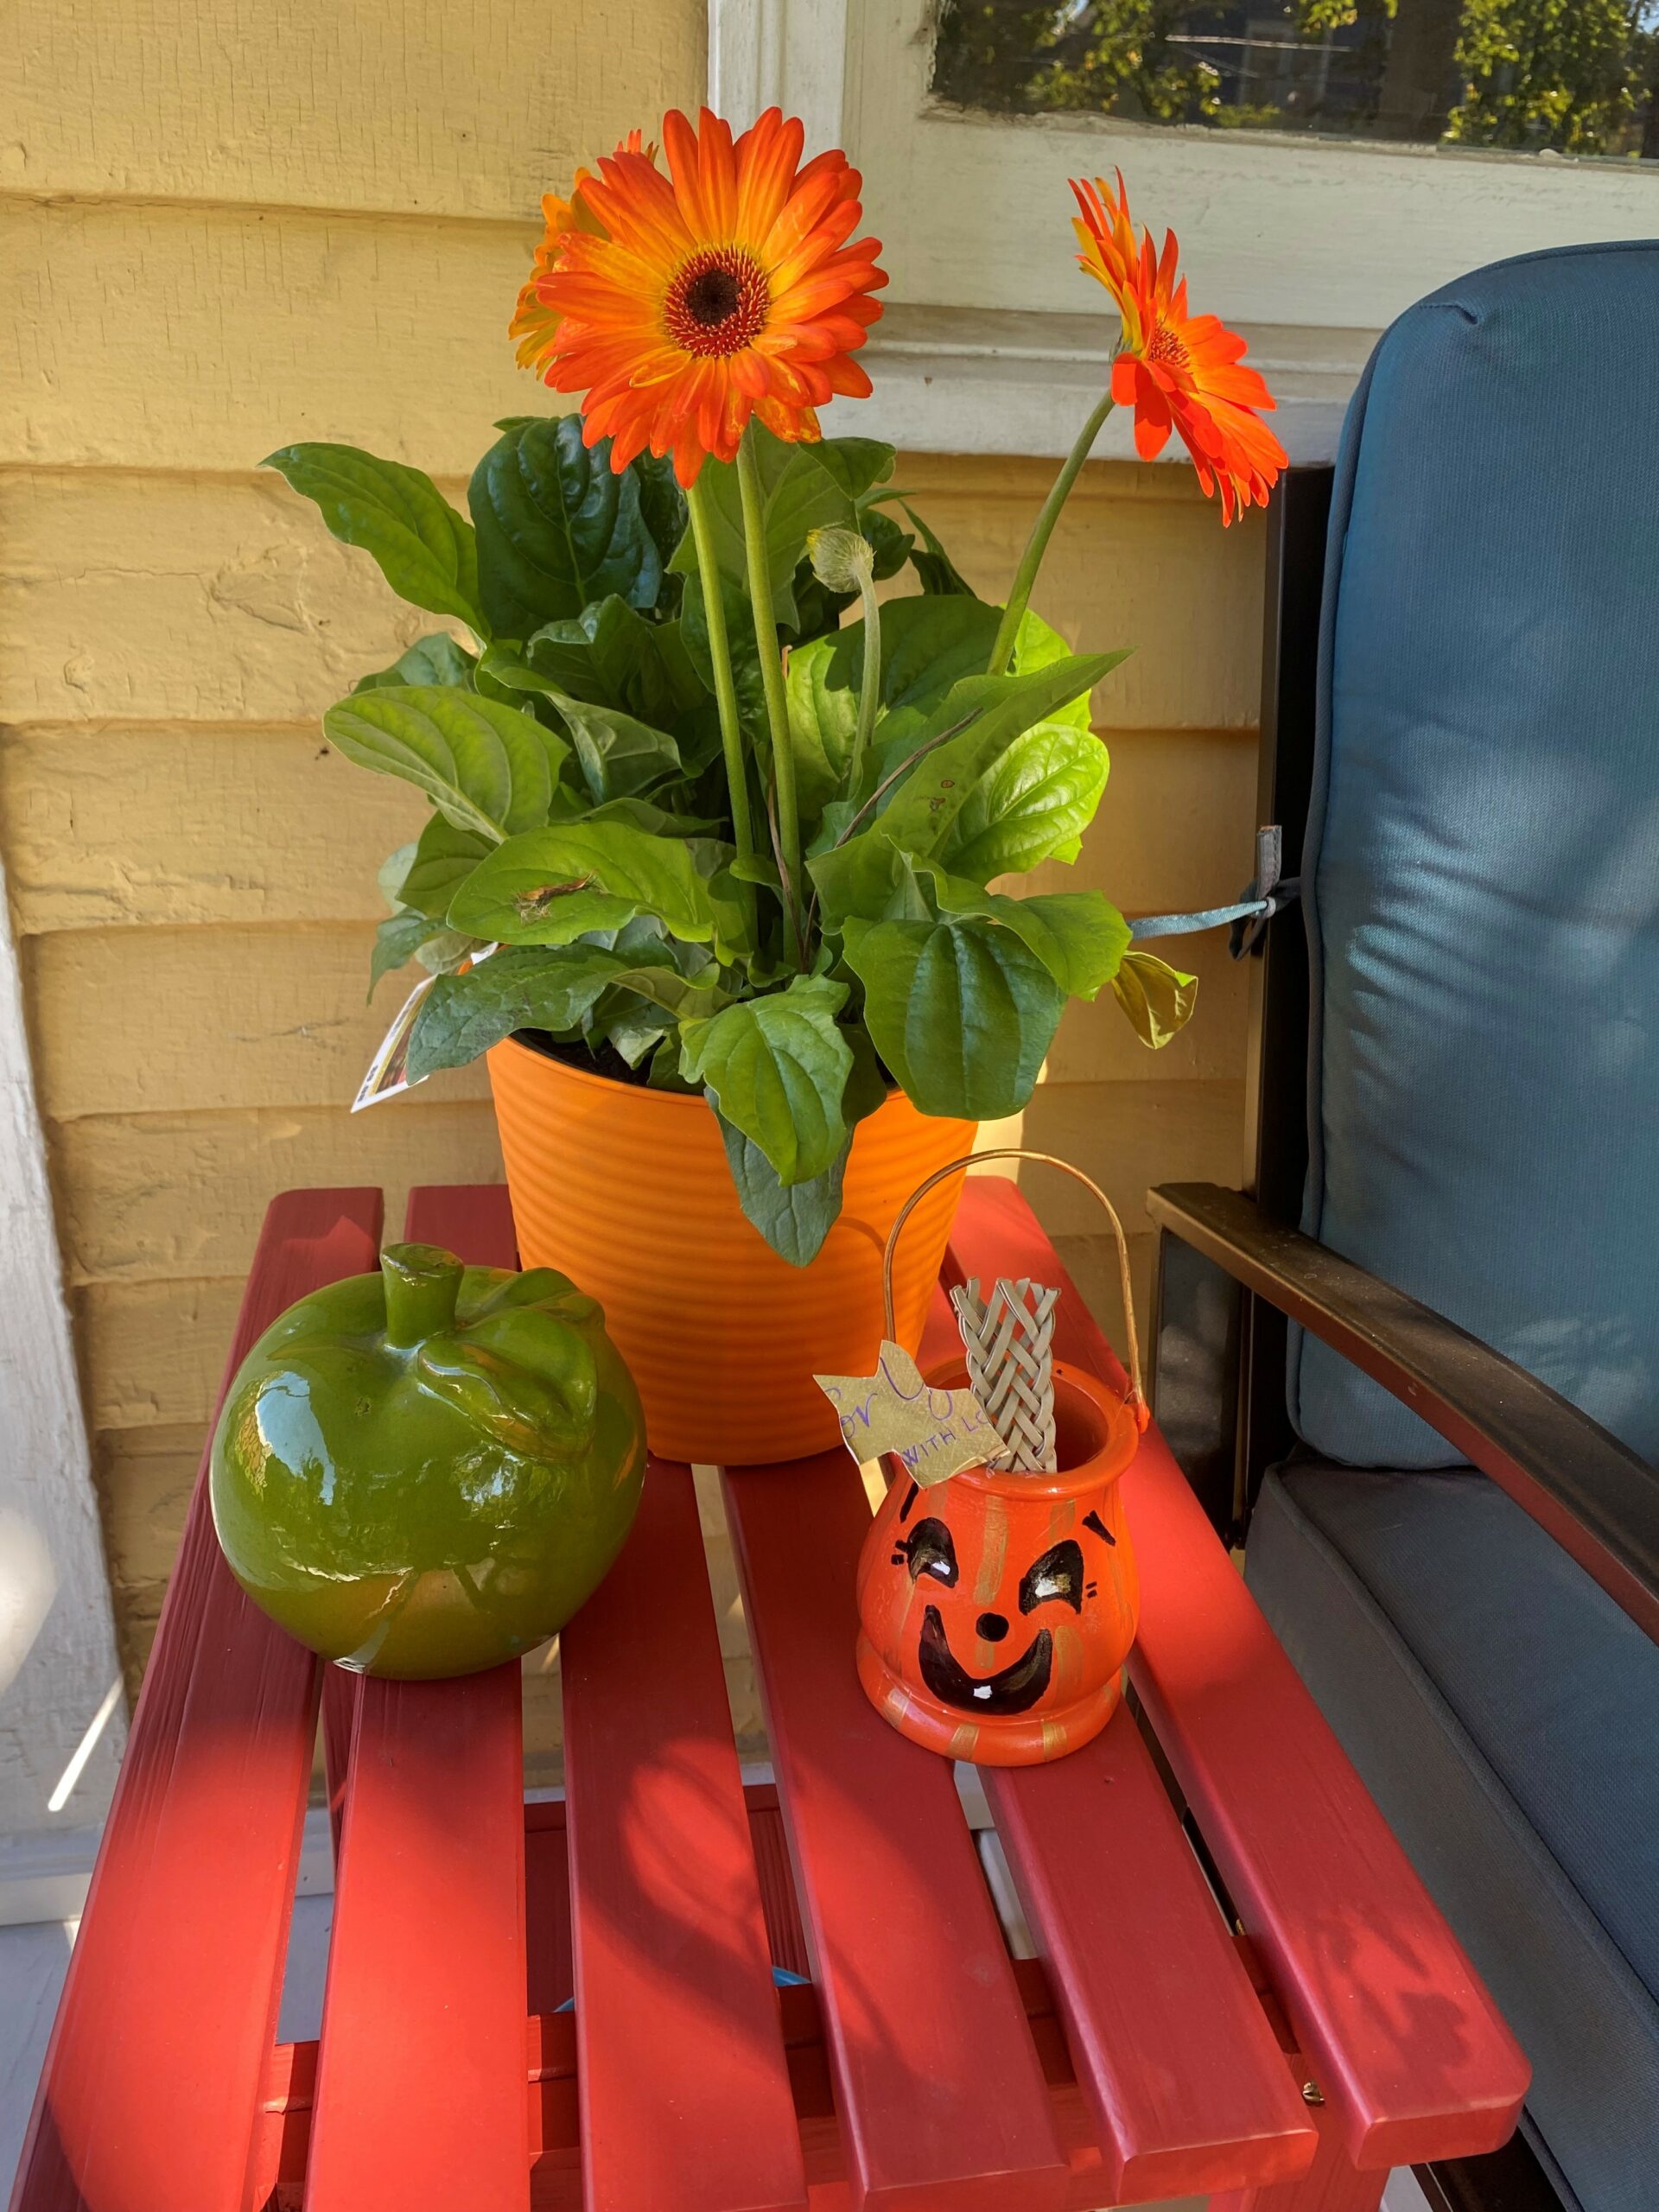
Paint your Goodwill finds in Jack-O-Lantern “style” to create Halloween decorations that can be used every year. A saltshaker as a pumpkin? Certainly! A cute teapot for this creepy holiday? You know it! Find your good at Goodwill when you take everyday items and make them into charming accent pieces in time for the October 31 festivities.
Here’s How:
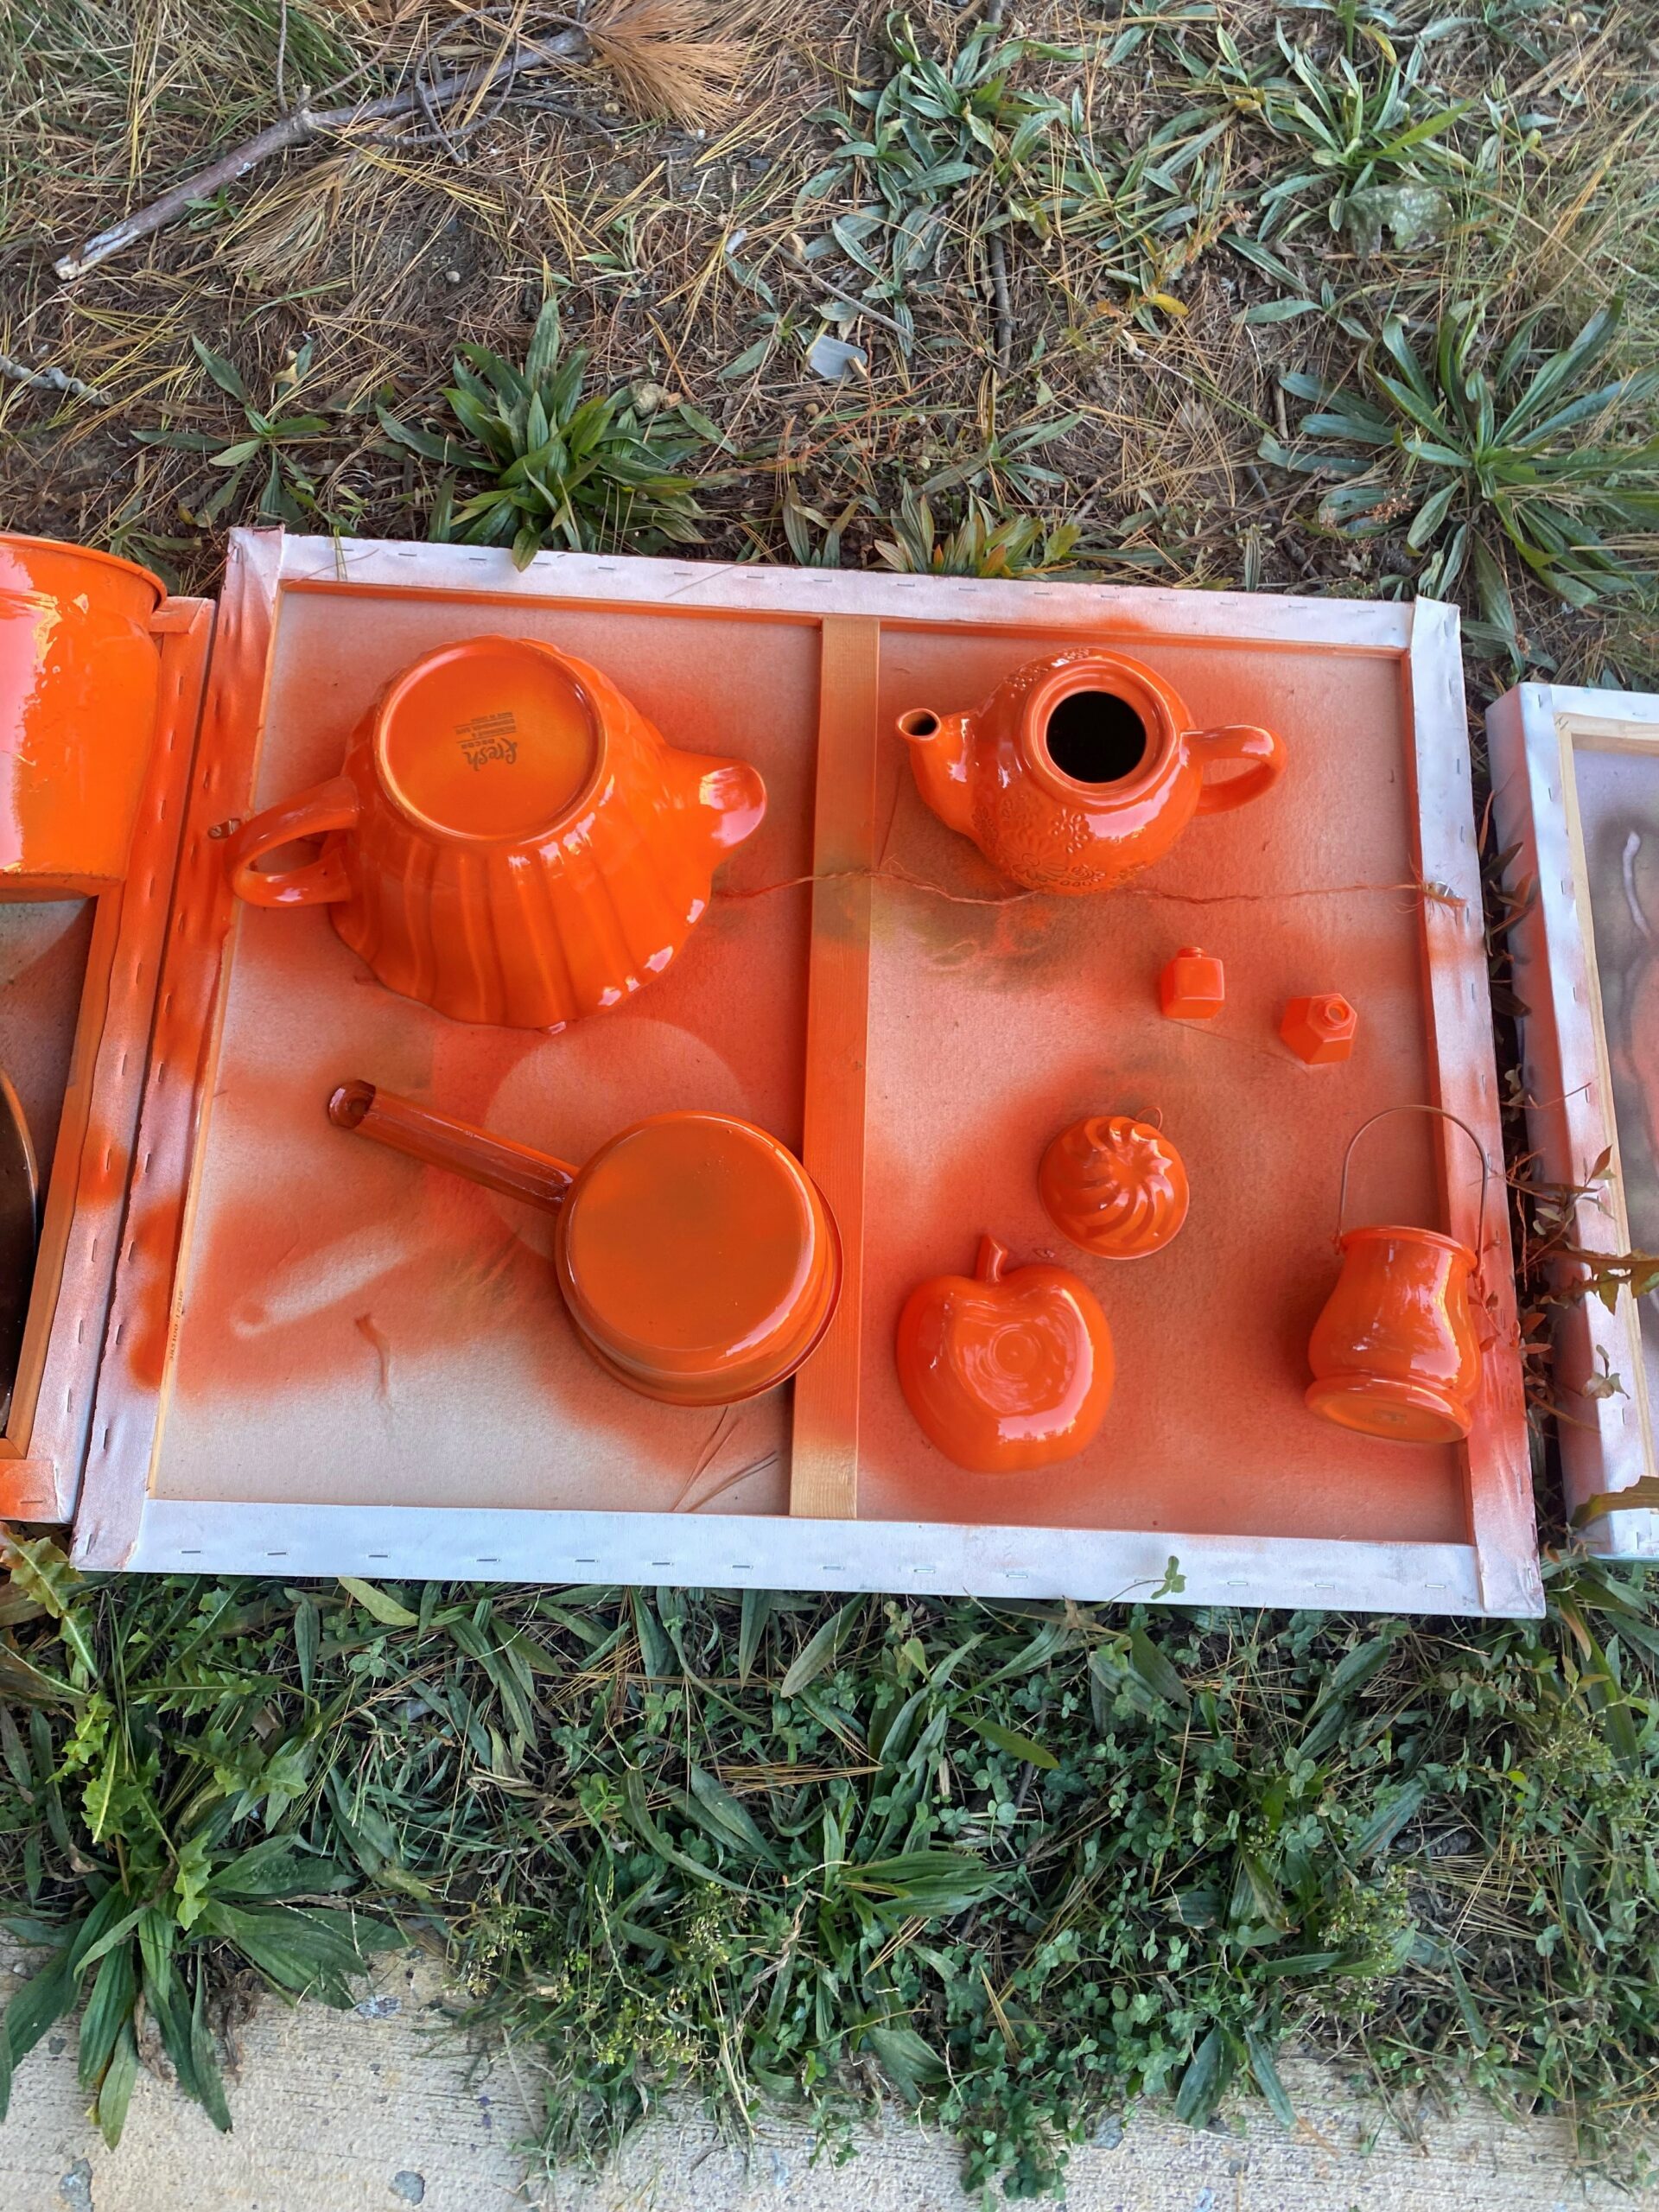
- Place your items on a drop cloth and add a light layer or two of bright orange spray paint.
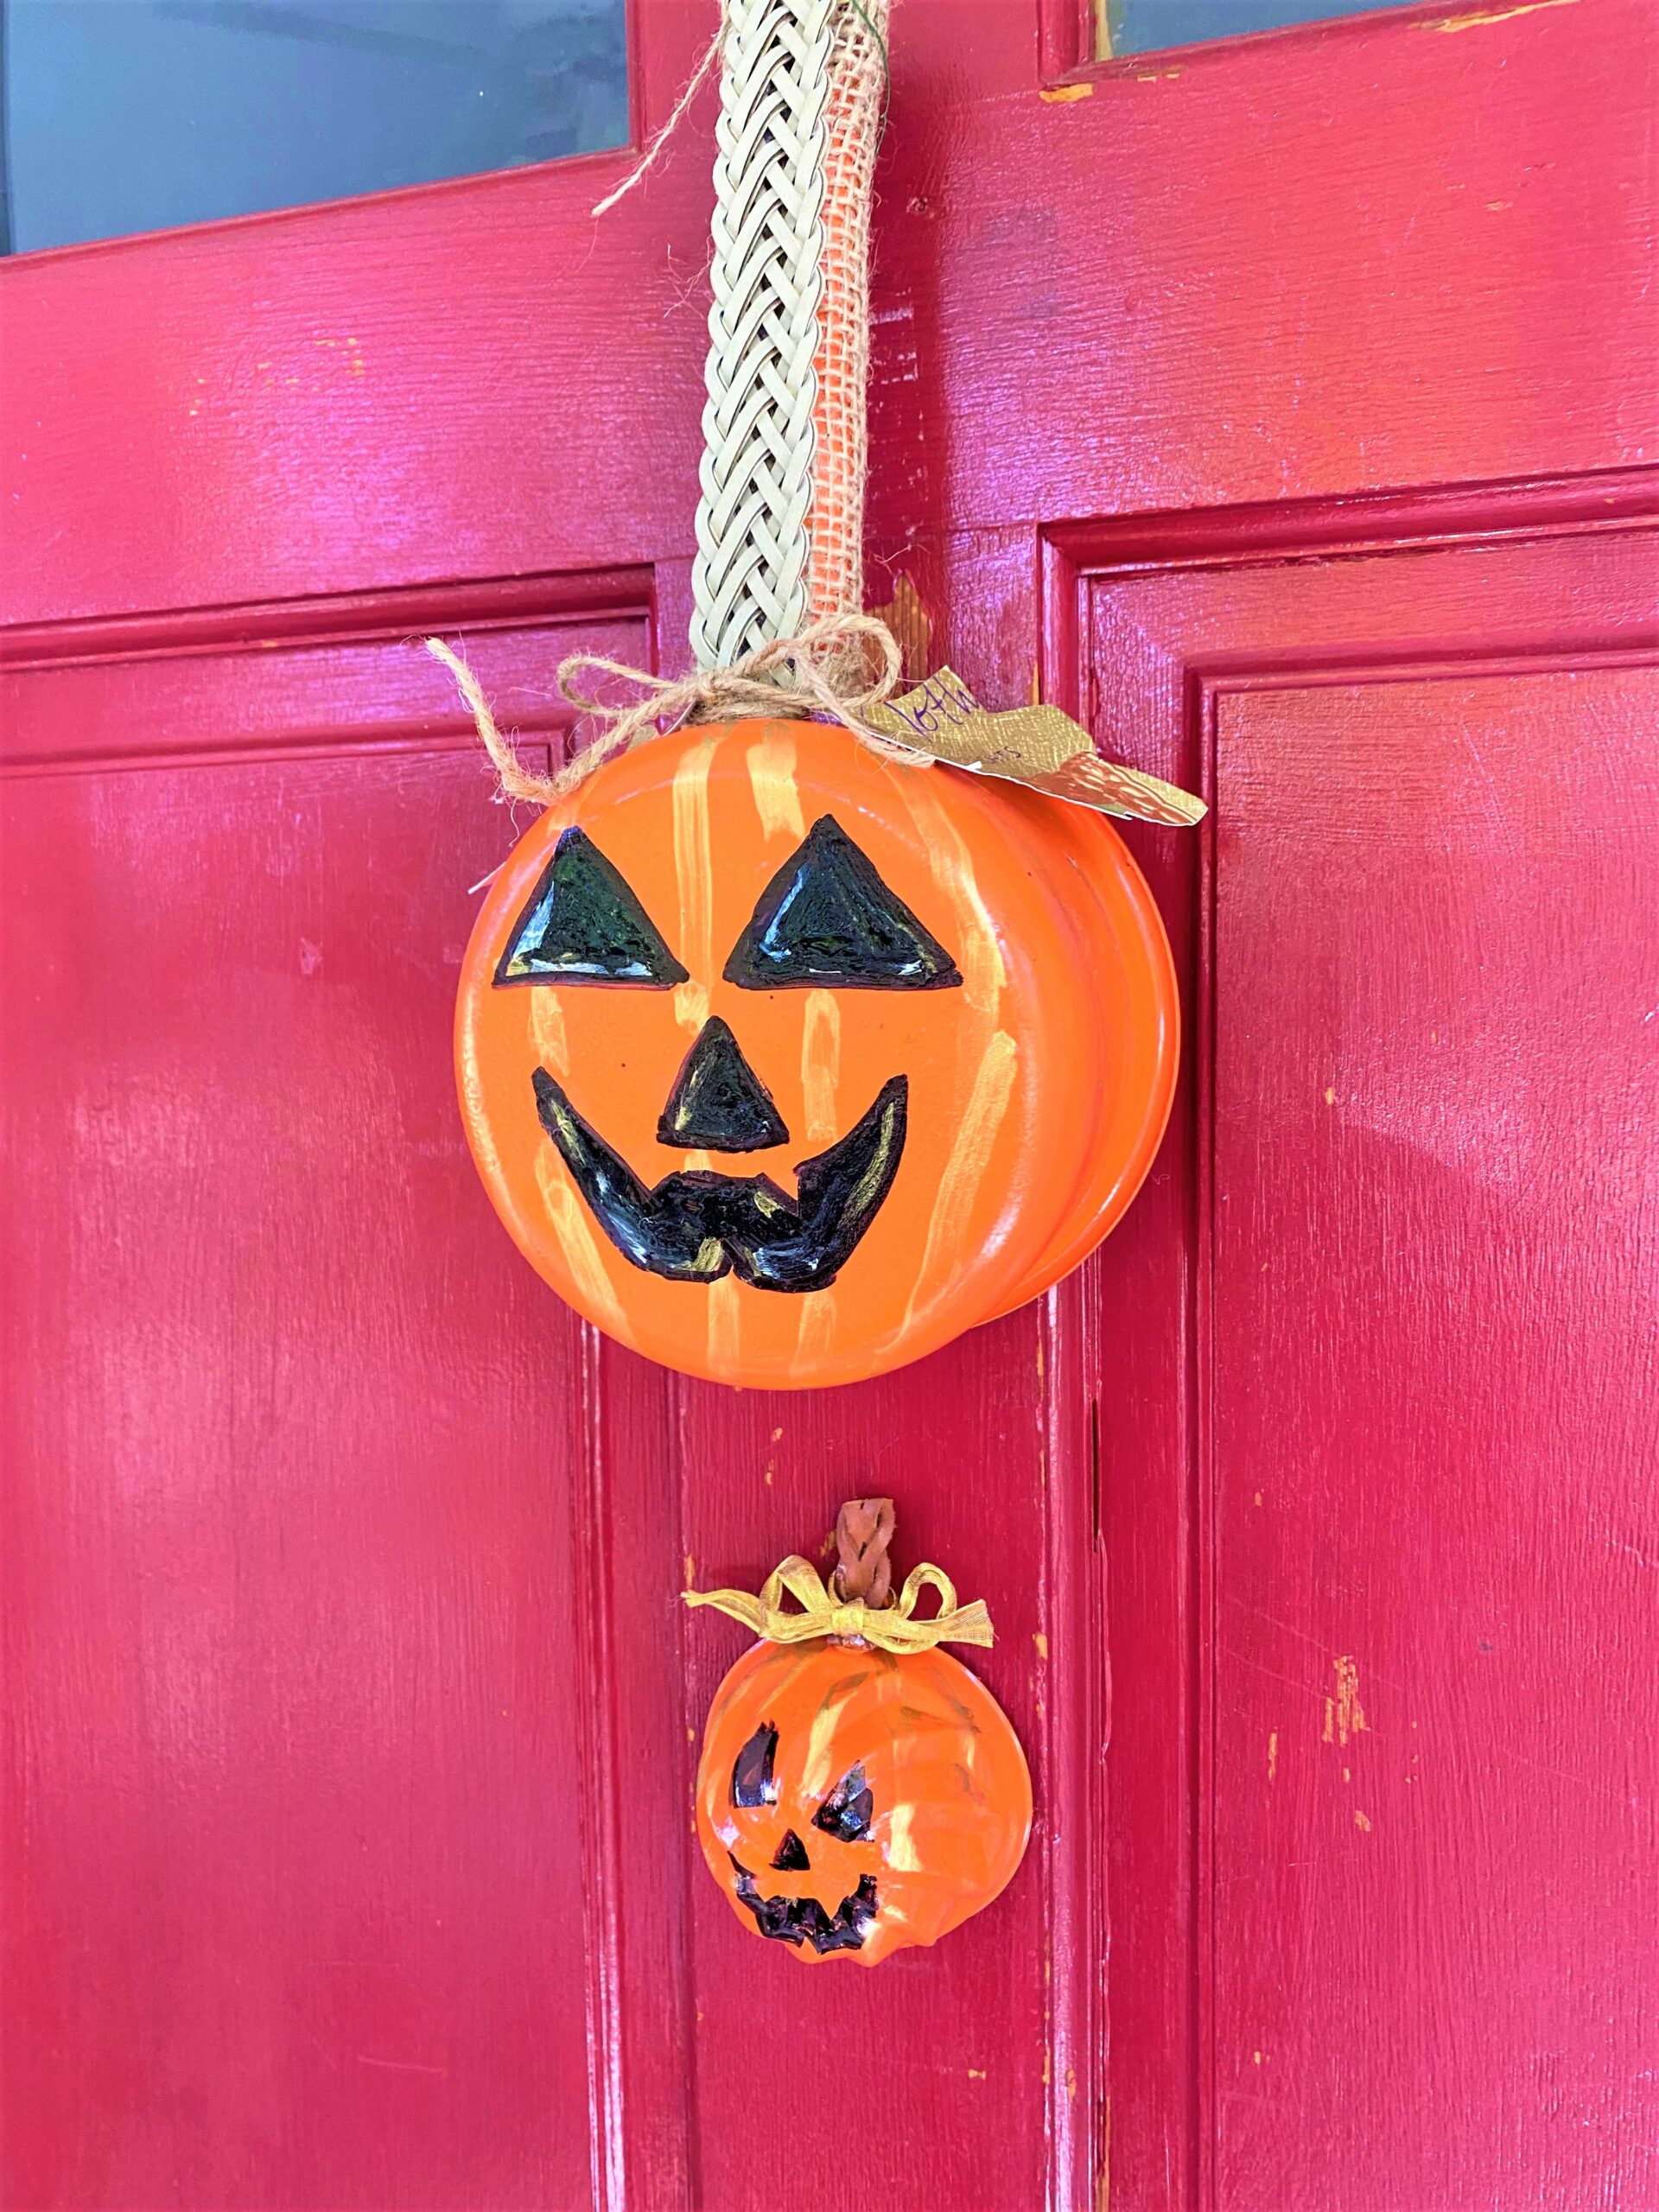
- When dry, add Jack’s face with black craft paint. Use gold craft paint to give a little shine to the stripes that mimic the pumpkin’s vertical ridges.
- Cut parts of leather belts, also picked up for pennies at Goodwill, and glue gun in place for its stem.
- Clip out leaves from old greeting cards or calendars.
- Top it off with a bow in Autumn tones or one made of twine. Even a piece of burlap will do the trick. You might find these at Goodwill, too!
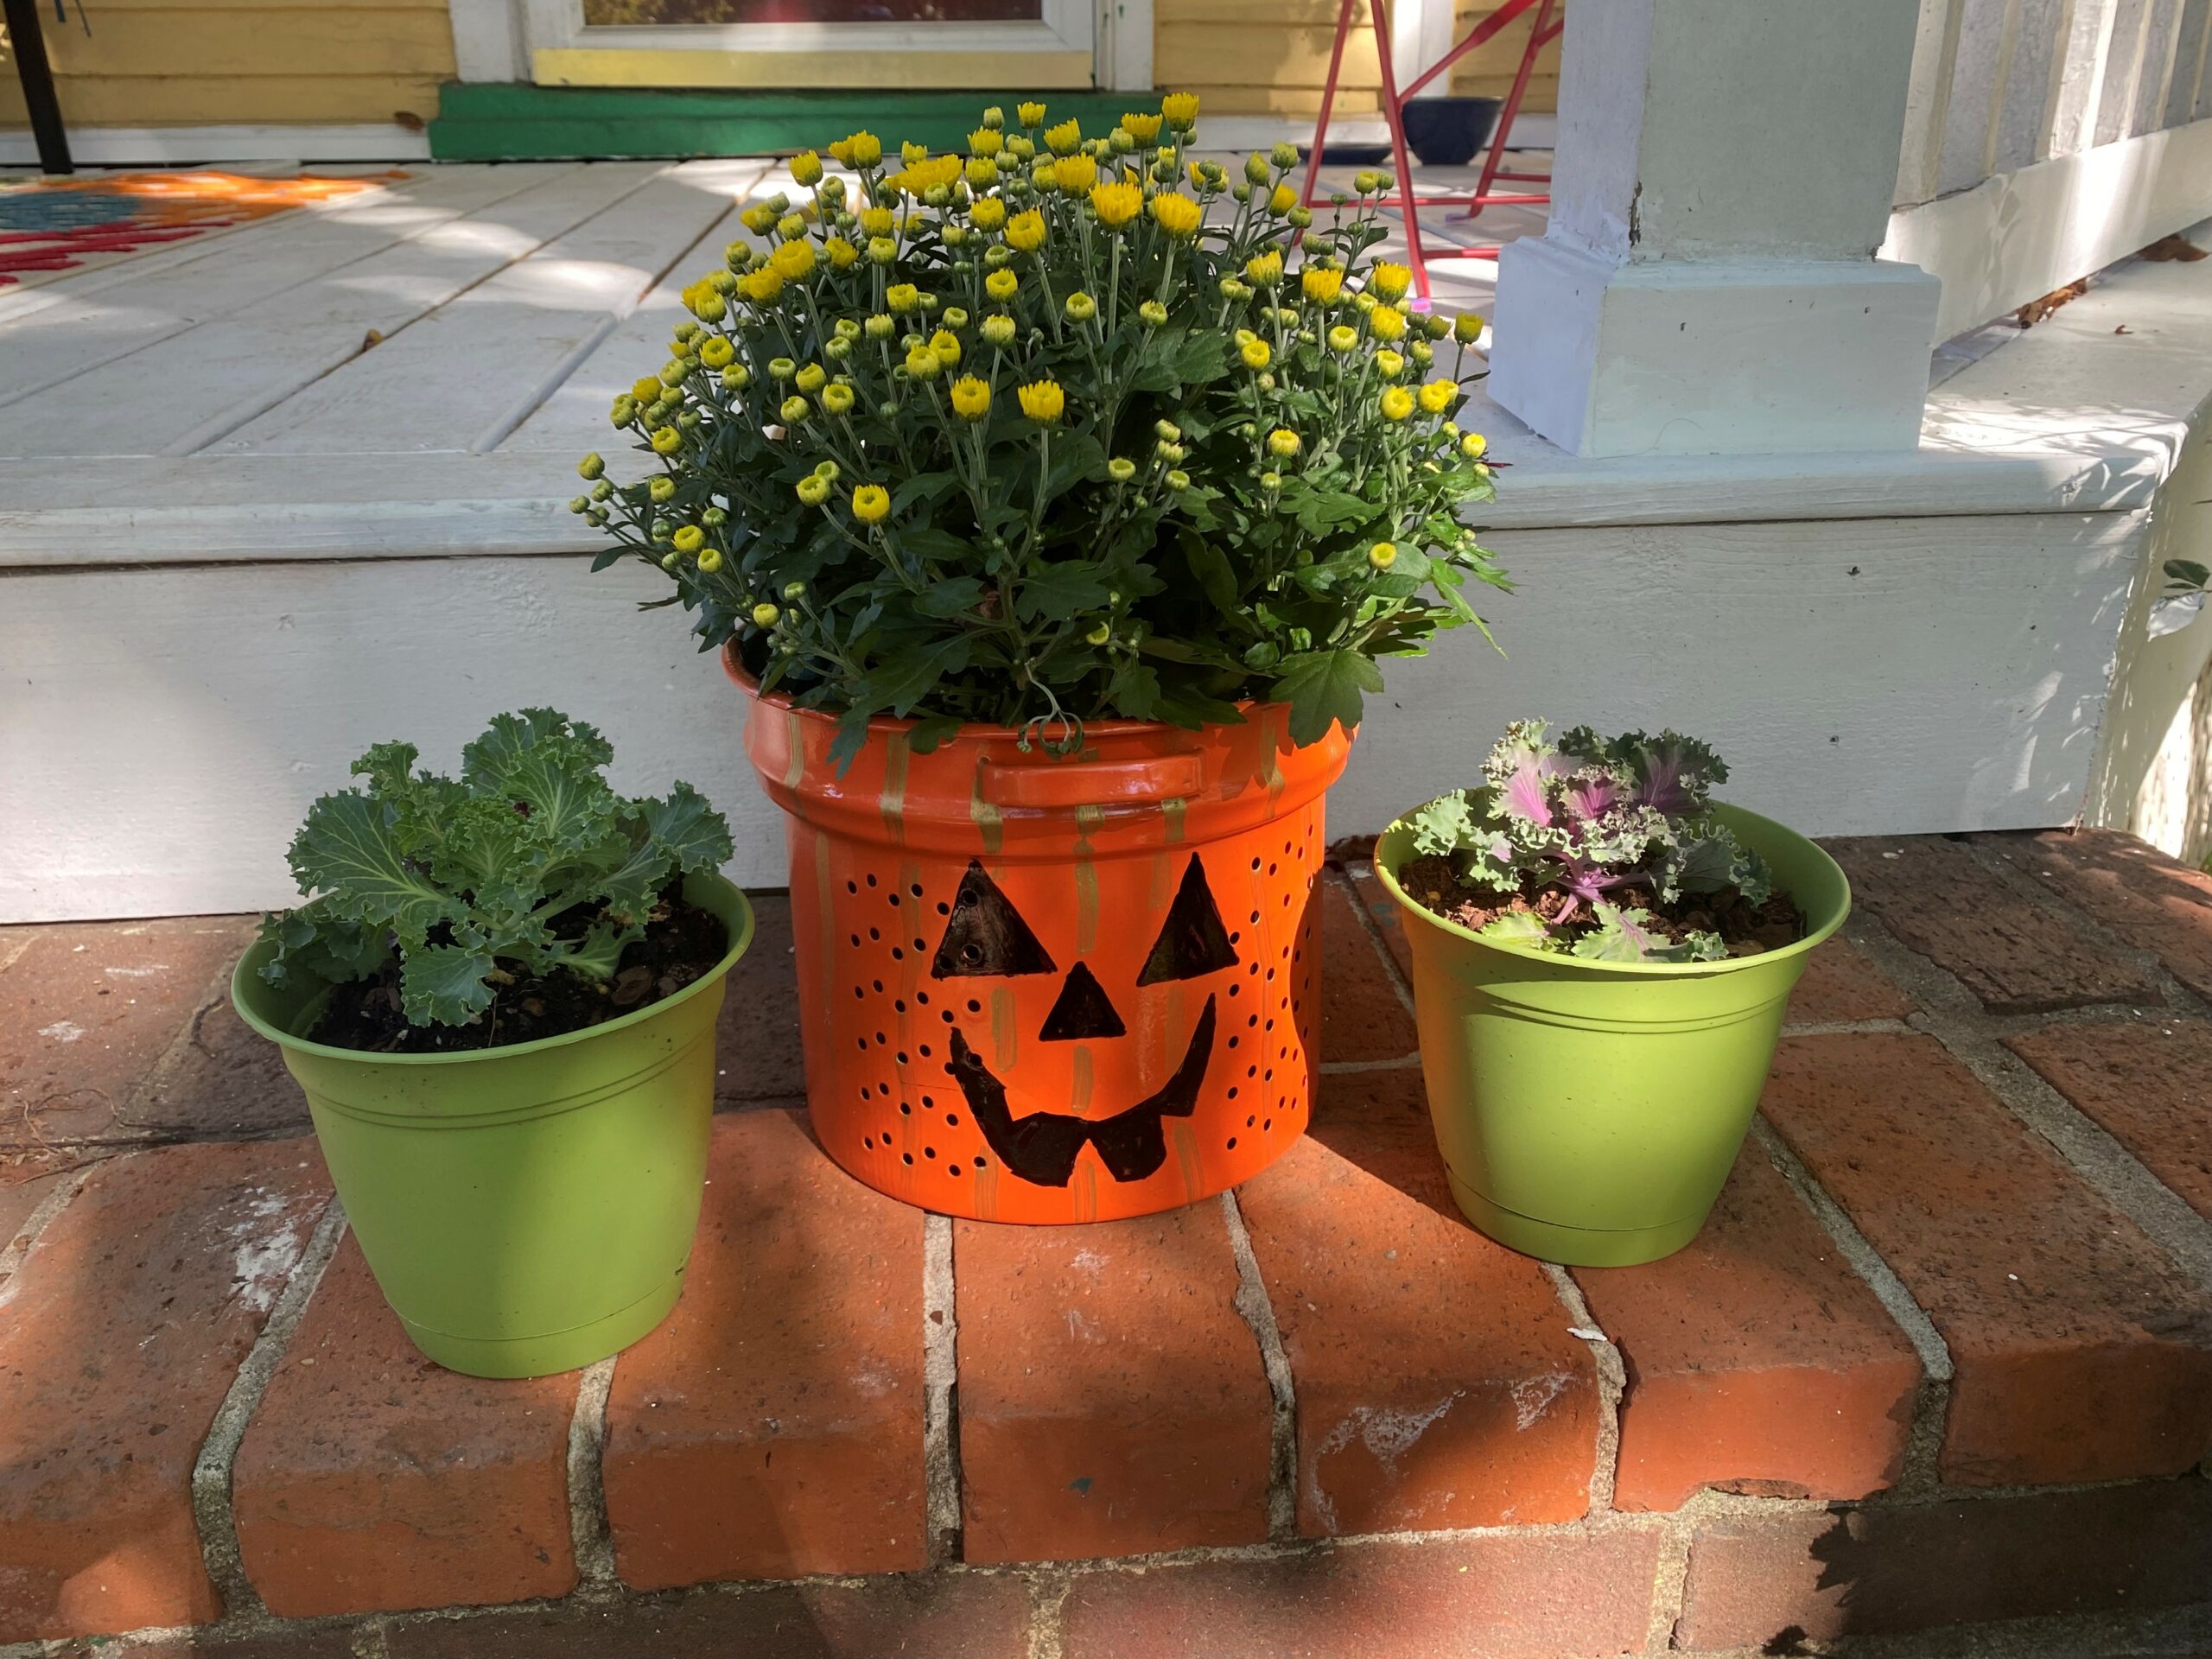
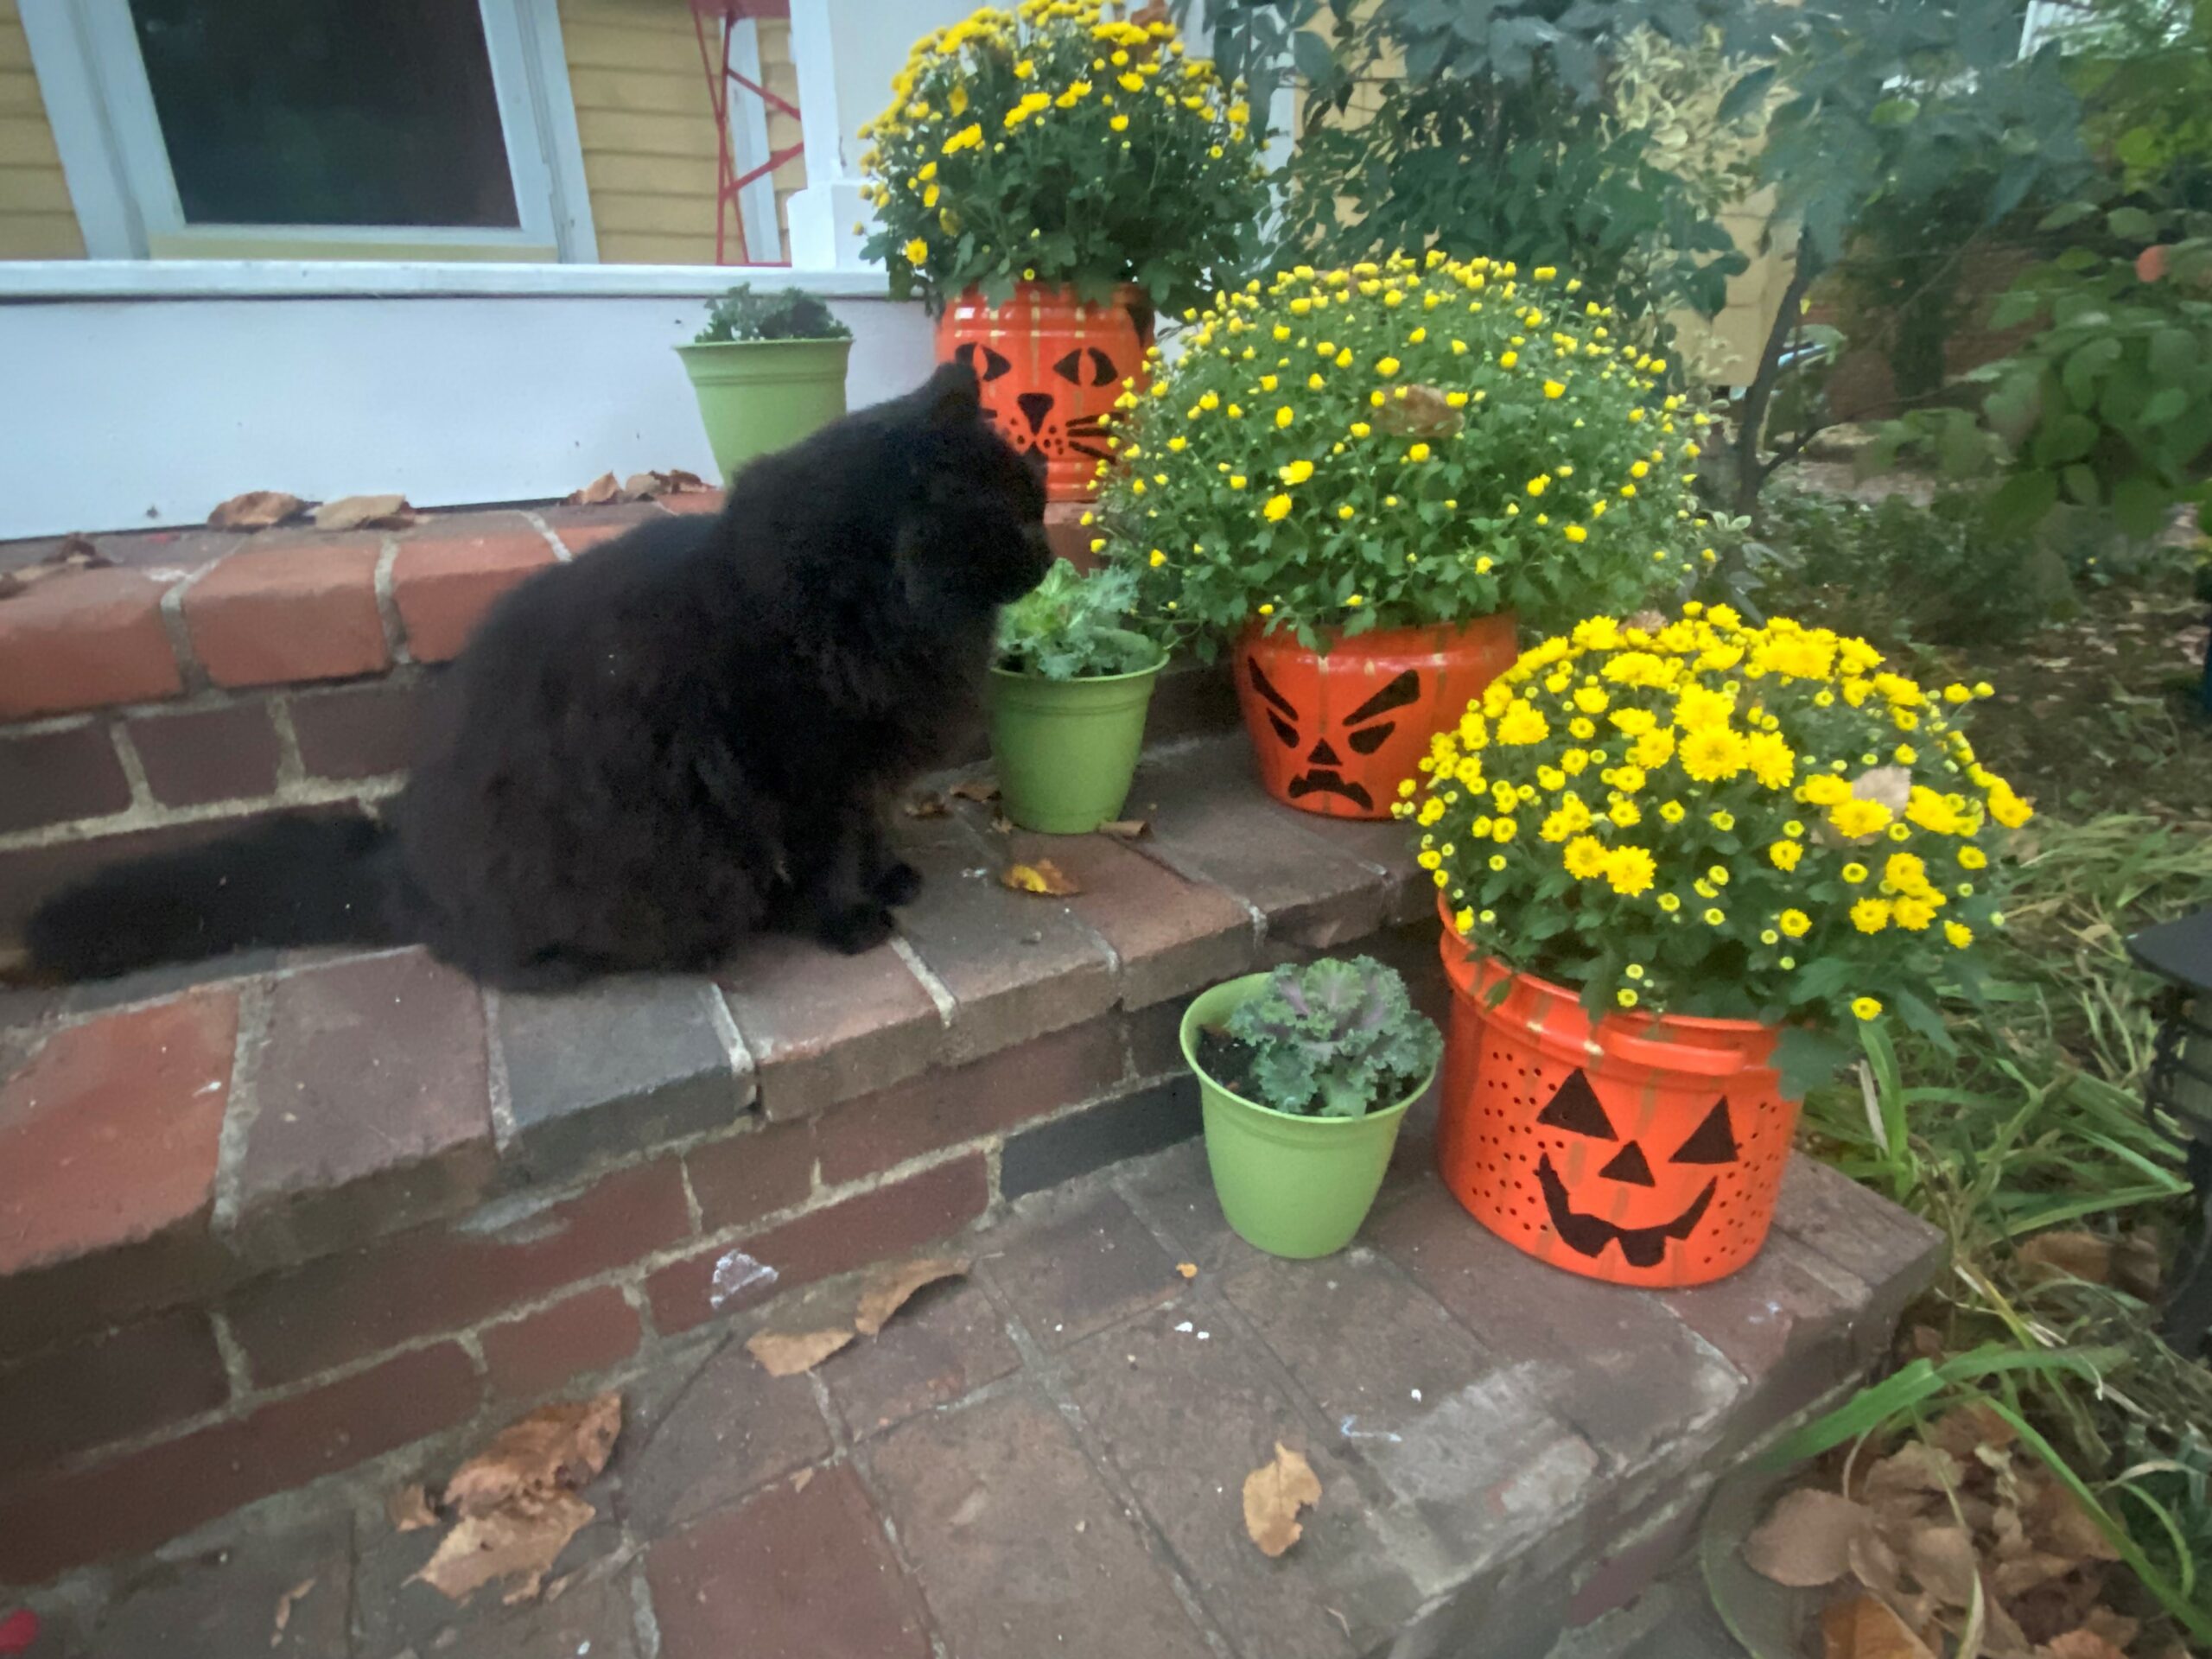
3. Spray Paint Makes Pumpkins Pop
While an orange pumpkin screams Halloween just as it is, take that classic holiday symbol and give it a colorful twist. Spray paints and craft paints easily give your pumpkins a transformation they will love—as will your neighbors, friends, and even a black cat or two!
Here’s How:
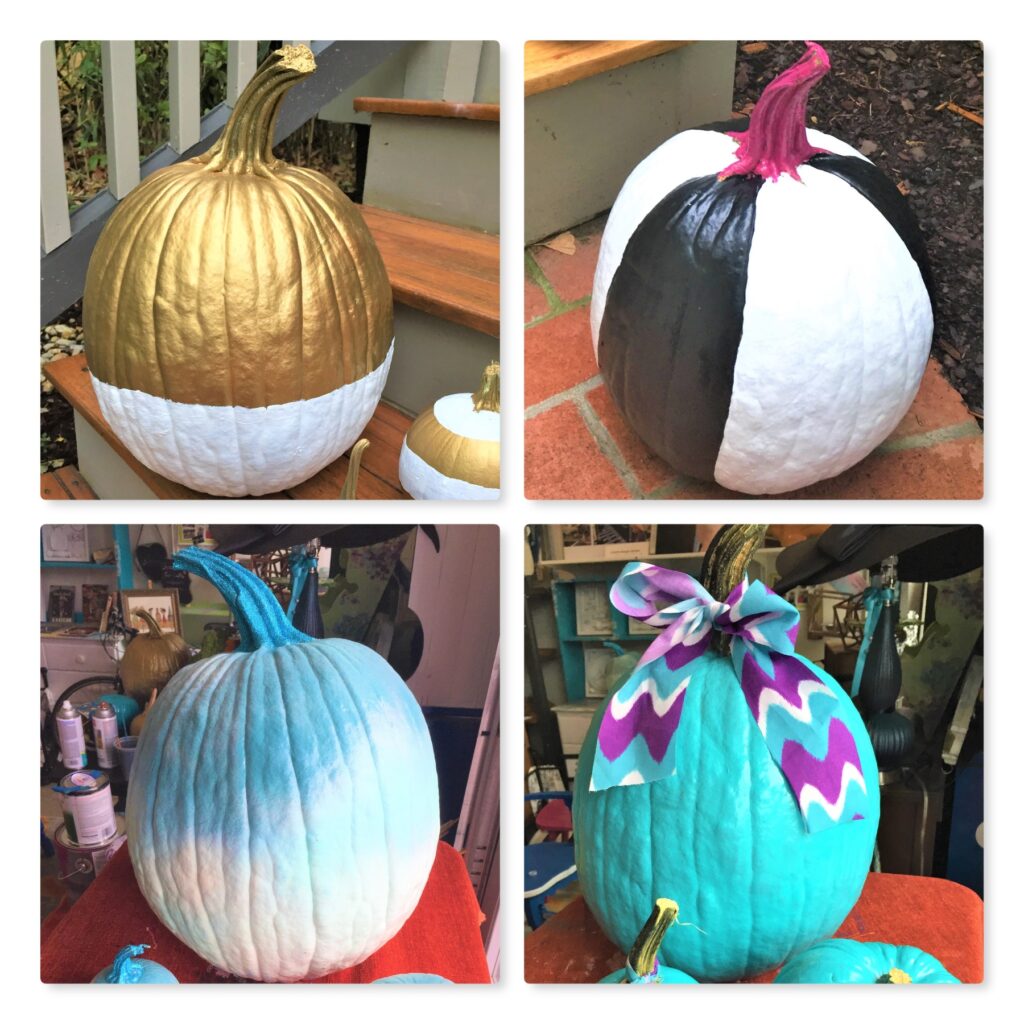
Design 1: Gold & White
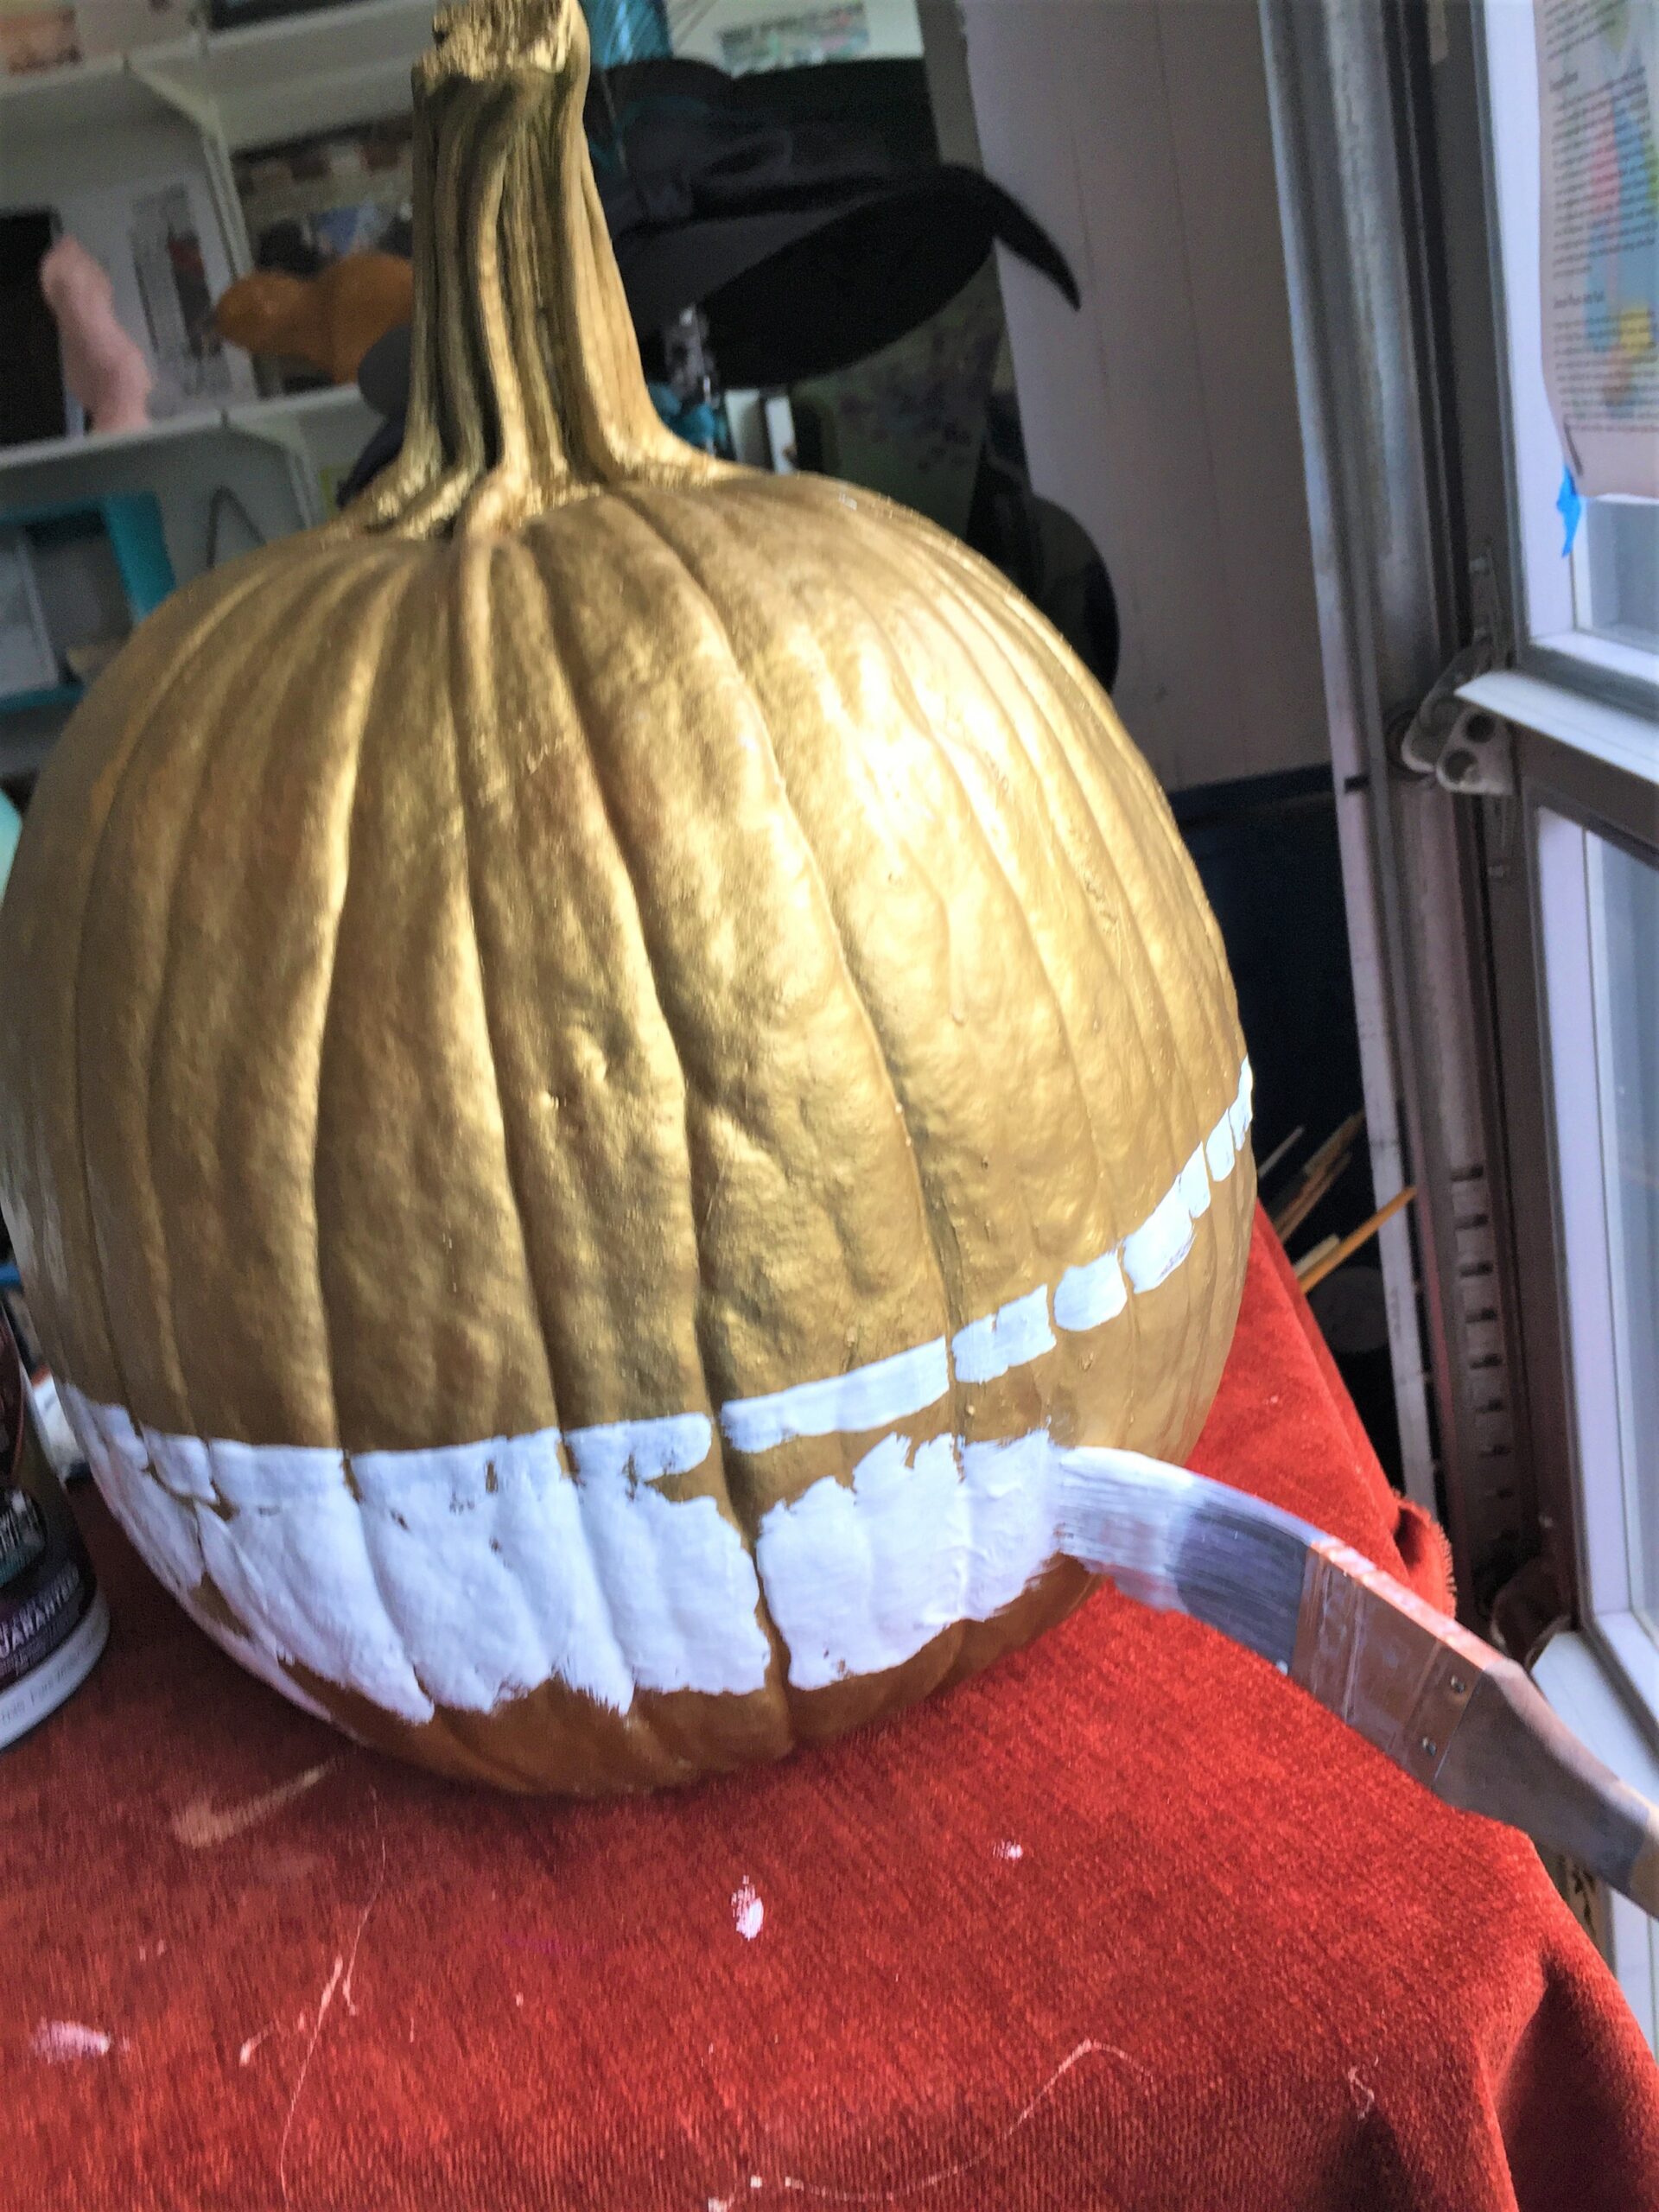
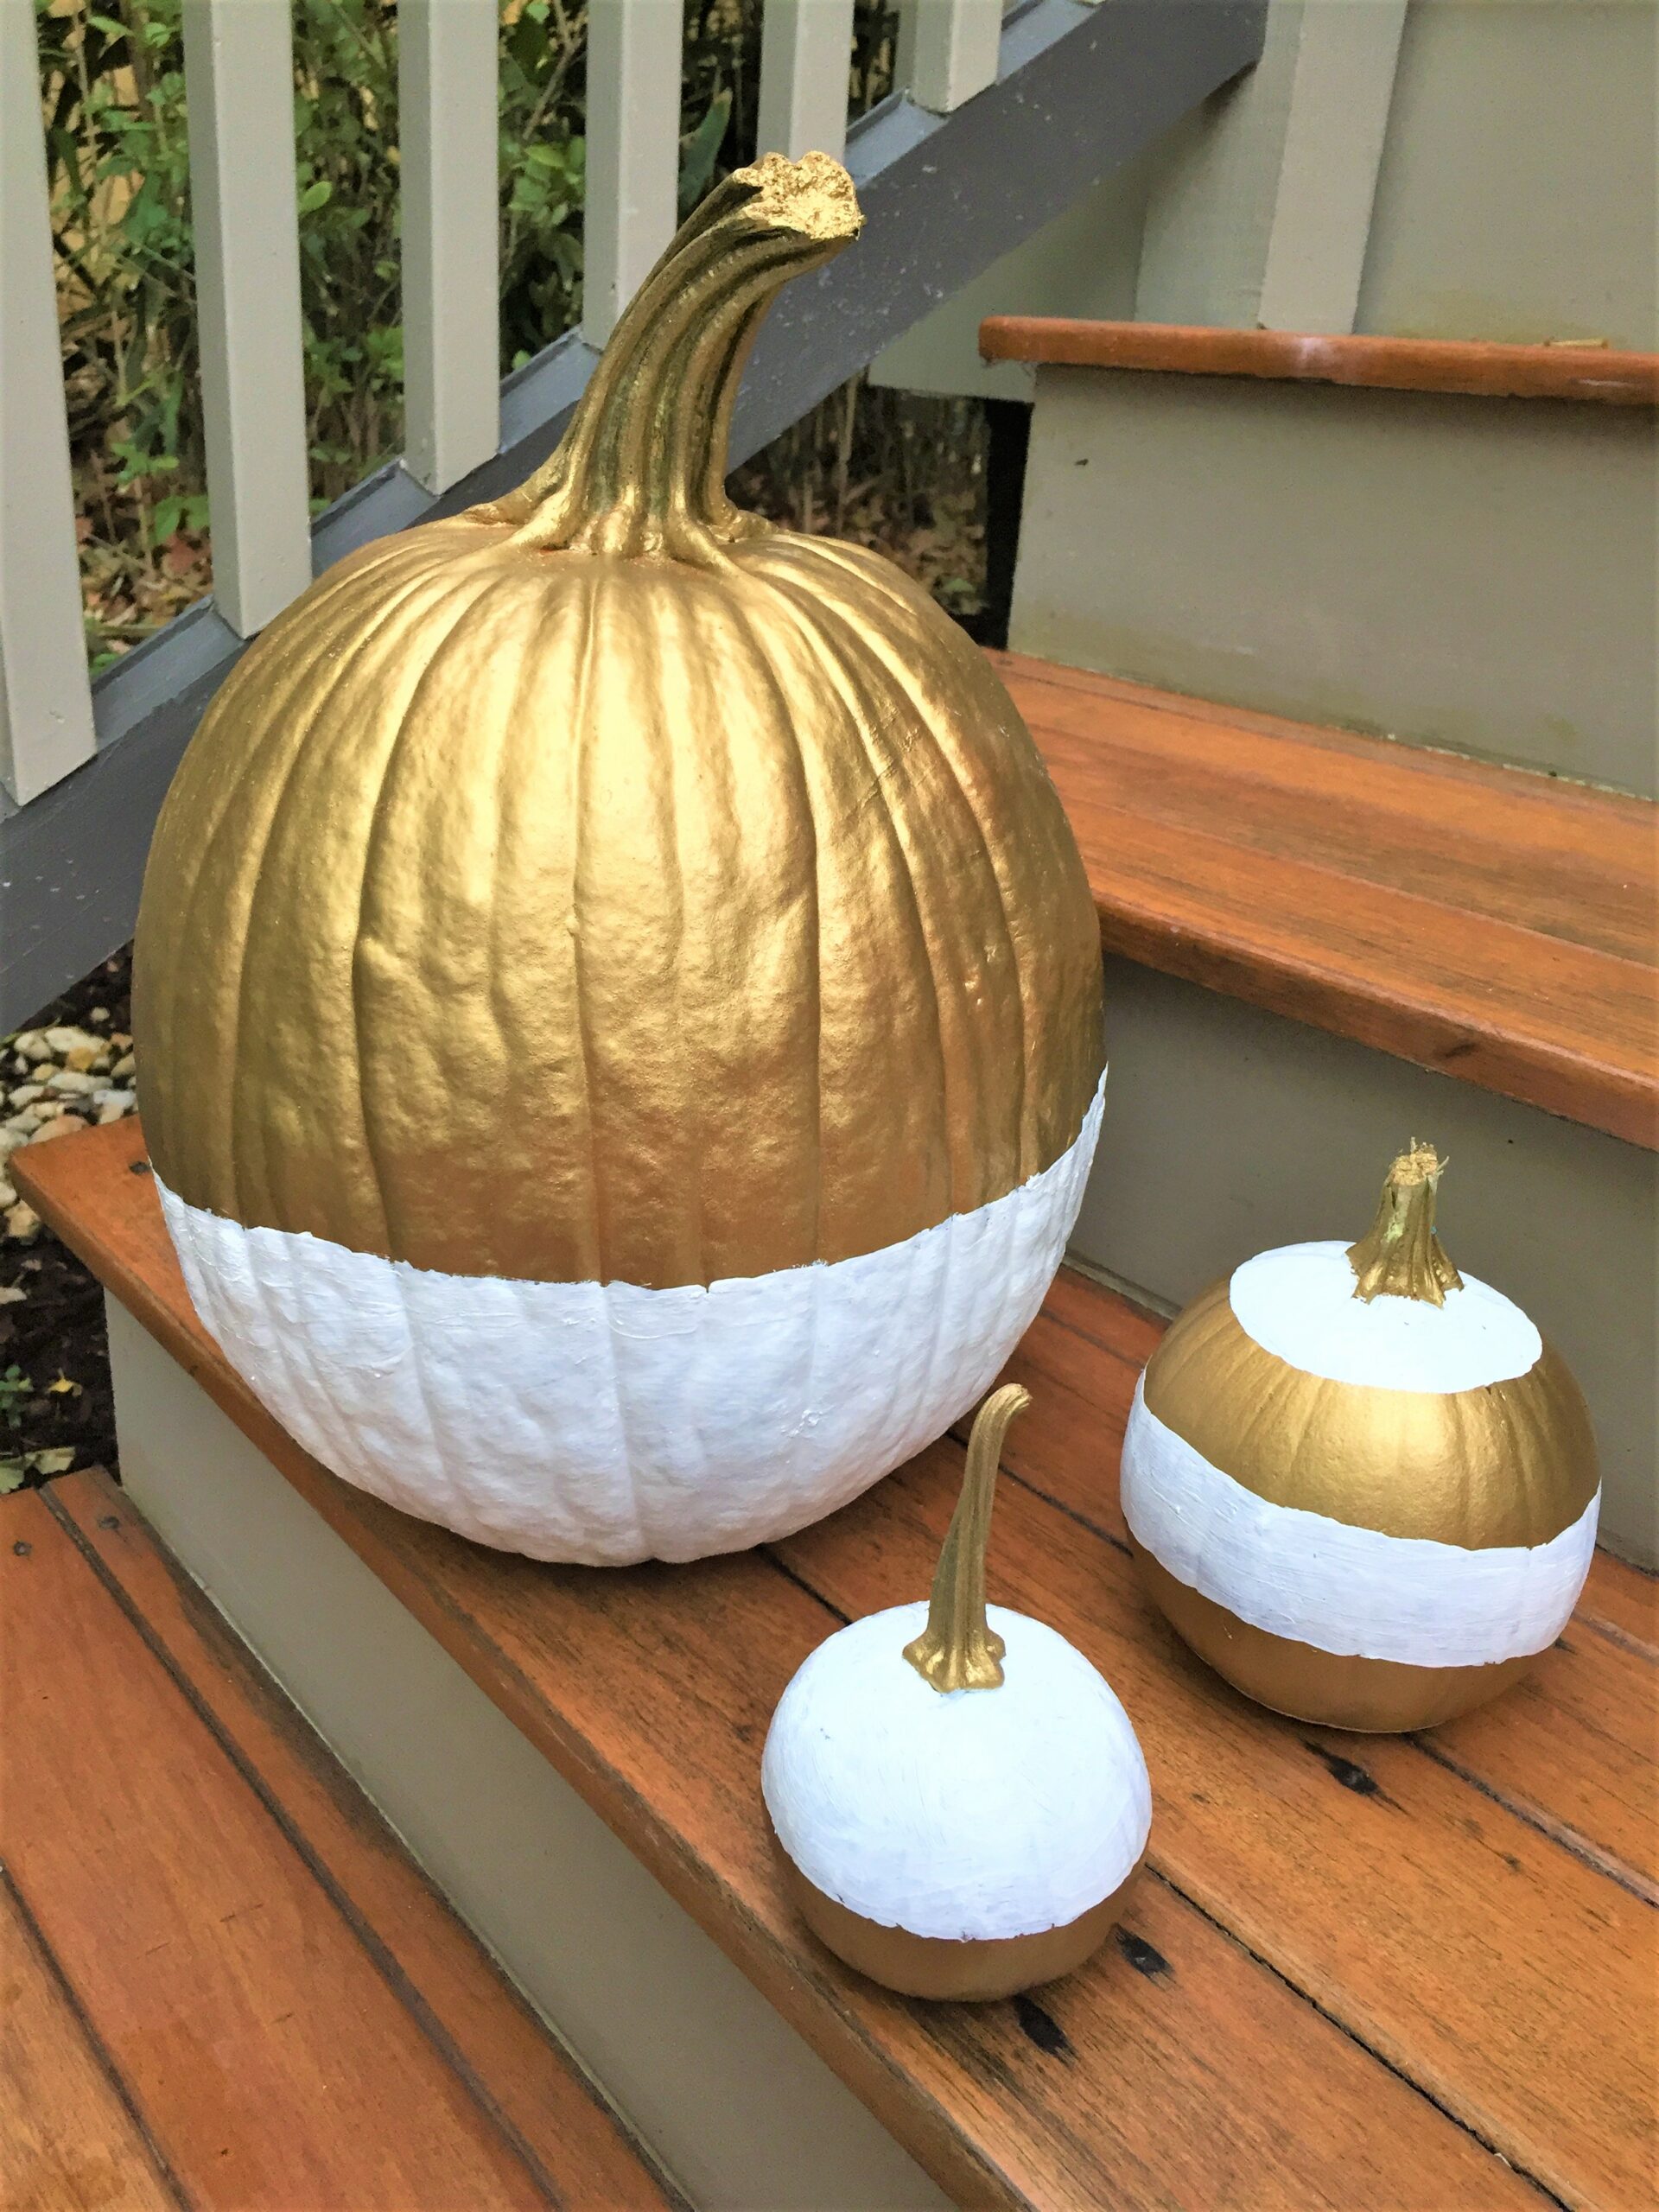
- Spray gold on your pumpkin from top to bottom. Use several light layers to ensure no orange shows through; hit the stem with gold, too.
- When dry, brush on white paint on the bottom half. On another, paint white stripes on top of the gold. These colors together make for a totally chic and elegant addition to your decorations.
Martha Stewart would give them a thumbs up, for sure!
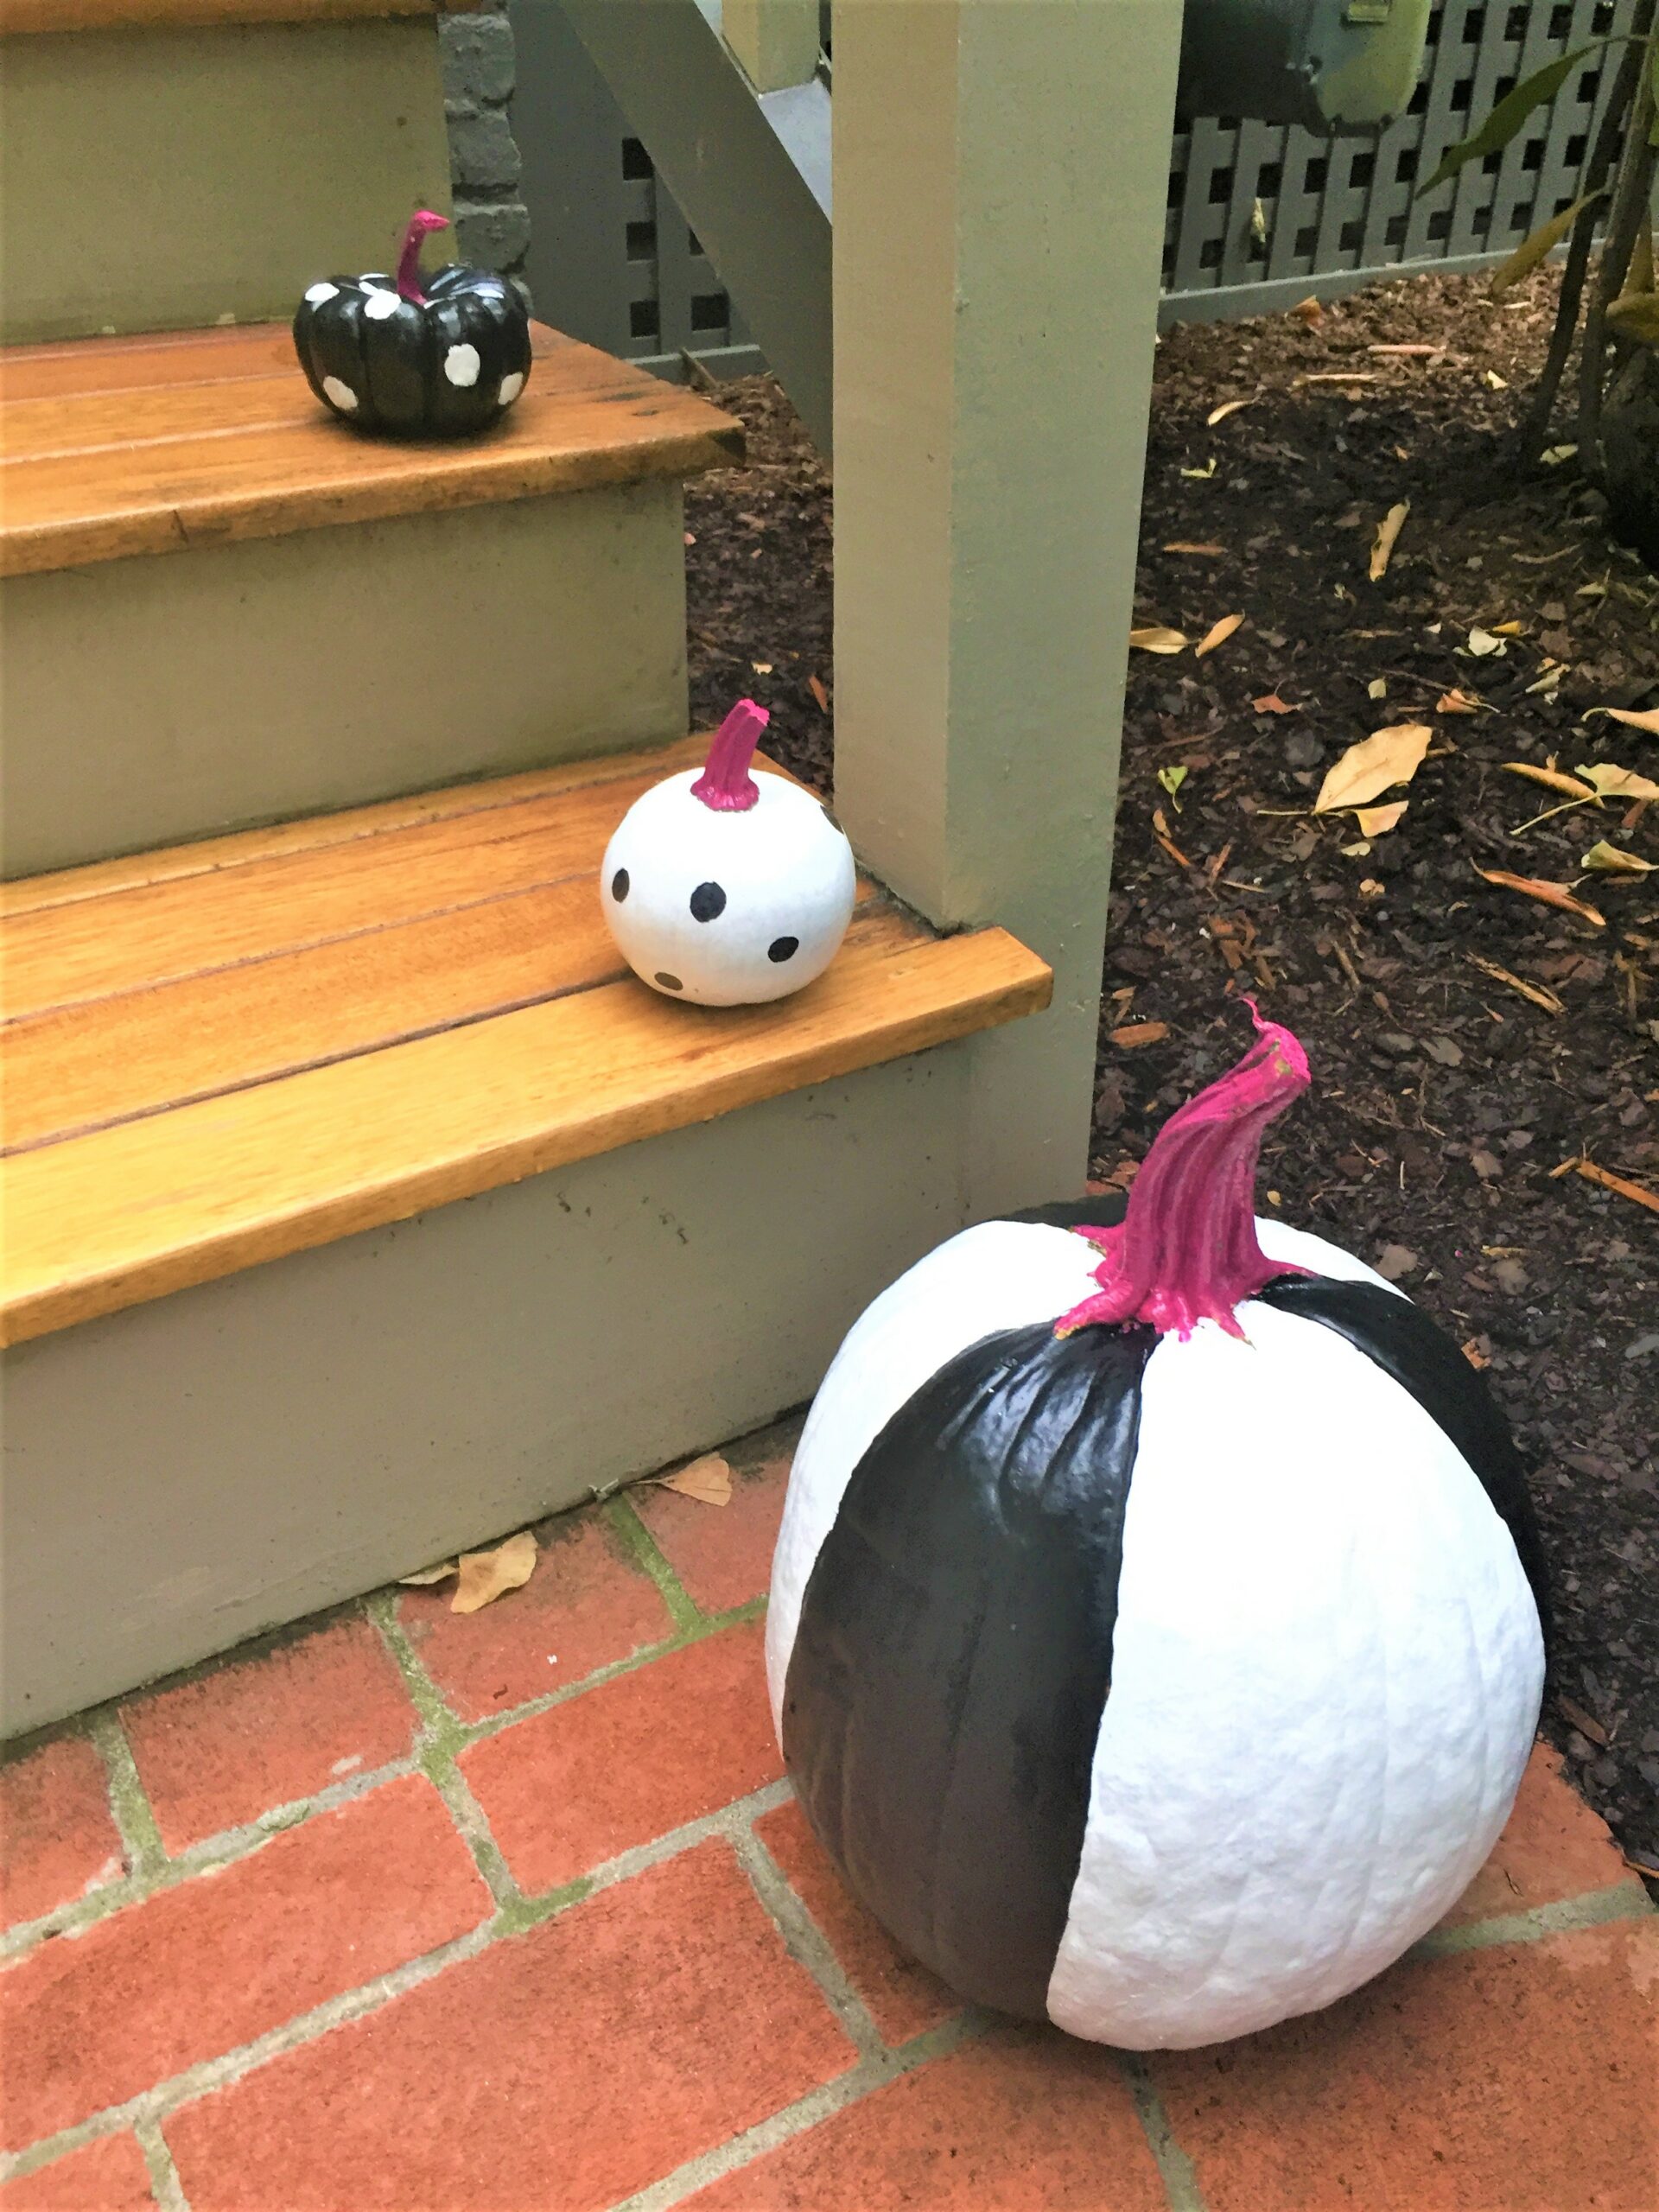
Design 2: Black & White—with Pink Highlights
- Spray your pumpkin with bright white spray paint.
- Brush on black paint in sections following the ridges that go up and down on your pumpkin. Aim for having four sections, two white and two black, to give your pumpkin a totally graphic look. You could also paint big black dots on your white-painted pumpkin for the same unusual effect.
- Choose a bright, non-traditional color for its stem. Hot pink was the right choice for me; what bright color would you select?
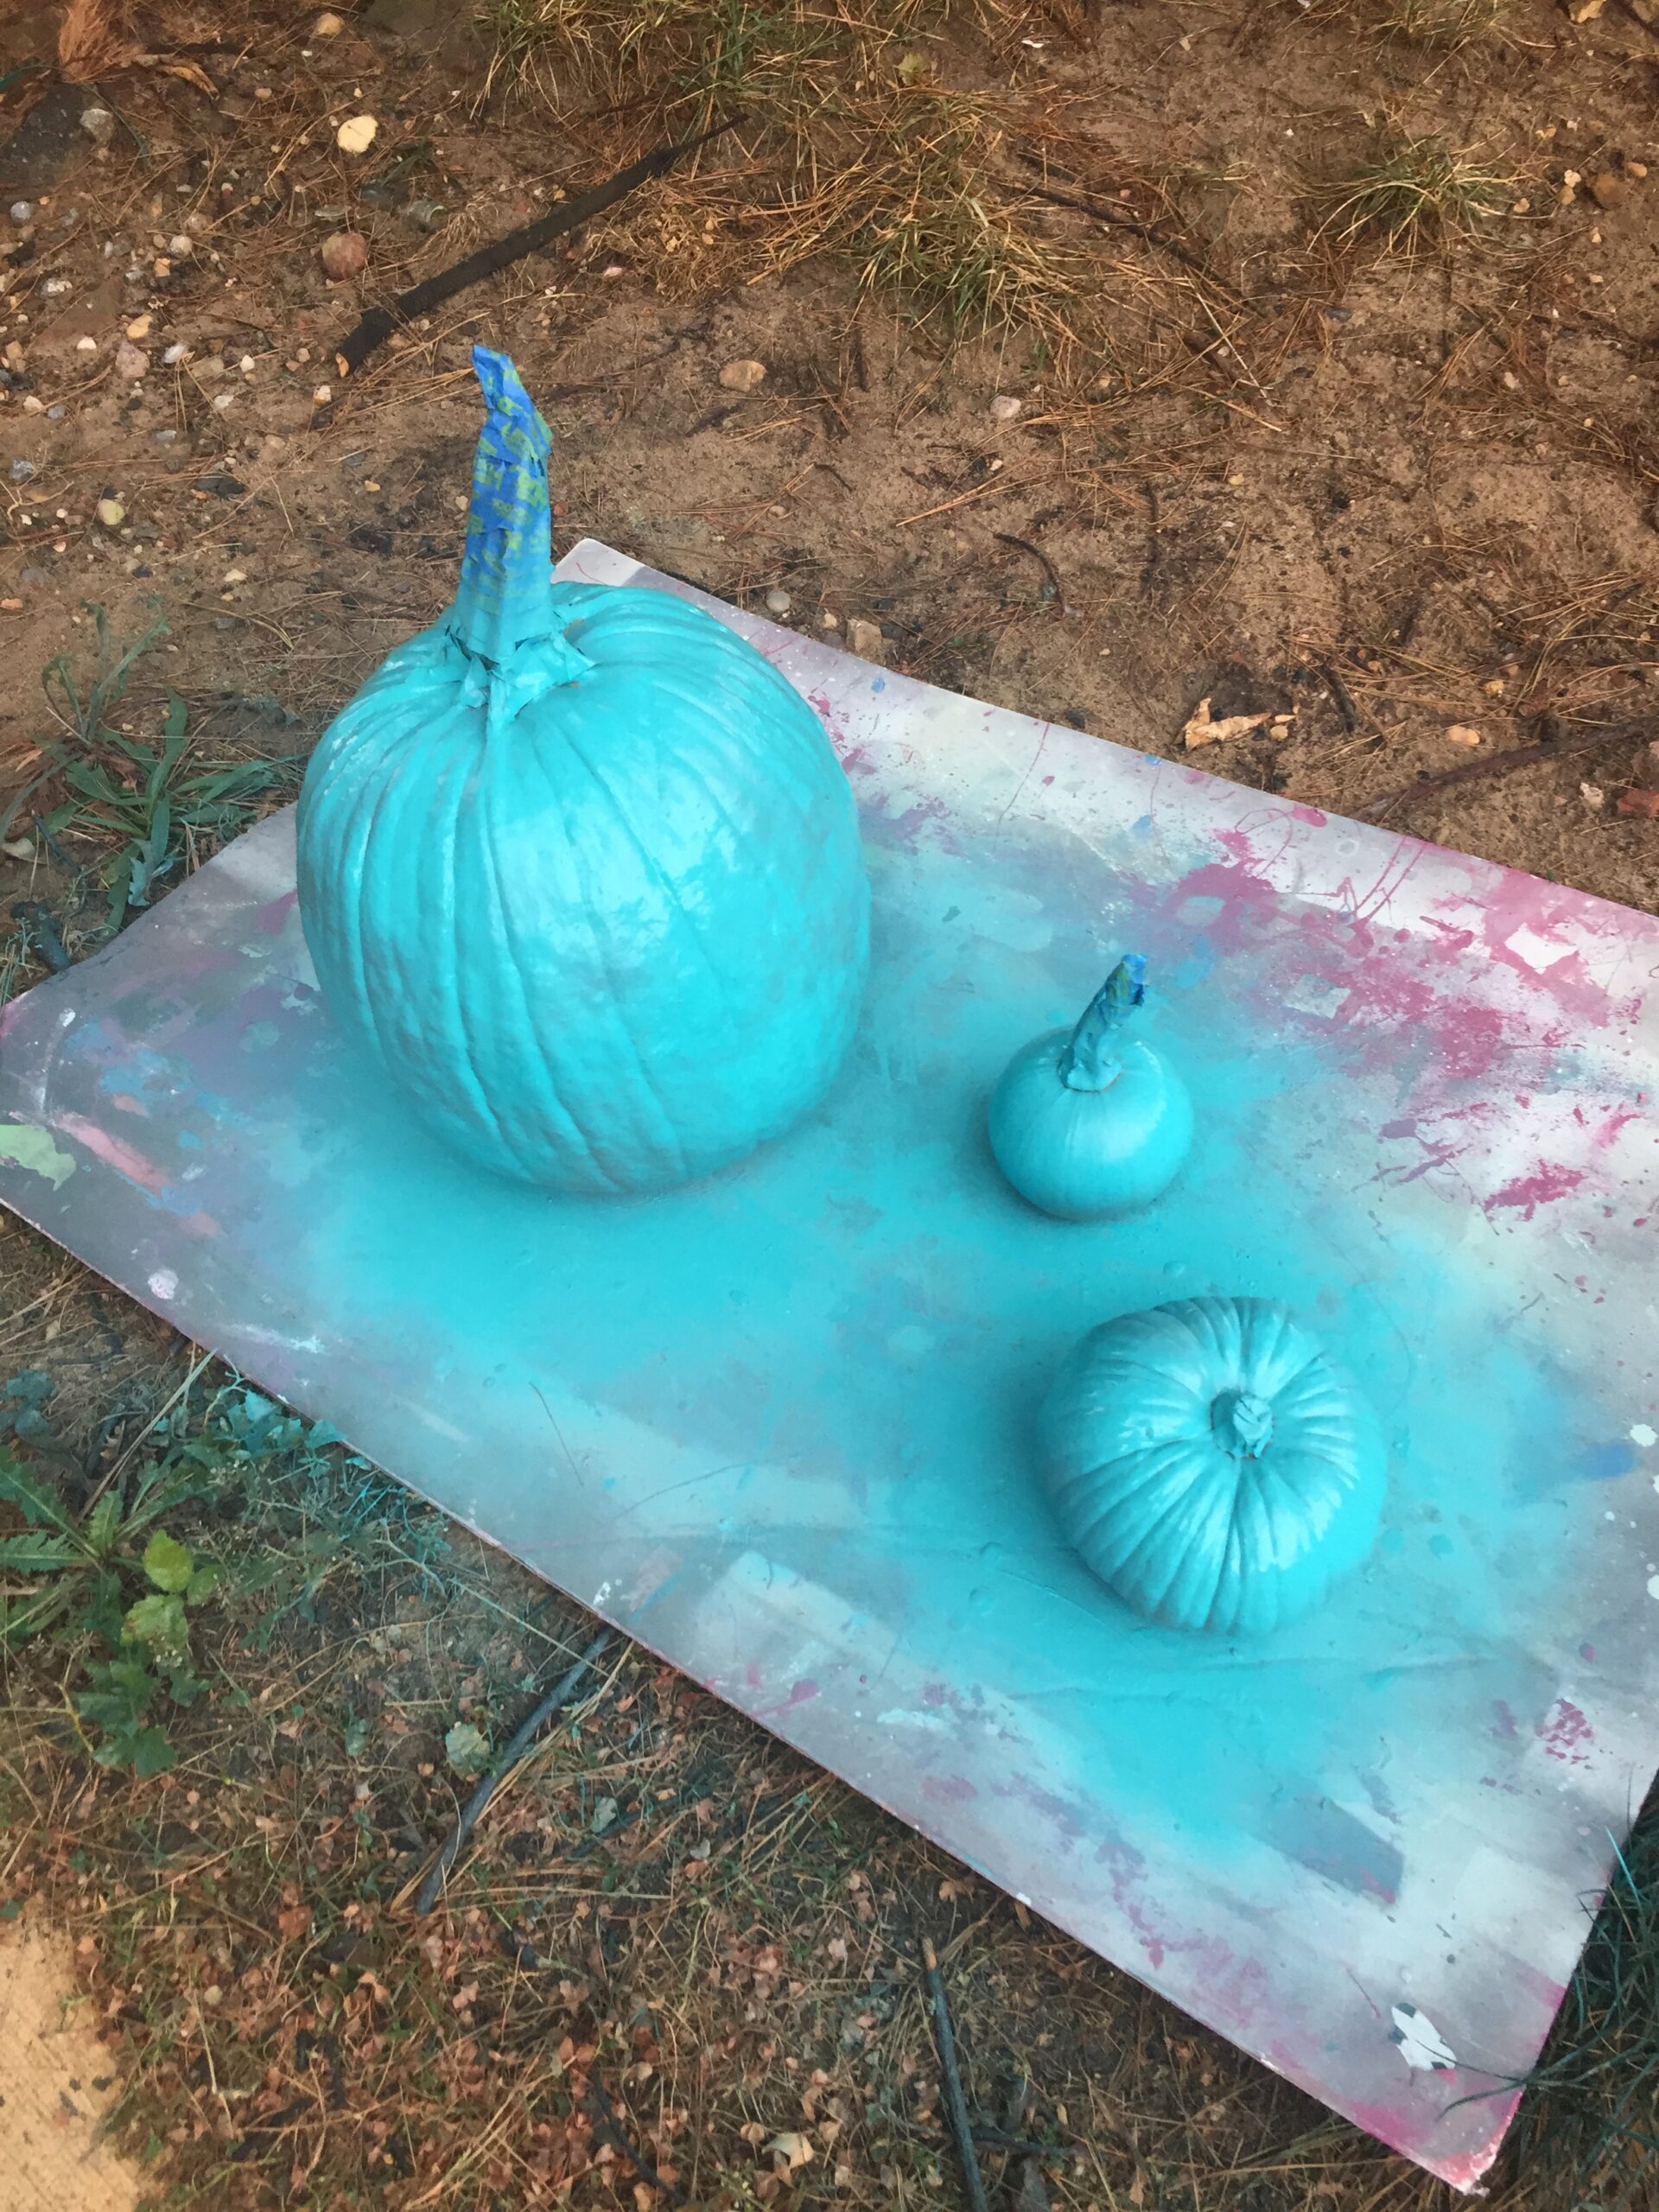
Design 3: Shades of Blue with Glitter on Top
- Round up any blue spray paints you have, in whatever shades in that color you have on hand.
- Spray on a light layer to mask all the orange. This might two layers for complete coverage.
- Pick up a second can in another blue tone, and add another layer to just part of the pumpkin.
- Grab the third tone and do the same, allowing the colors to blend and ensure all are visible. You could use white, too, if you have it on hand.
- With a small brush, paint your stem blue with any craft paint in that hue.
- When dry, brush on school or craft glue on the stem, then sprinkle on blue or silver glitter to make it shimmer and shine!
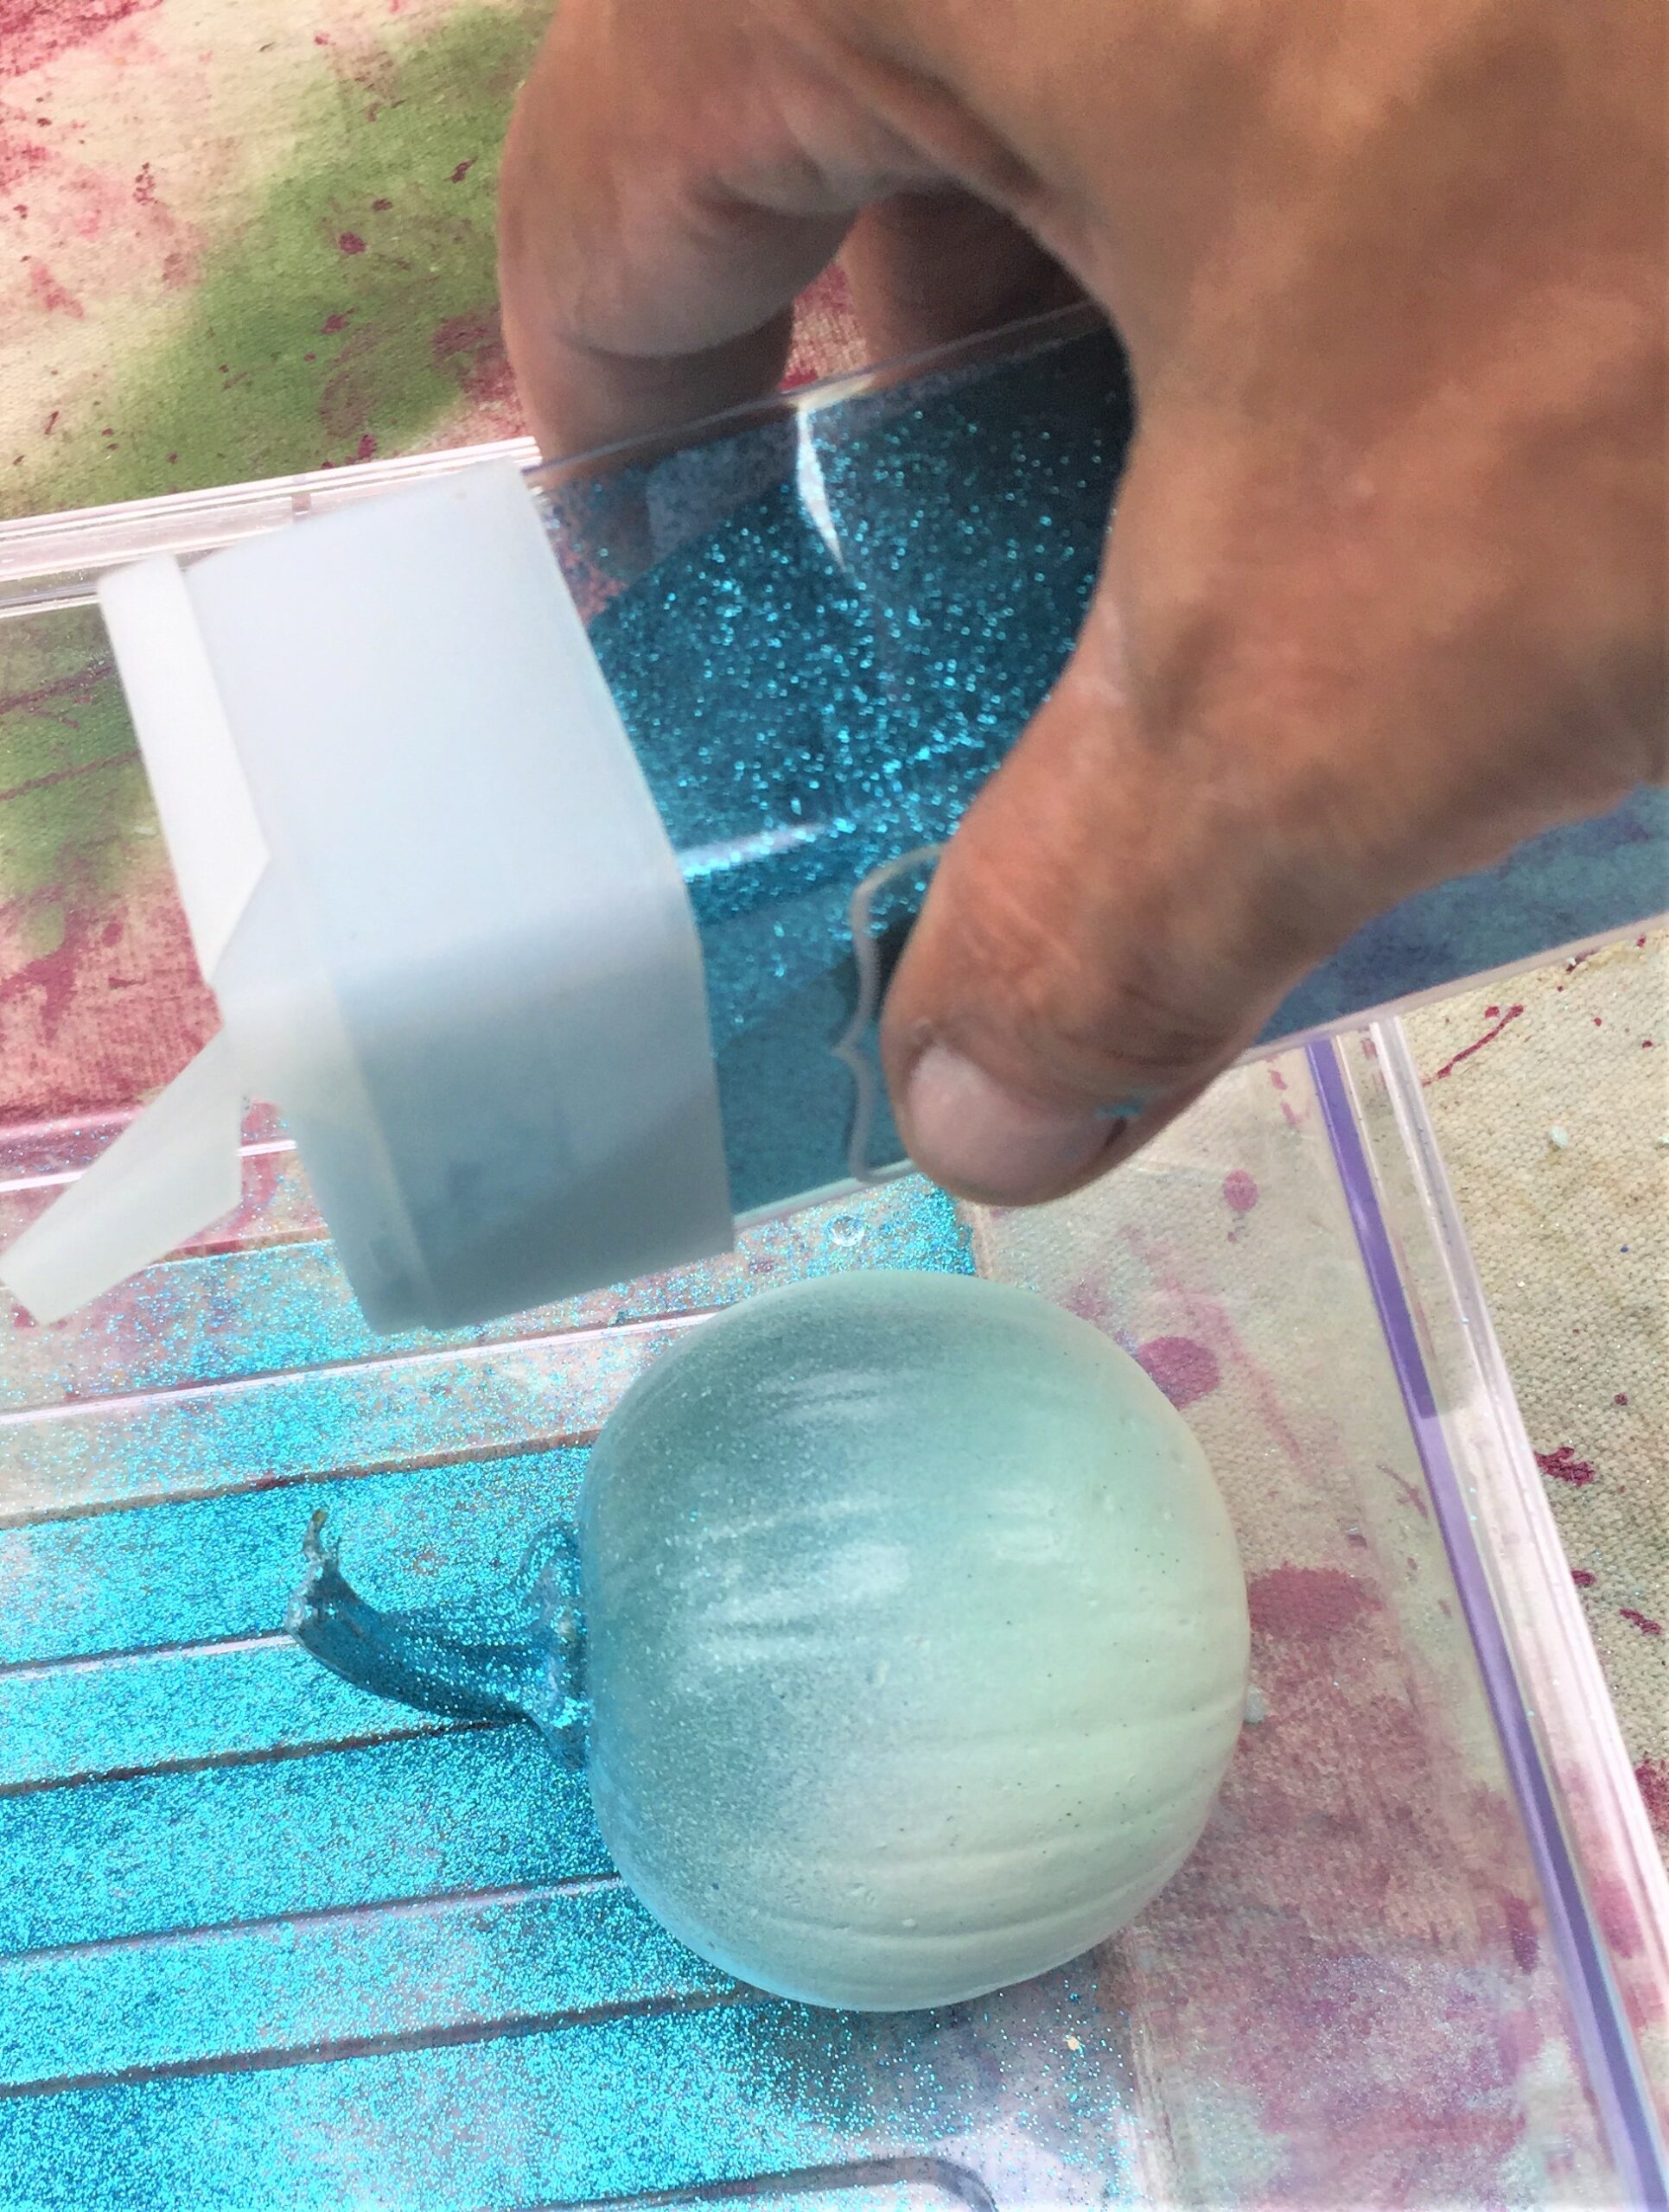
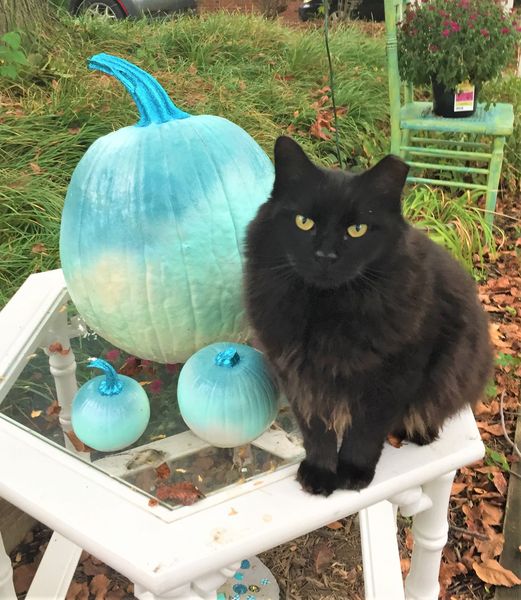
Blue glitter for Halloween decorations? Who’d have thunk that?
Design 4: Bold & Bows
- Using a bright Tiffany blue spray paint, give your pumpkin some fancy love with a couple of layers.
- Let dry, then simply tie on a big bow using a ribbon that matches the paint.
It’s truly that easy to make a fashion statement with your now pretty and perky pumpkin!
Place your upcycled, painted, and accessorized pumpkins on your front porch, in a window, or on your coffee table. Wherever you set them, your family and friends will be scared (in a good way) at how remarkable your DIY talents are!

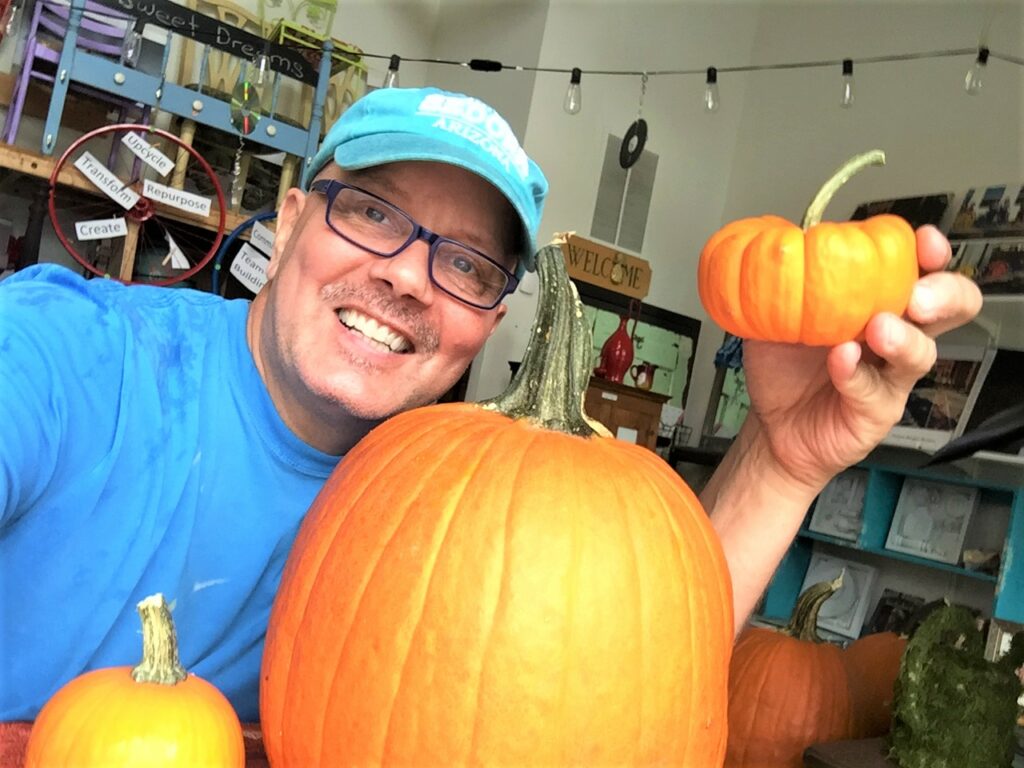
Tim Kime
Artist, Motivational Speaker, Life Coach

