Sometimes less is truly more, so have the “KISS” principle in mind. Keeping it simple certainly is a good reminder for those of us with ambitious upcycling plans.
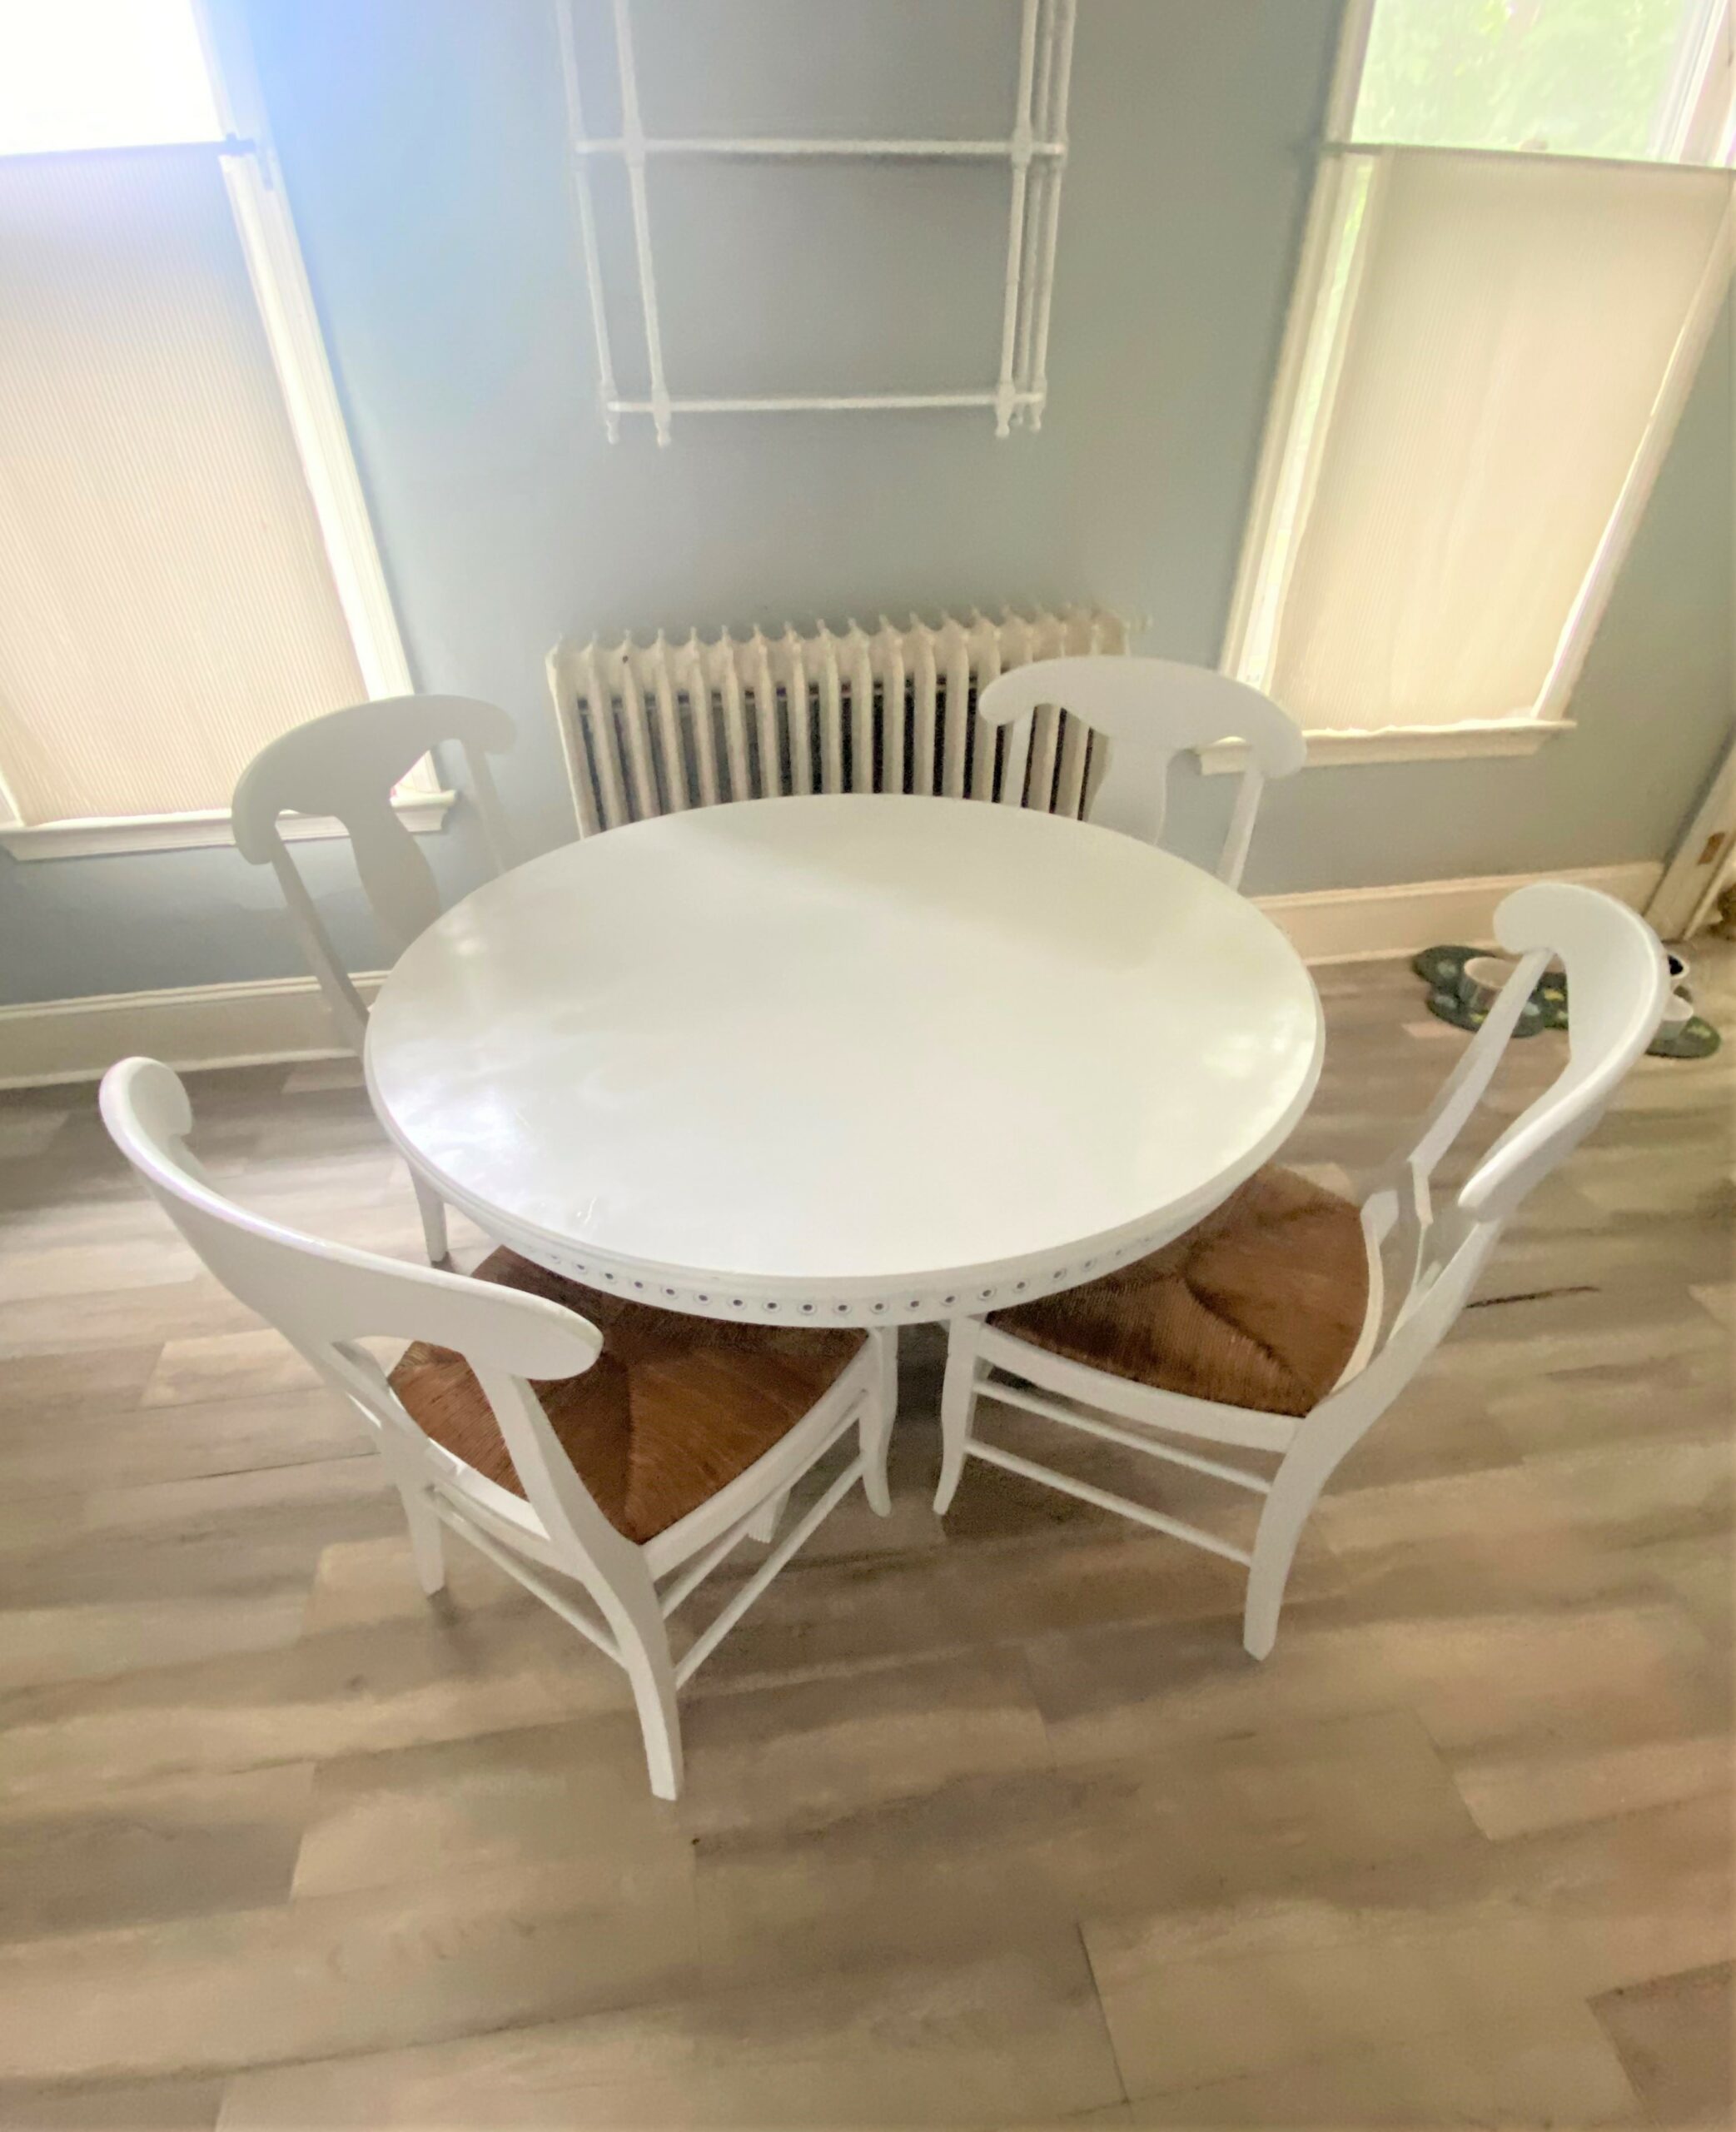
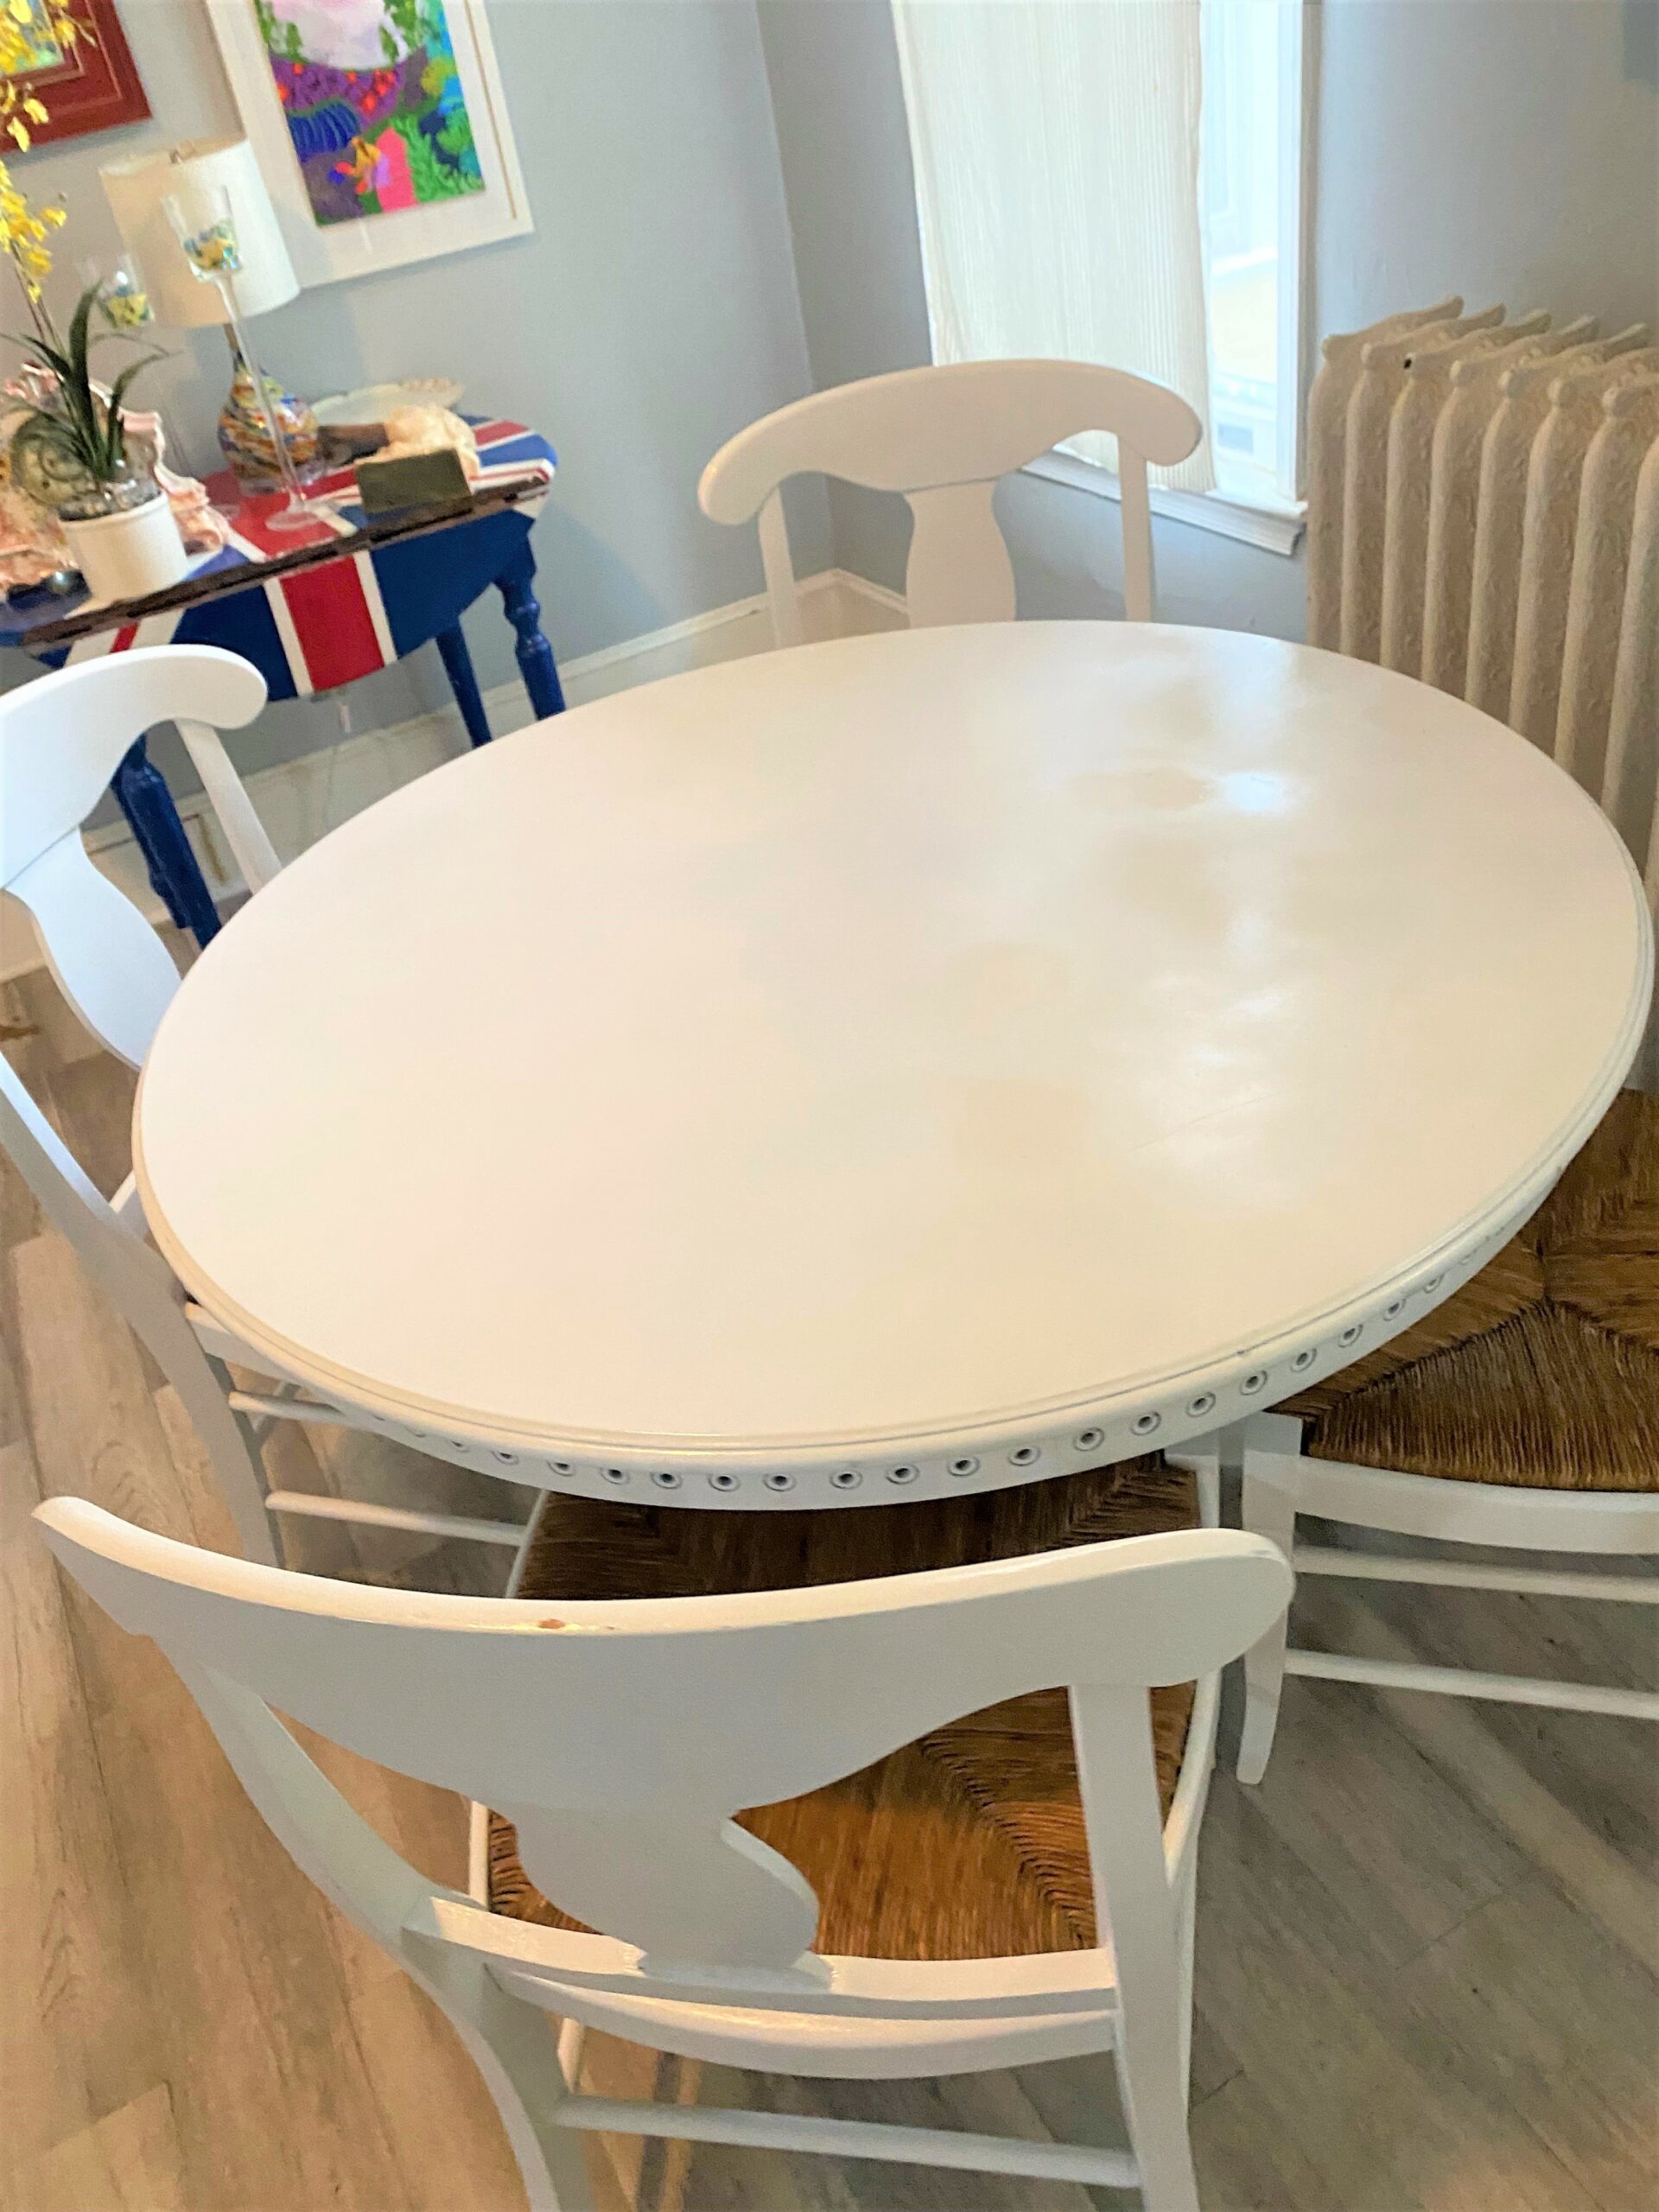
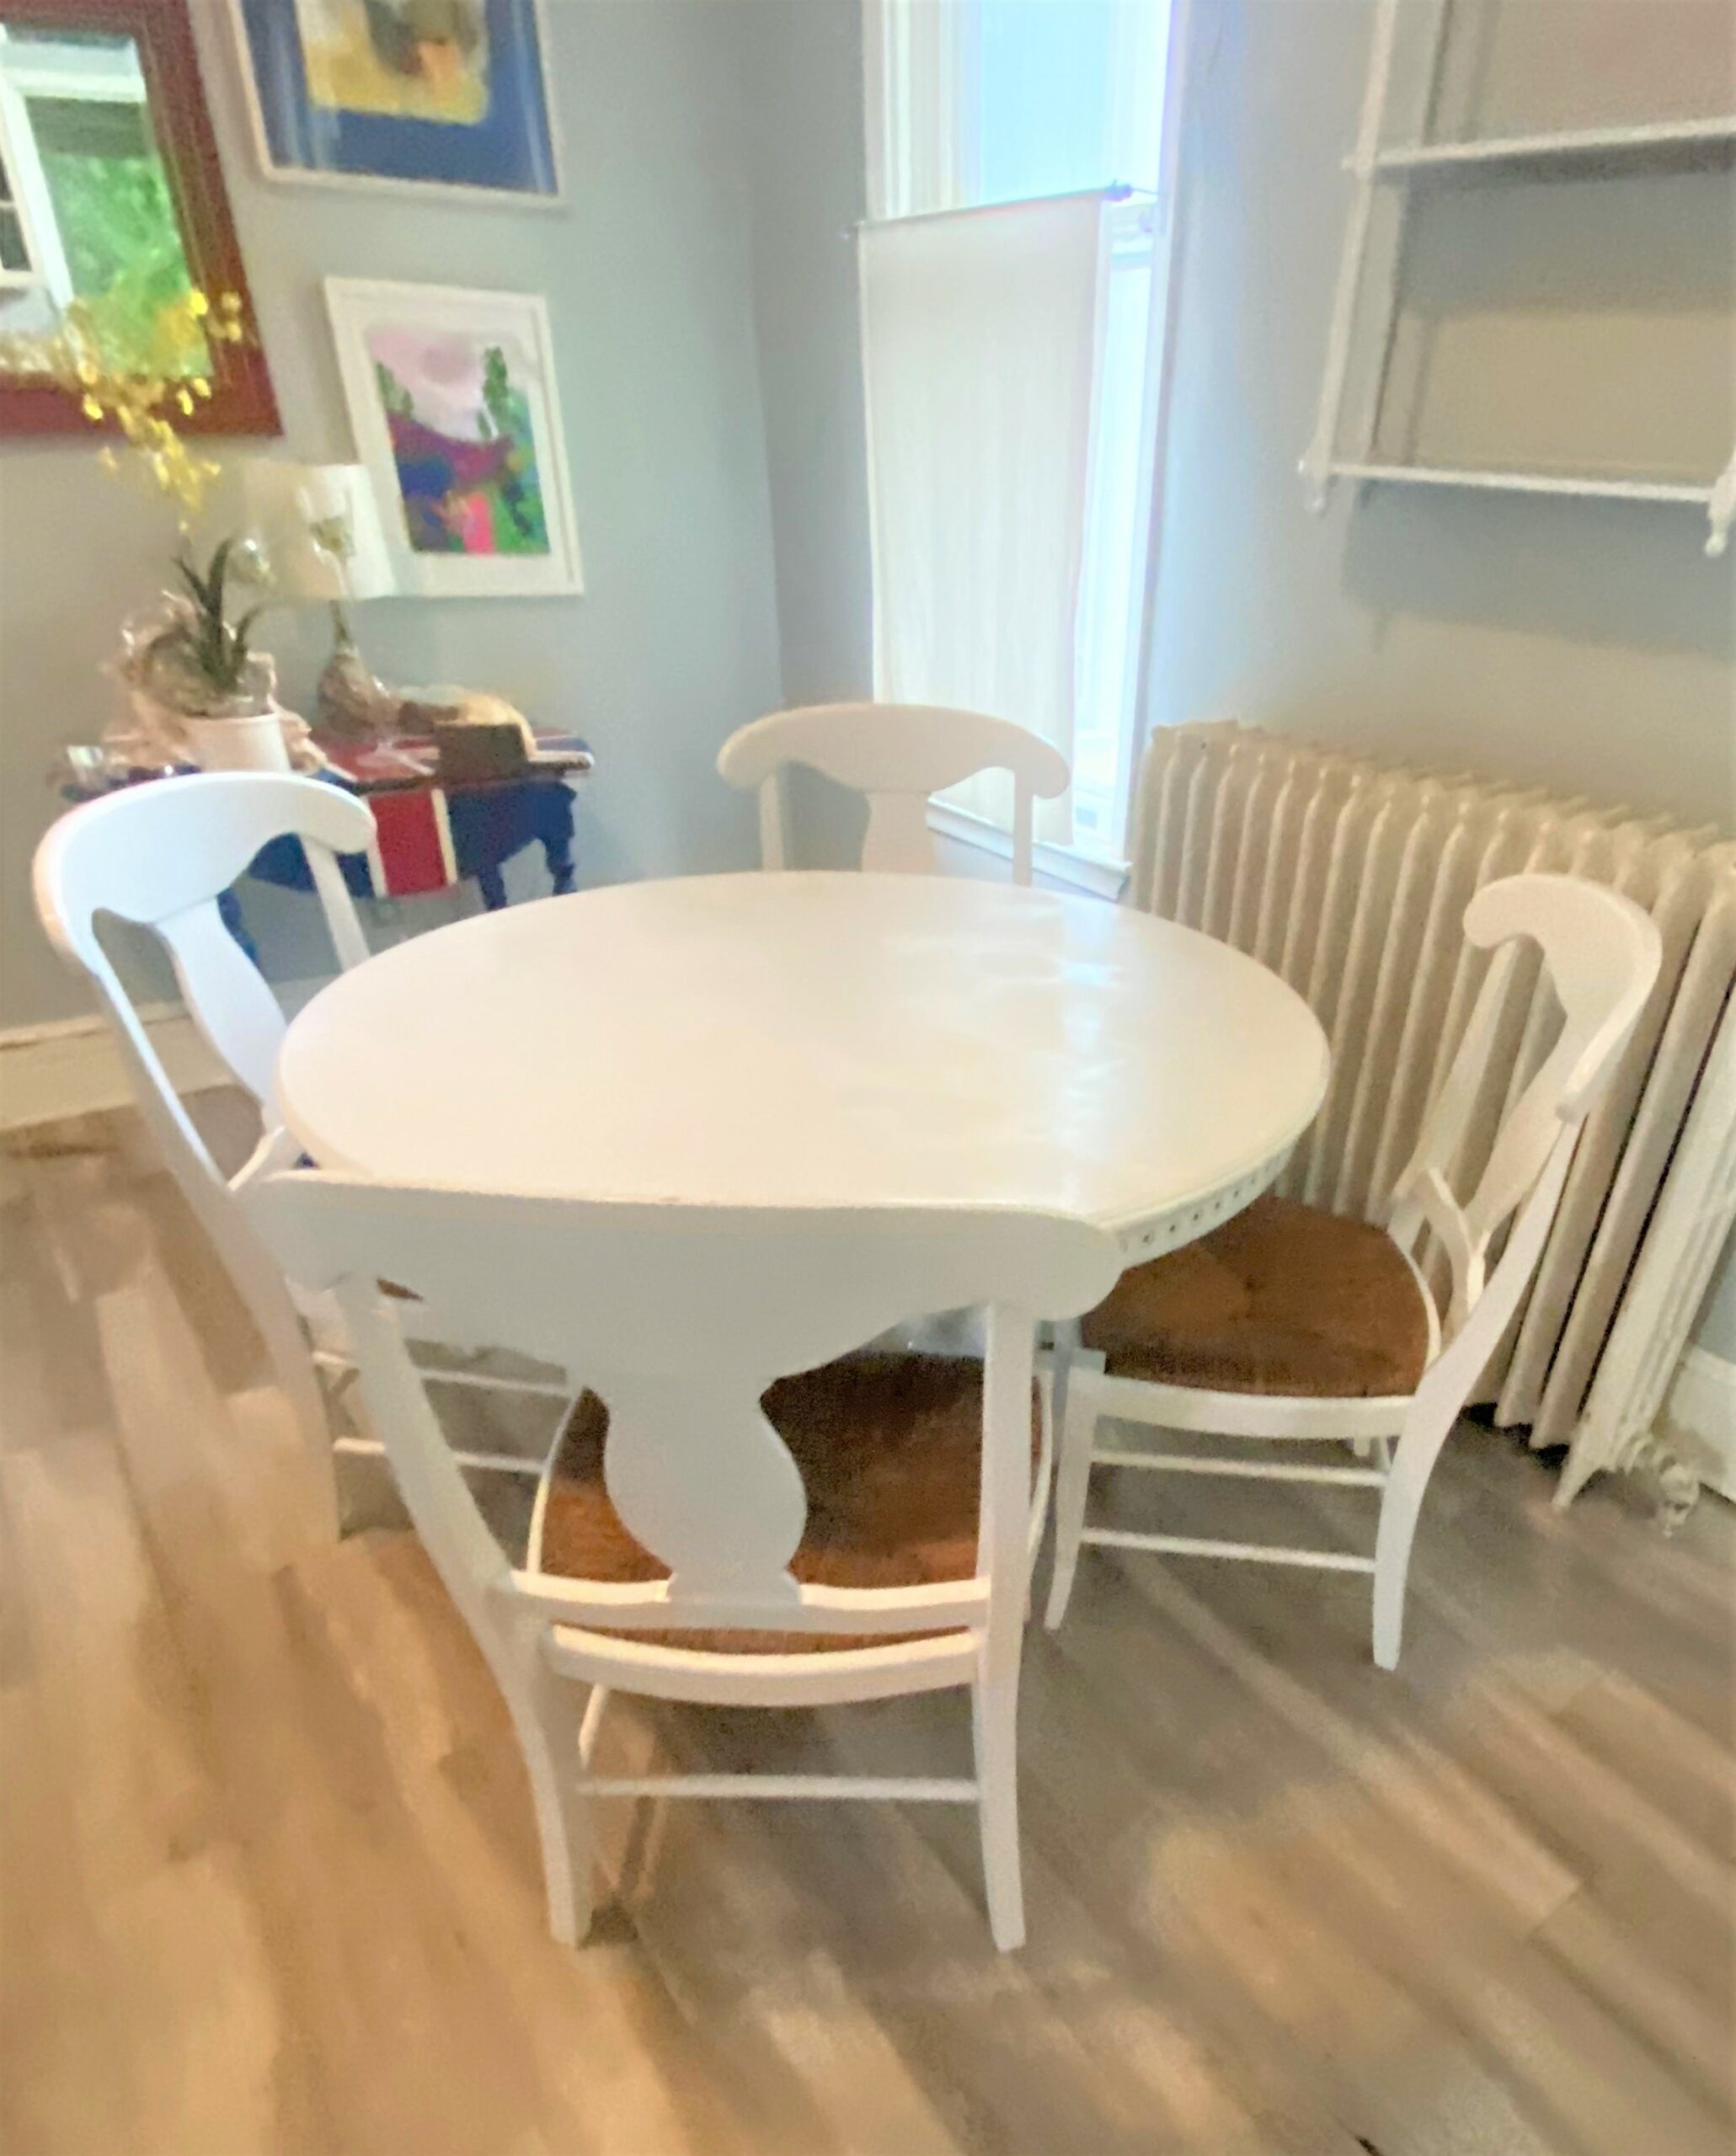
A round kitchen table gets a bright update, along with four chairs, that will make any meal served there, or any gathering held there feel light and airy. The setting is my very own kitchen which has been overlooked for too long! A well-constructed wooden table with a pedestal center (which is classic and so handsome!) was combined with curved-backed chairs with wicker seats for a lovely and inviting set. Dare I say all pieces were found curbside?
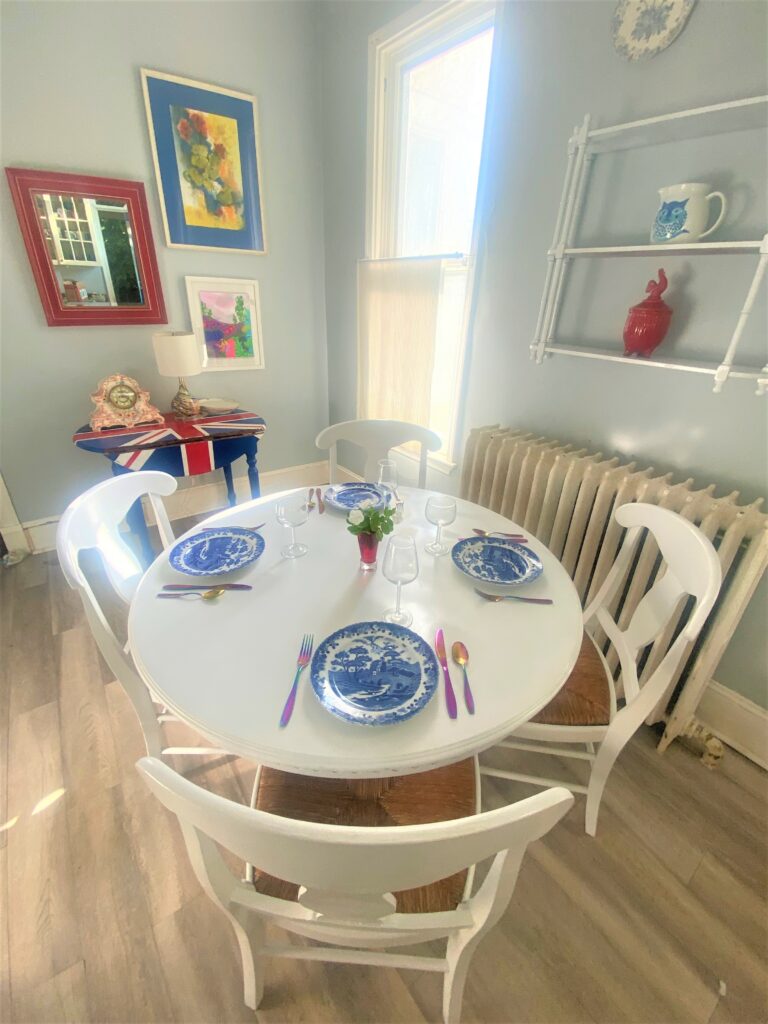
Inspired by fellow blogger Courtney Mickalonis’ recent round table transformation, I wanted to give my dated and dreary kitchen table an artistic and creative update, too. My lesson after several unsuccessful attempts? Yup—keep it simple, sweetie. And I now love the table’s new look and the chairs’ crisp refreshing.
1. Things are brighter when you shop at Goodwill
Maybe it’s the happy staff members who greet you with warm Hello’s and big smiles. Or maybe it’s the excitement of finding a unique item at a “gotta-take-me-home” price. Could it be the energy generated when you find inspiration and ideas up and down every aisle? Yes, to all the above.
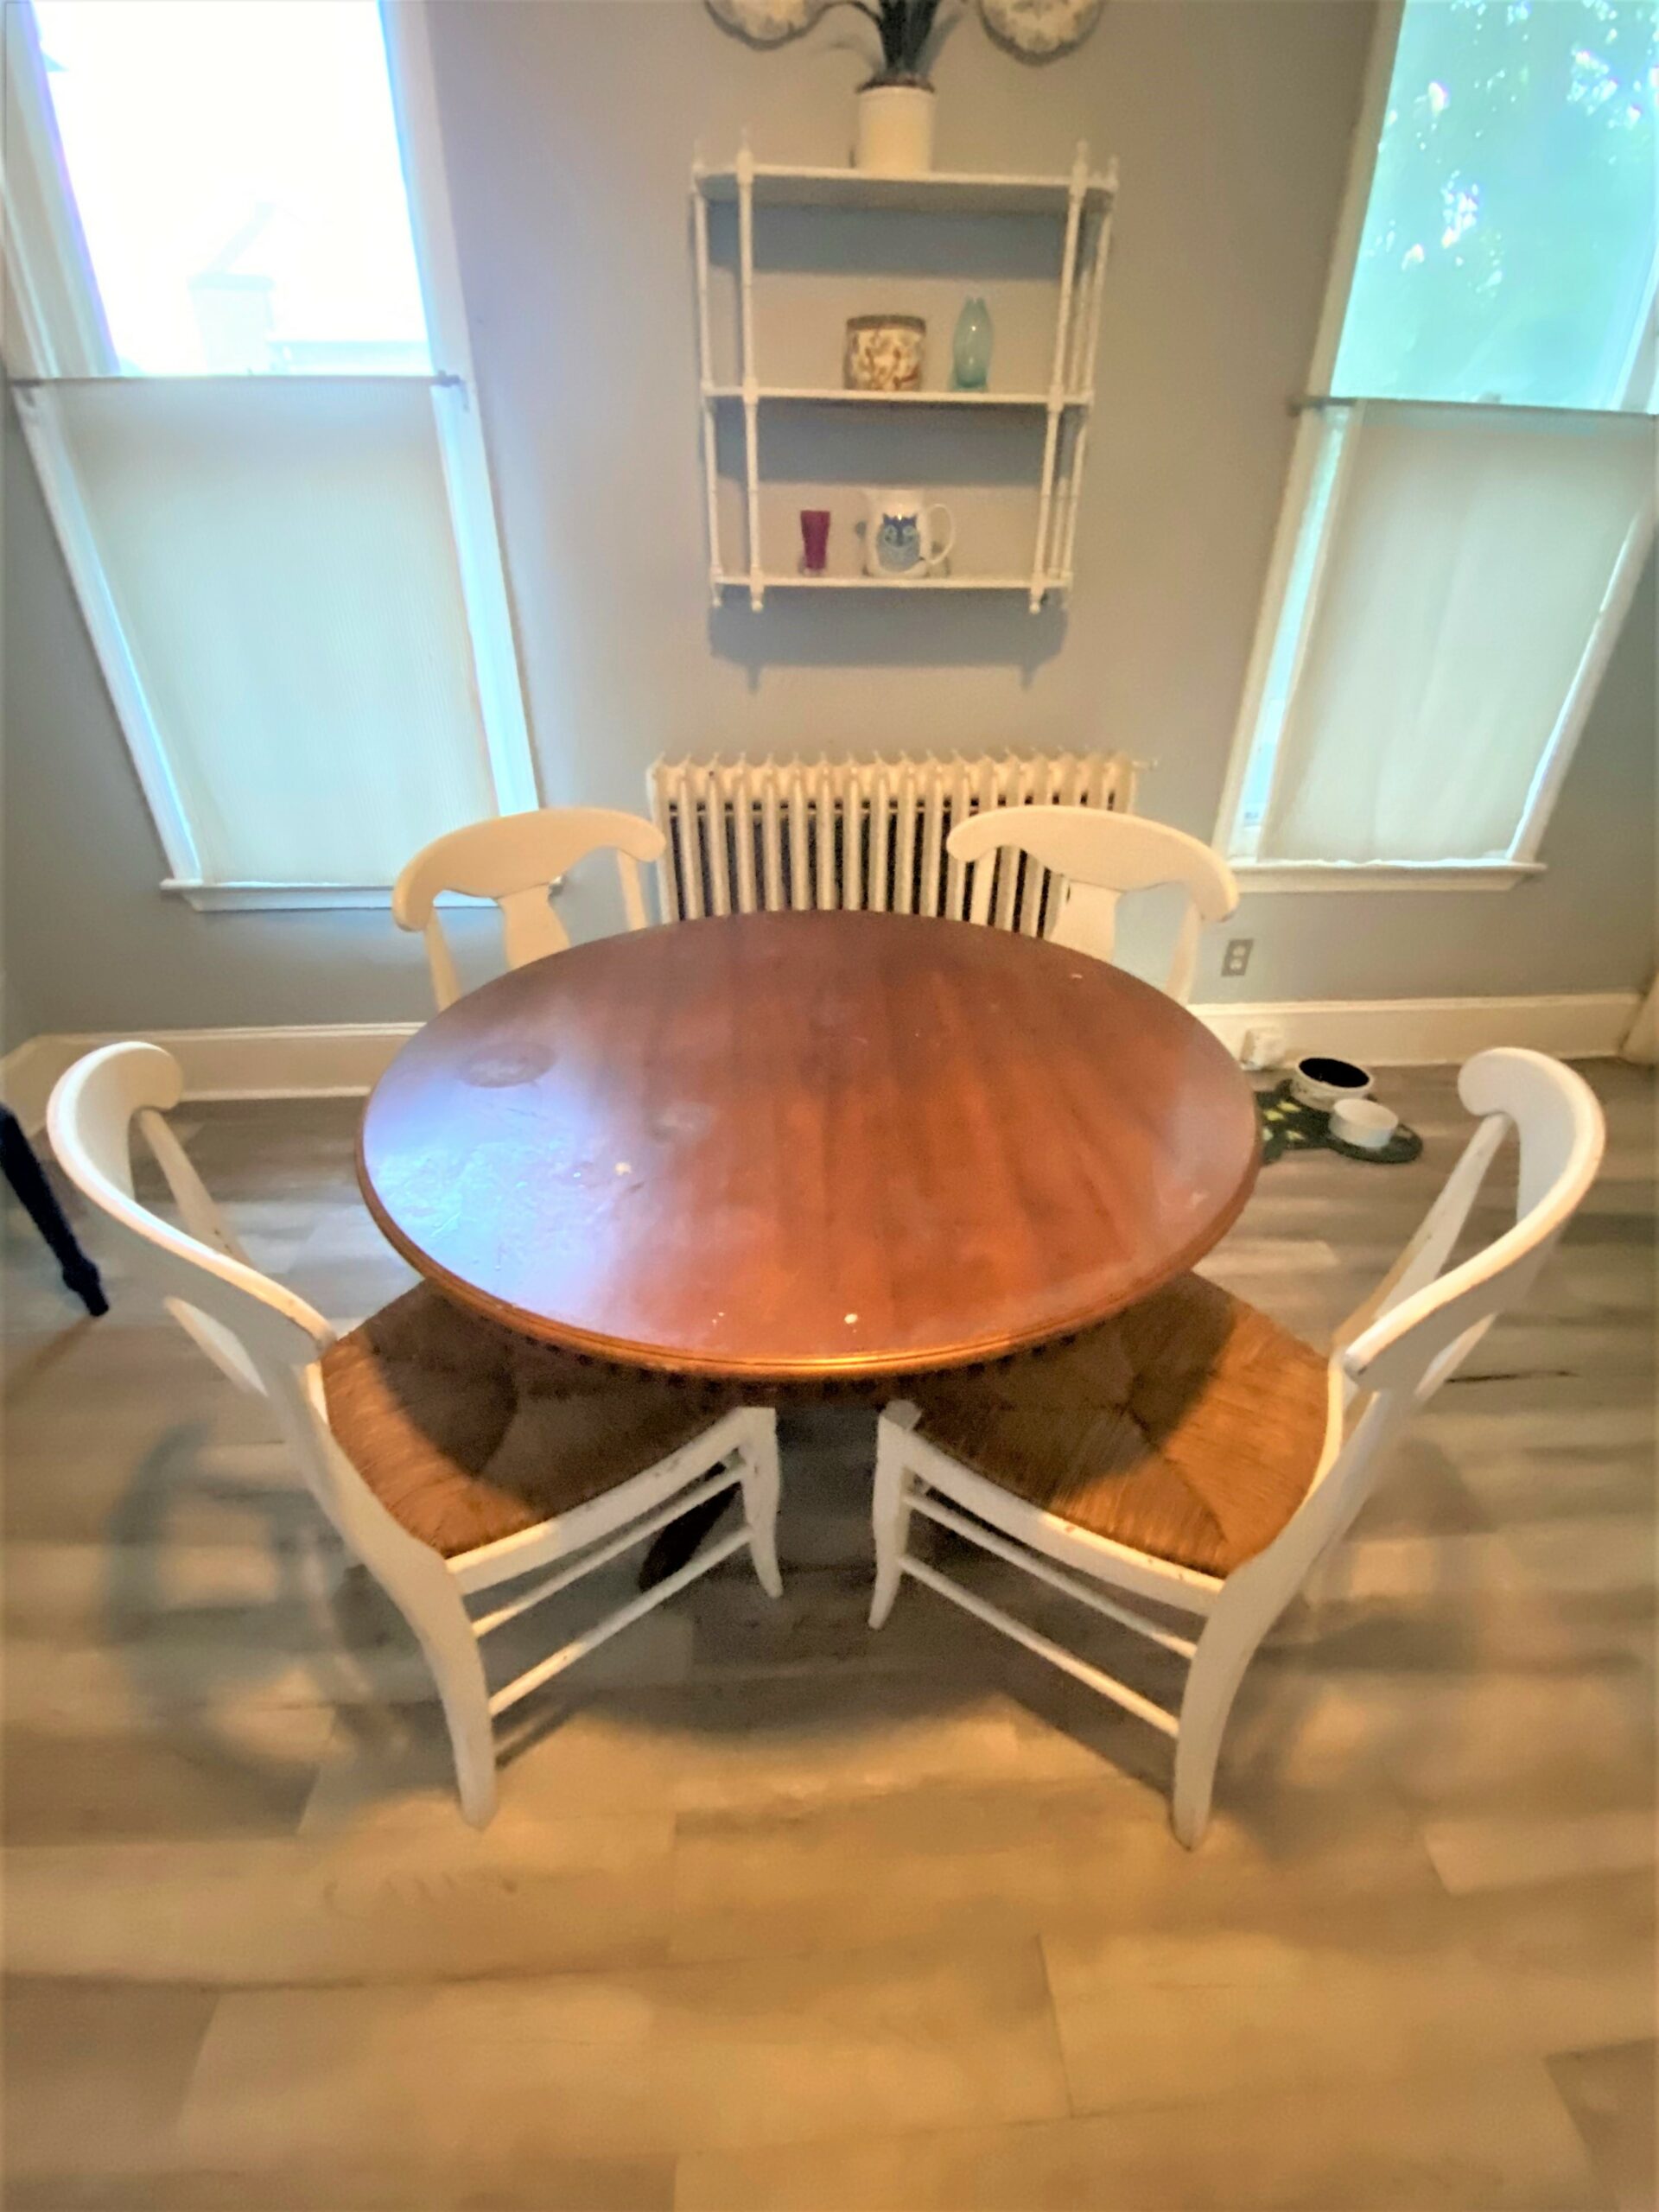
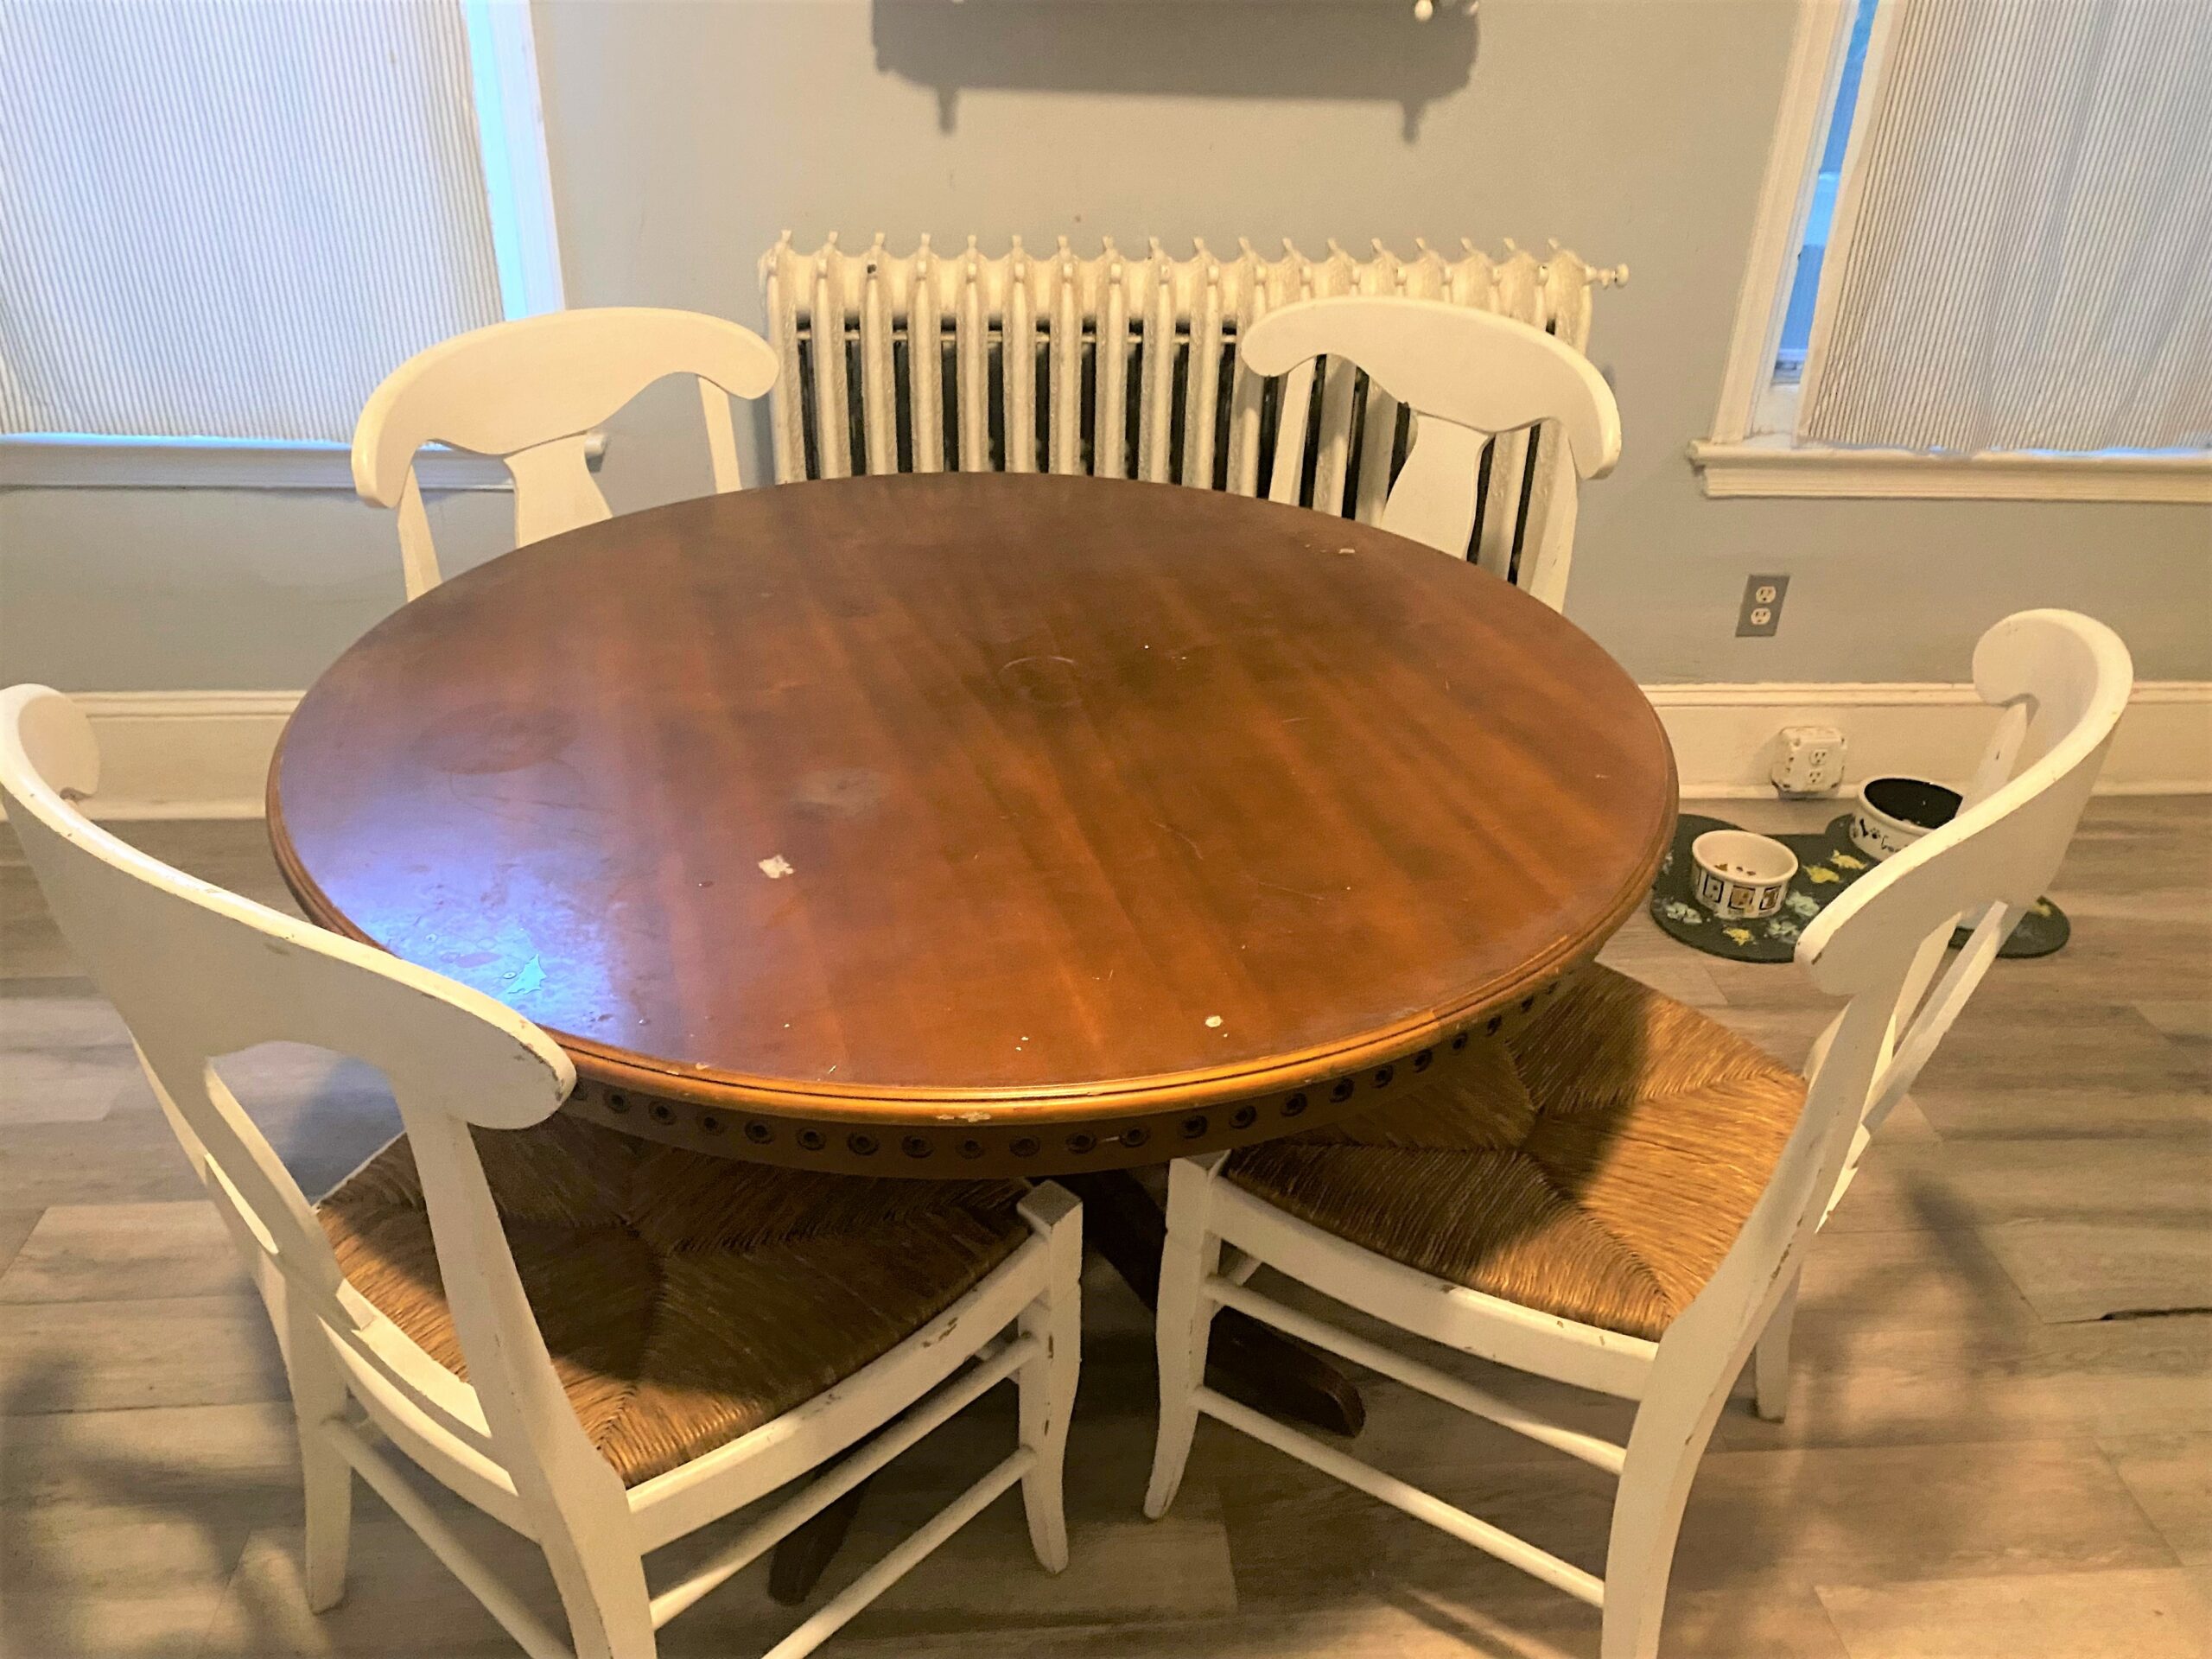
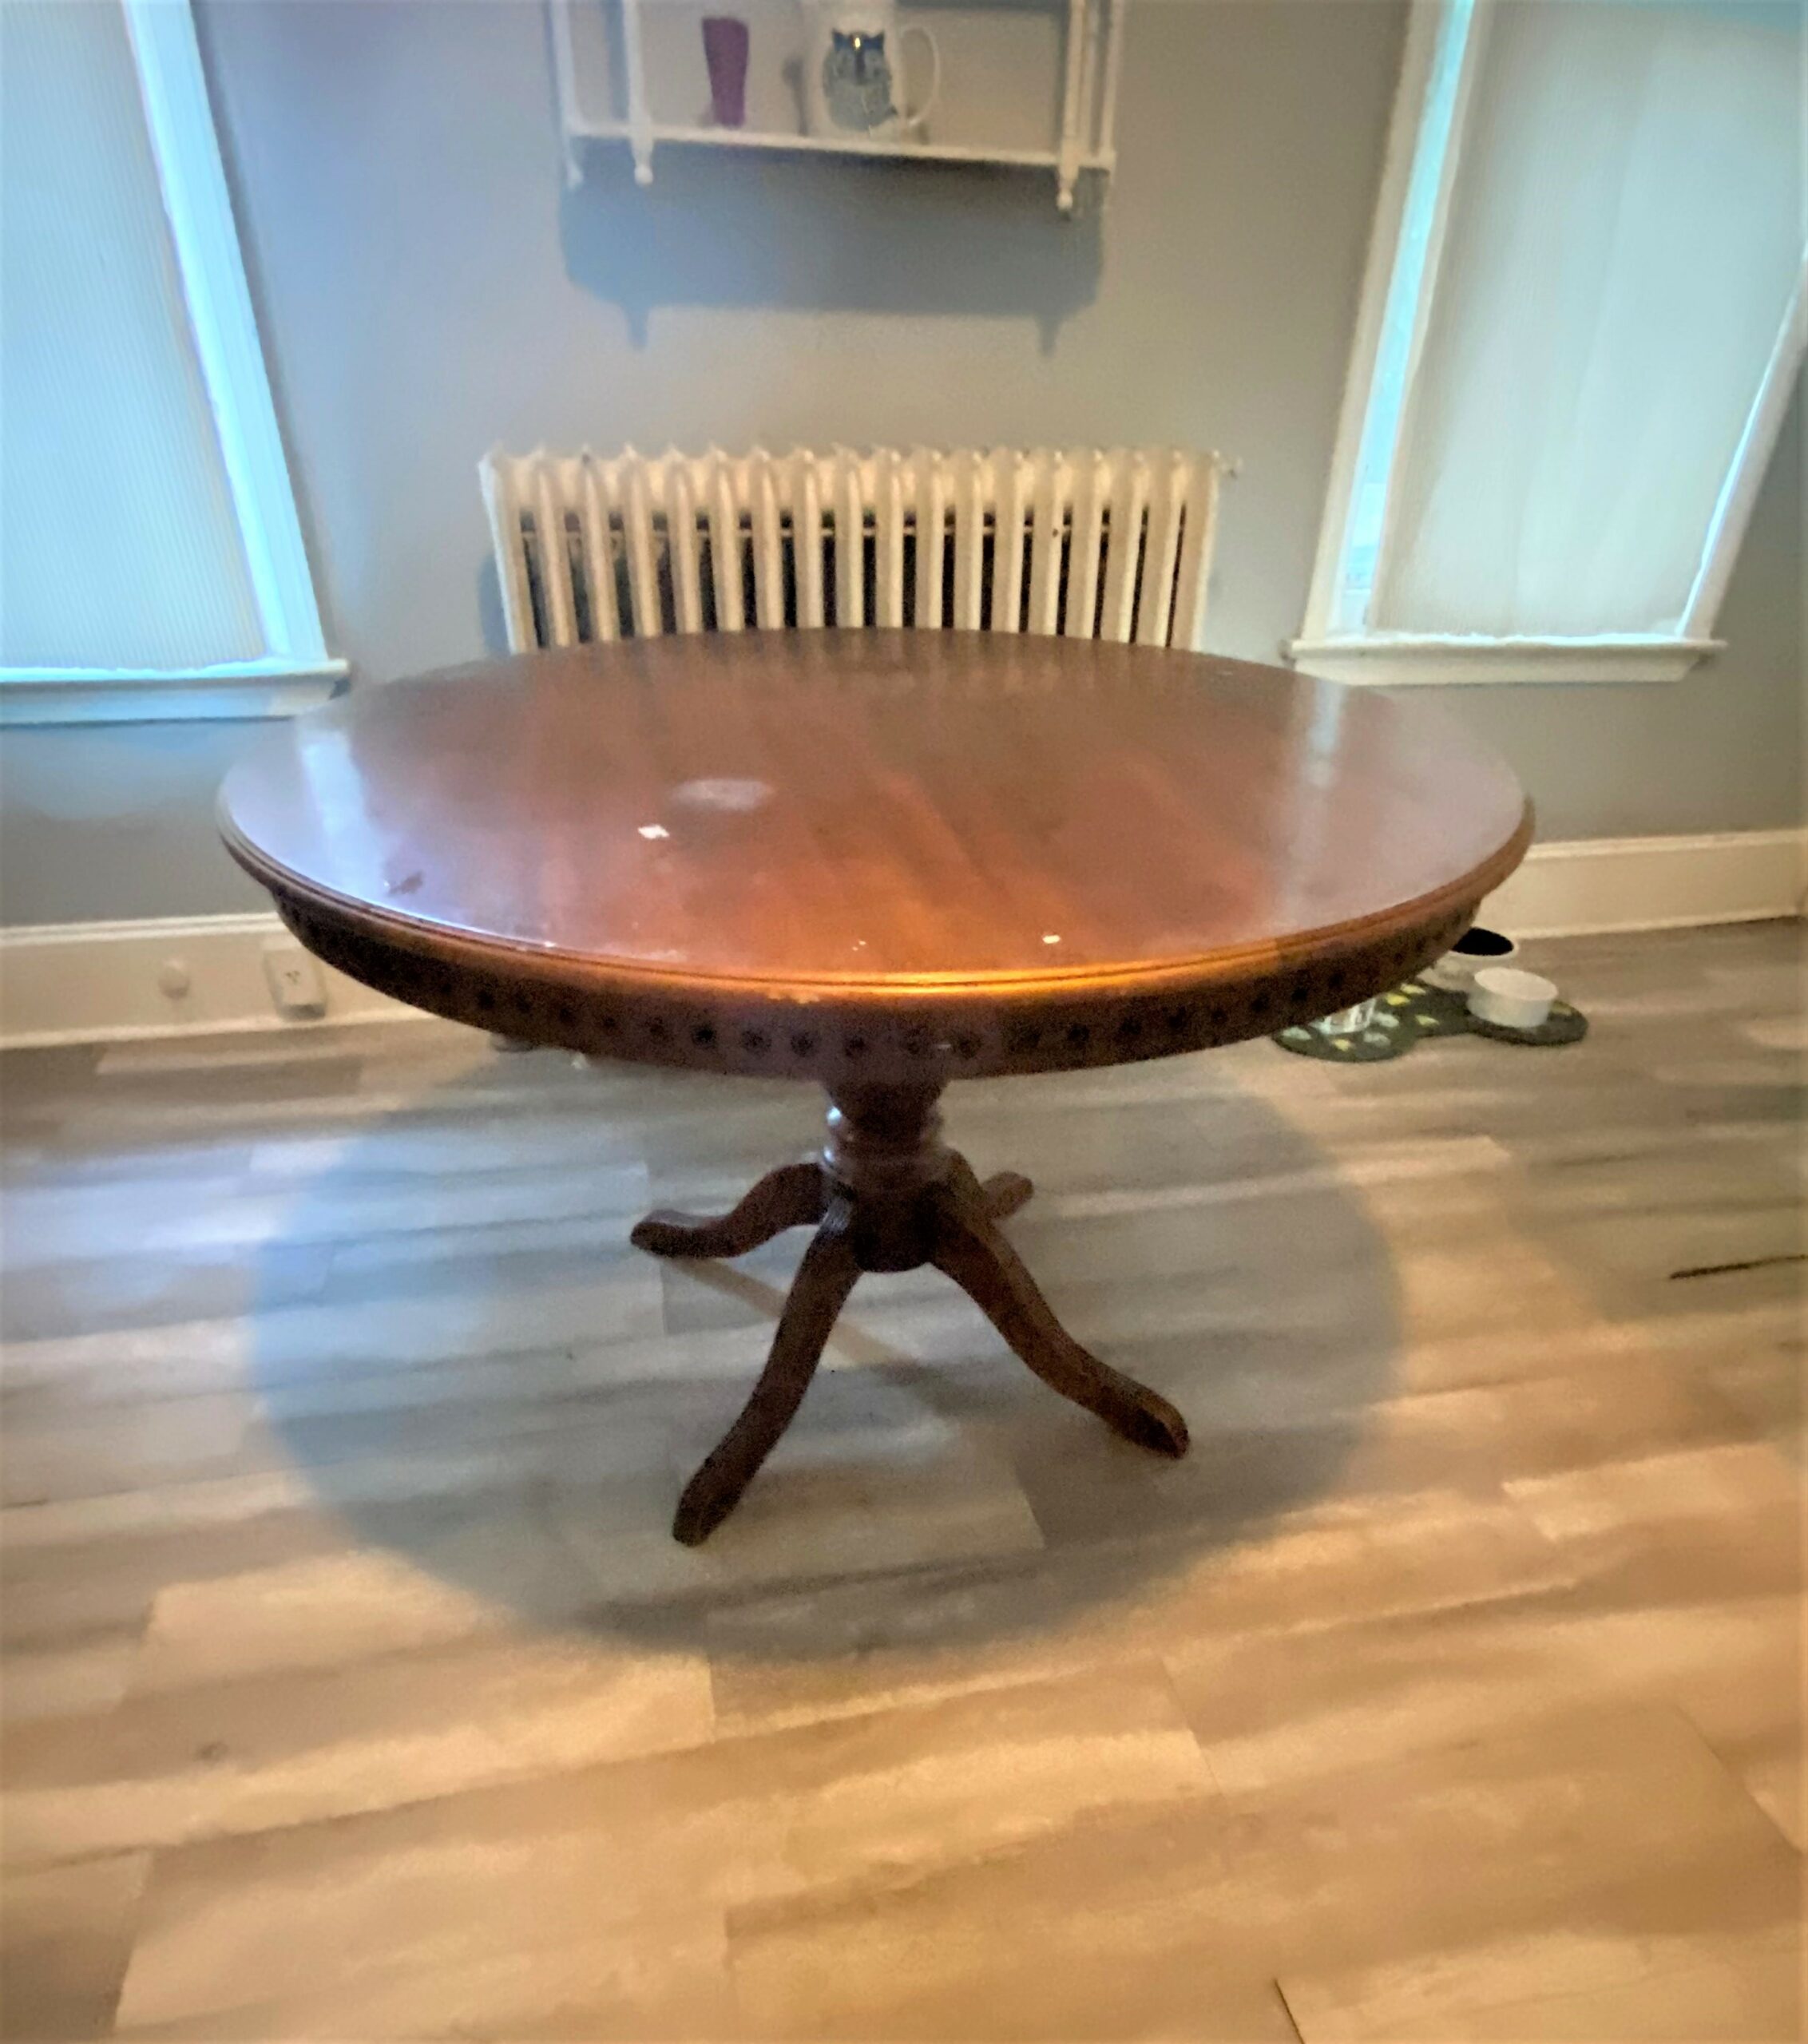
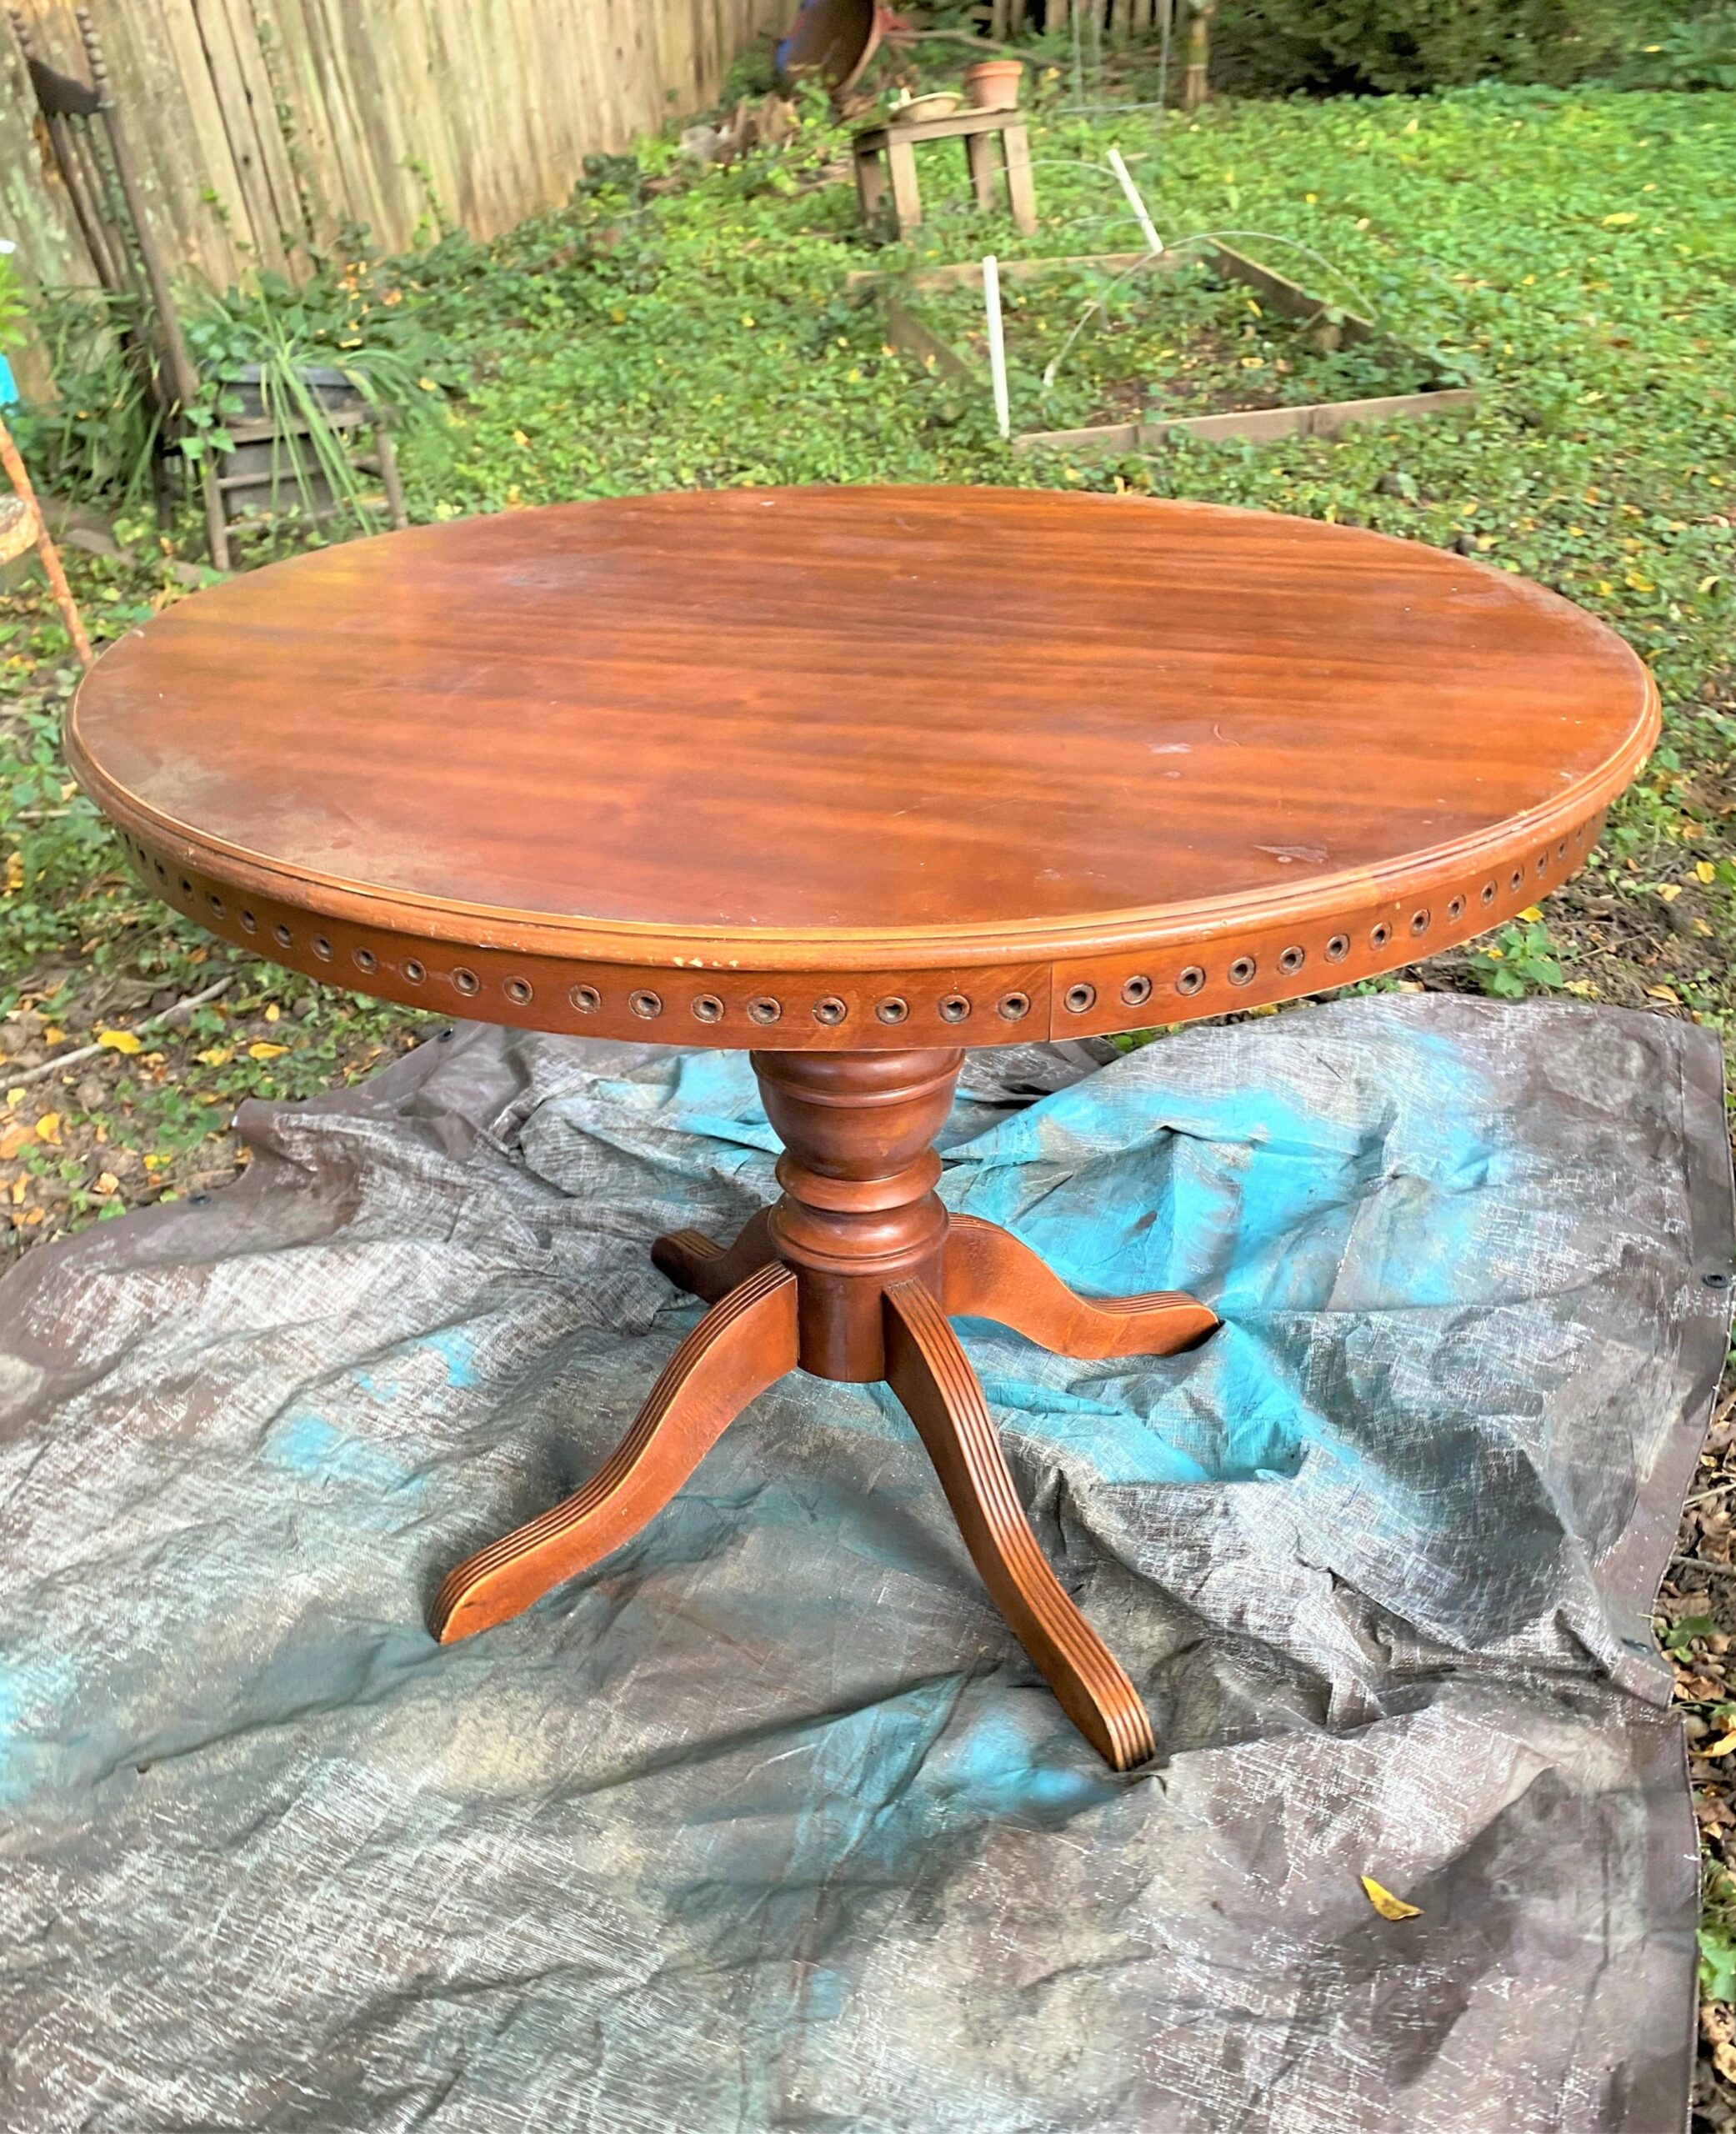
Modeling the items in this week’s blog, be on the lookout for a great table and set of chairs to upcycle as a set. While you might find a table with matching chairs at Goodwill, if not, have fun and pick up four mismatched wooden chairs to go with your table purchase. The white color will connect them and make them look like they were destined to be together.
2. Take apart pieces to make painting a pleasure
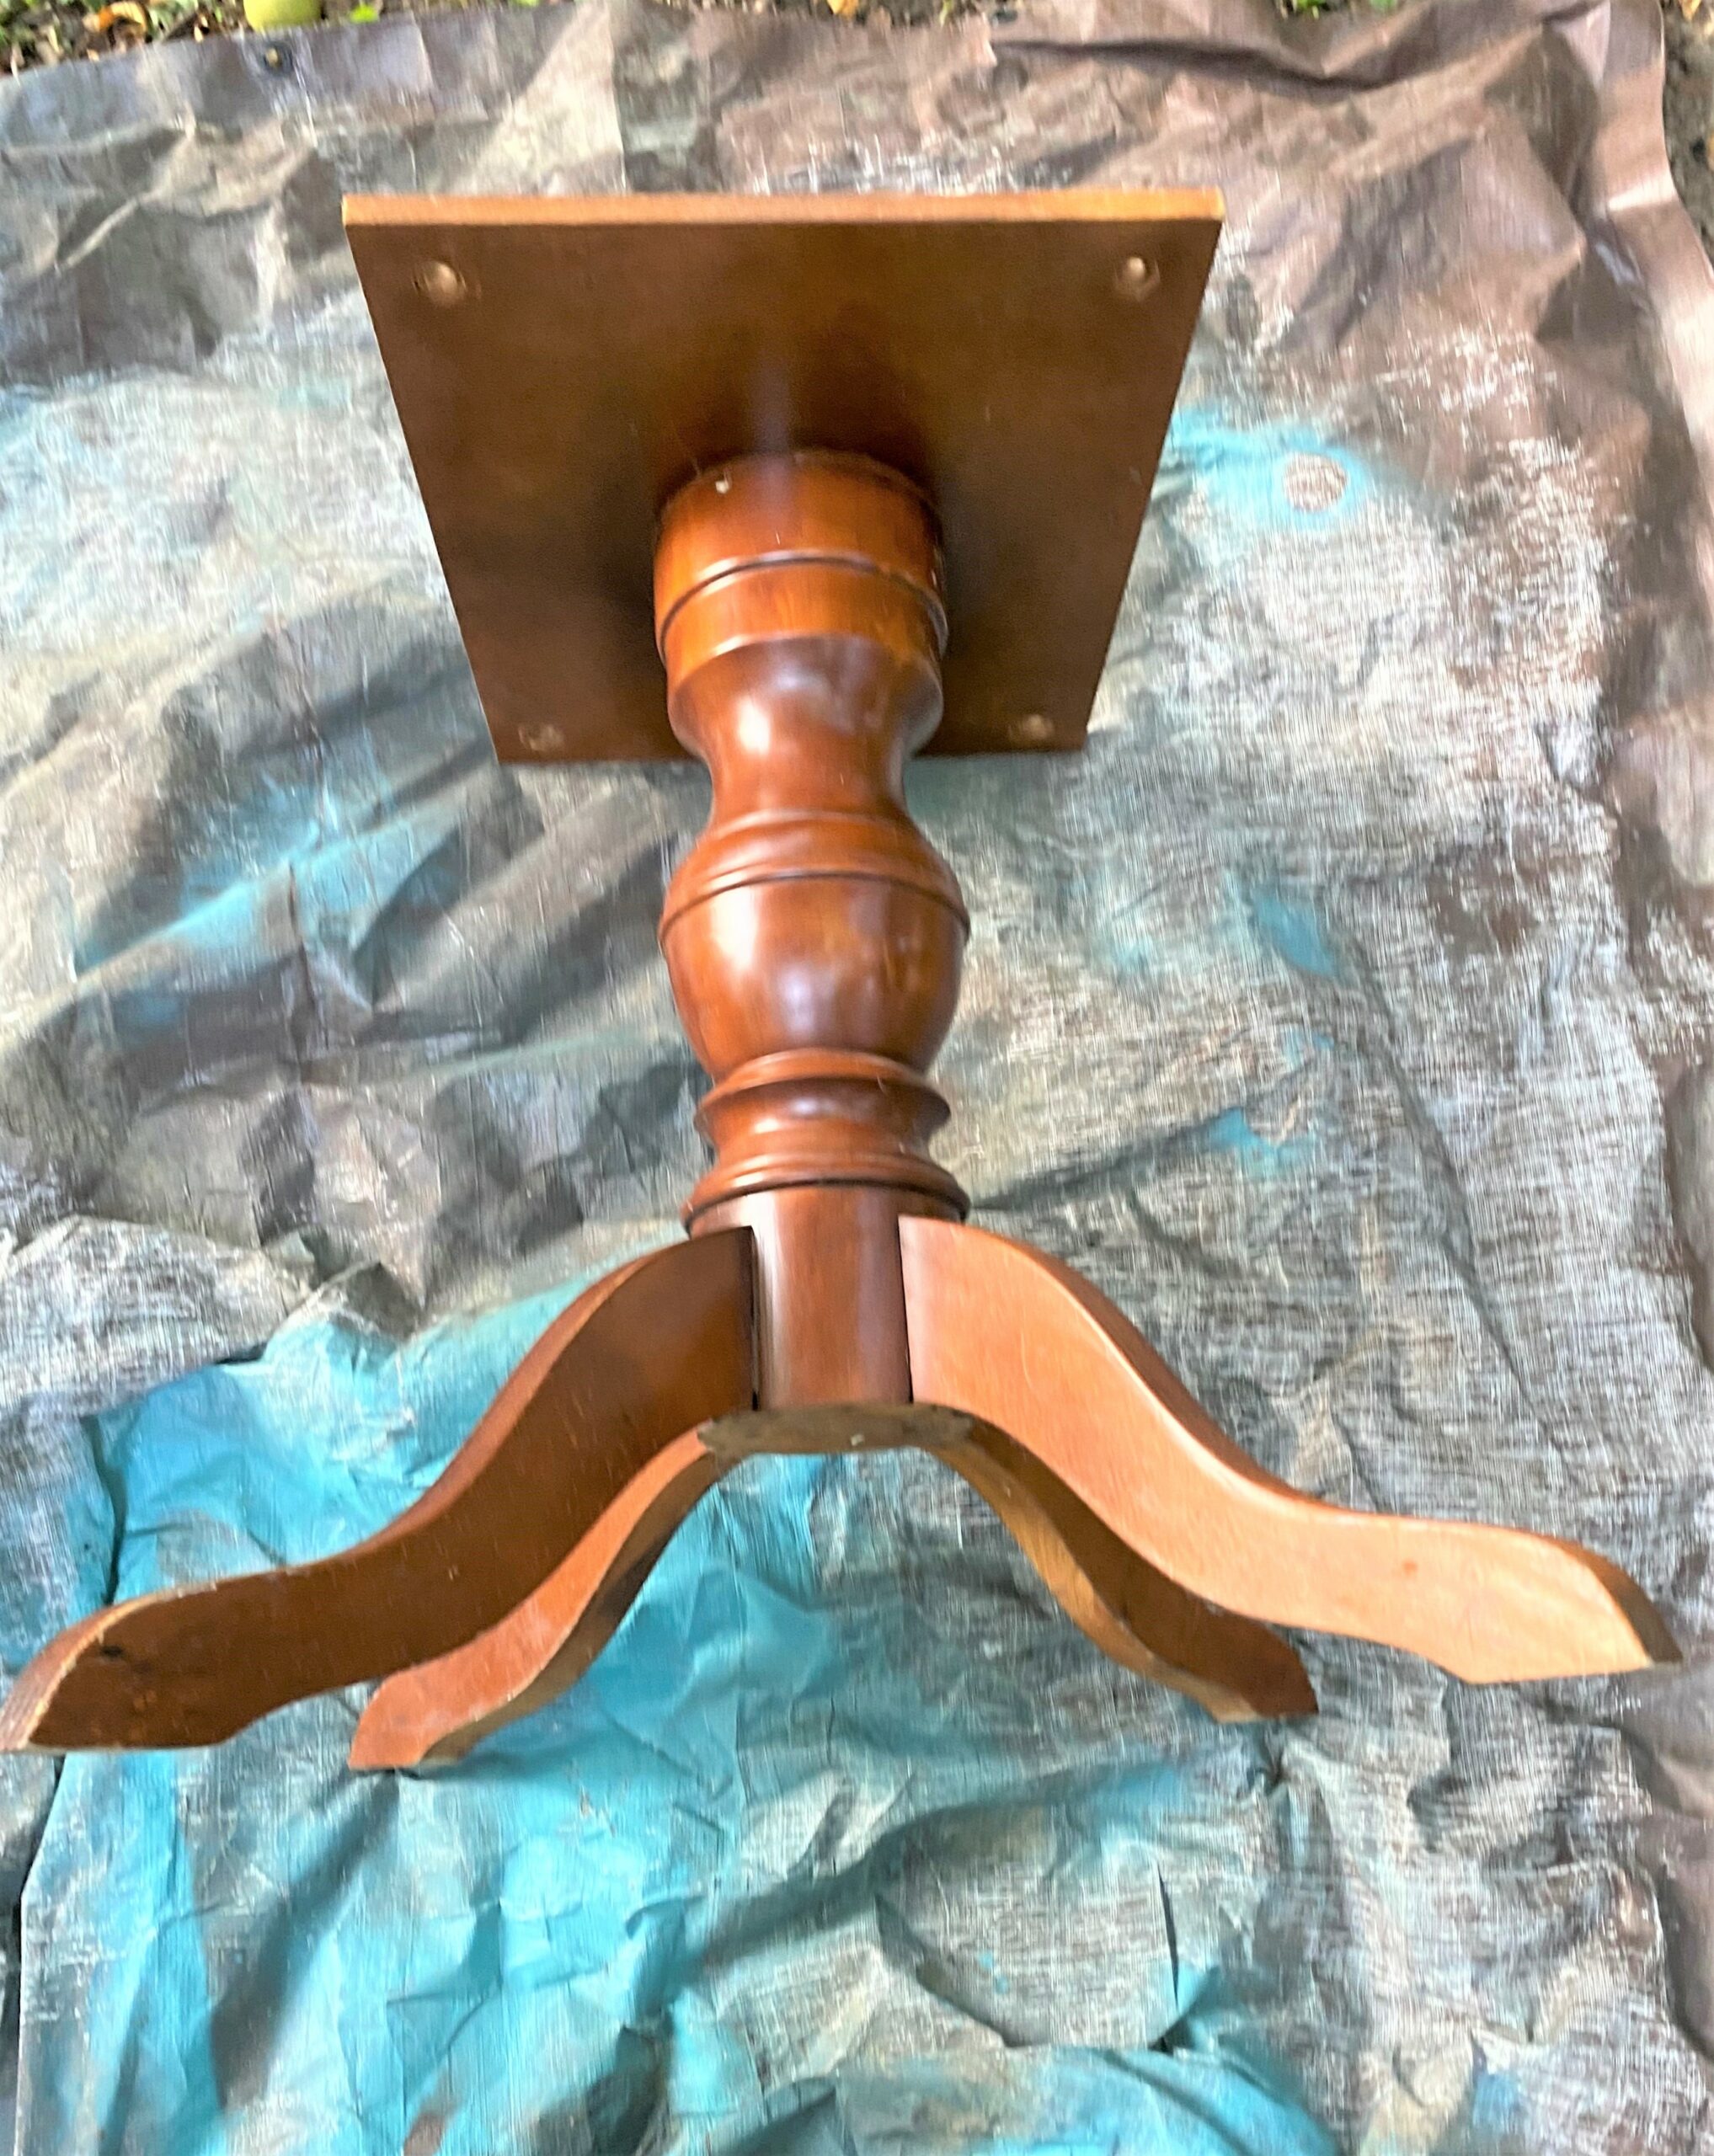
The table’s top was easily removed from the base by flipping it over and using a wrench to remove four bolts. The chairs were turned upside down, too, and a screwdriver was all that was needed to take out the screws holding the seats in place.
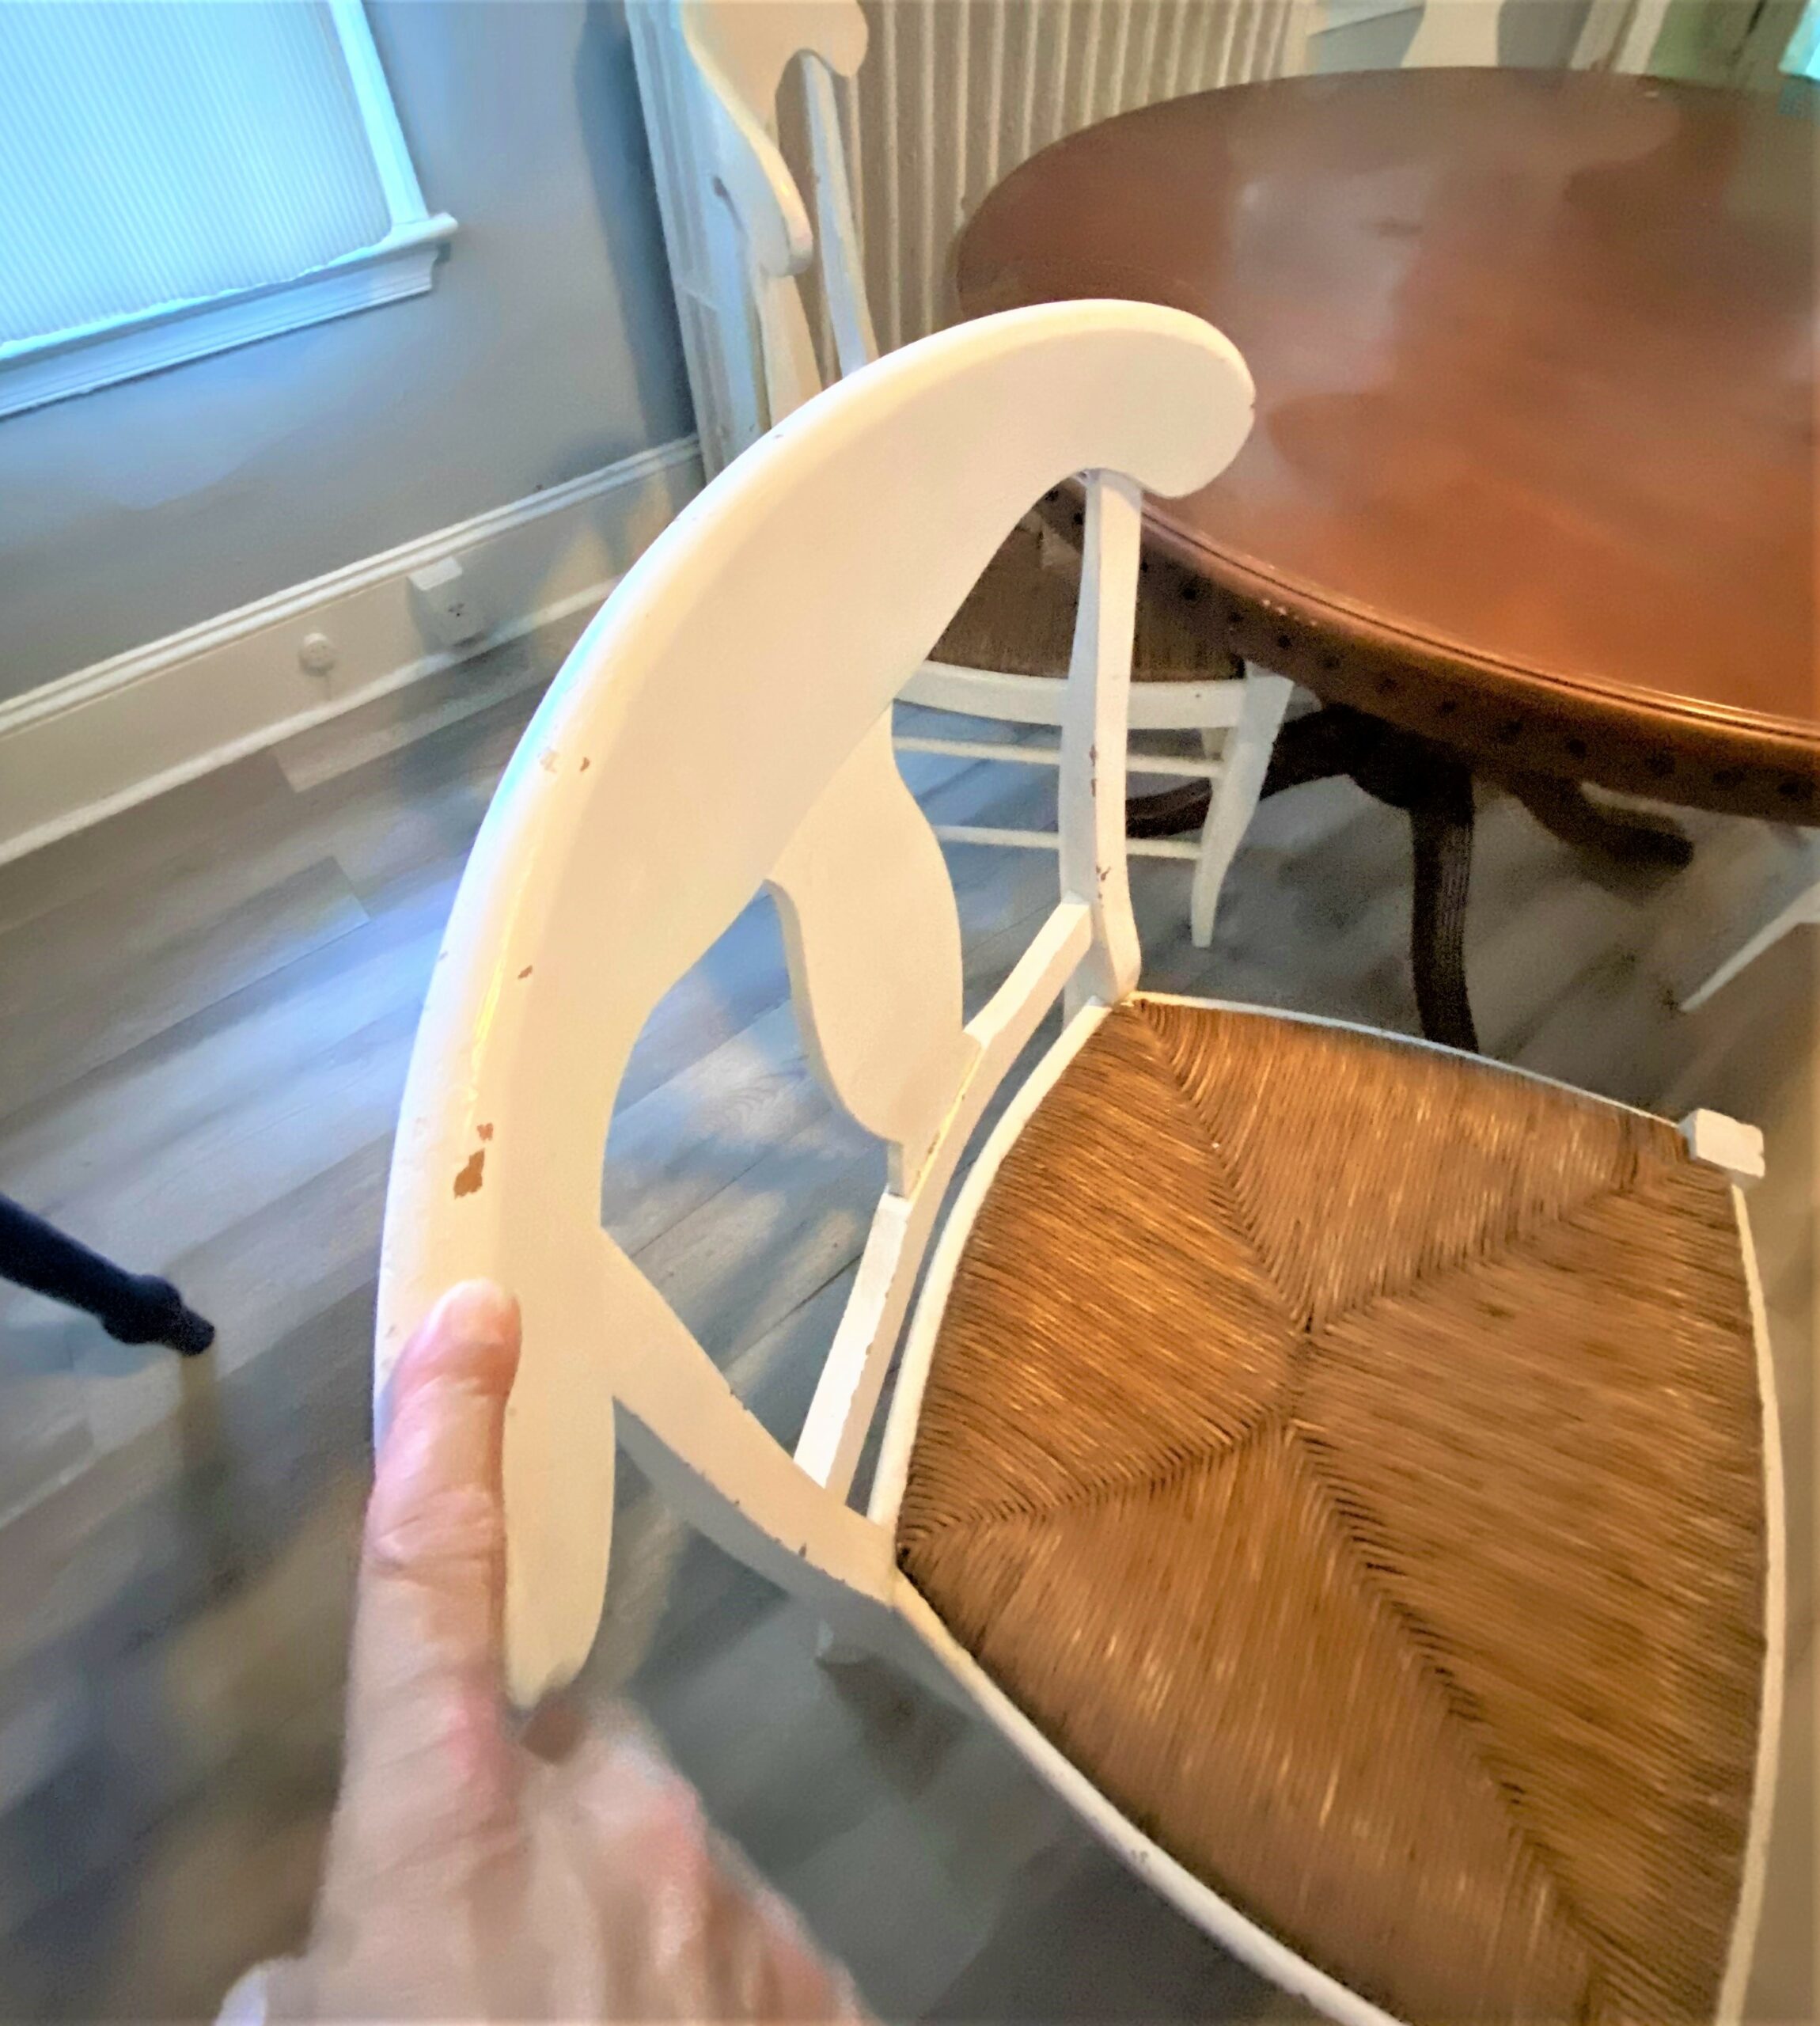
- Use a medium-grade sandpaper or sanding block to slightly buff up your table and chairs’ current finish. This step will help the paint to hang on tight for many years to come.
- Wipe down your pieces with a damp, soft cloth to remove the dust from sanding as well as any dirt or grimy fingerprints.
- Move them outside and place them on a drop cloth and get ready for the transformation (and fun!) to begin!
3. Lots of light layers look lovely
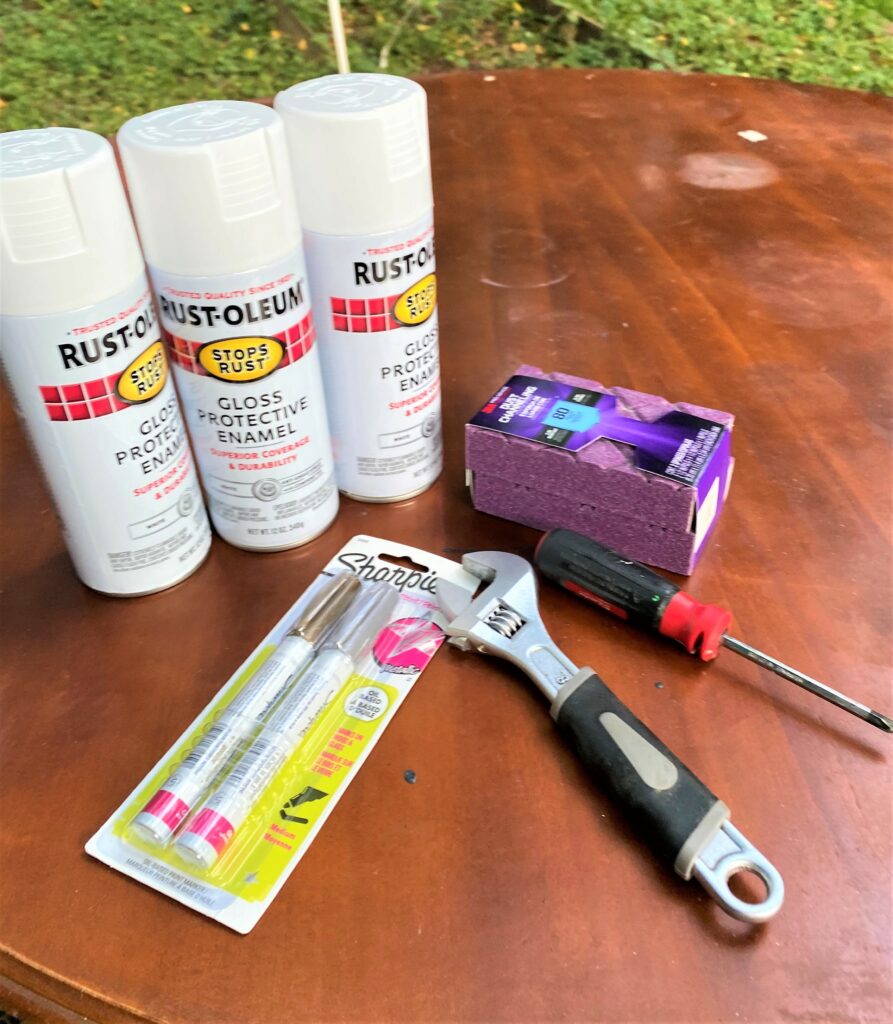
- Gently spray a light layer on your various table and chair parts. Keep in mind that you will give each piece at least three light sprayings/layers so that you aren’t tempted to do it all in one setting.
- Very often, we want to add one thick layer to make things look perfect immediately. What might happen by doing it that way is the paint may drip or even pucker up.
- Allow your table and chair parts to dry very well before adding layer numbers 2, 3, and even 4 if need be.
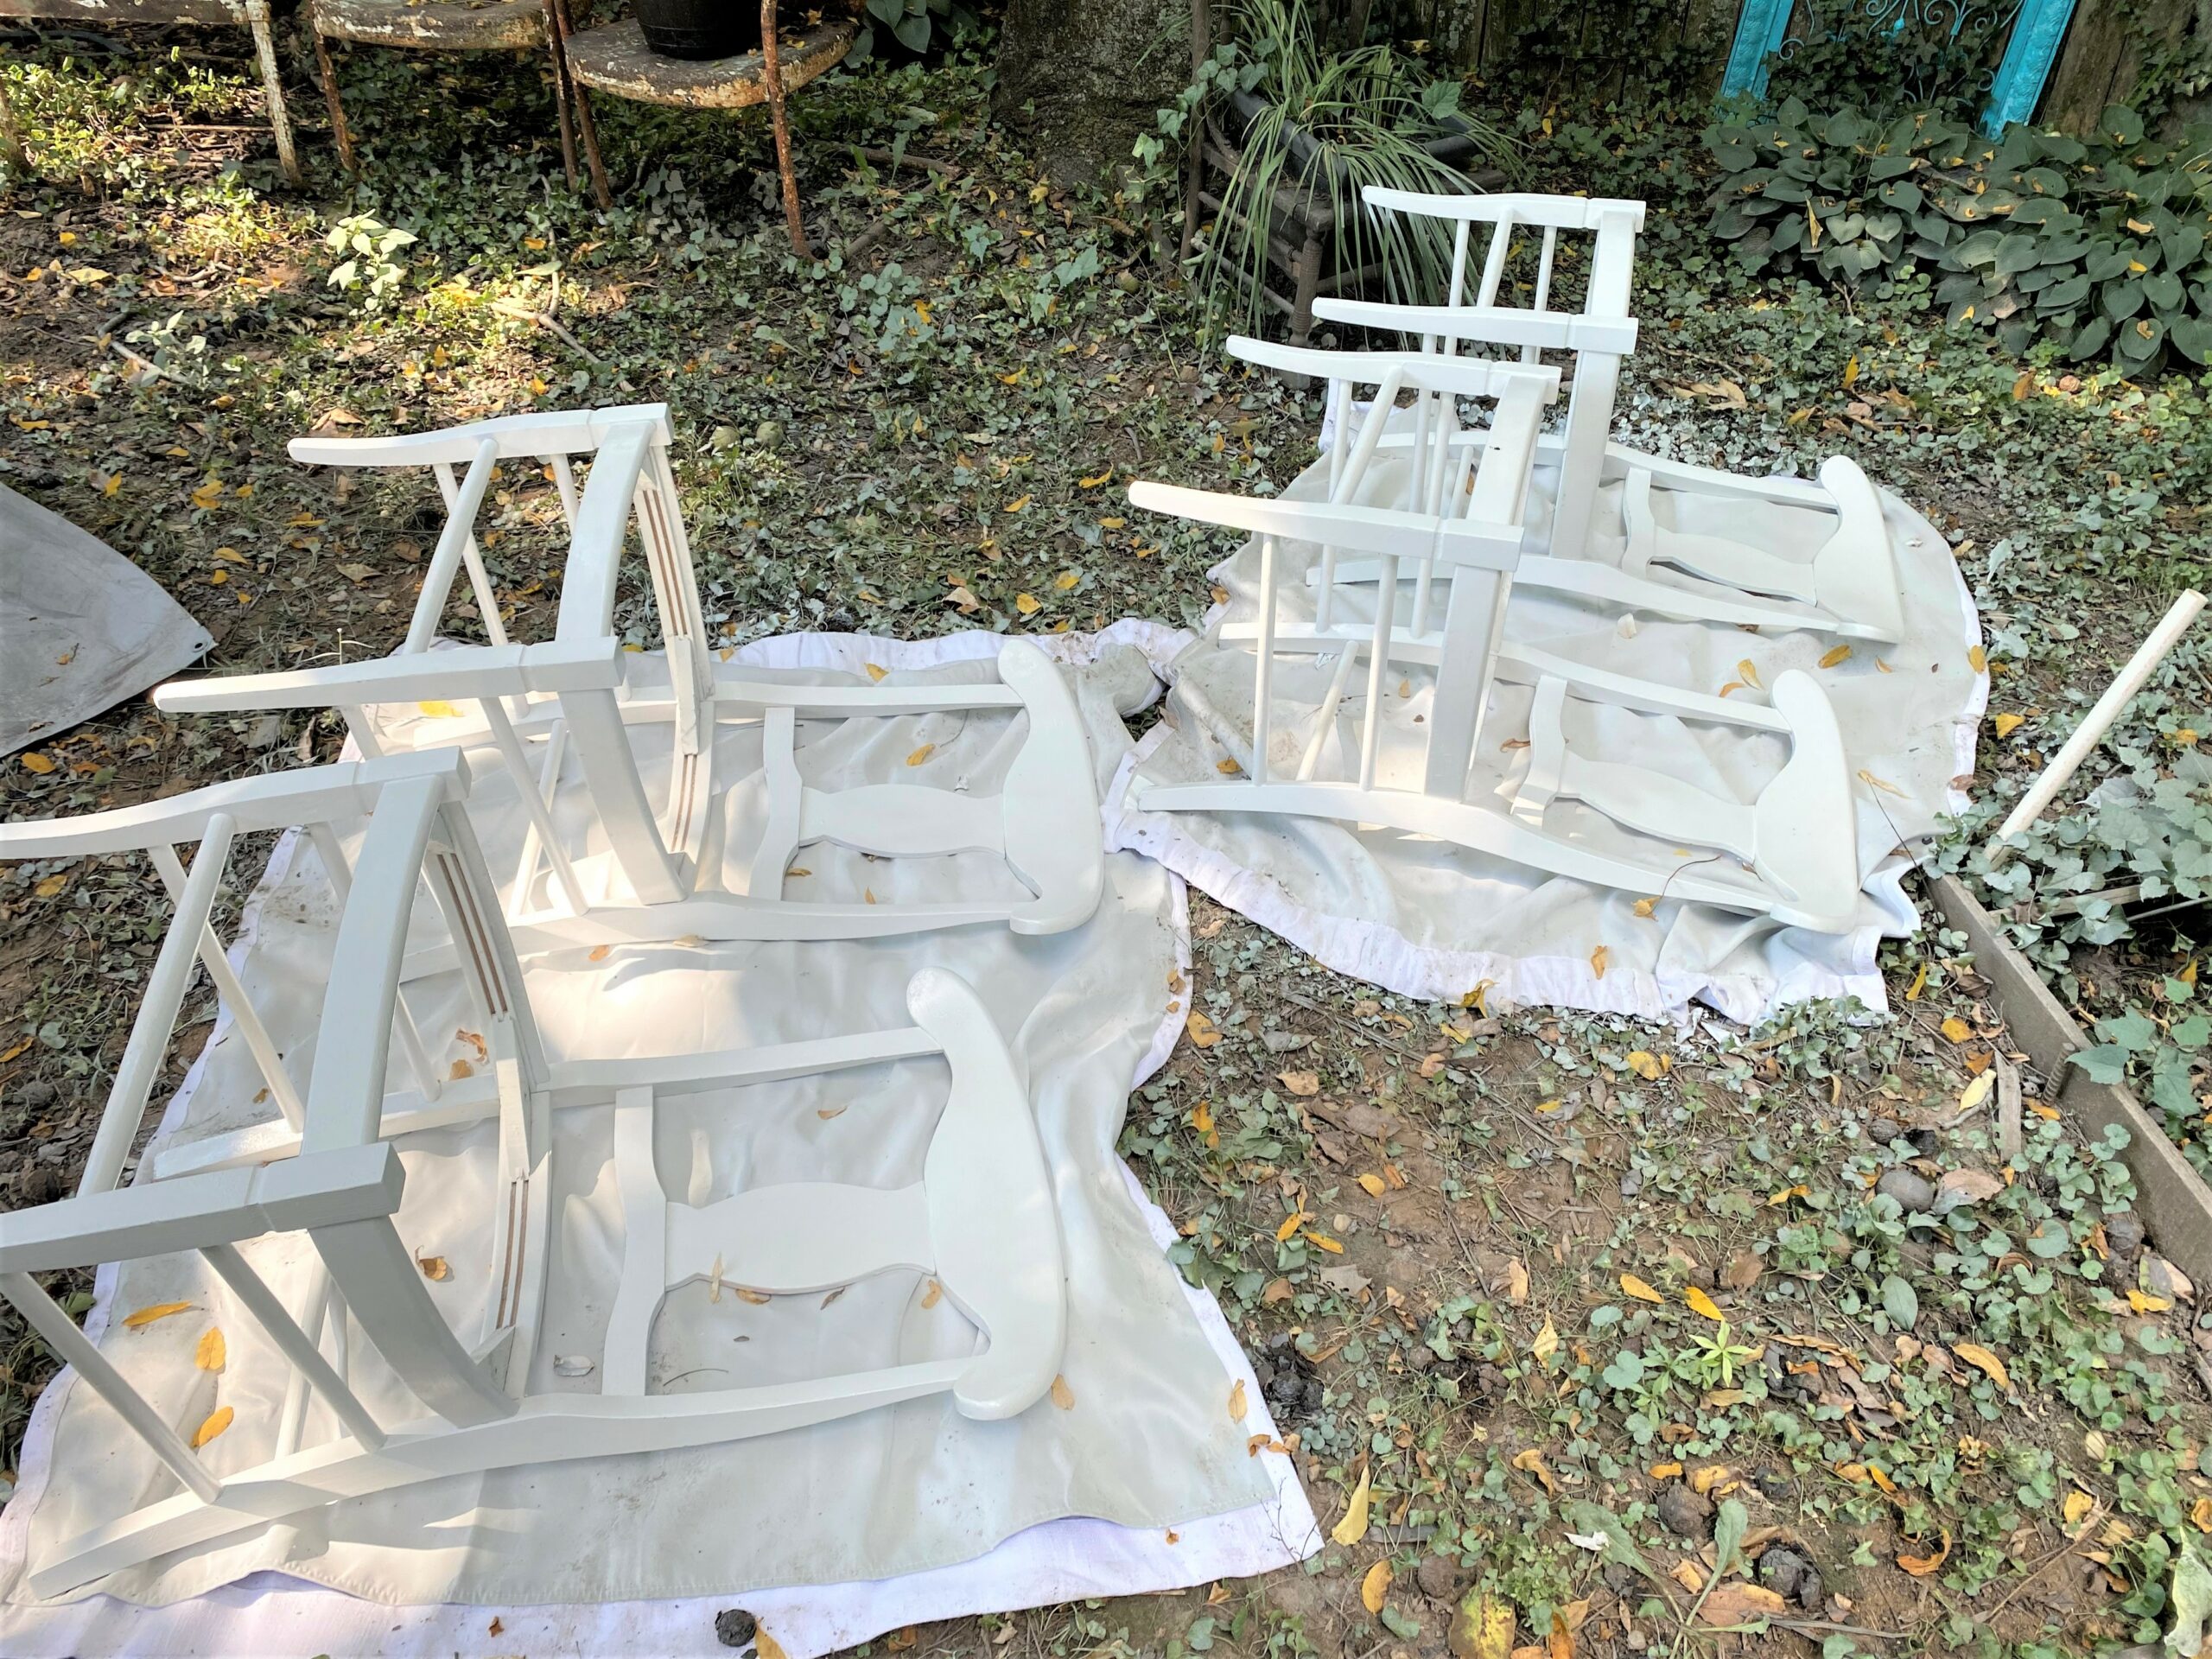
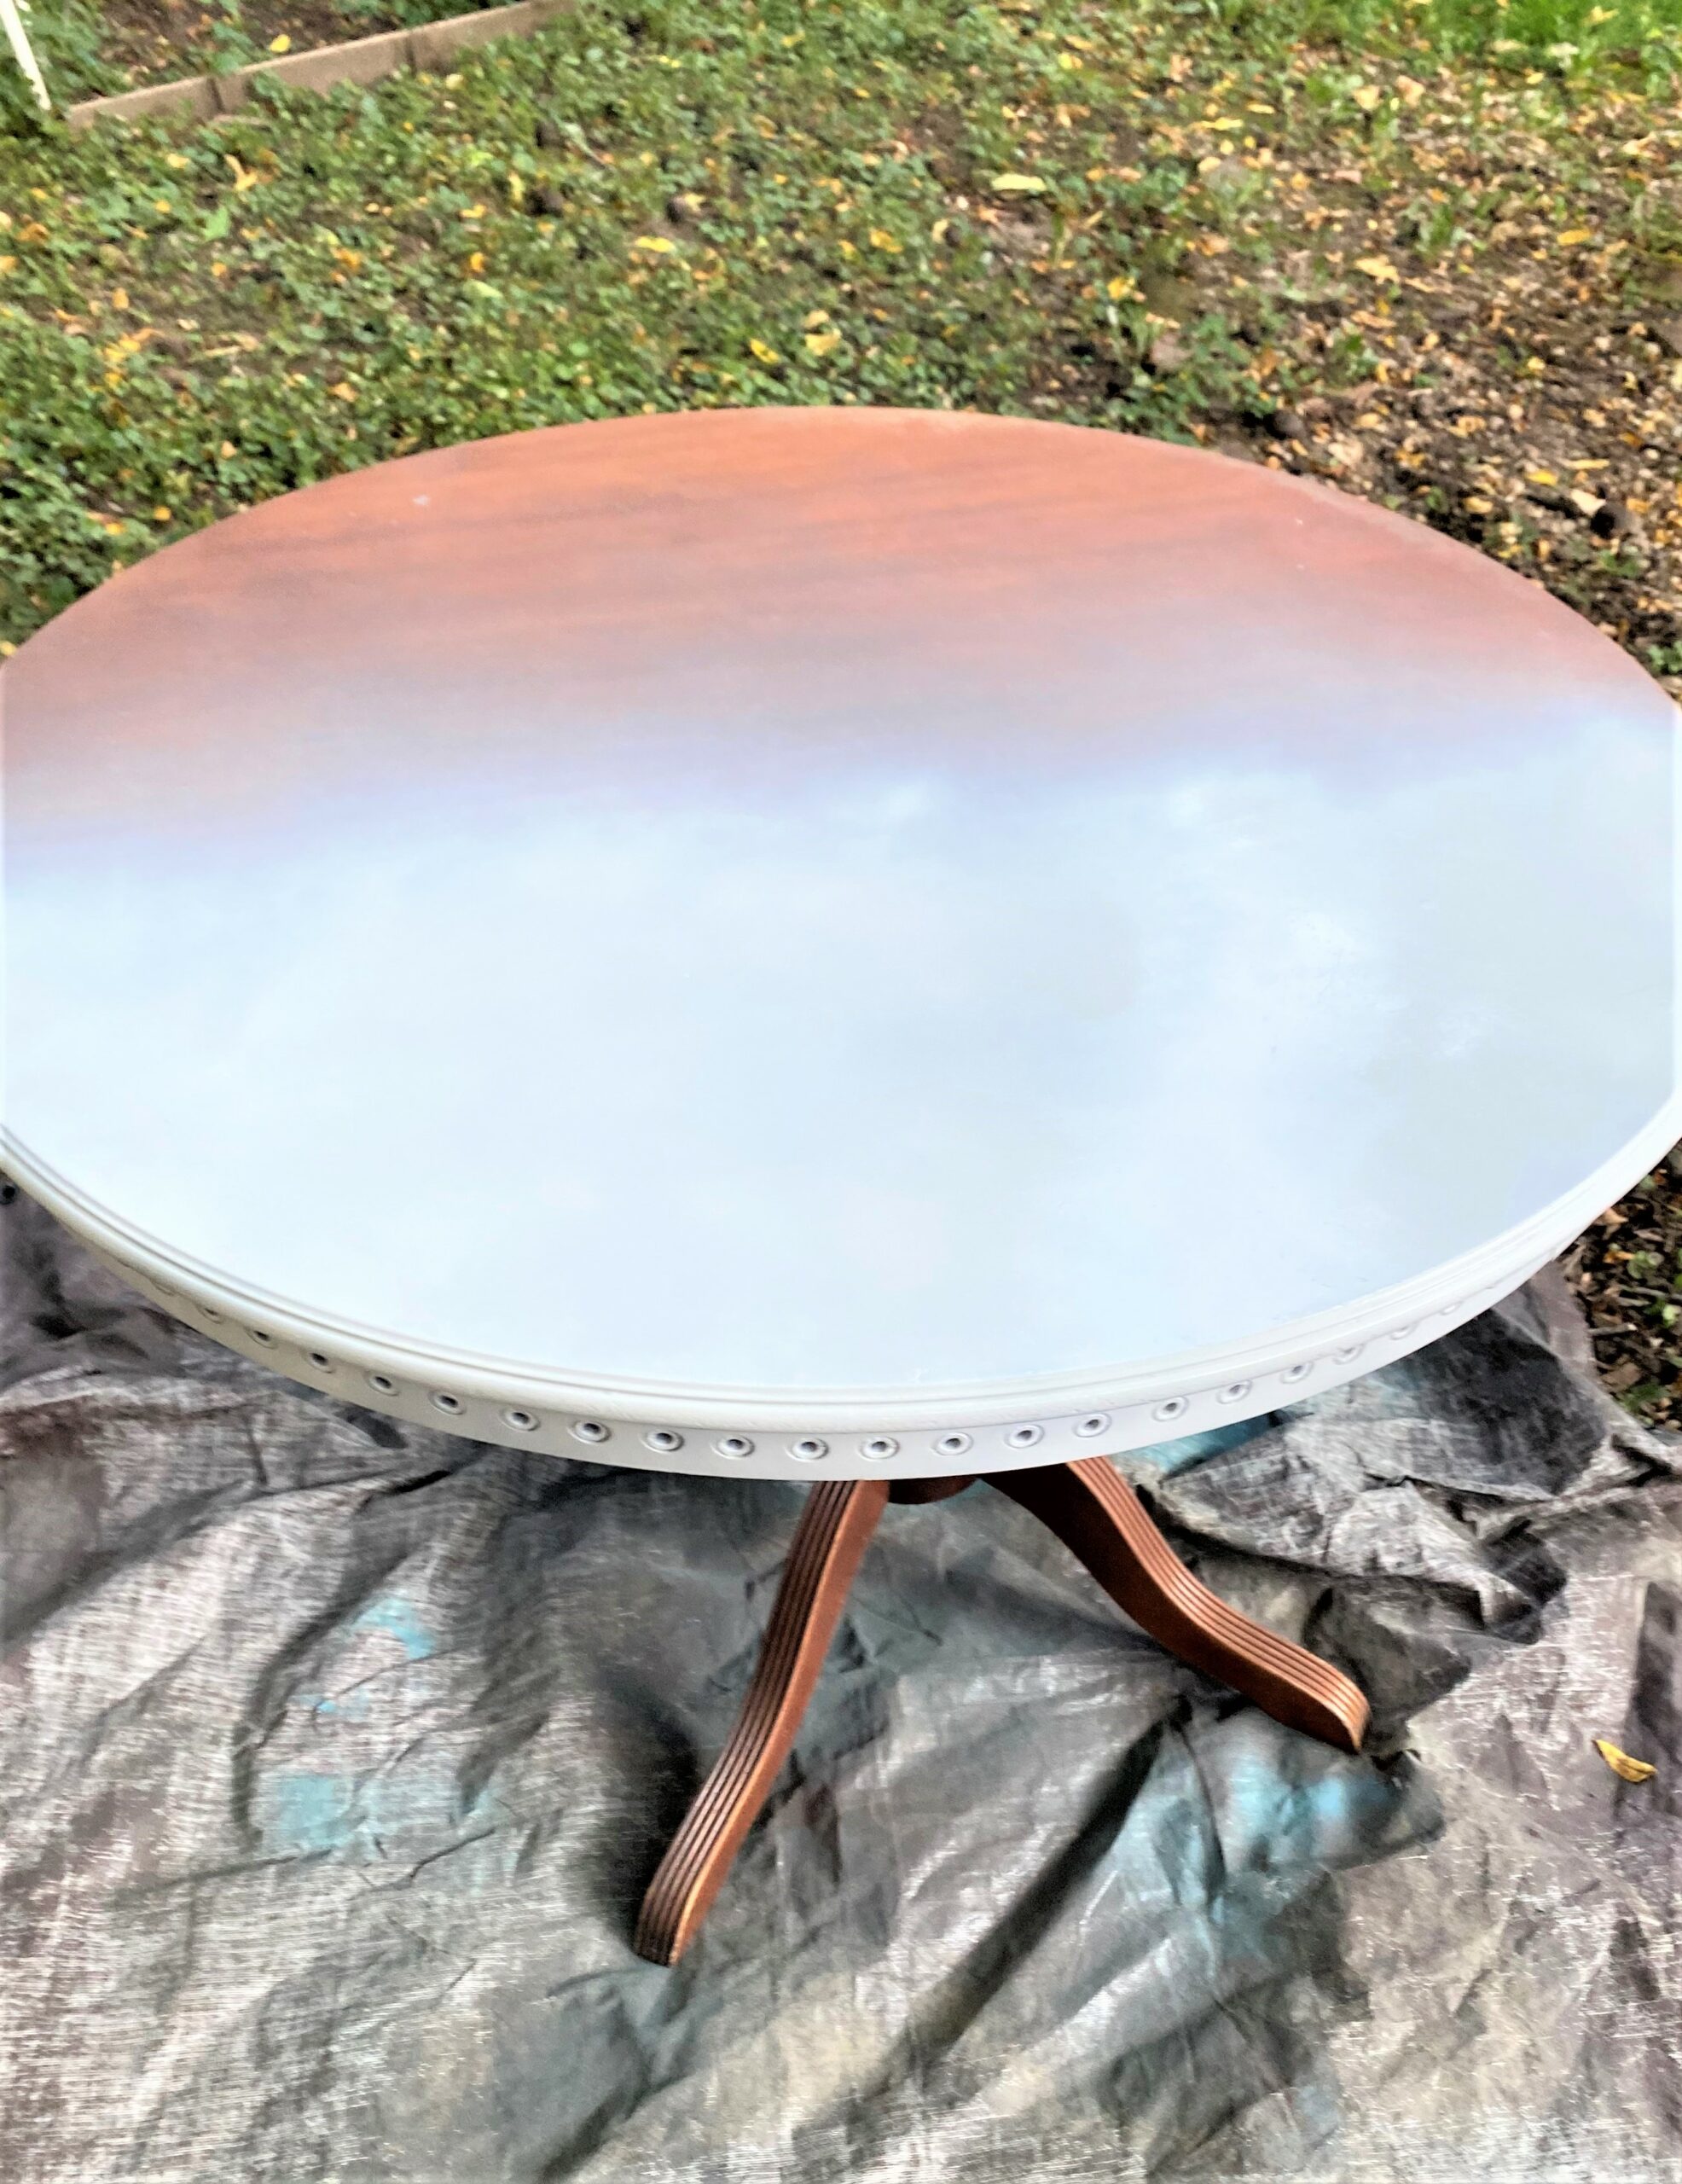
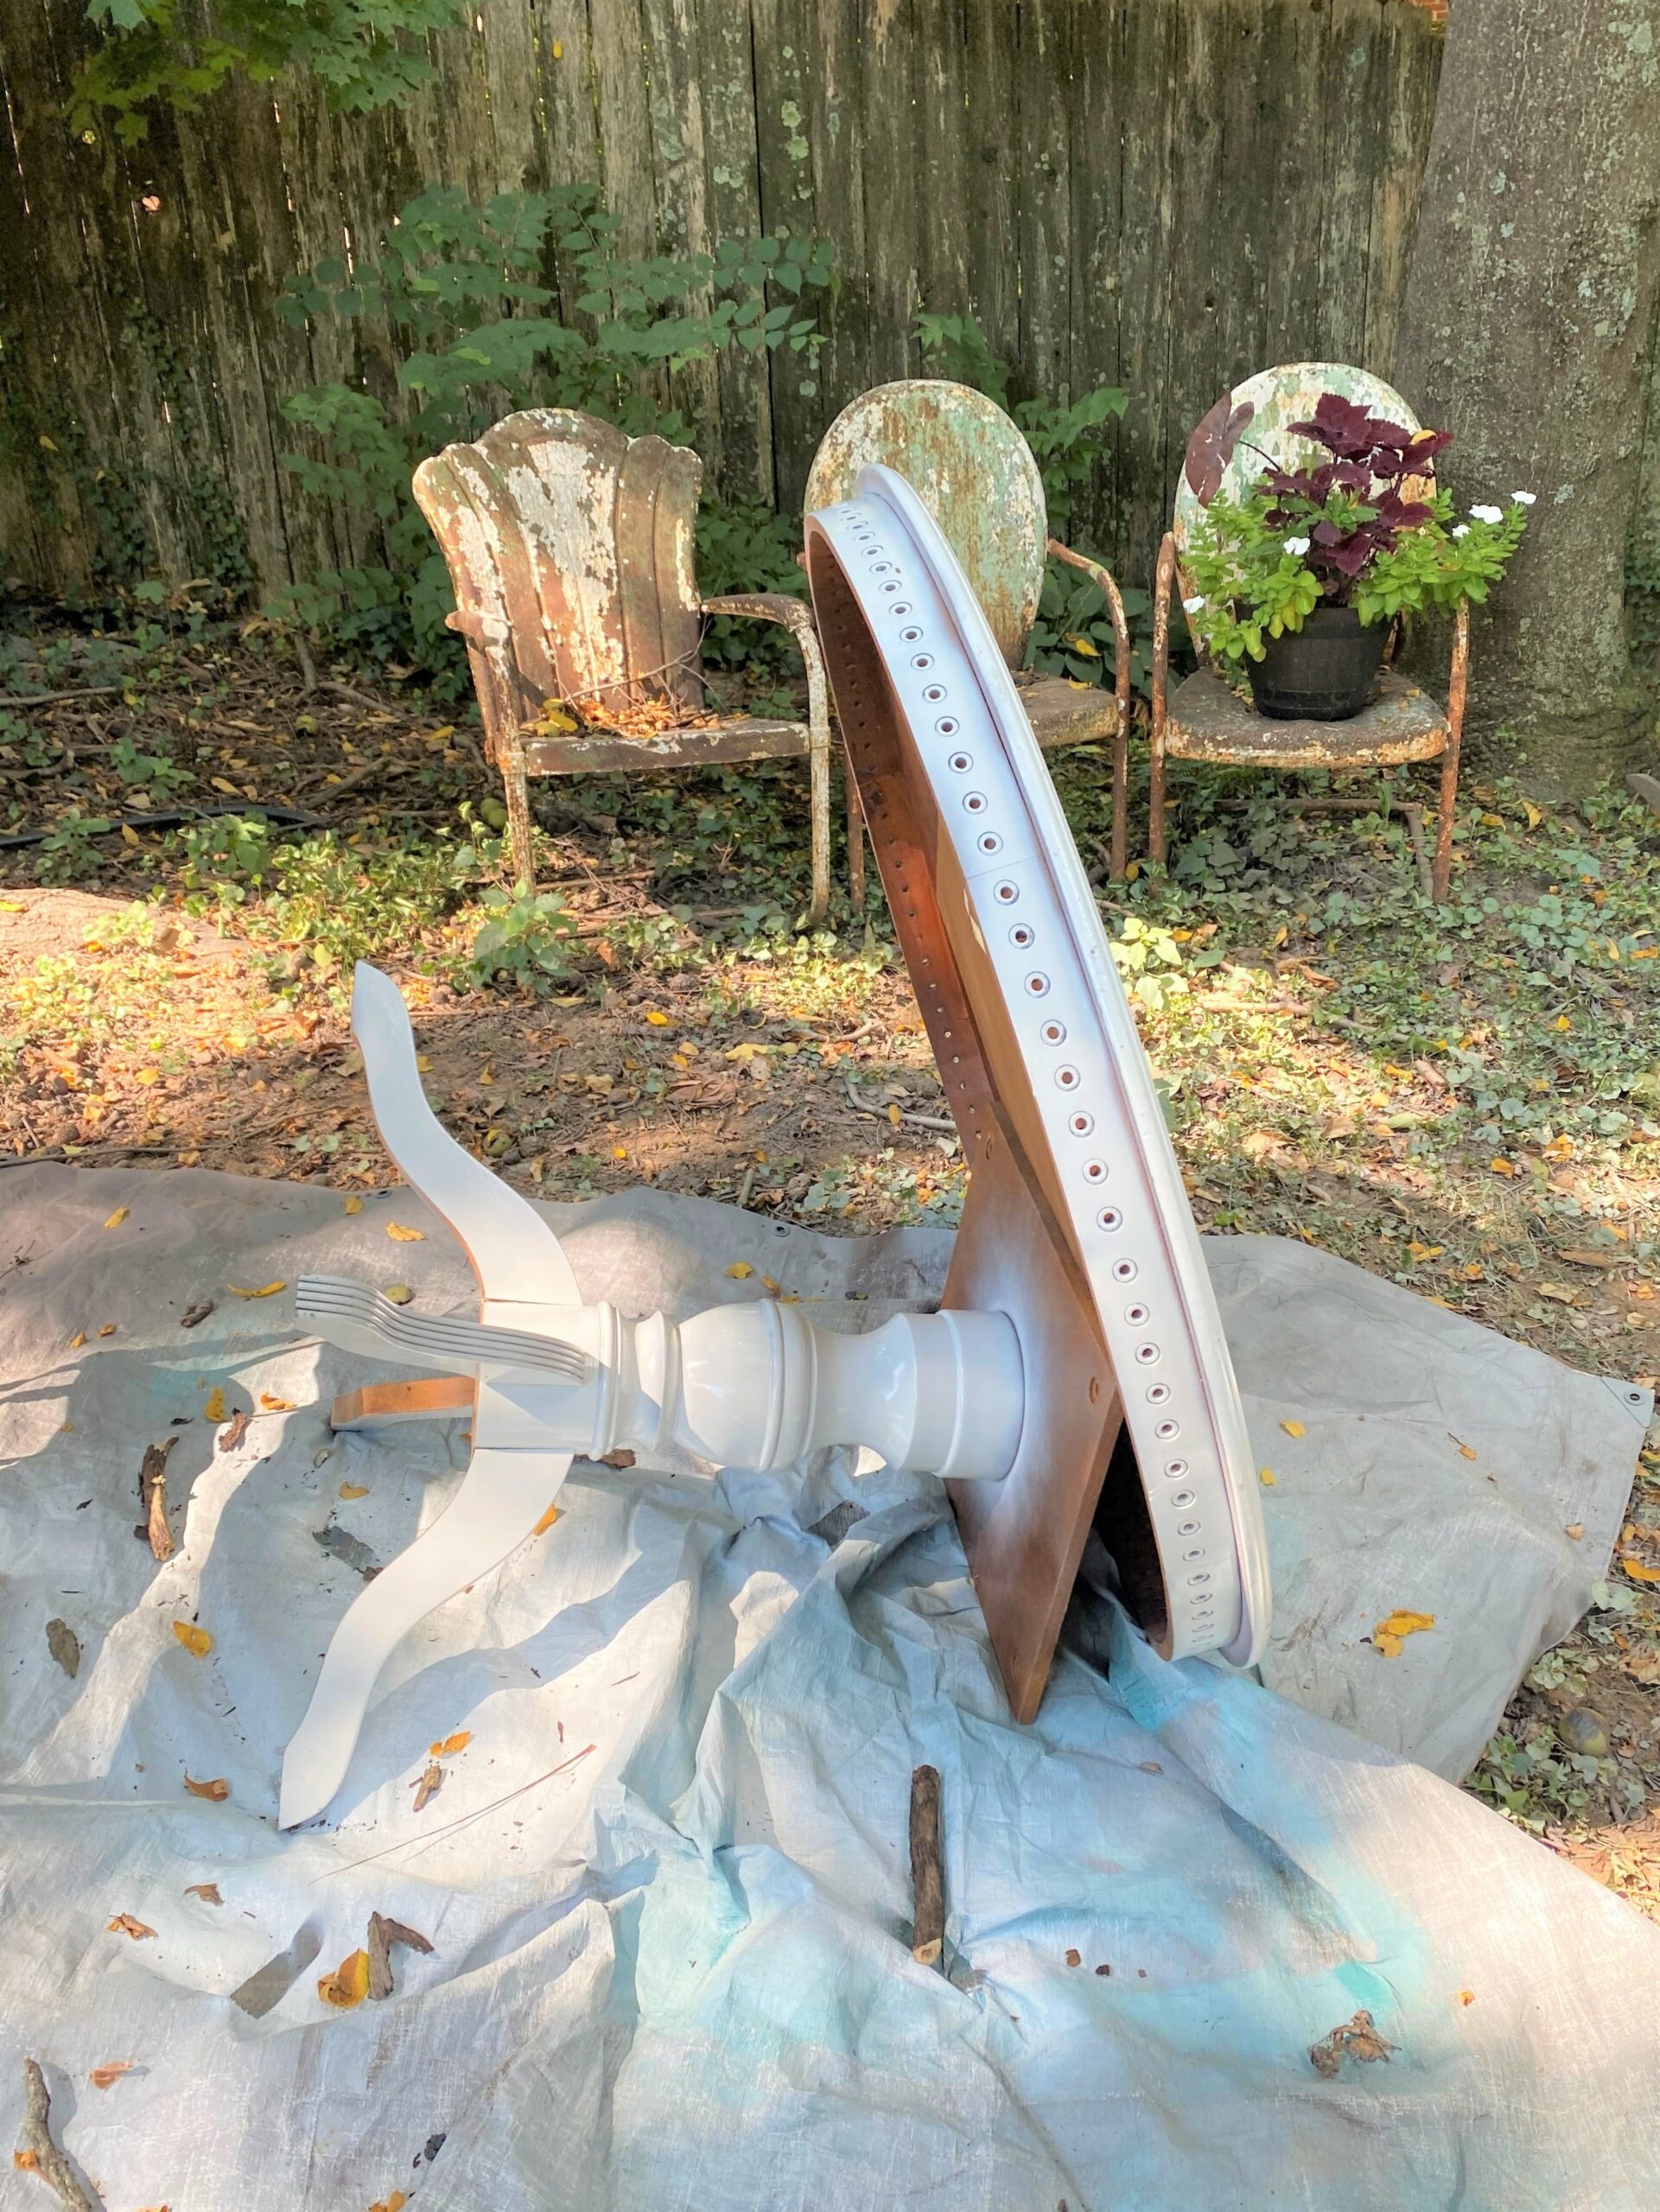
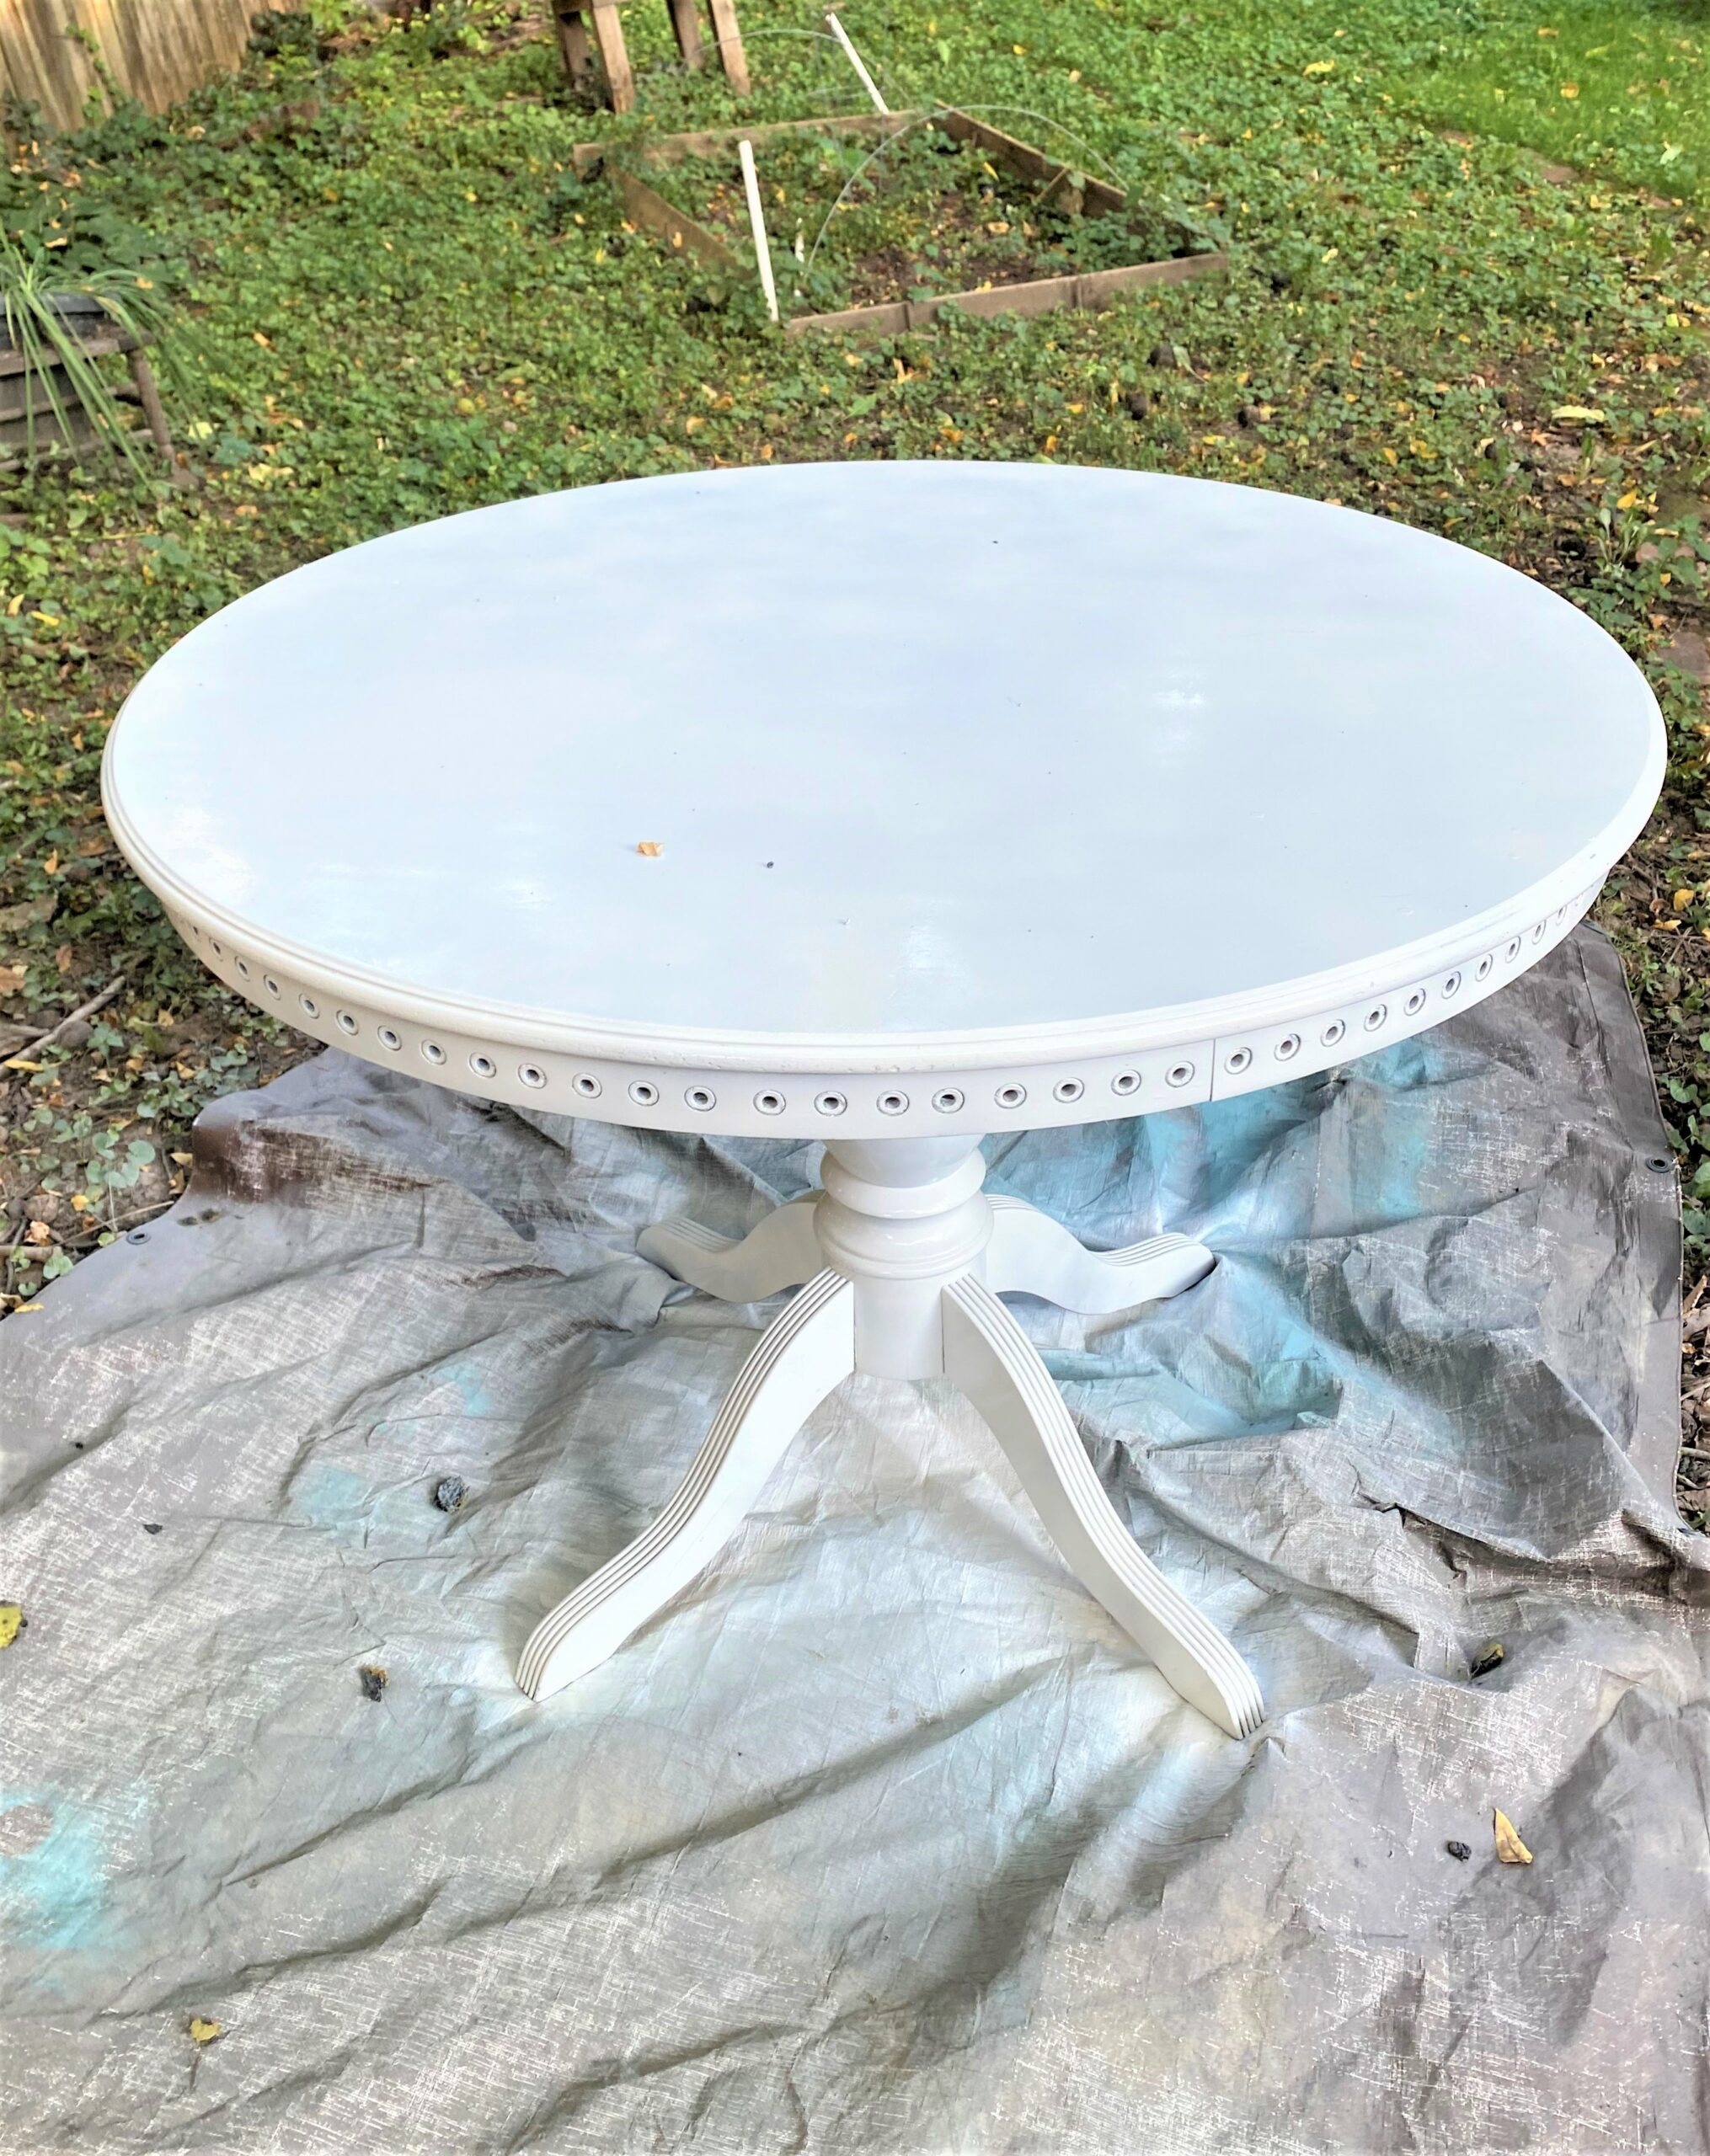
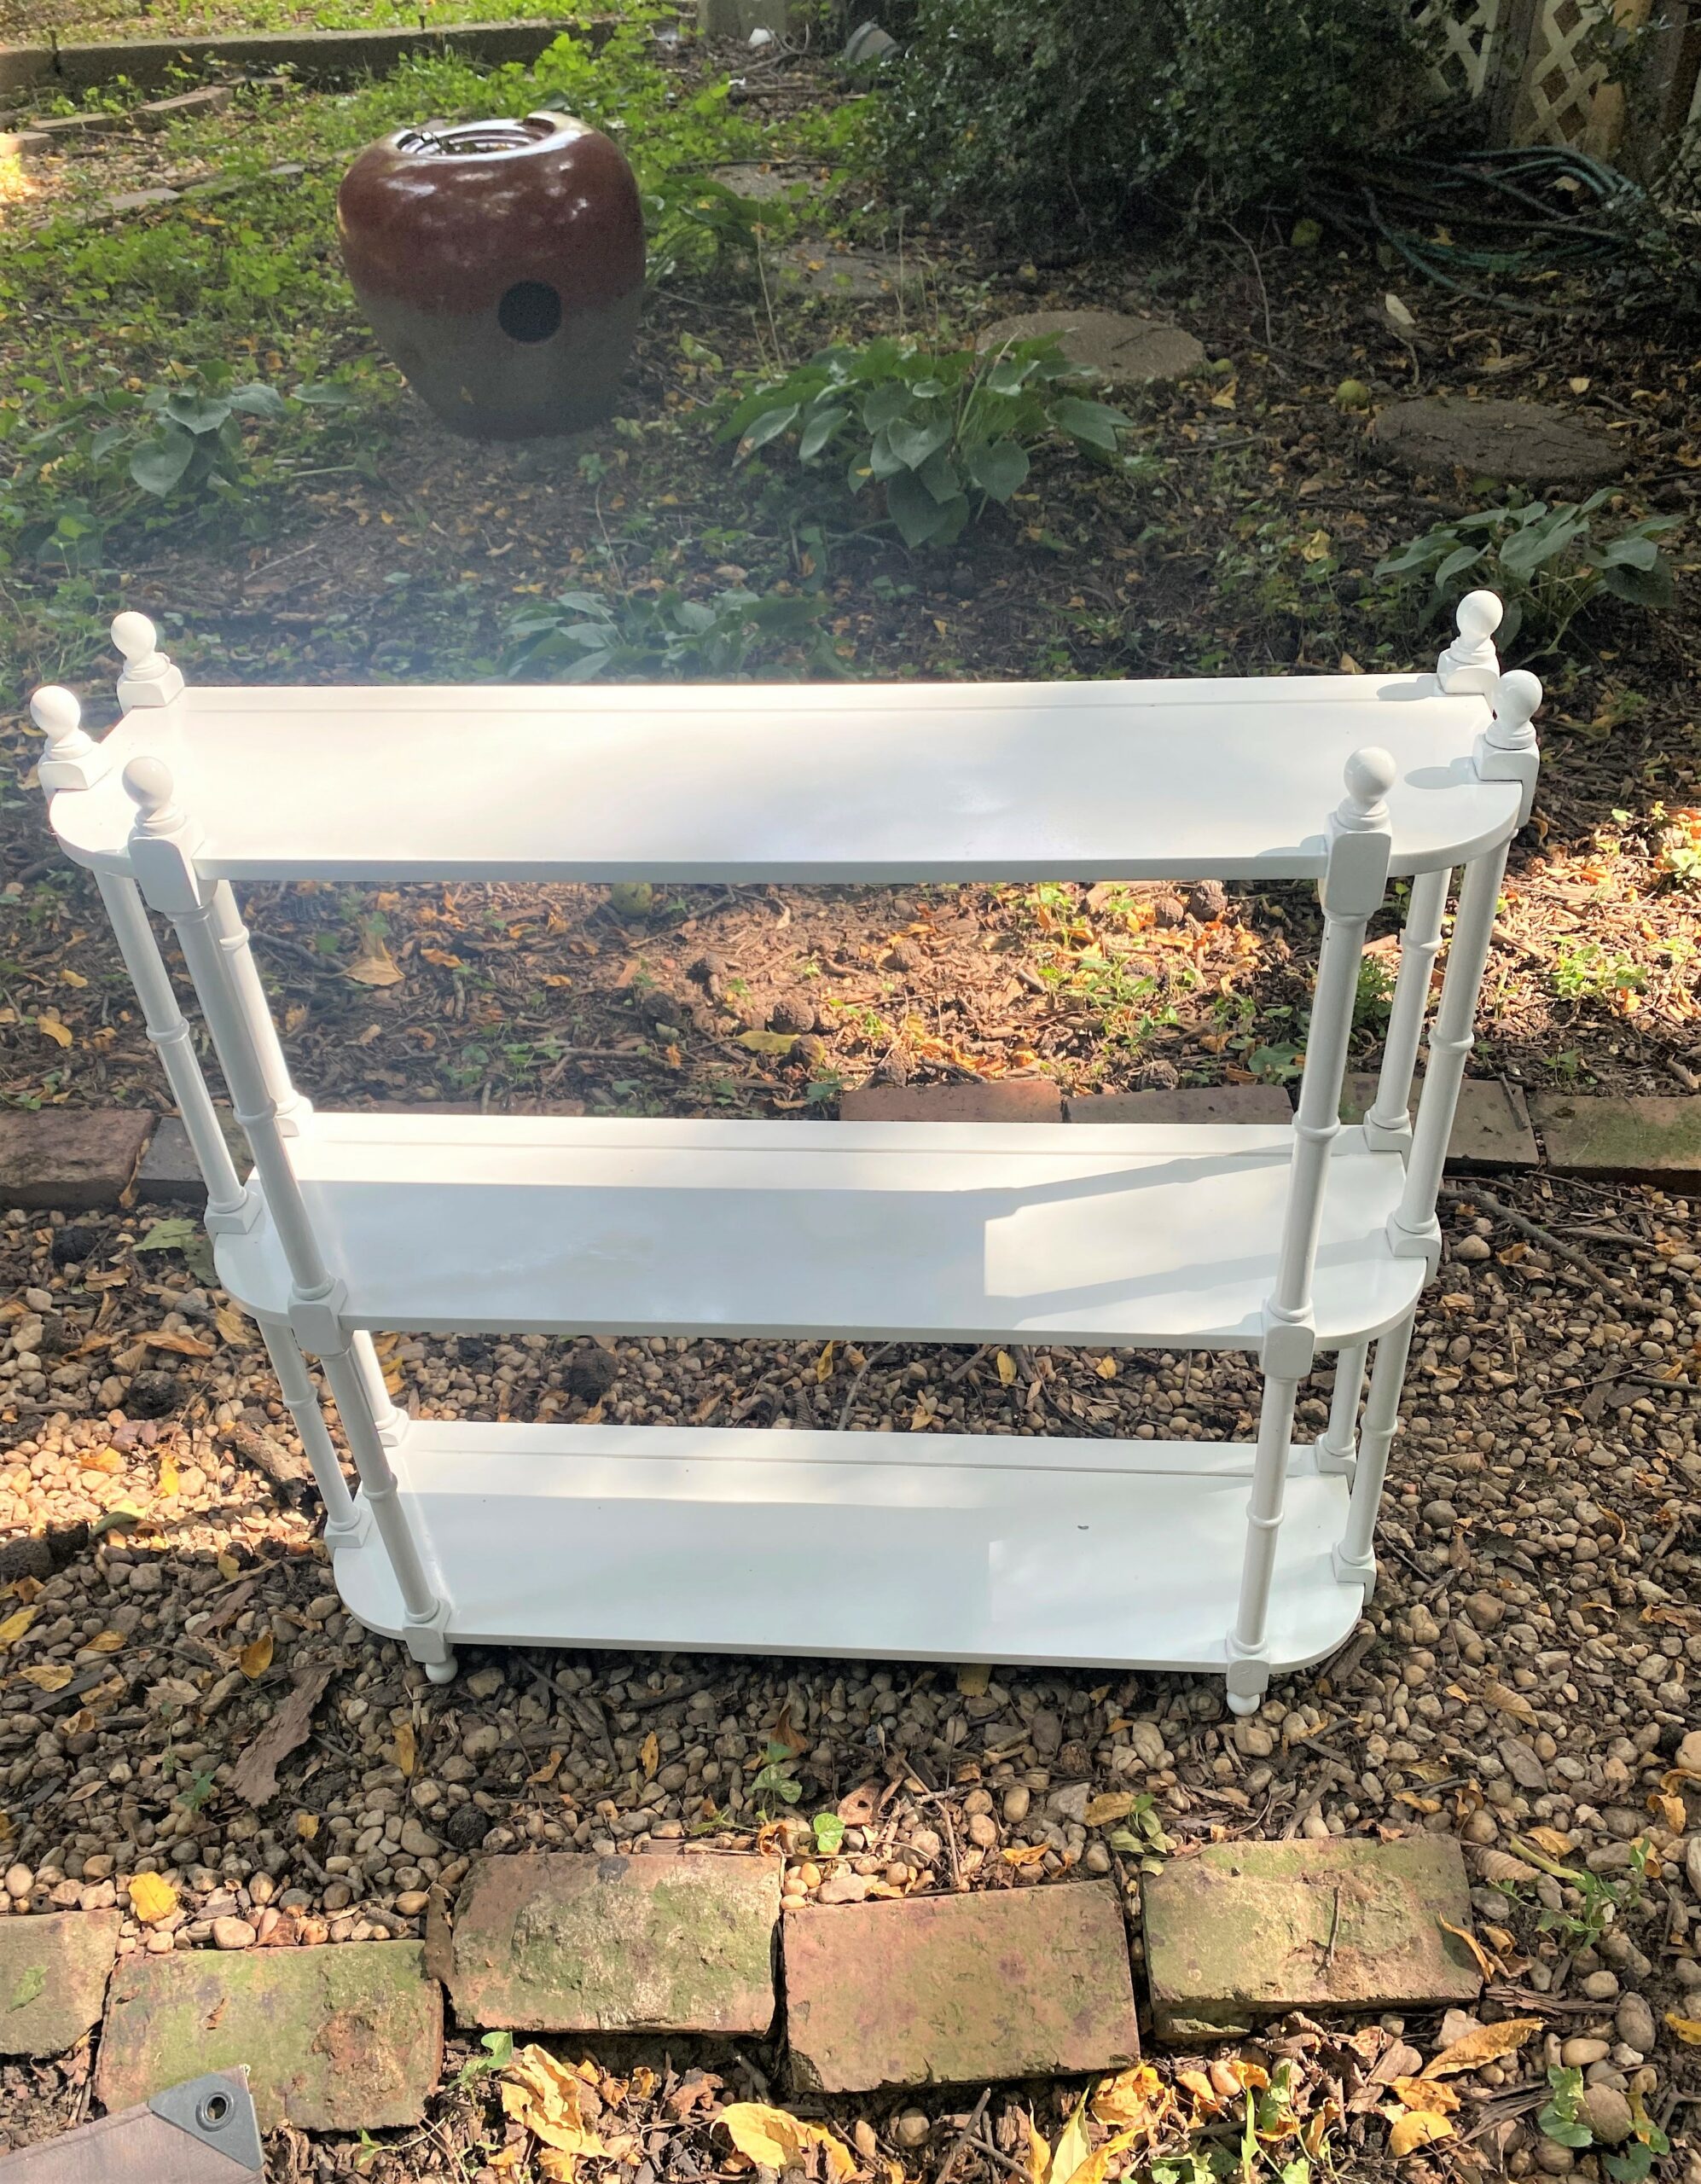
The glossy finish paint used here took more time to dry than expected, and I went over several parts too soon, so paint puckering resulted. Not cute! If that happens to you, let your piece dry completely, then sand the spot and add another light layer; let dry and add another. Patience is a virtue for sure!
4. Is it time to apply the less is more, KISS principle?
My original vision for this project was to do something creative on the top using the blank white surface as a canvas. I love birds, and I kept coming across images of hummingbirds amongst flowering tree branches. Wouldn’t that design/concept look great done with a silver paint pen? It looked good on paper, my sketch paper, that is. However, it did not translate well at all. Keeping with the bird theme, I found some craft paper with birds, postcards, and stamps. This could look nice if I cut them out and glued them on top. No—not this time. That idea didn’t take flight either. It seems my table had a mind of its own and was delighted to “just” be a shiny and simple bright white.
5. Set your table with a smile
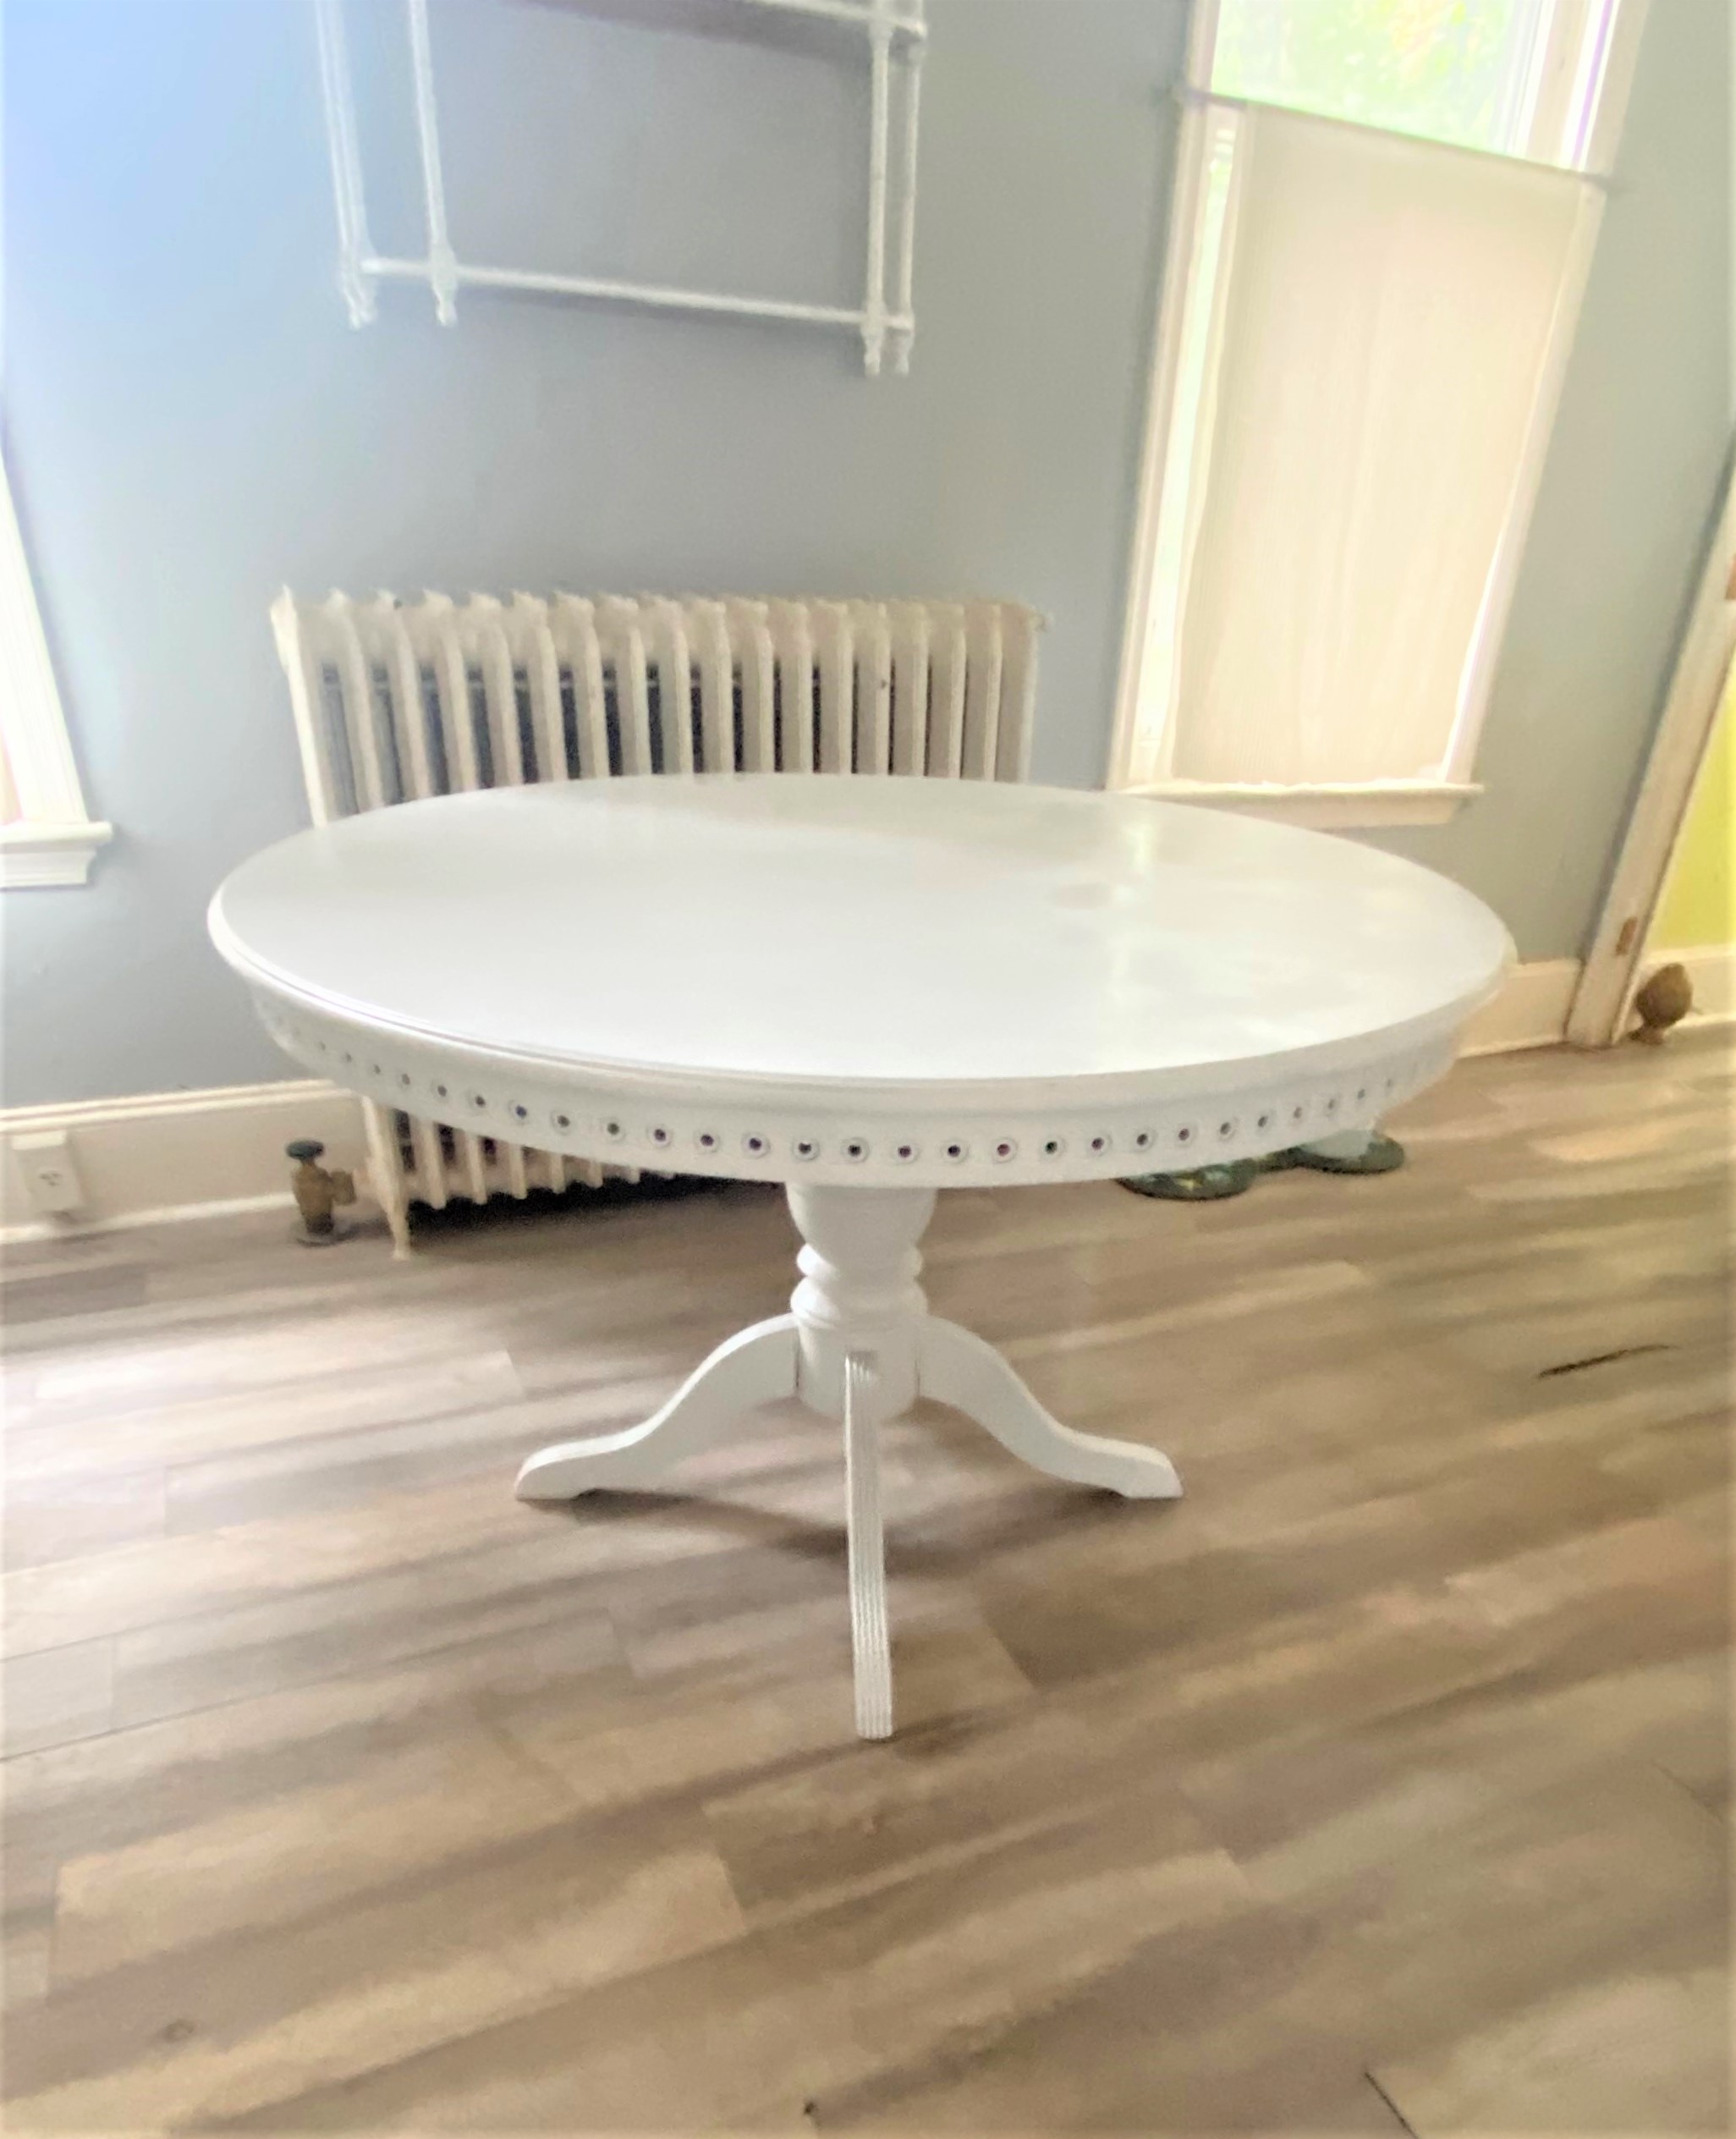
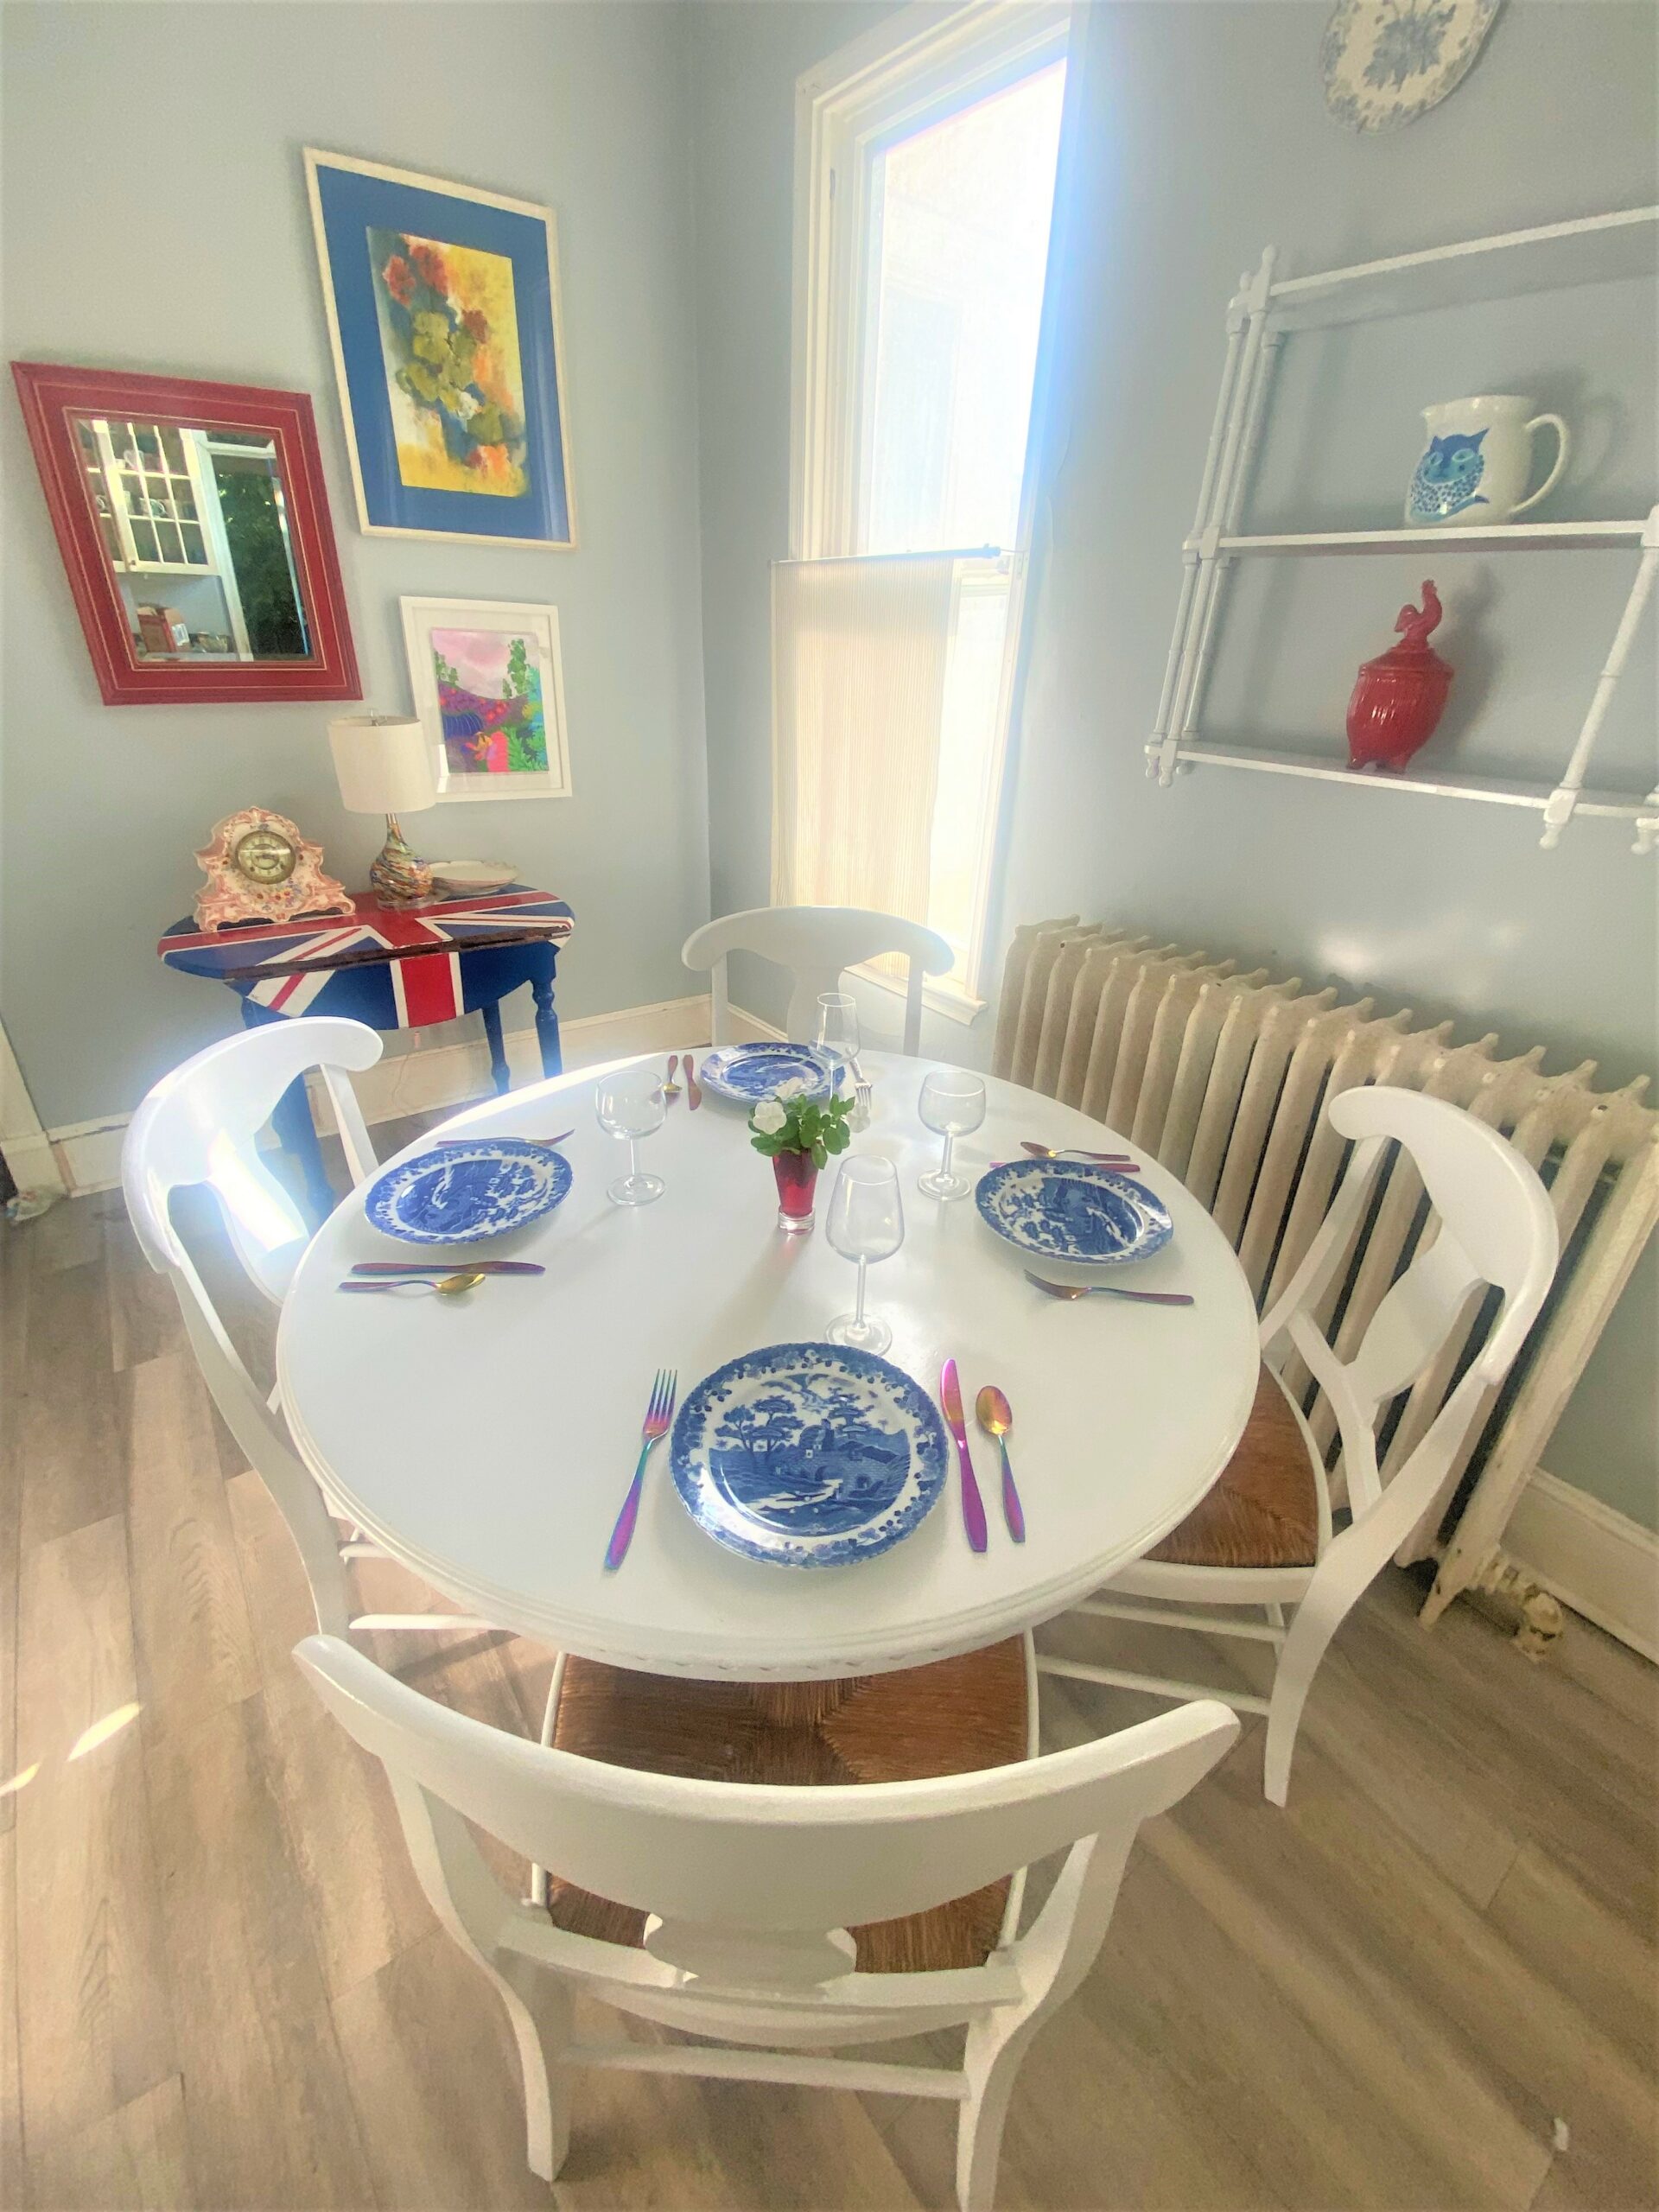
My bright white table was moved back into the kitchen with the refreshed chairs. Rather than my drawings or sketches being the art on top, the plates, silverware, glasses, and centerpieces were all that were needed to make it look like a work of art. And the good conversation with friends and loved ones which will happen there are truly the best masterpiece of all.
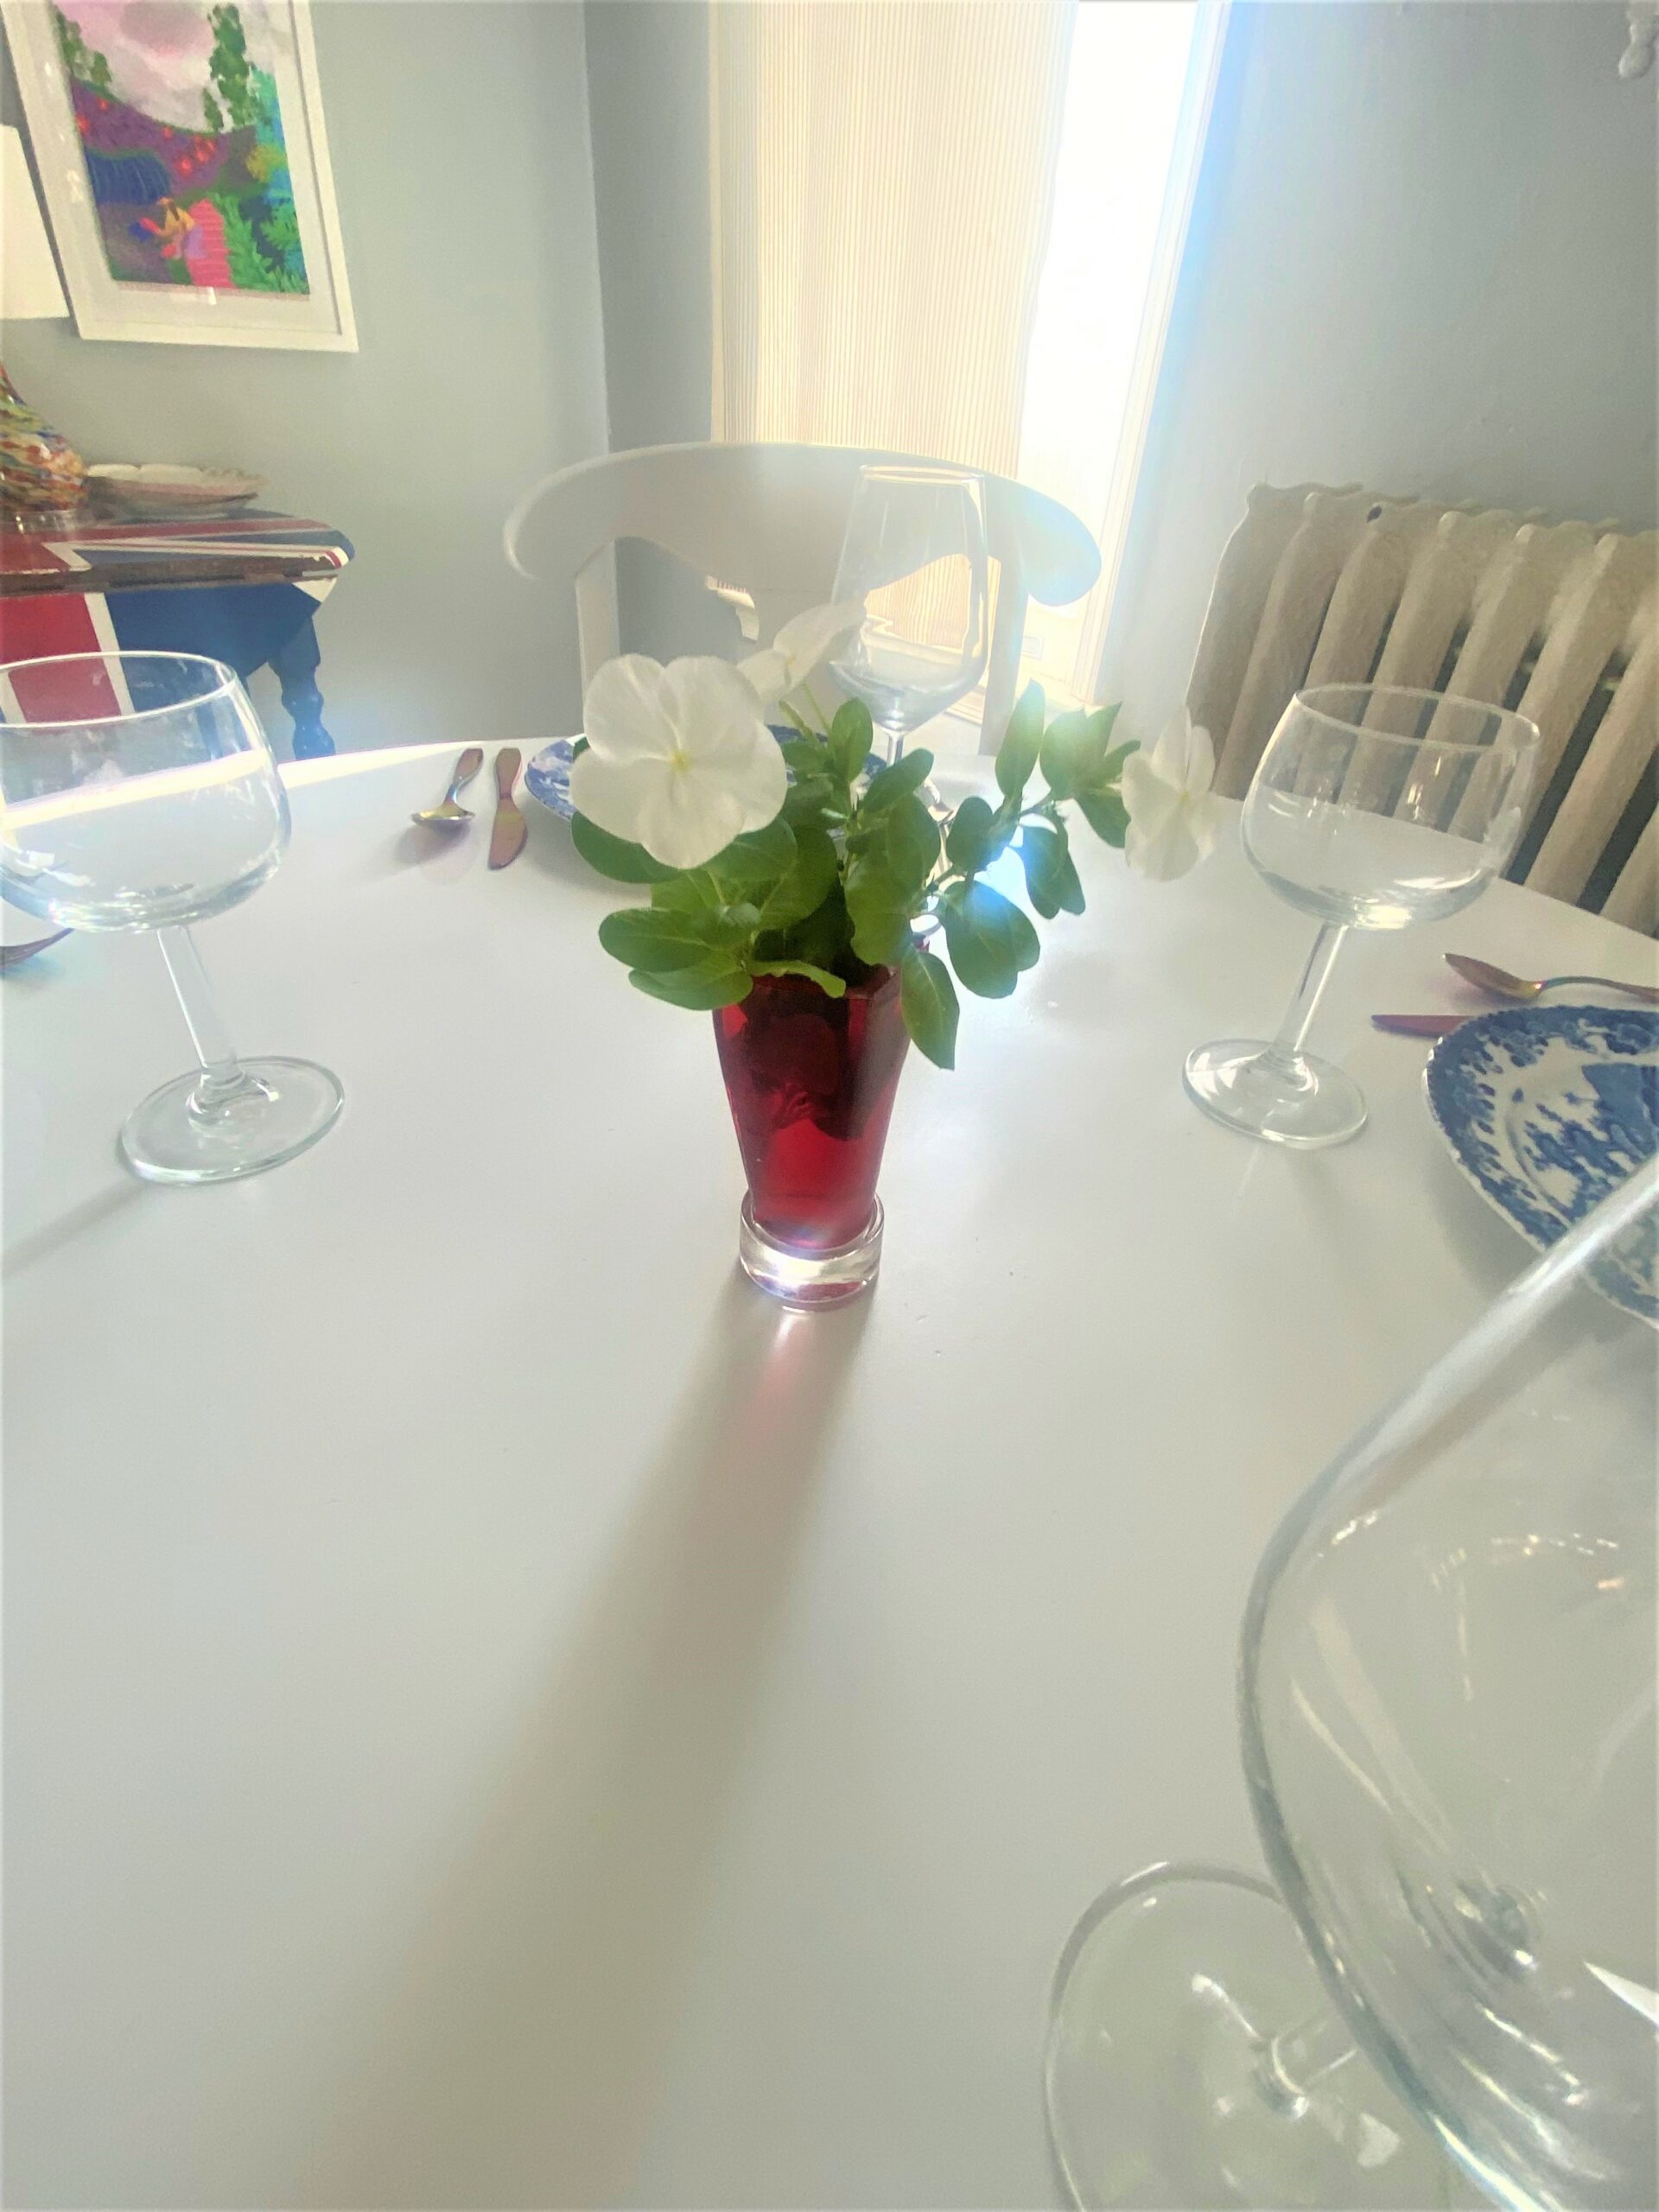
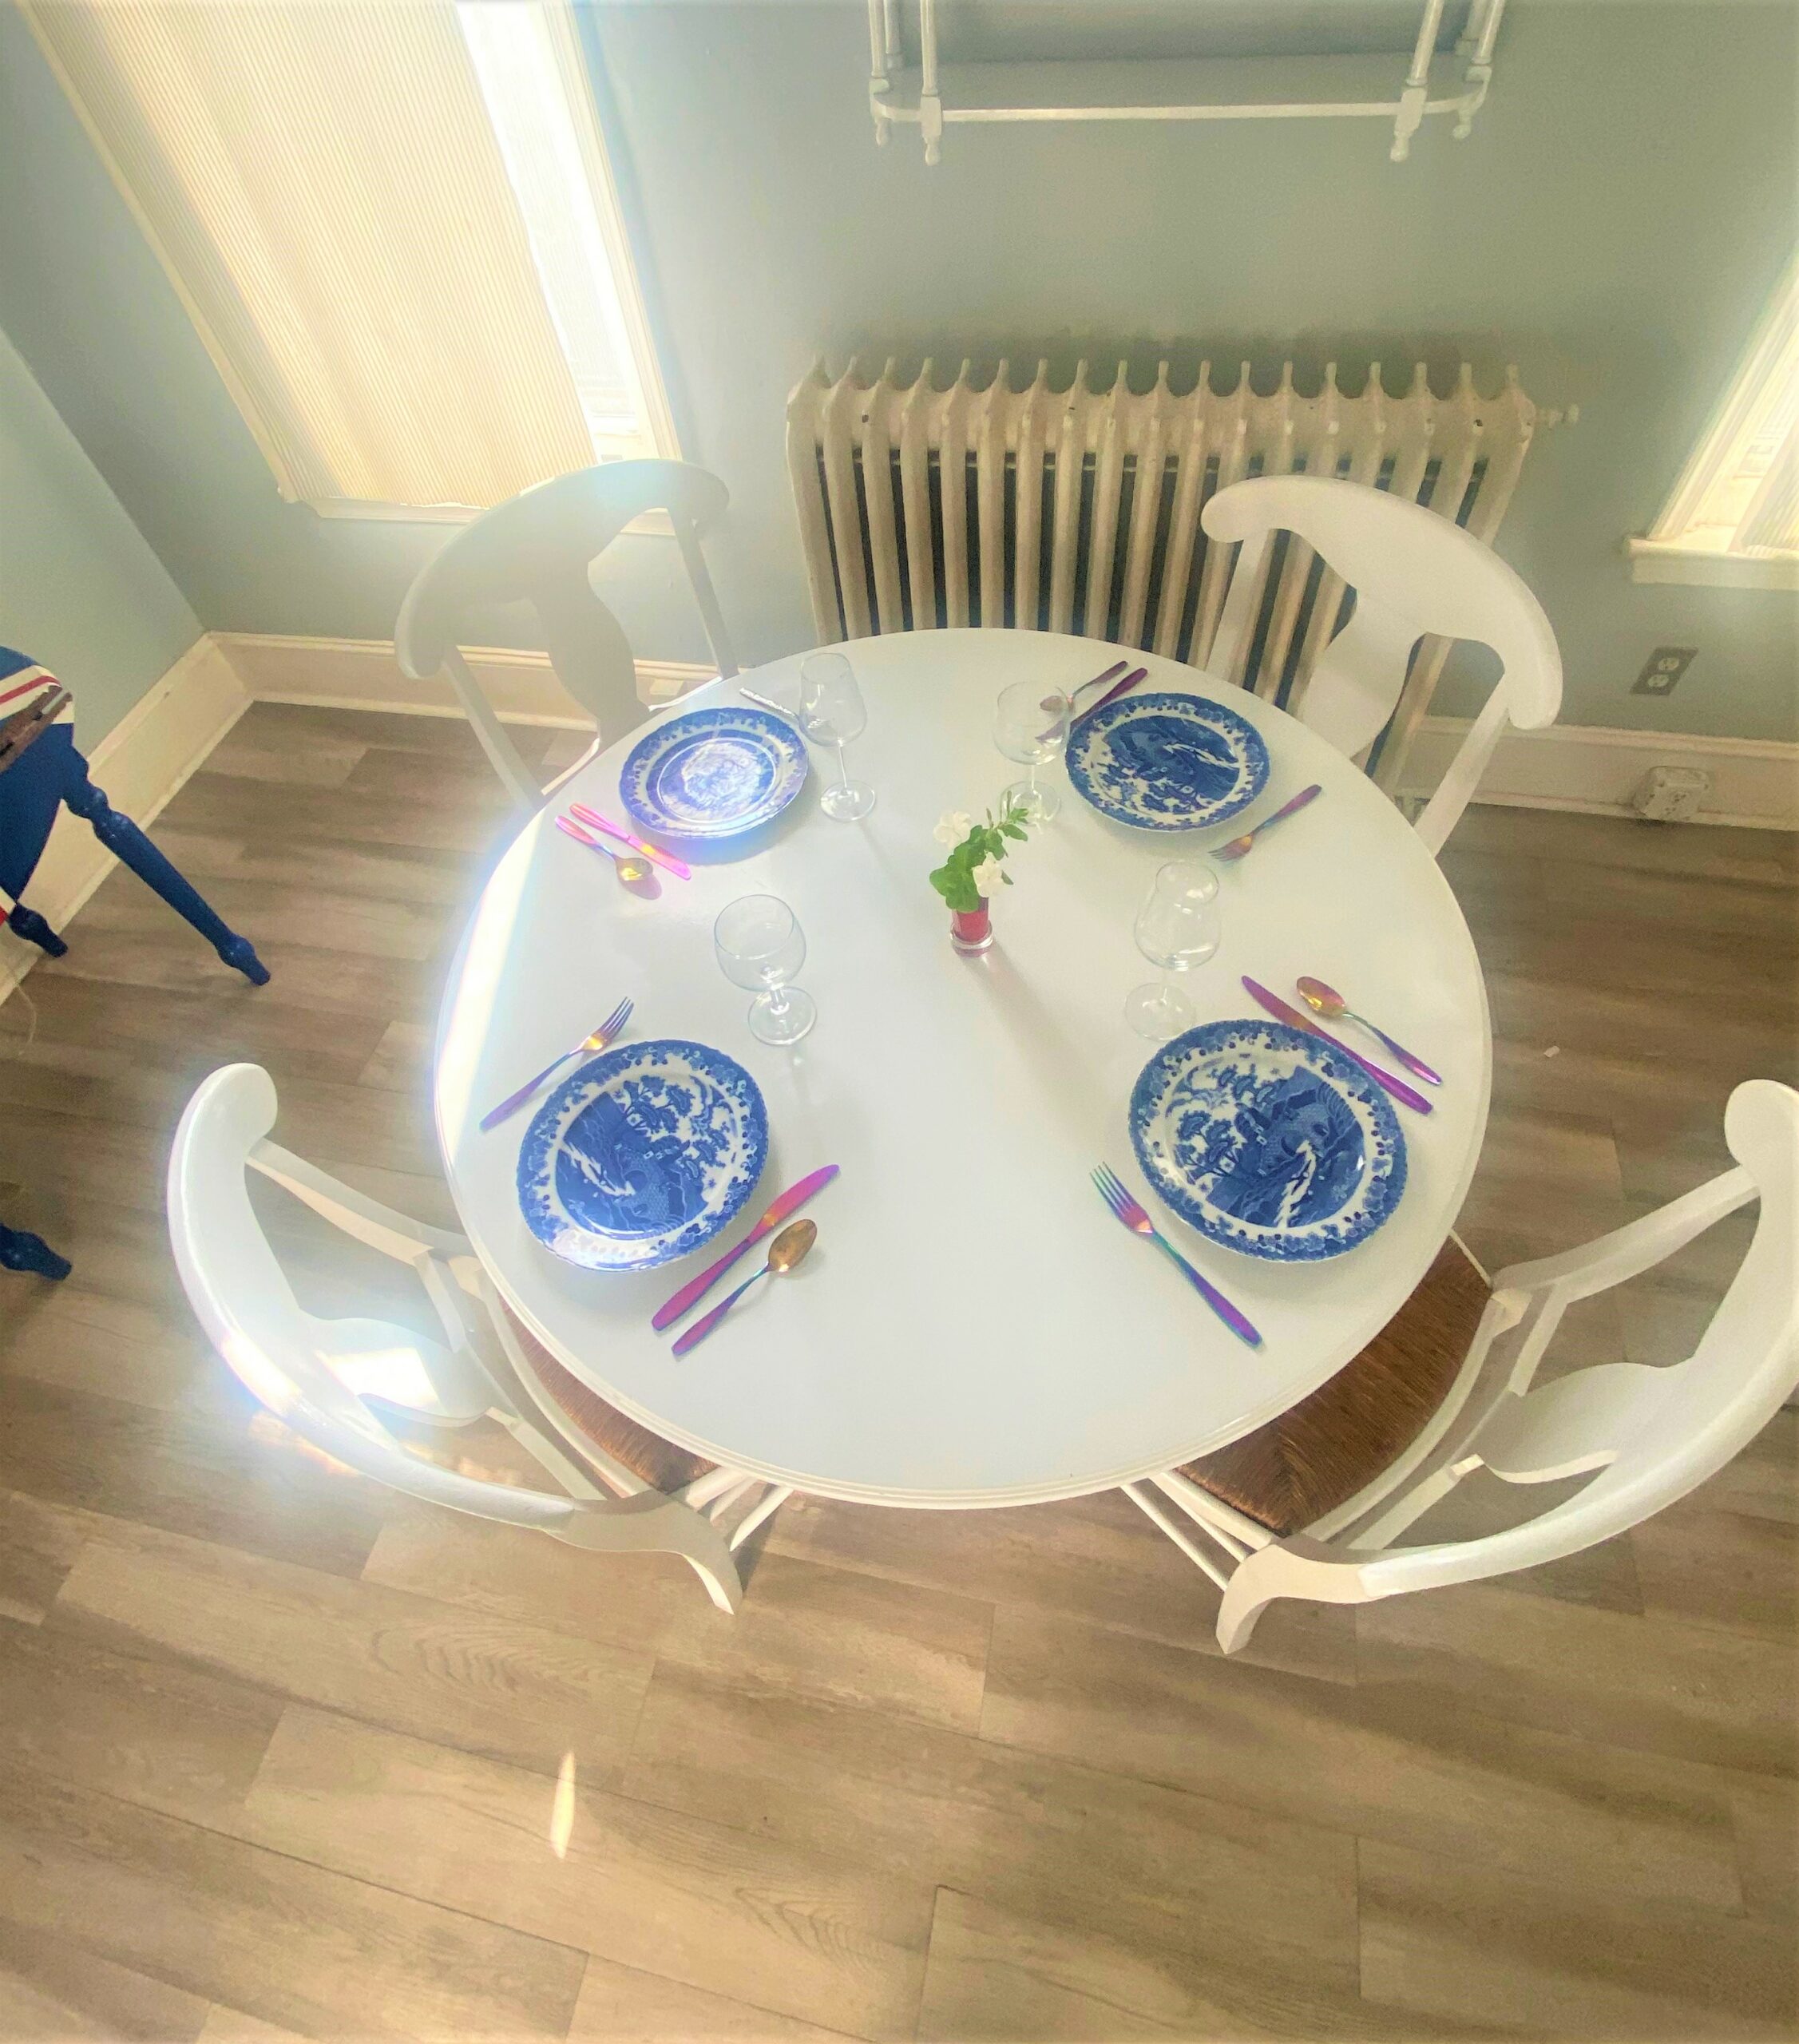
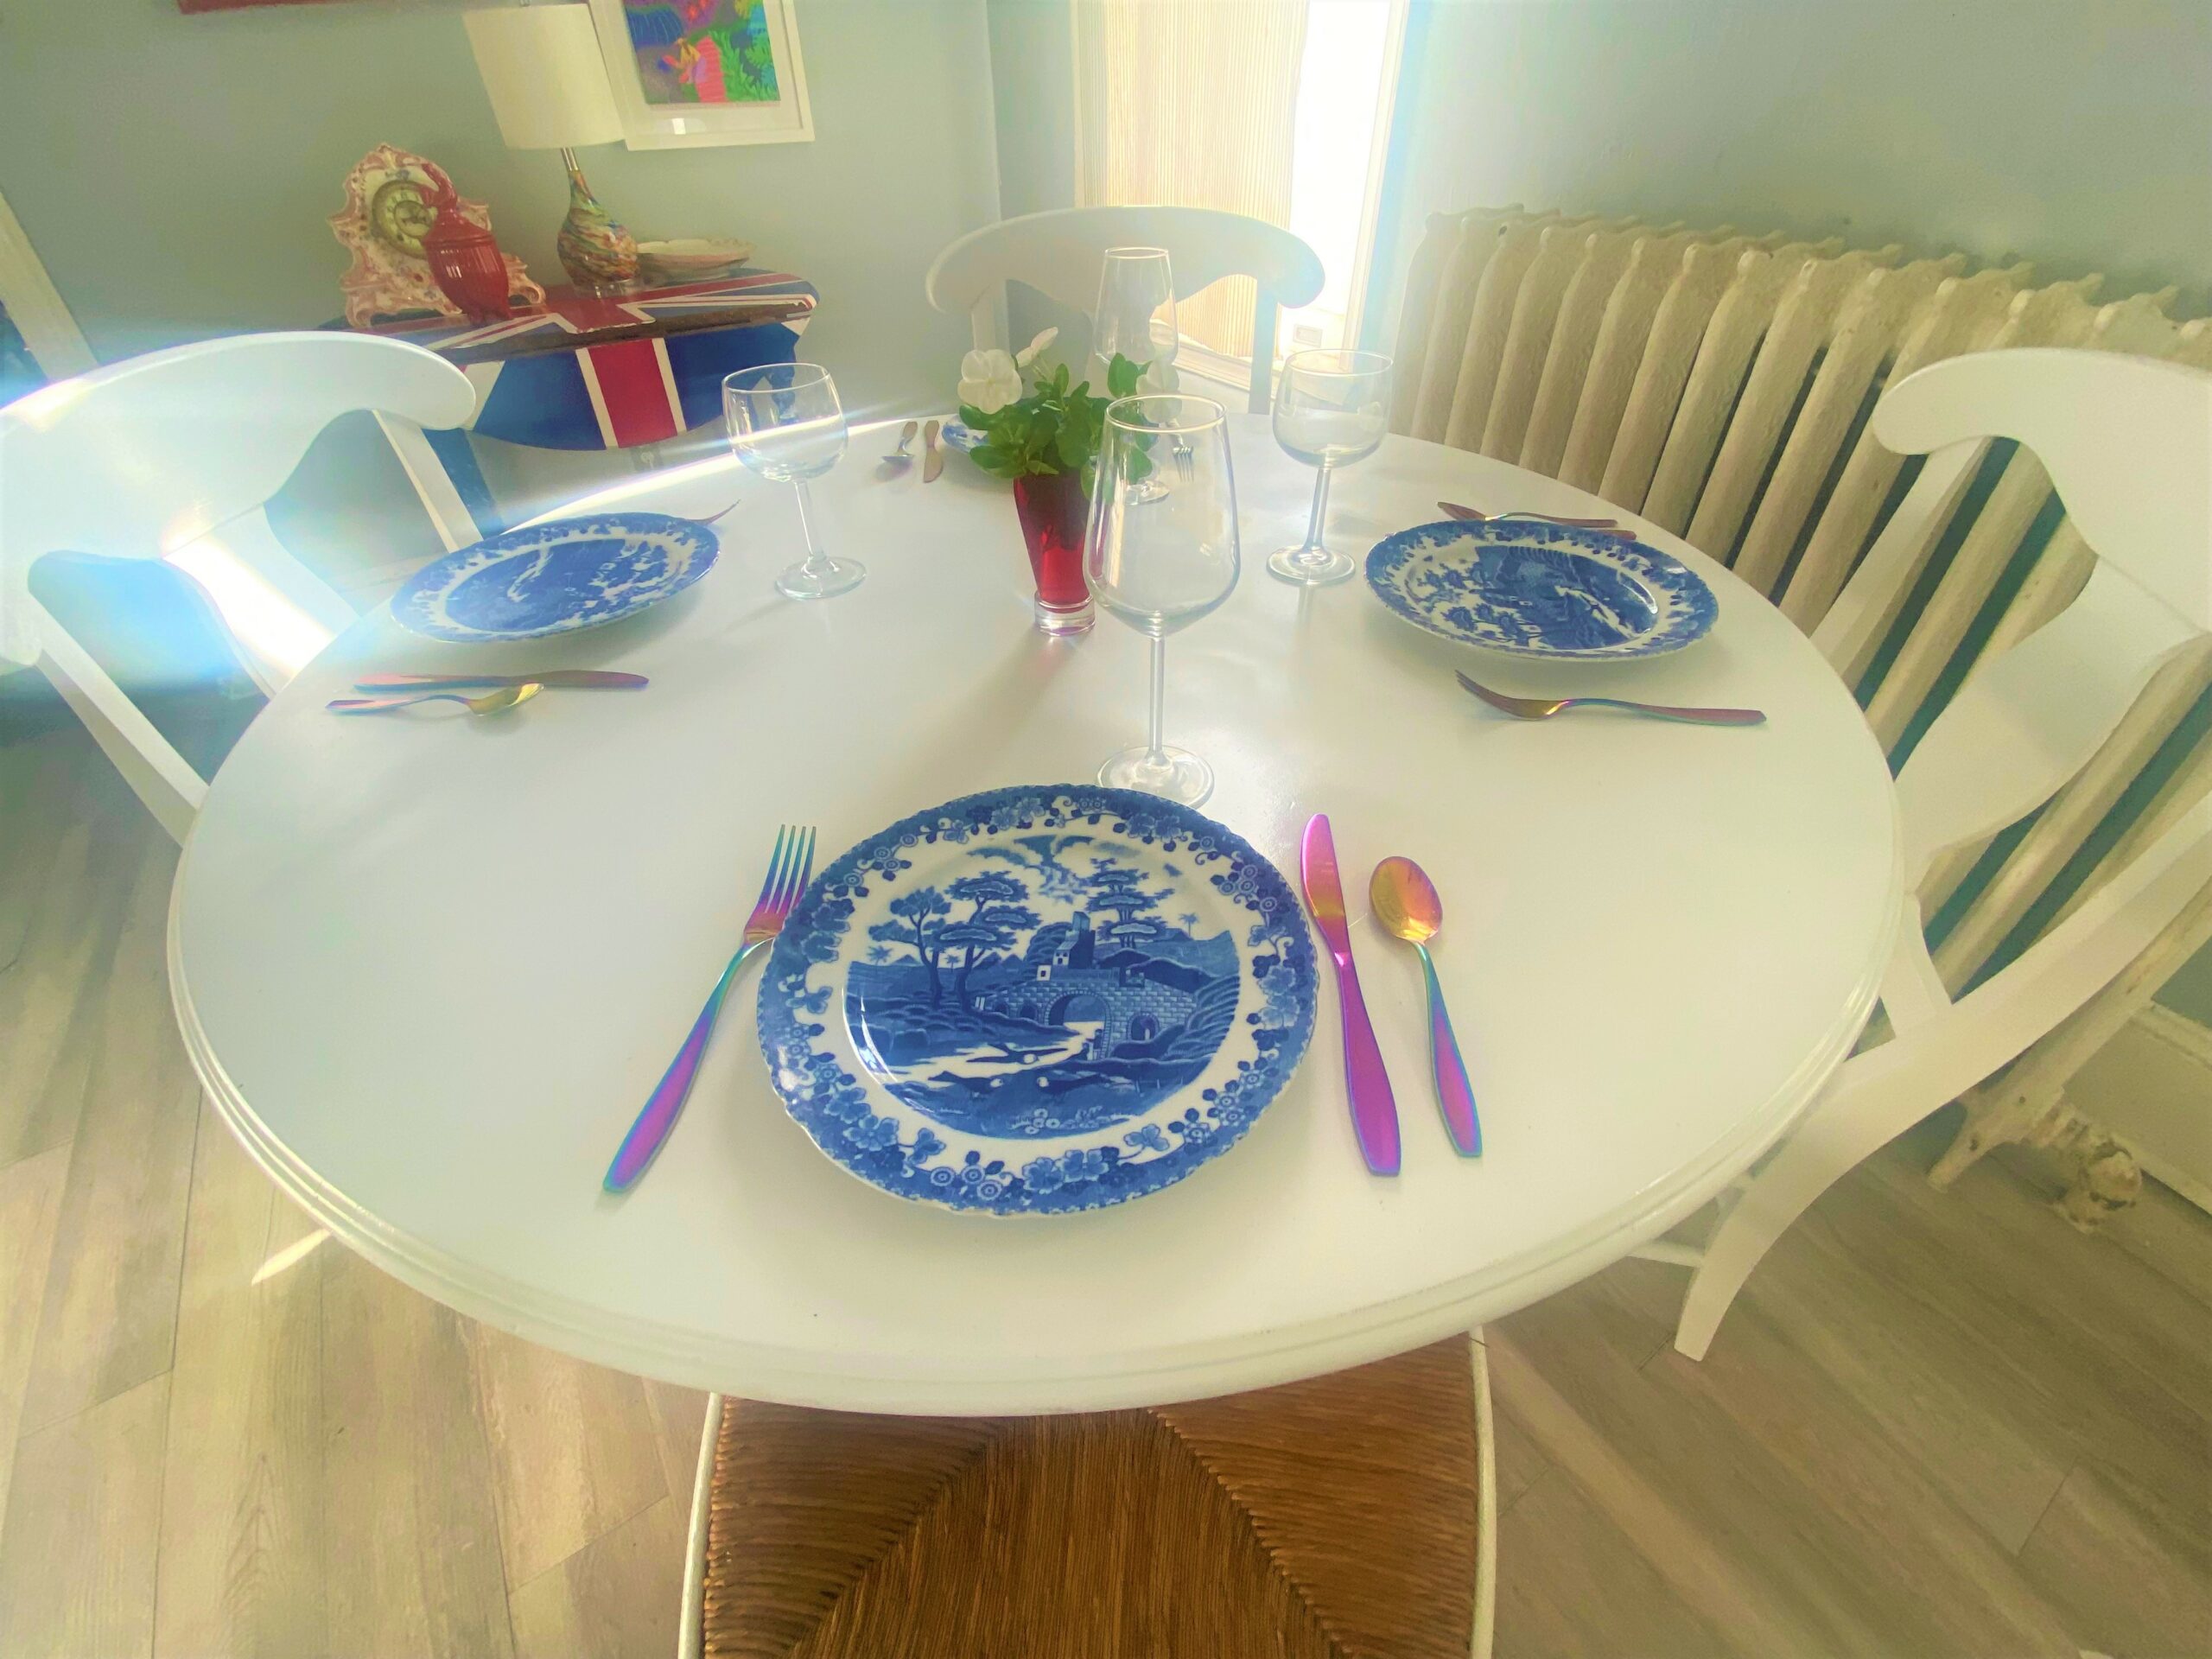
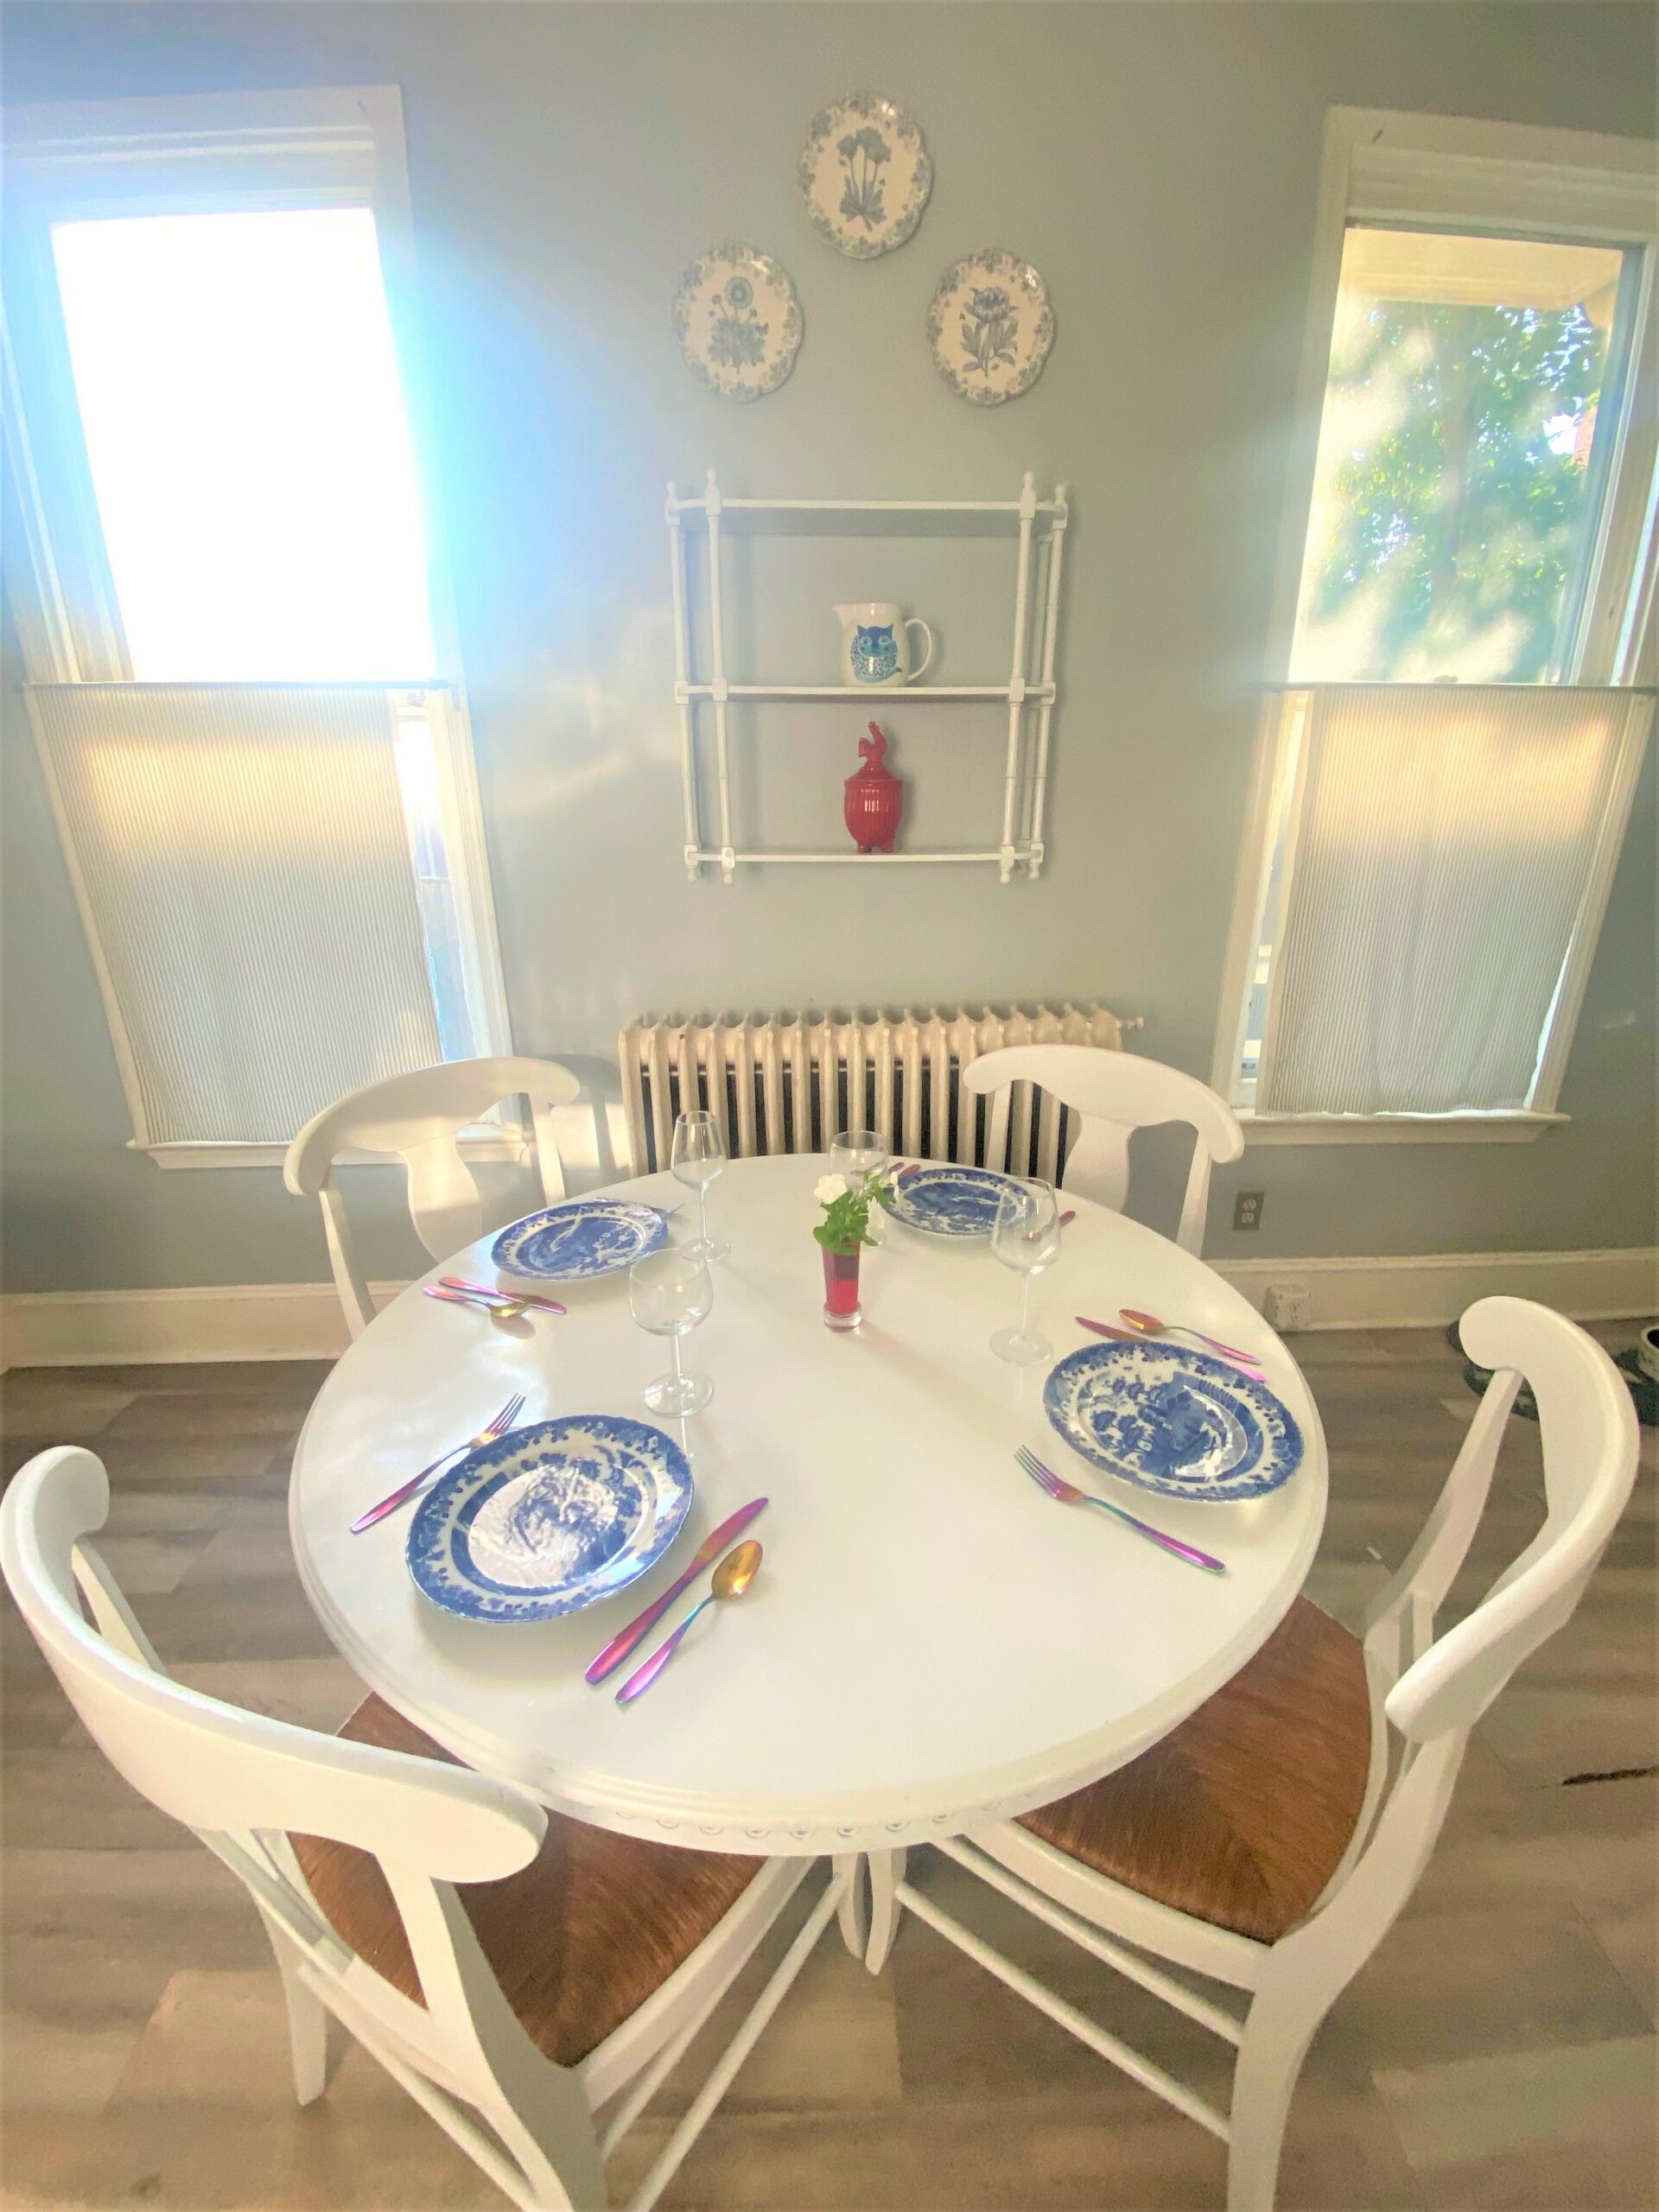
My message to all of you who think your upcycled pieces have to be remarkable works of art with lots of color, design, and vibrancy. Yes, they can be. AND they can also be simple, sweet, and still special. Lessons learned here apply to real life, too!

Tim Kime
Artist, Motivational Speaker, Life Coach


