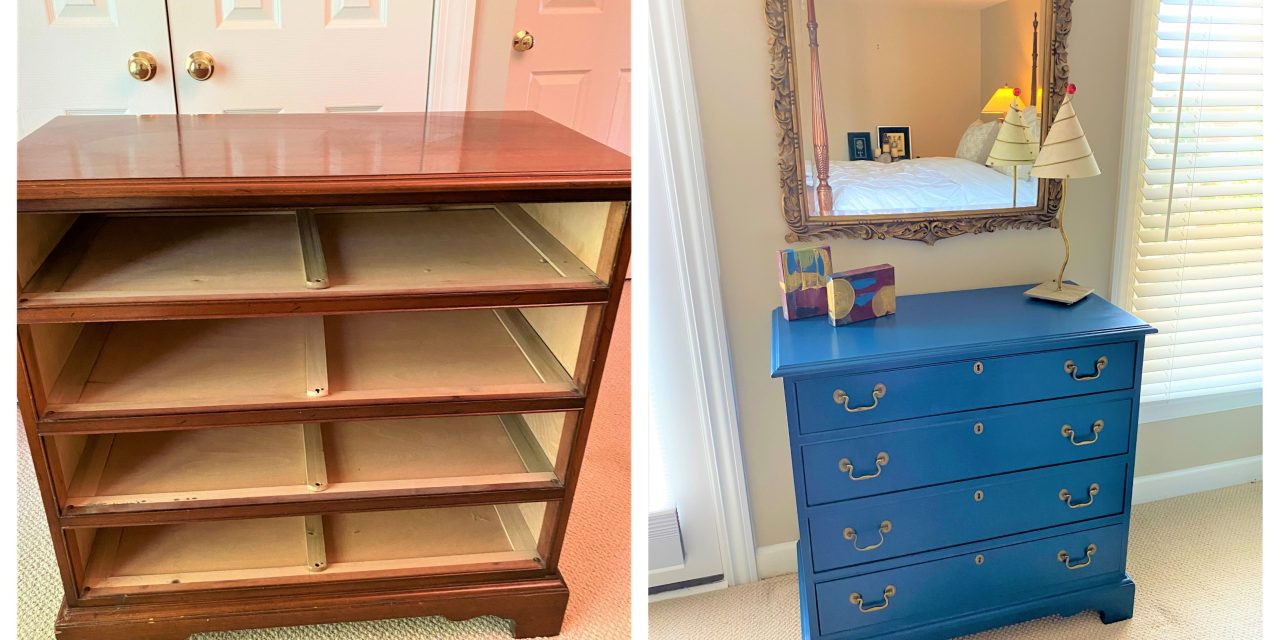
Transform your piece from a diamond in the rough into one fit for a queen (or king!) using jewel tones. You won’t sing the blues when you use a shade of sapphire. You’ll show the world you are ready for the royal treatment.
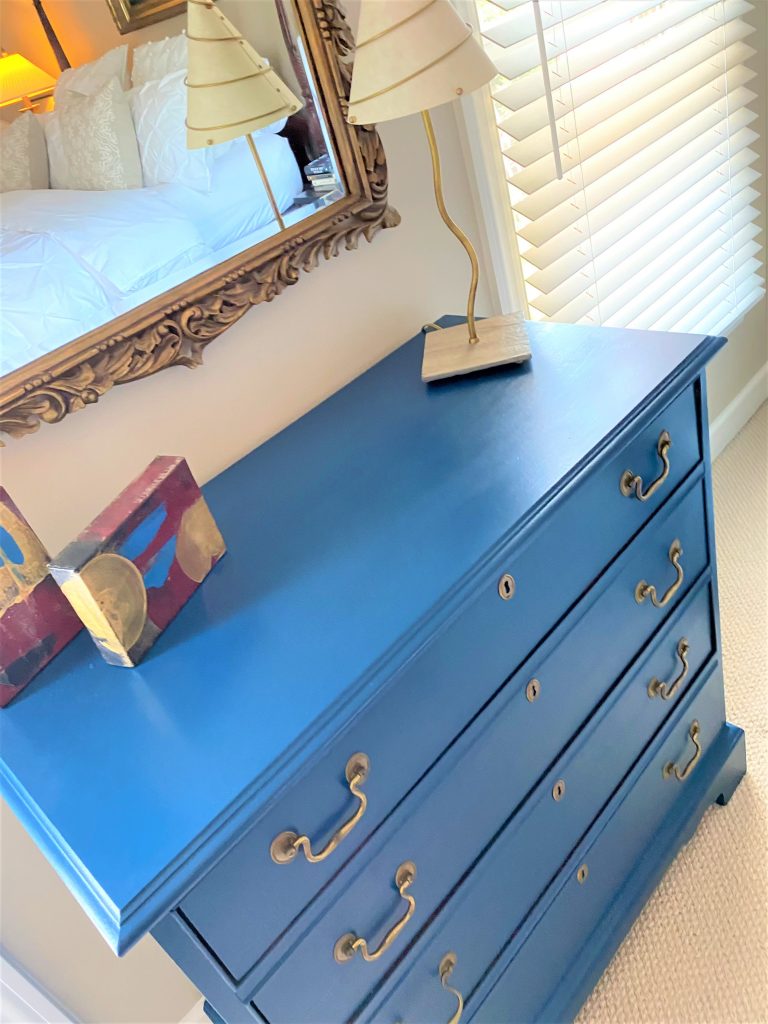
This project, for my friend Jan, shows the impact of color to turn a traditional dresser into a masterpiece fit for Buckingham palace or your own castle. My hat (or crown!) is off to Jan for the inspiration and chance to upcycle something that is truly one-of-a-kind—just like her!
Supplies Needed:
1. Dresser
2. Can of sapphire blue paint
3. Paint brushes
4. Fine Sandpaper or sanding block
5. Screwdriver
6. Hammer
7. Polyurethane
8. Drop cloth
9. Painter’s tape
10. Rags
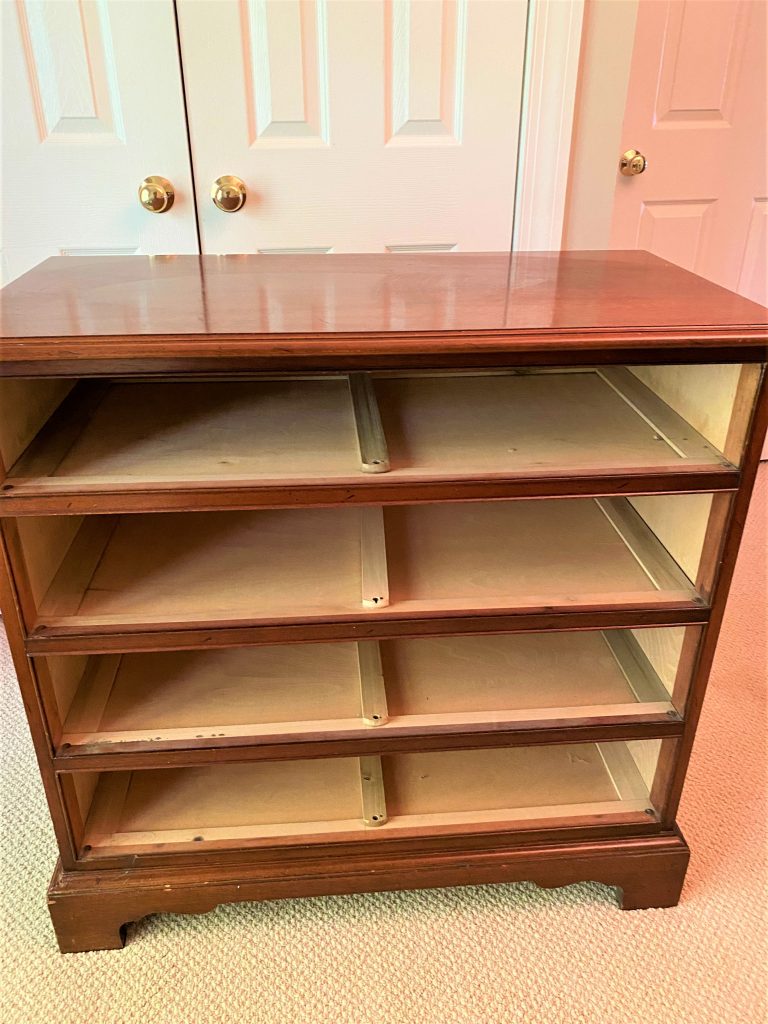
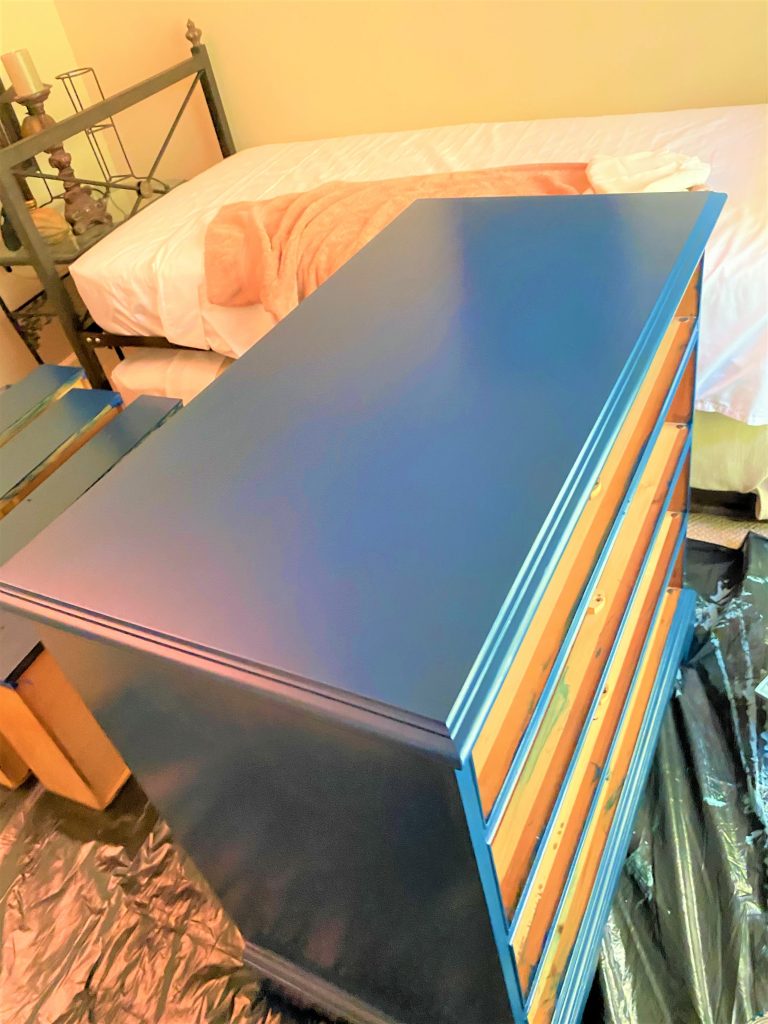
Step 1: Mining your material
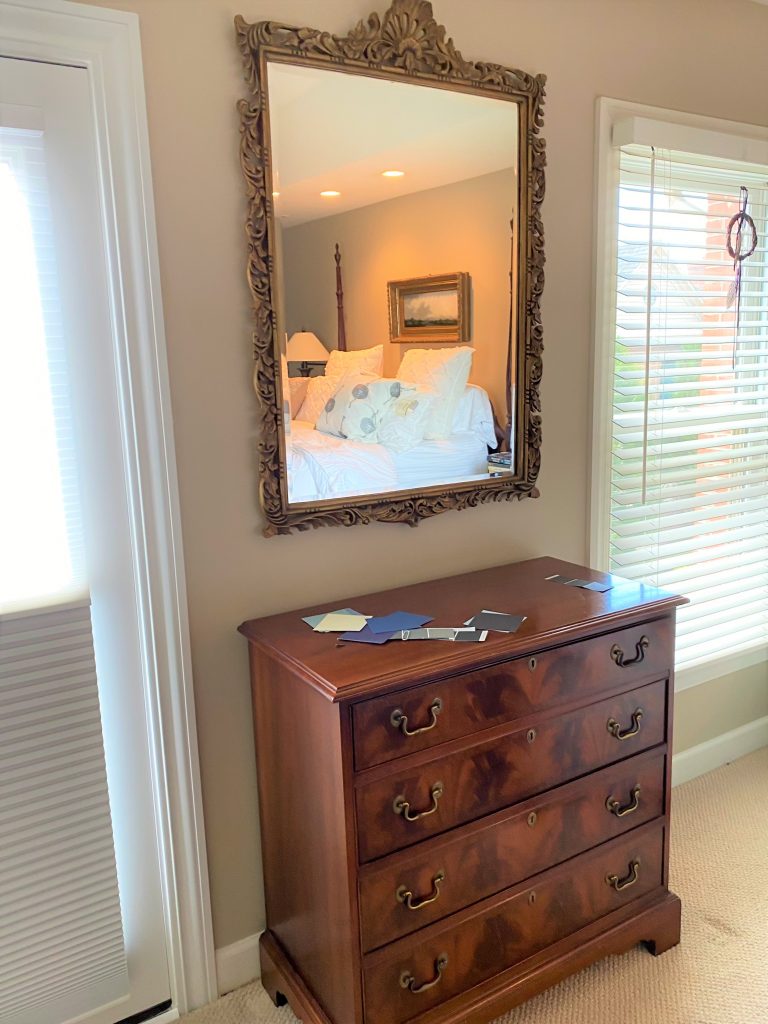
Many of us have a furniture piece that is in great shape and well constructed, but that we don’t really notice anymore. You know the one that is functional and kind of fades into the background because we have had it for a while. Jan’s piece, featured in today’s blog, was a lovely one as it was AND it was just kind of “there” and was sort of a wallflower. It was very well-built and deserved a new look after years of good service.
What piece do you have that still serves a purpose that could use a makeover?
If you don’t have a piece available or you are seeking a new option, then head to Goodwill today (or after the hurricane passes)! This is a great time to go treasure hunting and mining for gold given all the items folks have donated during the stay-at-home period.
What to look for when shopping?
Solid, real wood pieces are always the best option as they will hold-up well over time. If you see a dresser that might work for this easy DIY project, open and close the drawers to ensure they operate smoothly.
The good thing about looking at Goodwill is that they “screen” items and only offer ones in great working order.
A piece with nice hardware? Excellent.
Clean lines? Wonderful.
Carved details or other unique features? Take it home.

All these are interesting things to consider as you decide which item will take over the reign for this project.
Step 2: Preparing for painting
- Set up your work area by putting down your drop cloth to keep your area safe from drips or splatters.
- With your screwdriver or other needed tools, remove all of the existing hardware and put aside in a safe space like a plastic container or small box so nothing gets misplaced as you move things around.
- If your piece has knobs or handles of different sizes or shapes, use your painter’s tape to secure the pieces together and write on them with a pen to identify which drawer it goes with when you put things back together.
- If your piece has several drawers, then place a piece of painter’s tape on the inside of the drawer and add a number.
- Repeat this step with the next drawer and next number. This, too, will allow for the piece to be easily reassembled when completed.
- With a fine or medium grade sandpaper or sanding block, go over all the surfaces of your piece. Focus only on the parts to be painted; .get the top, sides and bottom. No need to do so for the insides of the drawers or back of the dresser.
- With a little elbow grease, work to buff up the surface to make it more friendly to the paint. You are not stripping the piece down to its original surface, so don’t worry if some of the original stain or paint color shows.
- Once done, wipe down your pieces with a damp cloth or rag. Be sure to get every surface now (yes, the inside of the drawers, back and underside of all pieces) to remove any dust or dirt.
- Then, with you painter’s tape, cover any holes on the insides of the drawers where the hardware goes so paint doesn’t drip or come through them. Also, to provide a clean line along the drawer’s outside side edge, add tape too.
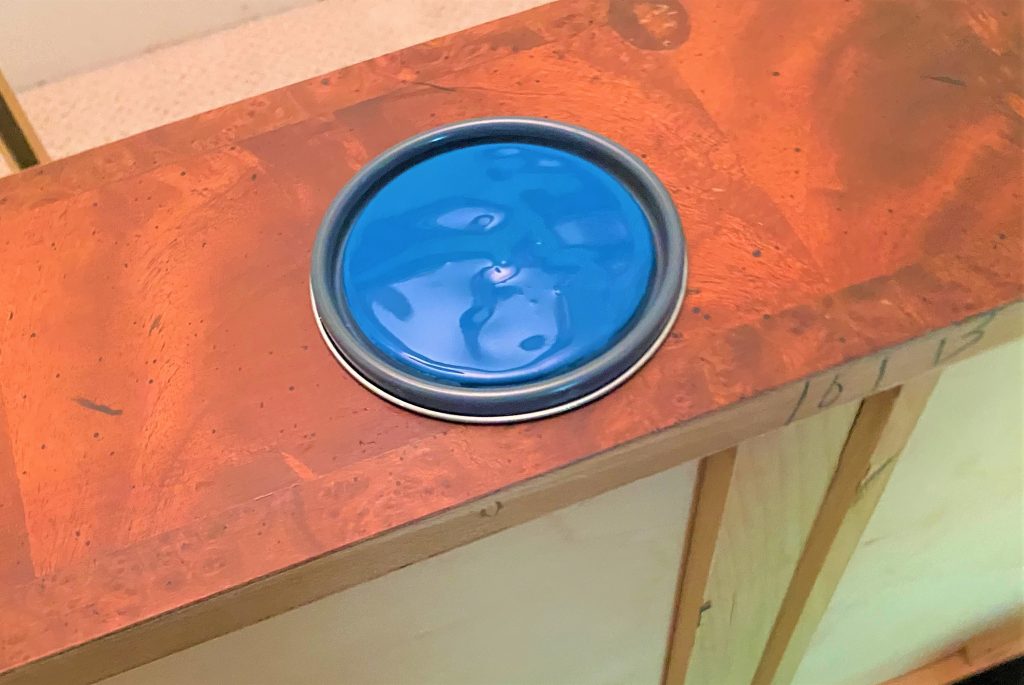
Step 3: Brushing on the bling
With so many colors, how do you choose? Consider what hues you have in your space already so the piece compliments it. Jan had lots of brown, creams, blues and grays so a bolder tone was ideal. The sapphire color is rich, elegant and timeless looking making it a great option.
Given that most paints available today have the primer already in them, this will save a step.
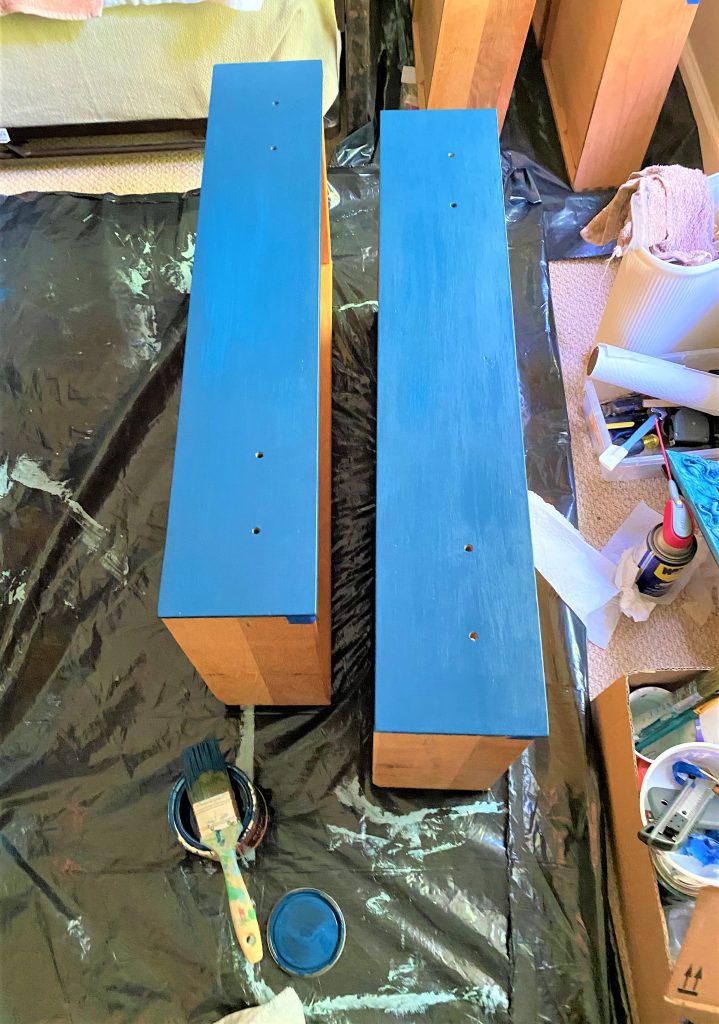
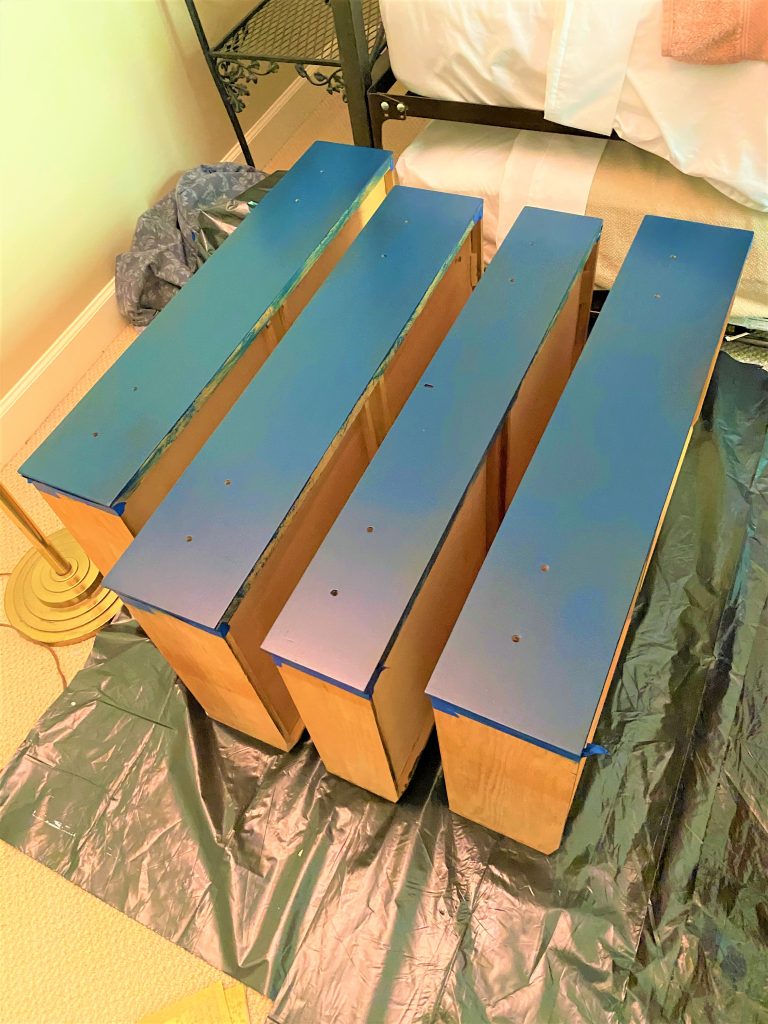
- With a light touch, gently apply a coat of paint to your dresser and drawers. Don’t worry about the original tone showing through; you will add several more layers to make it disappear.
- Add a light layer then let dry overnight if possible.
- Return to your piece and repeat this step two, three or four times as needed.
- Again, having a light touch is the key.
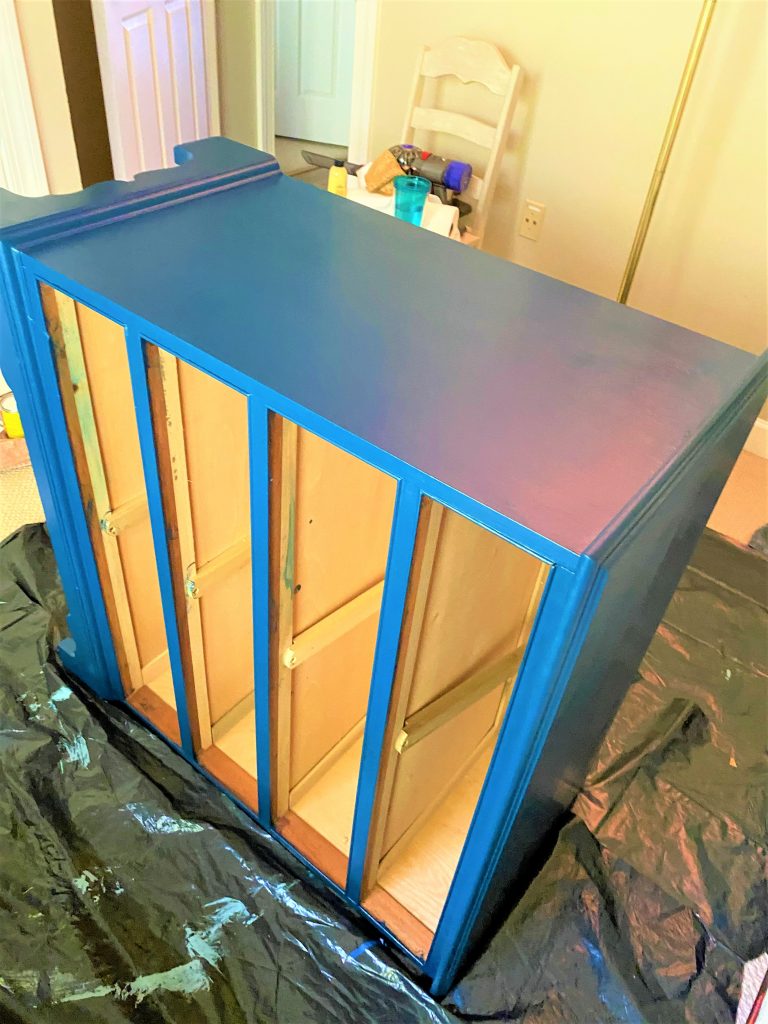
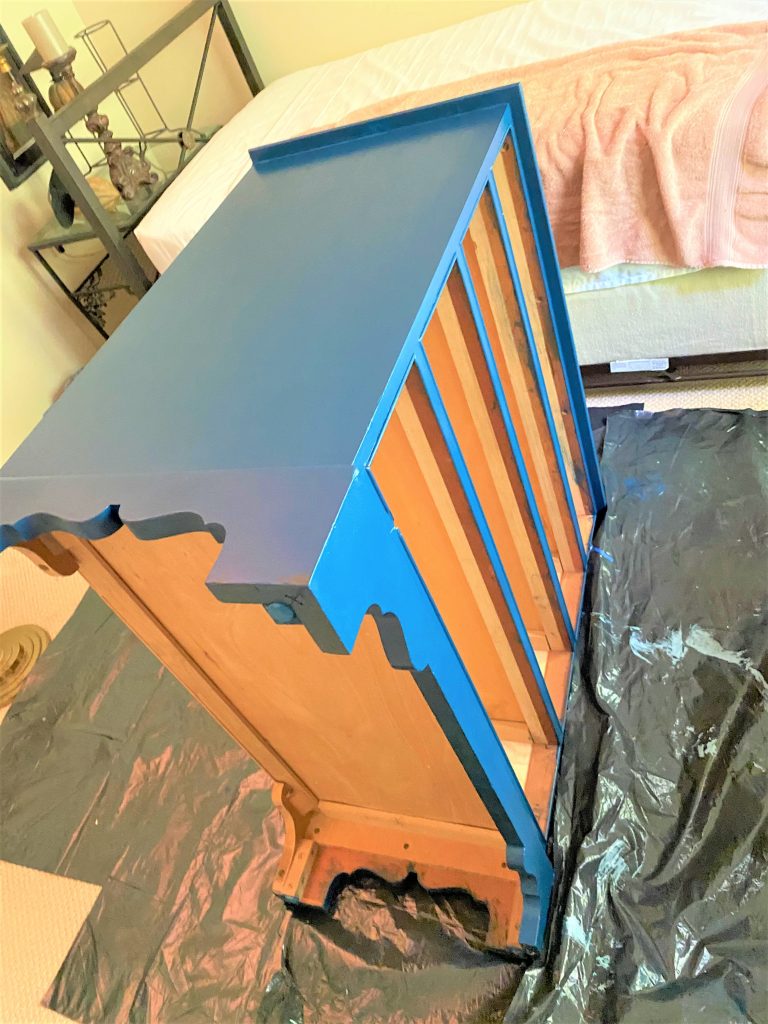
As with any painted piece, lay it on its sides or back to ensure you get every nook and cranny.
Expert Tip: Maybe it is human nature as folks often want to put on one heavy, “perfect” first coat that solidly covers everything. My advice? Think light, light, layers painted on several times. While this will take a little bit more time, you will be happier with the final result.
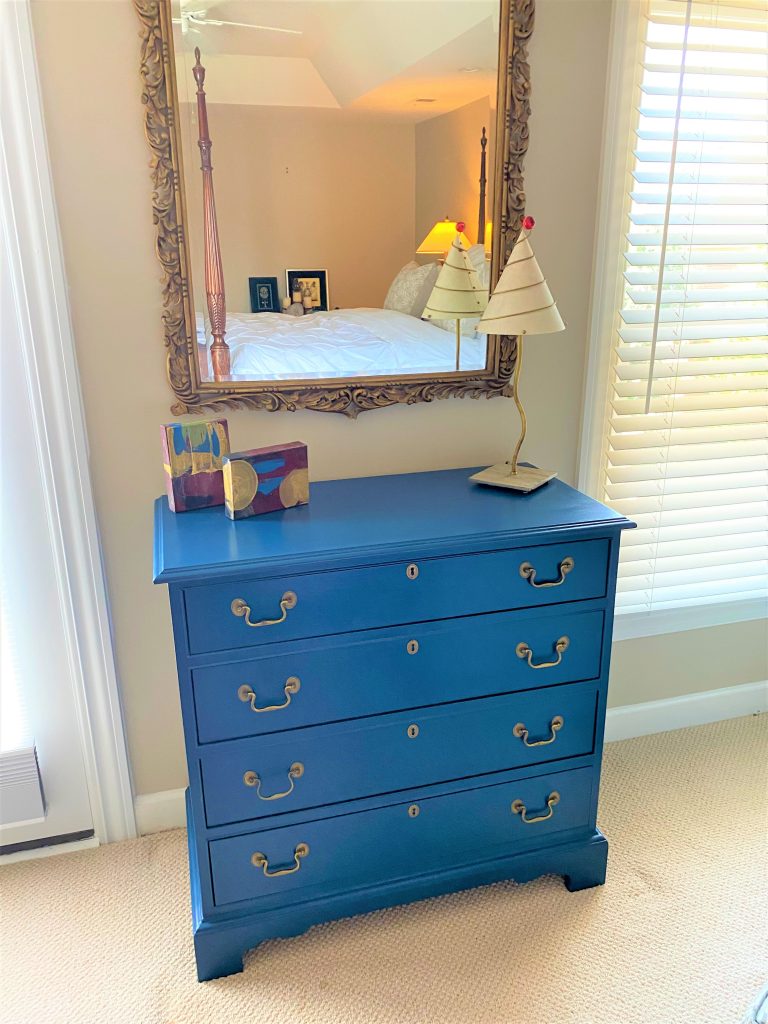
Step 4: Protecting your piece, not with Pinkerton (security) but with poly
When your piece is totally finished with its new shimmering color, consider adding a coat of polyurethane to provide a little bit more protection from fingerprints, dirt or water stains.
- As with the painting process, add several light layers and keep an eye out for drips.
- Let these layers dry well before handling or moving your piece.
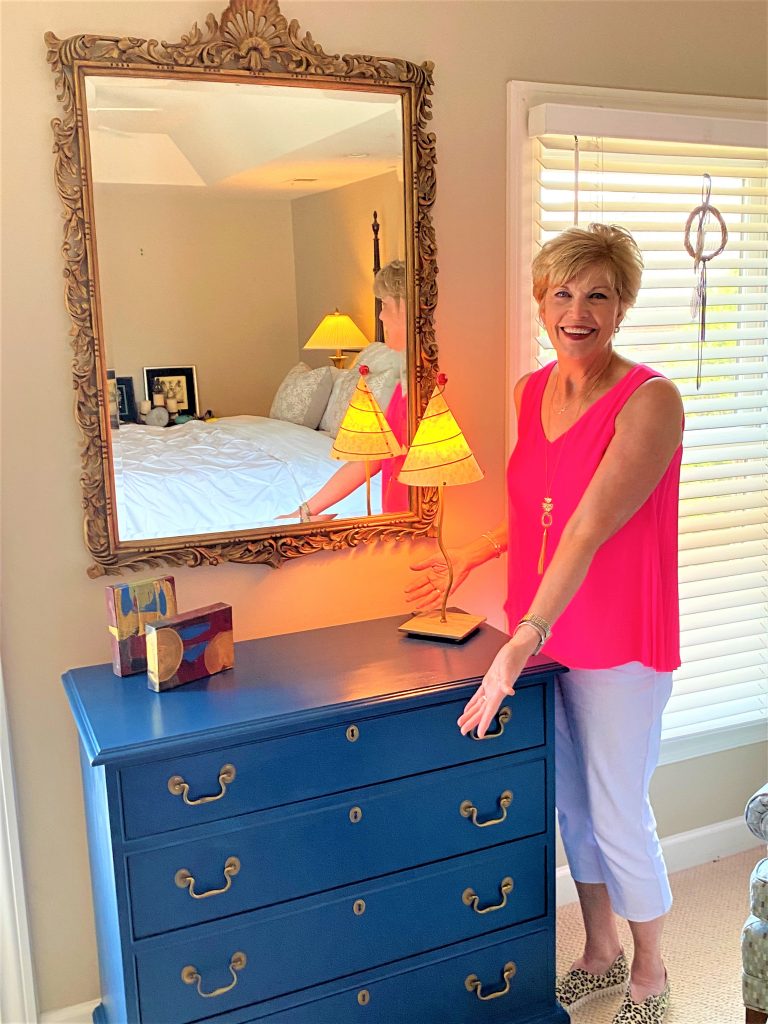
Step 5: Returning the hardware
Carefully add back the hardware to your piece. Make sure that when you insert handles or knobs to avoiding scratching your hard work.
Design Tip: Based on the look and condition of the existing hardware, you can always use your sandpaper to lightly shine it up to remove years of handling. Also, you could go a whole new direction by spray painting the hardware in a totally different color. While the existing hardware on Jan’s piece looked sort of tarnished and a little worn out, it looked like new thanks to the sapphire tone. Often folks will buy new hardware when the current parts can easily be refreshed and reused.
Step 6: Putting in place then bowing or curtsying to yourself
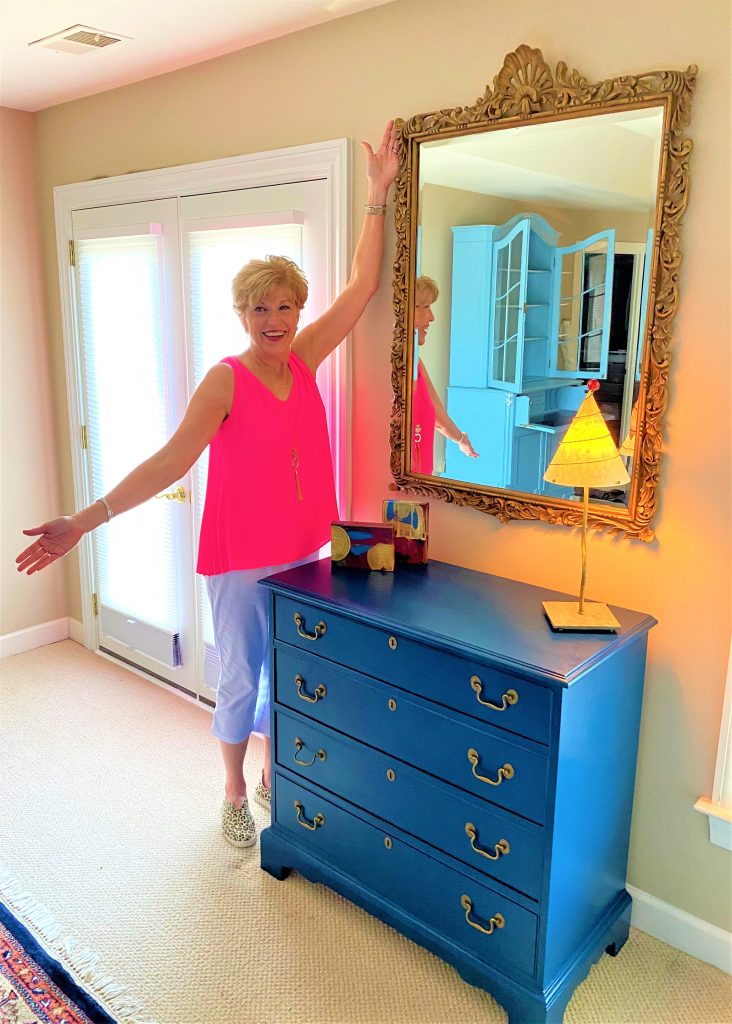
When you return your transformed piece to its original place or position in a new spot, you’ll be as happy and as excited as a court jester.
Be sure to take a bow or curtsy to yourself for taking the opportunity and time to give your piece the royal treatment.
Thanks again to Jan for being so much fun to work with on this project! Seeing how much she loves its new look made me feel like a king!

Tim Kime
Artist, Motivational Speaker, Life Coach

