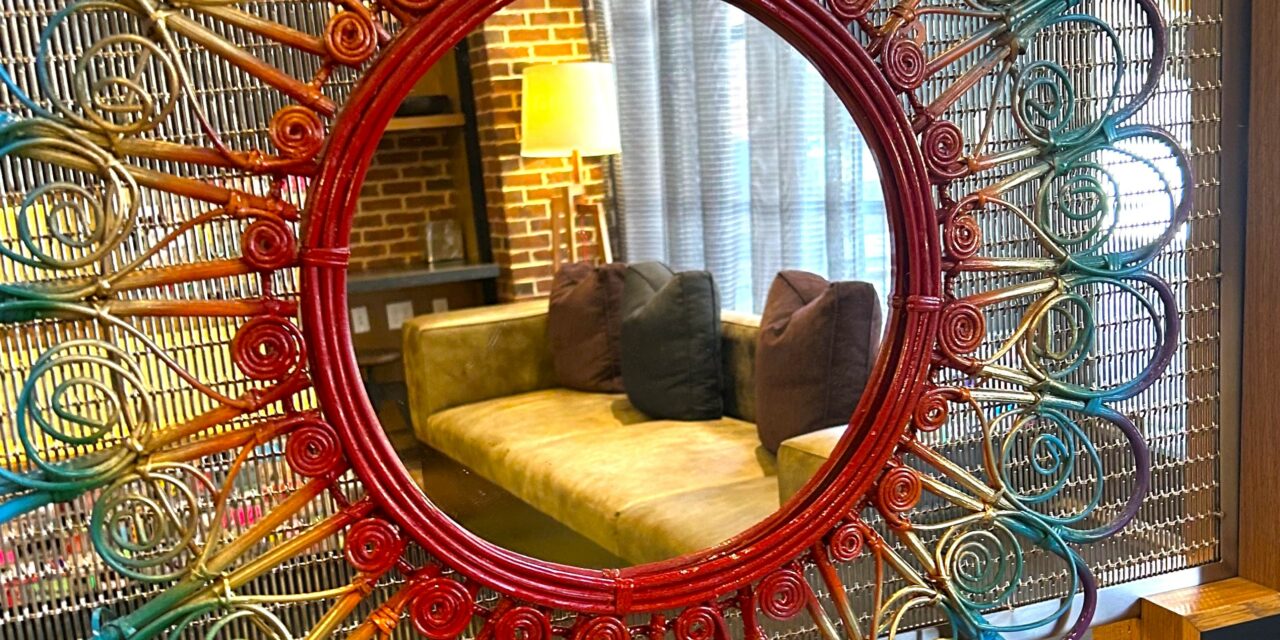
Spray Paint Gives a Flower-Shaped Mirror a Blooming Transformation
Give a rattan-framed mirror a cheerful, colorful new look using spray paints. Help this curly piece to grow from fine to flowering and from acceptable to awesome.
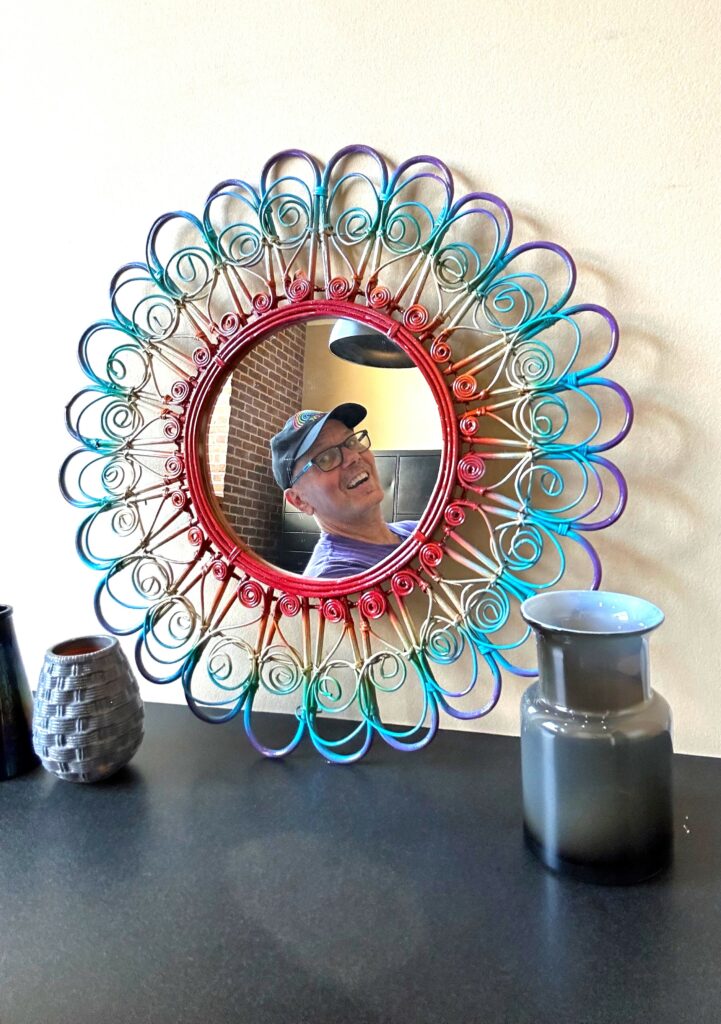
This mirror also helps to celebrate pride all year-long, too, and well past the time when other flowers fade.
Here’s How:
1. Shopping at Goodwill makes for a good reflection on you
Every room in any home, apartment, condo, office, restaurant and more will always look brighter when a mirror is hung up to reflect its surroundings and the wonderful people in it.
Another “must-have” when you are looking for your good at Goodwill is picking up unusual and interesting mirrors when you see them. It truly is amazing to see the great quality of mirrors often available with details like beveled edges, carved frames and decorative accents.
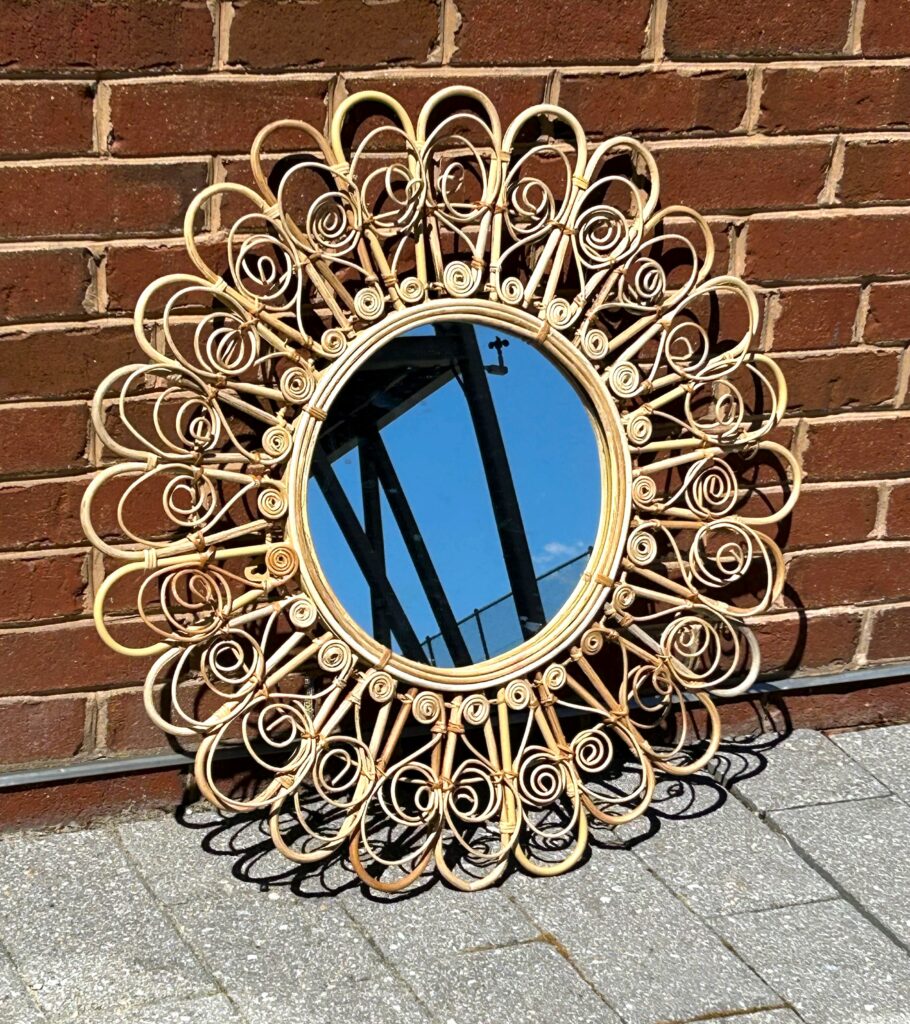
It’s no surprise when you see this charming, curlicue-covered mirror that it ended up going home with me for a colorful makeover. It was less than $10 at Goodwill, so I was delighted to see it had been for sale, in its previous life, for nearly $100! Yes, another shopping score thanks to Goodwill!
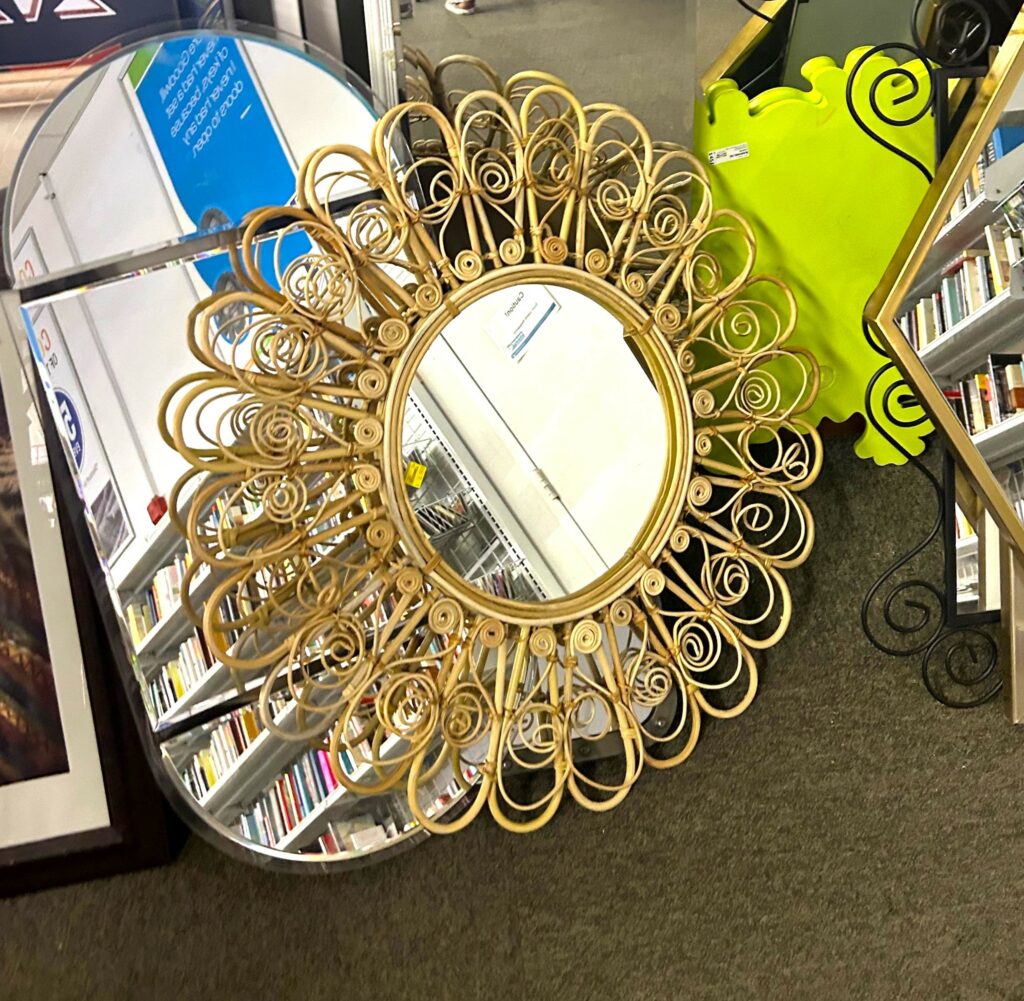
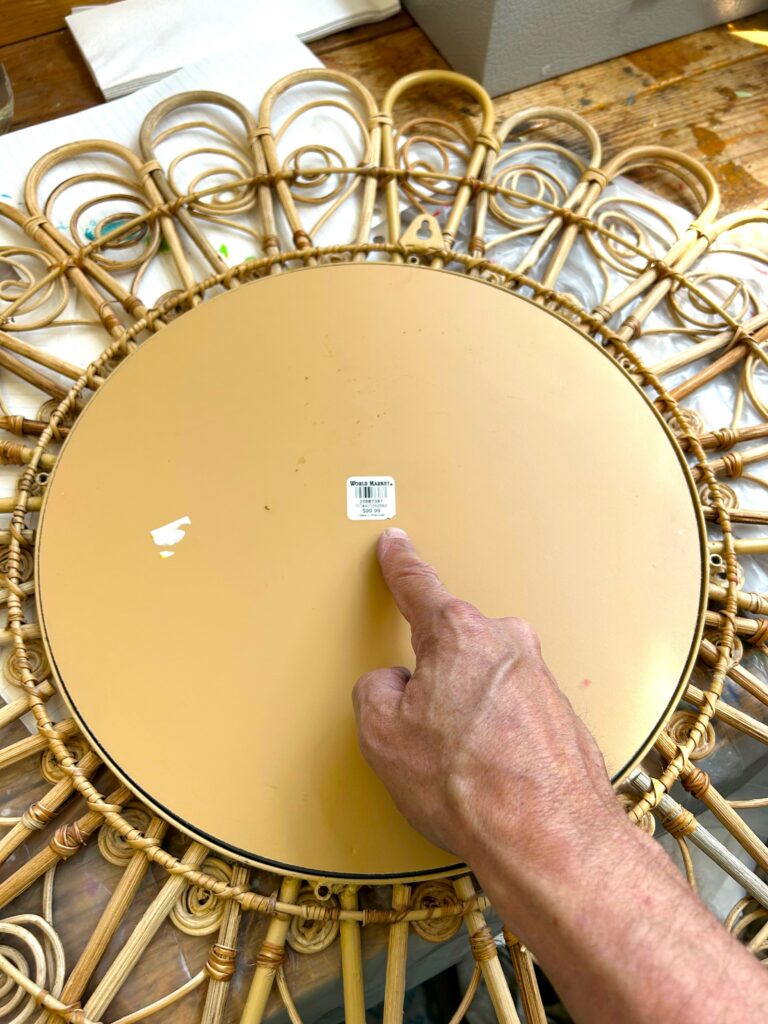

Given the great savings on this mirror and my shopping cart full of other cool items, I rounded up my sale at the end to the nearest dollar as I checked out. These extra funds go right to Goodwill of Greater Washington’s life changing, community enhancing mission. This also makes me happy knowing this regional nonprofit’s programs are benefiting from my shopping savvy. Always consider doing the same so your change truly changes lives!
2. Disassembling is desirable
As you start to transformation your mirror (or any other decorative item), take it apart if possible so you only paint on the pieces you want. A screwdriver and a couple of twists was all it took to remove the mirror’s back and glass. Those were carefully placed aside for easy reassembling.
Expert Tip:
If you are transforming an item with several drawers, be sure to number them using a marker and painter’s tape. Do the same with any hinges, knobs or handles you are taking off temporarily. I learned this step the hard way when I thought each of these pieces were all the same on an item I was painting, but they didn’t interchange as I would have thought. Therefore, take a quick moment to mark and label what goes with what and who goes where.
3. Painting outside is perfect
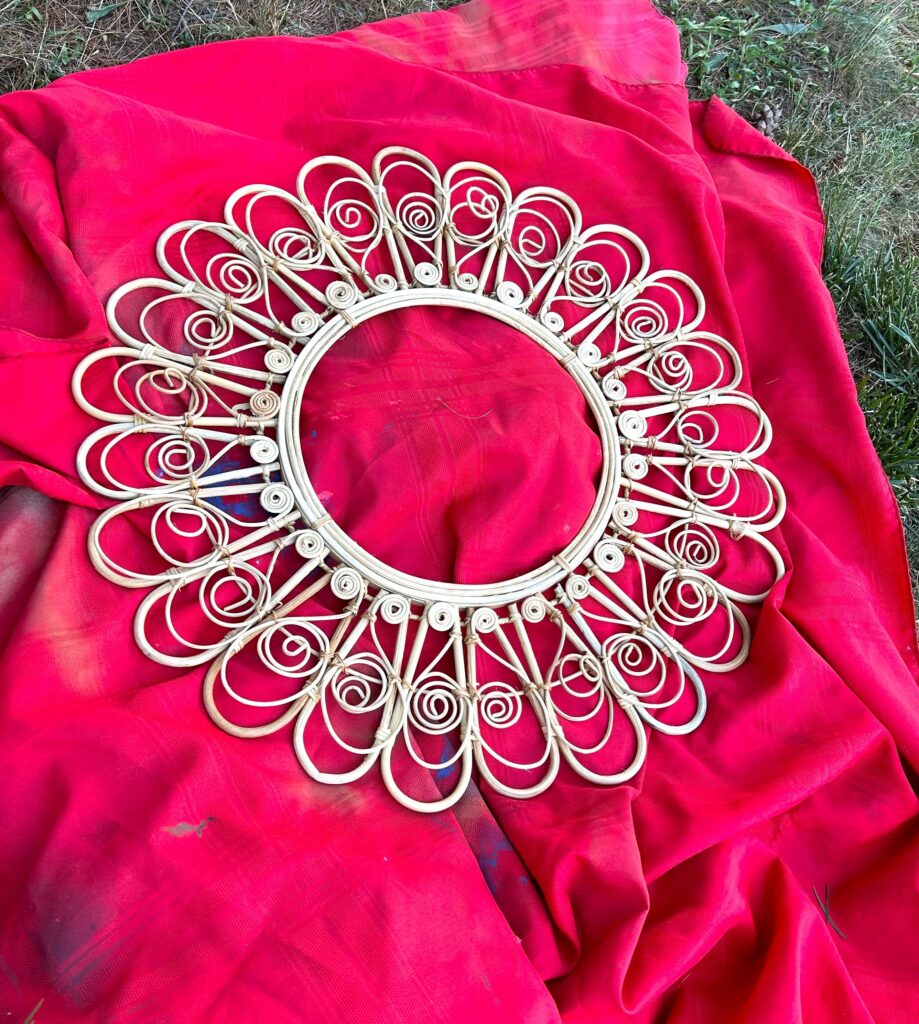
Ideally, you will be able to place your mirror frame outside on a drop cloth. Take advantage of the summertime to be outside for this step. Given the very high heat, consider doing this step early in the morning or later in the evening when the temperature is usually a little cooler.
4. Select your style & spray it on
When determining what color (or colors) to paint your mirror, consider what spray paints you already have on-hand. This will help you to keep your upcycling costs as low as possible and might inspire some out-of-the-box ideas.
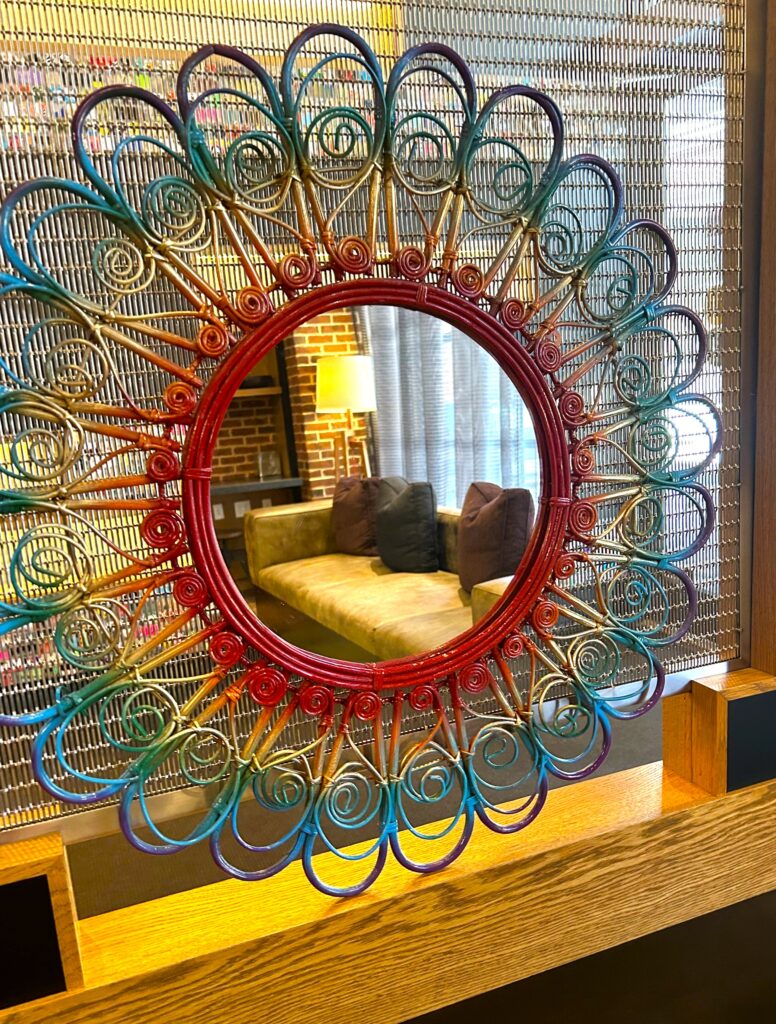
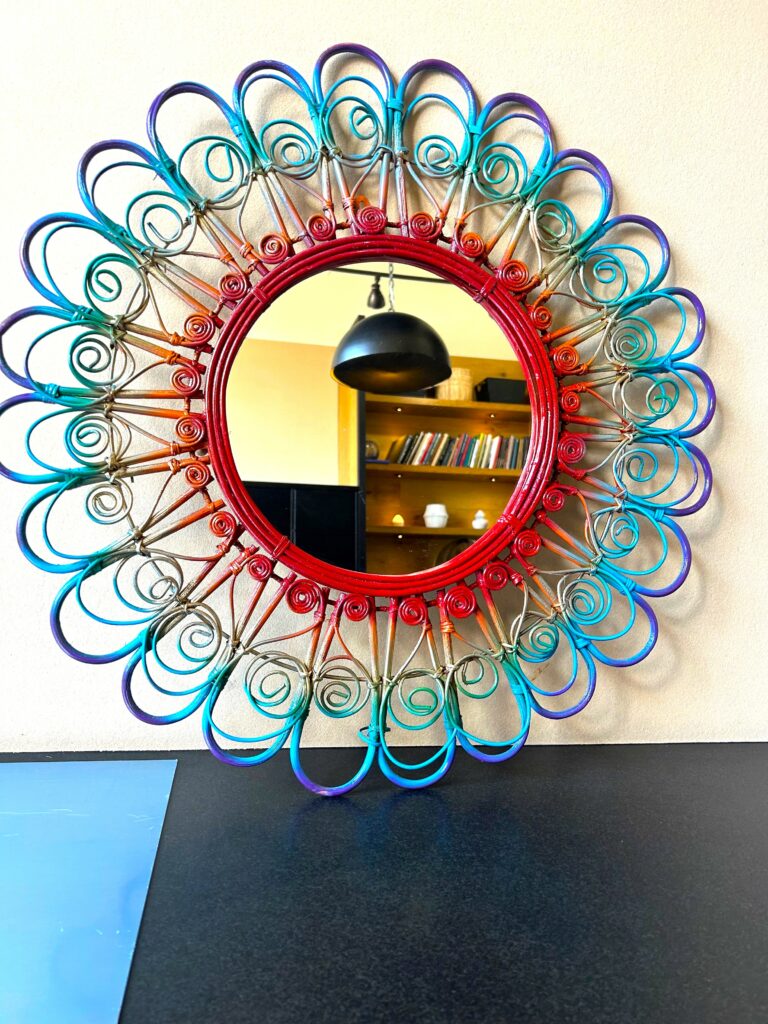
When I went through my stash, I saw I had most of the colors making up a rainbow so that set a direction to go (see expert/design tip below). Also, consider combining and applying several different colors to make your mirror frame eye-catching (and not just its reflection of you!).
Yes, a solid white would have been okay. Black is always a fine choice too. BUT let’s have fun, fun, fun with our pieces, please! Go bold (and colorful) or go home. No matter your décor, a bright and cheery piece will always look at home, especially if it makes you happy!
Expert/Design Tip
Don’t worry if your paint collection doesn’t have the exact “ROYGBIV” color palette. You can substitute another color to add some pizzaz. The gold tone stepped in for the missing yellow one and added a wonderful shimmer to the overall look.
5. Painting time: Play ring around the rosy
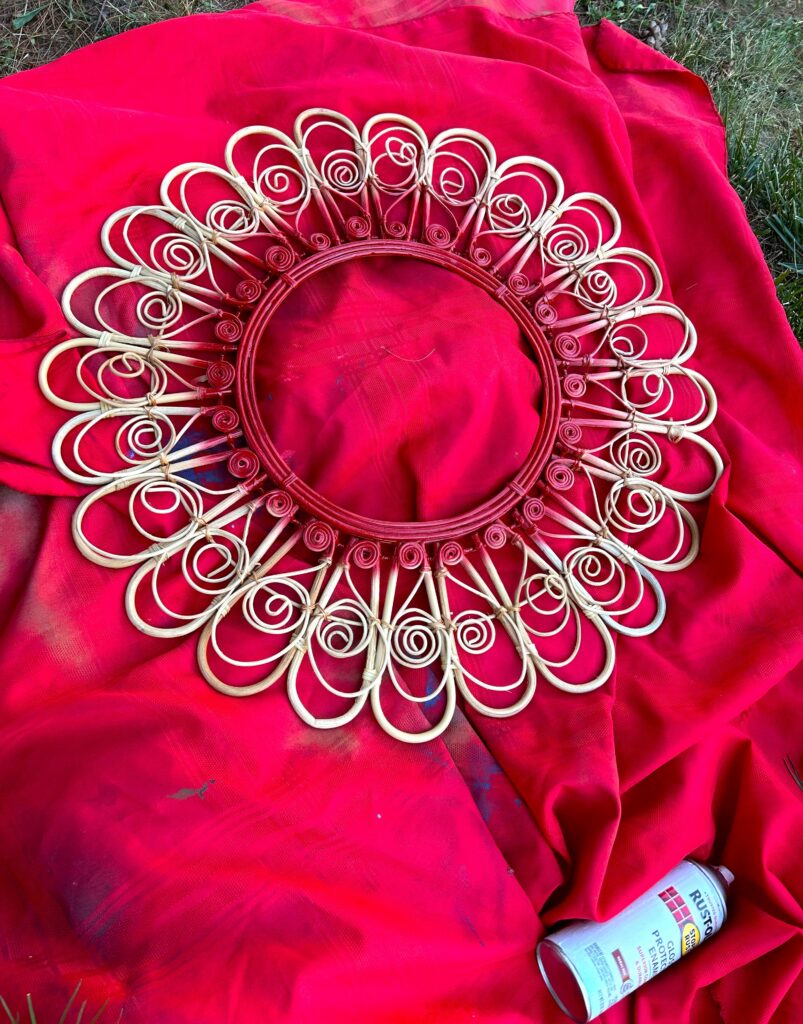
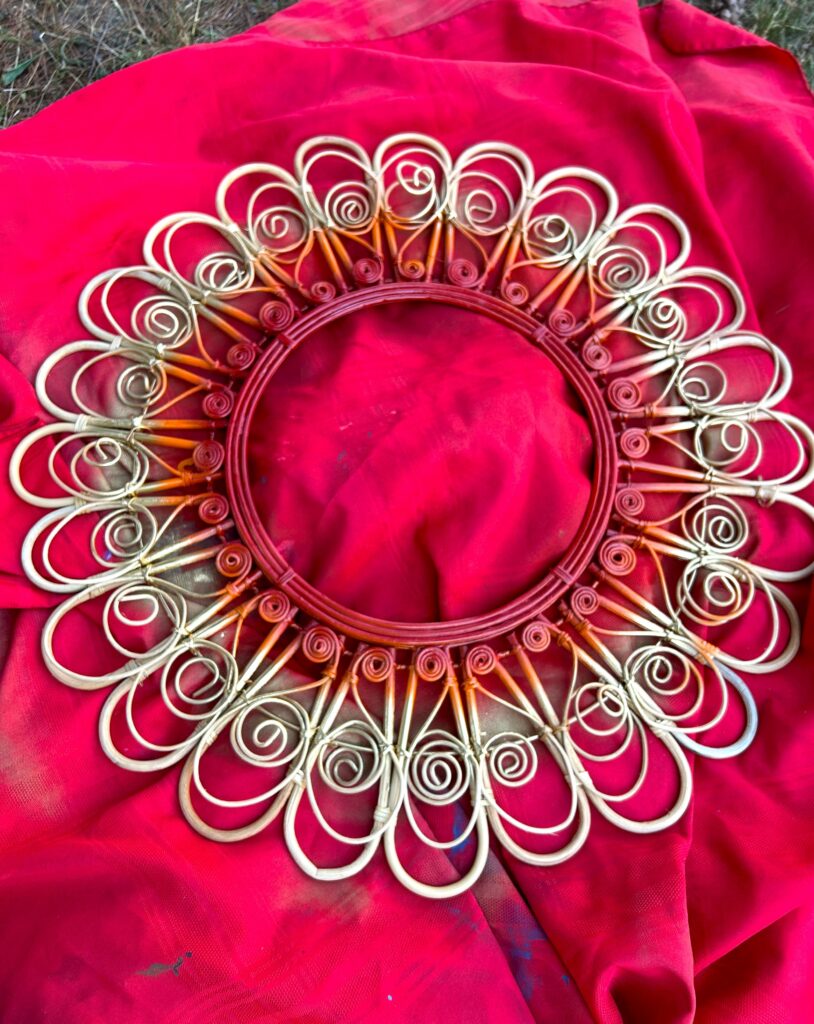
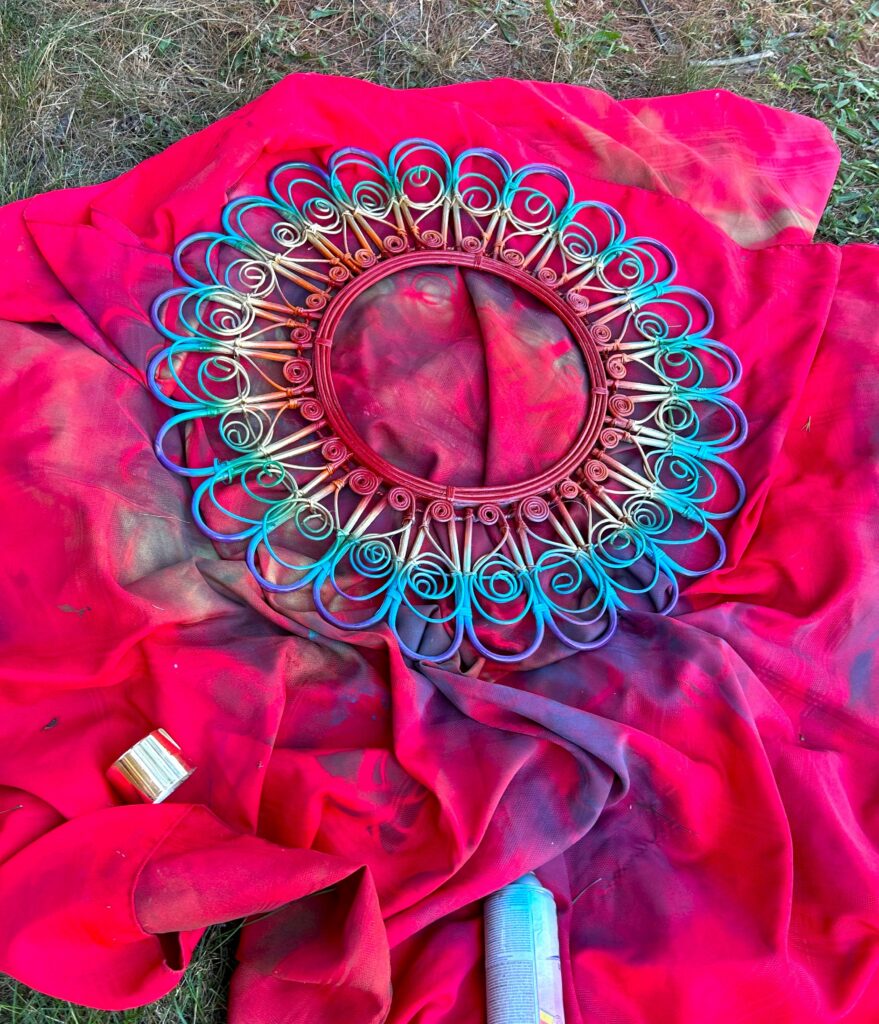
Add a light layer of your first spray paint choice. Move around it so you get paint on all parts, edges, pieces. Repeat this step each time you add a new color and/or another light layer of paint. The rattan’s roundness meant that this mirror was then flipped over on its back after it dried completely. This ring around the rosy, spray painting as you “go-sy” approach was repeated for each color. It really did feel like I was playing a game because it was so much fun!
6. Reassemble as needed
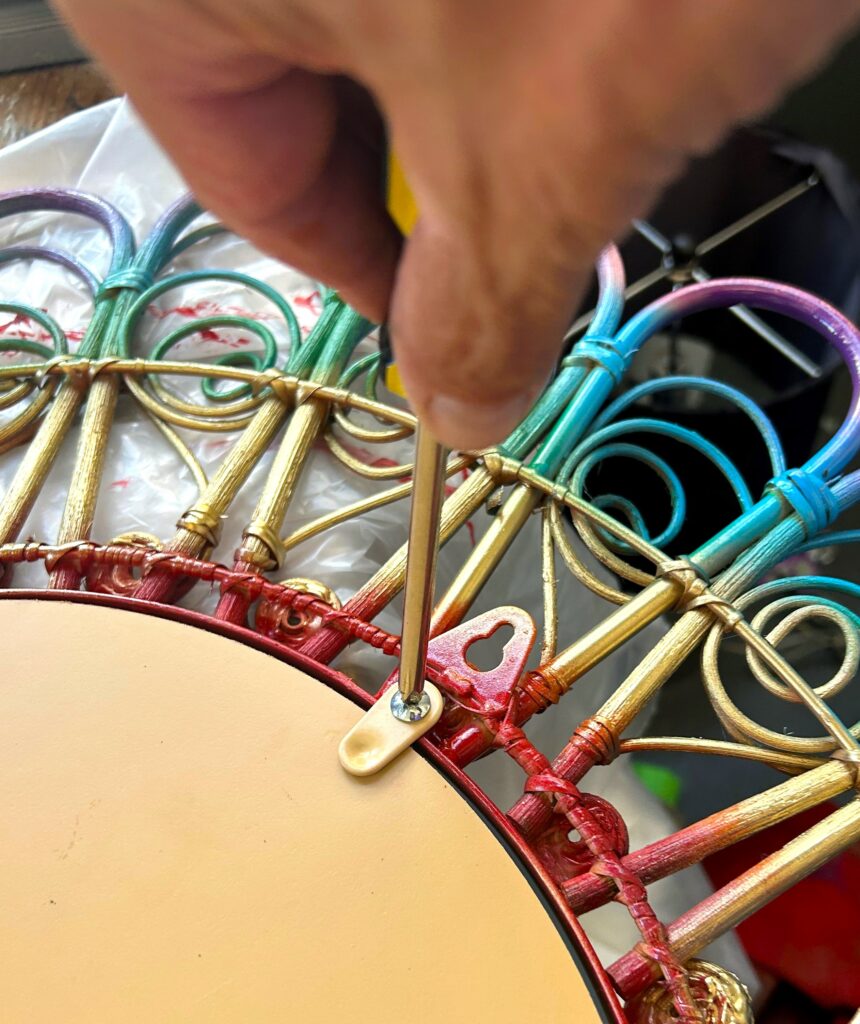
Now is time to put it all back together. This mirror only had four screws, so it went back together in about thirty seconds! If you have a more complicated piece, then you will now see the advantage of taking time to mark and label things.
7. See your reflection bloom!
Maybe you will hang this happy mirror by your door to check your smile as you leave. Place it above the sink/vanity in your half-bath to give it some instant pop and pizzaz. Set it on a credenza in your office amongst the inboxes and outgoing mail to add some need whimsy there.
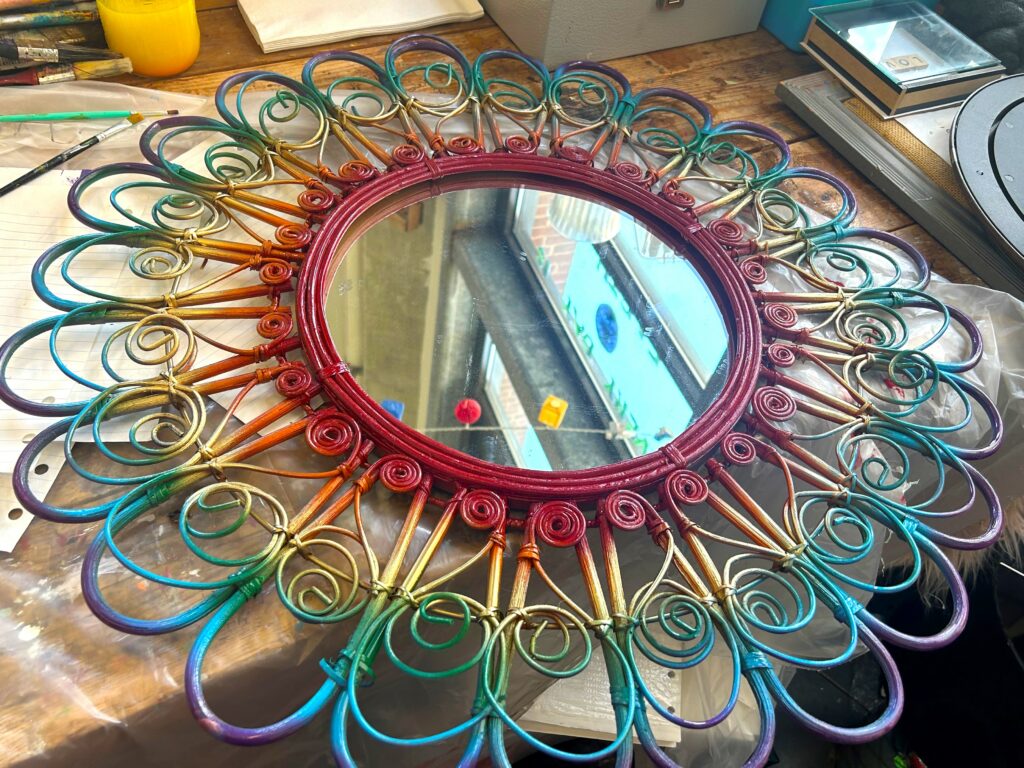
Wherever this upcycled mirror goes, it will reflect your style, your shopping smarts and your support of Goodwill and our community. All great reasons to smile!
Similar Reads:
- DIY: How to Upcycle a Mirror to Reflect Your Pride
- How to Upcycle Thrifted Mirrors to Reflect the Spring
- DIY: Give a Mirror the Royal Treatment With a “Frozen” Transformation

Tim Kime
Artist, Motivational Speaker, Life Coach


