There’s no better place in the world to me than sitting outside on my patio with a cold drink and a snack on a warm summer night. We had a perfect spring-weather weekend recently with fluffy white clouds, blue skies and hot pink azaleas in full bloom. It was the kind of evening you just had to sit outside and enjoy.
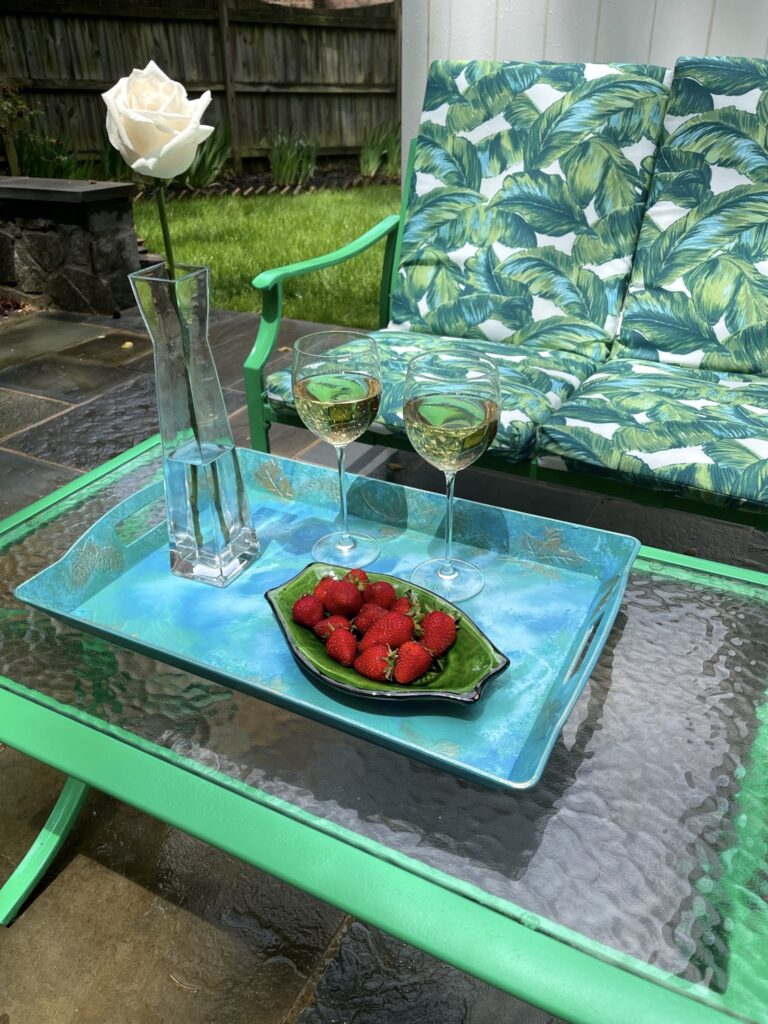
As we wrapped up our cocktail hour, balancing wine glasses, plates and snack bowls to carry back inside, my husband commented that it would be really nice to have a tray for evenings like this.
Goodwill to the rescue!
The very next day, I was visiting the Goodwill store on Liberia Avenue in Manassas, and I lucked out and found the perfect tray. Well, it was almost perfect…
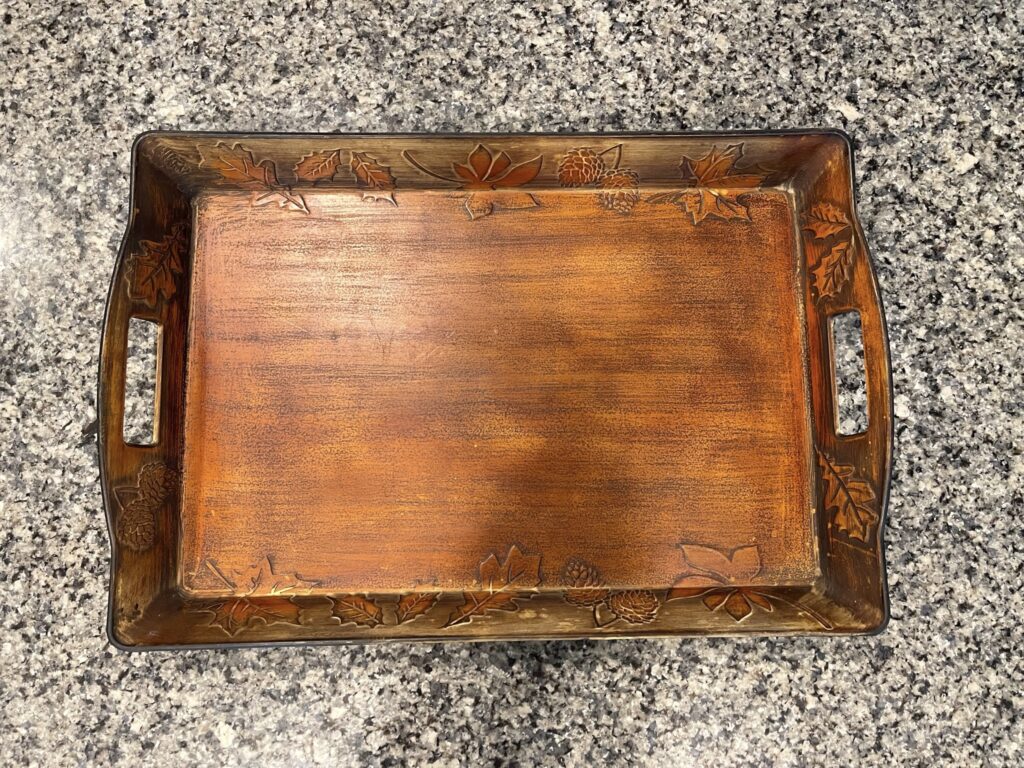
The size, sturdiness and price ($5) were perfect. But the style didn’t match our décor. The tray didn’t really give off the summer vibes feeling we are going for on our patio.
Paint to the rescue!
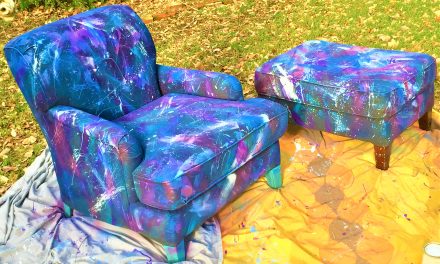
I chose a pallet of summery blues and teal to match the new cushions on my patio loveseat. Then, instead of using a traditional paintbrush, I used a syringe to squirt three different colors of paint in random squiggles all over the bottom of the tray.
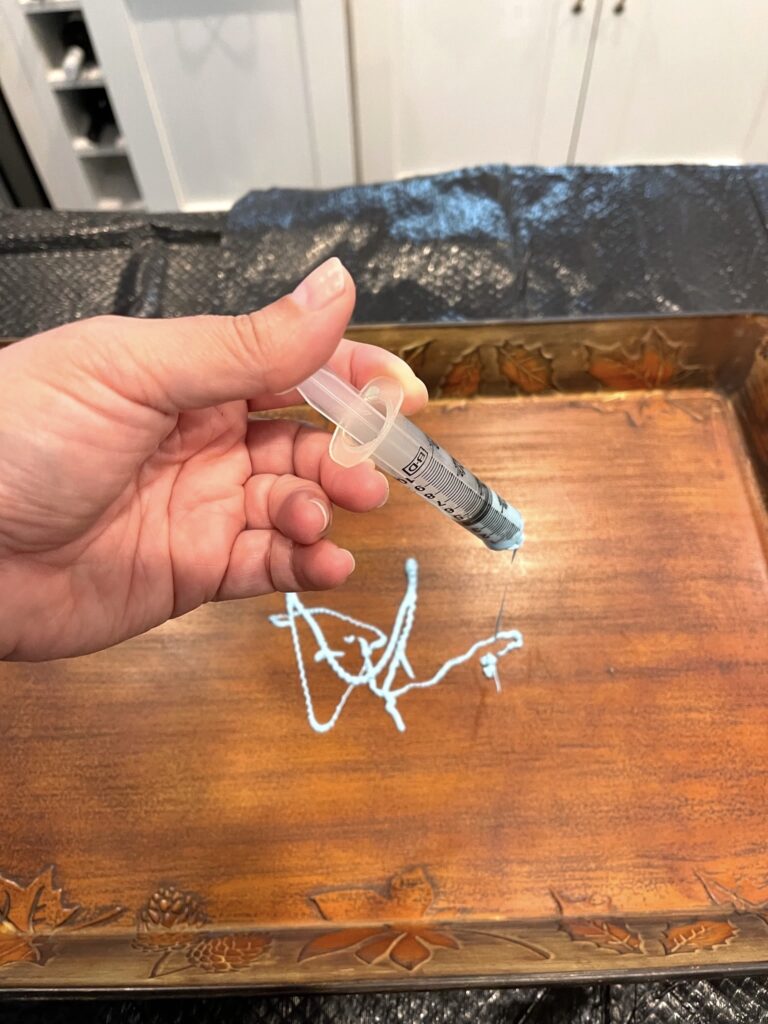
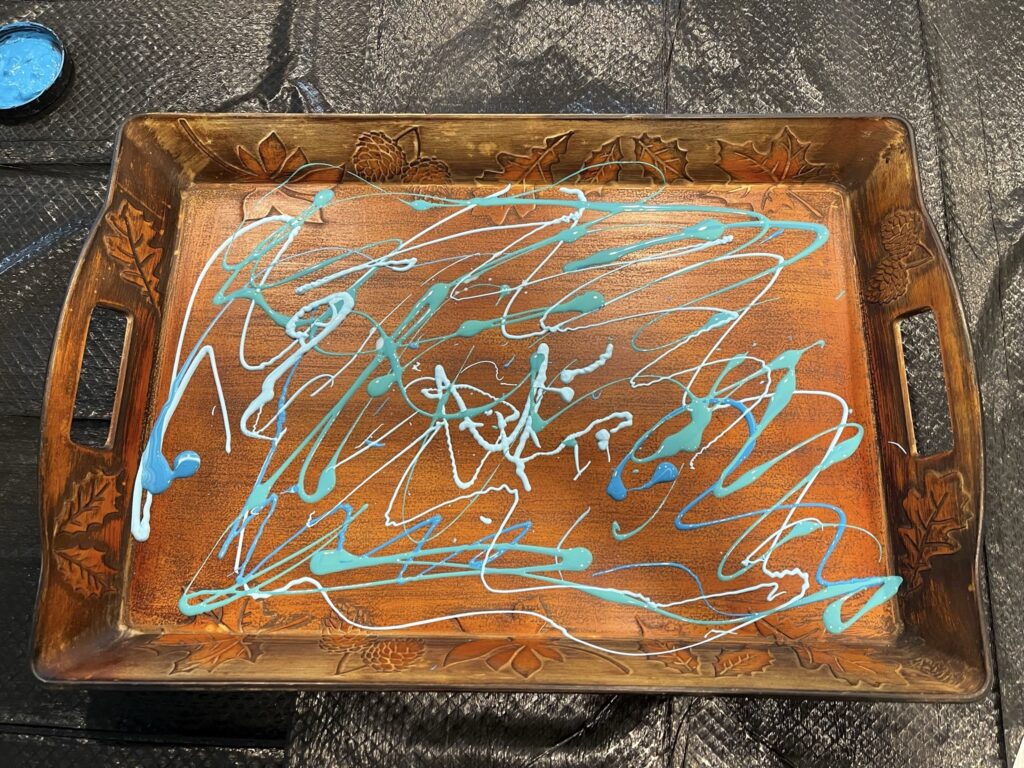
You can find a syringe like this at the pharmacy in the children’s medicine section. It only costs a few dollars and is a fun tool to use to experiment with different painting techniques.
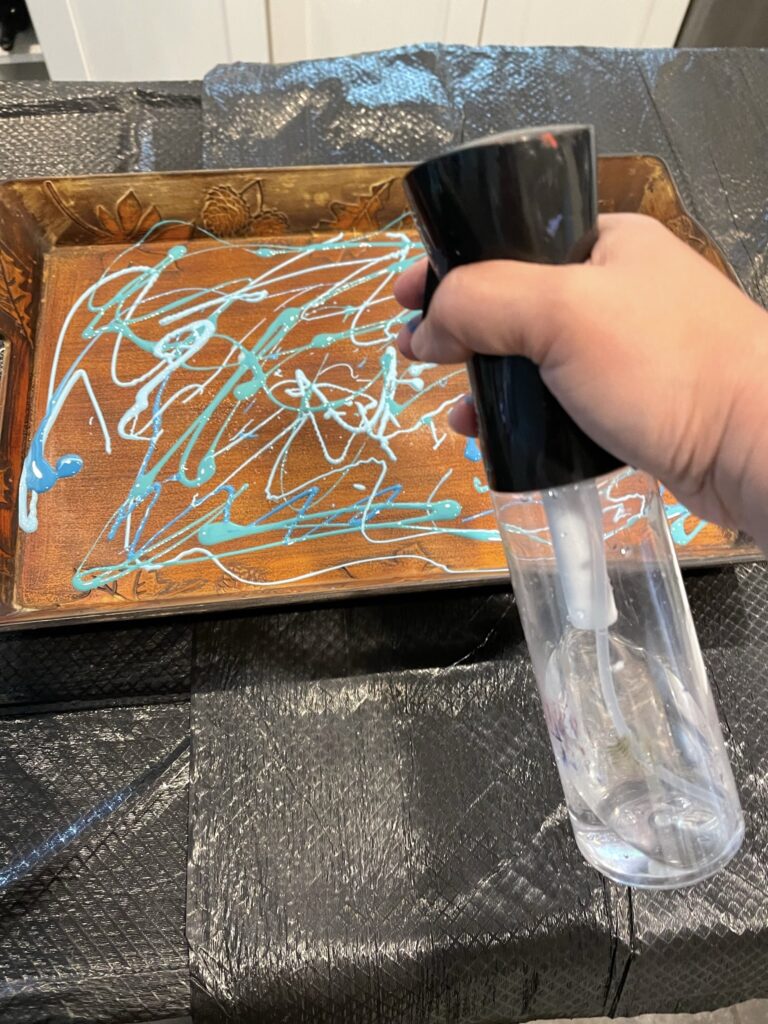
Once the paint was squirted fairly evenly across the bottom, I sprayed everything with water. This step is important to allow the paint to move freely during the next step in this process.
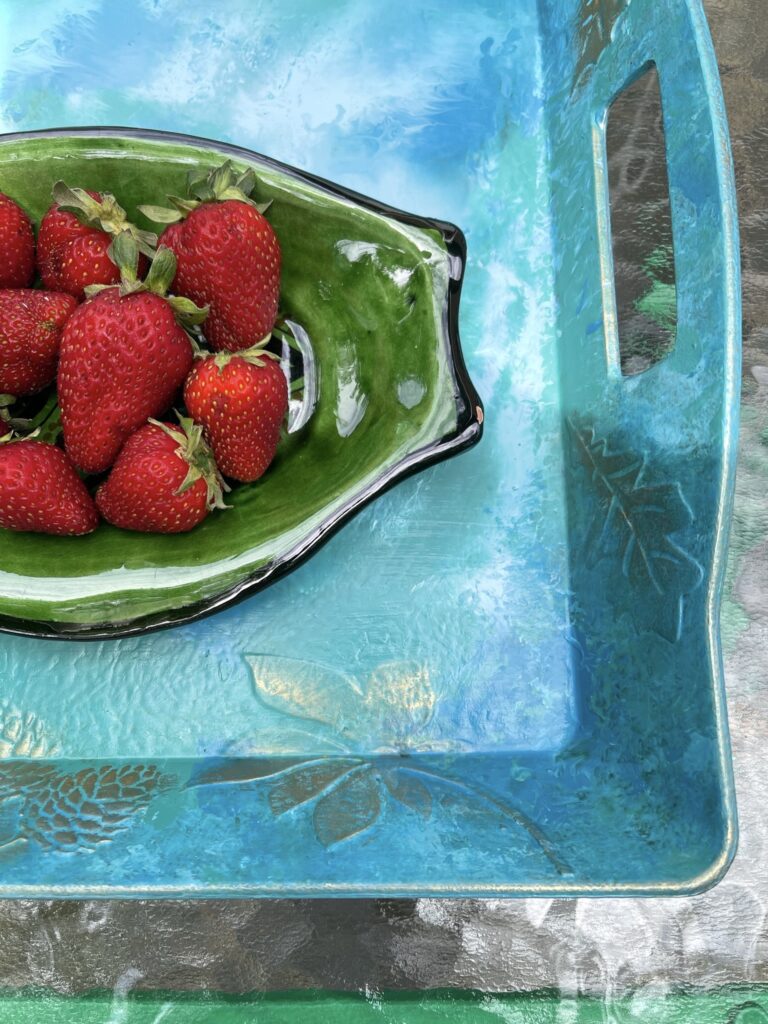
Next, I covered the tray with two sheets of plastic wrap, overlapping to make sure the entire area was covered. Then, I used a paint roller and rolled all over the top of the plastic in all different directions. This moved the paint around, squishing it together and creating beautiful new patterns and colors.
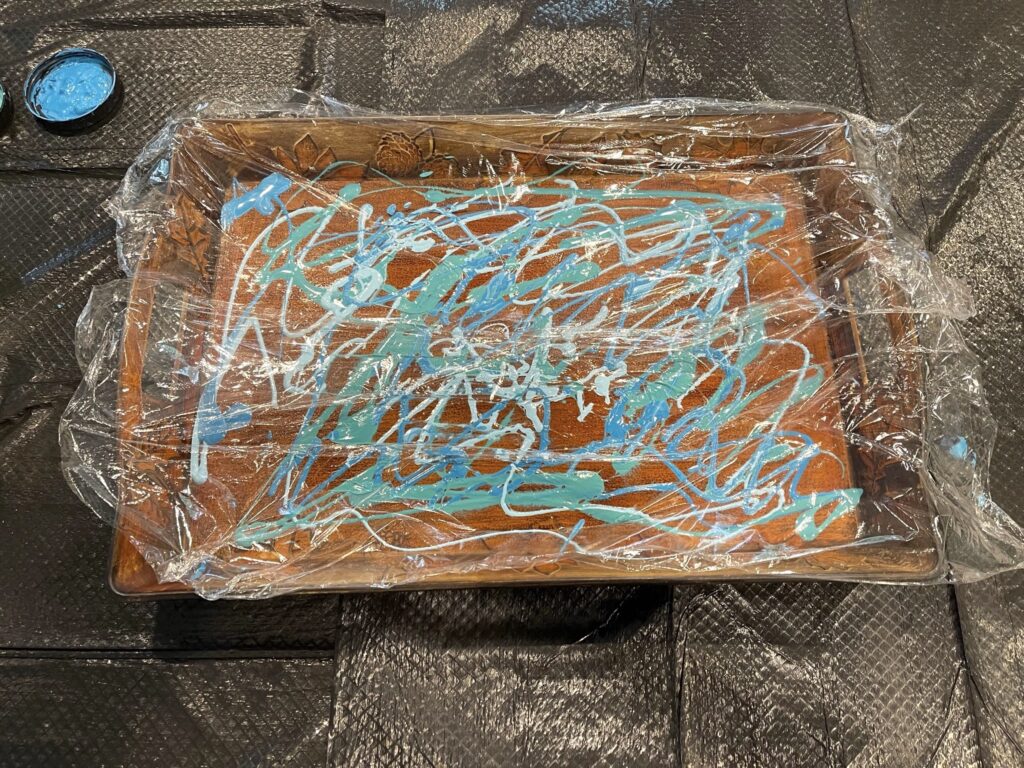
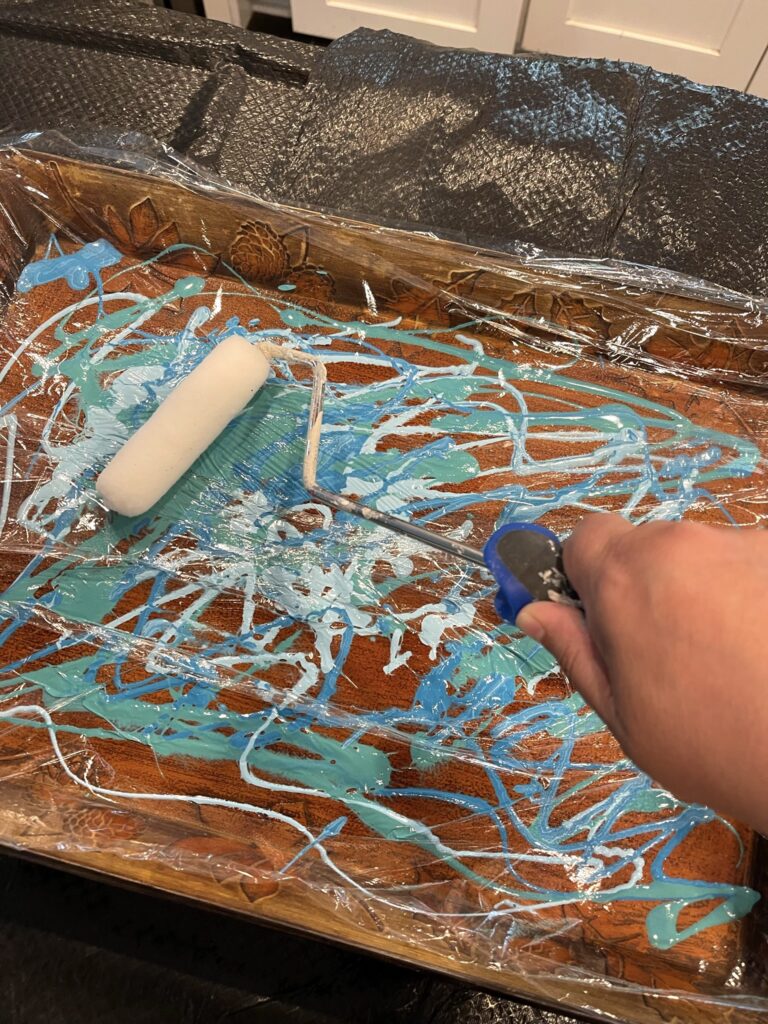
I carefully removed the plastic wrap and used the paint-soaked sections to dab around the sides of the tray until the entire thing was covered in paint. This technique is messy, but the results are beautiful!
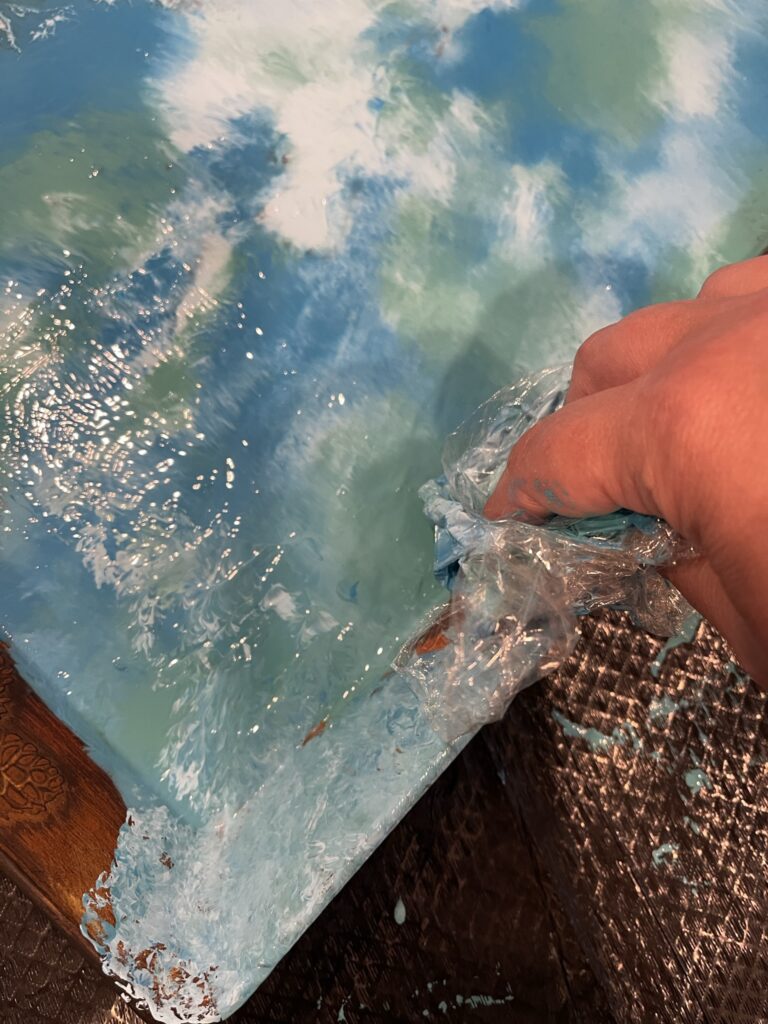
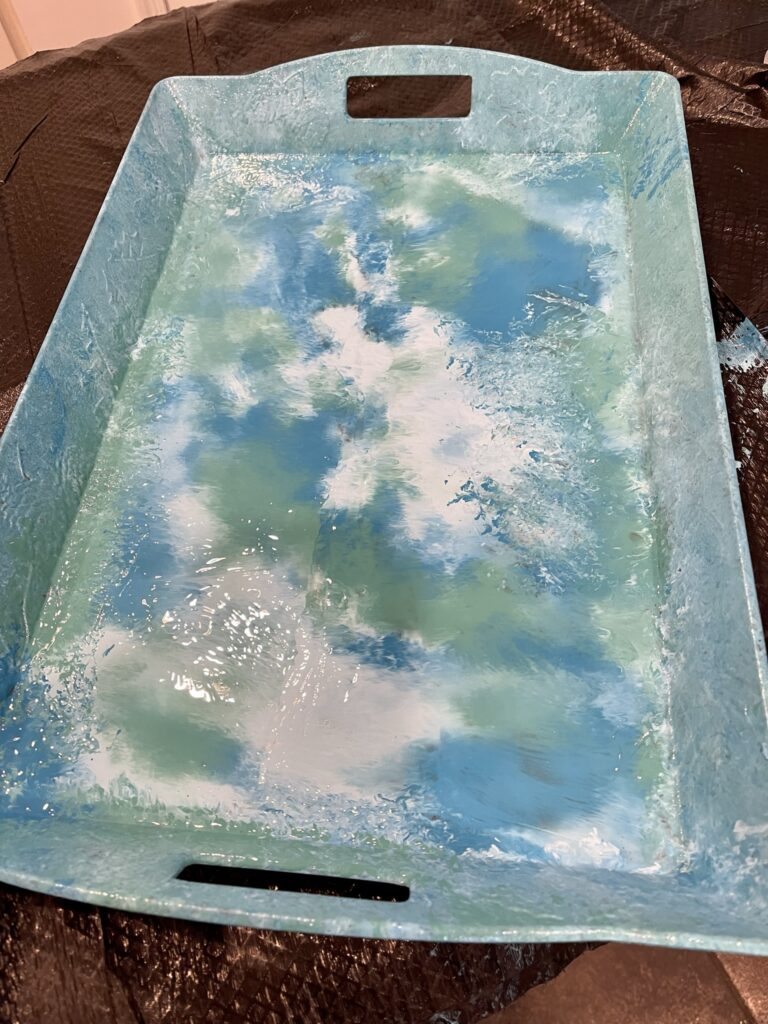
I did learn a few lessons on this project.
- Next time, I will paint the entire surface with one of the colors first. That way, if there are any bare spots after the paint is rolled, it will blend right in.
- Also, make sure you squirt enough paint with the syringe in the beginning to completely cover the surface. This will help avoid the bare spots altogether.
I did not use enough paint the first time so there were several areas where the original brown/orange/rust color showed. After the paint dried, I simply repeated the process, making sure to squirt paint over the bare spots. That solved the problem.
Don’t worry if you don’t like your results the first time. With paint, you always get a do-over!
After the paint dried, I rubbed gold wax over the leaf designs to accentuate them. Then I sealed the entire tray with three coats of water-based polyacrylic sealer to protect the paint and give it a glossy shine.
PLEASE NOTE: The products I used are not food grade. I would not serve food directly on this tray like a charcuterie board. But it is nice for carrying glasses and bowls outside in one trip.
And it matches my outdoor décor perfectly!
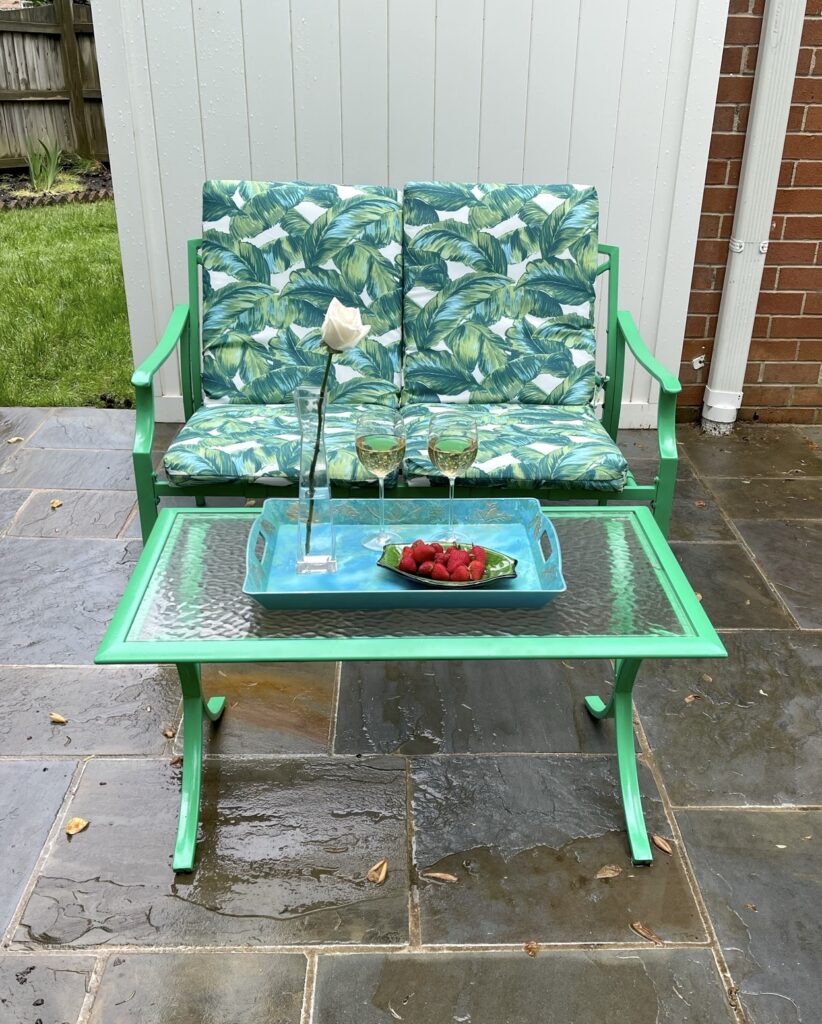
Now if only we could get that nice spring weather back. All of these rainy weekends in a row are killing the summer vibe I’m trying to enjoy!


