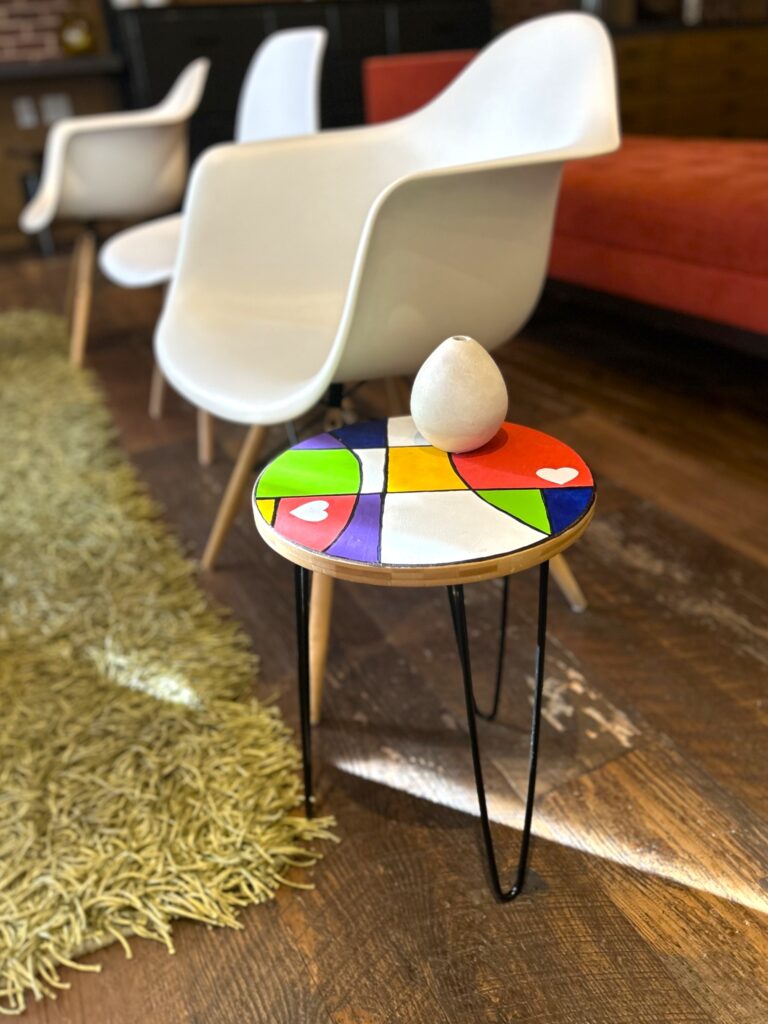
Wear your heart on your sleeve—and on top of a tiny table
You’re sure to feel the love when you give a small accent table a colorful new look. Your heart might even beat a little faster when you see how happy this little piece looks dressed up in bold colors and a heart or two.
Create one for your sweetie, your BFF, or yourself—for Valentine’s Day, a birthday, or just because every day deserves a little extra love.


Here’s how:
1. Finding your “good” at Goodwill is good for your heart, too
Want to know a secret? Shopping at any Goodwill nonprofit retail store is a heart-happy experience. Why? In addition to discovering all sorts of unusual, interesting, and eye-catching items, you’ll be supported by the best team ever—always ready to help and cheer you on.
You’ll also feel good knowing you’re showing love to Mother Earth by being a good steward of resources and keeping items out of landfills. Just thinking about that makes my pulse pick up—in a good way!
Each week, you’ll find special savings on selected items based on their price tag colors. With budget-friendly deals like these, consider rounding up your purchase total to the next dollar so the difference can support Goodwill’s life-changing, community-impacting programs.
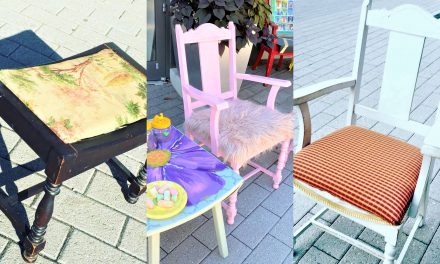
The table featured here was a must-take-me-home item. Its size, round top, and hairpin legs made it a versatile and stylish piece—and the price made it a very smart find.

A Valentine’s Idea:
Consider taking someone you love—or even yourself—on a Goodwill shopping excursion for Valentine’s Day. It’s sure to be memorable, and you’ll likely find treasures that are far more lasting than a box of chocolates (though I do love chocolate!).
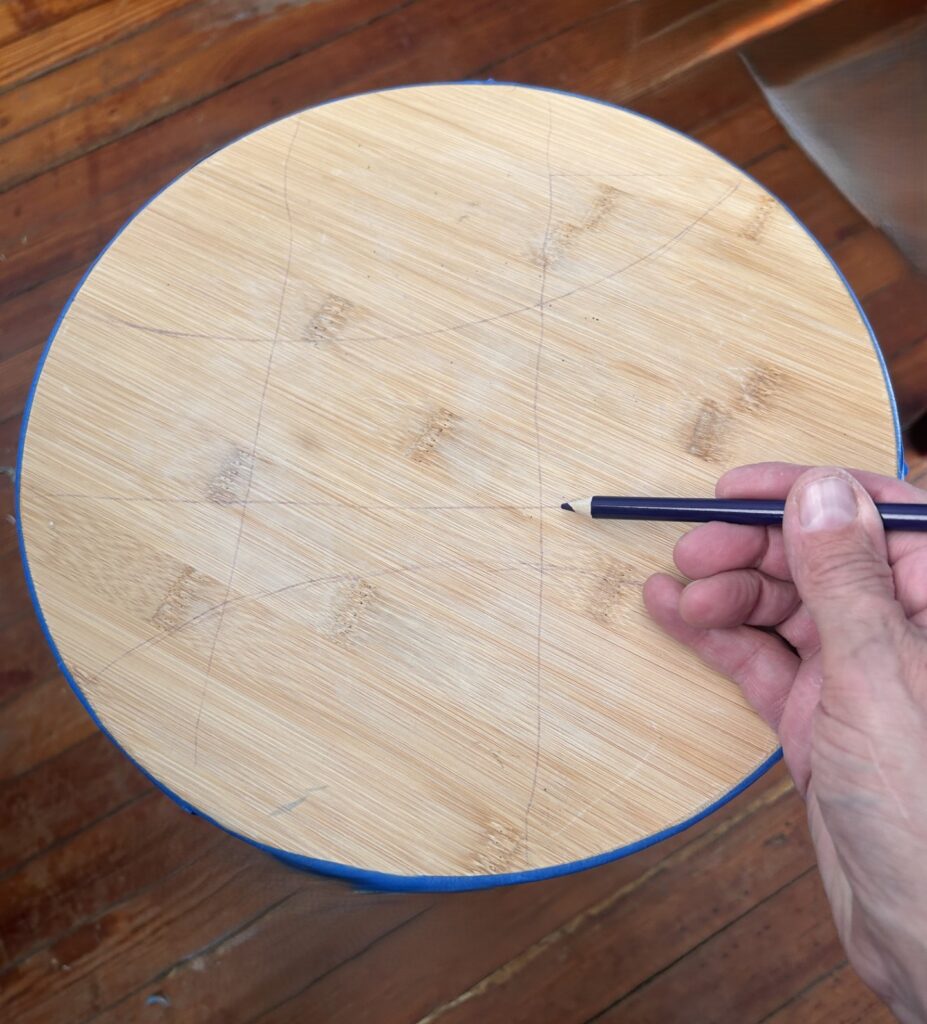
2. Sketch out your sections
To give your tiny table a big, bold upcycle, start by using a pencil to map out your design. To play up the round top, I drew circular shapes that flowed off the edges. I did this freehand, but you could also use a small plate to trace.
Next, add straight lines—some long, some short. You really can’t go wrong here. If you’re working with a younger, creative helper, this is a fun step to let them take the lead.
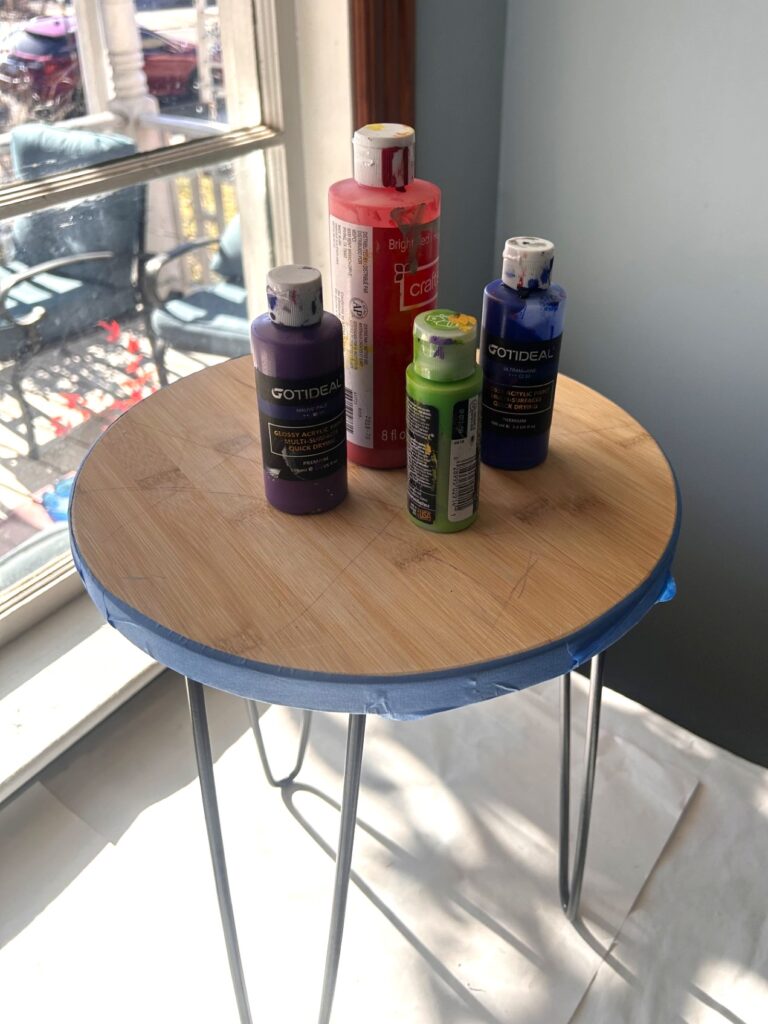
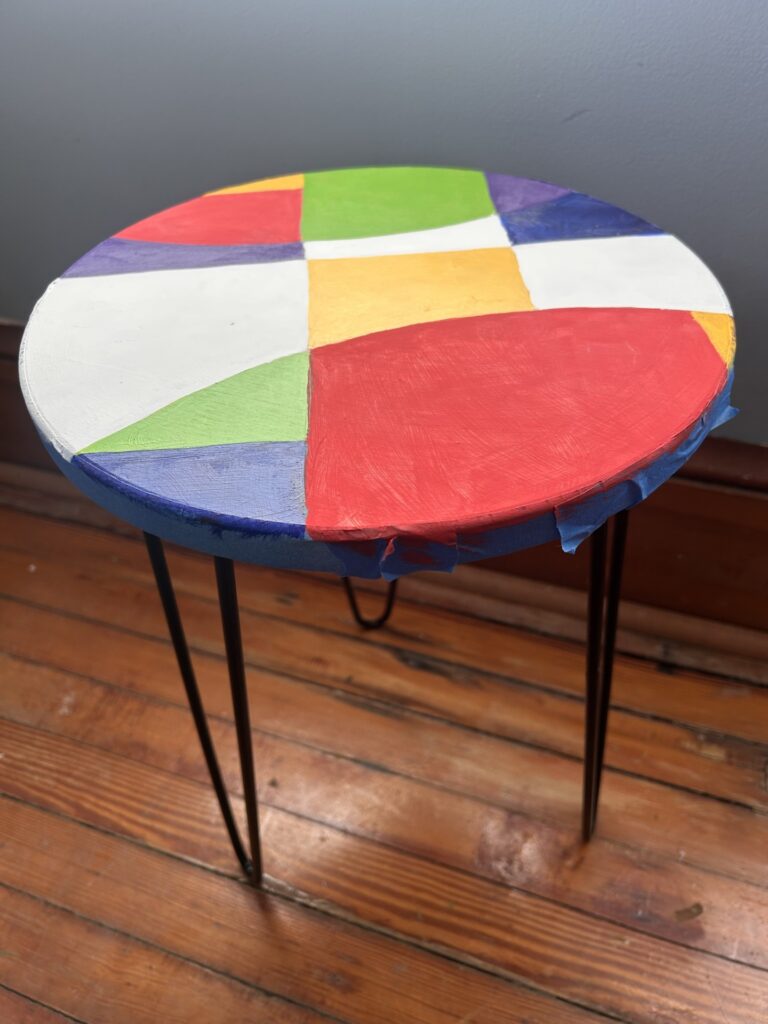
3. Brush on brightness
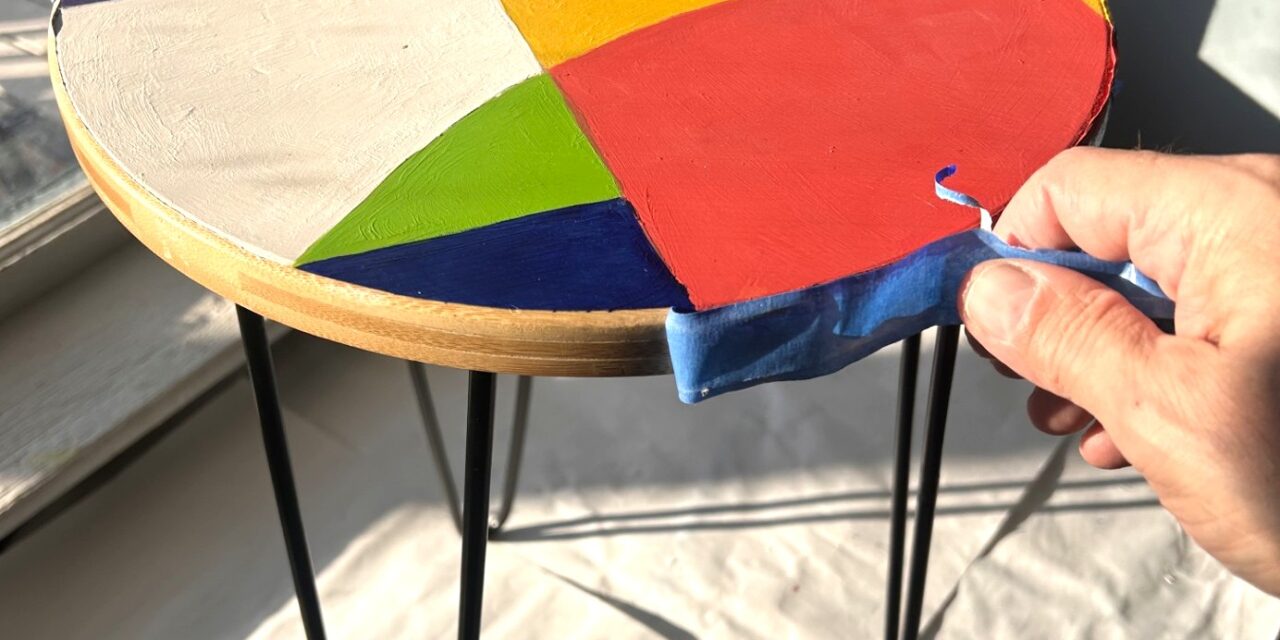
Select bright colors from your paint collection. Use painter’s tape to protect the side edge of the tabletop. Paint one section here and another there using the same color, then repeat with different colors until the entire surface is covered.
Repeating colors throughout the design helps your eye dance around the table.
Allow each color to dry before adding two or three coats, so everything really pops.


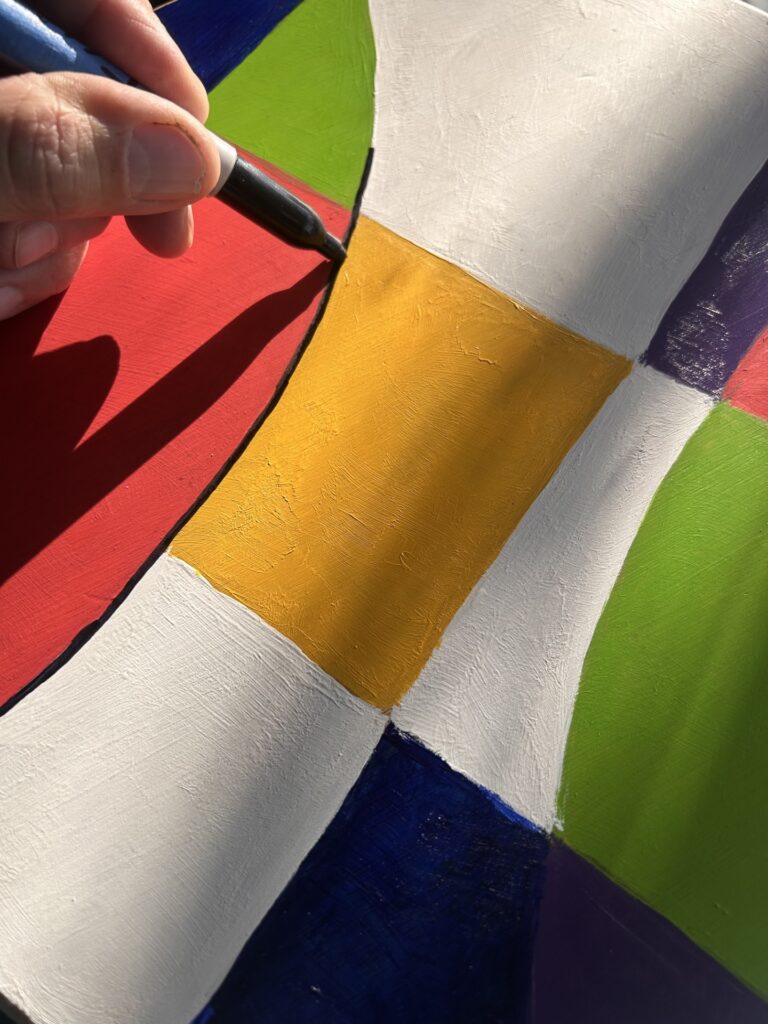
4. Line up your look
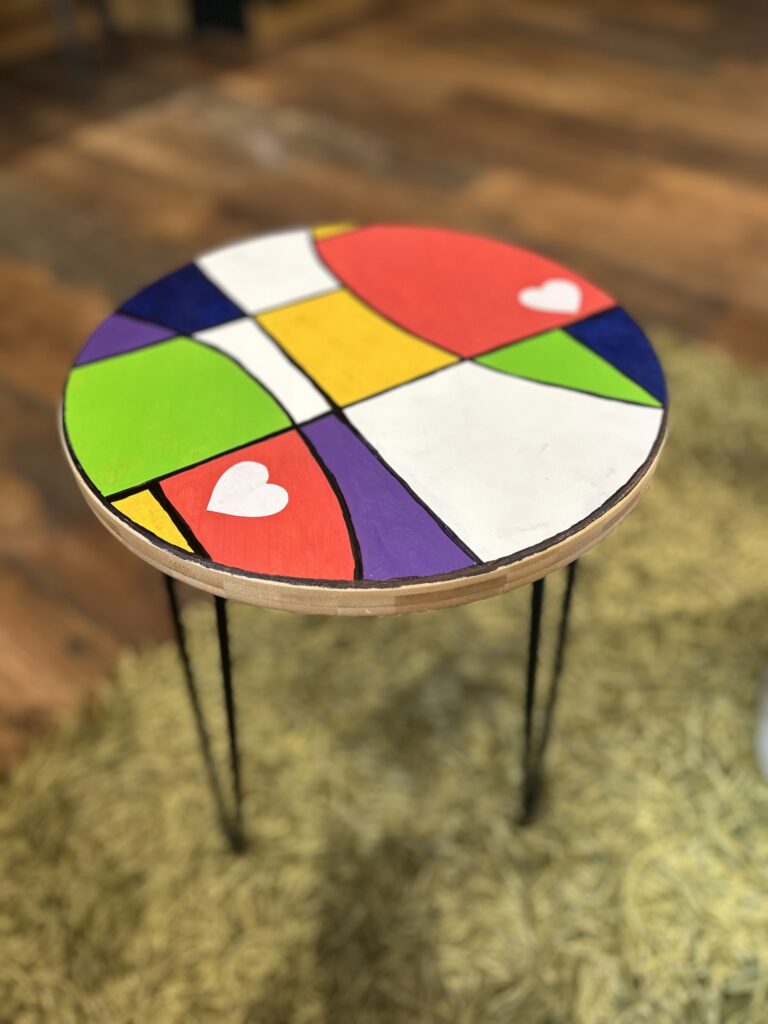
Once the painter’s tape is removed, grab a black Sharpie or black paint pen and outline each color section. Finish by adding a bold black line around the outer edge of the tabletop.
Go over each line once or twice to make sure it’s crisp and sharp. This step is pure magic—it’s amazing how it instantly makes the tiny table feel big and bold. Black was selected to connect the top design to the black hairpin legs.

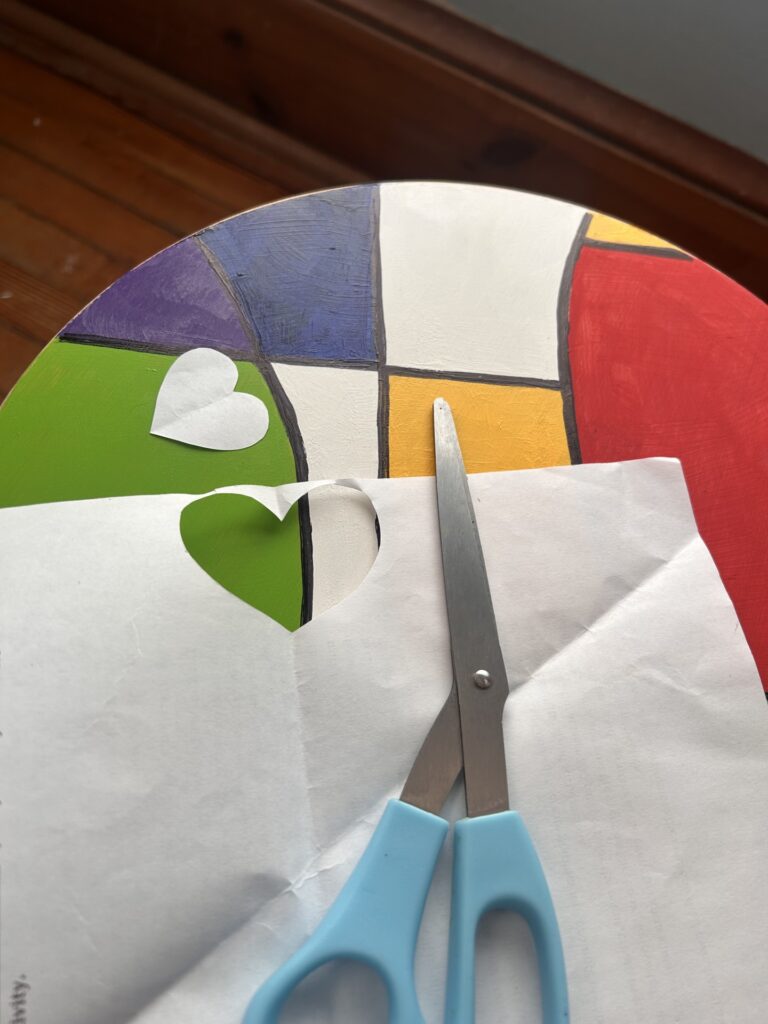
5. Time for a paper heart (or two)
Cut two small hearts from white paper and secure them with school glue, craft glue, or good old Elmer’s. I placed mine on the red sections in a way that no matter which way the table is turned, it always looks happy.

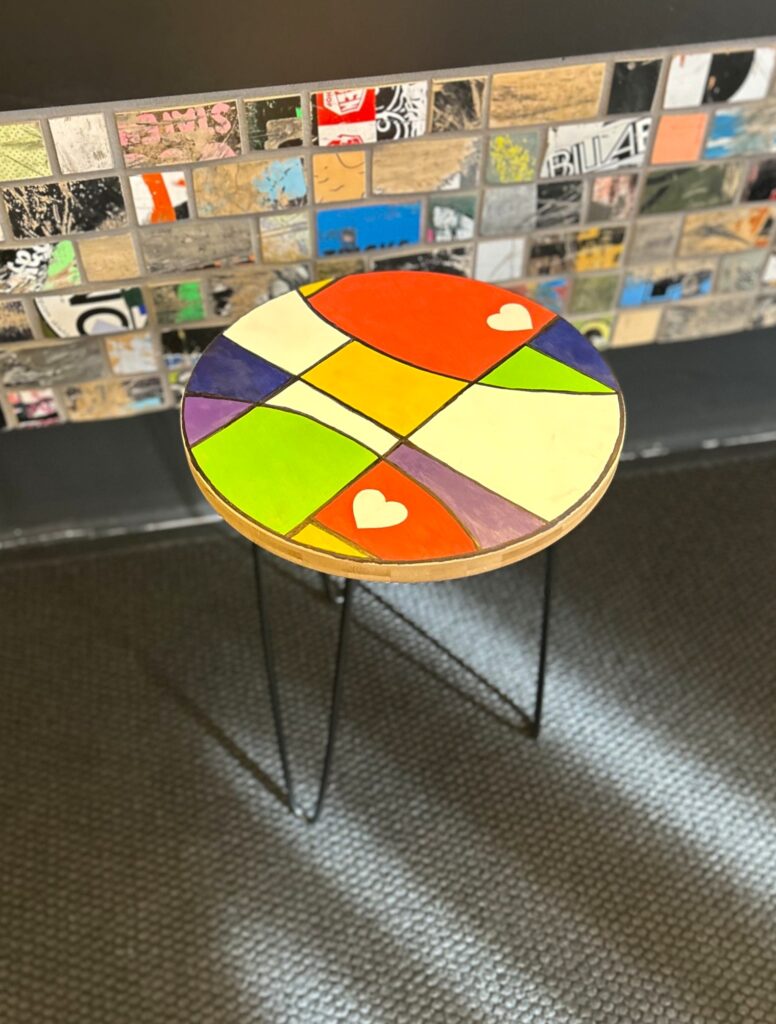
6. Protect with poly
Brush or roll on two to three coats of satin or semi-gloss polyurethane to protect your heart-warming, colorful tabletop. This will help guard against spills, dust, and fingerprints—so your loving efforts last.

Share it. Keep it. Place it with love.
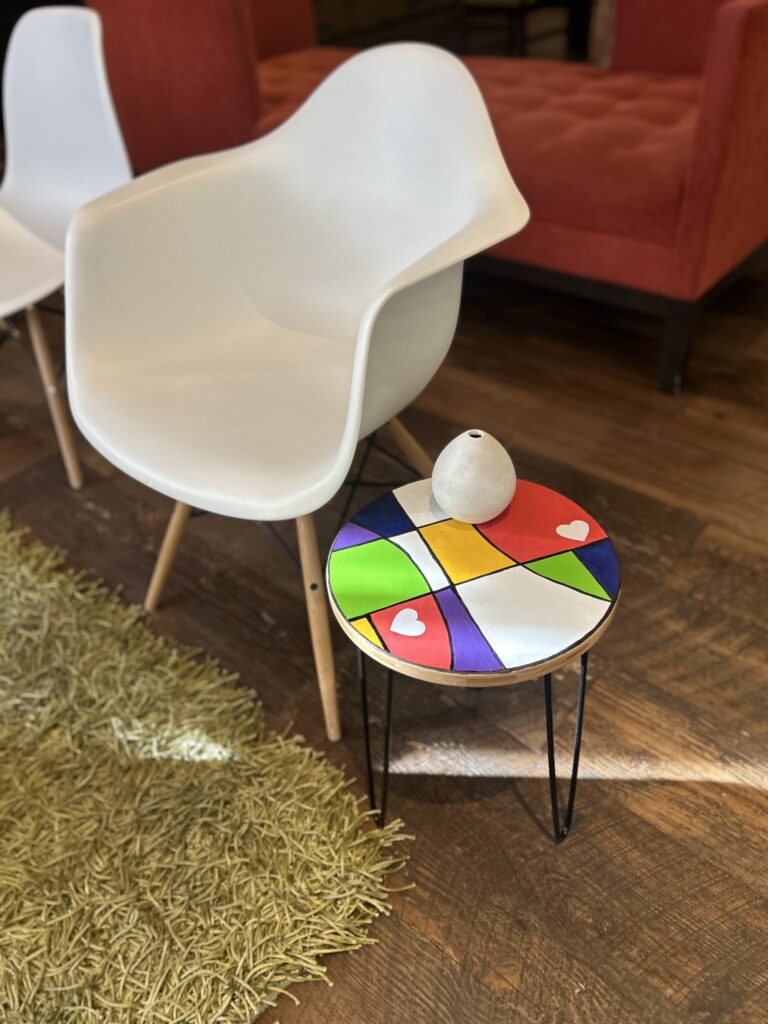
This tiny table will look happy, happy, happy wherever it lands. Next to a chair for your coffee? Perfection. Beside your bed, holding a favorite romance novel? Dreamy. Styled with other perky Goodwill finds as part of a vignette? Absolutely!
And here’s the best part: every time you look at this table, you’ll remember that a little paint, a little heart, and a Goodwill find can turn something simple into something full of joy. Now that’s what I call love at first brush!

Similar Reads:

Tim Kime
Artist, Motivational Speaker, Life Coach
