Create Art, Build Community & Celebrate Summer with Upcycled Canvases, Repurposed Banners
Goodwill-found canvases and repurposed promotional banners are upcycled into art pieces while building community. In celebration of National Farmer’s Market Week, held August 4 through 10 this year, summer fruits and vegetables take center stage as the subjects of group masterpieces. There’s still plenty of summertime left to make your own community creation following these two fun and festive approaches.
Thanks to Halie Ebert, who manages the Fresh Farm Market (www.freshfarm.org), which is hosted at Brookland’s Arts Walk each Saturday morning. Her idea was the inspiration for celebrating the farmer’s market and inspiring folks to come together to create art. A great time had by all!
Design Approach 1: Veggie Stamp Art
Here’s How:
1. Find your good & a big canvas at Goodwill
Hit your nearby Goodwill store to escape the heat and find some great deals on cool items. In the Home Décor section, scope out the wall art to find a big canvas or two to transform. Focus on the size and dimensions rather than form or design because you’ll be painting over it. For less than $10, you are likely to find a good selection of canvases for this fun and friend-building project.
2. Create a neutral base
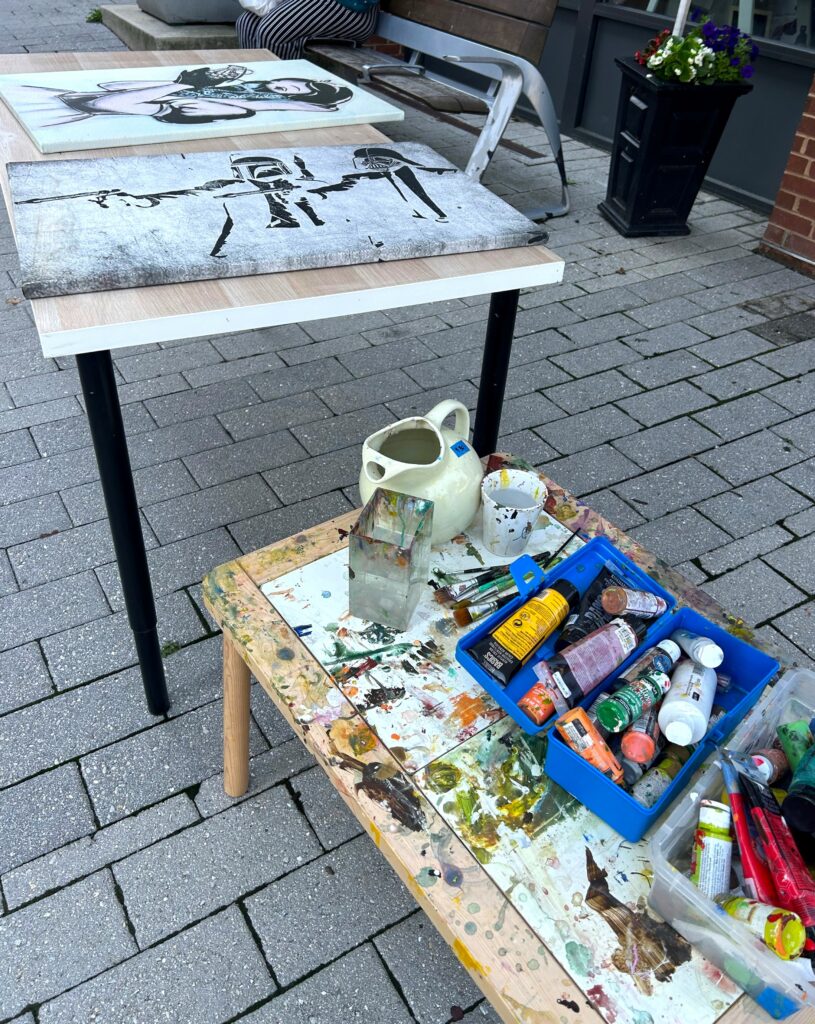
To hide and mask the current design of your Goodwill-found canvas, brush paint on top. Two found canvases were a matching set, size-wise, yet had very different images. No worries, as they were covered with white and green craft paints.
3. Veggies are very vibrant, so stamp away
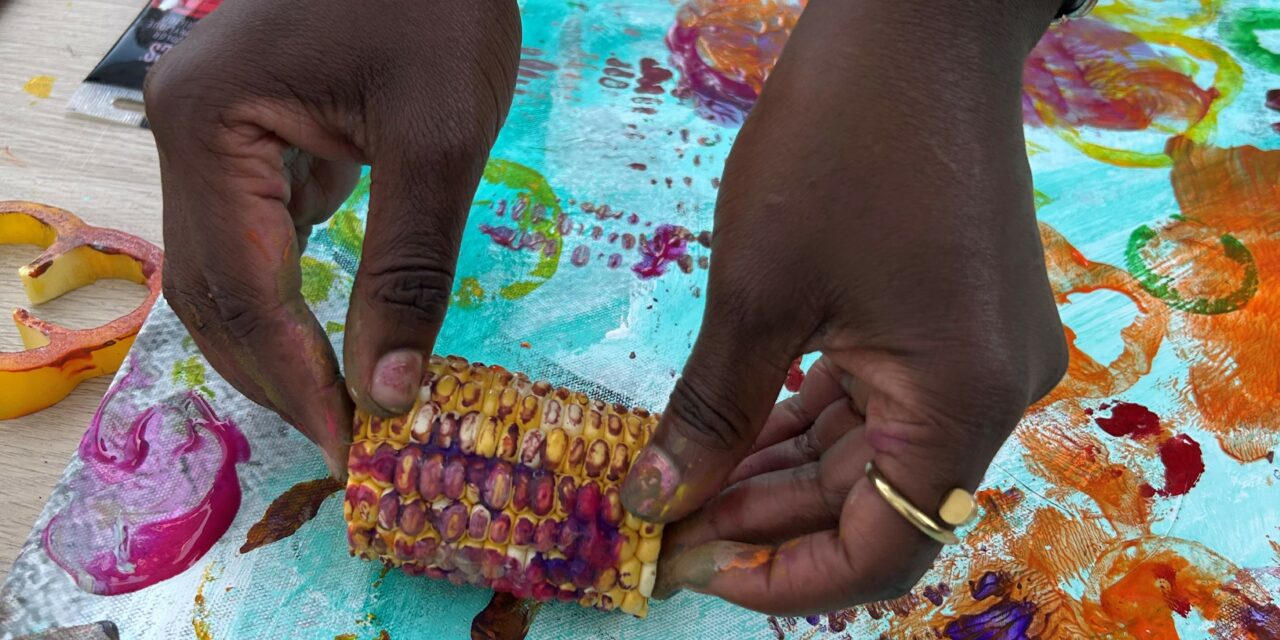
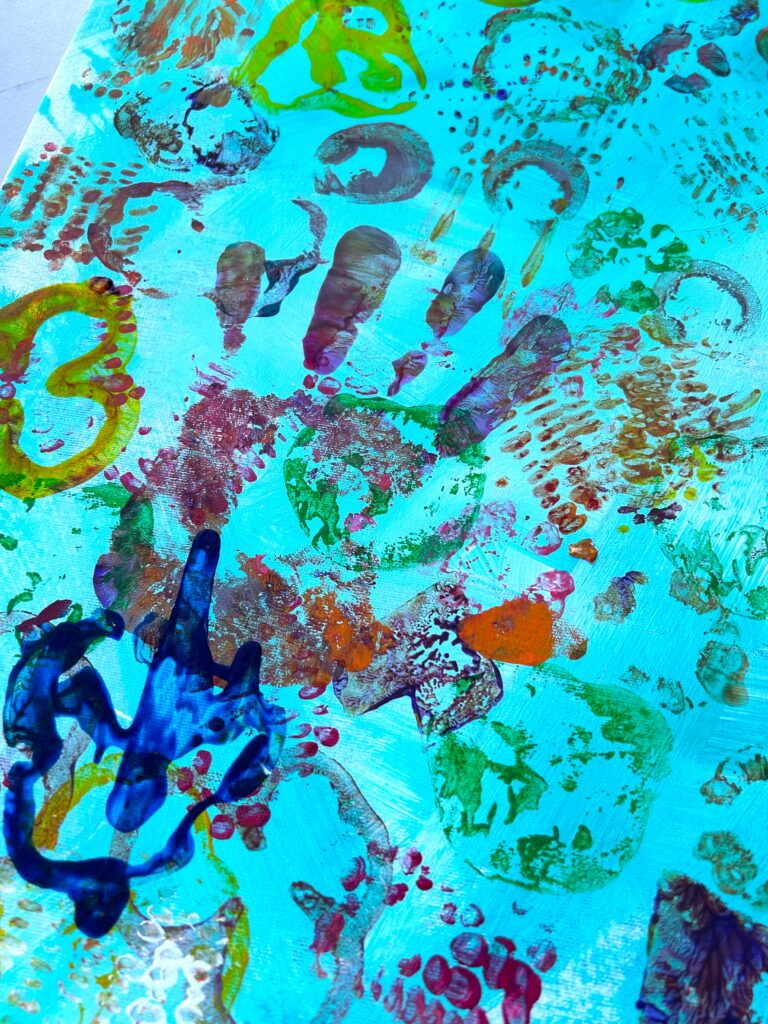
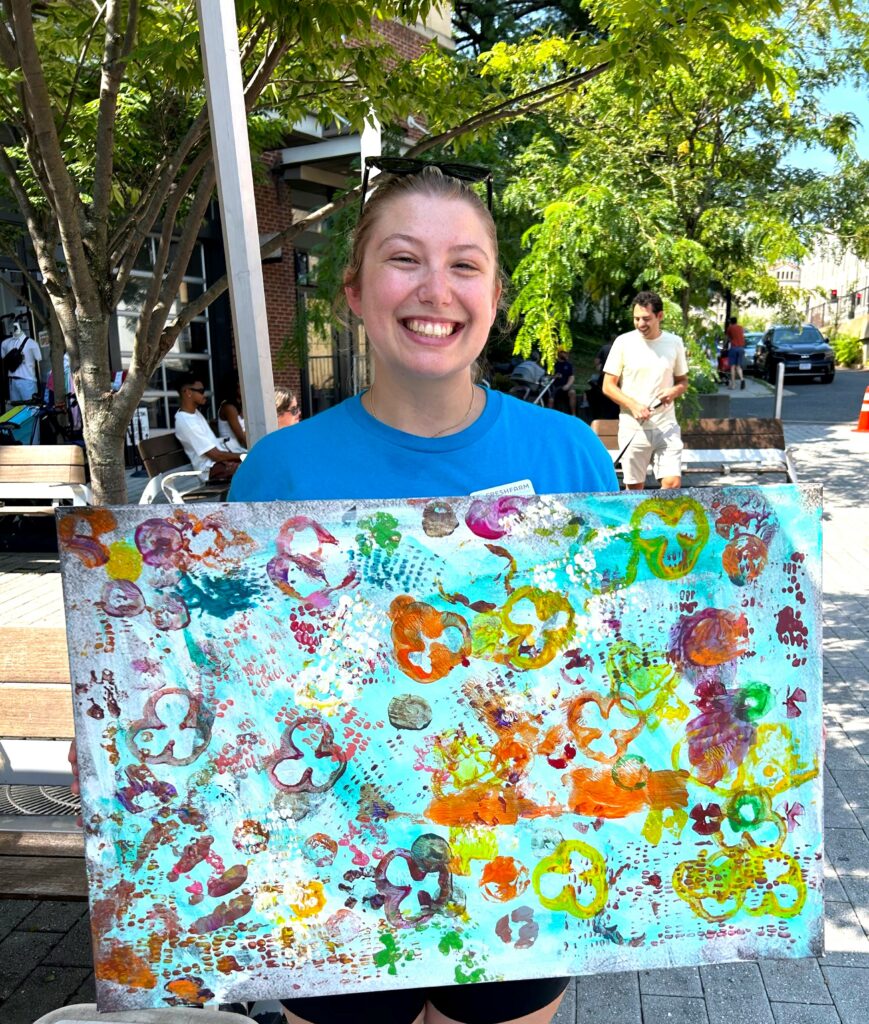
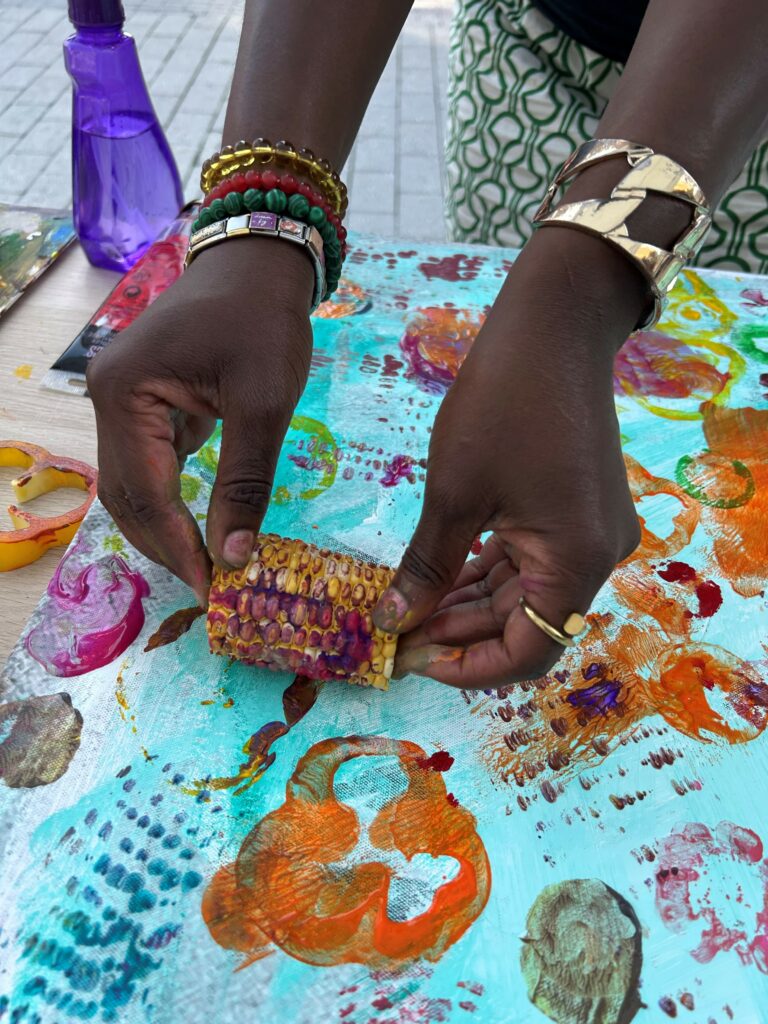
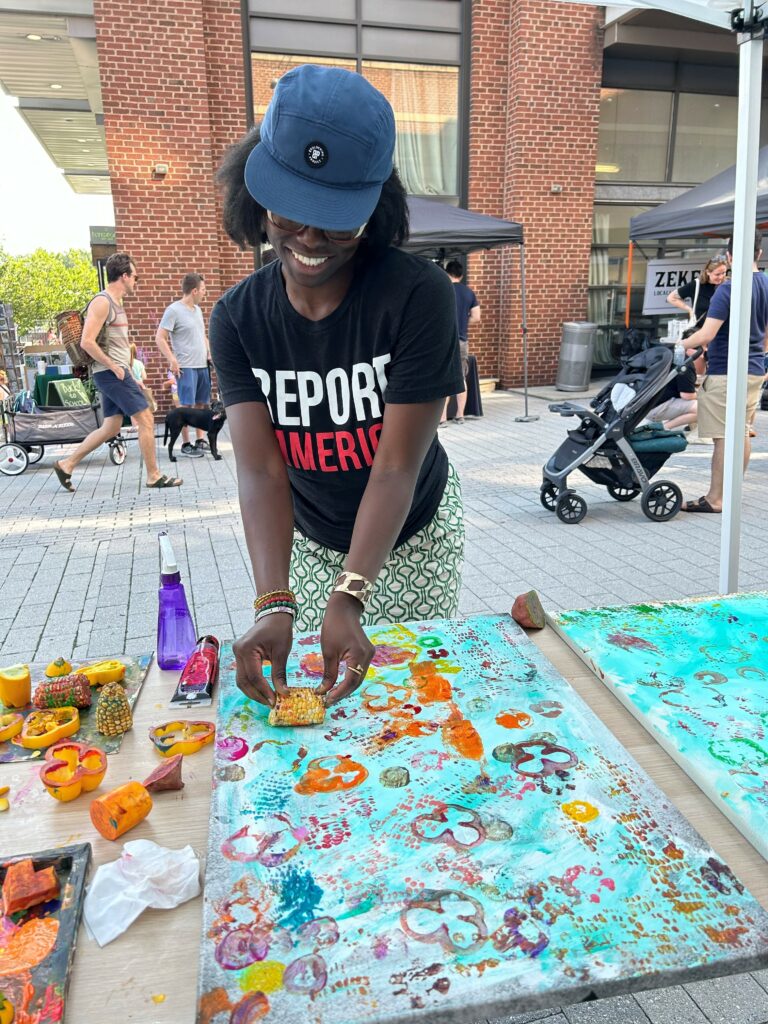
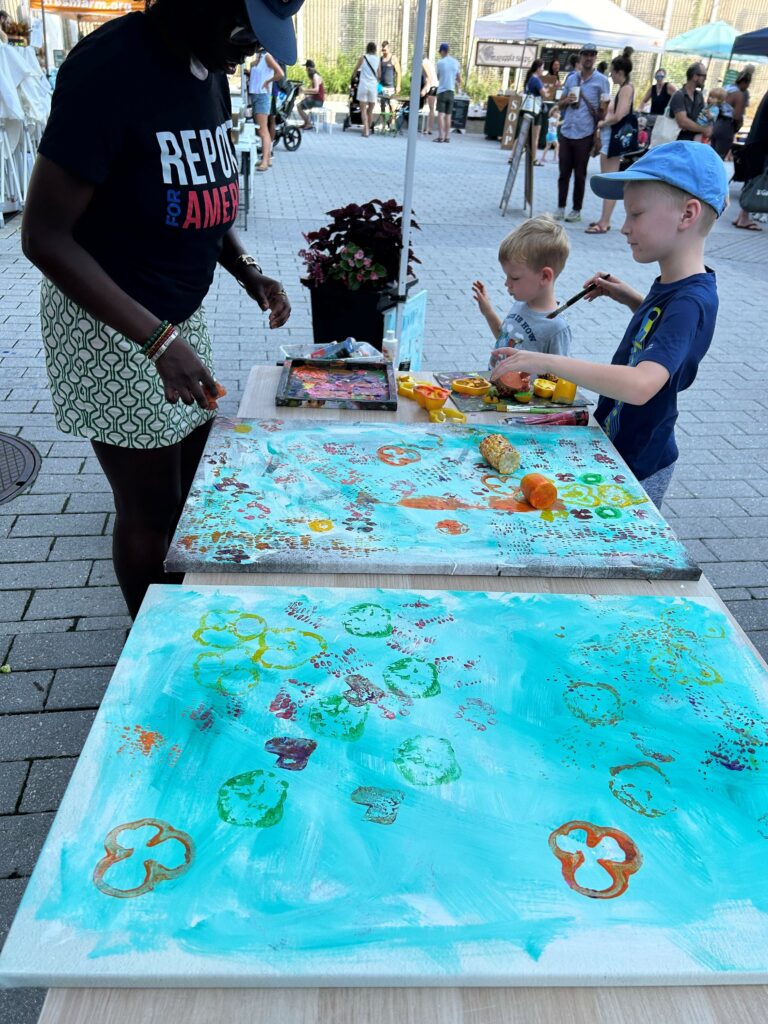
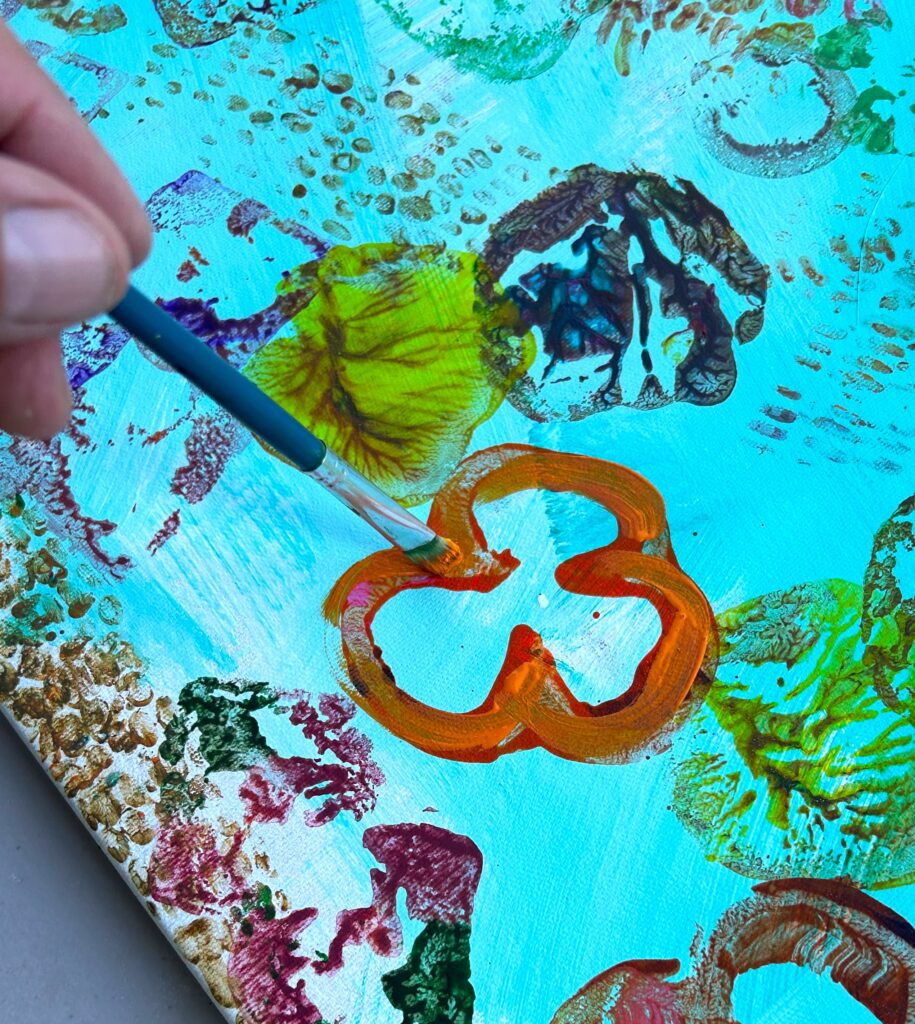
A collection of summer produce was cut and trimmed to use as stamps to apply colorful paints to the canvases. Peppers, potatoes, yams, and sweet corn were sliced and diced into easily hand-held pieces. Water-based, kid-friendly paints were applied to the veggie parts in two ways: by stamping the veggie in paint on a palette, then applying it to the canvas, and brushing paint directly onto the veggie stamp. Sweet corn was covered with paint and then rolled on the canvas, leaving almost a brick-like stripe behind. So cool!
In addition to the produce pieces, little hands were painted, too, then applied to the canvas for a truly hands-on approach to art.
Expert Tip:
Part of the fun of this approach is that kids of all ages can get their hands a little messy with paint as they apply the stamps to the canvases. There is no wrong way to do this, so even the littlest of artists can join in the fun. Be sure to have a plastic container of clean water and lots of paper towels to help clean your hands when done.
4. Touch up parts, add meaningful words
Give your community-created art piece some extra “umph” by using smaller craft brushes and more paint to bring out some of the stamp shapes and designs. This will help to brighten up the painting while keeping the original look and feel of it.
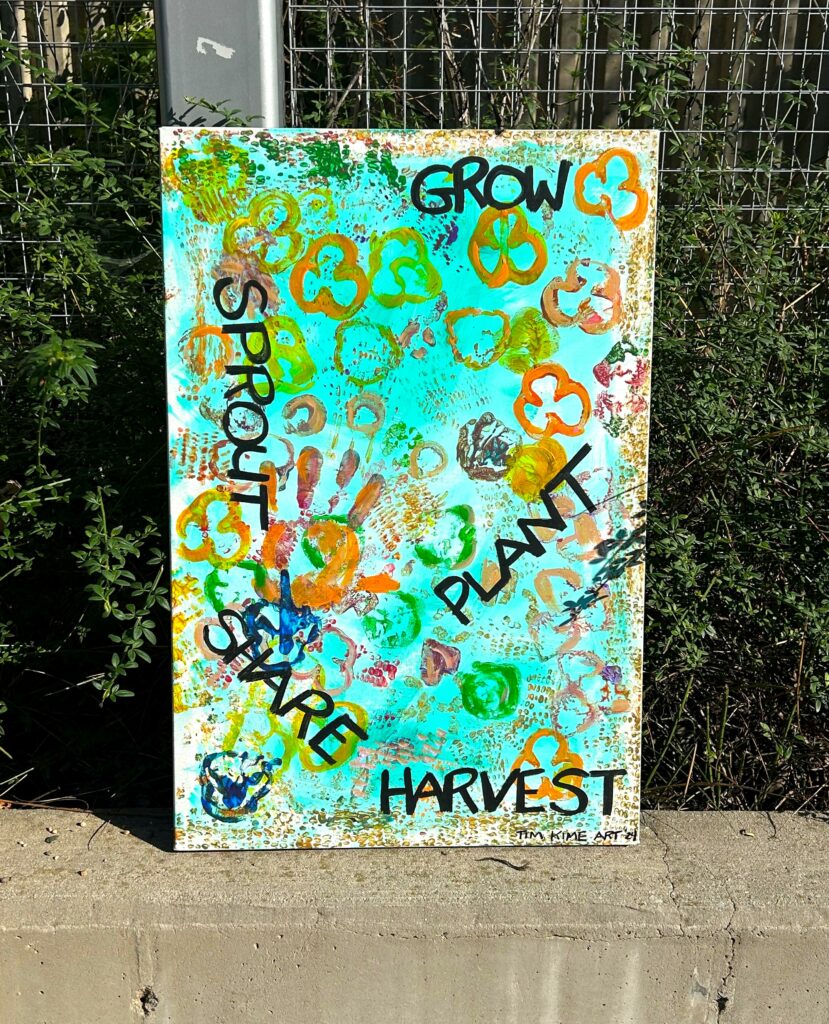
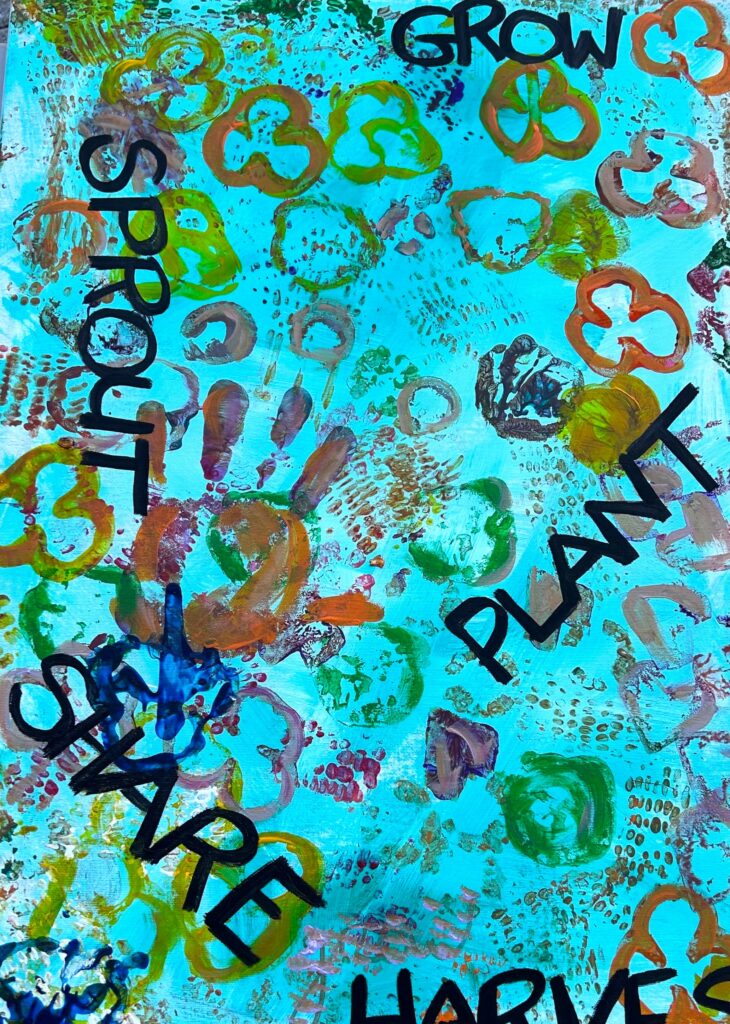
Also, consider using a big marker to add words and messages. Given the fresh farm focus, words such as Grow, Plant, Sprout, Share, and Harvest were added in black; the outer edge of the canvas was marked in black, too, to help frame the piece. Other words you might consider adding include Community, Friends, Summer, Fun, Smile and Laugh. What words will you add to reflect your creation painted by many hands?
Design Approach 2: Sketch Out Super-Sized Summer Scores
Here’s How:
1. You’ll flip over repurposing an old banner
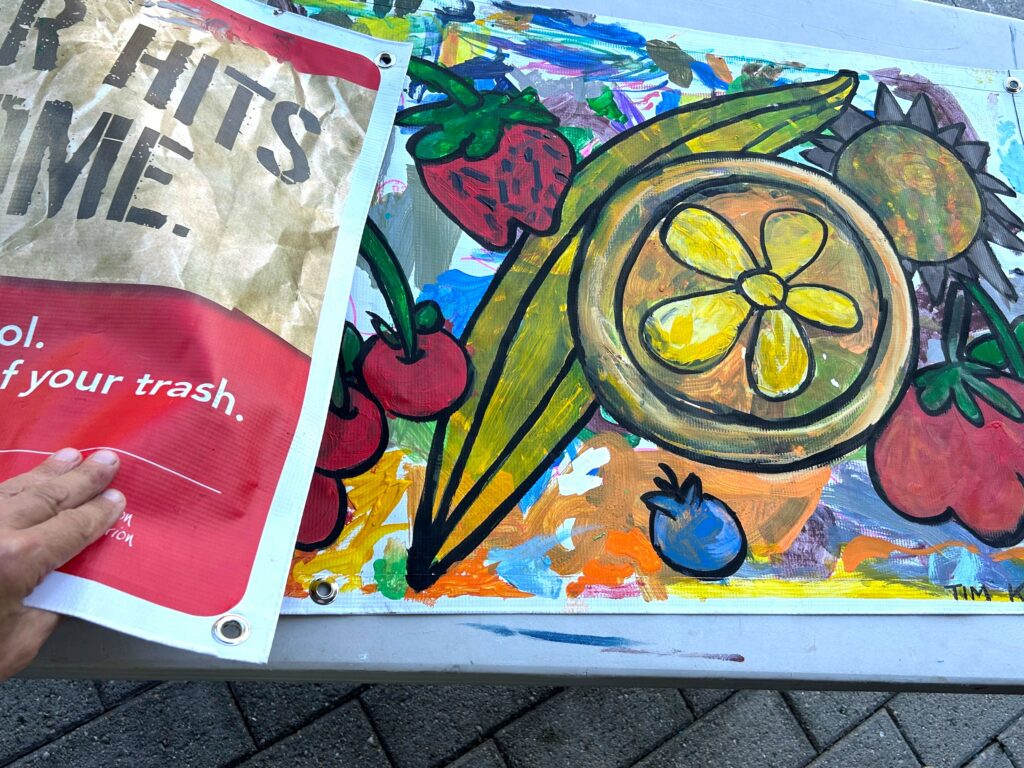
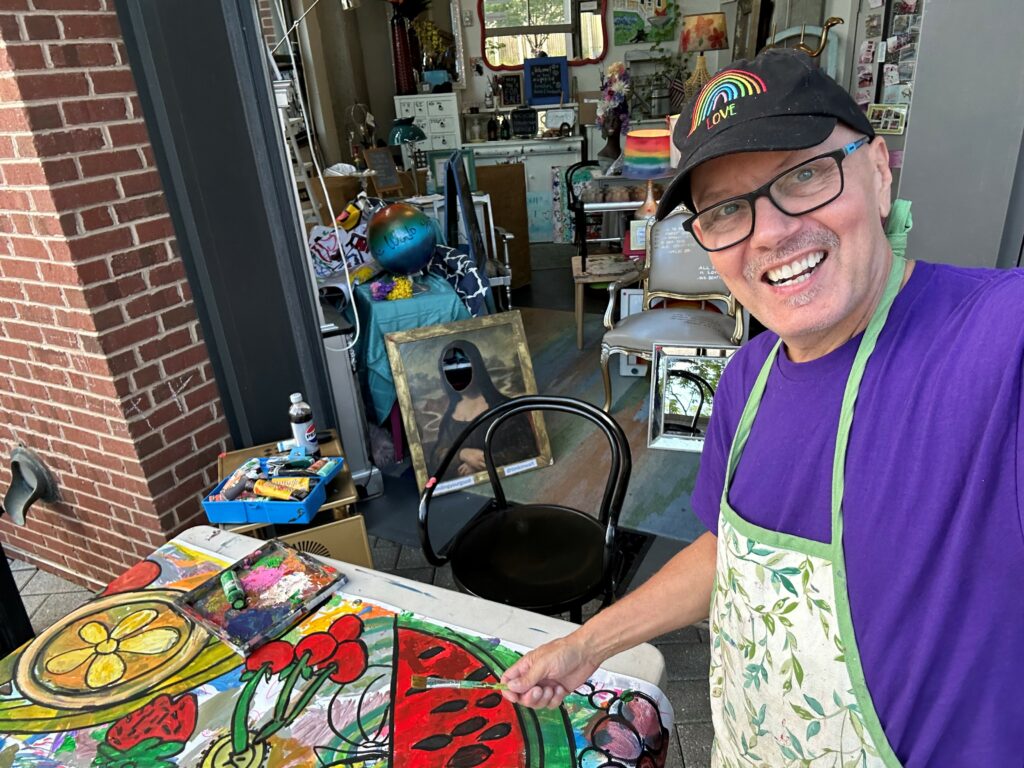
This project celebrates Mother Nature’s amazing creations and honors her: keep those out-of-date, no longer needed banners out of landfills by flipping them over and using their backsides as your canvas. We have all seen those banners, which look great when they promote a sporting competition, school gathering, or business product. However, once the event comes and goes, these banners are often tossed away. No, no, no, please keep them and reuse them to make art!
2. Give some design direction to the group
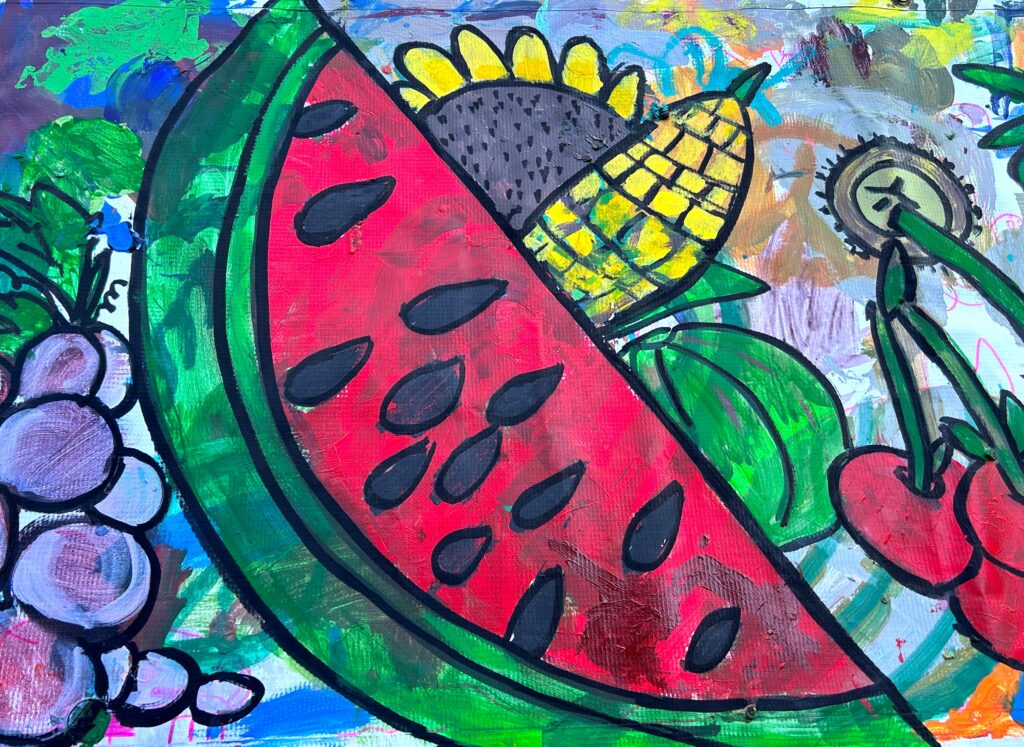
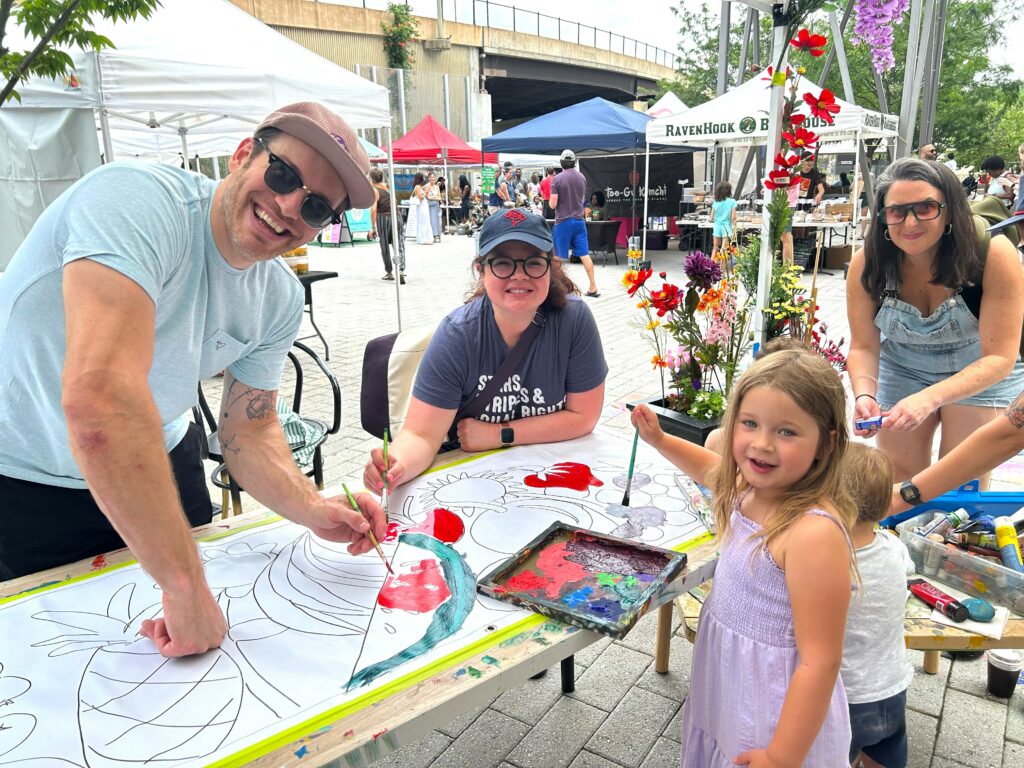
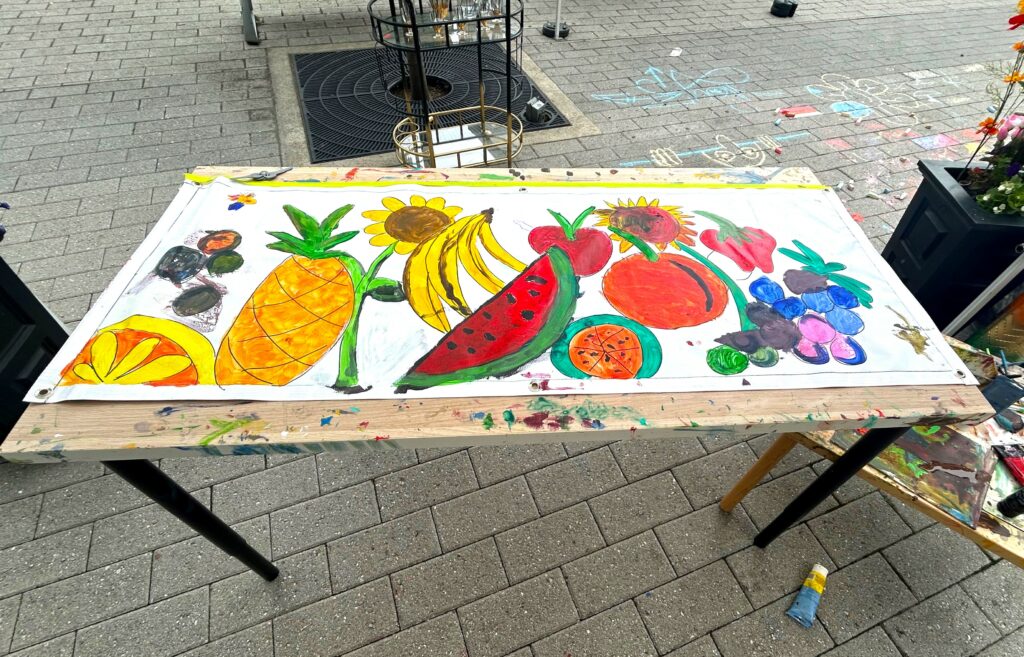
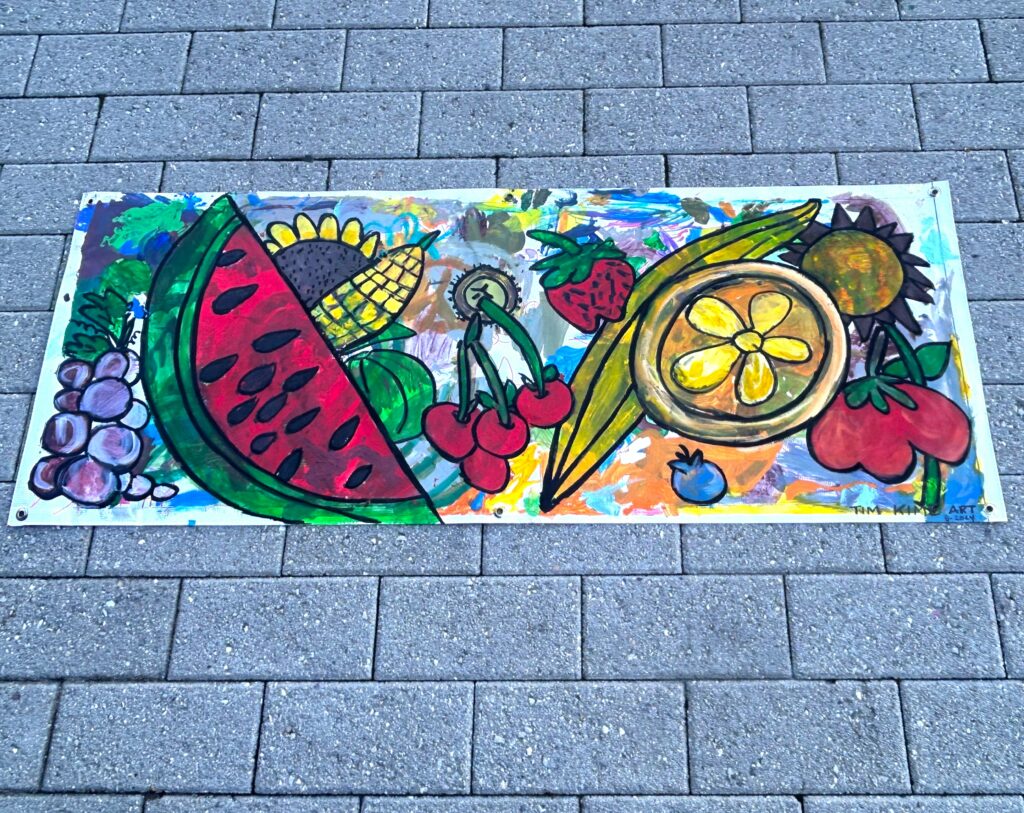
To guide your group to artistic success, consider sketching out a design using a black permanent marker. This starting point will allow all to easily fill in the blanks and add their own touch to it. Given the Farmer’s Market focus, larger-than-life fruits, vegetables, and flowers were drawn on the blank back now front of the community art piece.
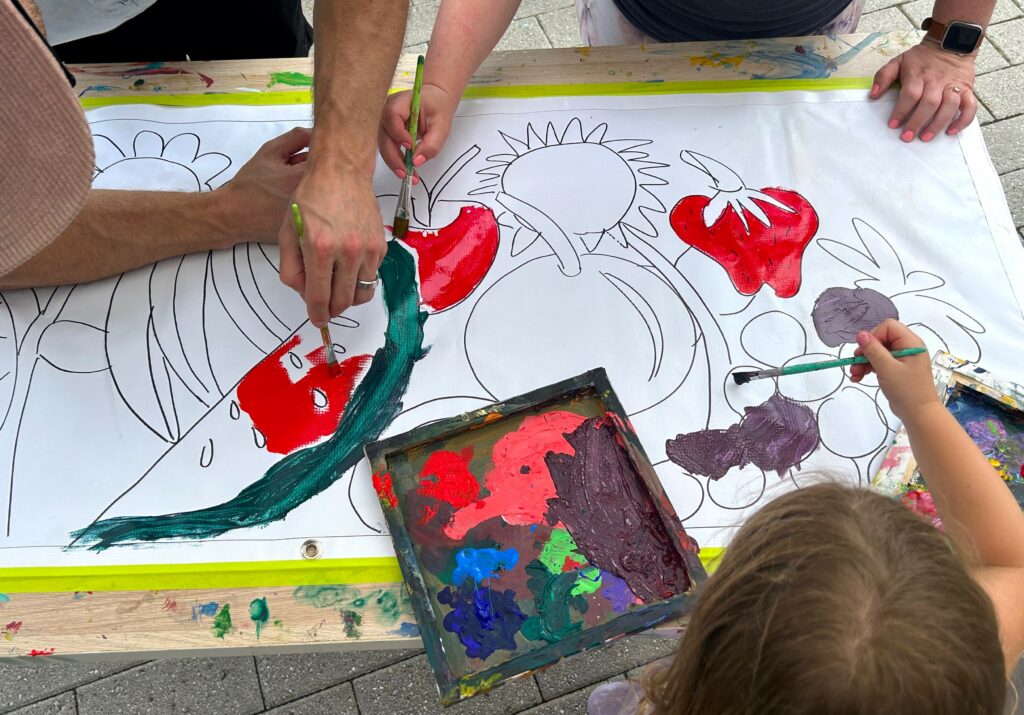
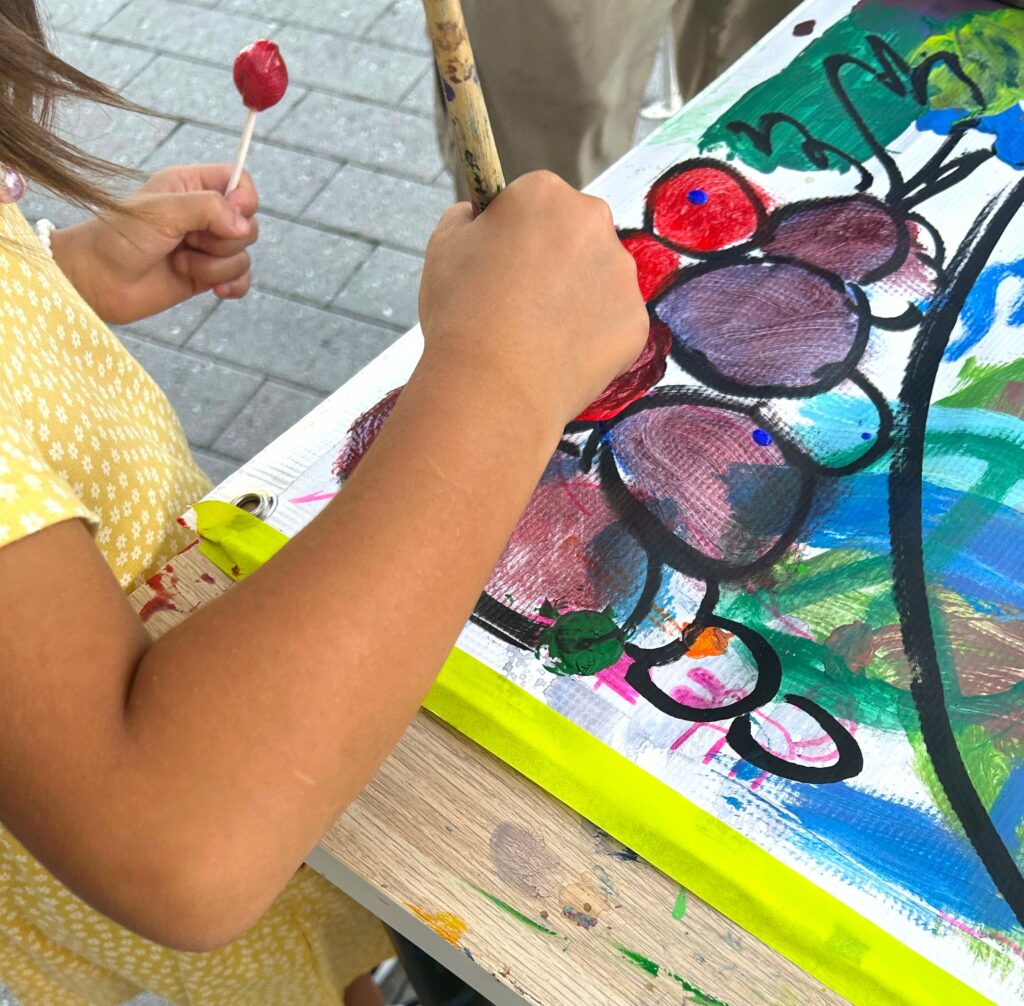
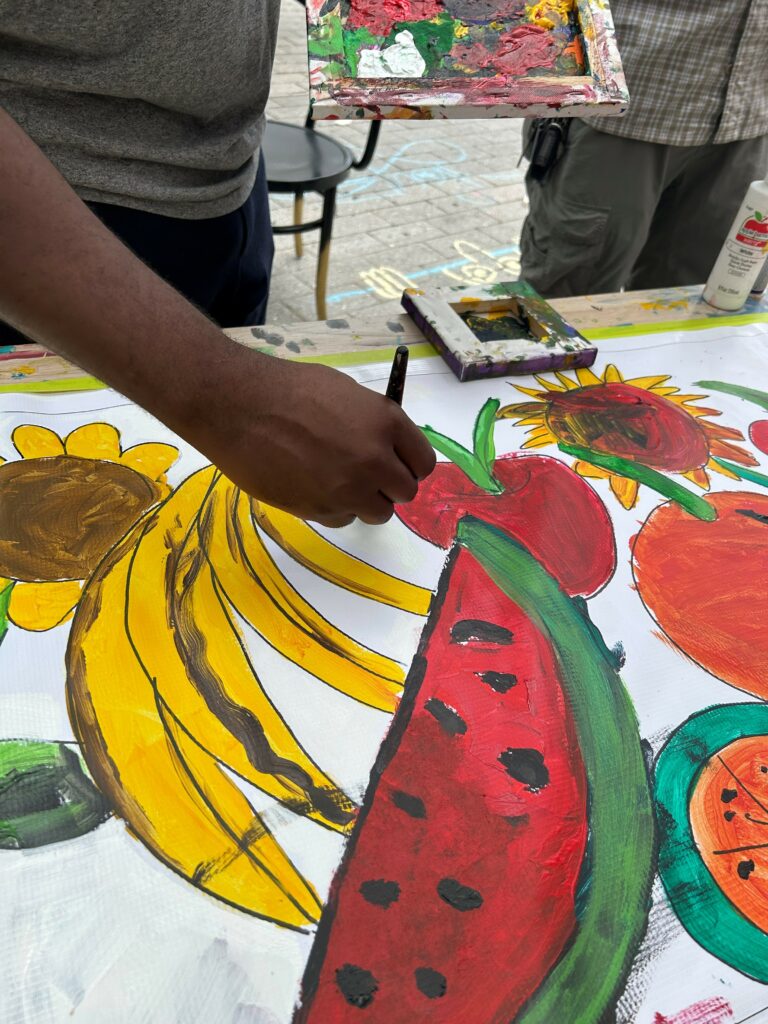
3. Set up a paint station and keep an eye on things
Place your sketched-out banner on a worktable and add a place to hold paints, brushes, water, paper towels, and other supplies. Let folks go to town as they fill in the blanks with their own unique strokes and styles. Most folks will use red paint on strawberries and watermelon slices; yellow tones are the clear choice for bananas, lemons, and sunflowers. Based on the size of your group, you might want to keep a close eye on things to provide clean brushes and water.
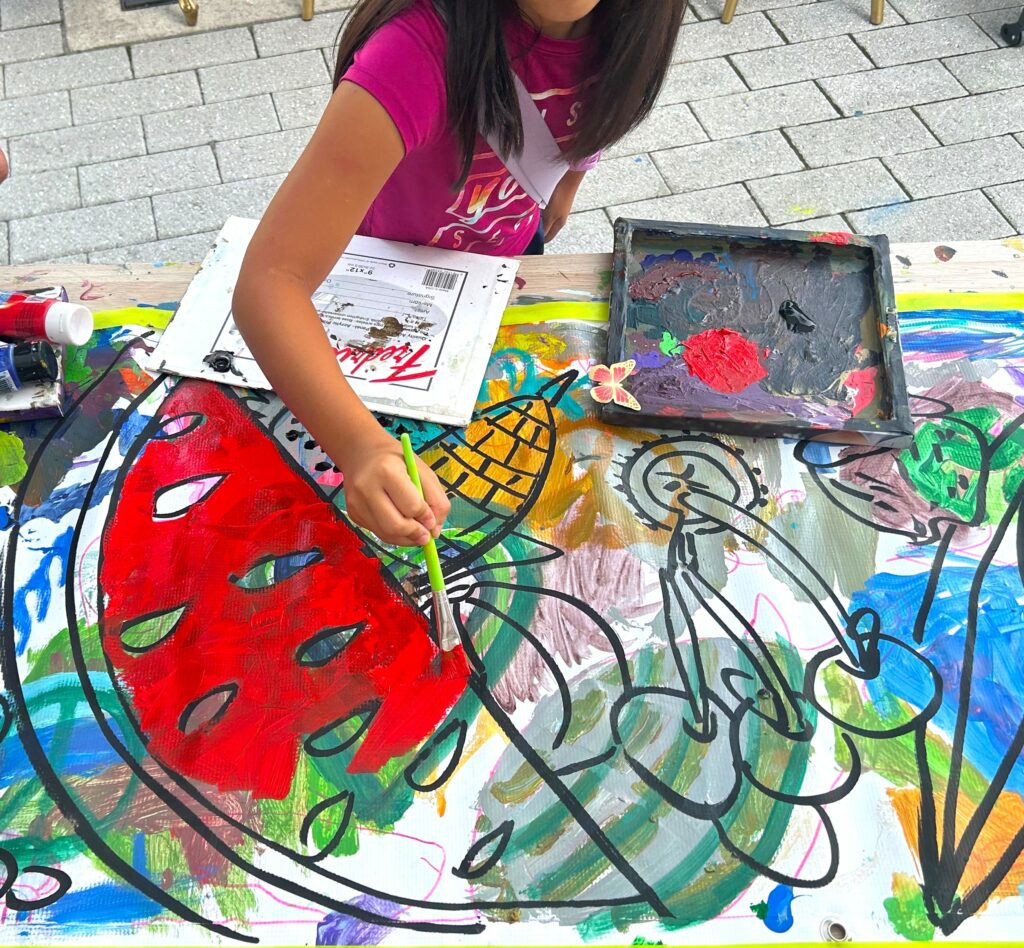
Expert Tip:

While this sketched-out approach is great for most kids and adults, the smaller ones might find it a little challenging to paint within the lines. Consider offering them smaller canvases or even smooth rocks on which to paint so they, too, may have creative fun.
Also, you will want to step in to stop the creative process at a certain point. My experience has been that the community creation looks good when all parts are pretty much filled in, so remove your banner/canvas and bring in a fresh one. (This means another chance to sketch out something summery and farmer’s market-friendly!) The first couple of community banners/art pieces I offered went from marvelous to muddy rather quickly as too much paint got applied.
4. Fill in any gaps, go over your black lines
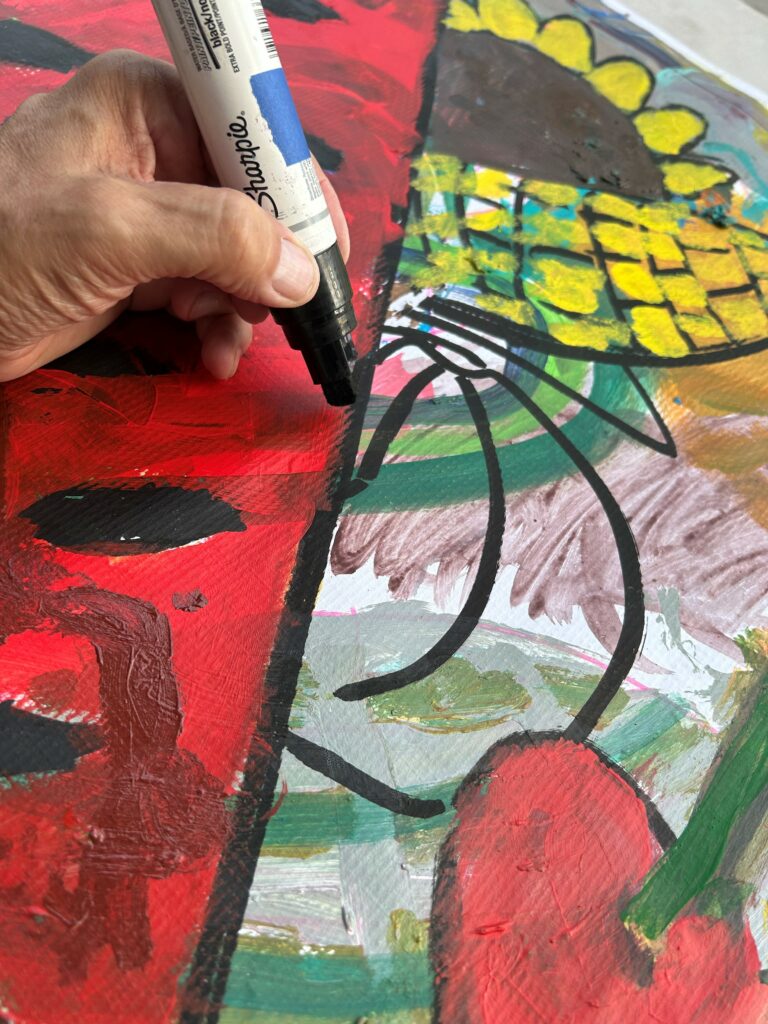
After your community art piece has dried, consider touching it up by filling in gaps not yet painted or masking over any mistakes with more paint. After your touch-ups have dried completely, go over your lines again to make them black and bold. This will help make them look crisp and make your painted parts pop!

Thanks to all who added their time and talents to transform the canvases and banners into cheerful, colorful—and healthy—works or art!
Similar Reads:
- DIY: How to Easily Upcycle a Mirror with Rainbow Spray Paint
- DIY: How to Upcycle a Mirror to Reflect Your Pride
- How to Upcycle Thrifted Mirrors to Reflect the Spring
- DIY: Give a Mirror the Royal Treatment With a “Frozen” Transformation

Tim Kime
Artist, Motivational Speaker, Life Coach


