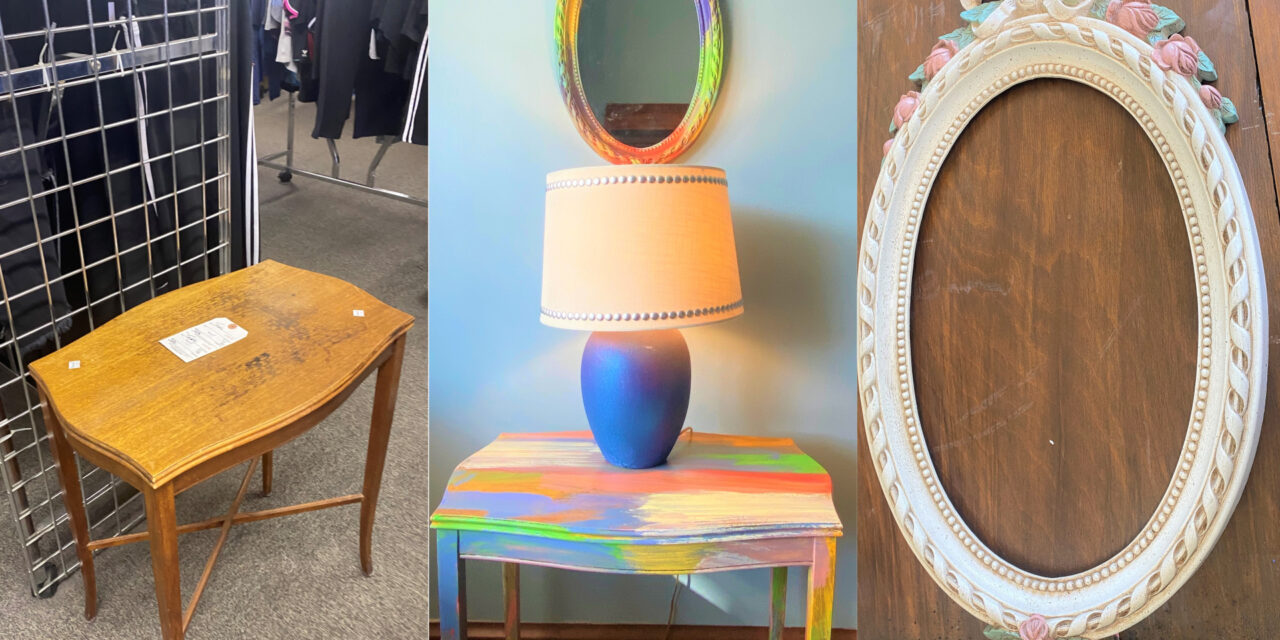
Go big & bold: Transform pieces with bright colors, broad strokes!
Take any run-of-the-mill piece of furniture and give it a creative, colorful makeover using bright colored paints and big brush strokes. A predictable piece can be upcycled into an eye-catching one with simple steps and lots of fun.
Inspired by Artist Ann Upton (Instagram annupton.art), you, too, can take an item from okay to OMG! Van Gogh, Frida, and Monet would be impressed with our artistic spin on this easy DIY project.
Supplies Needed:
1. Side table, framed mirror
2. A variety of bright paints
3. Paintbrushes
4. Screwdriver
5. Sandpaper or sanding block
6. Damp cloth
Step 1: Find a piece or two—and your good—at Goodwill
For some individuals, this project might seem a little risky because it asks you to think outside the box and go a little wild with your transformation. So what better place than your neighborhood Goodwill store to find items to use for this project? Your few dollars investment will pay off with a cool piece and with the fun you’ll have transforming it. Truly priceless!
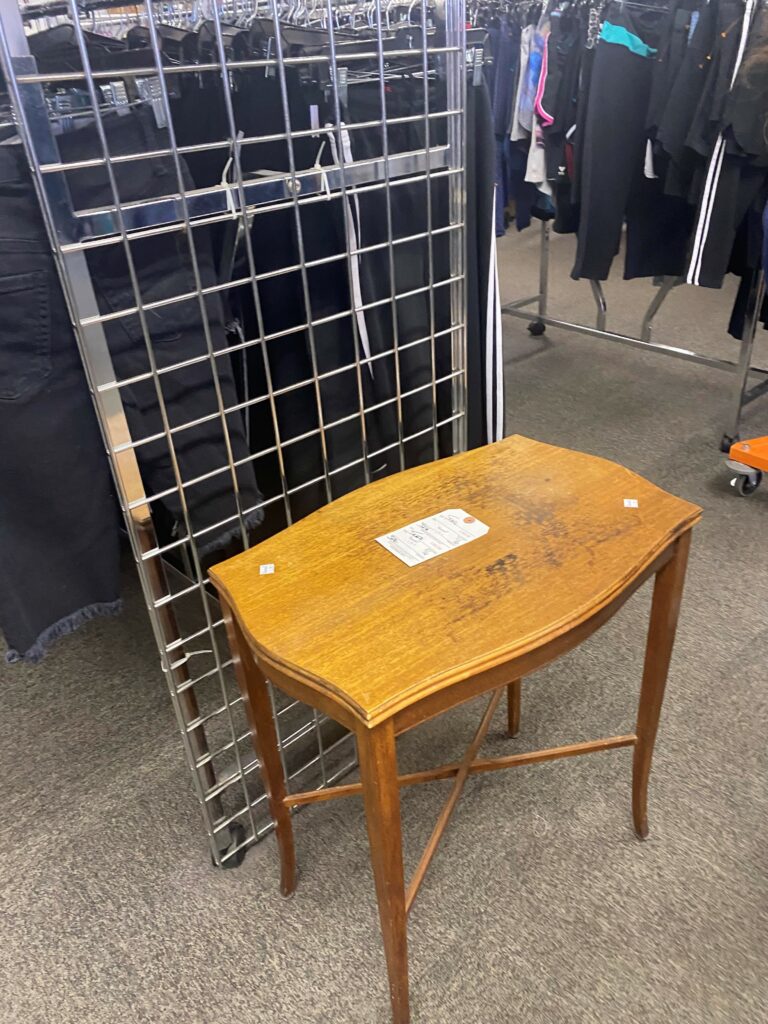
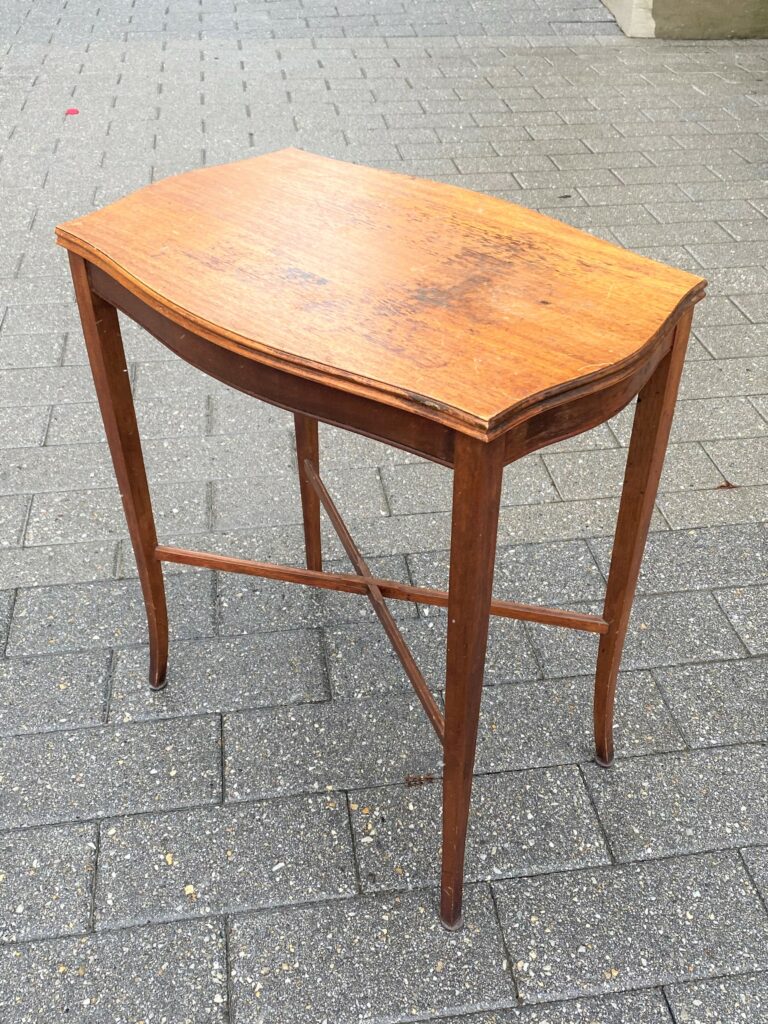
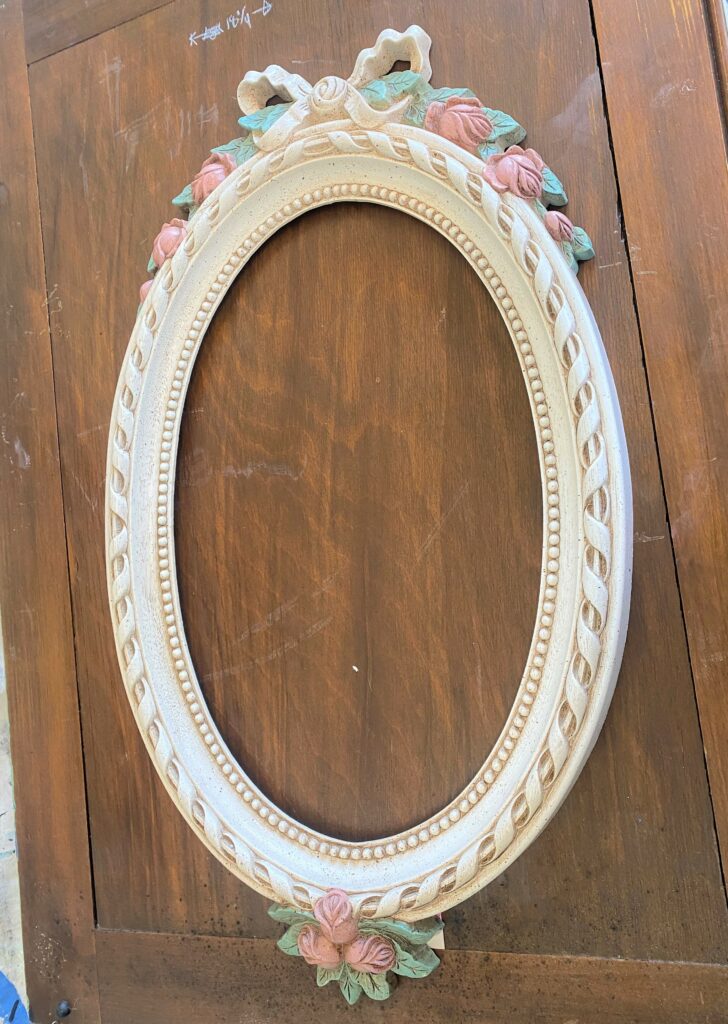
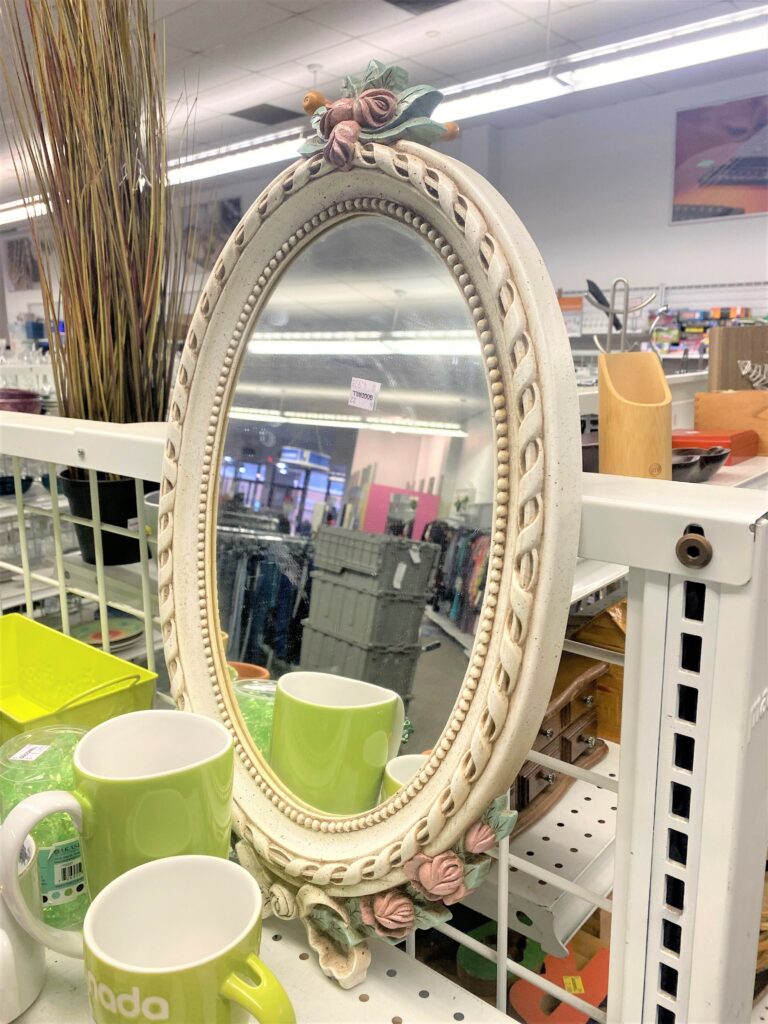
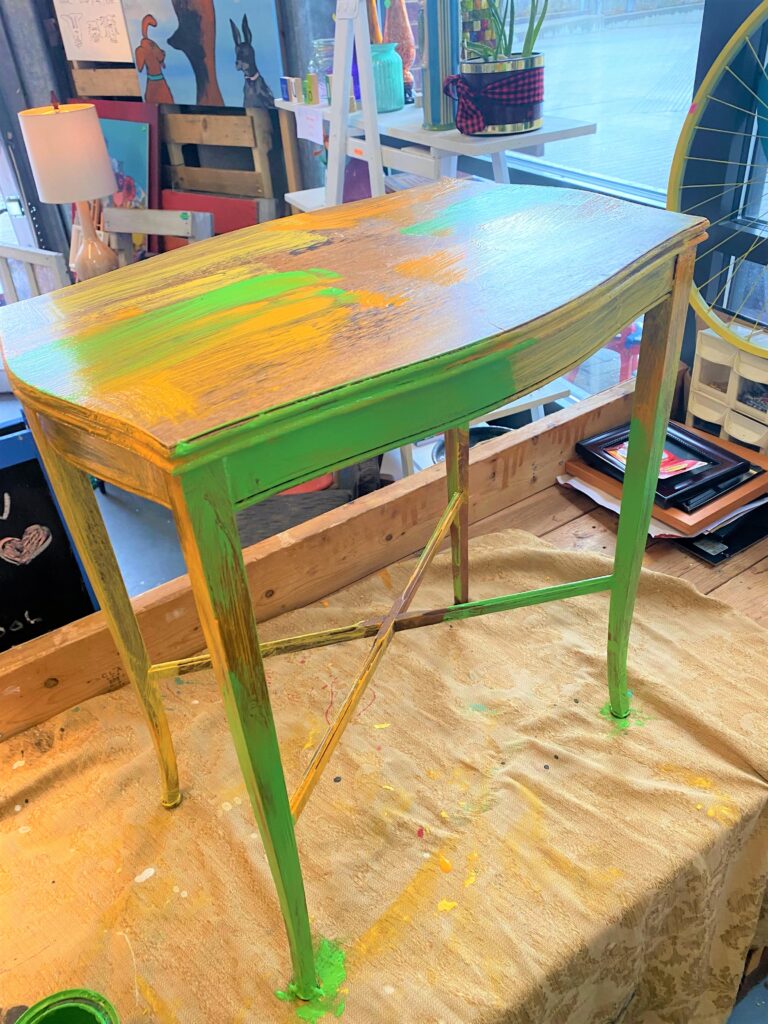
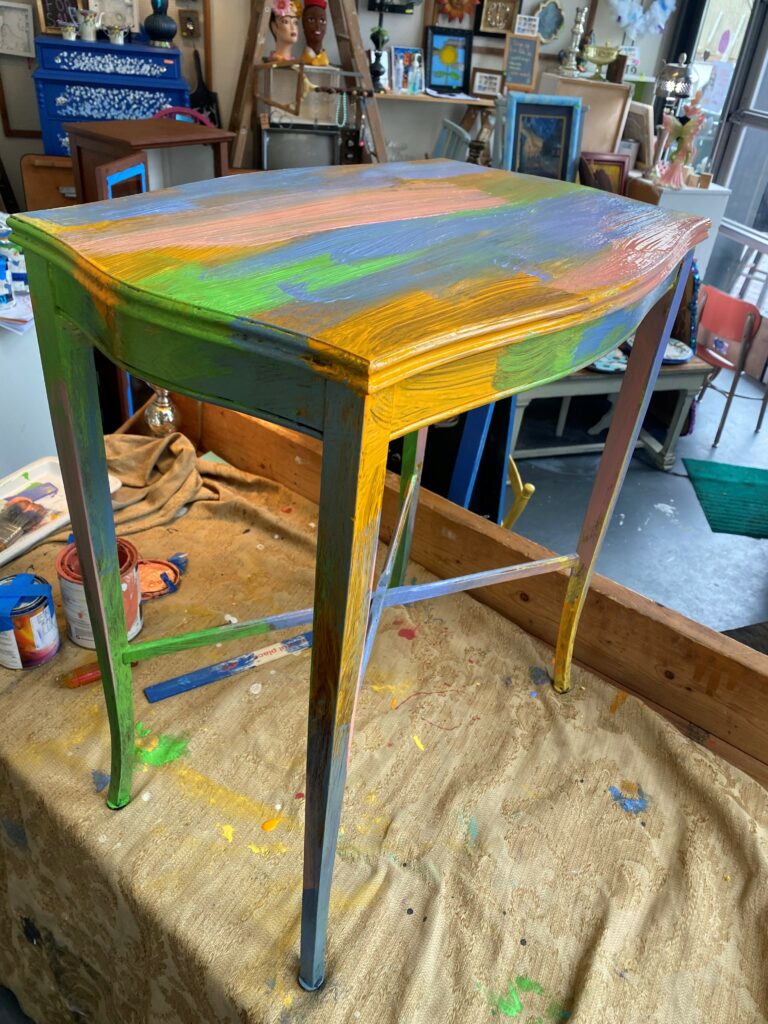
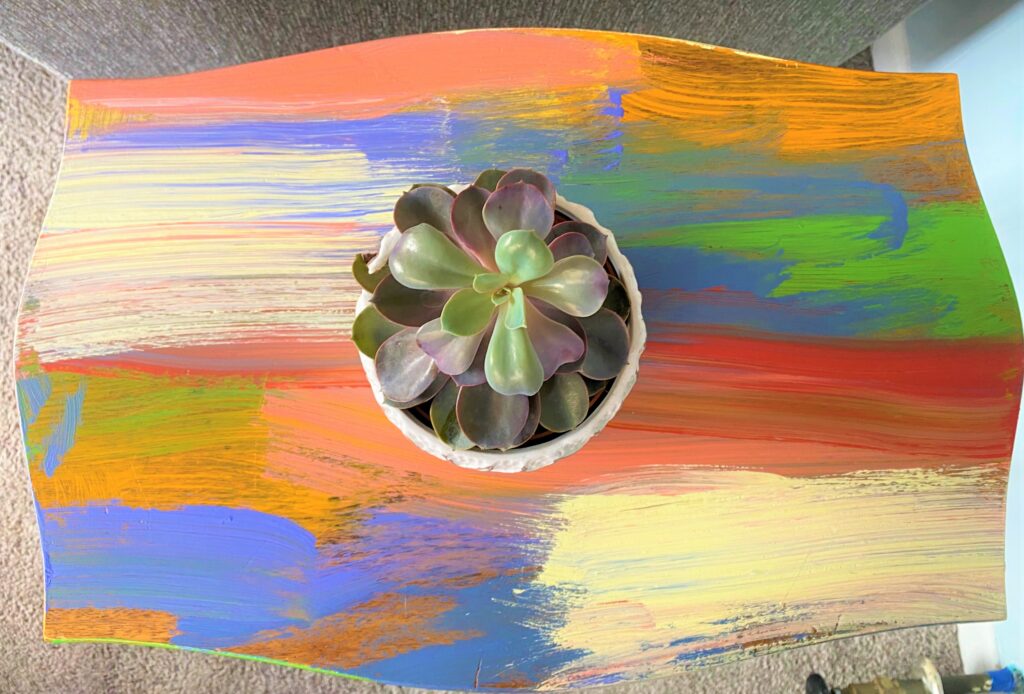
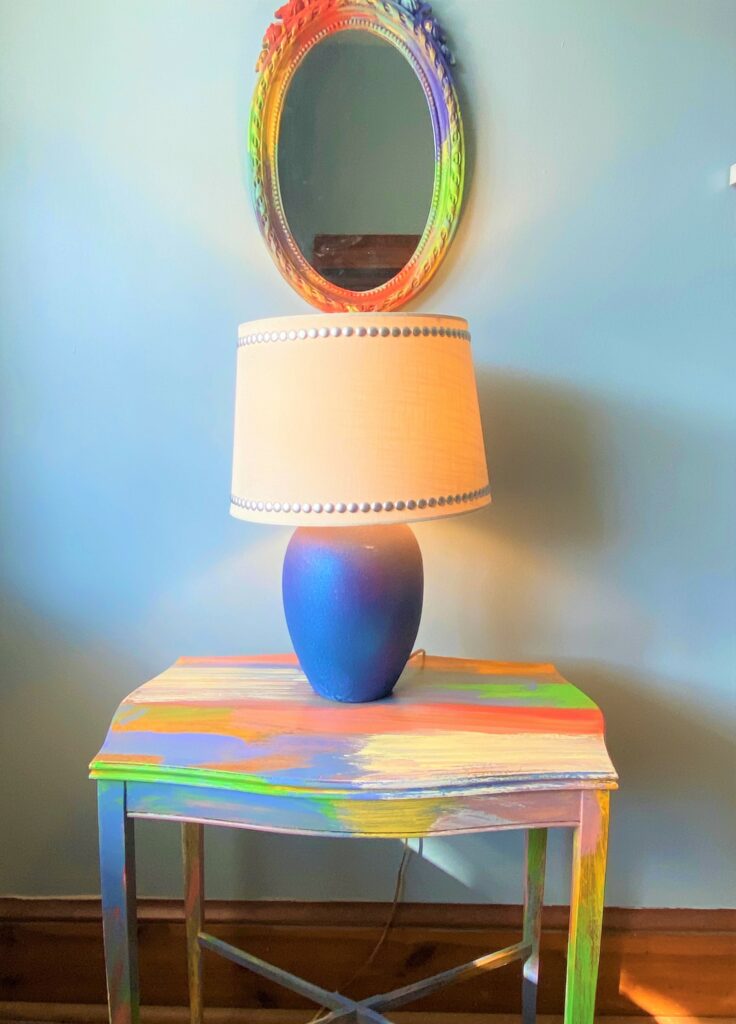
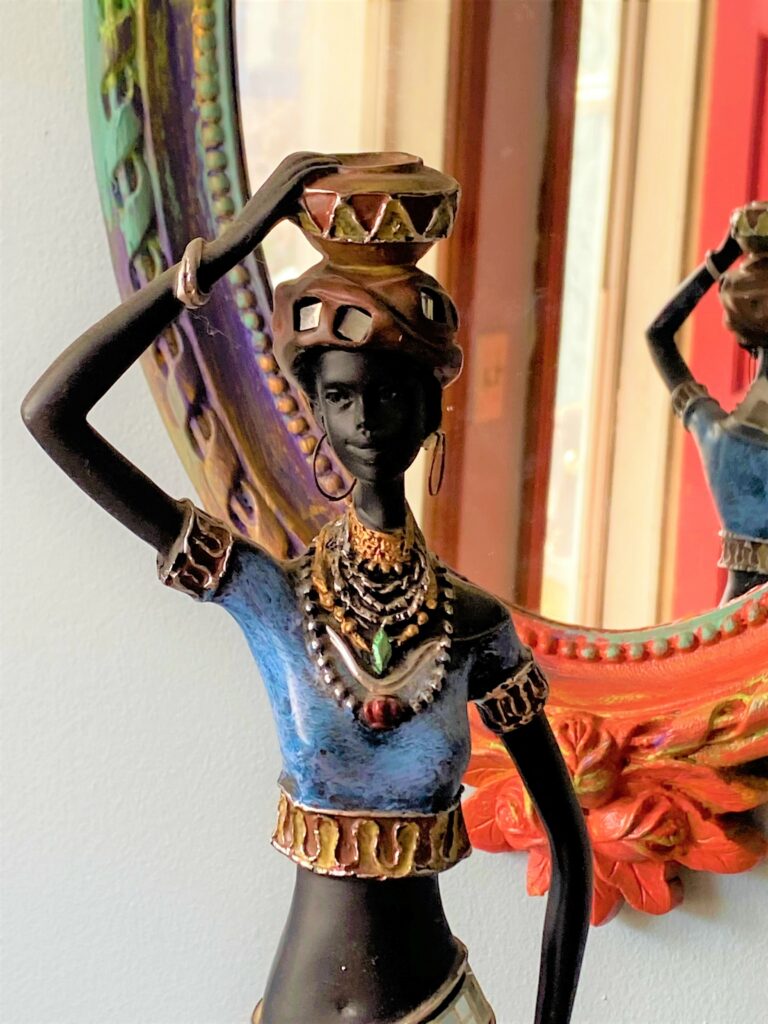
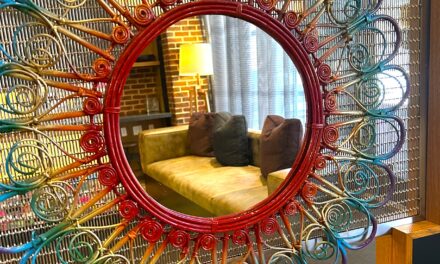
The side table picked up here was elegant with its traditional lines. The mirror had roses and a braided design reminiscent of an earlier era. These made them perfect to get a bold and almost graffiti-like transformation. The contrast of the timeless designs with the modern and contemporary paint application is one that makes your heart dance!
Step 2: Plan to prep for its pow!
If you buy an item at Goodwill, another benefit—in addition to the really low price–is that it will be in great condition. \Goodwill screens all items, so only things in good shape and well-functioning are placed in their retail showrooms. \ Therefore, you won’t have to take time to reglue or repair it but simply get it ready for its transformation.

- The coffee table got a thorough sanding using a medium-grain sanding block to buff and rough up the varnished top, sides, and legs.
- Once done, it was given a good wipe down with a damp cloth to remove the dust created and any dirt it picked up along the way.
- The mirror was easily dissembled by removing the screws which held the glass part and back cover in place. It got a cleaning with a damp cloth, too.
- Place your item(s) on a drop cloth on your work surface and get ready for the most exciting part!
Step 3: Select your color collection
You’ll love this DIY project in that it uses leftover paints that you already may have on hand.
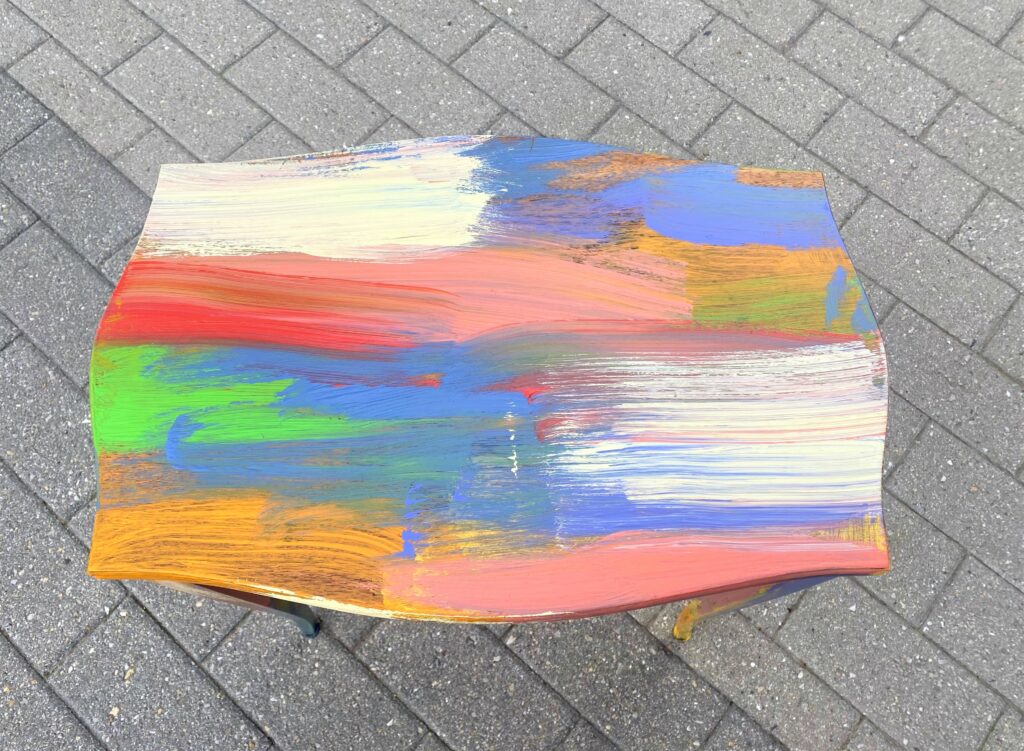
I went to my paint closet and pulled out the brightest colors I had on hand. An apple green, a sunny yellow, a berry red, and a periwinkle blue were among the ones that jumped out to say, “Use me!” Lavender, ivory, and orange also got their turn in the transformation.
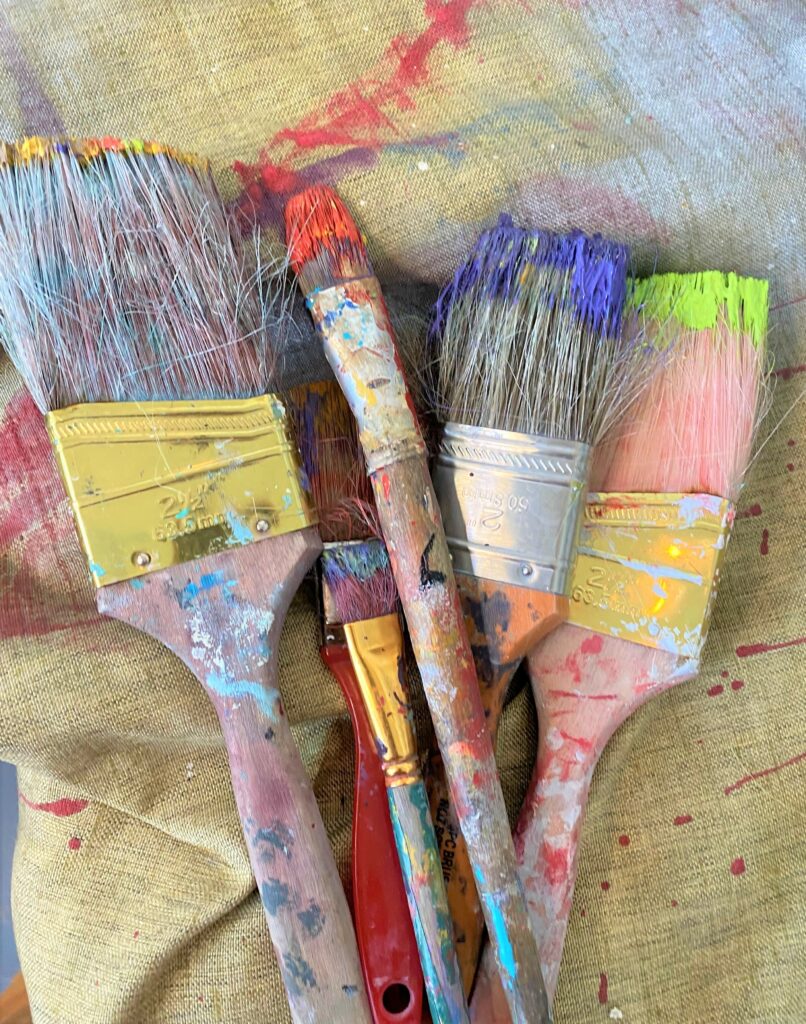
If possible, use one paintbrush per color, so have your brushes ready and on hand.
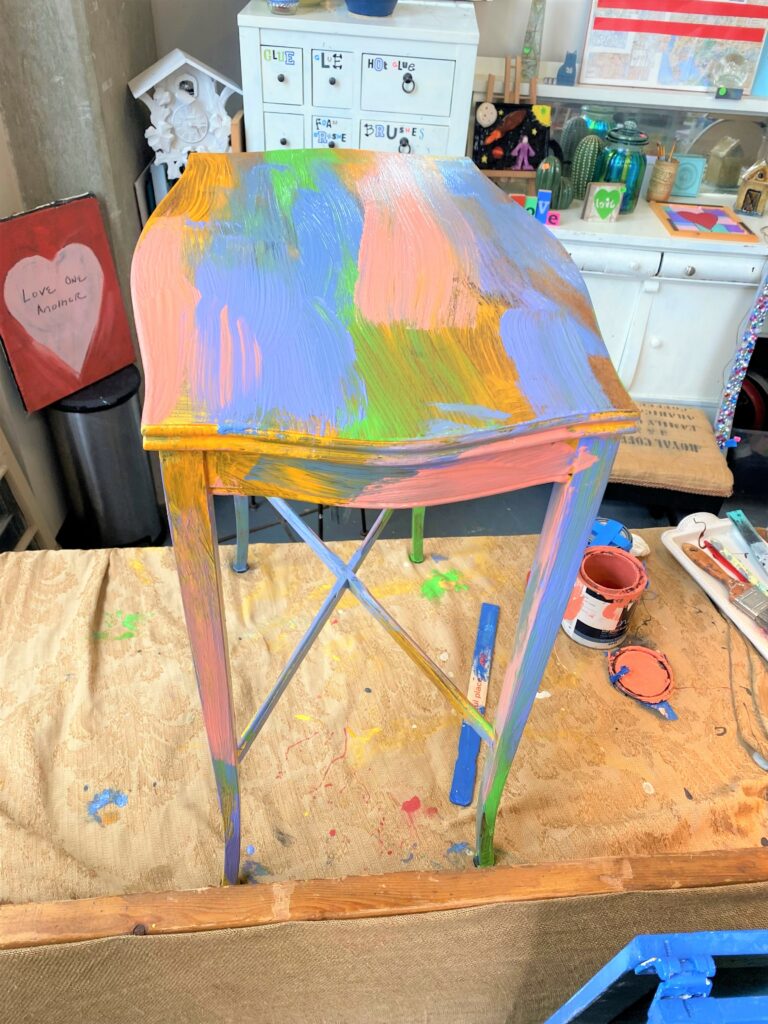
Step 4: Brush on boldly
- Start with one color and brush it on a couple of places on your piece.
- Give it a good layer of paint, now is not the time to skimp!
- You’re not aiming for perfection with this project, so add some color to one part and repeat it in several other places with big brush strokes.
- While that first color is still wet, move on to your next.
- Apply the second color with the same big and bold brushing process and adding color number two in a variety of spots too.
- If you overlap colors, that’s great.
- Let them flow and blend together.
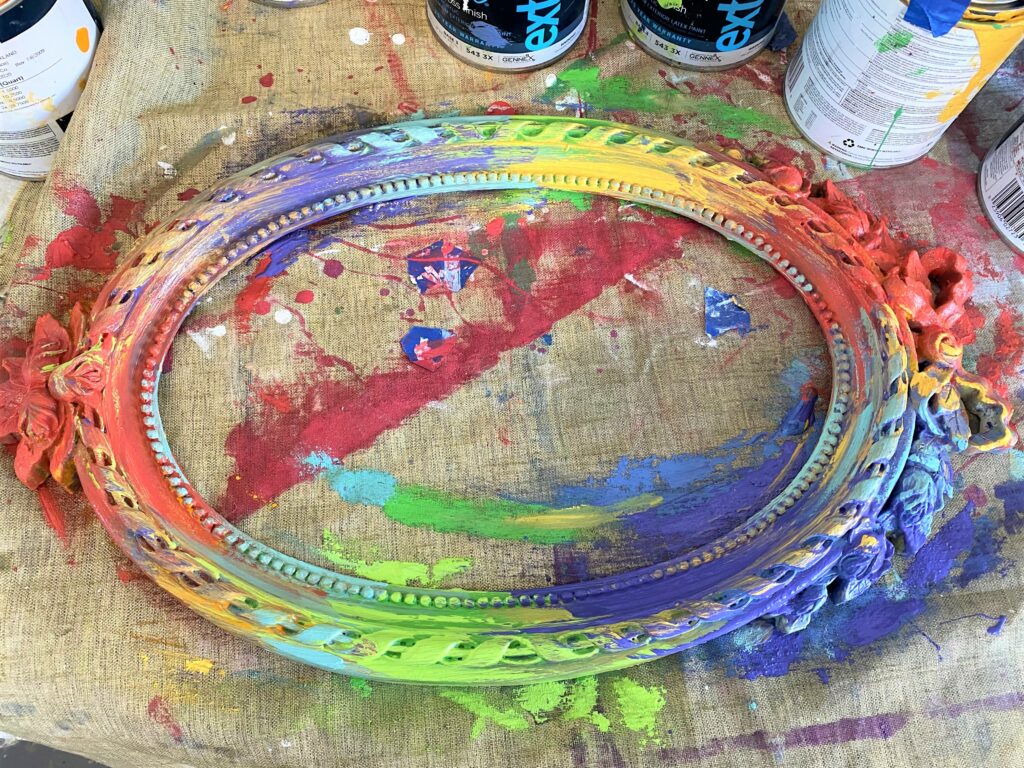
Repeat this step time and time again, ensuring that all surfaces and edges of your piece have some paint on them. This is a fast project as you want to move quickly as you apply the colors before they dry. Return to brush away any drips or runny areas.
Step 4: Return to review
- Given that some of the paint might be brushed on thickly, you want to give your piece plenty of drying time.
- Look for any edges or spots that might need a little touch-up and more color. Brush it on!
Step 5: Poly to protect
Based on the paints you use for your big and bold transformation, you may want to apply a coat or two of polyurethane to give it a protective finish. A semi-gloss finish is ideal.

Step 6: Reassemble if needed
If your piece requires it (like the mirror featured here), then reassemble it now.
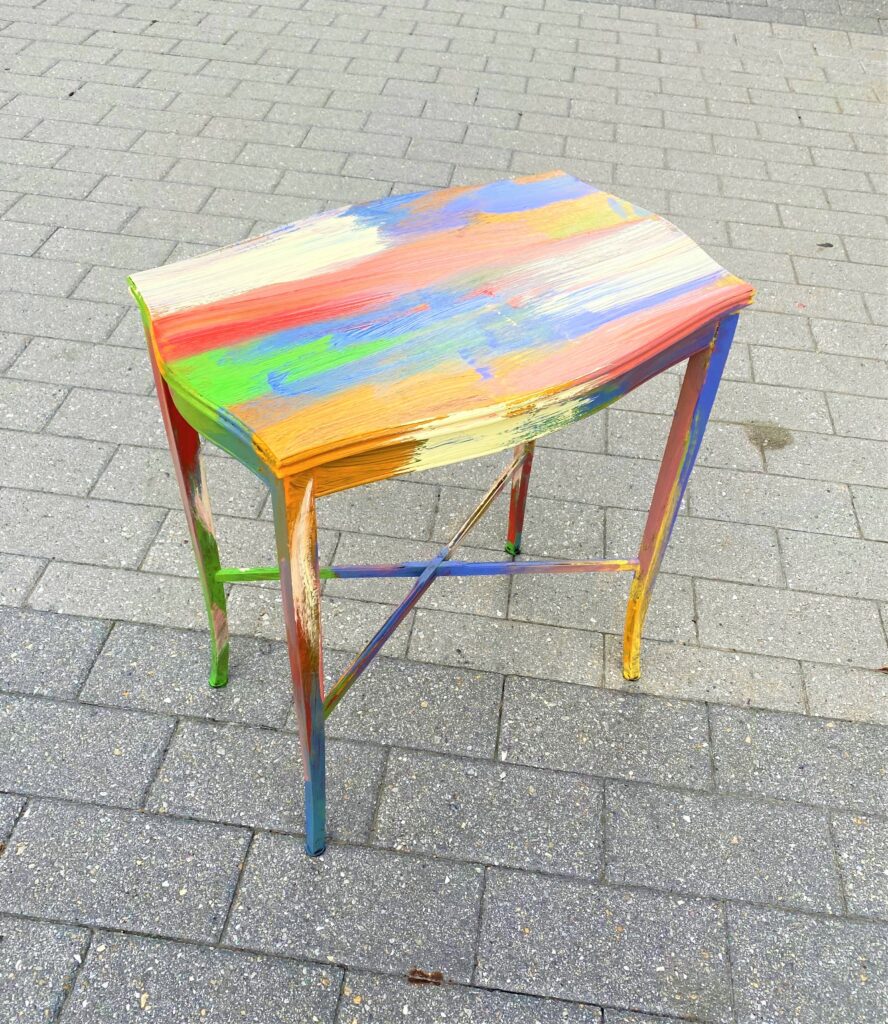
Step 7: Position, place, hang, celebrate
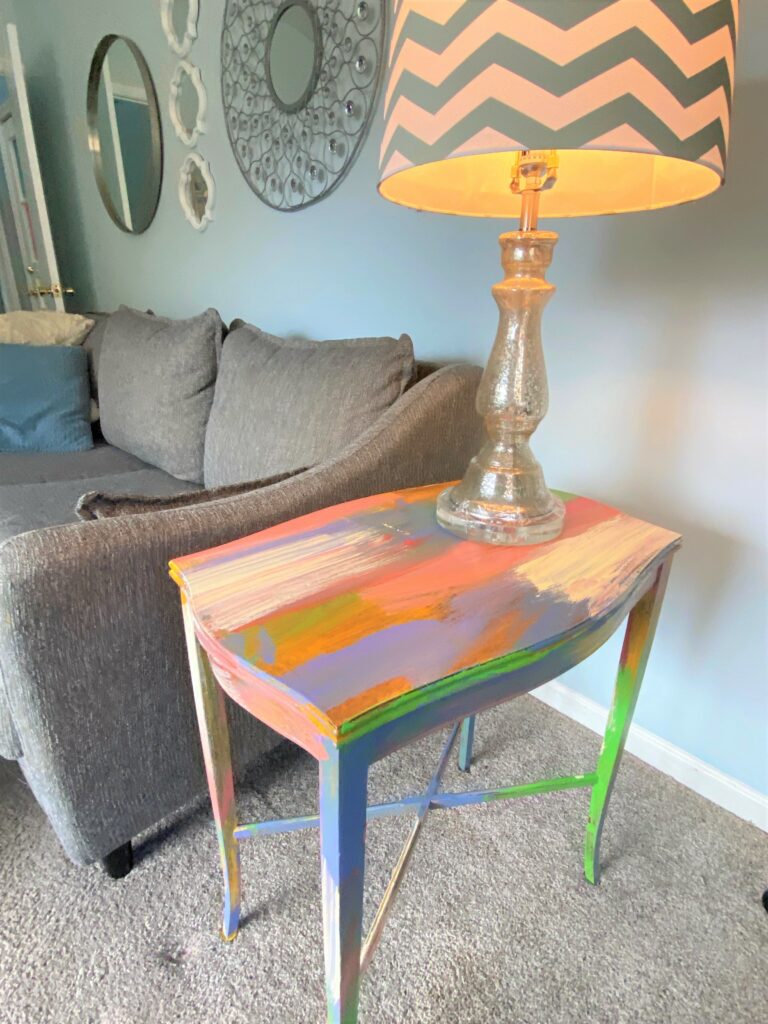
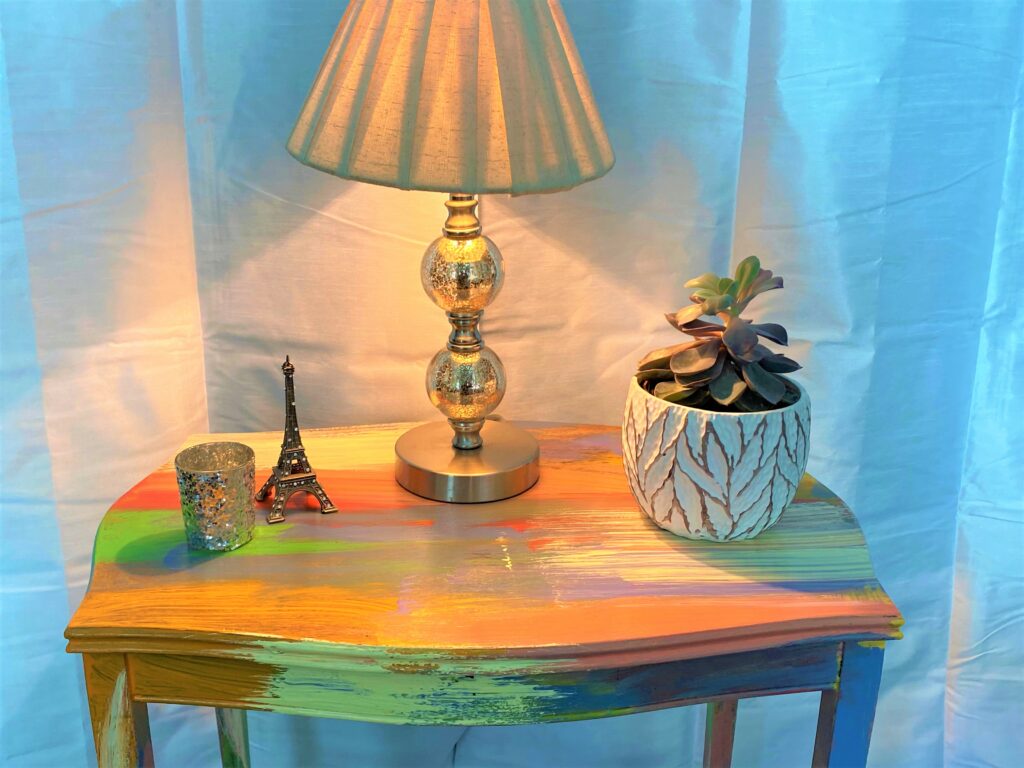
Your big and bold pieces will be showstoppers wherever you place them. The side table gave a lot of energy and punch when placed next to a gray couch. The mirror provided a vibrant welcome when hung near the front door. Accessorize with interesting items, also easily picked up at Goodwill, and you are ready to go! Who says a piece of painted artwork is only limited to a canvas?
Thanks to Ann Upton for the inspiration! We are so happy to share this and want to see what your projects look like when you dive into this cool DIY project. Share, share, share with us!

Tim Kime
Artist, Motivational Speaker, Life Coach
