
No need to put on the brakes for this easy and unusual DIY project. Take a boring beat-up bike and move it into the fast lane with colorful spray paints and racing stripes.
With a small investment of time and a couple of bucks for supplies, you’ll turn heads and stop cars as you ride around town on this truly usable, functional, rideable piece of art.

Here’s How:
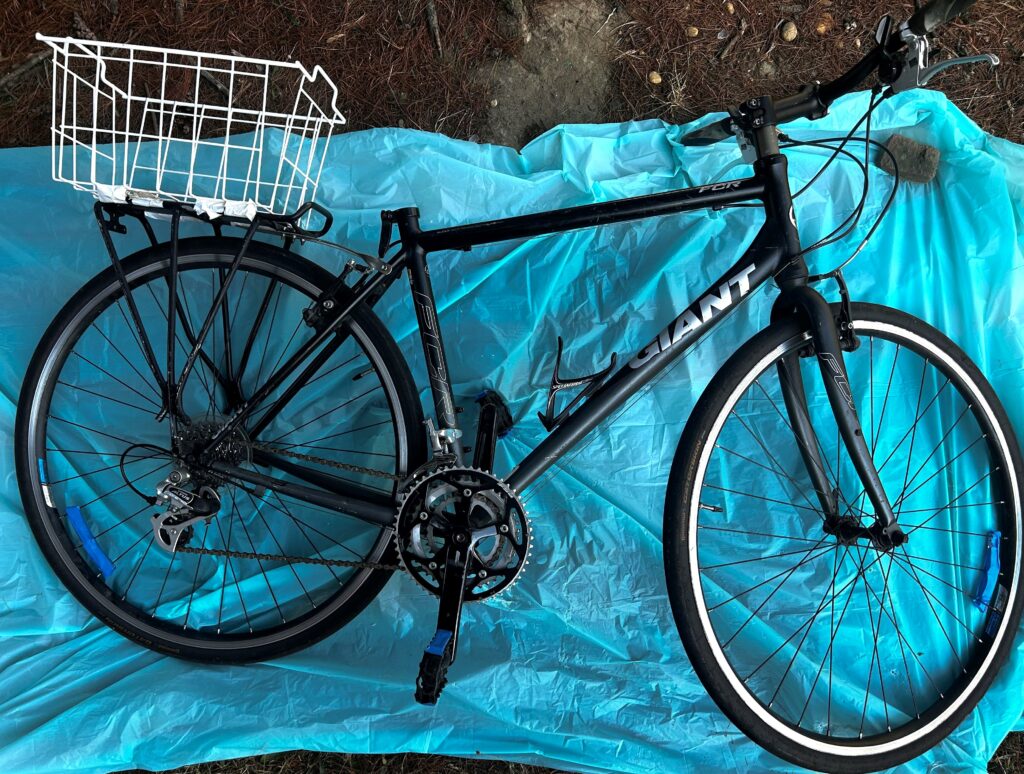
1. Buy a bike for a buck or two at Goodwill
A bike is the ideal way to get around your community this time of year, so hit your nearby Goodwill store to shop for one and other cool items at hot prices. Most Goodwill stores have a collection of bikes for sale in various sizes and styles.
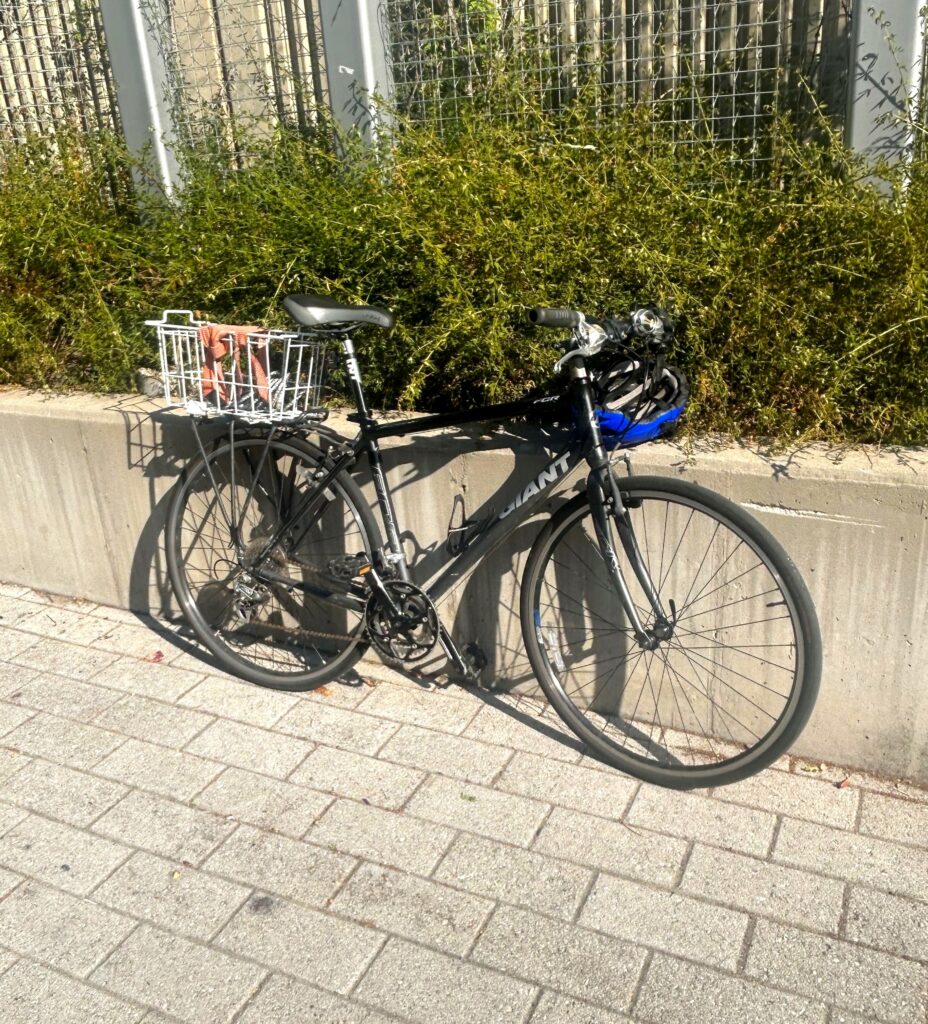
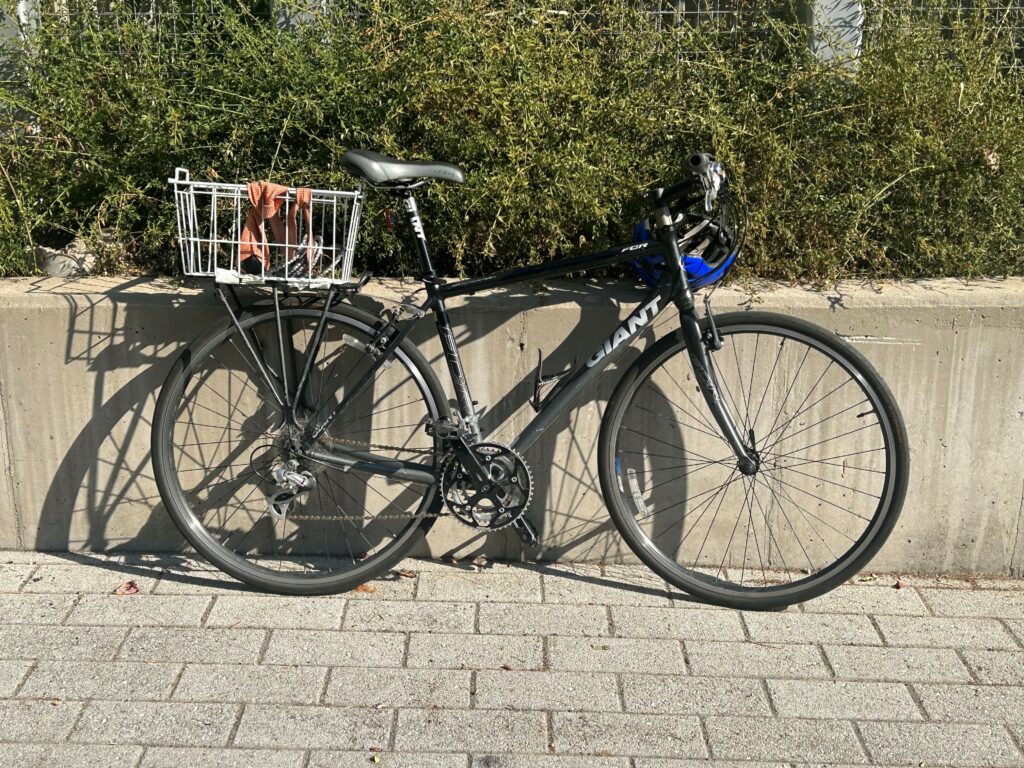
Remember to look beyond the bicycle’s current look and color because, as this DIY project shows, you can easily transform this earth-friendly transportation mode.
2. Remove parts to keep paint-free
Consider what parts you want to keep as is and paint-free. The bike’s seat, bell, and safety lights were removed and set aside. If your bike has mirrors, be sure to take them off, too. As always, keep the various parts together with their screws and bolts for easy reassembling.

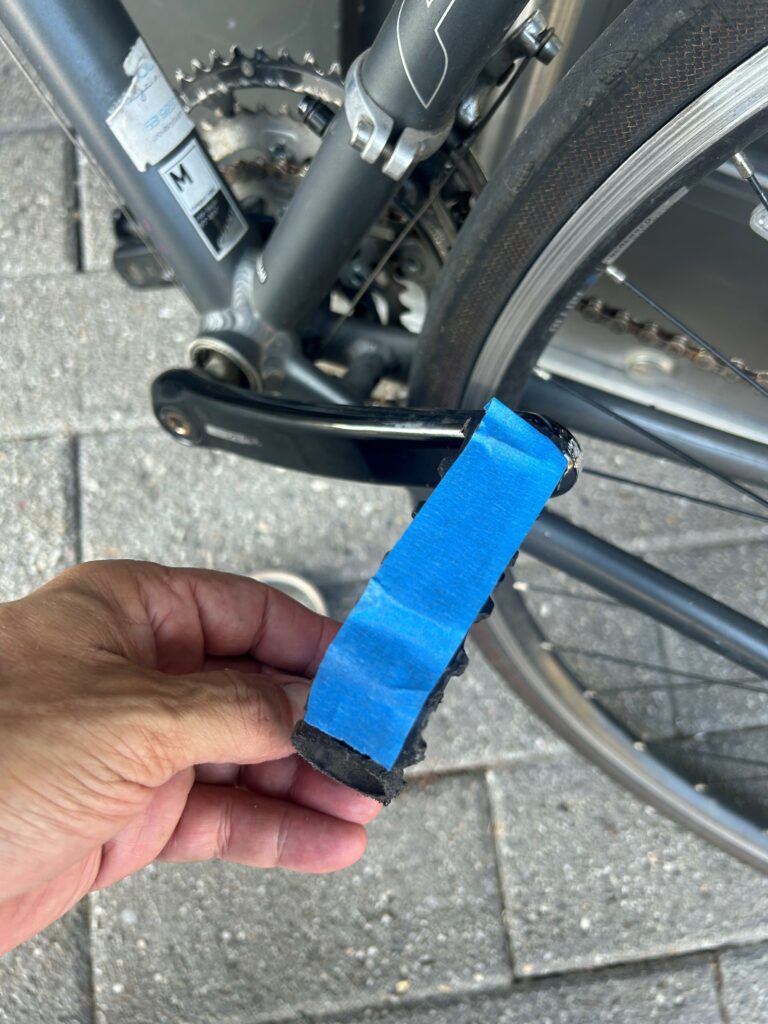
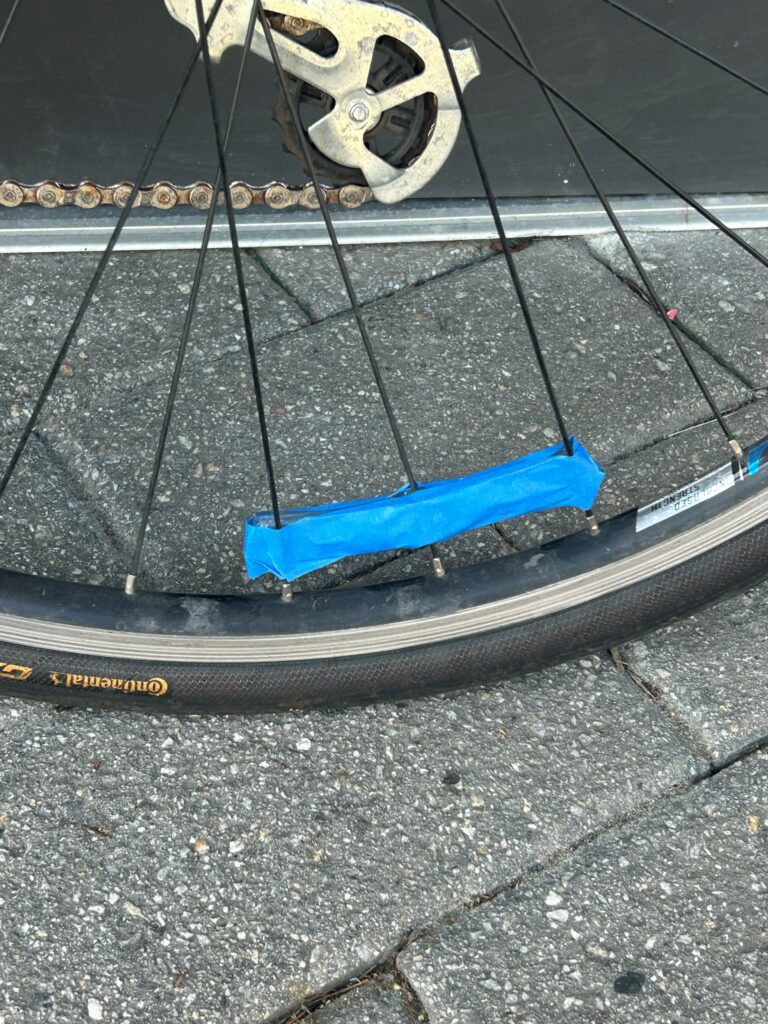
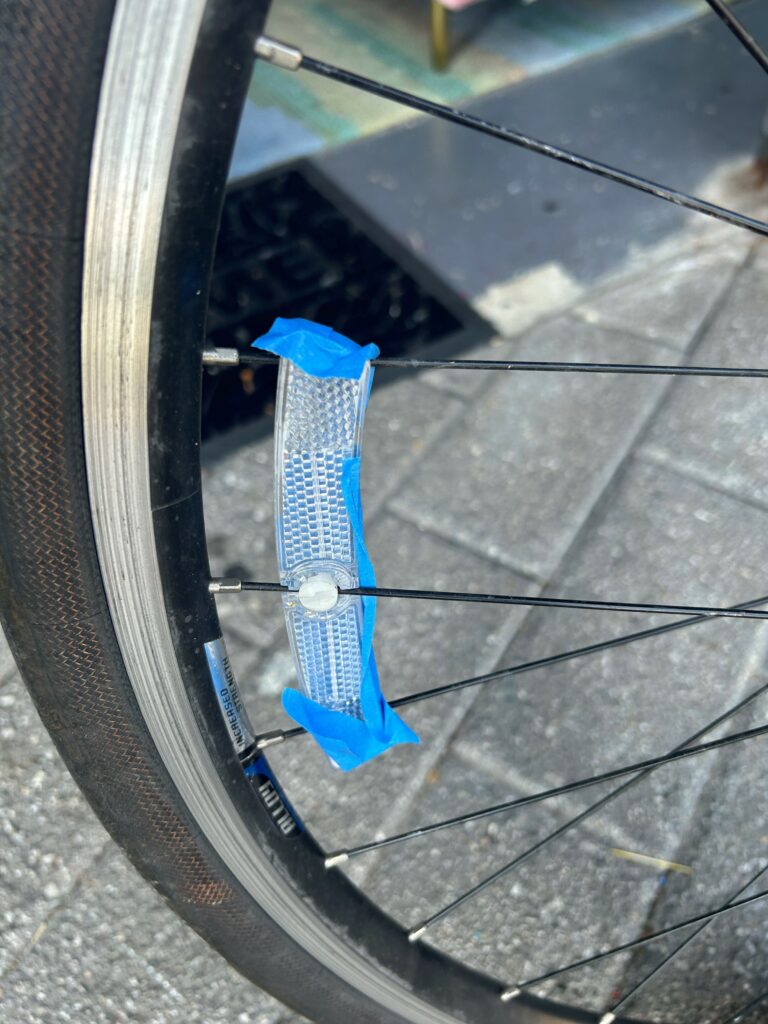
3. Protect pieces with painter’s tape
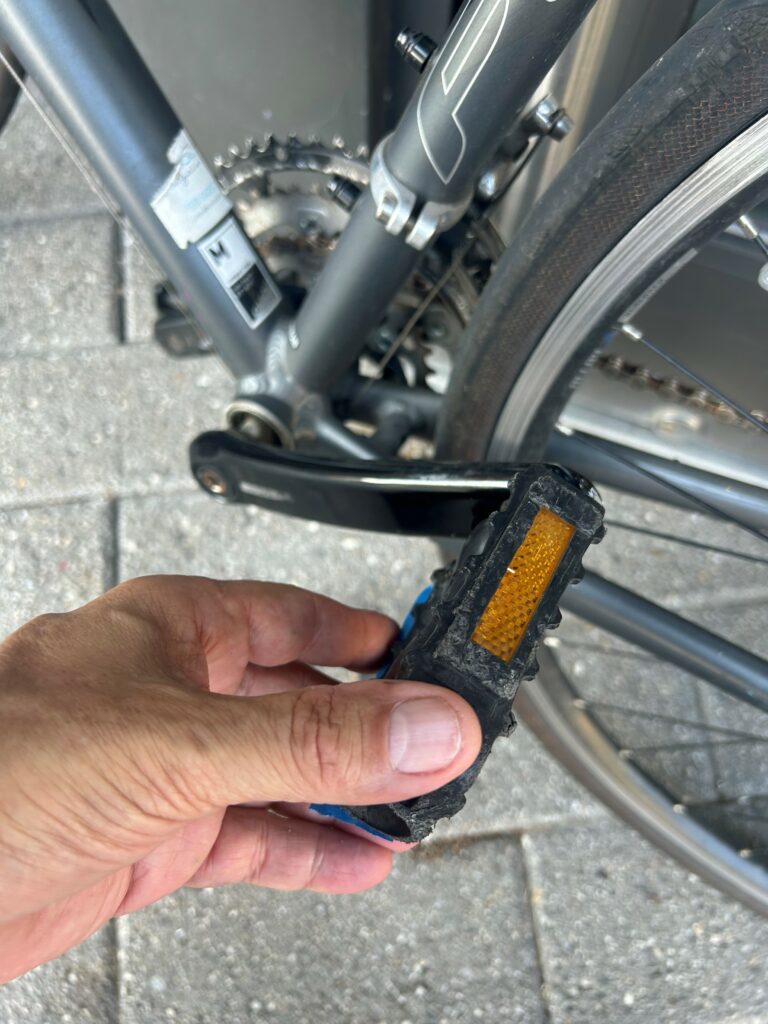
Are there parts of your bike that you want to keep paint-free, too, and are not removable? The reflective safety pieces on the tires and pedals were easily protected with painter’s tape.
Expert Tip
Should you remove your bicycle’s tires? Taking off the tires can be a big job, so I suggest leaving them in place and using painter’s tape to cover any parts or pieces. What about protecting the gears and chain? This is an easy fix using more painter’s tape.
However, I didn’t do so given the light layers of paint I knew I would be using and didn’t think it would impact their functioning at all. You could spend a lot of time and effort to cover the various parts AND I say, “Skip it!” and invest this time riding your bike AFTER you’ve transformed it with paint!
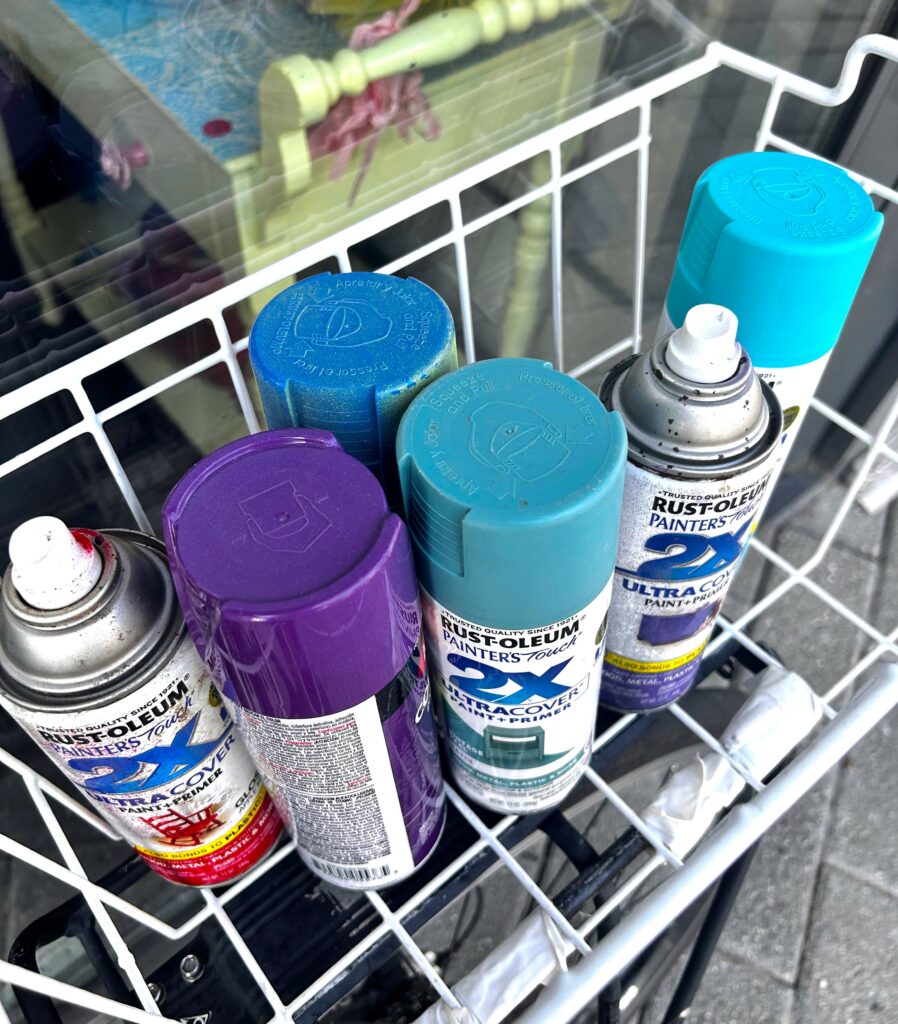
4. Collect your colors
To save money, consider what spray paints you have on hand because you don’t need lots of paint—just some fun options. Also, select tones you like/love/enjoy if this is your bike. If this is a gift for a loved one, consider using their favorite colors so the final look truly reflects their personality and flair.
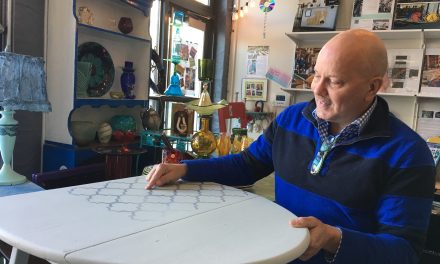
5. Spray on some style
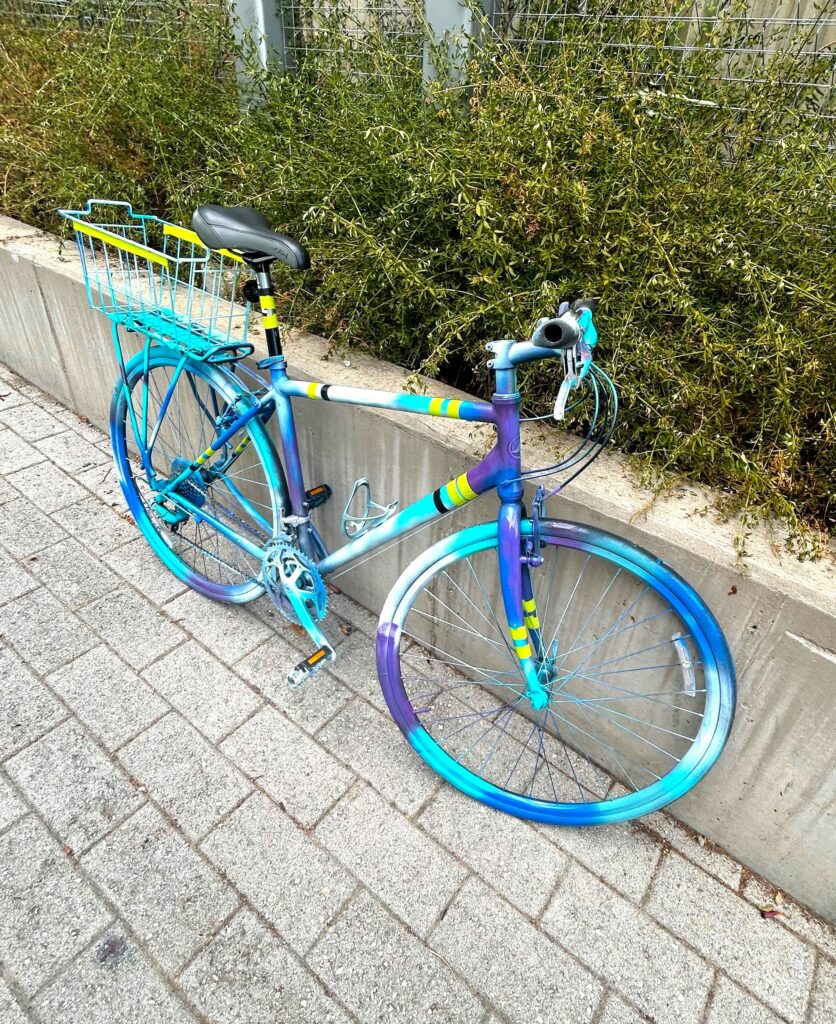
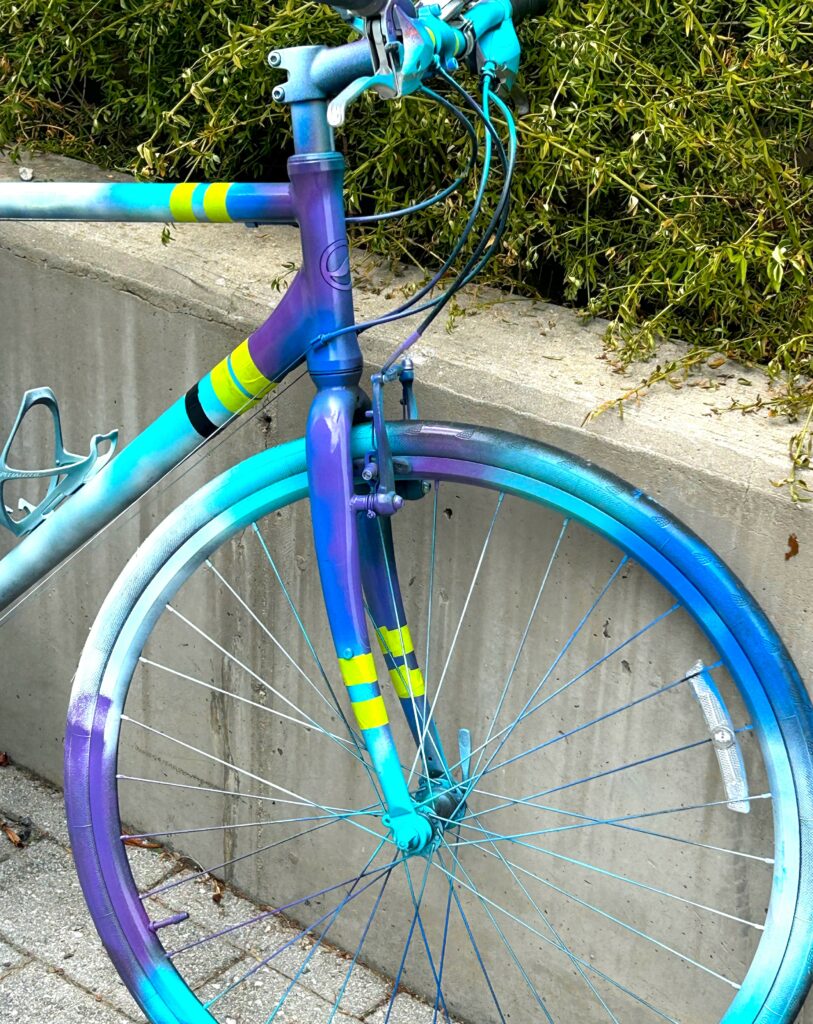
After you have placed your bike outside on a drop cloth, apply your first paint choice. I was going for a more organic, flowing look, so the first color, turquoise, was applied to various parts across the bike. Some on the tires, some on the top of the frame, some on the basket, and so on.
Using this same approach, purple was added, then dark blue, followed by teal and a very light, almost white, blue. Allow your colors to overlap and blend together. Lovely!
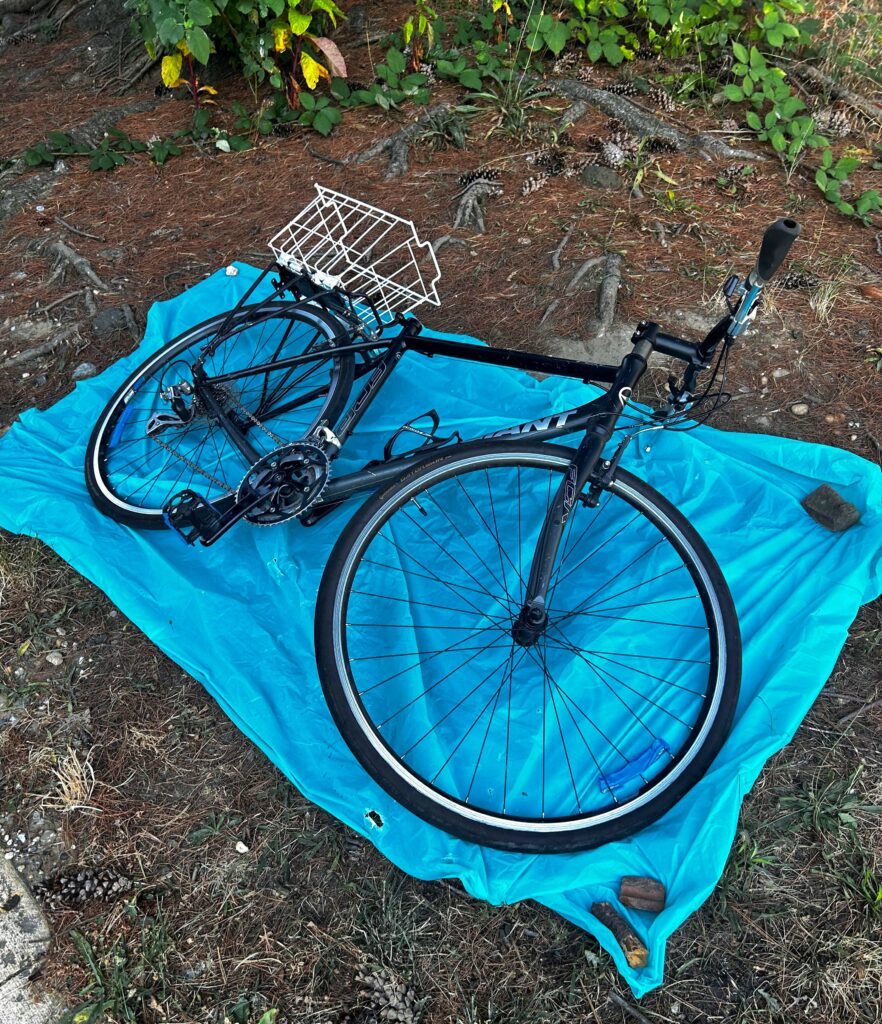
After you cover one side in light layers, consider standing your bike up and adding matching tones in similar places on the other side. This will help them to look connected.
Have fun, and don’t overthink your approach. Given the low cost of the bike and the use of your favorite colors, you can’t go wrong!
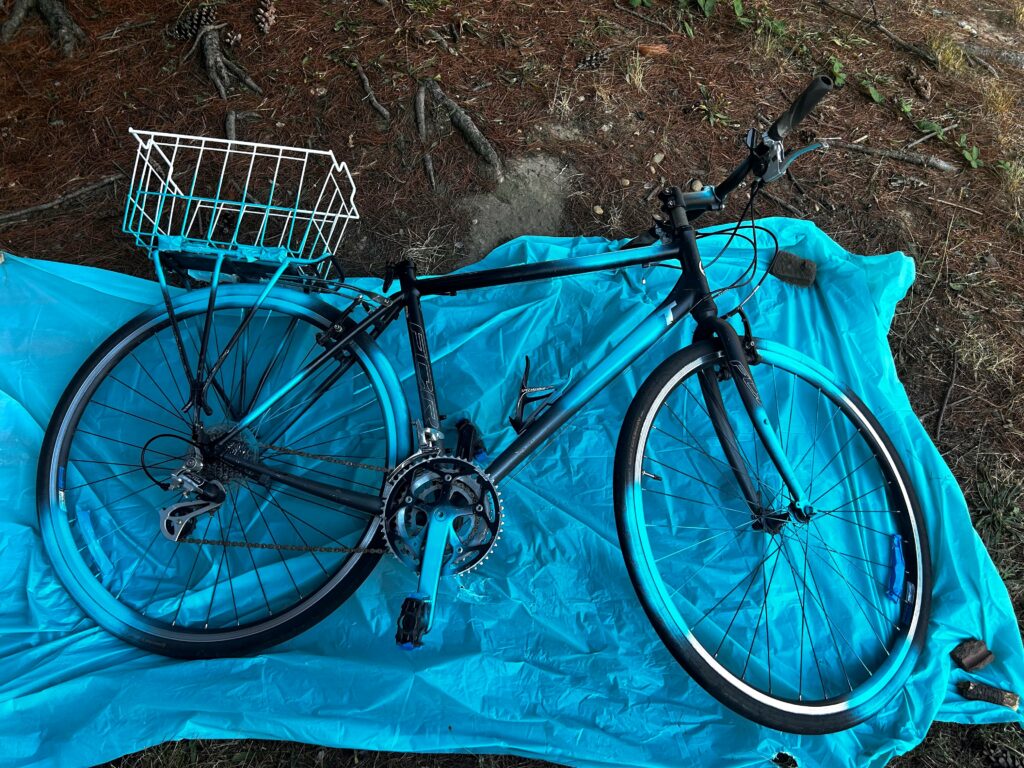
6. Secure some stripes
When your paint tones and layers have dried completely, consider adding stripes and other accents to make your bike go even bolder. Always one to stretch a dollar, I already had bright green craft tape and black electricians’ tape in my stash, so those were what was used. Yes, free and free!
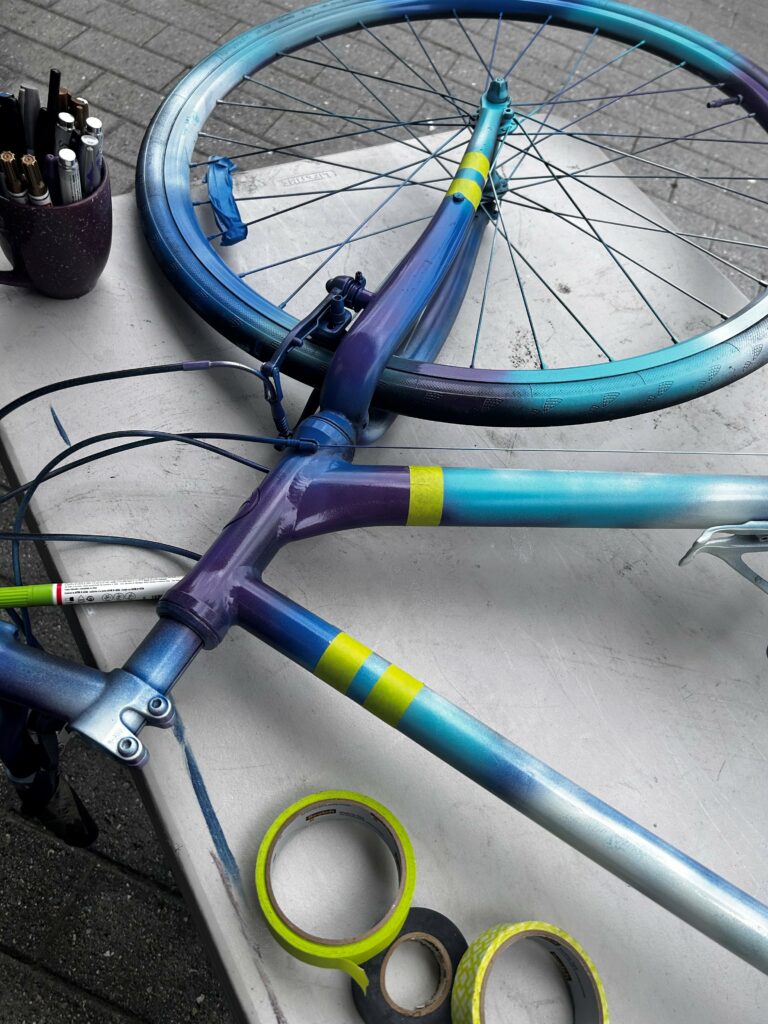
Also, from an artistic perspective, the bright green looked vibrant and complimented the new color palette really well. Also, the black tape matched the black seat and other parts. Love it when things come together better than you could have planned.
Expert Tip/Design Tip
As I was looking through my paint and art supplies, I came across my collection of paint pens, which I thought would work well for this project. However, they were way too runny, given the very hot weather. I vetoed them and will use them for other DIY opportunities, of course!
What other items do you have on hand to complement your bike’s new design and style? Stickers, ribbon, and yarn are all great options for adding color, texture, and whimsy.
7. Remove tape, reassemble
Now that your bike has a vibrant new look and you’ve allowed plenty of drying time, carefully remove any painter’s tape. Secure your seat back in its place and return other items to their homes.
8. Ride with pride
Can we talk? I felt like a kid who got a new bike for his birthday! I was totally excited to ride this transformed bike home, knowing it would attract attention along the way–and it did!
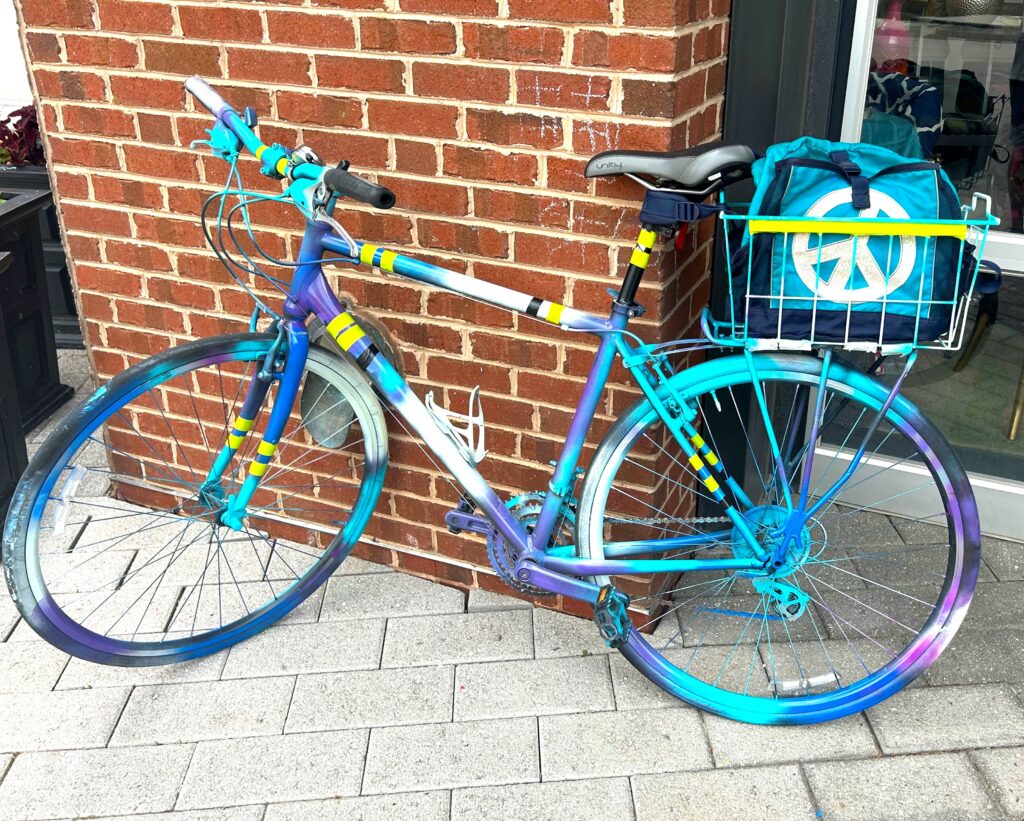
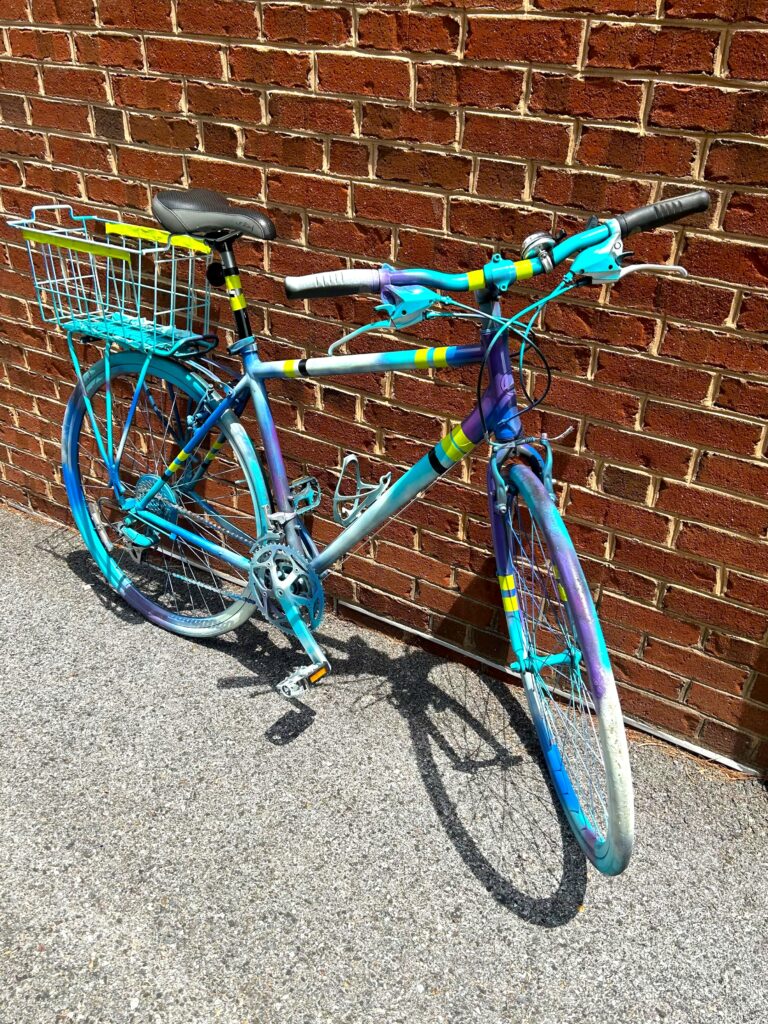
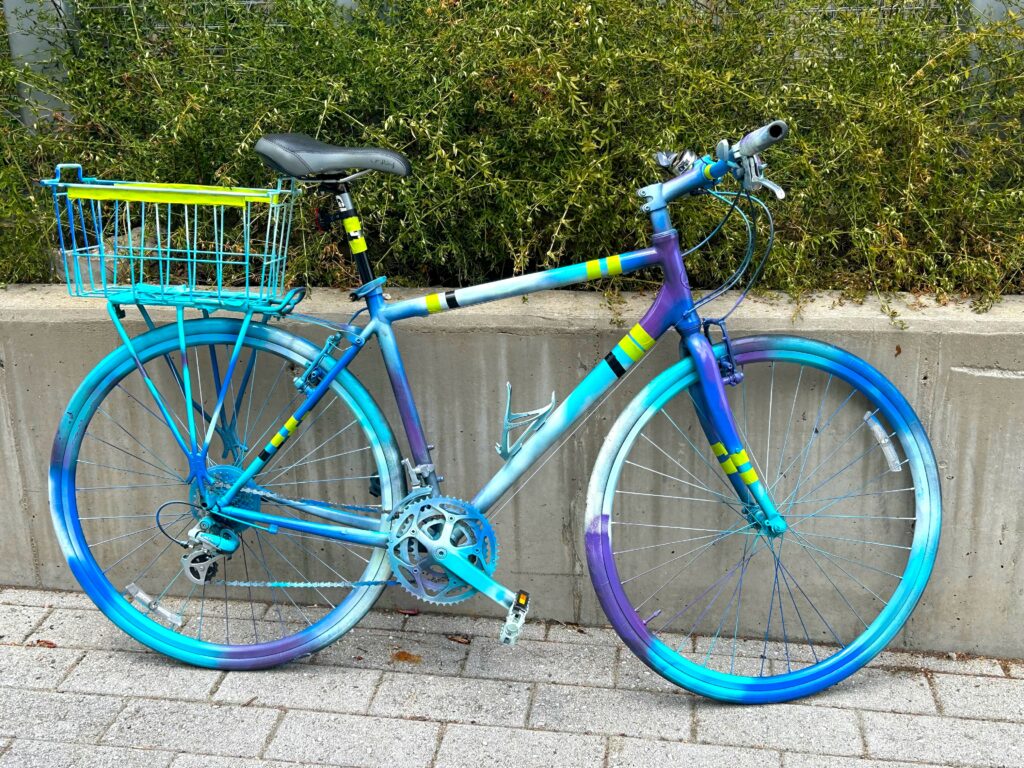
Also, it went from being just a mode of transportation to get me from point A to point B. Now, it is fun and festive, reflecting where I am now on my creative and life journey! Thanks to Finding Your Good and Goodwill of Greater Washington for being part of this amazing ride!
Similar Reads:
- Thrift Find Highlight: Under $30 Vintage Miami Miss 80’s Bike
- Bike Wheel Memo Board: A New Spin on a Bulletin Board

Tim Kime
Artist, Motivational Speaker, Life Coach
