Color Charms-Up a Classic Cabinet!
Upcycle a dark cabinet into a country charmer with white and green spray paints. You’re gonna love this easy transformation that will make you shout, “Howdy Ya’ll!”
Age level: Teens and adults
Ability level: Easy as pie…a pecan pie!
Items needed:
1. Slim wooden cabinet
2. Cans of spray paint in bright white & mint green
3. Can of spray polyurethane
4. Painter’s tape
5. Scrap paper or news paper
6. Small can of bright white paint
7. Small detail brush
8. Screwdriver
9. Sandpaper
Time requirement: Three hours, not including paint and poly drying time
Cost: $45
- $15 for wooden cabinet
- $8 for two cans of satin finish white spray paint
- $4 for one can of satin finish mint green spray paint
- $6 for one can of satin finish spray poly
- $4 for small can of bright white paint
- $5 for roll of painter’s tape
- $2 for sandpaper
1. Doesn’t matter if it’s urban or rural, you’ll find country charm at any Goodwill store
Go on now and get over you to your favorite Goodwill to hunt for a piece to transform lickity-split.
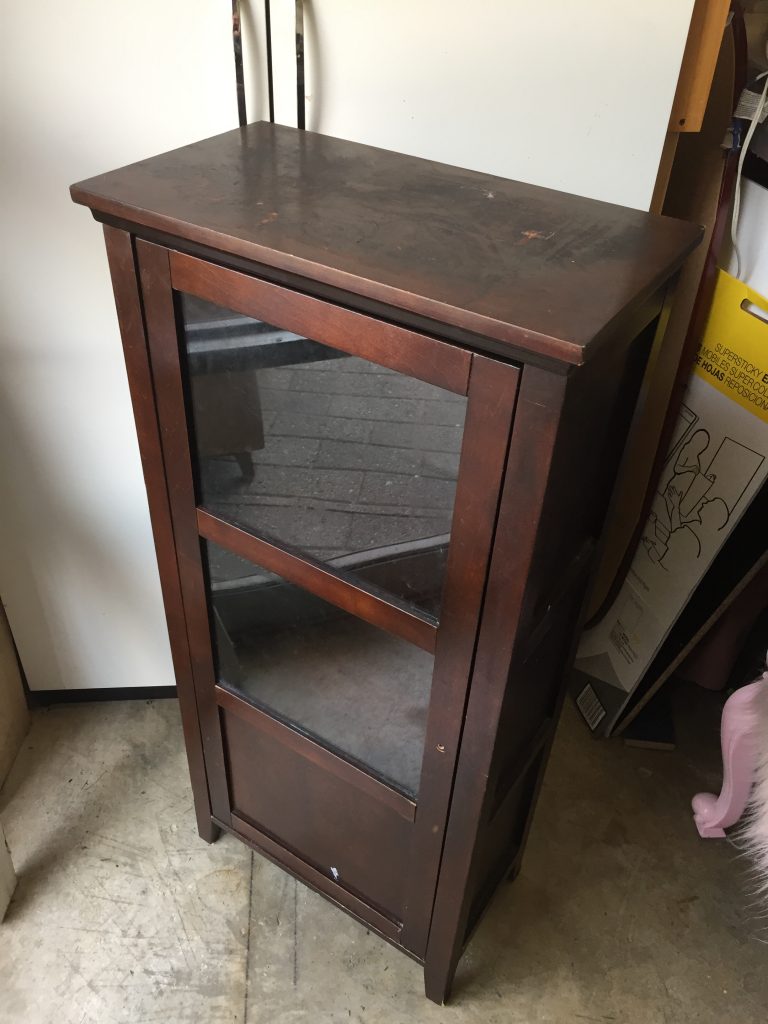
This slim cabinet with its glass doors, shelves, short legs and beveled edge top had all the makings of a great upcycle despite its very dark color from top to bottom.
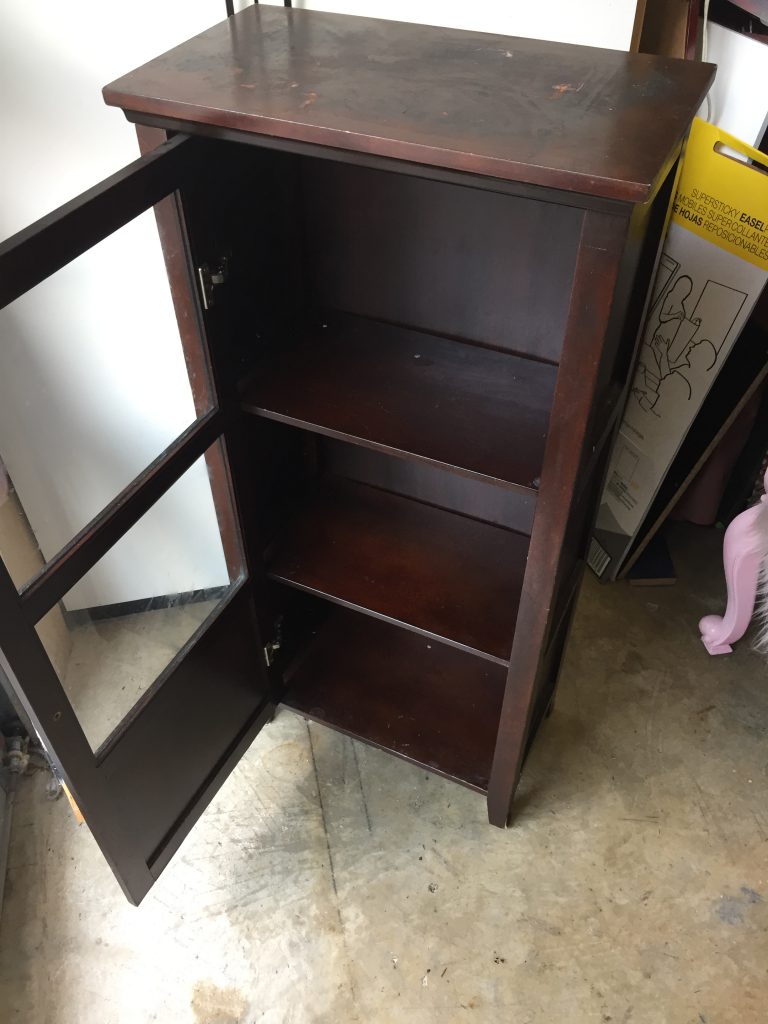
I loved that this offered additional storage but in a small, compact manner.
What will you find to give it new look based on this blog?
2. Buff, wipe, ready
- With a sandpaper block or piece of sandpaper, lightly go over the entire piece to make its surfaces more friendly for painting.
- This process will create lots of dust, so wipe down the cabinet with a damp rag to ensure clean surfaces.
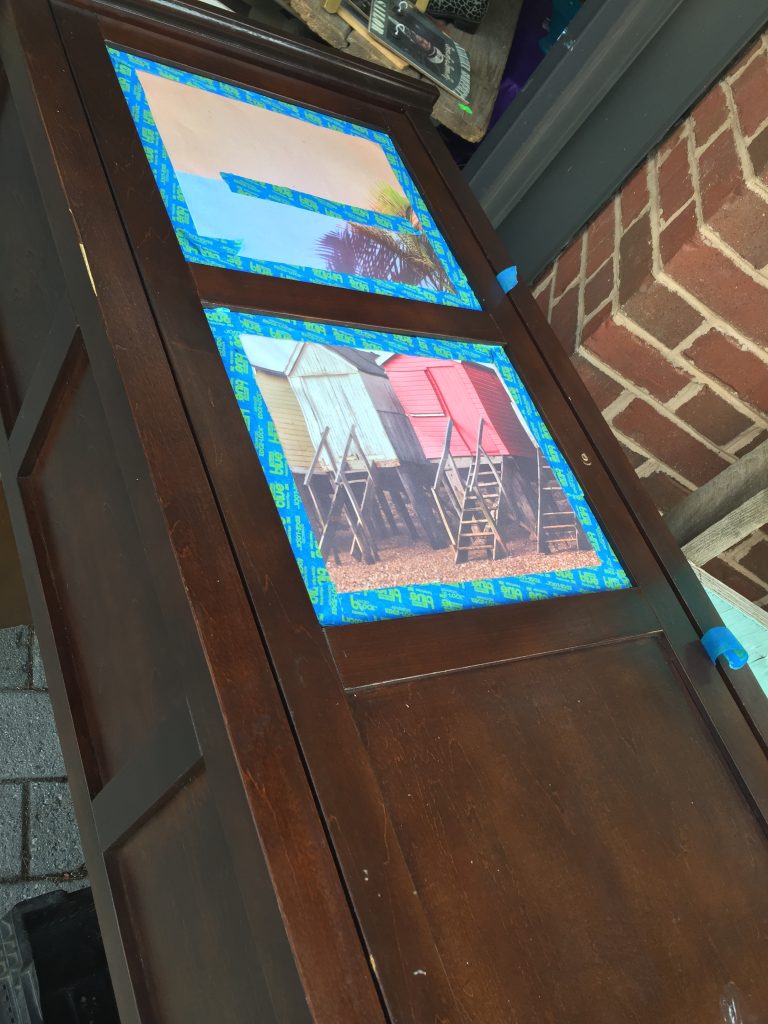
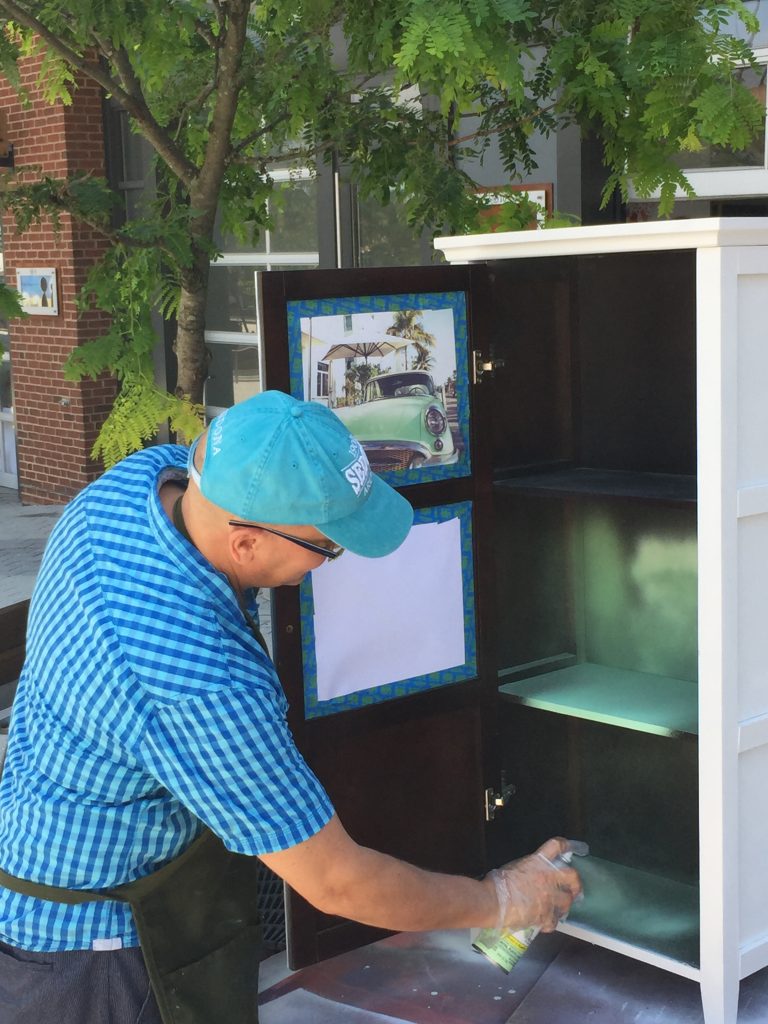
- Due to the use of spray paint, scrap paper was taped over the glass with painter’s tape to protect it.
- Place outside, weather permitting, on a drop cloth and you are ready to move forward with the more fun part!
3. Wild for white
I LOVE to paint things white because it brightens things up immediately and it goes with any space!
- To protect your hands from getting painted, put on plastic, disposal gloves if you have them.
- Shake your can of bright spray paint well, then add a light layer over the entire piece, both inside and out.
- I know I say it often and repeating myself is no problem. 🙂 With any painted project, spray on a light coat and don’t worry about perfect coverage.
- You will come back several times with light layers to avoid drips or smears.
- Let dry for an hour between coats.
- Lay the cabinet on its back side then add another layer of paint so you are sure to get all edges and sides. This step will give you solid coverage.
- After several layers of the white and solid coverage, let you piece dry well overnight before the next step.
4. Make it “minty-fresh”
A new spray paint color called “Mint” was at my local hardware store so I just had to try it. The name and color made me think of Mint Juleps, iced tea and other ways we use mint in the summer.
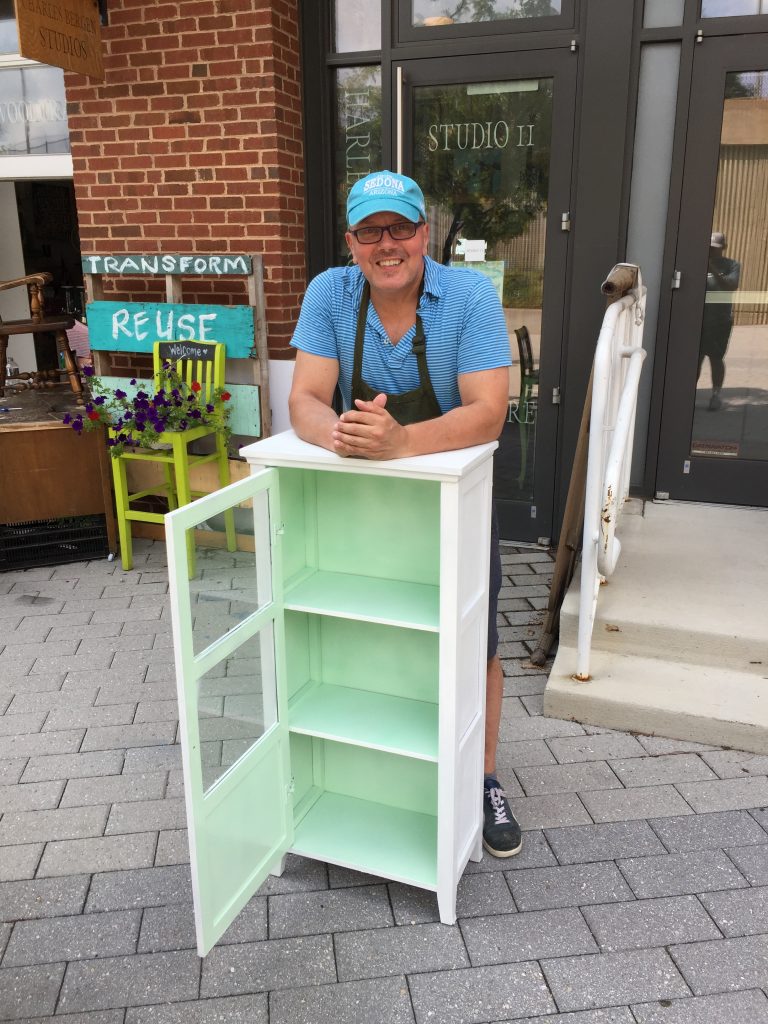
To provide a fresh pop of color, I sprayed several light layers of this color on the cabinet’s inside and it looked so great right way!
Remember, use painter’s tape to prevent paint from covering parts you want to keep the bright white.
The inside of the door was painted this wonderful hue, too, so each time you open the door, you get to see more of it!
5. Highlight details with paint and “distressing”
If your piece has interesting accents or parts you want to call attention to, then brush on layer of matching white paint from a can. I liked that the inside back, sides and shelf tops were all green but wanted to connect the inside with the outside so I painted just the front edge of the shelves white. That little bit of white made the piece look more finished and cohesive.
- After your paint has dried thoroughly, you might want to consider “distressing” your piece to add more visual interest.
- With sand paper, very carefully buff the outer edges to remove the white and to reveal a thin line of the dark wood beneath.
- Repeat this along edges and around the top, too. This process gives a shabby chic look to the piece and makes it look slightly worn, in a loving and charming way!
6. Don’t forget the hardware!
If your piece has removable knobs or handles, then remove them and spray paint them, too.
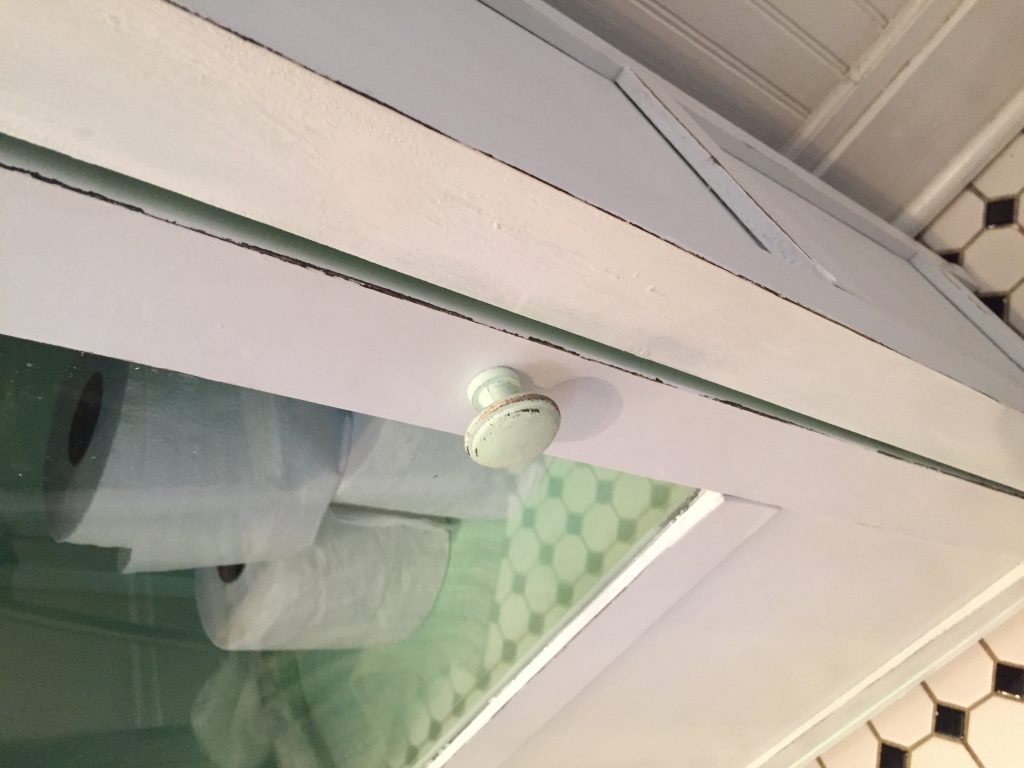
I painted my one knob the mint green color to so that the front outside had a little splash of color that match its inside.
I always encourage people to re-use their existing hardware and simply give it a face lift, too, with some paint.
Once your hardware dries, use your sandpaper to buff it up, too, so that the original color shows through and gives it more depth and visual appeal. Wipe it off, too, then screw back in place.
7. Protect with poly
- Again, cover the glass (inside and outside) with scrap paper to keep it protected.
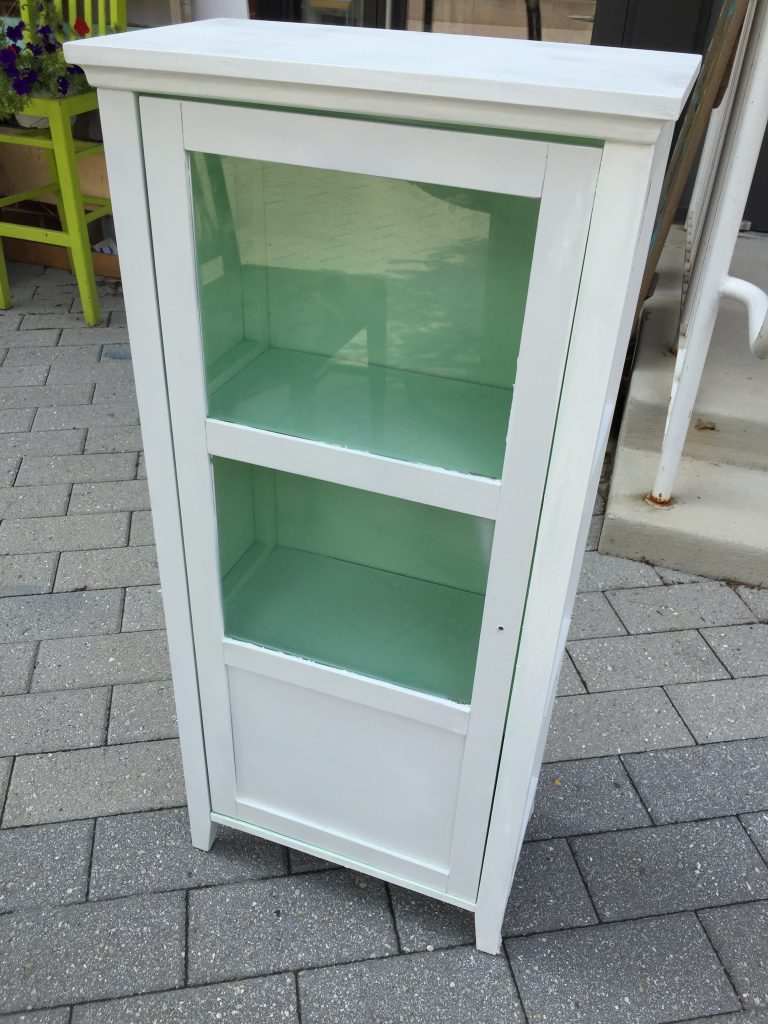
- To provide additional protection from moisture and dirt, grab your can of spray poly and add a layer or two over the whole piece, letting it dry between coats.
- Remove the painter’s tape and paper and you are ready to go!
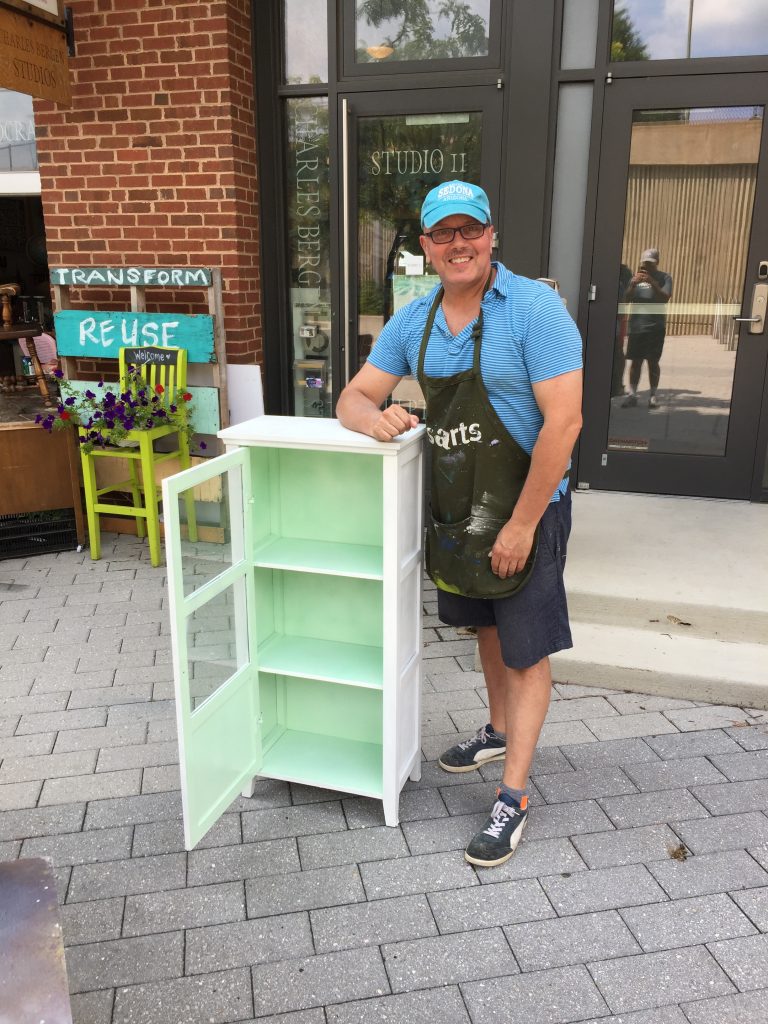
8. Fill it with love!
Not to sound too corny, but your love for your transformed country charm cabinet will be overflowing!
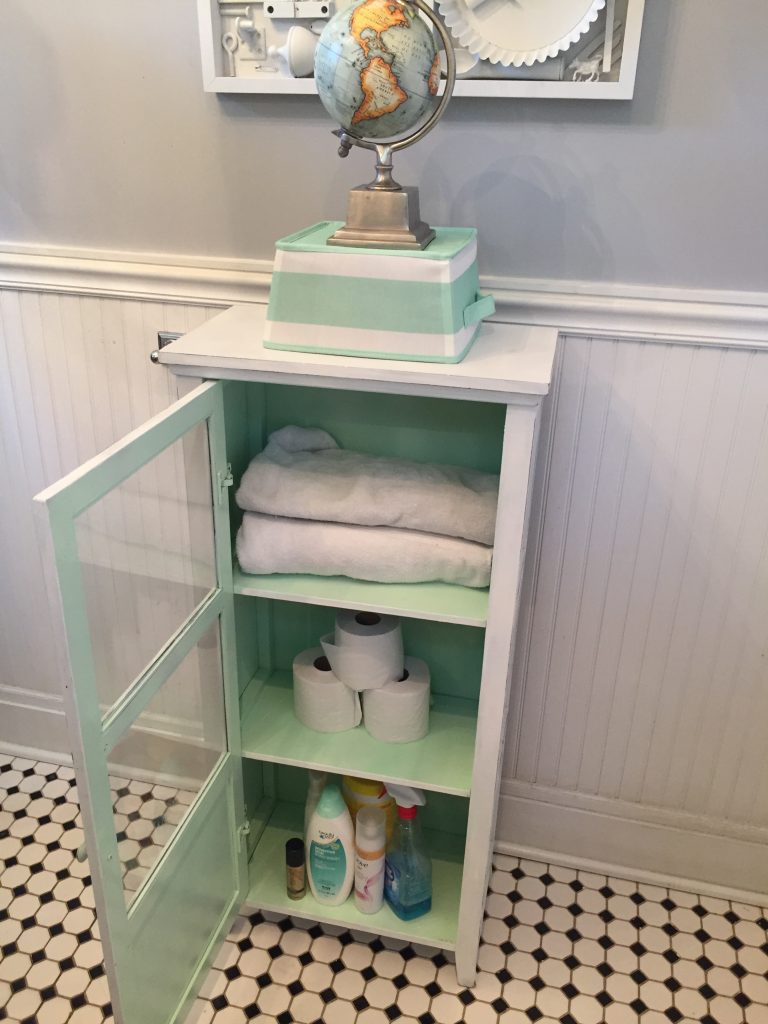
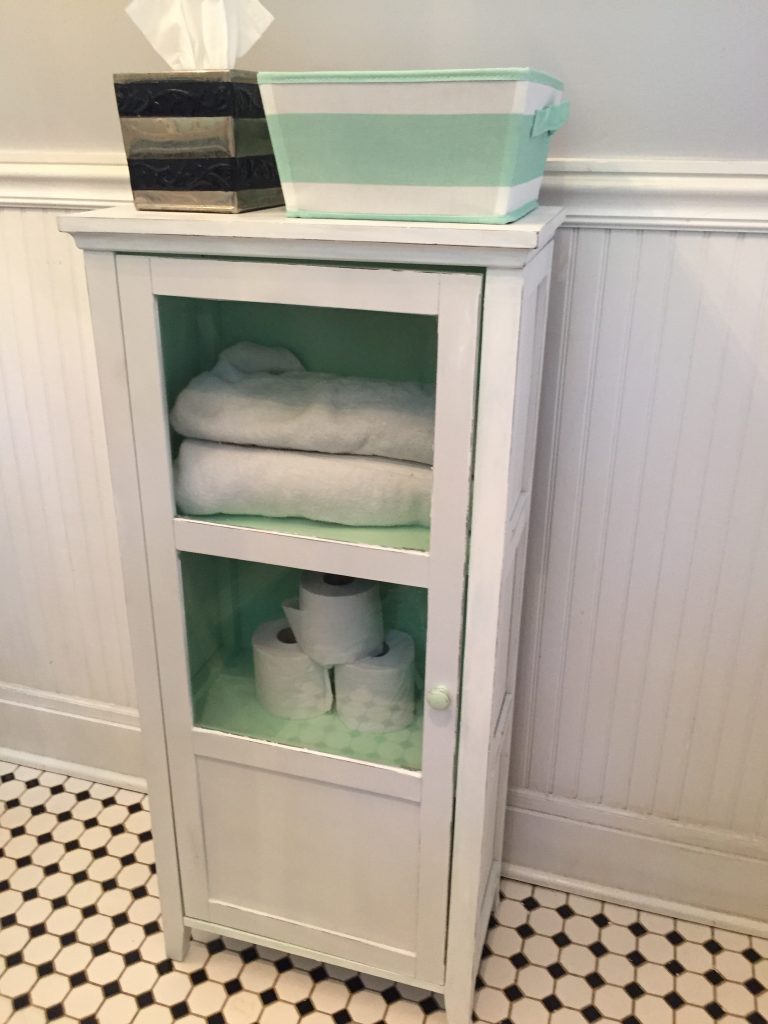
Maybe you position it in your bathroom to hold extra towels, supplies, toiletries and more?!
Your bedroom might be calling for its sweetness so use it to hold books, art and other fun items!
Don’t forget your kitchen, as this cutie can hold dishes, glass, utensils or cookbooks.
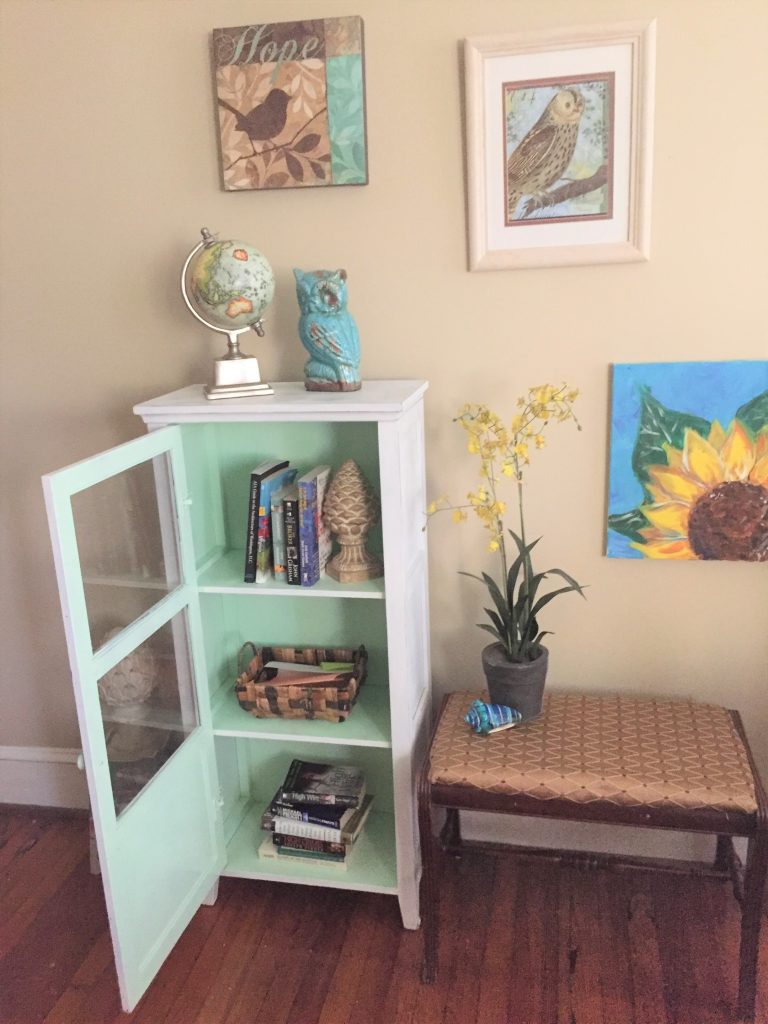
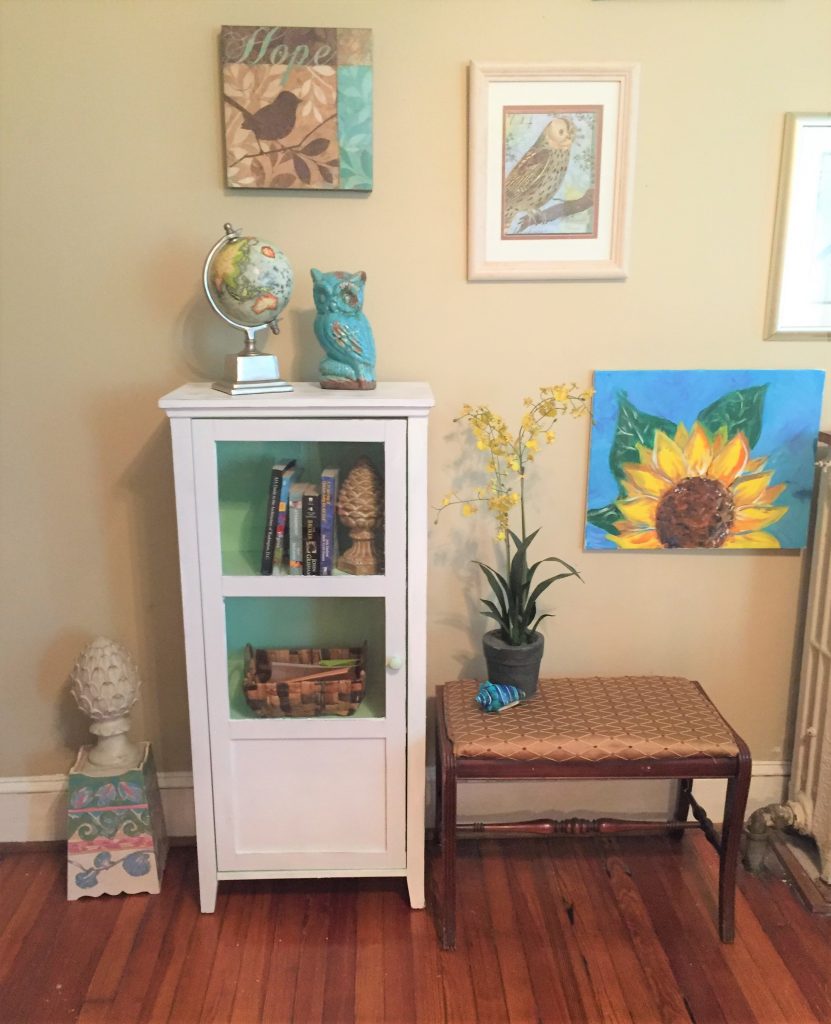
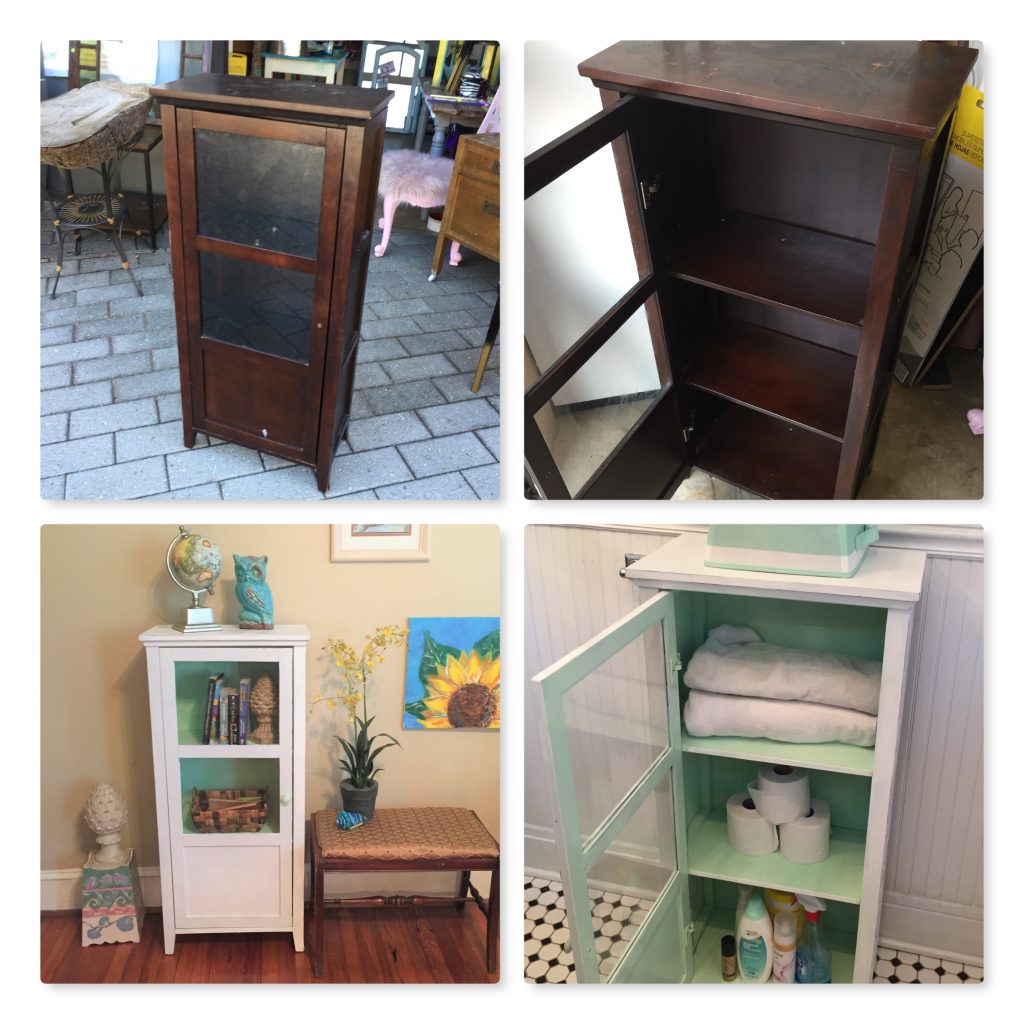
Wherever it goes, its bright white and minty green colors will make it a down-home, friendly addition to the space!


