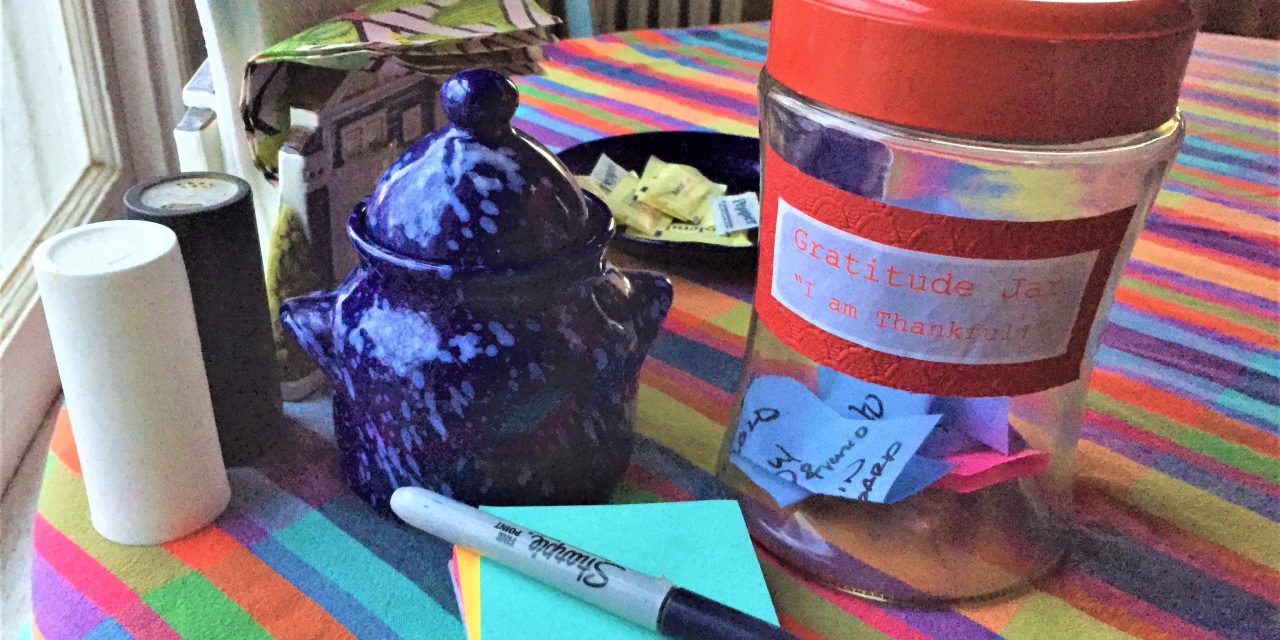
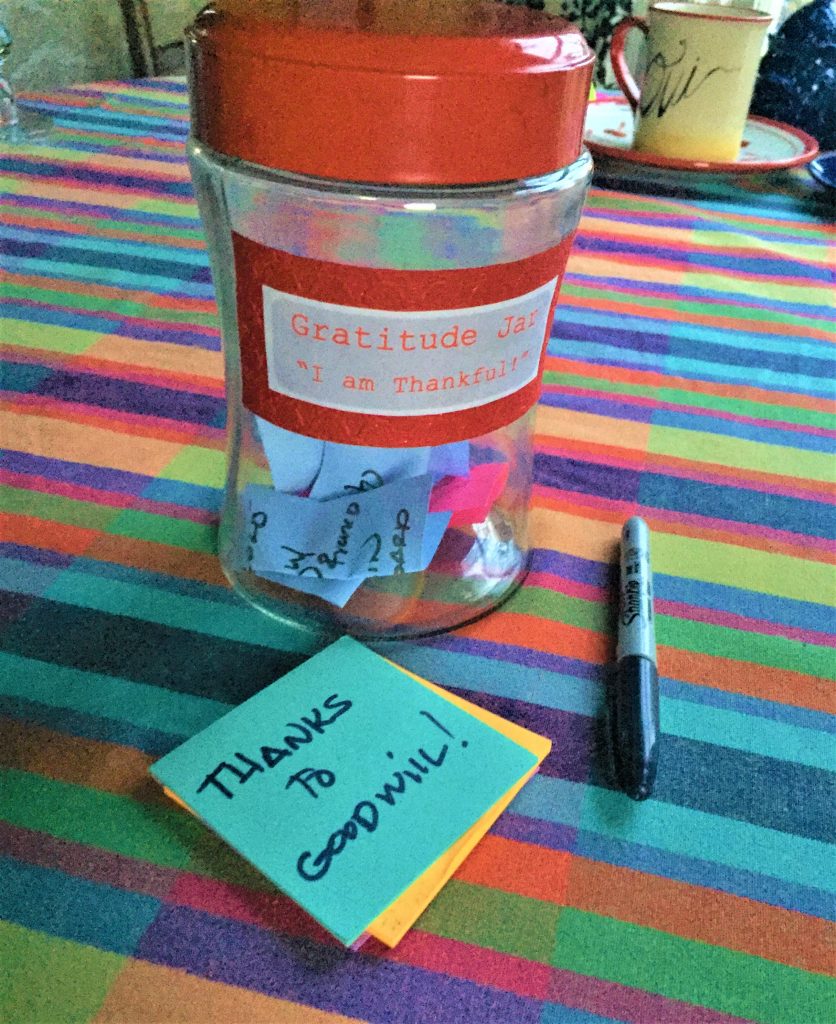
There is something so exciting about the start of the New Year with all the good that will happen as the days unfold. Capture your blessings by writing them down and placing them in a “Gratitude Jar” so that when you look back at the new year, you will remember all the wonderful things that happened to you!
Ideally, each day you will write one thing, person, experience that you are thankful for and then place it in this whimsical container. Sometimes we get so busy living our lives that we overlook all the good that happens to us daily.
Create one for yourself, to give away or to use with your family so all in your household contribute until it is overflowing with positivity!
Ability level: Easy
Age Level: Perfect for all ages and fun when done with others
Items:
1. Glass container with a lid
2. Paper & printer for label
3. Scissors
4. Glue stick
5. Glue gun & sticks
6. Decorative items to accessorize
7. Marker/Sharpie or pen
8. Post-it notes or small pieces of paper
Time: 30 minutes
Cost: $15
- $3 for glass container
- $4 for Sharpie
- $5 for small Post-it notes
- $1 for glue gun sticks
- $1 for accessories
1. Hit Goodwill to get your jar, then add it to your list of blessings!
Check out your nearby Goodwill for a container such as a good-sized glass jar or other storage item.
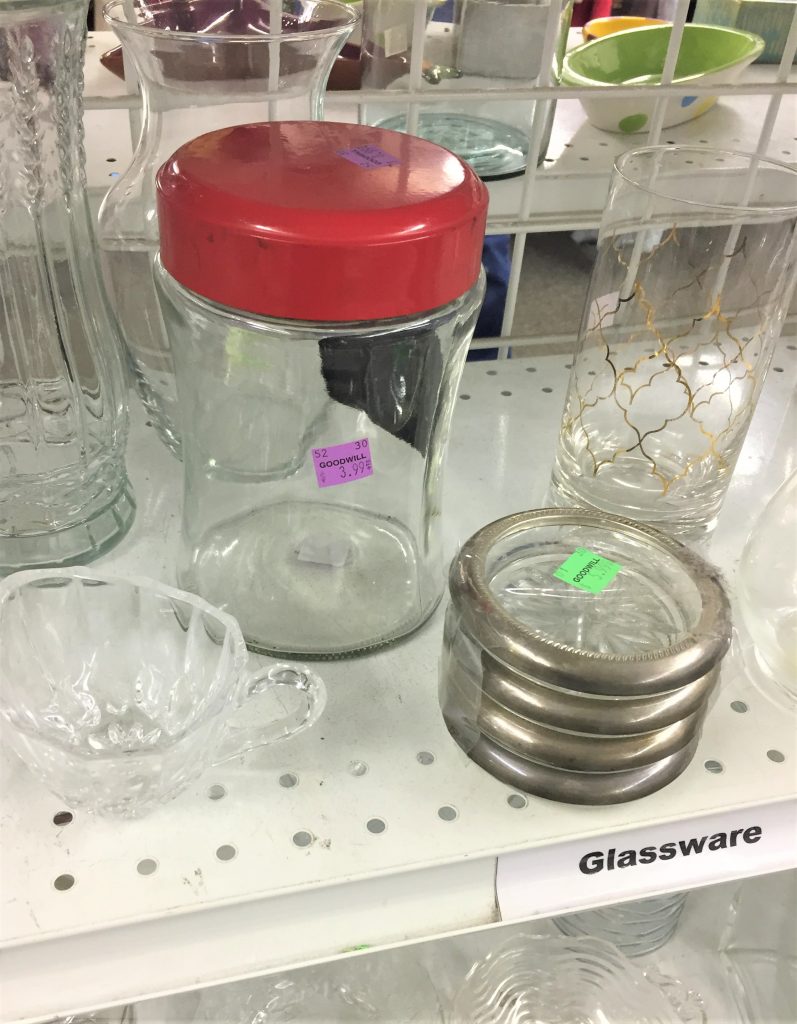
Select a clear glass one with a lid so you are able to see it get full of your post-its notes with the positive things on them.
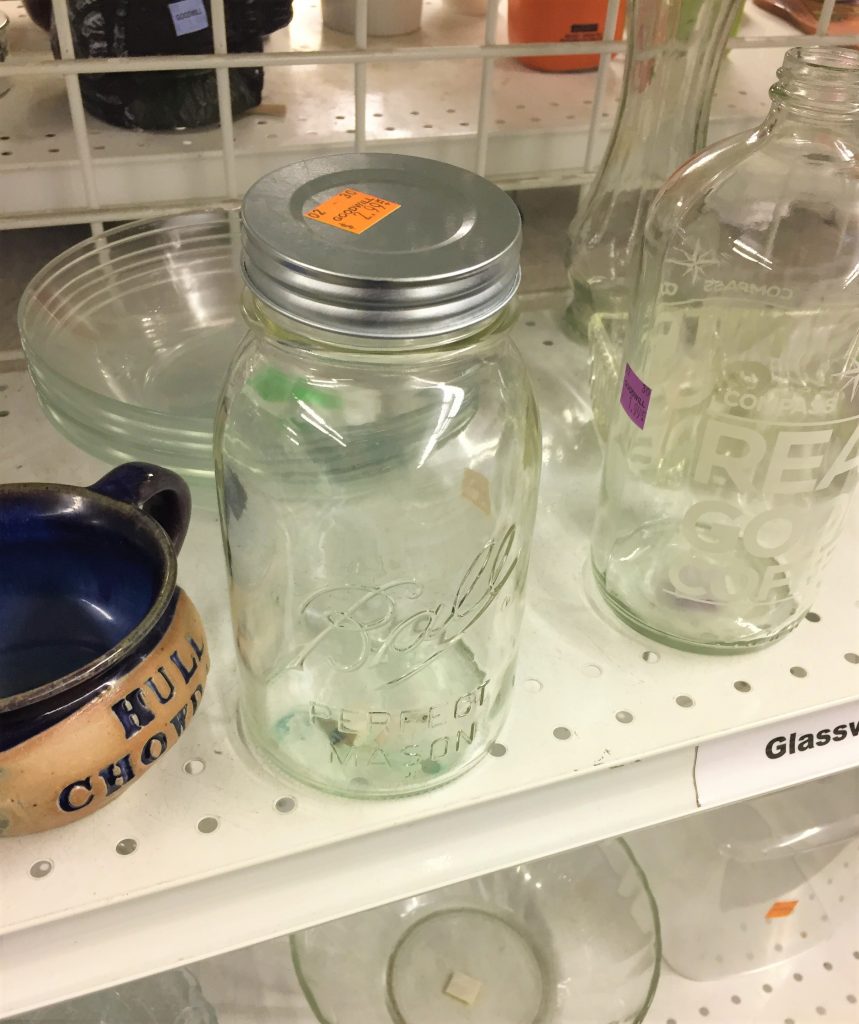
You could use a small cookie jar, too, or ceramic kitchen container (you know the ones that traditionally hold flour, sugar and other materials) as they have lids, too.
However, part of the joy of this project is seeing it fill with all the good happening in your world.
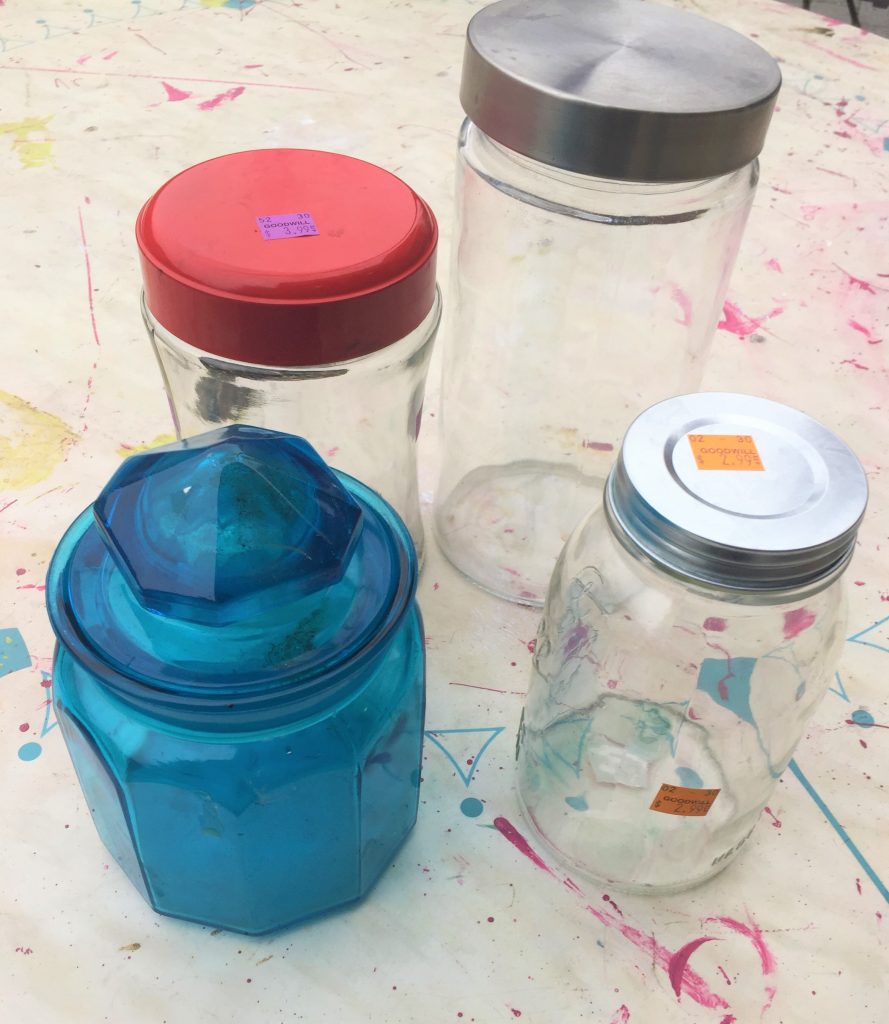
2. Create a big label
If you have easy access to a computer and a printer, make a label by typing “Gratitude Jar” in a fun and bold font. The DC Public Library offers free printing services as well!
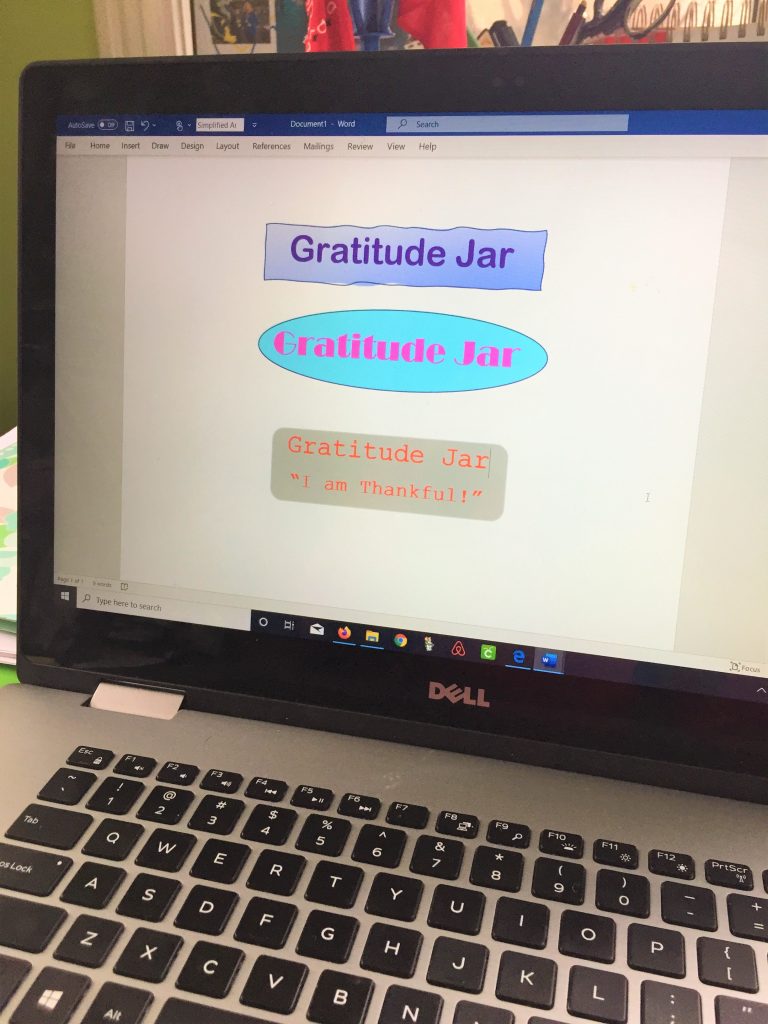
- Add color and a fun border, if you are able, then print it out.
- Cut away access paper. If you have some interesting craft paper or colorful stationary, you may want to glue your cut-out label on it then carefully cut around it leaving a funky border.
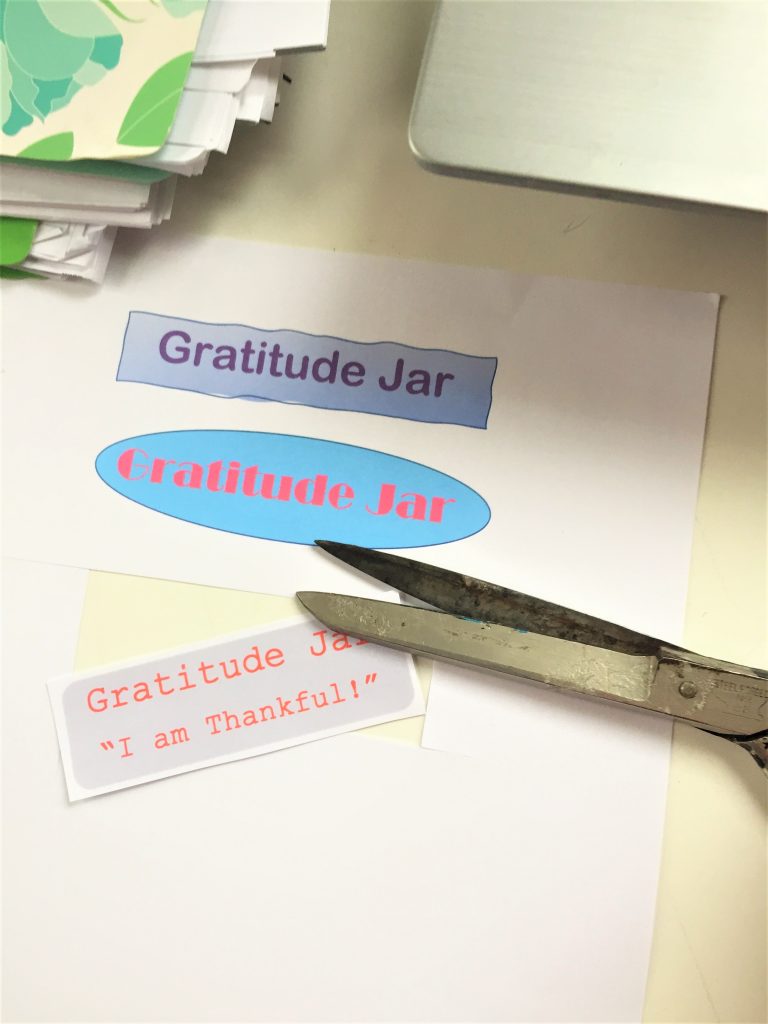
Design tip: Another option is to use press on letters or clip letters from a magazine and add them to your jar. Certainly, if you have nice handwriting, you could also write out the words using colorful markers or pens. Be creative and have fun!
3. Secure label in place
Use your glue stick to adhere your label in place. Position it on the top half of the jar.
4. Personalize & accessorize your jar
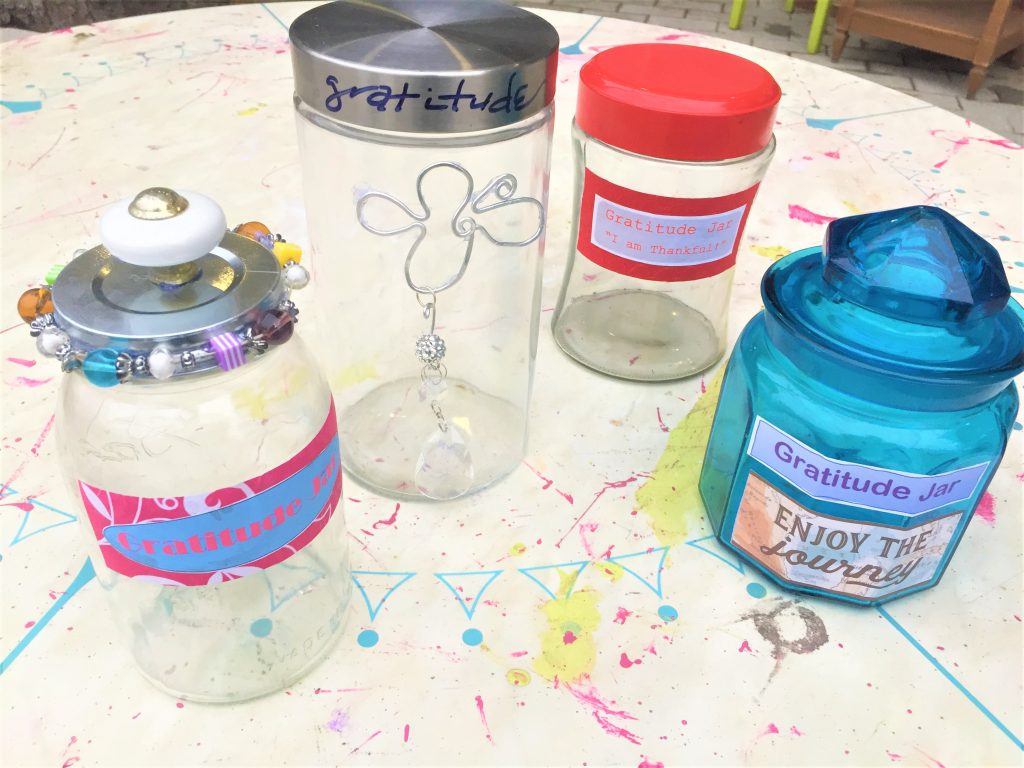
- With your glue gun, you might want to consider adding some unique touches to reflect your own style or interests. These make great gifts for loved ones so you could glue items in place that make you think of the person who will receive it.
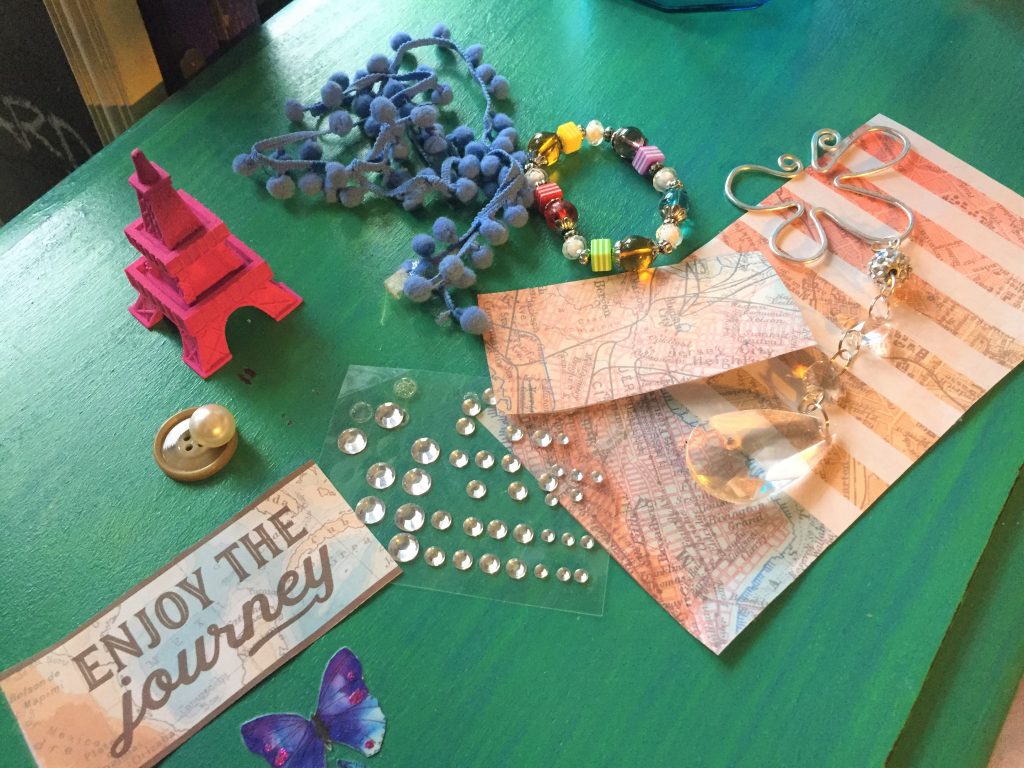
- Around the lid’s edge, add a strip of ribbon for more color. A beaded bracelet was added around one of those created for this blog. You could add some bling by securing plastic diamonds and jewel-like pieces. Or maybe cut out images from your favorite travel destinations.
5. Create a gratitude station: include a pen & place your post-its
The other components that make this simple upcycled project so effective: post-it notes or small pieces of paper and a Sharpie or special pen you will use to capture your good fortune.
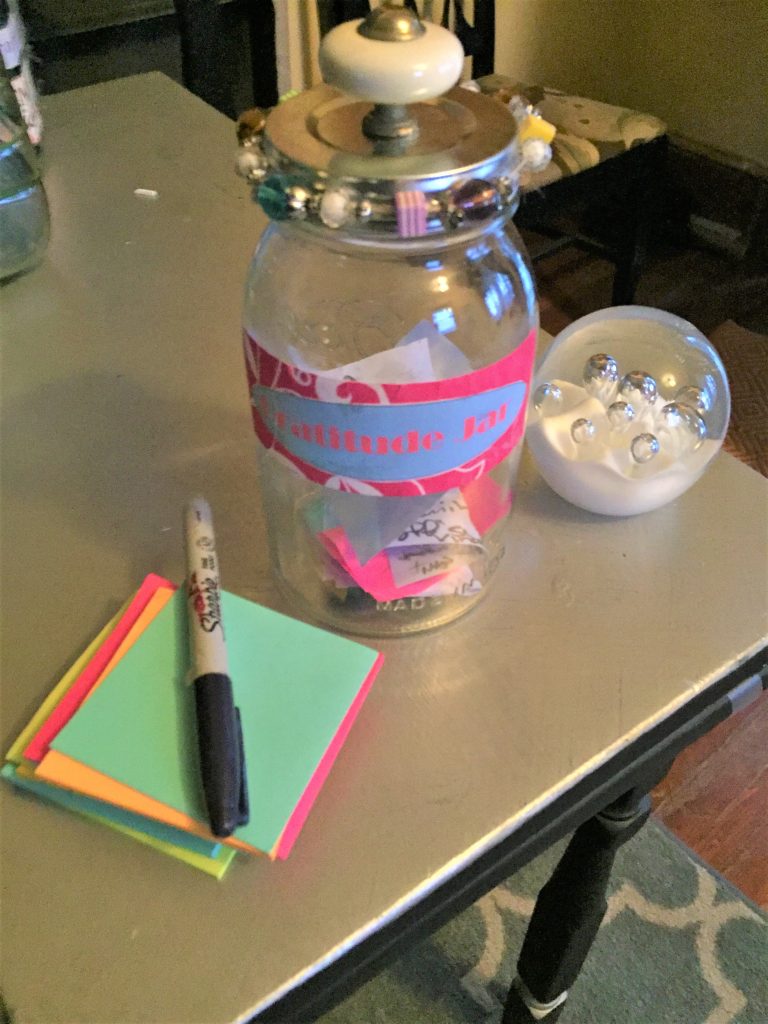
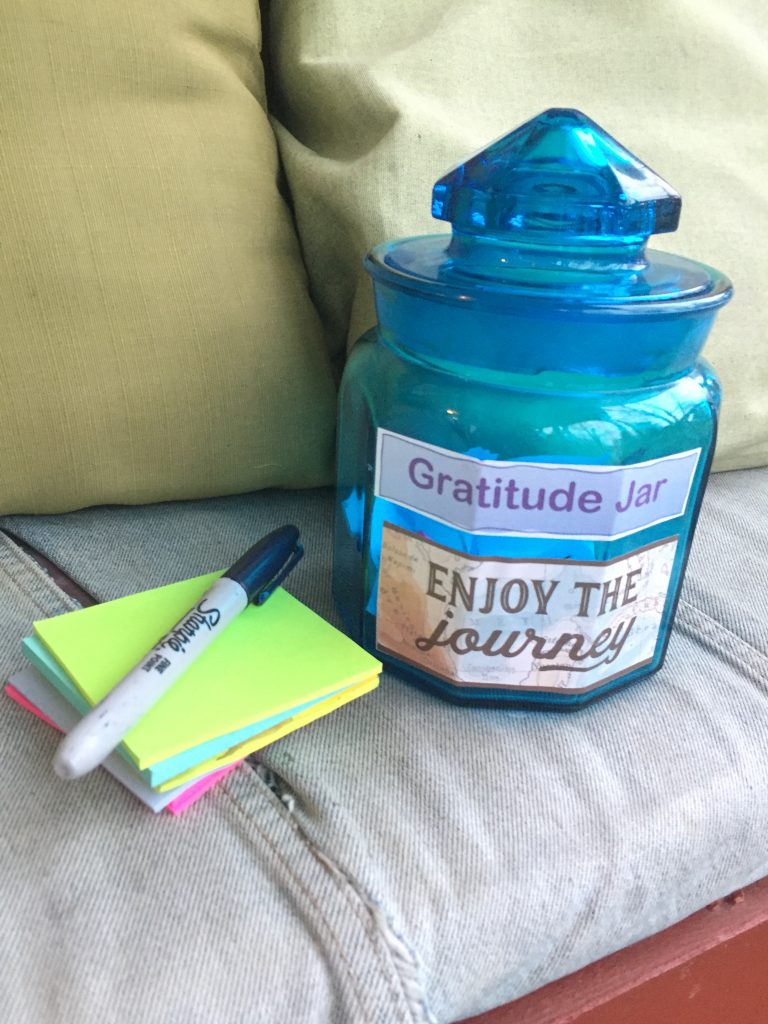
If you have a small tray or even a fun plate, you could position your Gratitude Jar, Sharpie and post-it notes on it together.
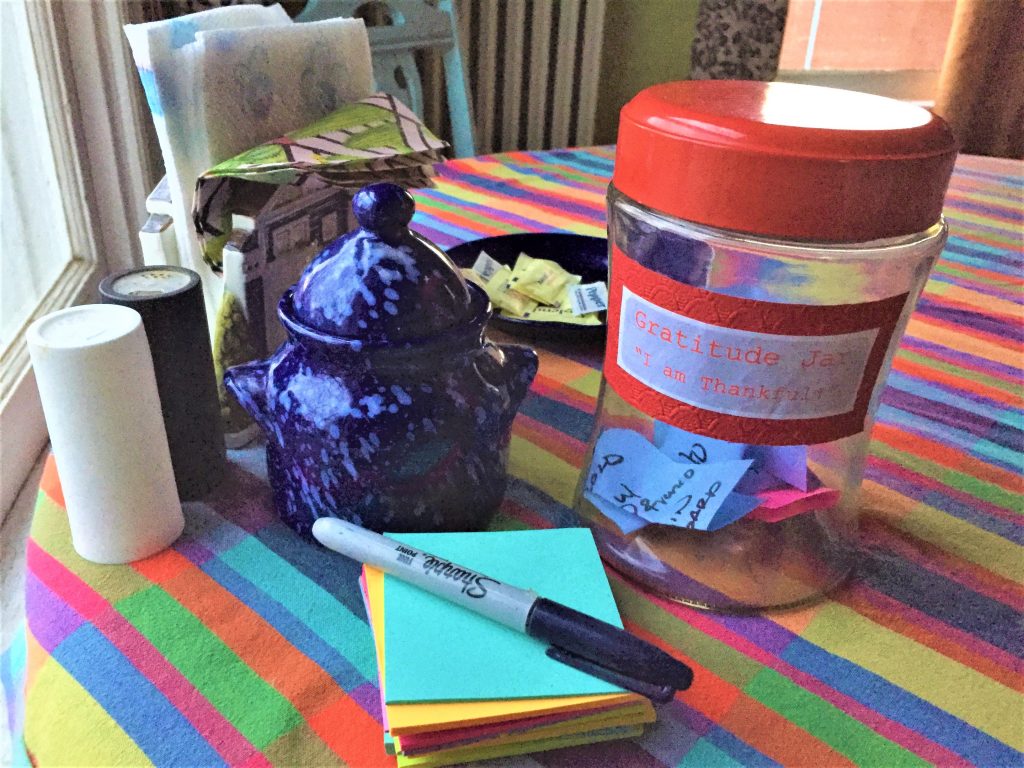
6. Place in a high visibility place and watch it overflow!
To maximize the benefit this easy project, place it in a prominent place where you will walk by it and see it often.
- Clear a special space on your counter-top in your kitchen.
- You could place it on your desk!
- If you have a table in your entry way, put it there so you and others will see it.
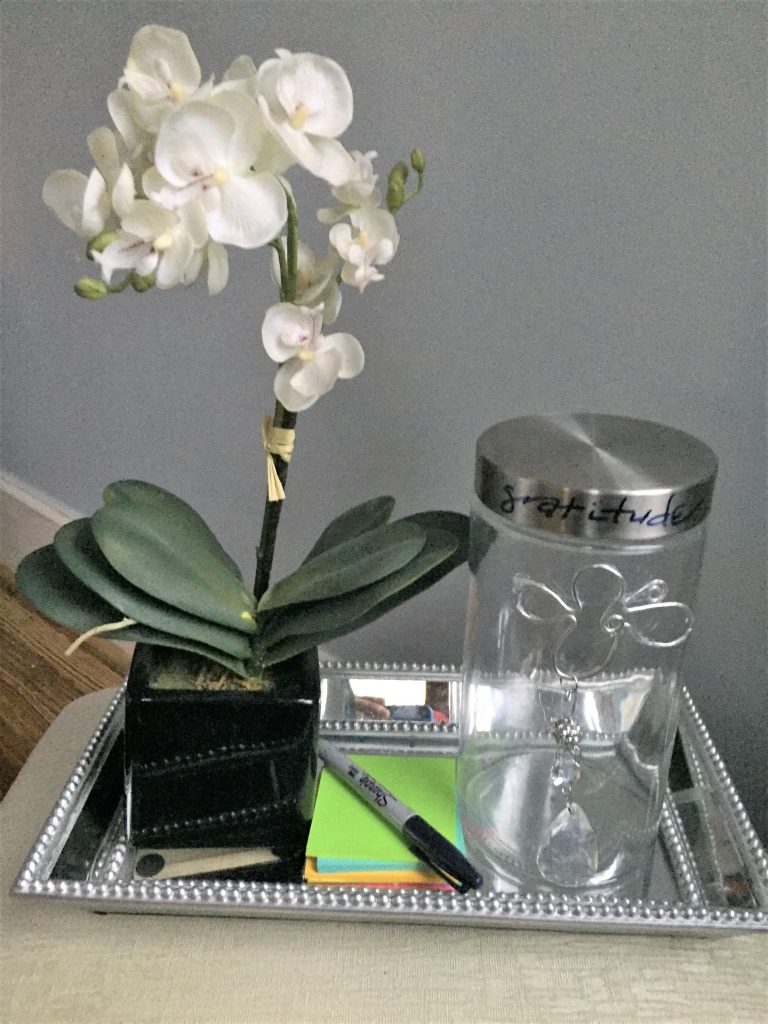
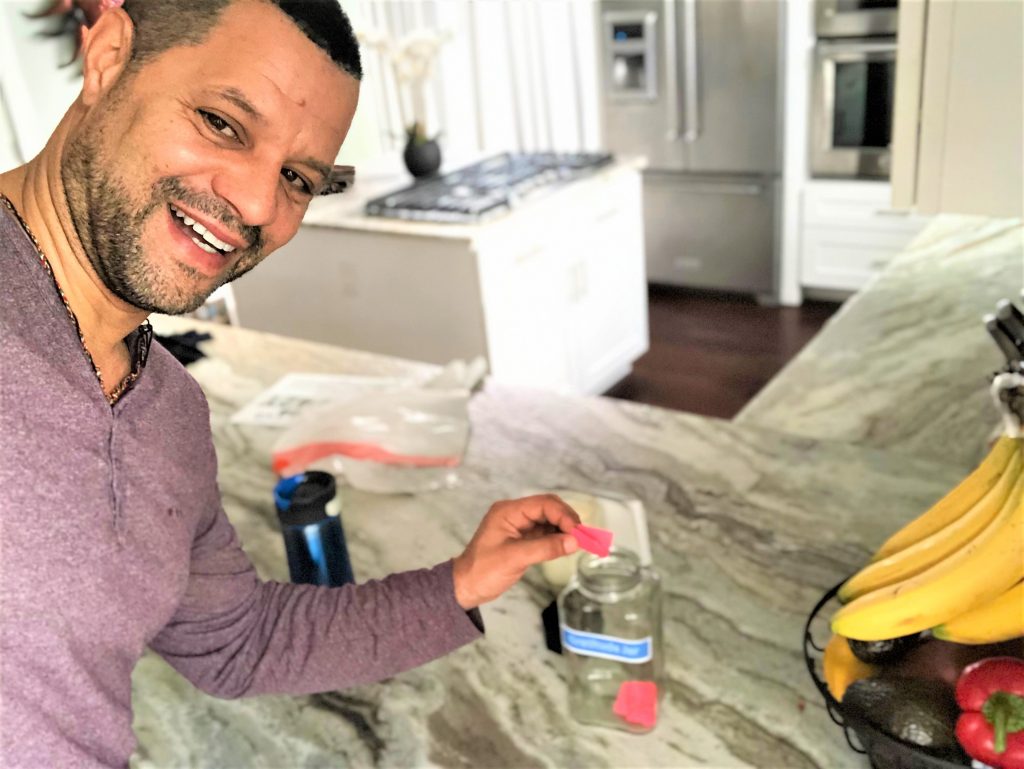
It only takes a few seconds to think about and write something positive on a post-it, fold and place in your jar. I suggest you add the date, too, so when you empty this at the end of the year, read them and reflect on all the amazing things that have happen, you will be so grateful you created this special jar!
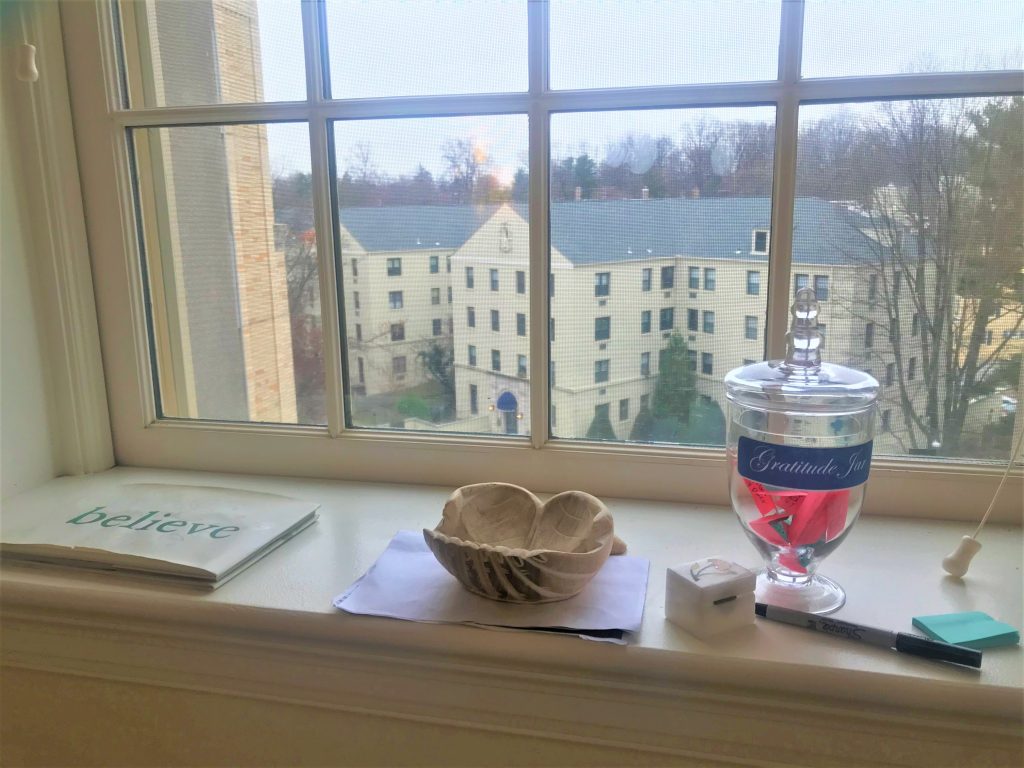
Expert tip: Don’t overthink what you write on a post-it note to add to your collection. Something as simple as a good cup of coffee, a visit from a friend or seeing a sunrise are all perfect for this project!
Also, you don’t have to wait until the end of the year to hit pause and read what you have placed in the jar. Anytime you might be down or frustrated (we are all there from time to time), stop, pull out one of the slips of paper and read it. Or you could decide once a month that you will read what you have added. If you are doing this with your family, following a dinner or event, you can together share what has been written. Once you get into the groove of writing your blessings, you will be amazed at how they grow and multiple!
Here’s to a great 2020 with many wonderful things to celebrate and many ways to find your good!


