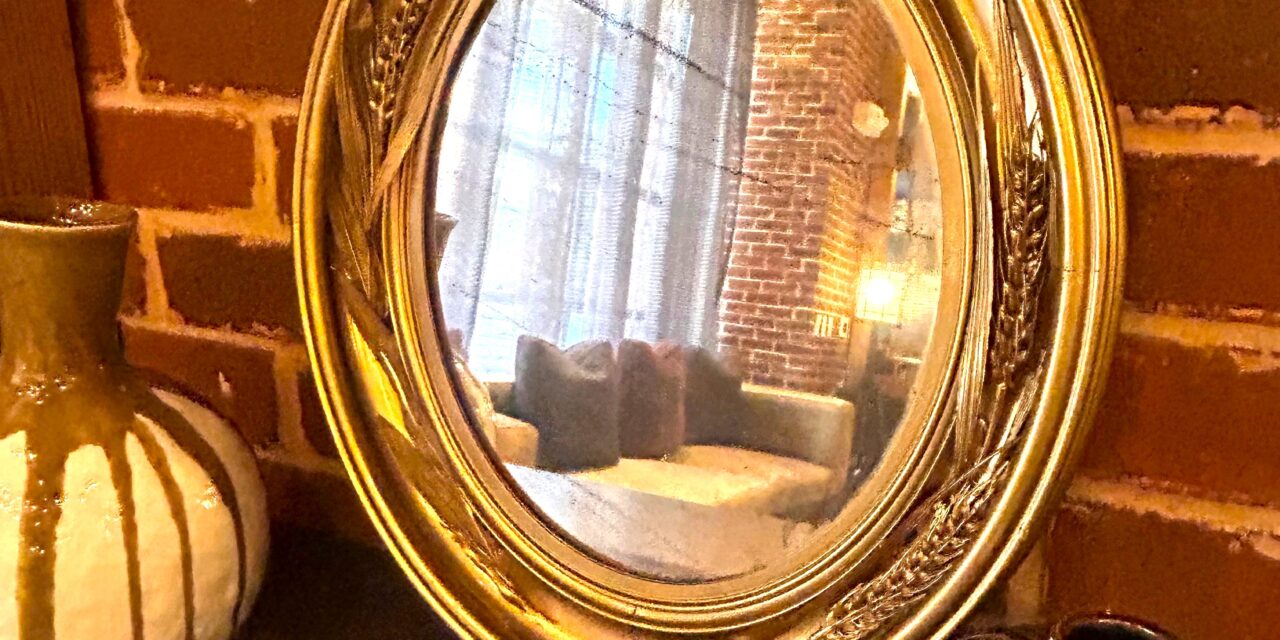
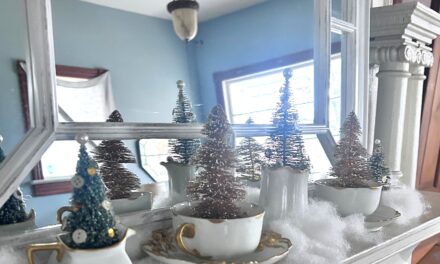
An antique mirror, found for a few dollars at Goodwill, gets a radiant re-do with silk stalks of wheat and shiny gold paint. Given this is the time of year we harvest, it seemed fitting to give an oval-shaped mirror a new season with a simple and stunning upcycle. This dated and dark mirror from now literally reflects the familiar song chorus, “amber waves of grain.”
Here’s how:
Step 1: Shopping at Goodwill always yields a good harvest
Goodwill’s inventory of items for sale is always changing, so there is certainly a plethora of interesting and eye-catching things there that you will want to harvest to take home. Your wallet will still have plenty of abundance leftover after your time at Goodwill because prices are very budget-friendly.
If you are looking for pieces to get your home ready for the upcoming holiday seasons, you are encouraged to begin looking for your good at Goodwill. Skip the big box store and put your online shopping on hold and head over to Goodwill today for great deals on everything for your home and office.
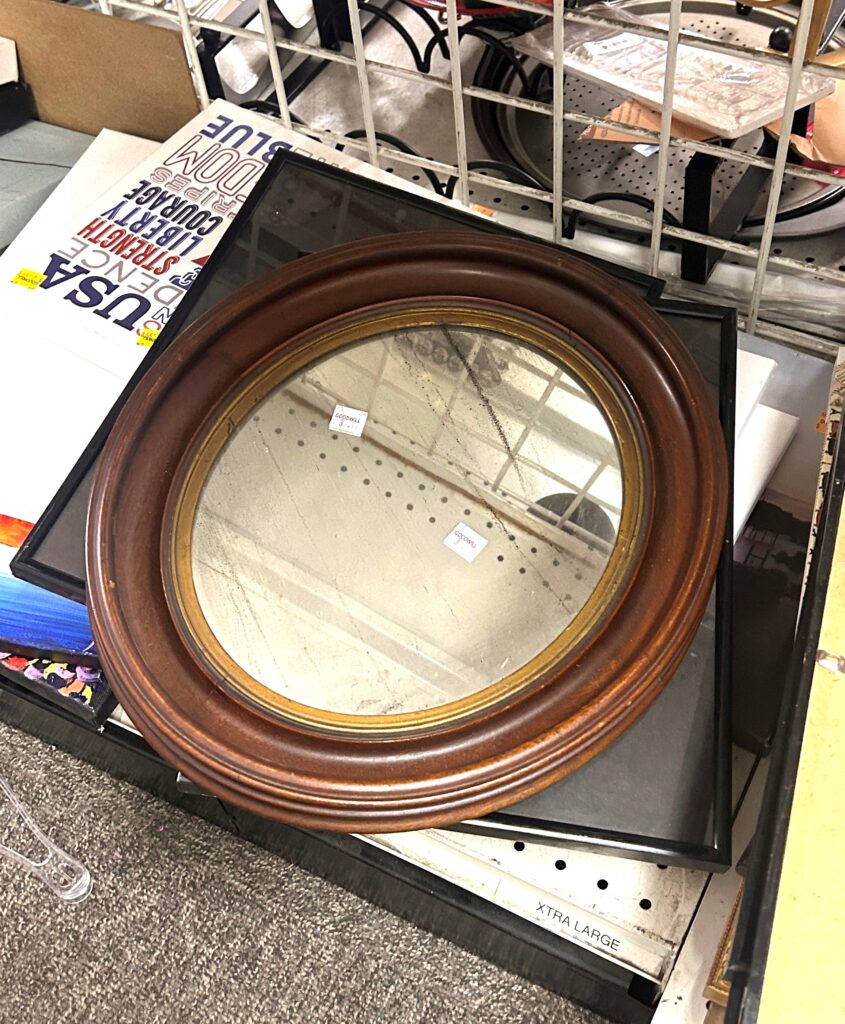
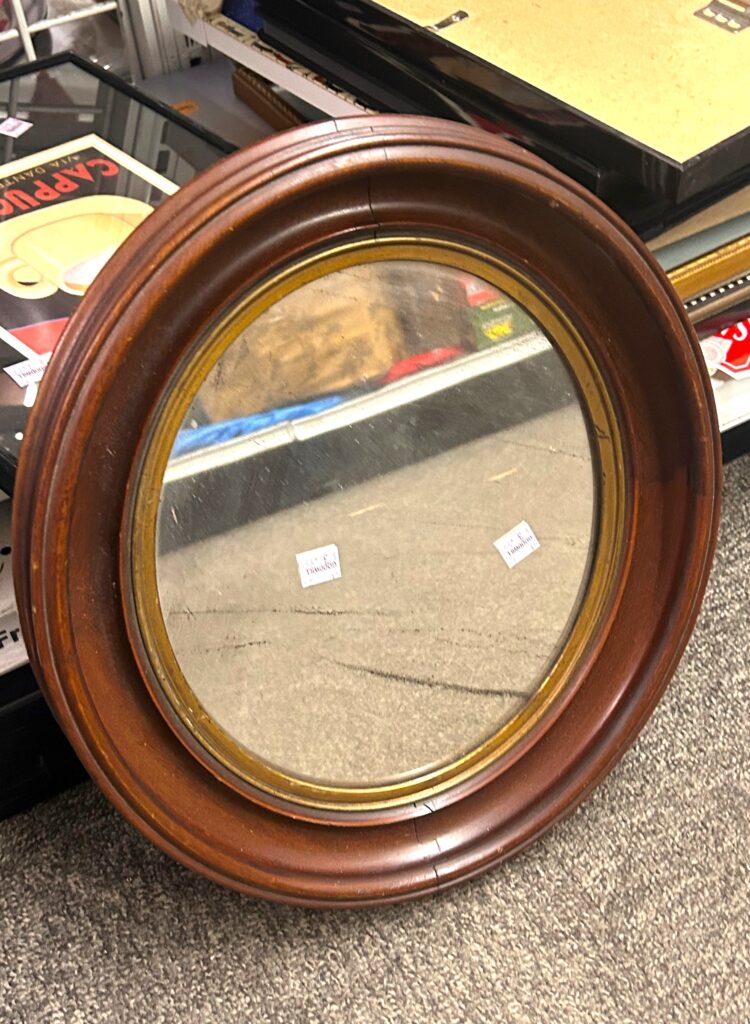
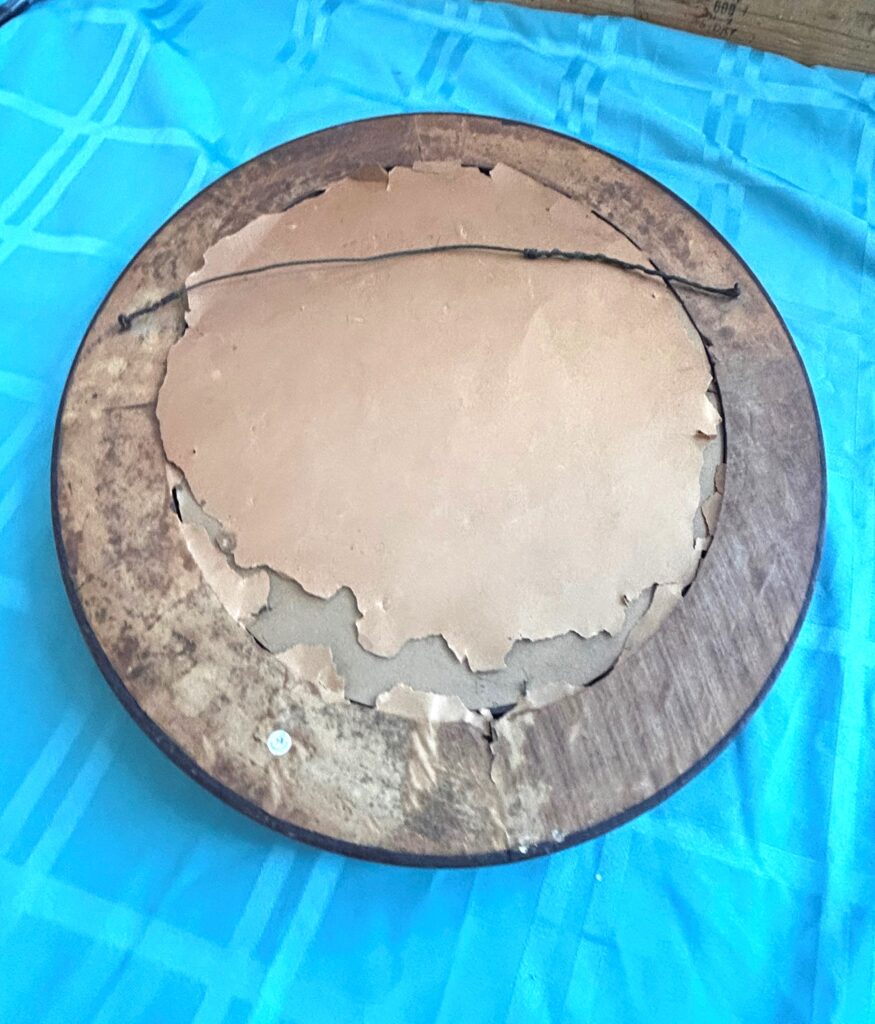
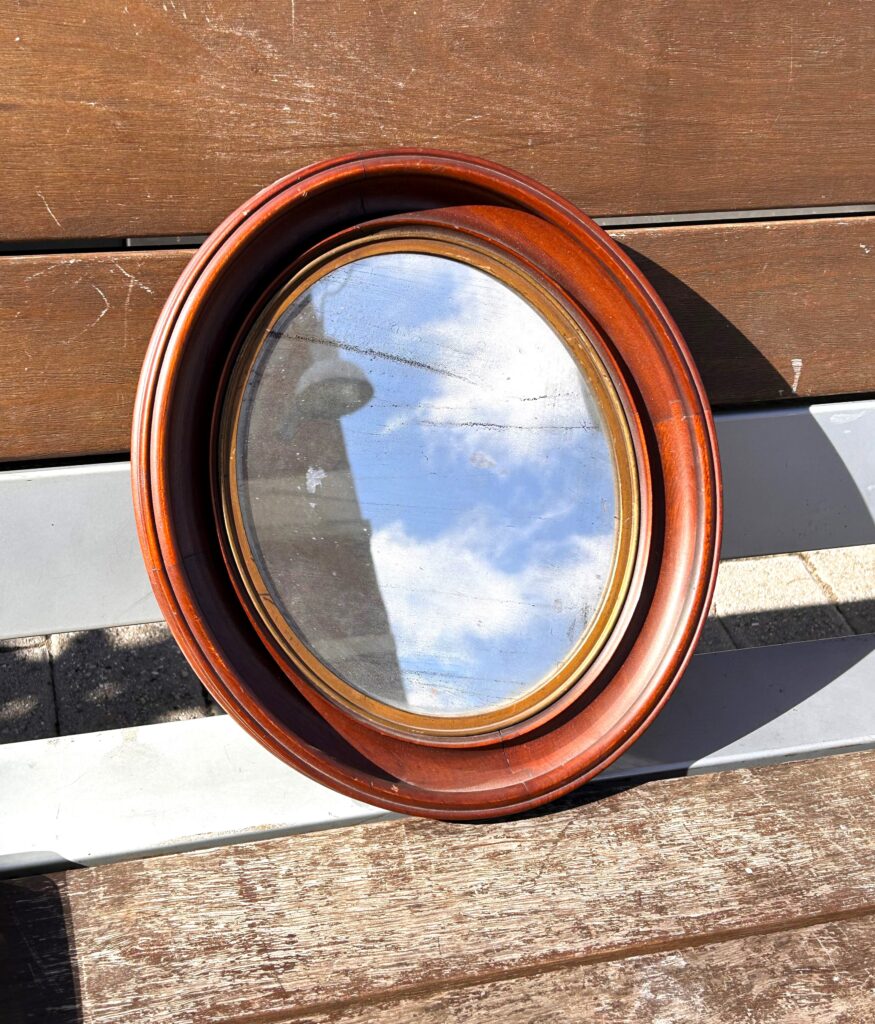
This oval-shaped mirror is truly from a time gone by with its solid, carved wooden and aged reflective glass. Its construction is super sturdy, too, which will last many more years to come. When I saw it, I loved its charming look at feel and wanted to give it a special makeover.
What unique items have you gathered during your most recent trip to Goodwill?
Step 2: Prepare your mirror for its new look
Use a damp rag to remove any dirt and dust from your mirror’s frame. You want to ensure a clean surface for your paint to “attach” to easily. This mirror looked like it had been years since its last good wipe-down and already looked remarkable once the thick layer of dust gone.
Based on your mirror’s construction, you might be able to easily remove the mirror glass from its frame. If that is the case, carefully set the glass aside and out of the way from any little helpers—both two and four-legged ones.
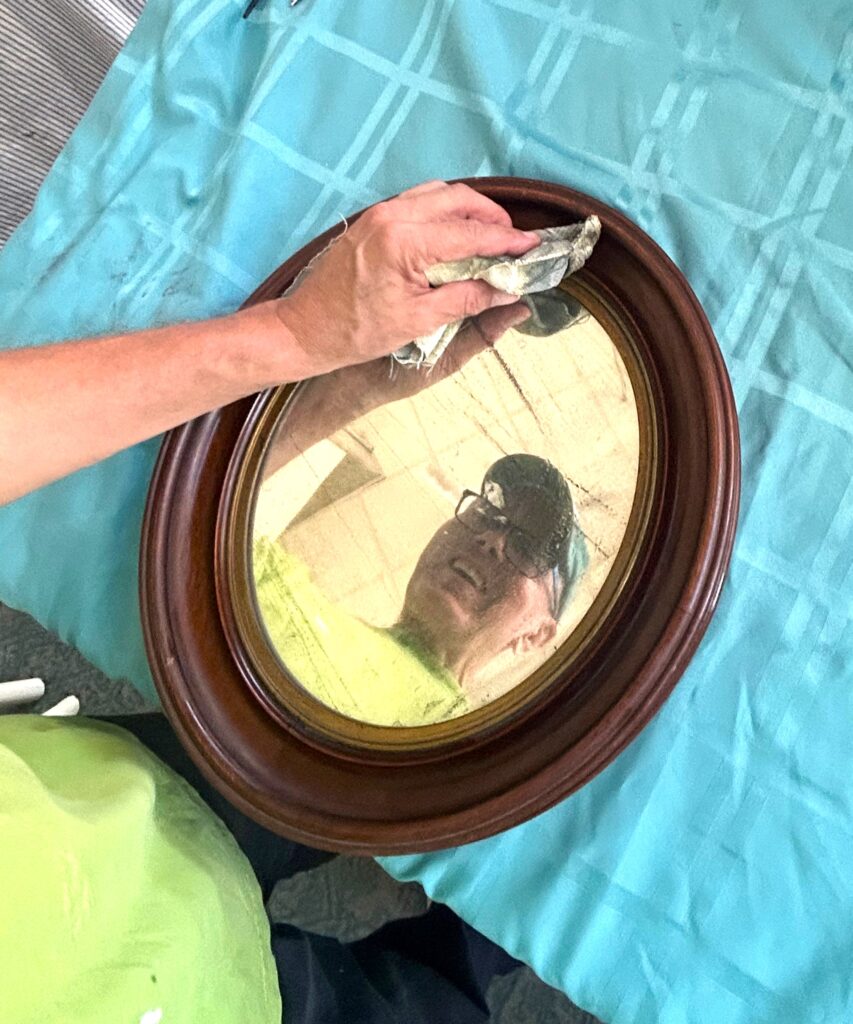
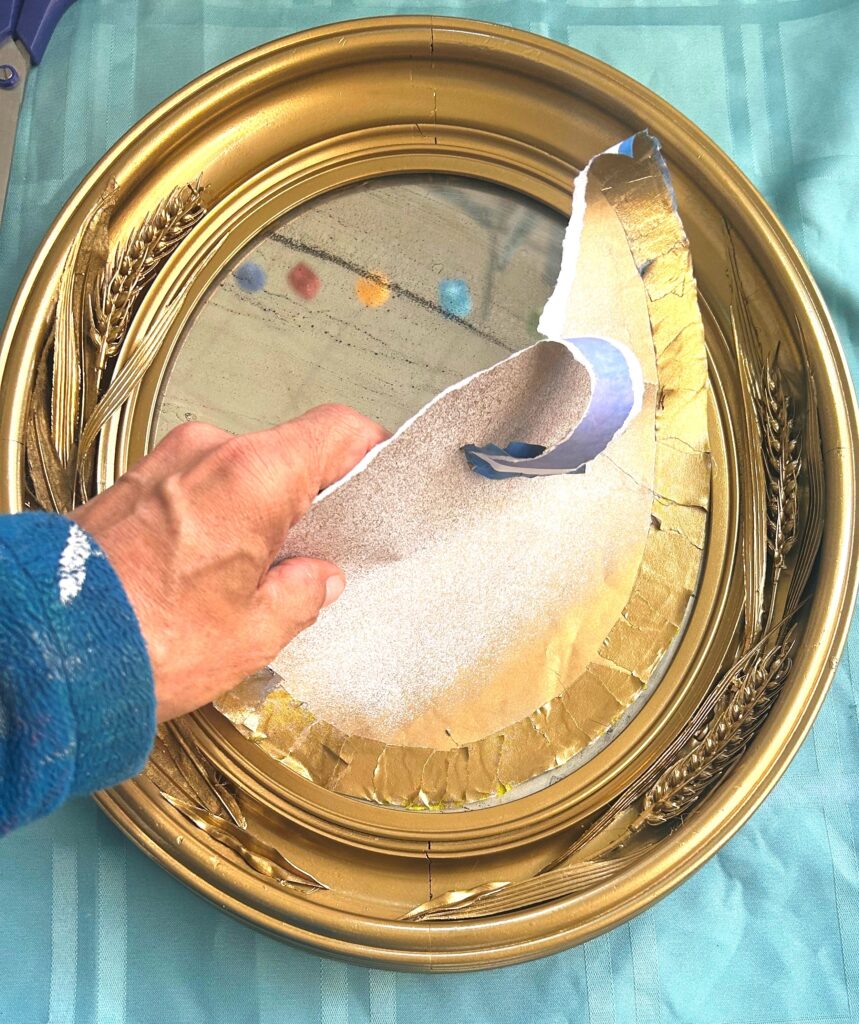
The mirror featured here was held together with dozens of tiny nails so the easy solution was to keep it all together. Scrap paper and painter’s tape are the way to go to ensure your mirror’s glass stays paint-free as you transform it.
Step 3: Glue on the grains
To give this mirror some visual interest and a timeless, inviting look, artificial wheat stalks were glued in place with a hot glue gun. You can easily transform a mirror or picture frame using silk floral, too, because they will hold up well; steer clear from dried flowers and stalks as they will become brittle over time.
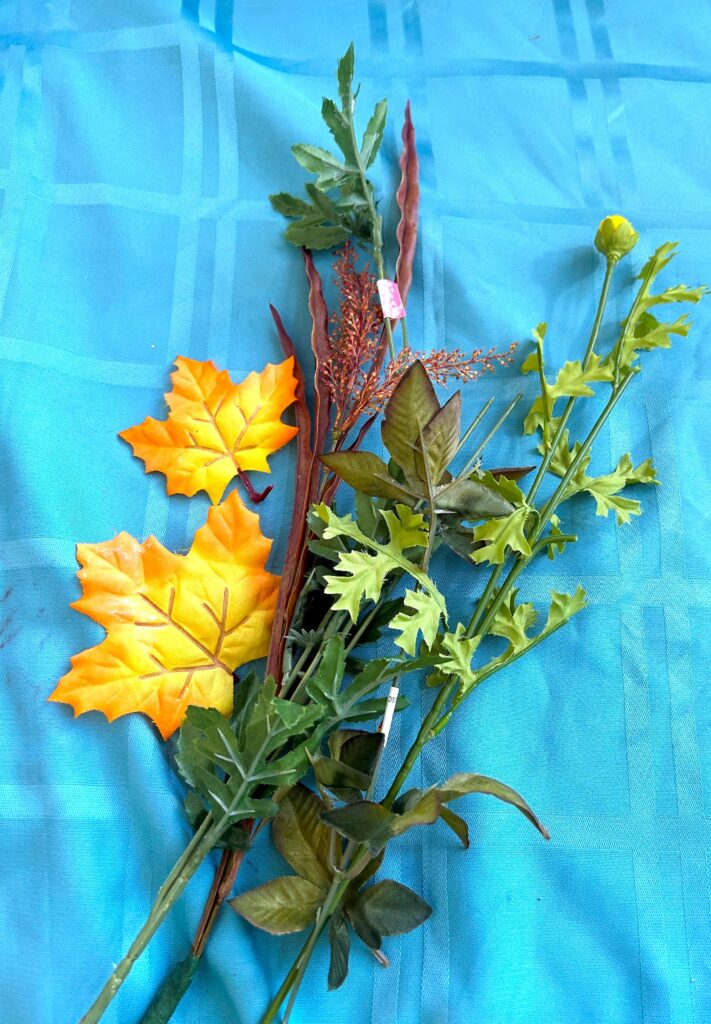

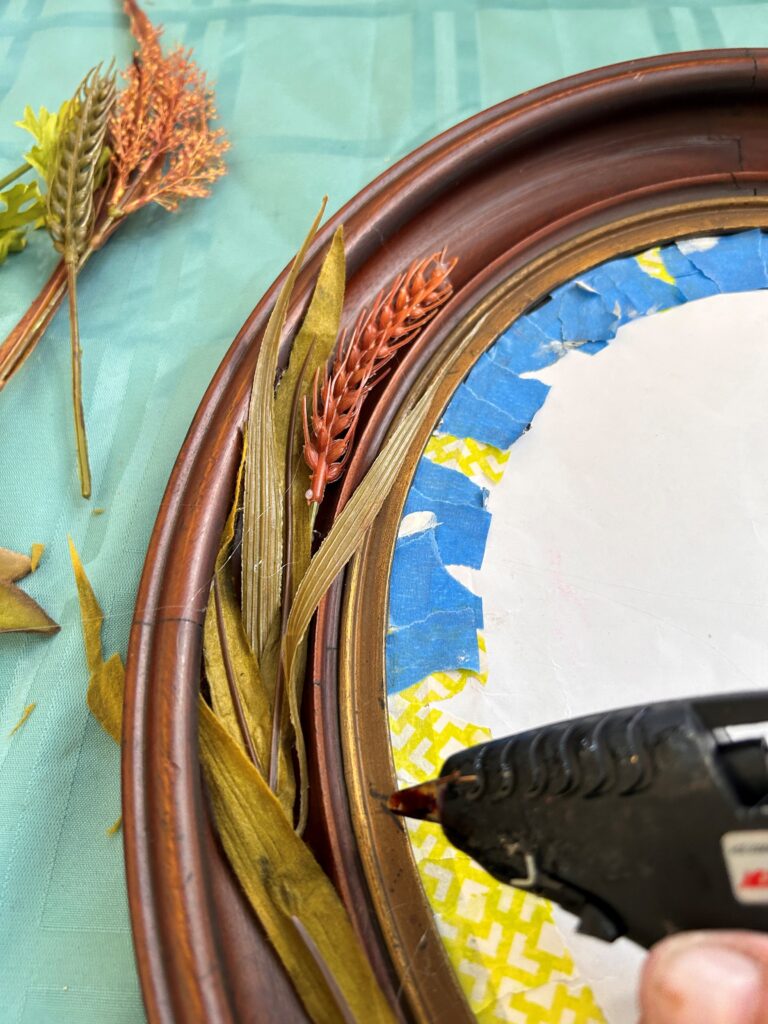
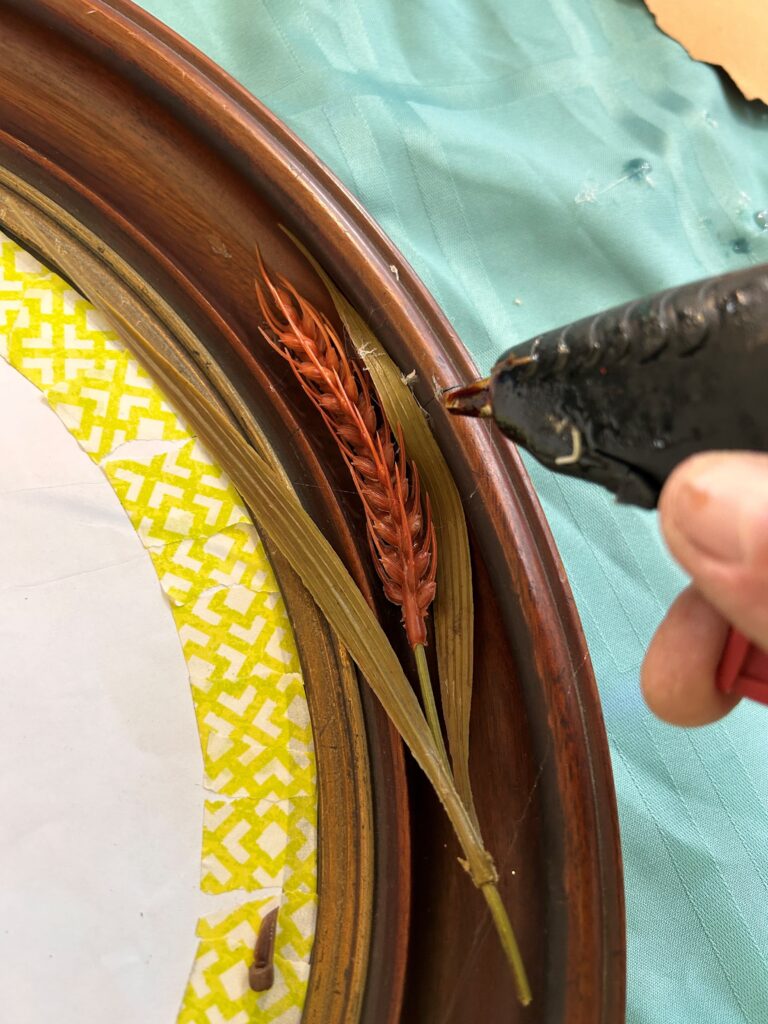
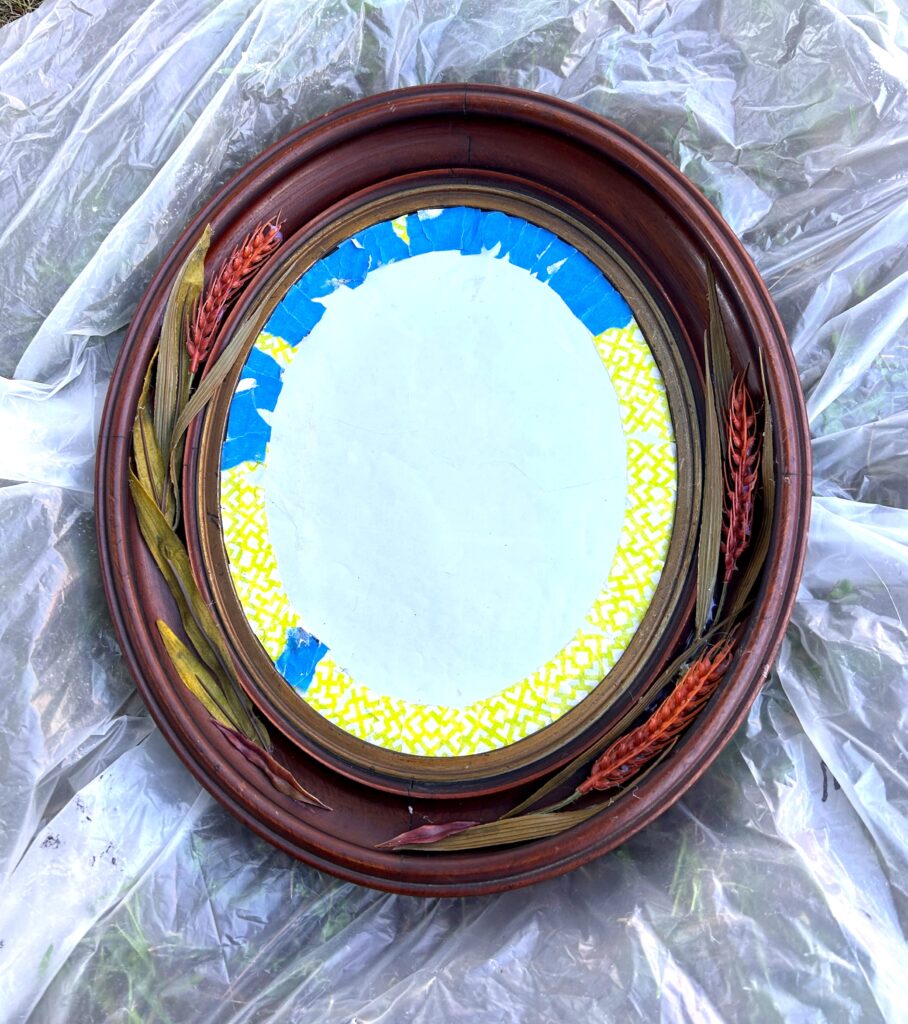
Arrange your wheat stalks around your mirror in a way that looks balanced and thoughtful. Try them in several places to see how they feel. Use your glue gun to carefully apply glue on their backsides then secure them in place. Use scissors to trim leaves then glue them over the end of your stalk’s bottom end for a finished look.


Expert Tip:
You can pick up silk floral arrangements from Goodwill and take them apart for a project like this—any many other fun DIY ones.
Going for an Autumnal look, I selected a bunch of leaves from my silk flower stash. After arranging them in a variety of ways, a less fussy, cleaner look was ideal. Therefore, only wheat stalks and wheat leaves were used for a simpler more elegant look.
Consider this advice to keep your mirror’s design simple and sweet, too.
Step 4: Strike gold with shimmery spray paint
Spray paint comes in so many wonderful colors, so where does one begin to choose? Going for a timeless, yet Fall look, that helped to narrow down things at my end. What colors fall (ha, an Autum pun!) into this category? Certainly, yellows, oranges, golds, browns, dark greens and off-white tones are good options. Easy to leave (or leaf?!) off the list were bold hues like bright blues, hot pinks and crisp whites. Since the “amber waves” came to mind, I decided on gold—and happened to have a can of it on hand! Feeling grateful for sure!
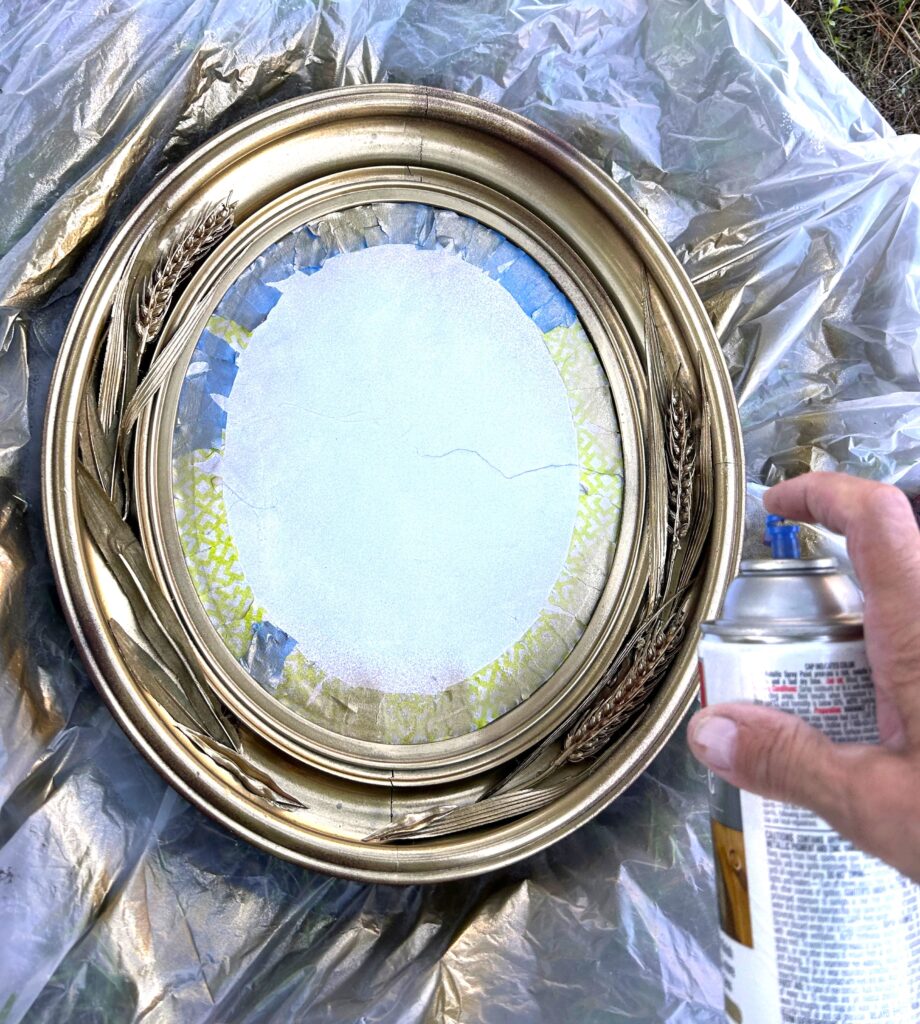

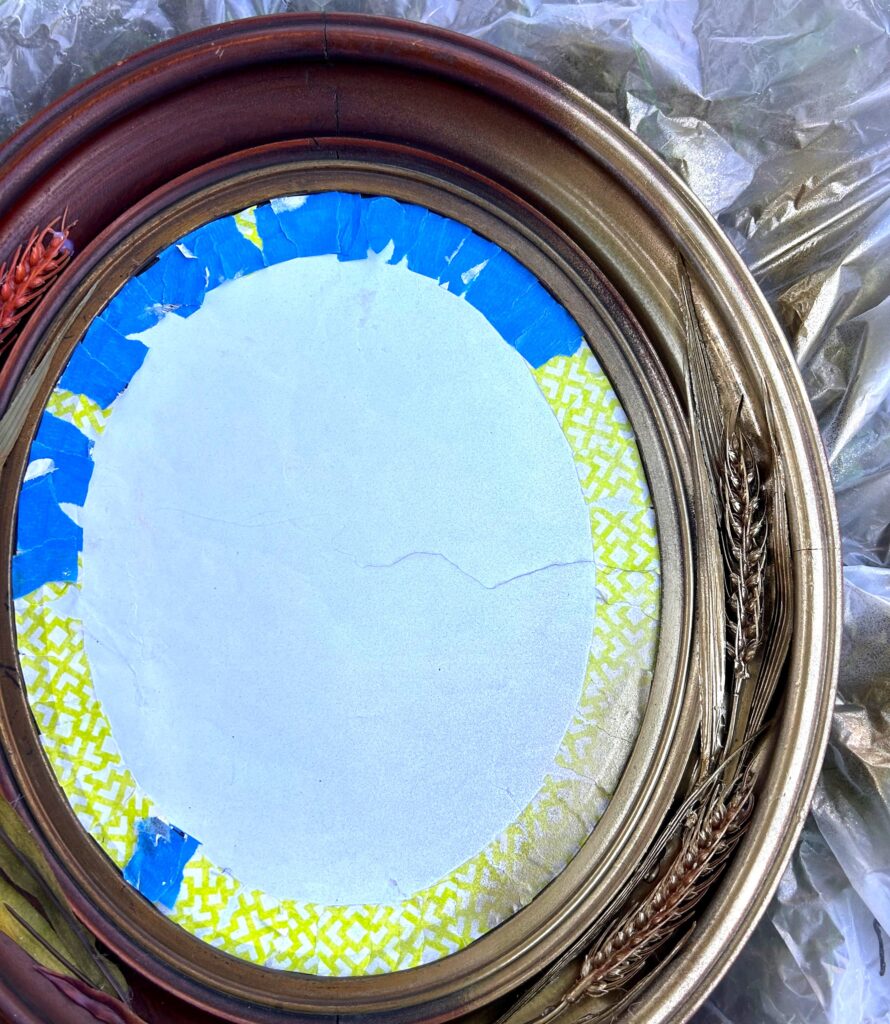
Place your mirror on a drop cloth outside or in a well-ventilated space. Apply several very light layers to your wheat-covered frame ensuring you come at it from several angles to ensure solid covered. Allow your painted frame to dry very well before touching to avoid fingerprints and smudges.
Step 5: Place it to reflect your DIY style
A small mirror painted gold like this one will add brightness to any space and place. Hang it in dark corner to reflect light. Set it on a shelf to give it some depth and visual interest. Place it in the center of your dining room, add a candle stick with a couple of small gourds around it to create a lovely Thanksgiving vignette.
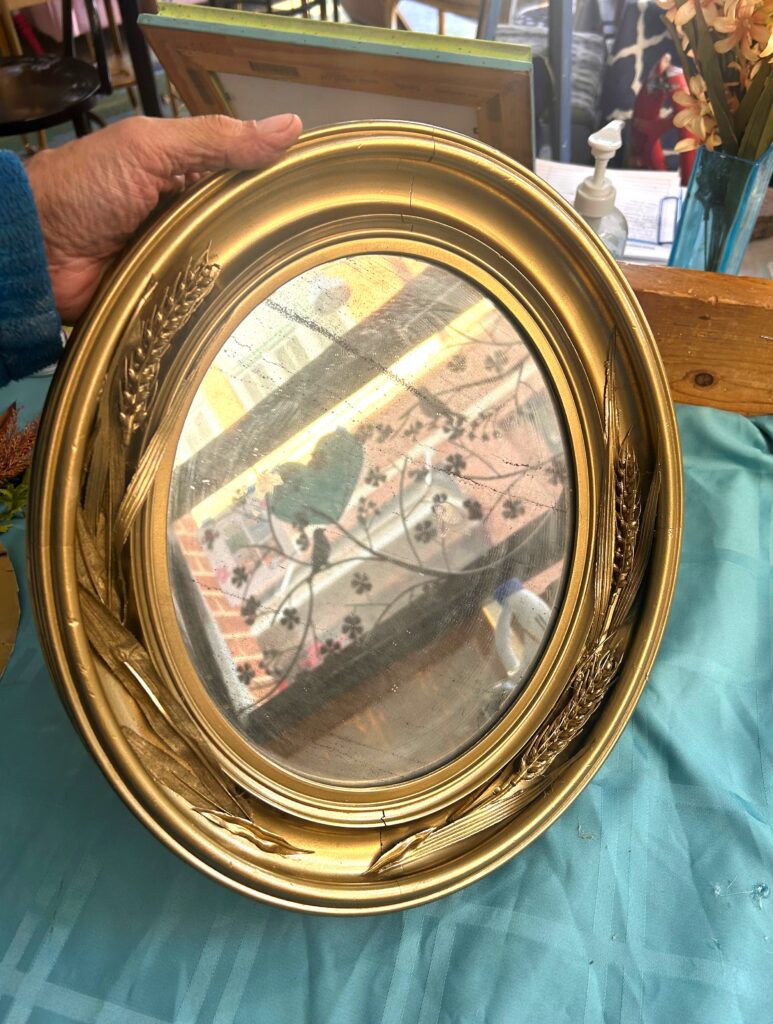
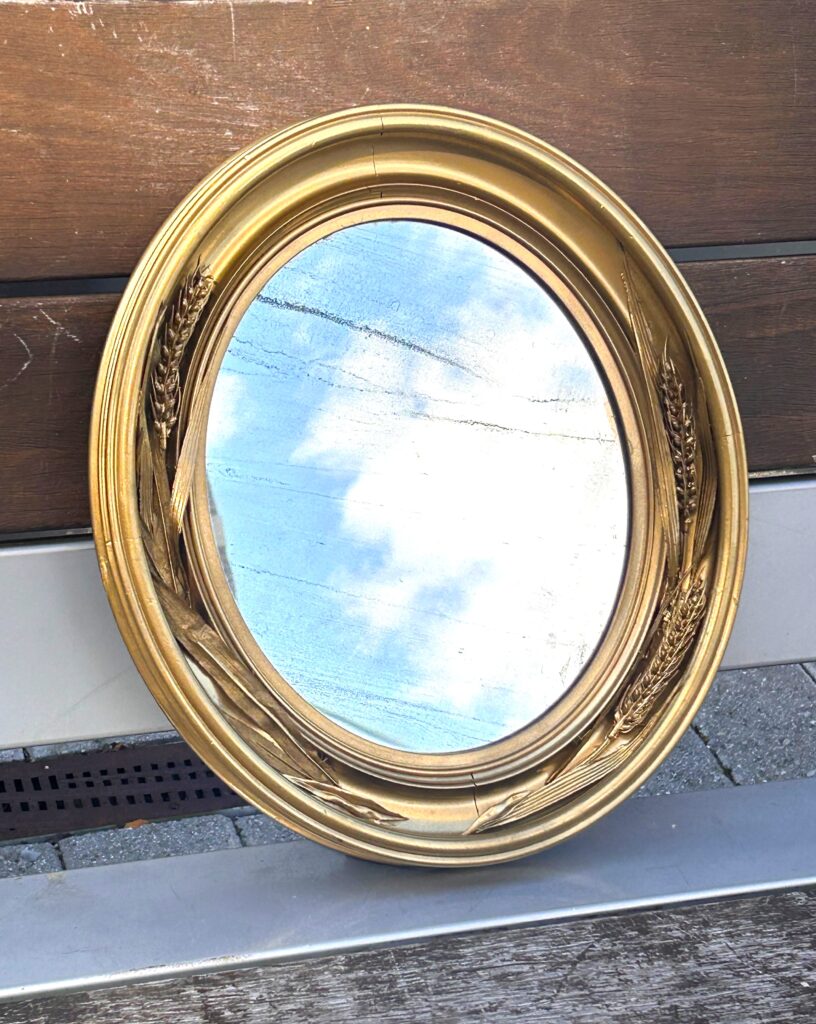
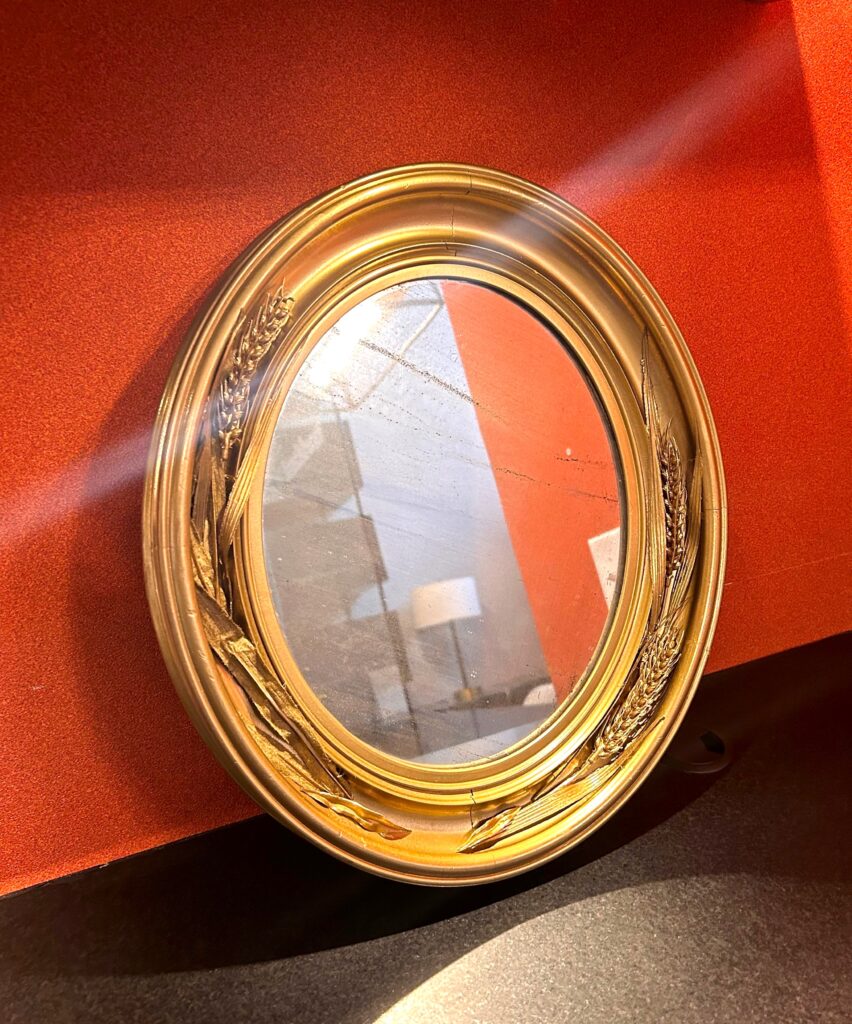
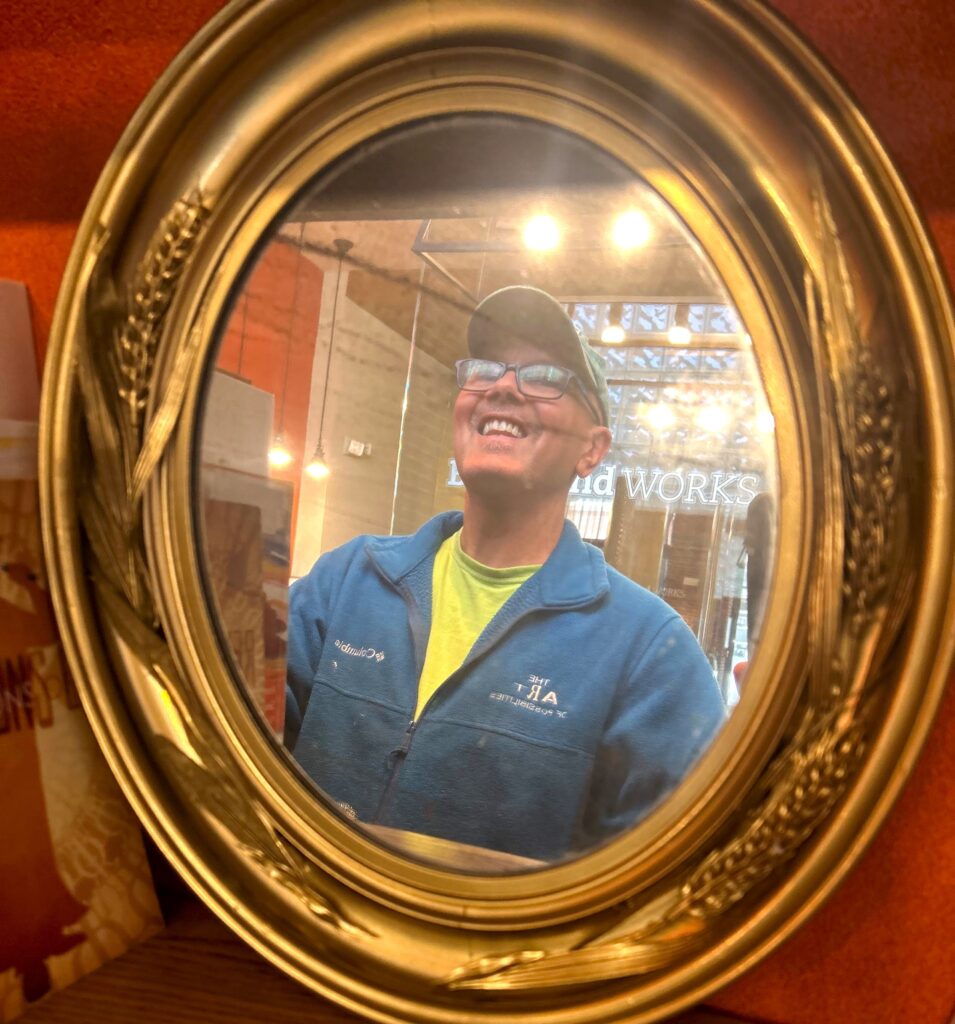
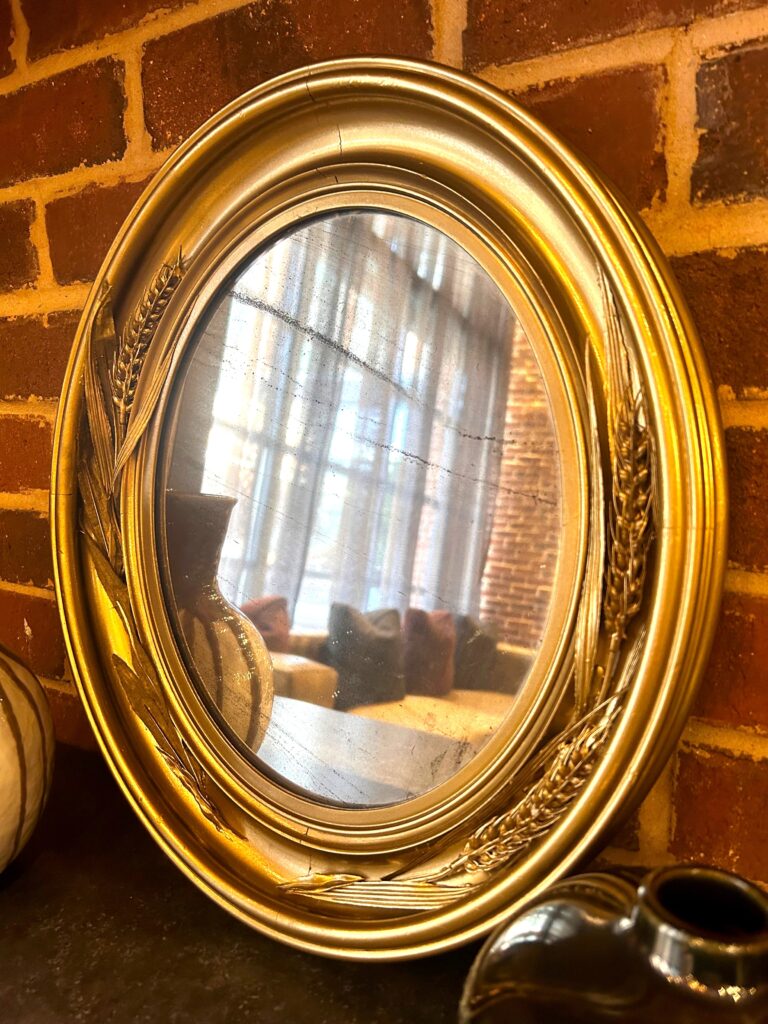
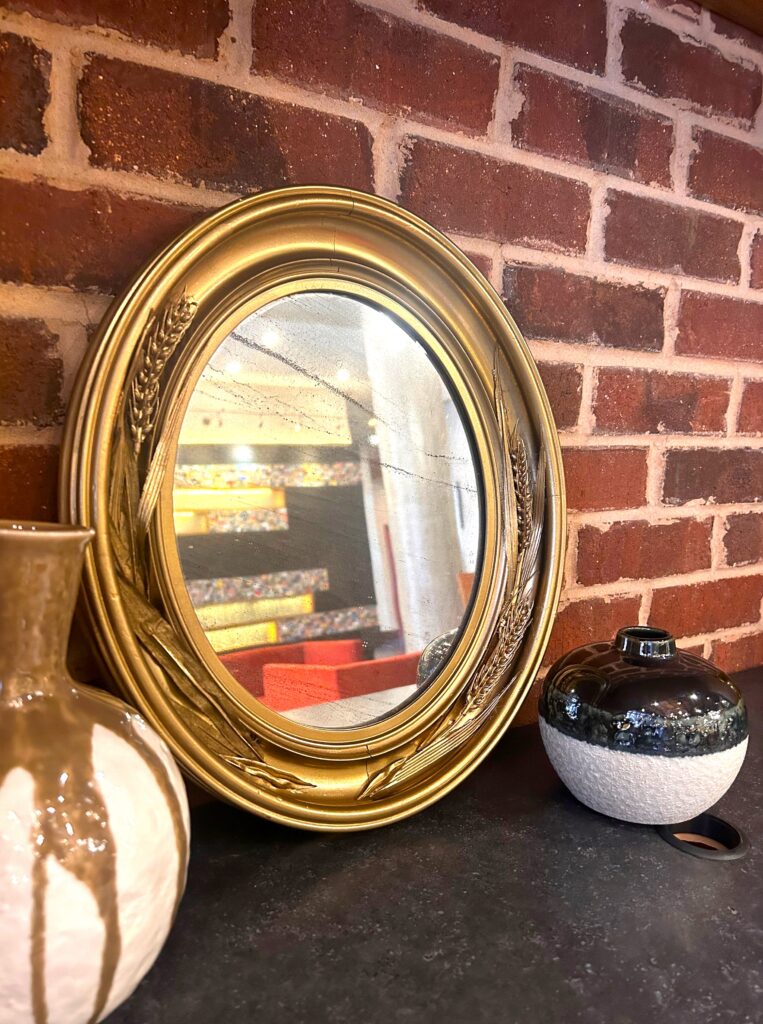
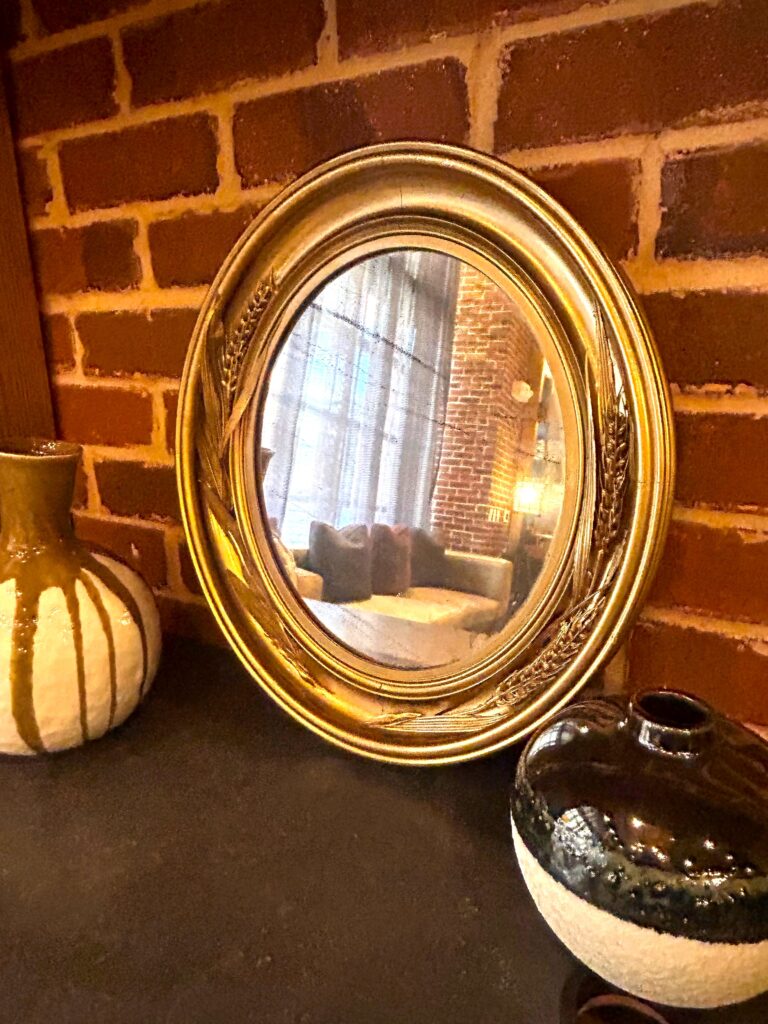
This thrifted antique mirror, with its new shimmery style, will become an heirloom to be treasured for sure!
Similar Reads:
- DIY: How to Transform Real Leaves into Art
- DIY: How to Upcycle a Mirror Inspired by Mid-Century Modern
- How to Upcycle Thrifted Mirrors to Reflect the Spring

Tim Kime
Artist, Motivational Speaker, Life Coach


