Ability level: Easy
Age Level: Ideal for those ages 8 and older; some care is needed when using the glue gun and scissors
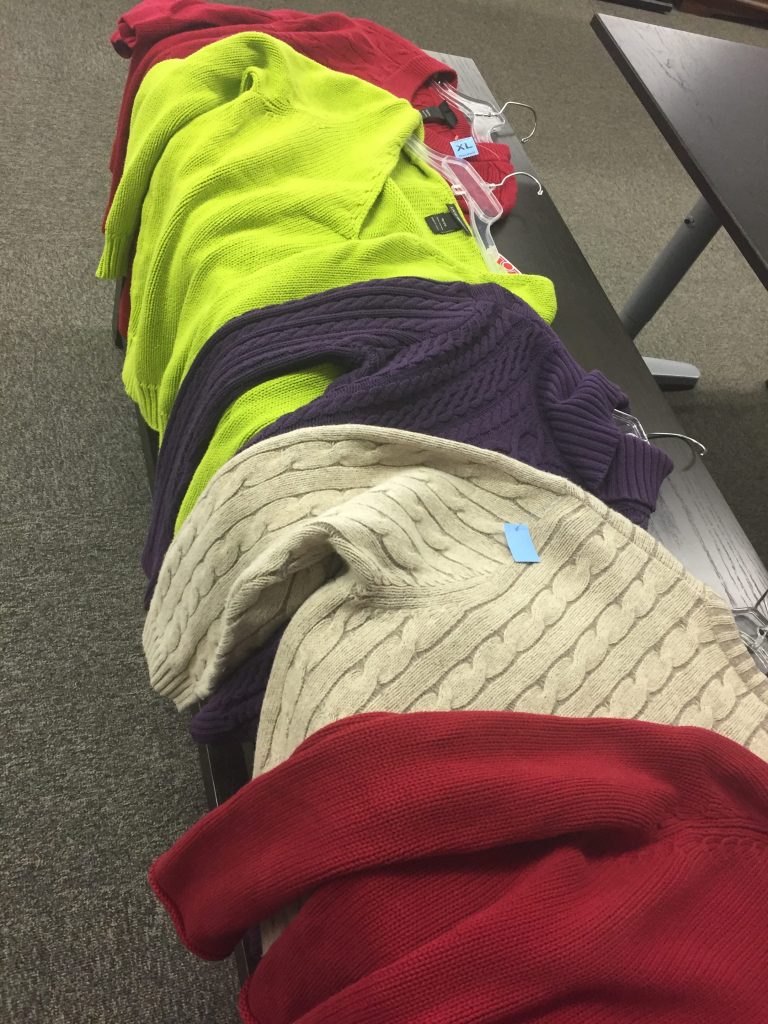
- Sweaters
- Foam rings or grapevine wreath
- Glue gun
- Glue sticks (have plenty on hand to use)
- Scissors
- Items to accessorize (ribbons, pine cones, ornaments, buttons, etc.)
- $6 per sweater
- $1 to $3 for grapevine wreath
- $8 for foam wreath form
- $3 for glue sticks
- $2 for embellishments (or no cost if you use what you already have)
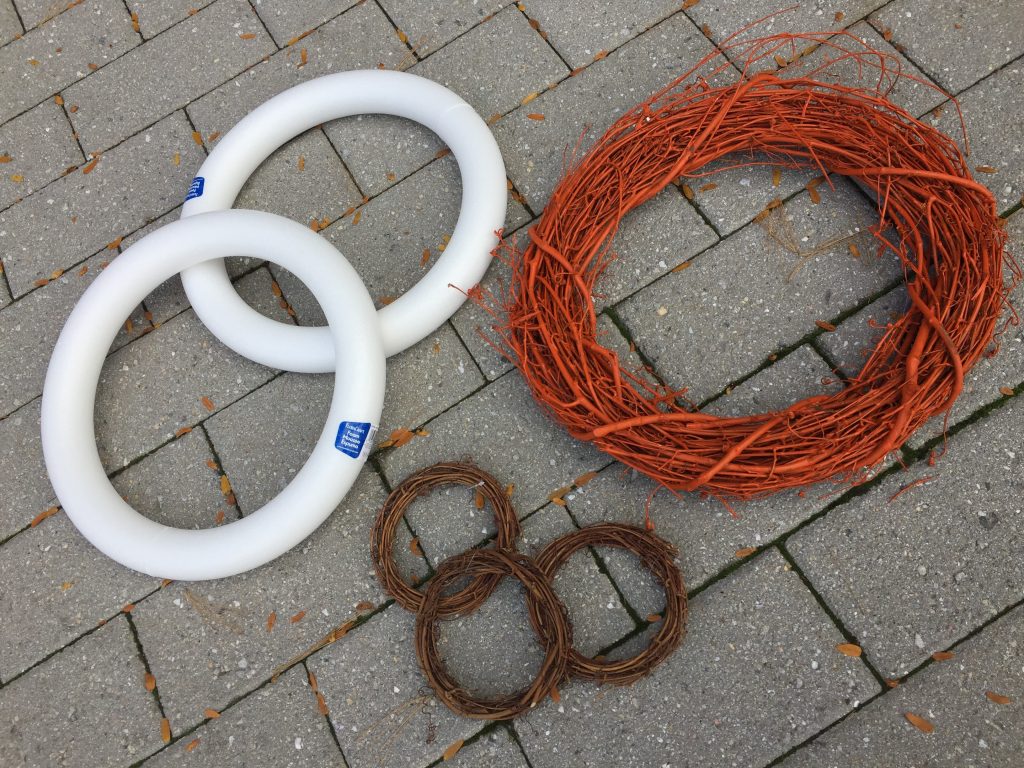
Step 2: Getting Your Foundation: Craft Store or Reuse
Most arts and crafts supply stores have foam wreath forms in various sizes. Also, take advantage of post-Halloween or post-Thanksgiving items marked down dramatically. I found several grapevine wreaths at the store that were marked down because they were decorated for the fall. Given that they will be covered by sweater pieces, the color doesn’t matter, so check out the sale aisle for potential savings. Also, look for your own holiday decorations to see if you might have an old wreath that is aching for a new transformation.

Step 3: Cutting the Sweater: You’ve Got Options
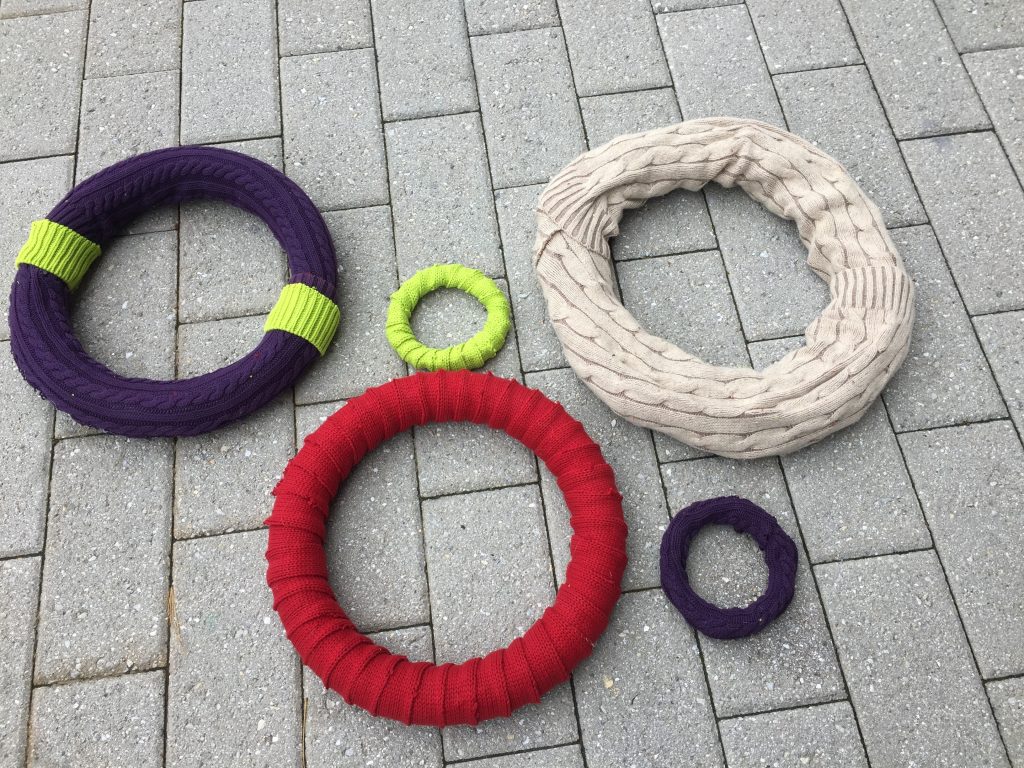
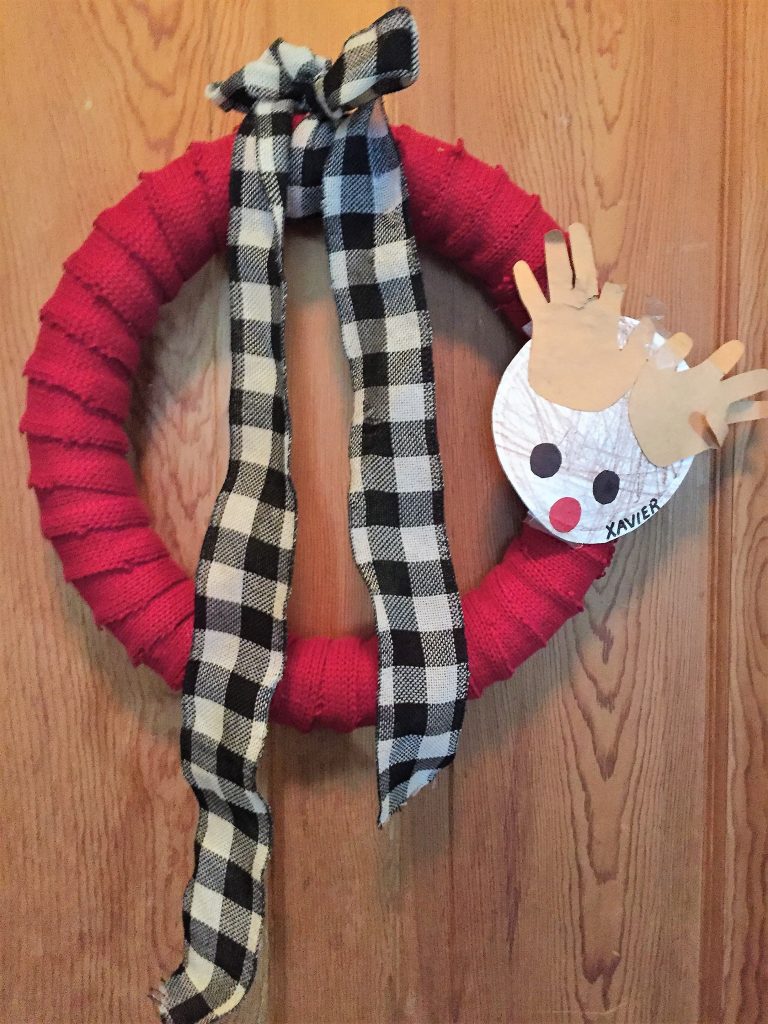
There are several ways you may cut your sweater for this project. Option A: Cut long strips from the body of the sweater (see pics of the red wreath) to be used to wrap around the form. Option B: Remove the sleeves to cover the form.
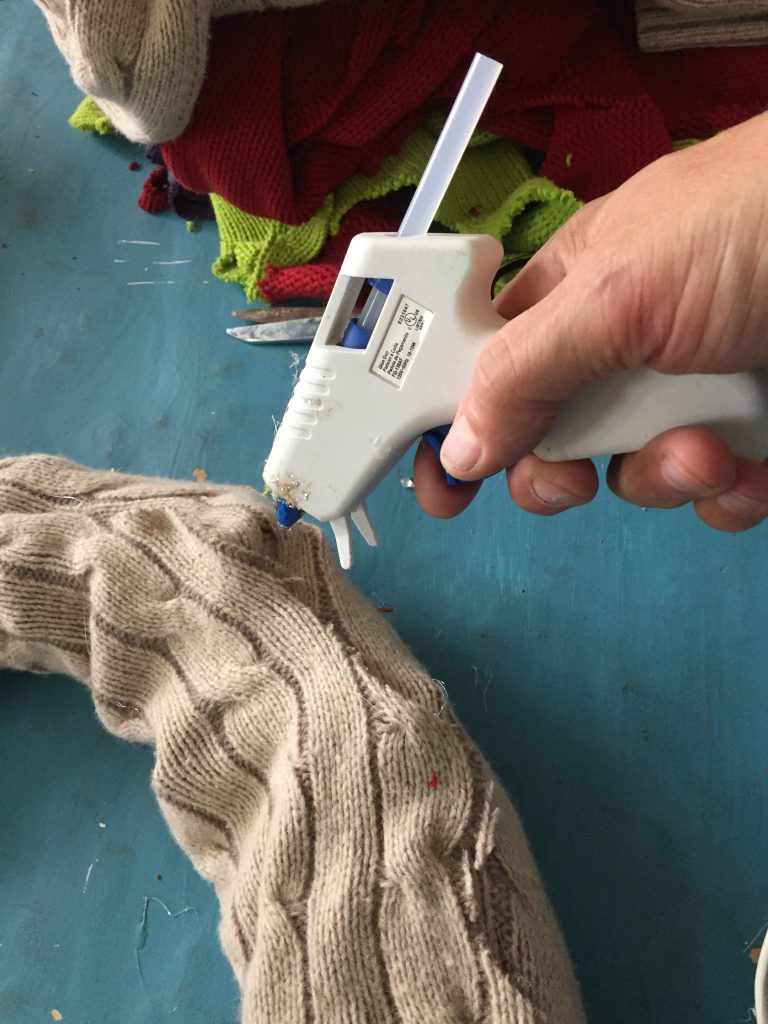
Step 4: Glue, Glue, and More Glue
If you going to go with Option A, then take a sweater strip and use your glue gun to attach it to the back side of the form (or grapevine wreath). Keep wrapping the strip around the form and be sure it ends on the back side; you may need to trim it to do so. This will allow the front of the wreath to have a cohesive look. Glue the strip along the way. Take your next sweater strip and do the same, using your glue gun to attach it and ensure you always end on the back side.
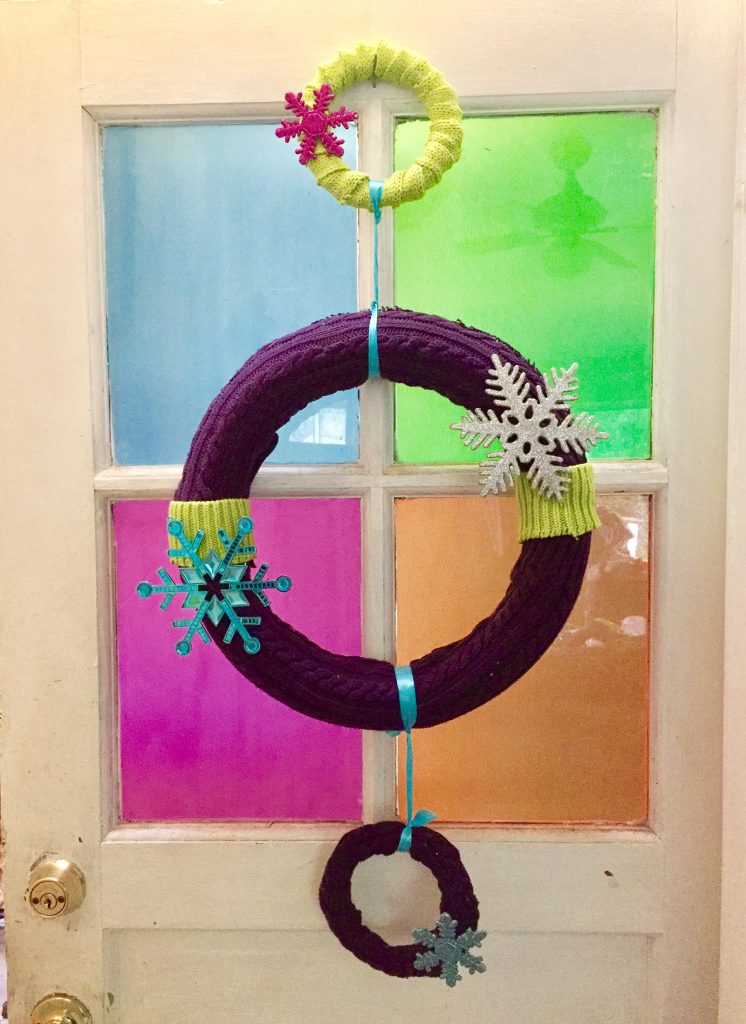
With Option B, use your scissors to remove the sleeves from the sweater, then cut the sleeve open along the seam. Place the opened-up sleeve on top of your wreath form adjusting it along the way. For the larger wreath, you will need both sleeves. Use your glue gun to adhere the outer edge to the back side of the form. After adhering the entire outer edge, then do the same with along the inner edge. You will have extra sweater material that you will need to trim off as you go so the wreath will lay flatly and nicely when displayed.

Step 5: Time to Accessorize!
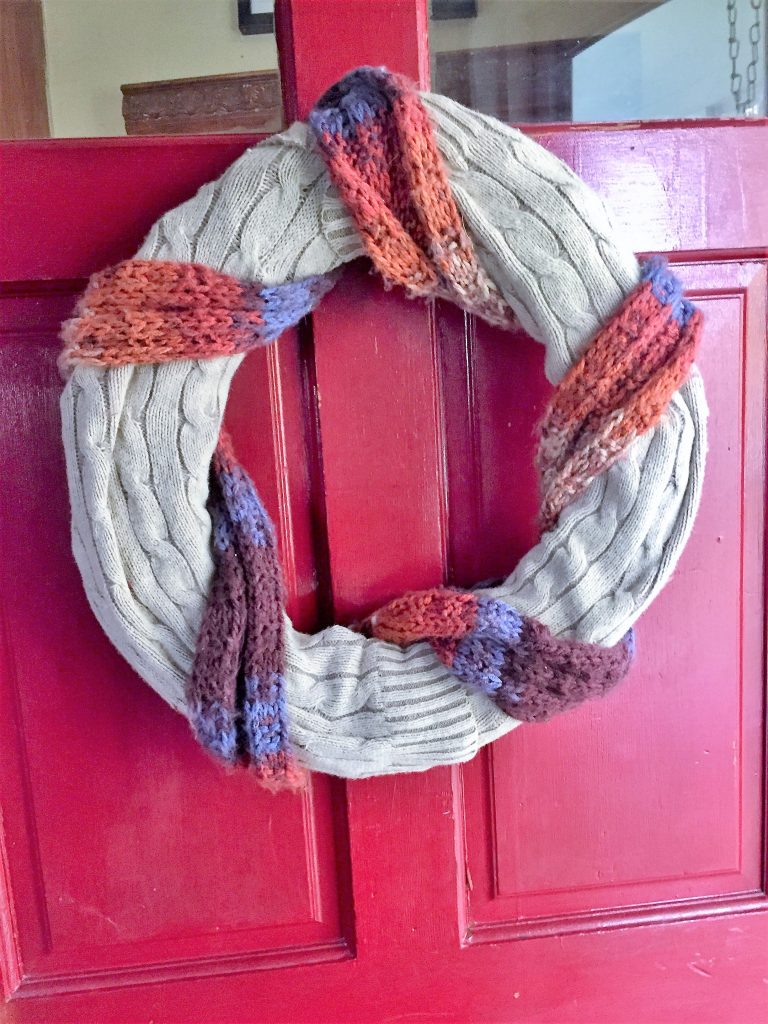
Now is the opportunity to give your sweater wreath some additional personality. The sky is truly the limit! Check your holiday decorations to see what ornaments, ribbons or other festive items you can glue to your sweater wreath. You might consider pinning some child’s artwork to it. Keeping with the warm and cozy feel, you might tie your wreath with a scarf. No matter what embellishments you add to your sweater wreath, one thing is certain: You will love this project!
Tim Kime is an artist, life coach, connector. He is President of Kime Leadership Associates offering executive coaching, meeting facilitating and motivational speaking. He is also Chief Creative Force of Transformation Junkies which upcycles furniture and other household items into functional works of art. He combined his two passions—unleashing the potential in people and transforming items with the launch of the Art of Possibilities Workshops. These workshops are part upcycling, part dreaming, part goal setting.


