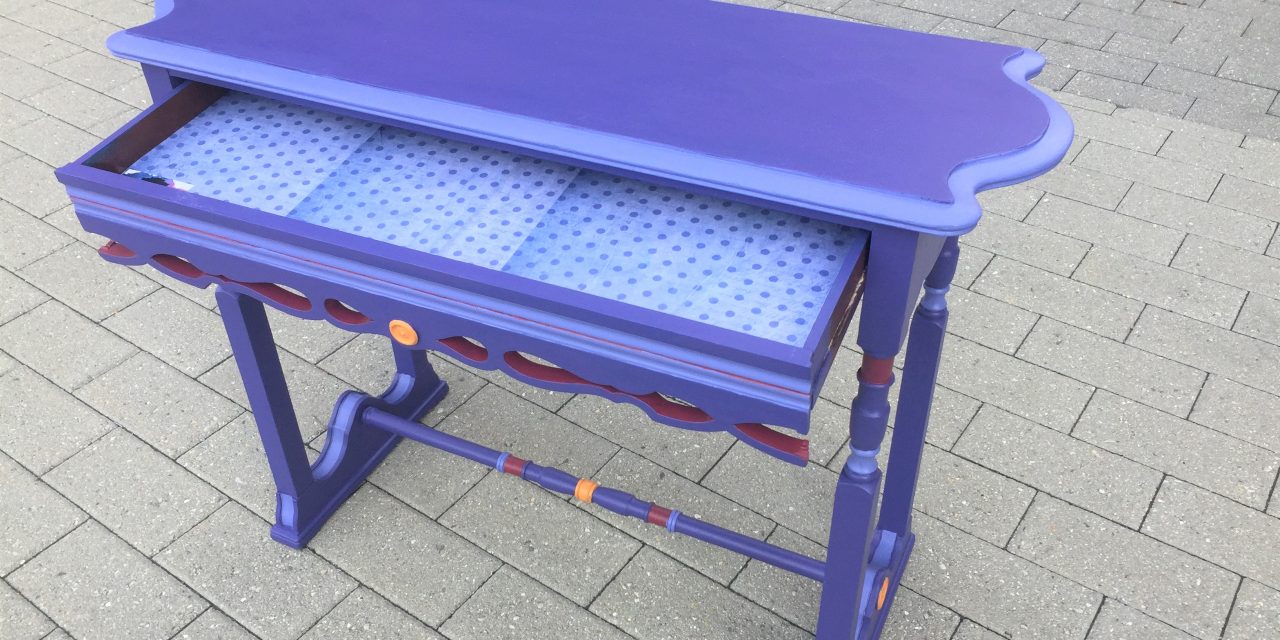
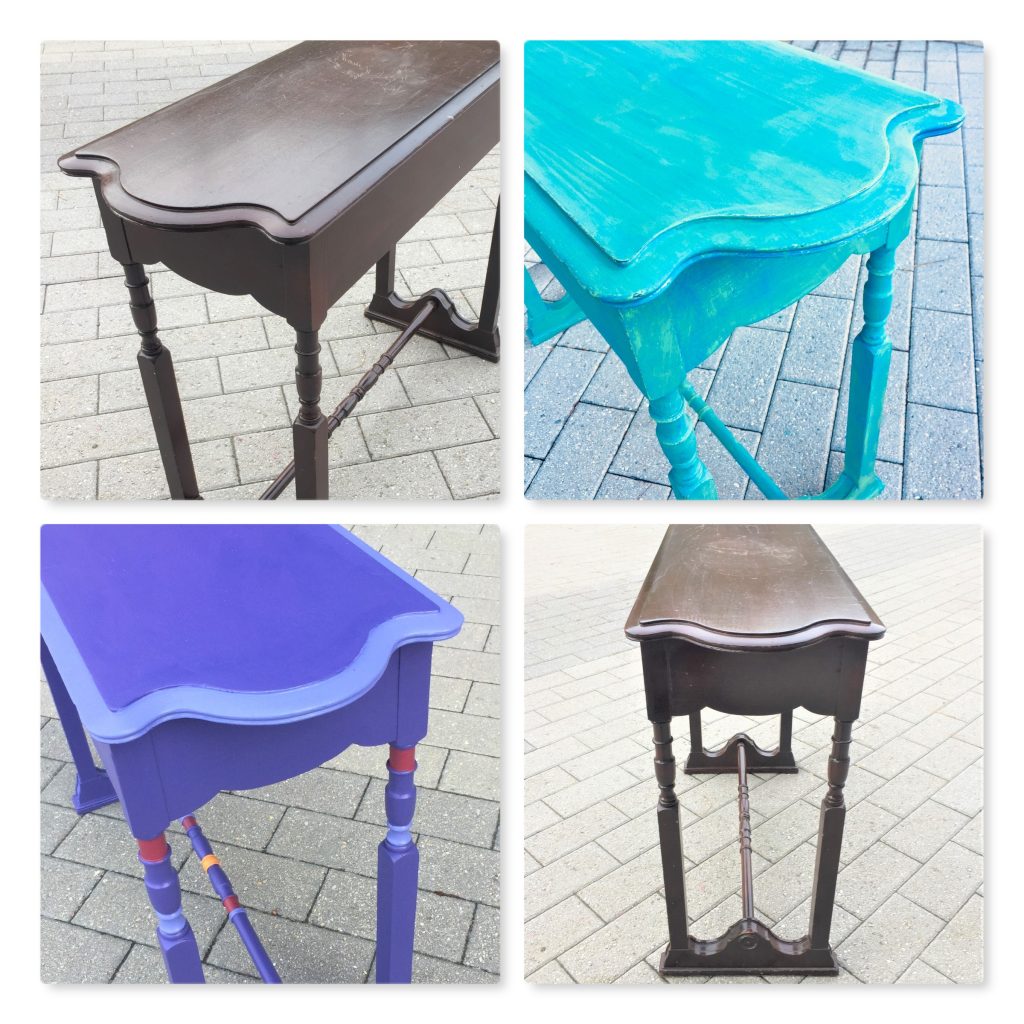
Wanna fun & healthy distraction during these trying times? Turn your attention to something creative, like upcycling a drab and dark piece of furniture using bright, spring colors. But which way to go? Here is one table transformed two ways. Your hardest decision will be deciding which route you want to take!
Overall Project Cost:
- Table: $15
- Paint: $10
- Poly: $5
- Total: $30
Skip the long lines at the grocery store—hit Goodwill to find some good
Goodwill always takes the best care of its customers, now and every day of the year. Every store has unique furniture items for sale at prices cheaper than toilet paper these days.
Find a wooden table with interesting details to highlight; the one featured in this blog had a drawer, carved curved details and knobby legs, all which were prime for calling attention to with a good upcycling.
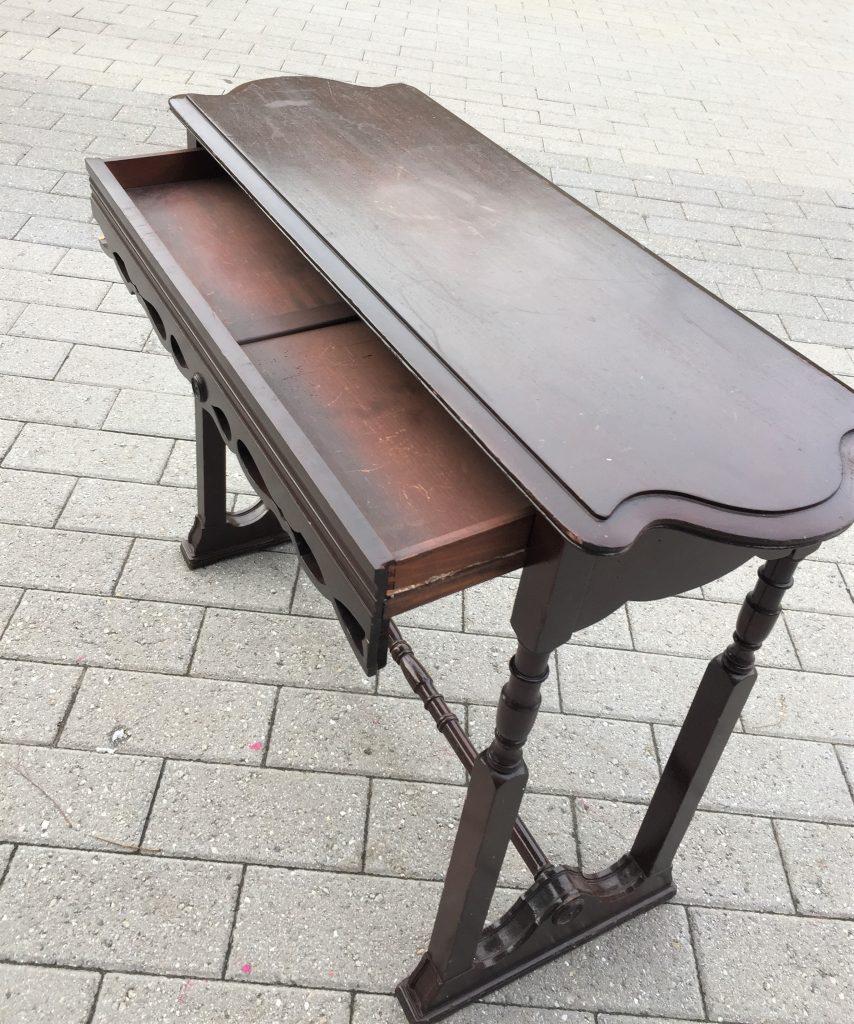
Given how different, yet how easy, these two approaches and looks are, you might want to pick up two tables to try both!
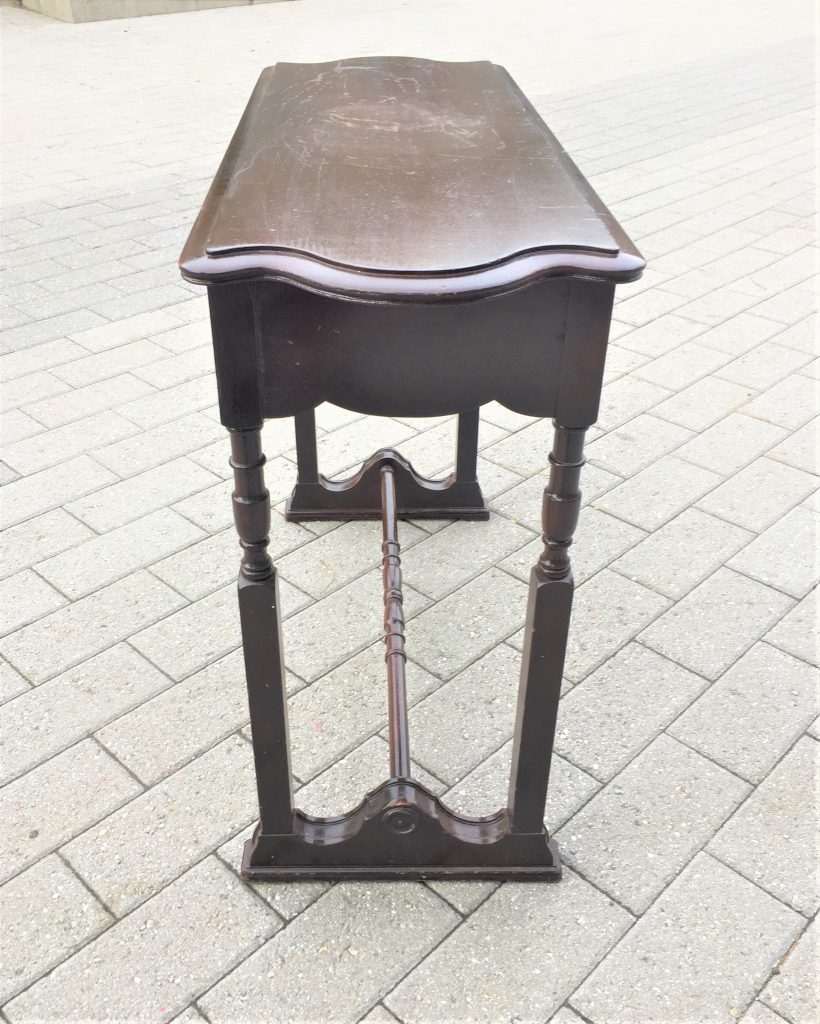
After you get your piece (or pieces) home, lightly sand it to make the paint adhere better then wipe it all down with a damp rag to remove the dust made by sanding and to ensure a clean surface. Consider your table a multi-surfaced canvas on which to express yourself!
Option A: “Ocean Waters”
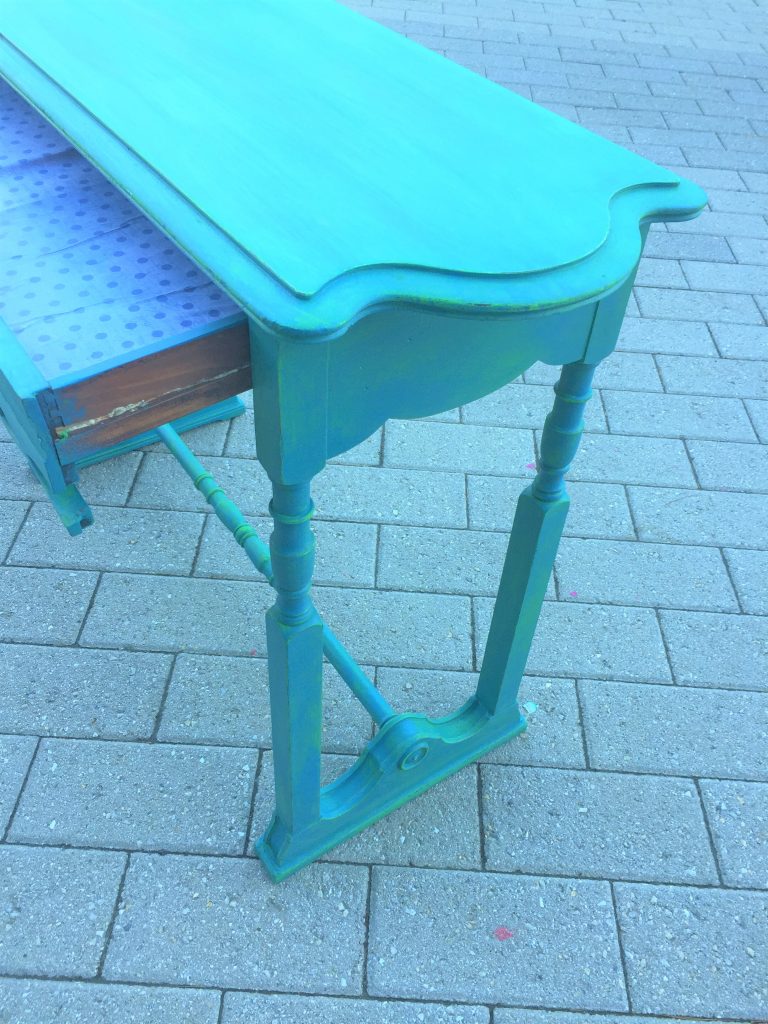
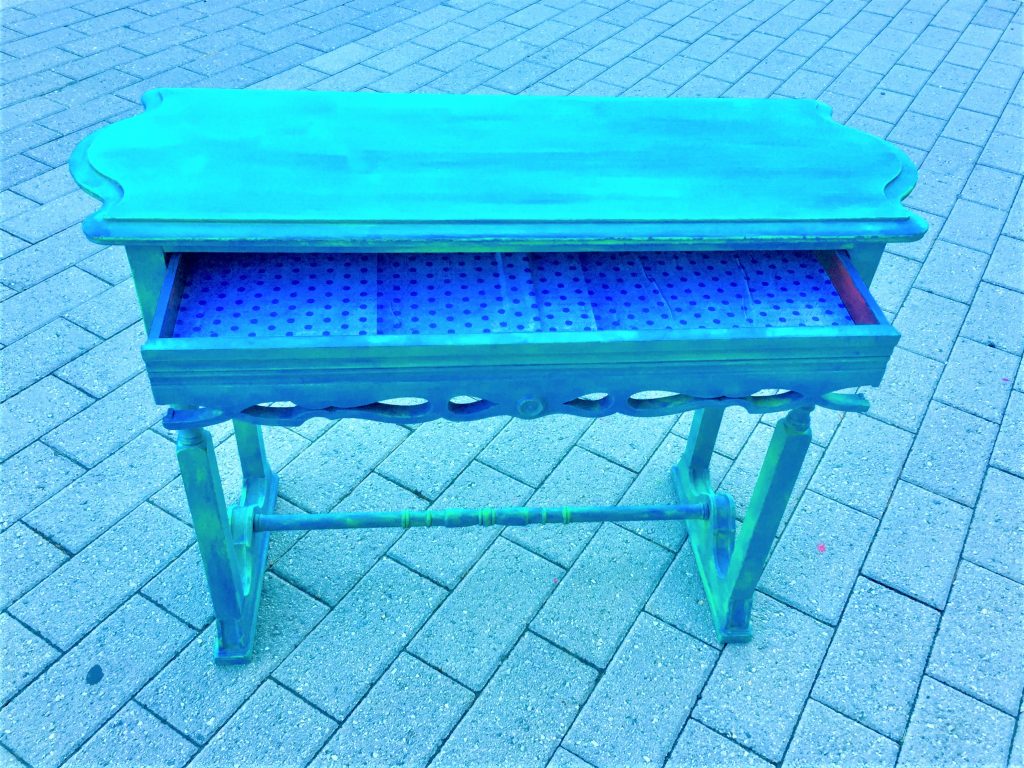
This transformation features layers of paint in blues and greens that are washed on to allow them to show through, giving the piece depth and dimension.
1. Provide a base coat
Paint your entire table with a layer of bright green.
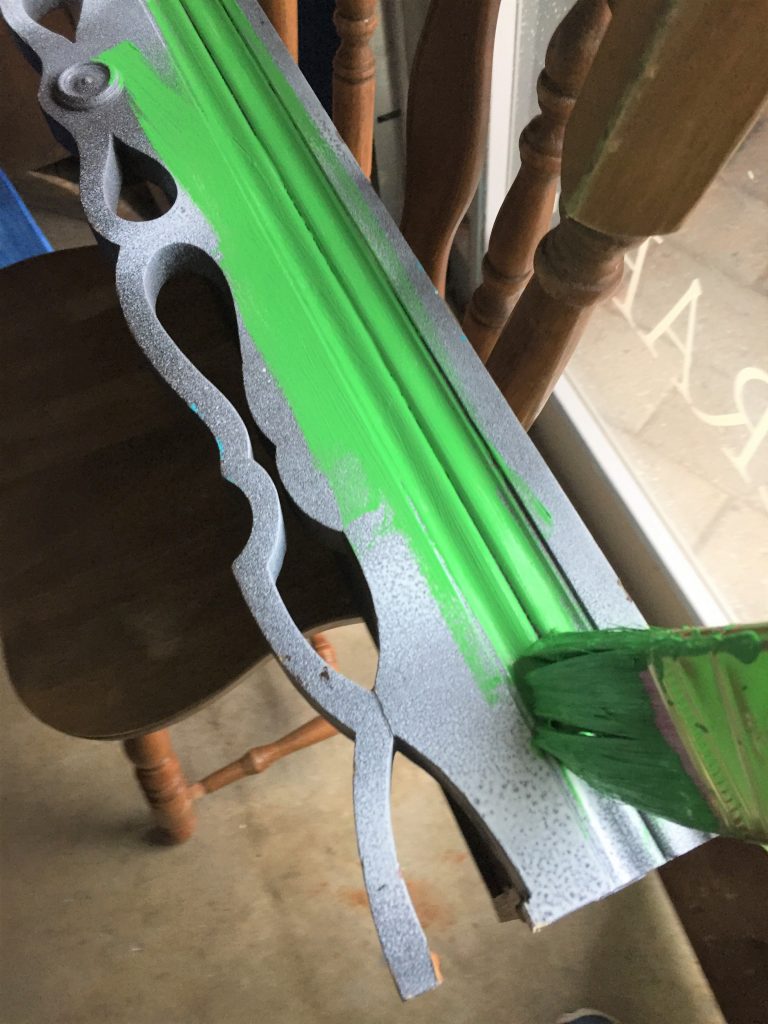
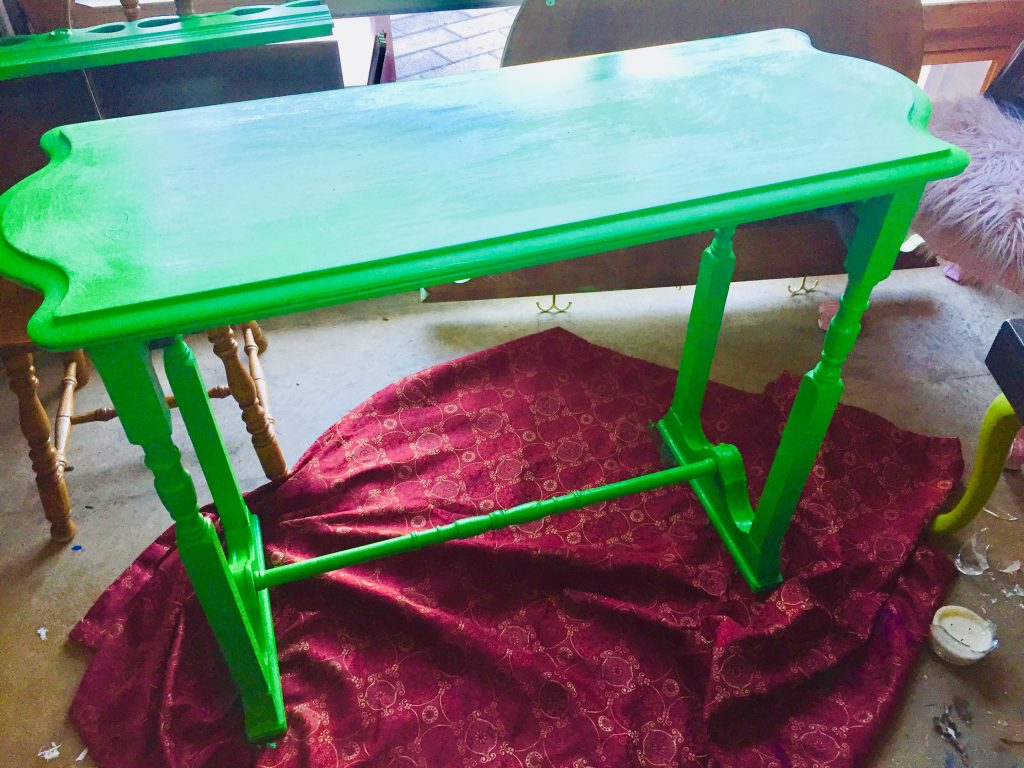
- Carefully add several light coats, allowing time to dry in between.
- Turn your piece on its side and top down between layers so that you are sure to get every edge, nook and cranny.
- Go for a solid layer to hide the table’s original color. It was so exciting to see the transformation begin on my table with this first step.
2. Add water and layer it up
For your second and third layers of paint, you are going to select two blue hues. And, you are going to mix your paint with water to “wash” it on quickly.
- In a plastic cup or bowl, pour some of your blue paint then add water in small amounts. Stir as you go. You want it to be runnier, but not too watery.
- Dab your brush in a use big, bold strokes to add a layer. The green layer will show through which is what we want. Don’t worry about being perfect, rather go for the gold (or bold) with big, fast strokes to cover all sides and edges.
- After your second layer has dried overnight, follow the same step with blue tone number two.
- Add some paint to a cup or bowl, add small amounts of water, stir and brush on with big strokes. This is not time to be dainty!
- Again, let dry overnight.
3. Don’t be depressed when you distress
This next step is my favorite in the process, so you won’t be able to hide your joy either when you get here.
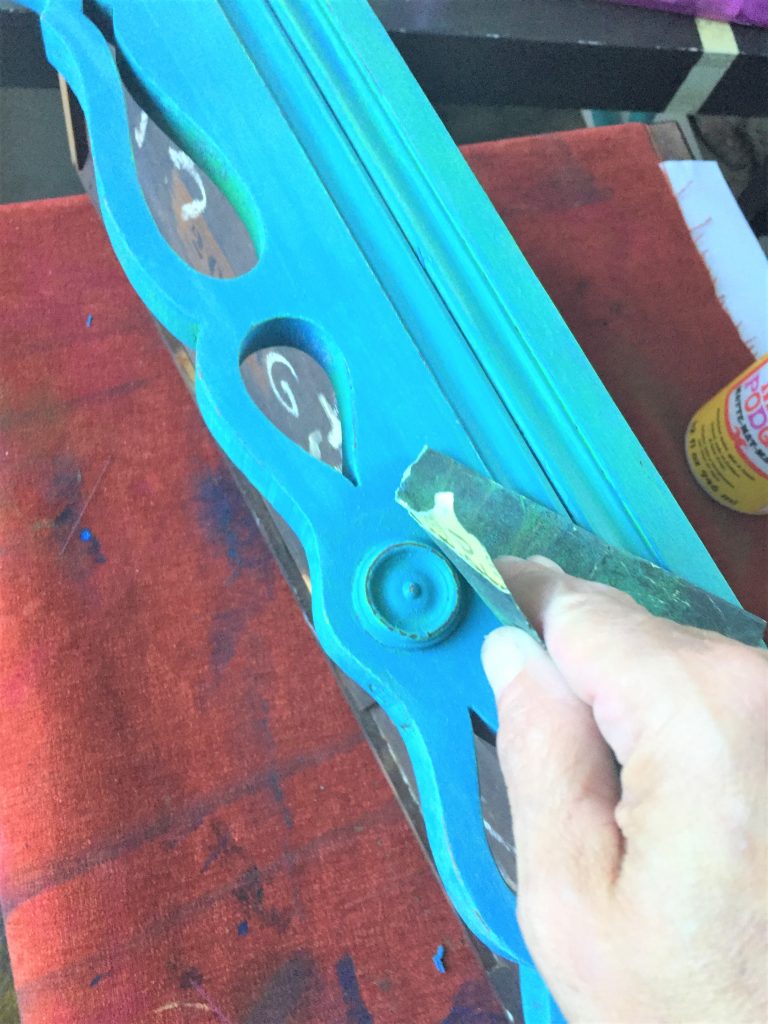
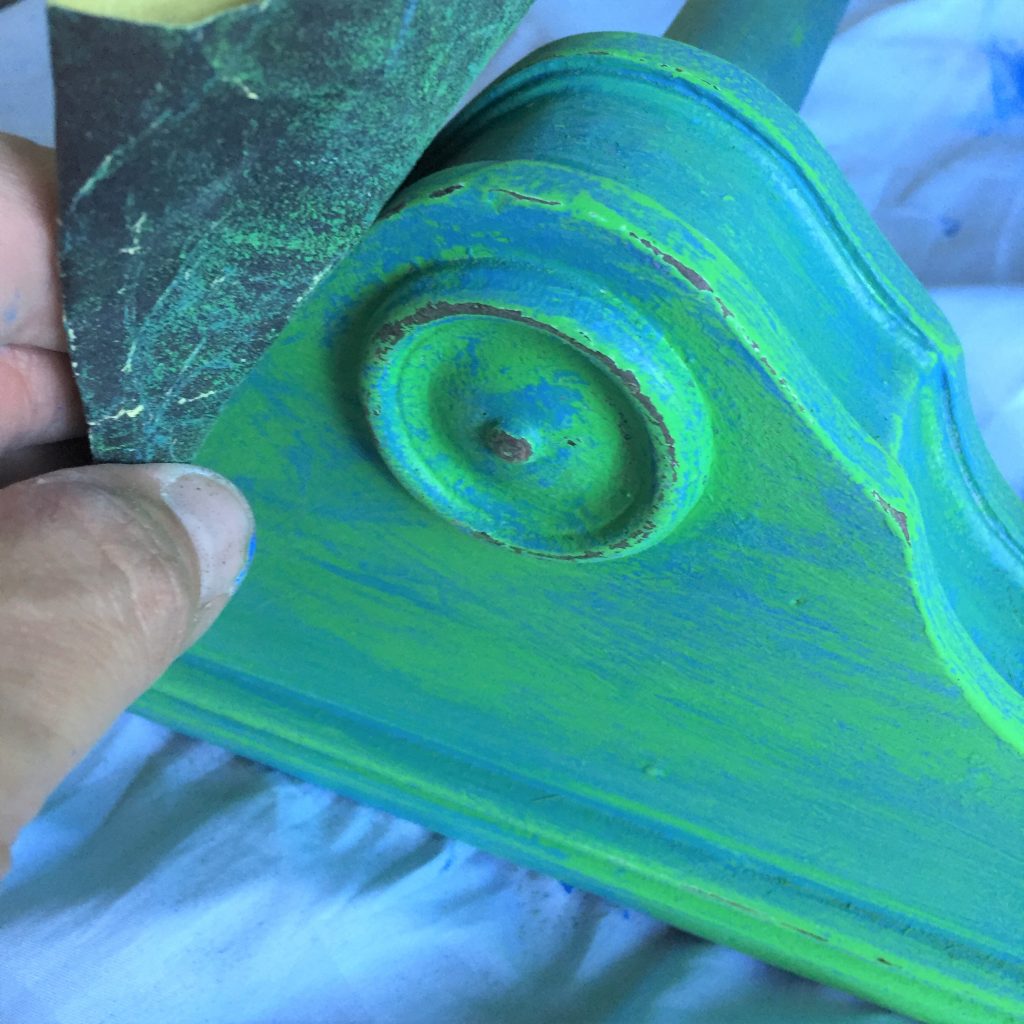
- With sandpaper, buff up the edges of your piece applying enough pressure to remove the paint layers to reveal the original dark layer below. However, you will do so only along the edges and places that would get “naturally” worn out. Look for interesting details to distress and bring them out. My table loved this step because of its various swirls and curves and knobby parts, all perfect to rough up (lovingly, of course!).
- Wipe down with a damp rag, too, to remove the dust and debris from the sanding.
4. Drawer love
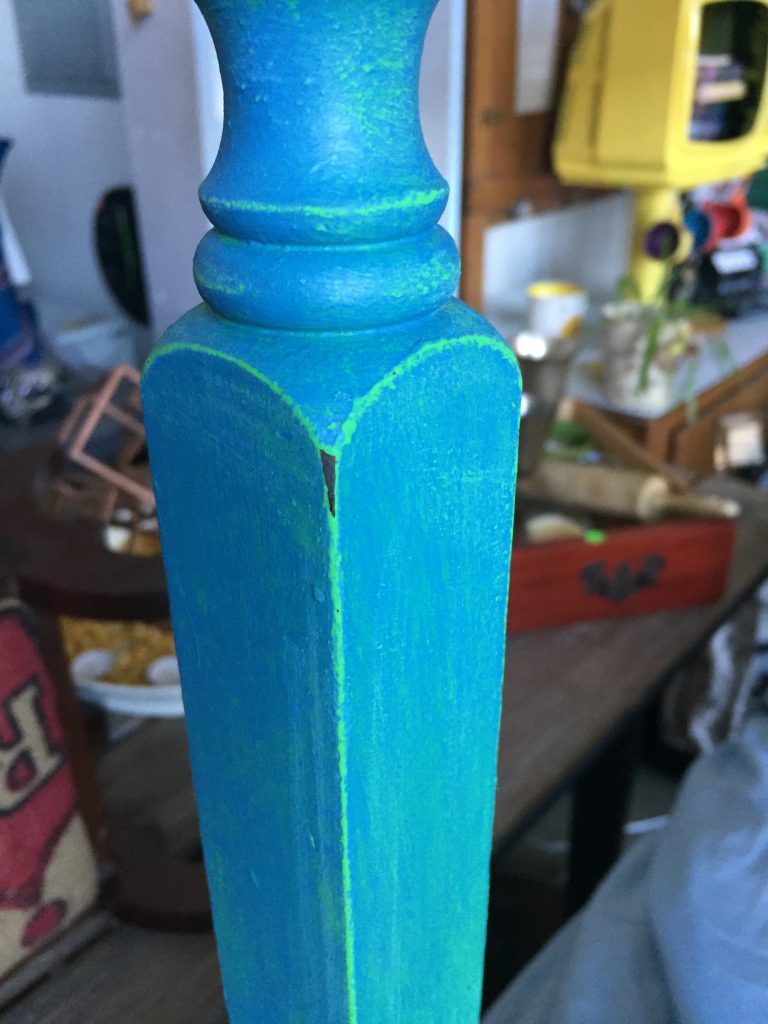
If you are fortunate to find a piece that has a drawer or small cabinet, then be sure to give it some love and attention, too. Paint the insides. I had some colorful paper on hand so I decoupaged (the process of gluing paper to items) it on the inside of the drawer along with paint on the sides so there is a pop of color each time it is opened.
Option B: “Garden Delight”
Colorful paint choices highlights the details and accents of your using this approach.
1. Provide a base coat
- With a medium-sized bush, carefully paint on a solid layer of your base coat on the entire piece. Again, as with any piece you are painting, you will want to come at it from a variety of angles and perspectives so that you cover it well and don’t miss any parts.
- Place it on its sides, back and top and paint away! This base coat may require a couple of layers, too, depending on your piece. My table was so dark that it required three (count them—three!) coats on the base coat and it was worth it.
2. Do dinky details divinely
Okay, I love me a good (or bad!) alliteration. With your first color beautifully and evenly covering the entire piece, now is the most fun step of this option—highlighting the details. The key to success with this step is using a small painter’s brush.
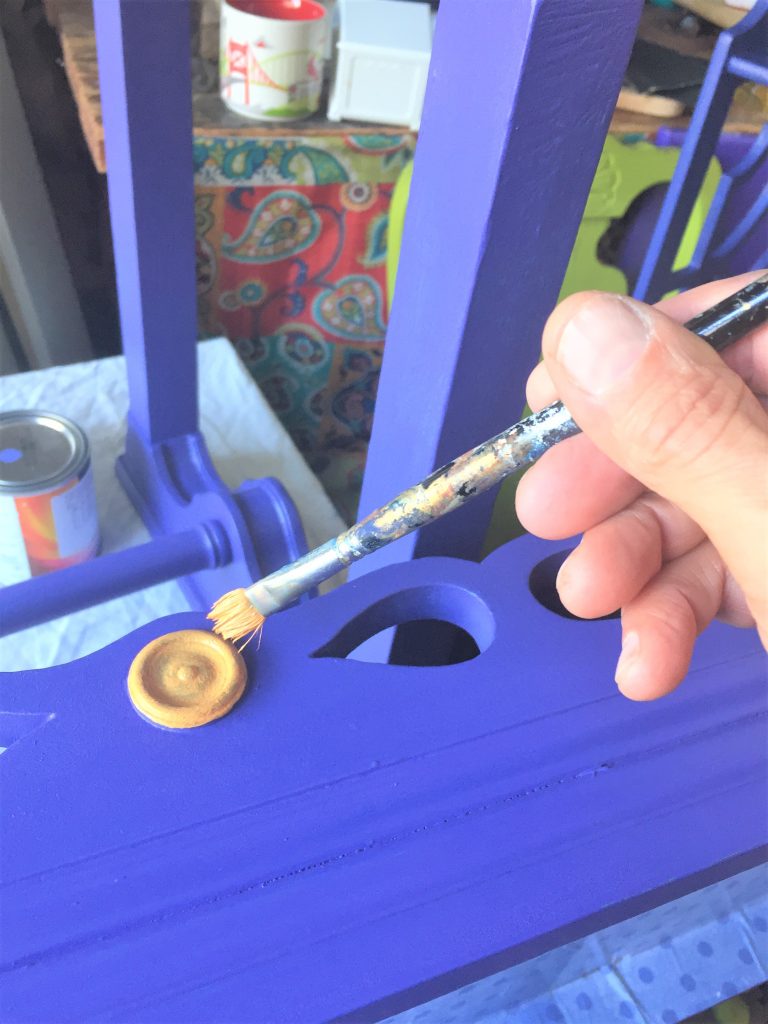
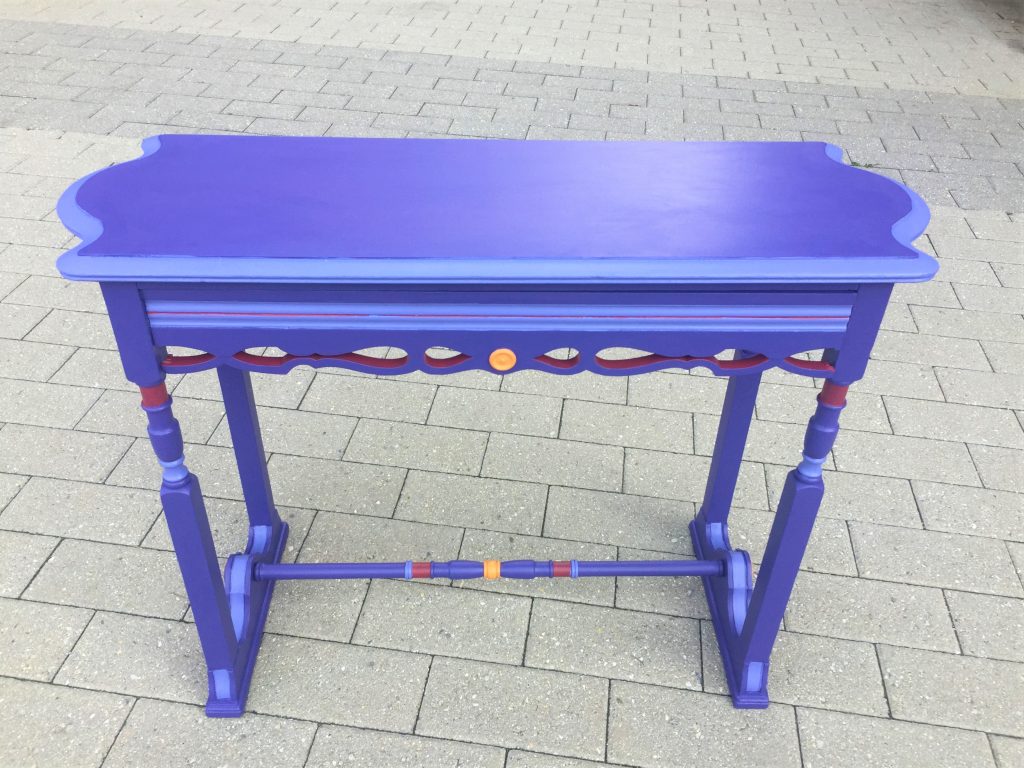
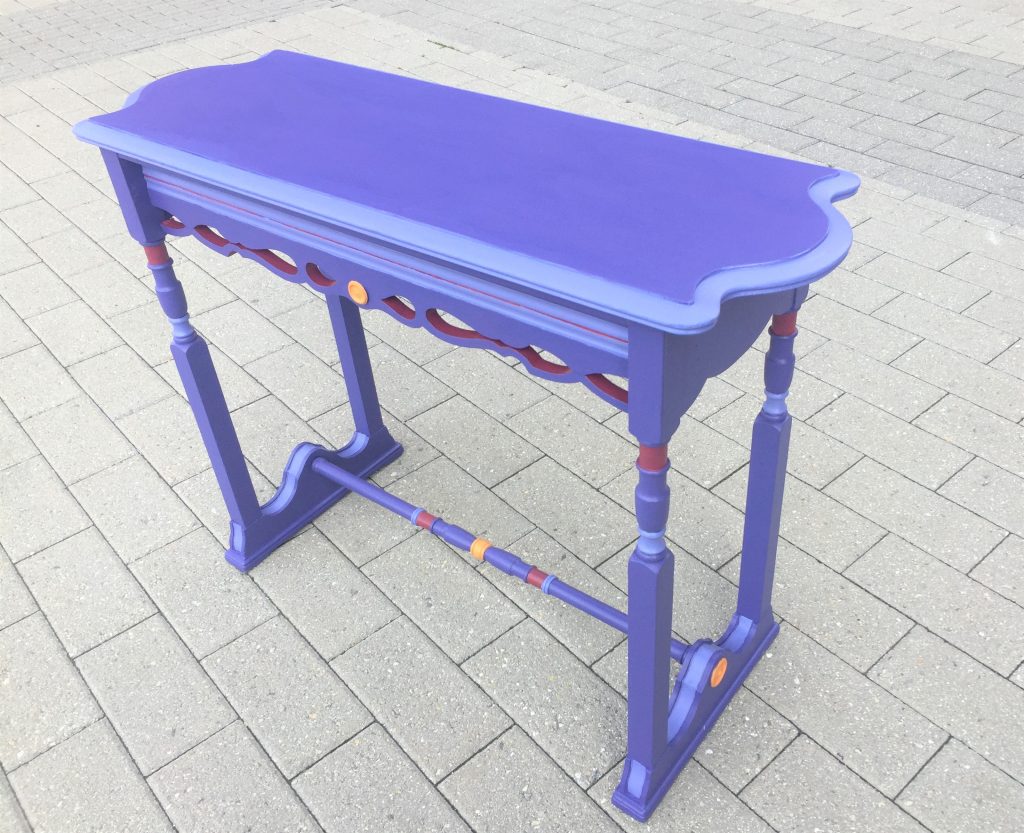
Determine which accent colors go where then dive right it. My table had some round carved details so those were painted a cheerful orange color so there was no way you could miss them.
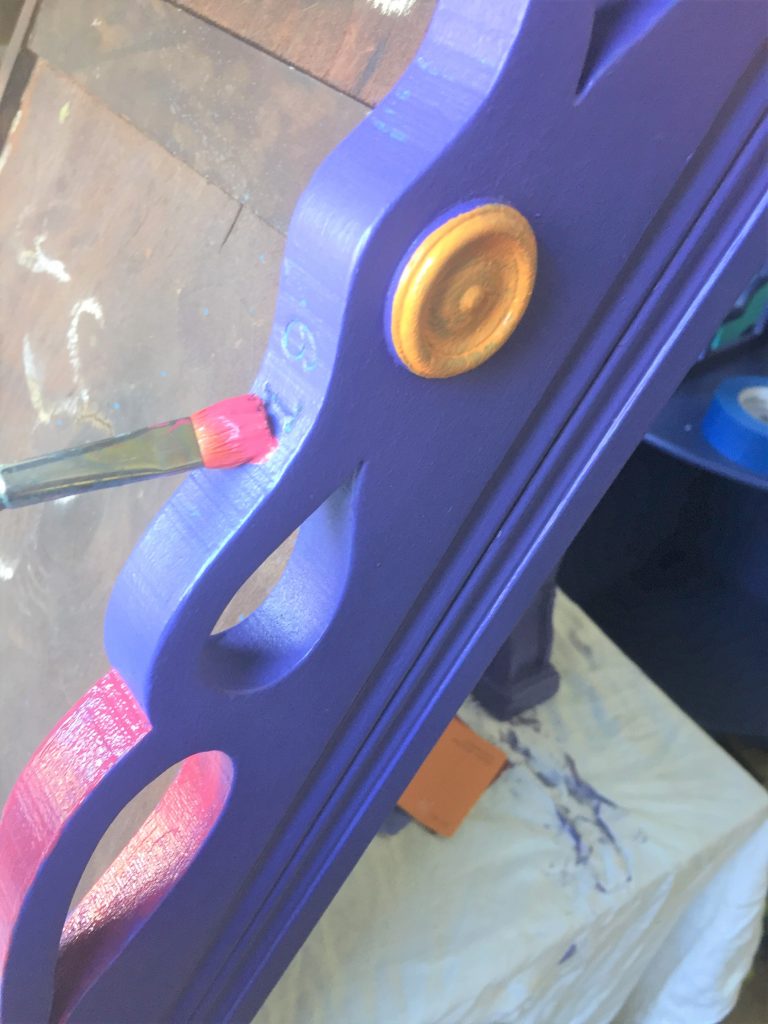
With a rosy red, the carved swirls along the drawer front were highlighted along with several spots on the legs and bottom support piece. The top of the table had a carved edge, too, so attention was given to it with a lighter purple color. This color was repeated in other places, too, so there was a cohesive feeling throughout the table.
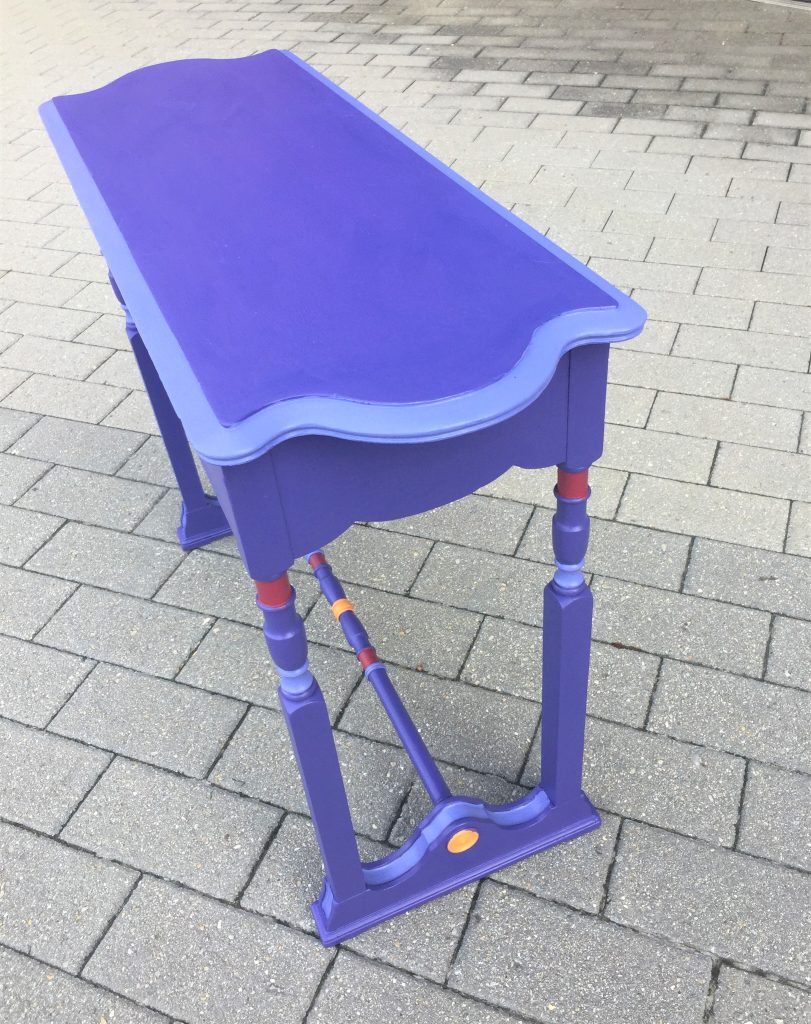
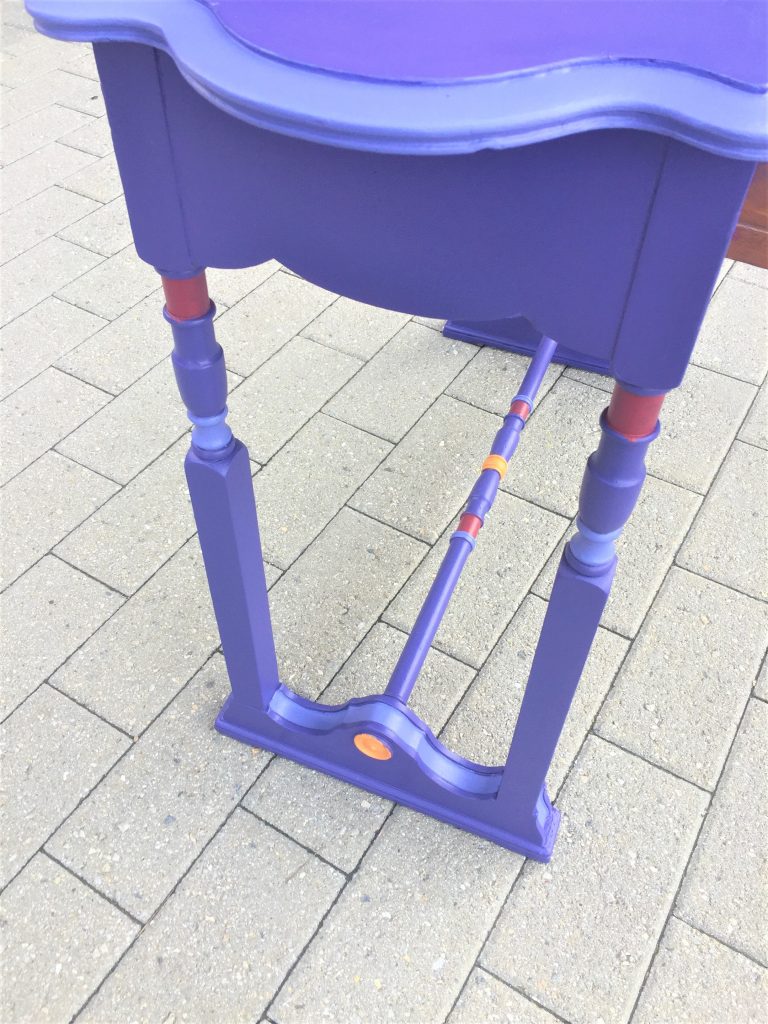
Expert tip: You will likely have to brush on several layers of your accent colors, too, to provide a sharp and crisp finish. This part will take lots time and patience, I am just saying. Also, you will want to turn your table on its side and place the top down, too, so that you are sure to get all parts of the special accents covered well.
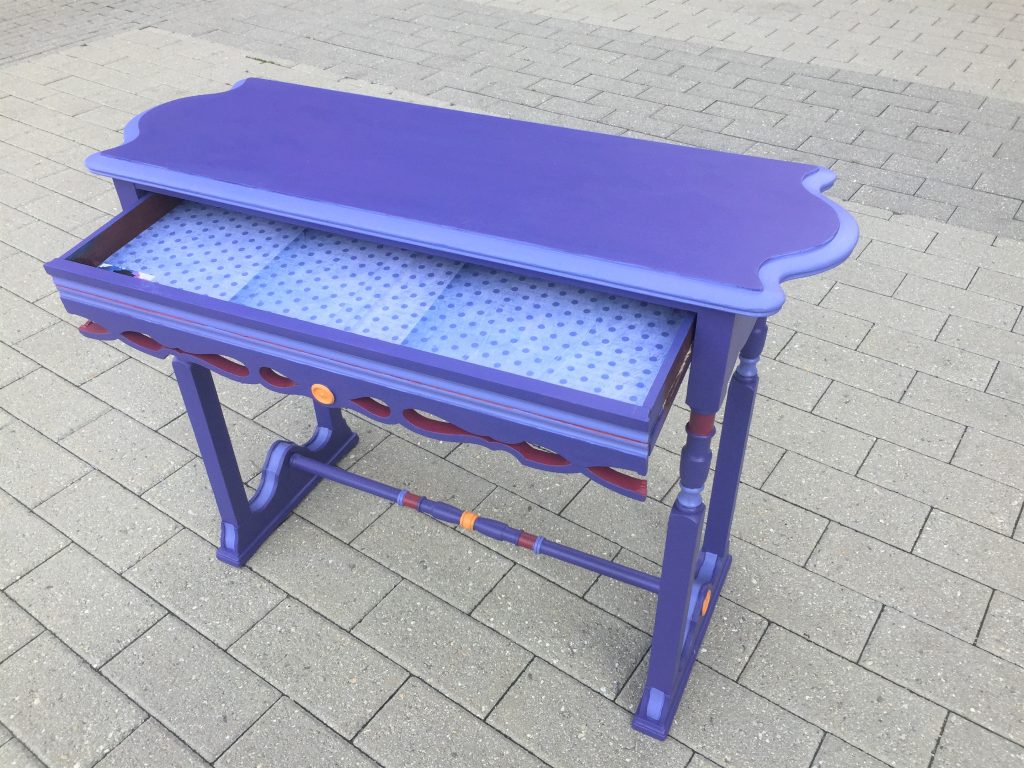
3. Drawer love, here, too!
As with the “Ocean Waters” option above, you want to ensure another surface is addressed, too—the inside of the drawers. Use one of your accent colors or some matching papers to provide visual interest each time you open the drawer. This last step will really make your table feel complete and special!

Poly, Place, Ponder
This last part, another alliteration, applies to both options.
Poly
When your table has totally dried, you will want to brush on a layer or two of polyurethane on your entire piece, from top to bottom. This will help to protect the paint and allow spills or dust to be easily wiped up and off. I prefer a semi-gloss finish so there is a little bit of shine and reflection of light.
Place
Place your piece in its new spot in your home. Based on its location, think about adding a small lamp, a potted plant and framed photograph.
Ponder
Then ponder—which approach did you like the best and what other pieces do you have on hand to try both options again. Or what other option have you tried that you want to share with us? We love seeing your transformation and being inspired to try new things, too!

Tim Kime
Artist, Motivational Speaker, Life Coach


