Make your Thanksgiving meal even more memorable with colorful plates highlighted with messages. Upcycle “generic” dinner plates with special paints and create a one of a kind set that will make those gathered feel grateful to be invited to your place for the big holiday meal.
Age Level: Older kids, teens, and adults
Items needed:
- A set of white dinner and dessert plates (six place settings were used for this project; a pair is fine, too!)
- Small containers of glass/ceramic paints
- Glass/ceramic paint markers
- Paintbrushes
- Oven
Time requirement: I hour (not including paint drying time and baking time)
Cost: Approximately $8 per set of plates (one dinner, one dessert)
- $2 to $3 per plate
- $4 per container of glass/ceramic paint
- $5 for glass/ceramic paint markers
Step 1: Let’s dish about deals at Goodwill
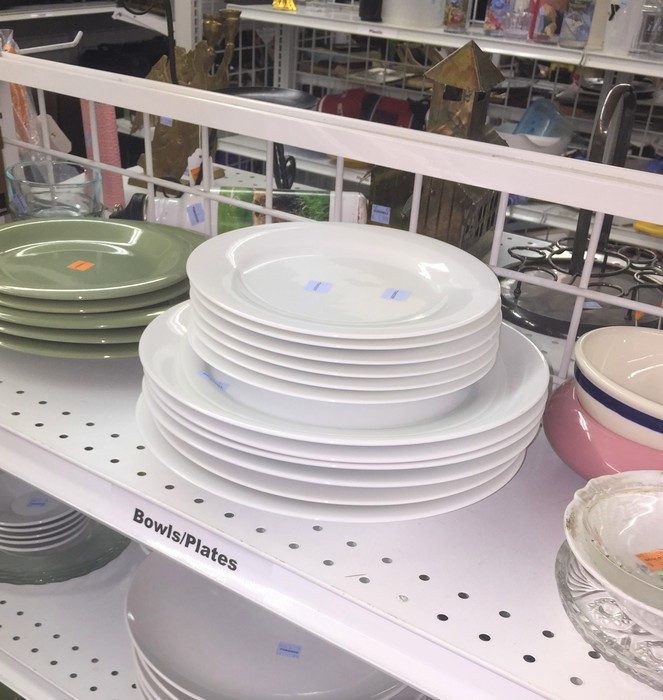
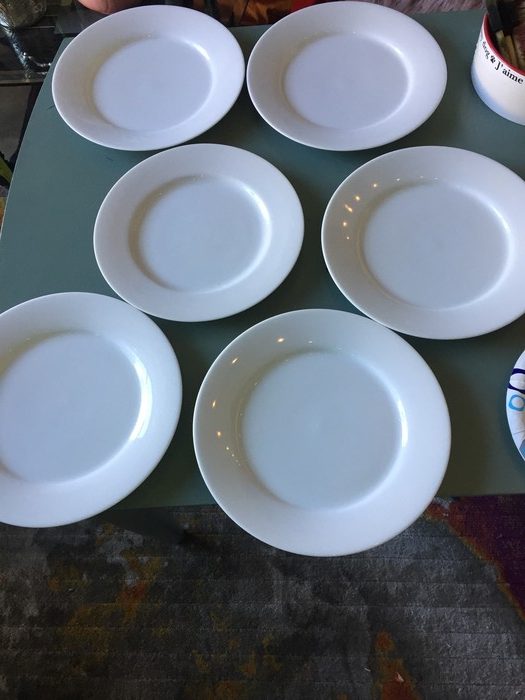
Shelves of dishes seeking a new life await you at your favorite Goodwill Retail Store. For this project, look for white dishes and pick the number based on your needs. A transformed set for two will receive as much praise as a collection for your entire family. If you don’t find the number you want in a matching set, consider collecting mismatched plates, all in white, which will add to the charm of this project. You can’t go wrong!
Step 2: Brush on the blessings
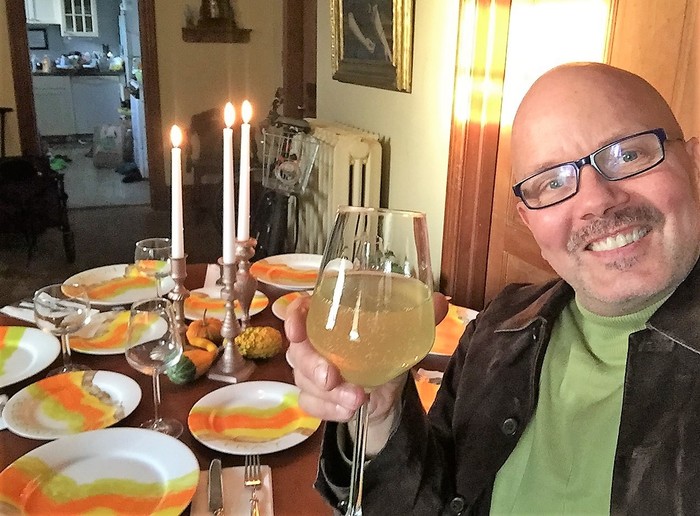
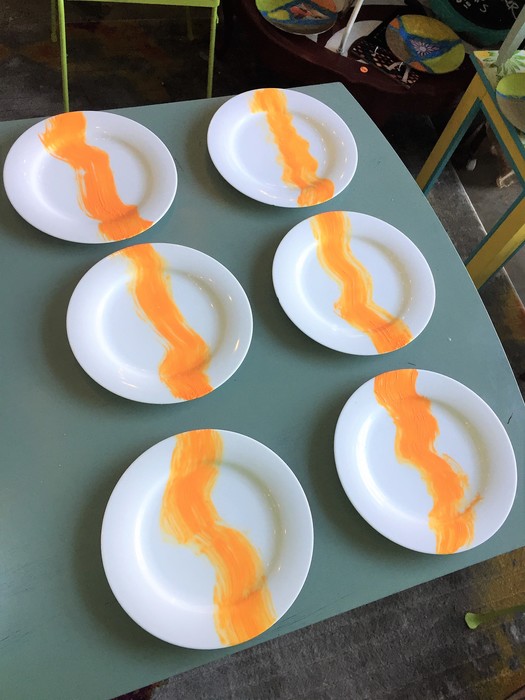
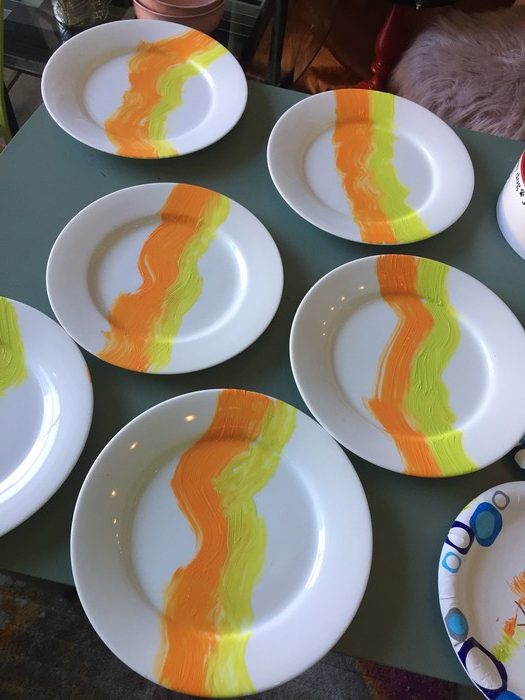
Given the time of year, paint colors in fall hues were chosen for this upcycle project. There are so many ways to transform a blank plate…consider it a canvas waiting to receive your artistic inspiration. Most arts and crafts stores will have lots of options in paints that are perfect for glass and ceramics. Bright green, orange, yellow and gold were chosen for their autumn tones as was a paint marker in green to tie the look together.
I wanted a flowing look to allow the pieces to feel organic and nature-like. Paint brushes with varying widths were used so the waves of color had differing thicknesses. Rather than a solid stripe, I opted for ones that showed the brush strokes because of the additional dimension it created. When done with this step, let dishes for several hours.
Expert tip: if you paint on a design that you don’t love, you can easily wipe it off, before it dries, with a damp rag then start again. You have lots of flexibility until Step 4.
Step 3: Mark on your messages
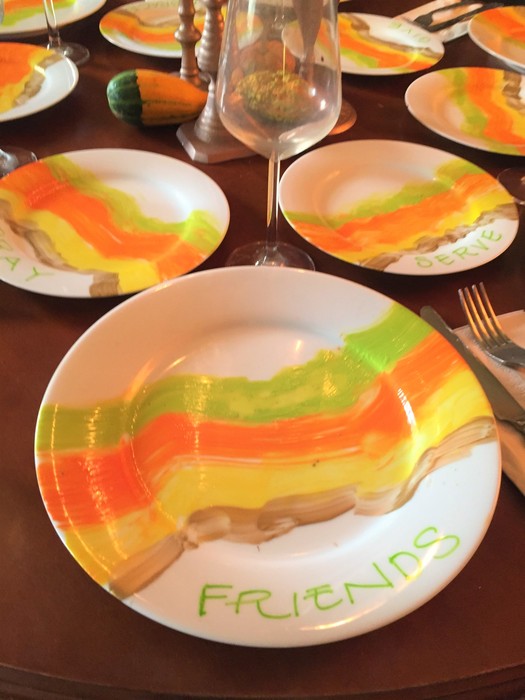
With your medium tipped, glass/ceramic paint marker add your messages to personalize your plates. For the larger dinner plates, things to be grateful for were added like “family,” “friends” and “love.” To complement the Thanksgiving theme, the dessert plates were given action words like “give” and “celebrate.” You could also add guests’ names and the year the plates were upcycled so you will always know who was there during that special year. Consider giving each plate its own unique word to spark conversation among those gathered to break bread.
Follow the directions on the paint; my brand asked for the plates to be allowed to dry for four days before placing in the oven…the next step.
Step 4: Oven time (for the plates, not the meal)!
To allow your plates to be friendly for eating upon and for placing in the dishwasher, turn your oven to 325 degrees and place them inside it for 30 minutes. This process will permanently adhere the special paint to the plates. After the time is up, allow them to cool with the oven door open before removing. Carefully read directions of your paint; some are okay for use with food; others are not so your dishes will be just for a decorative use.
Step 5: Set the table
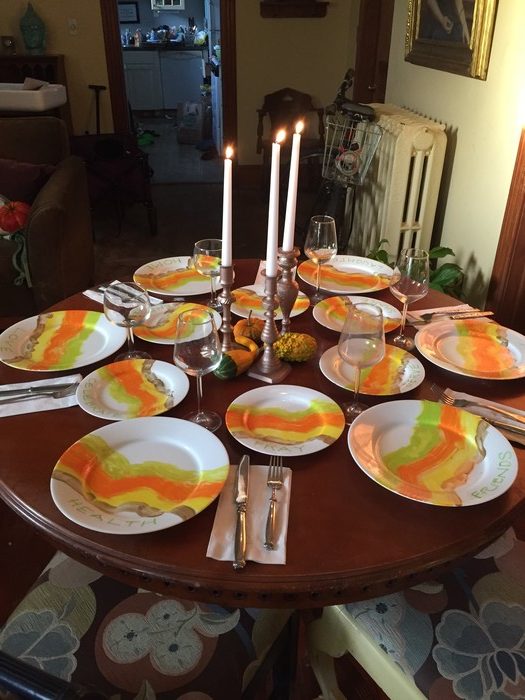
Joyfully place your dishes on your table, add candles, colorful gourds and other fall decorations. Your guests are sure to share their praises for this unique table setting that will remind them of all they have to be thankful for this season—and all year long!


