Upcycle Items to Create Eye-Catching Word Art
What’s the word of the day? U-P-C-Y-C-L-E! Turn thrifted frames, canvases, costume jewelry and other items into art pieces that Webster’s Dictionary (and your family) will love!
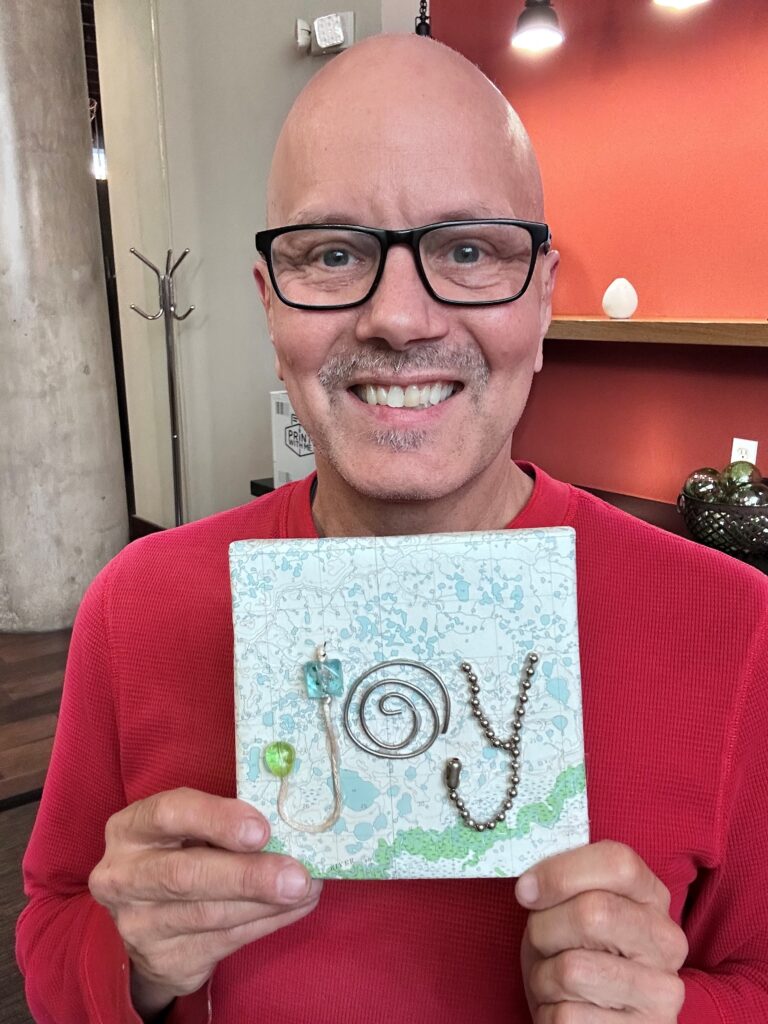
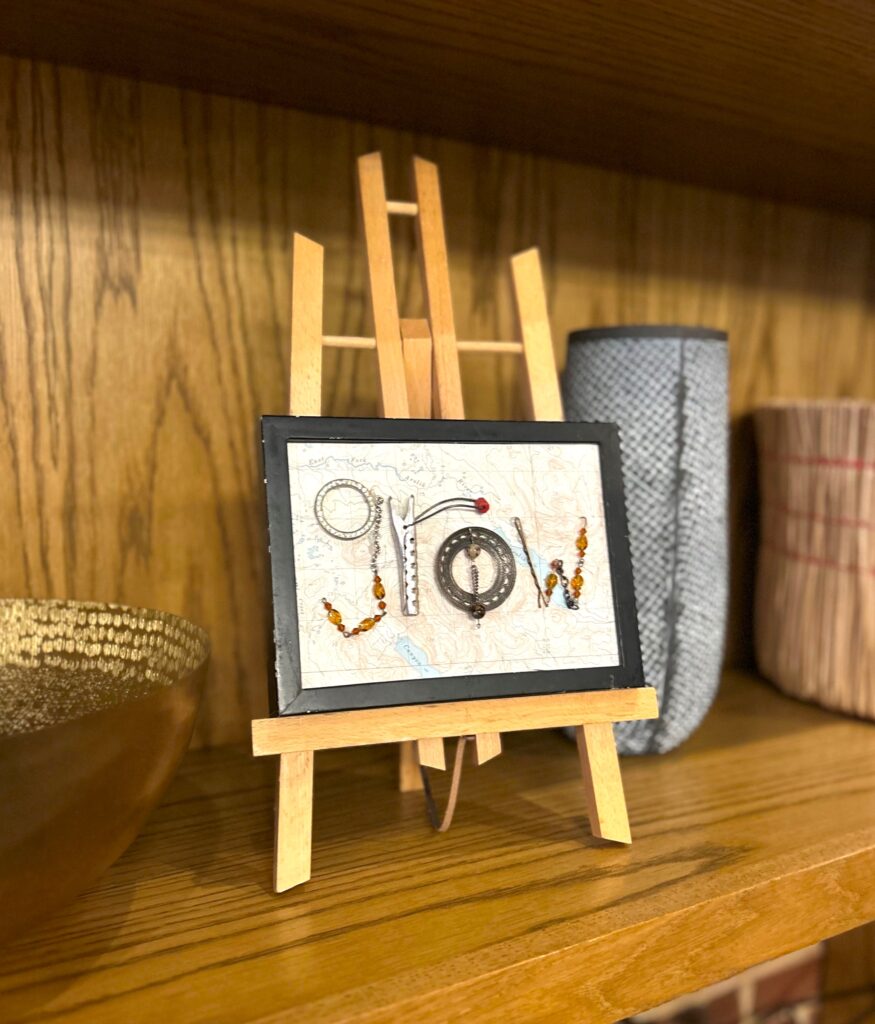
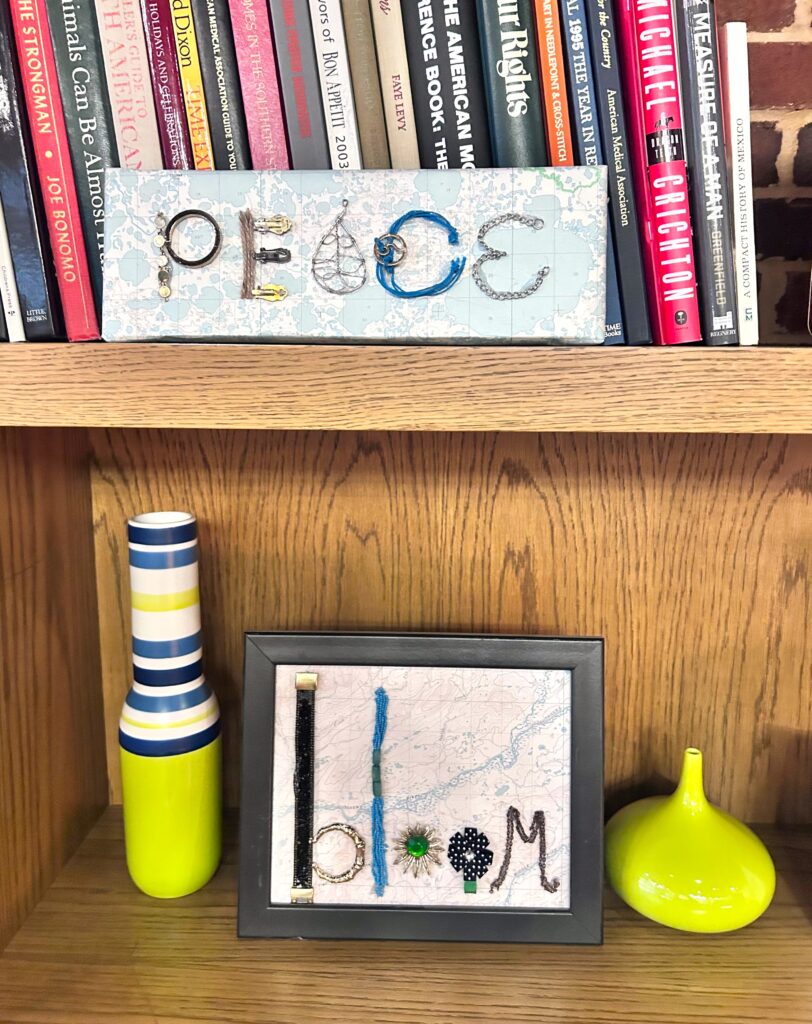
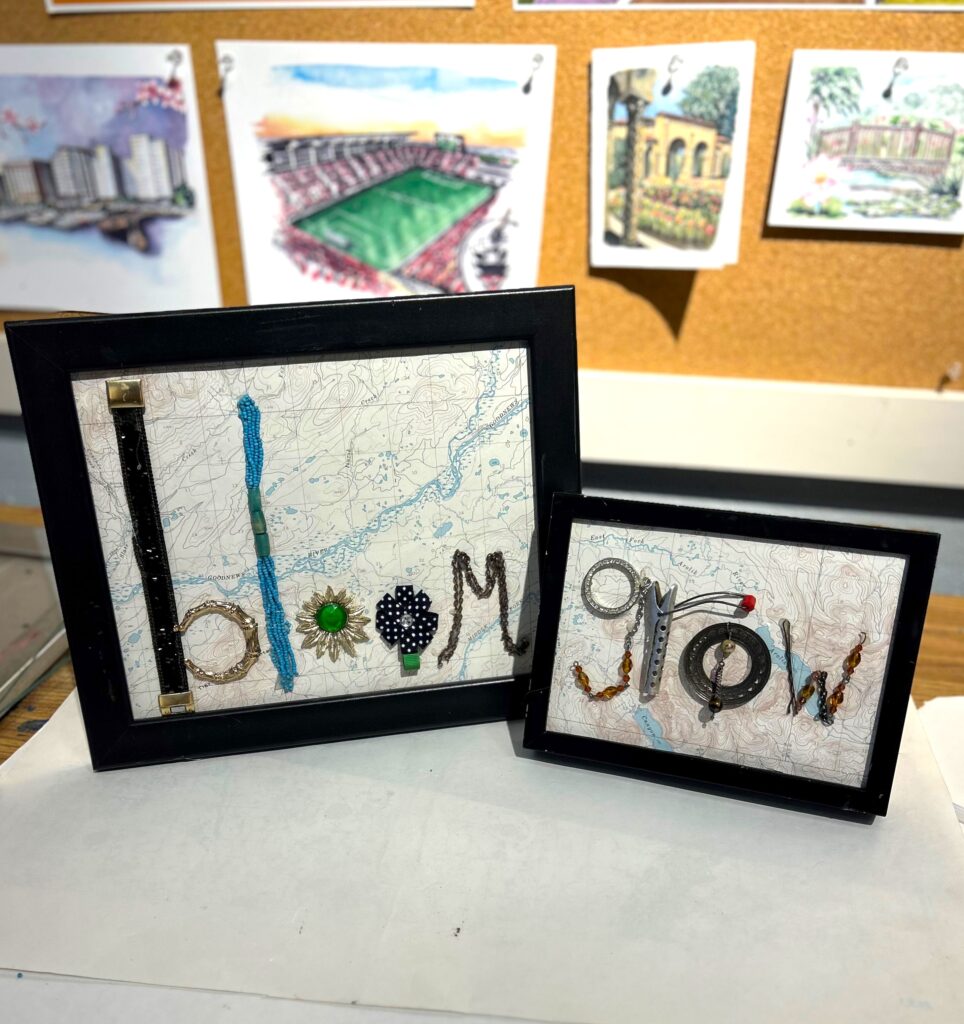
This kid-friendly DIY project is easy, fun and celebrates our planet, too. By reusing items, you are keeping things needlessly from heading to the landfill and turning them into beloved home décor.
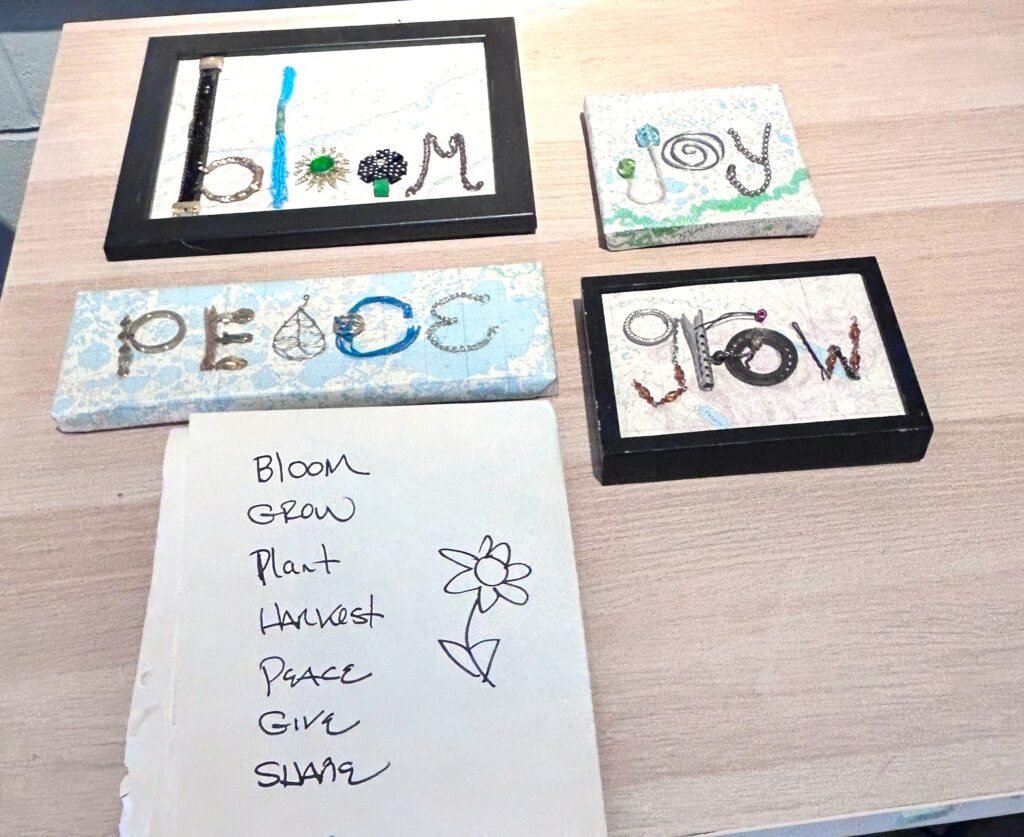
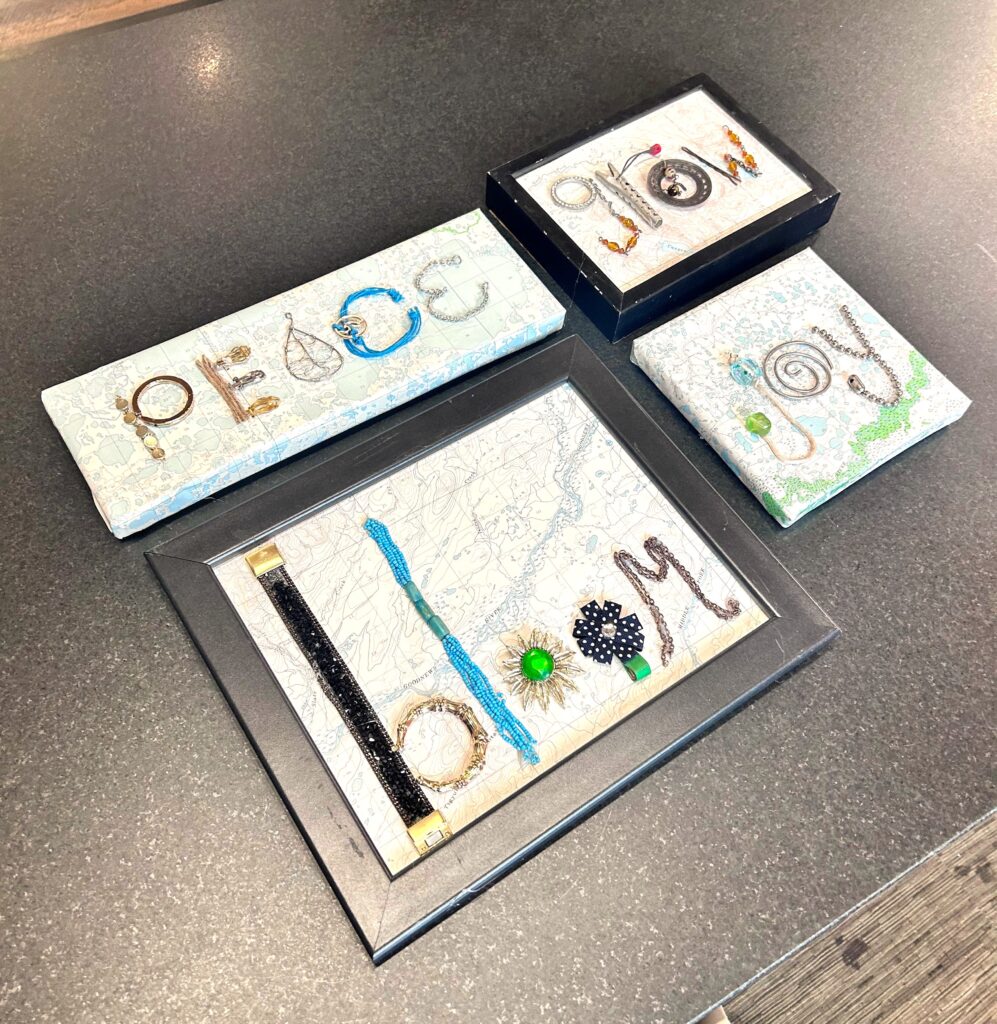
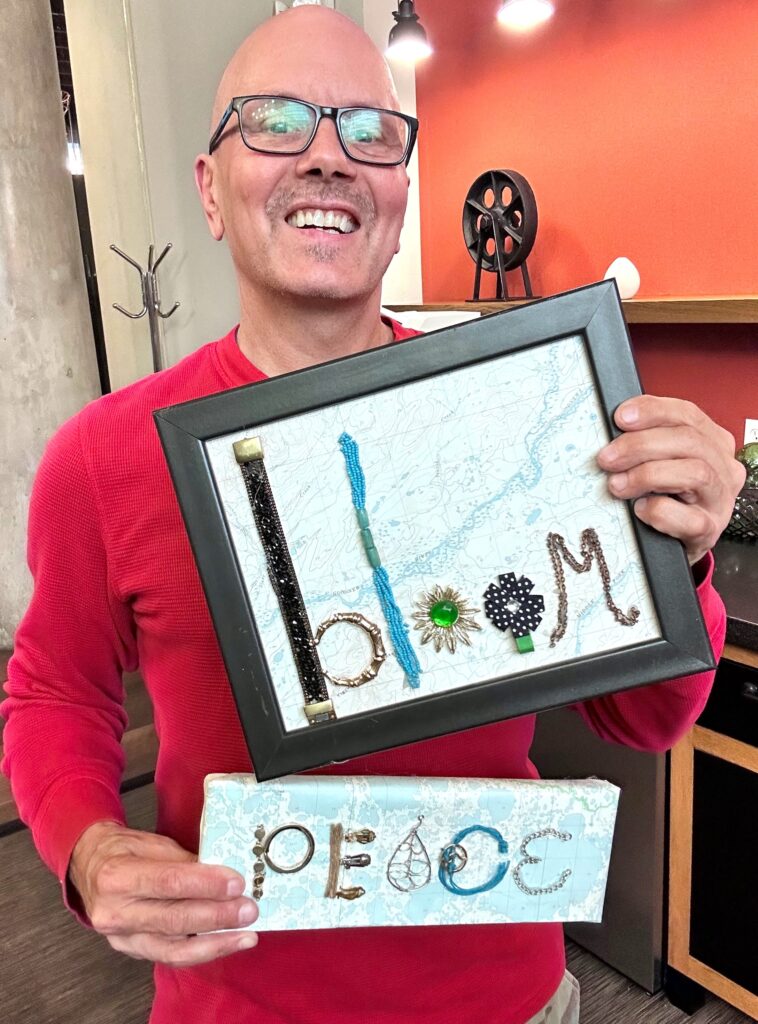
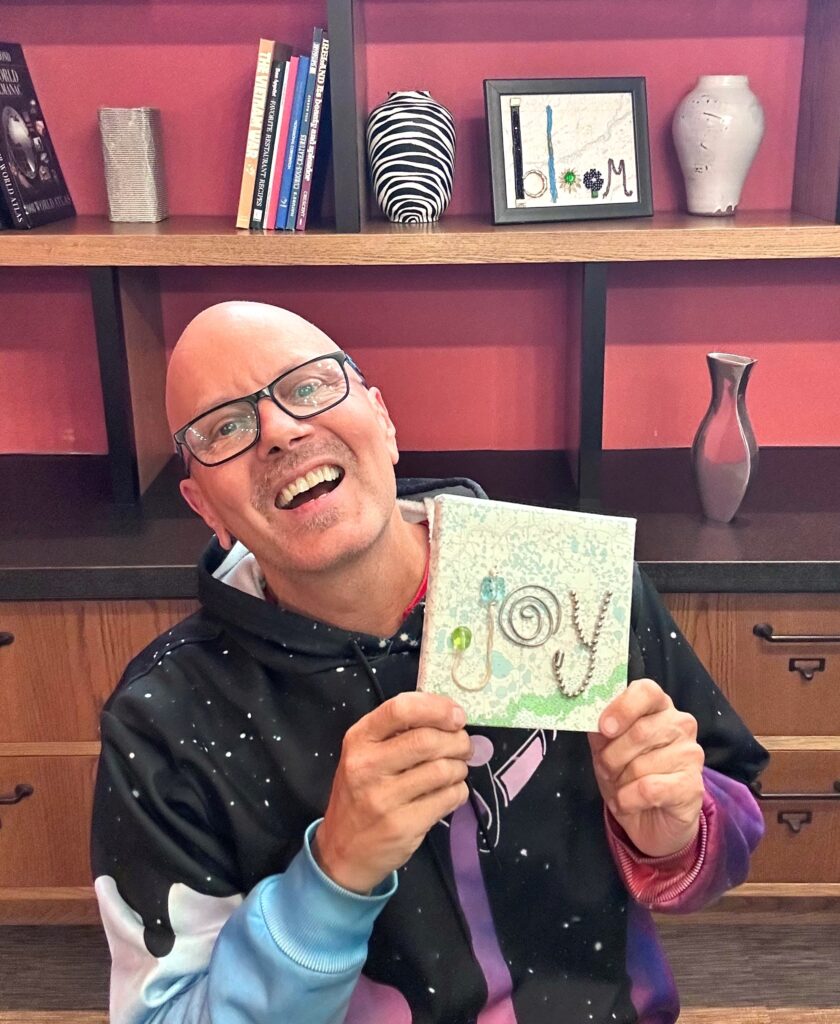
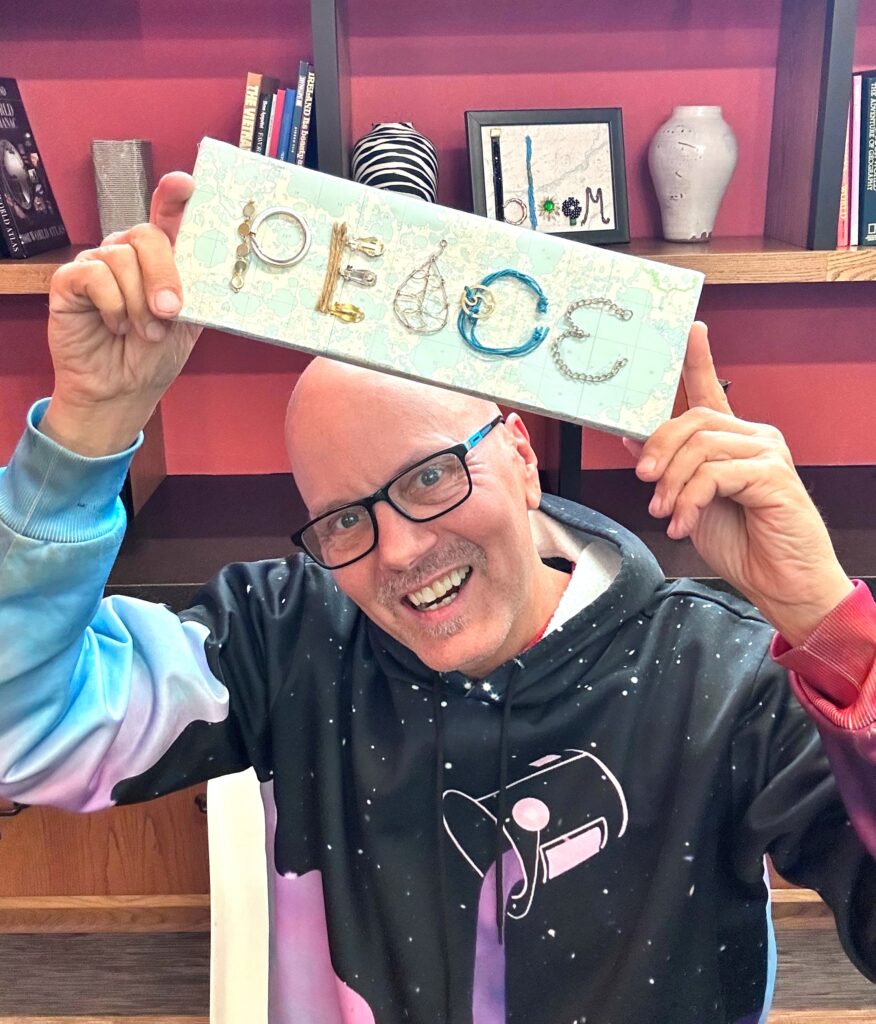
Select words that honor nature like “bloom” and “grow” as well as offer positive messages such as “peace” and “joy.”
Here’s how:
Step 1: Find your good & project supplies at Goodwill
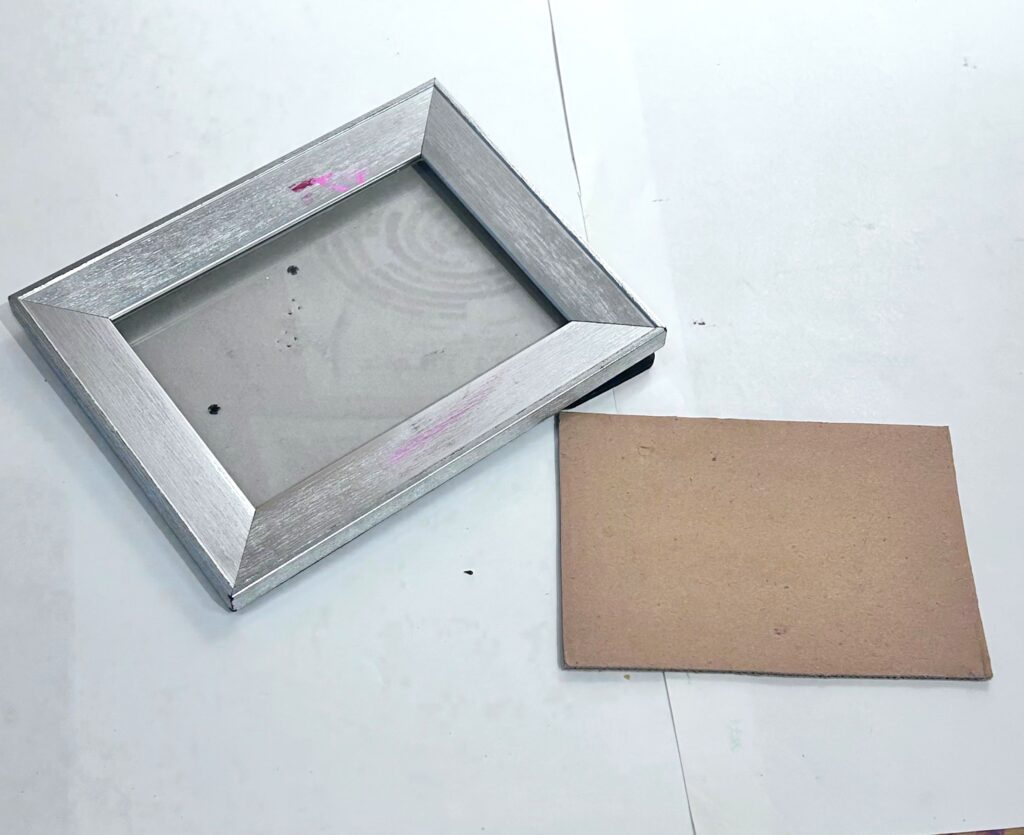
Goodwill usually has a staple of nice picture frames to reuse for a project like this one. They often have small canvases, too, so grab them up when you see them for sale.
Check out their school and office supplies sections for papers and other small knickknacks to transform, too.
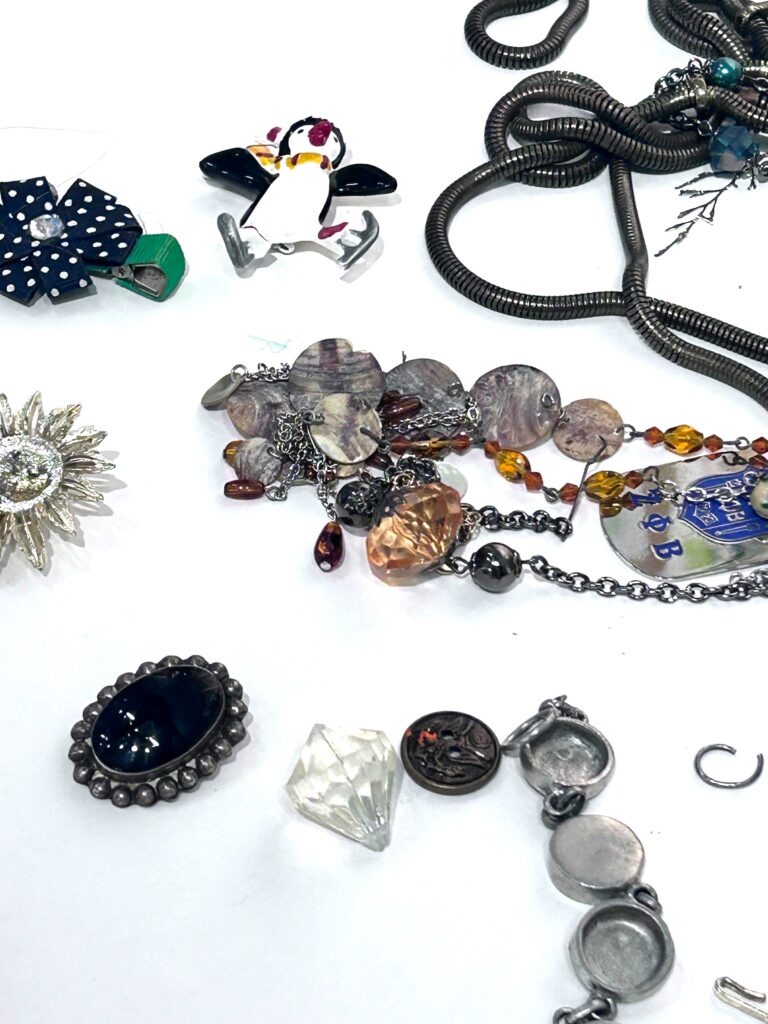
Step 2: Spell out your good
Many of us DIY types, like you, have stashes of items which can be used as letters. I had a bunch of inexpensive jewelry waiting to be given a new role. My bin of miscellaneous items came in handy, too.
There are some many words that are timeless, universal and upbeat, so make a list of ones you love (hey, “love” is a great word, too, for this kind of art, too!).
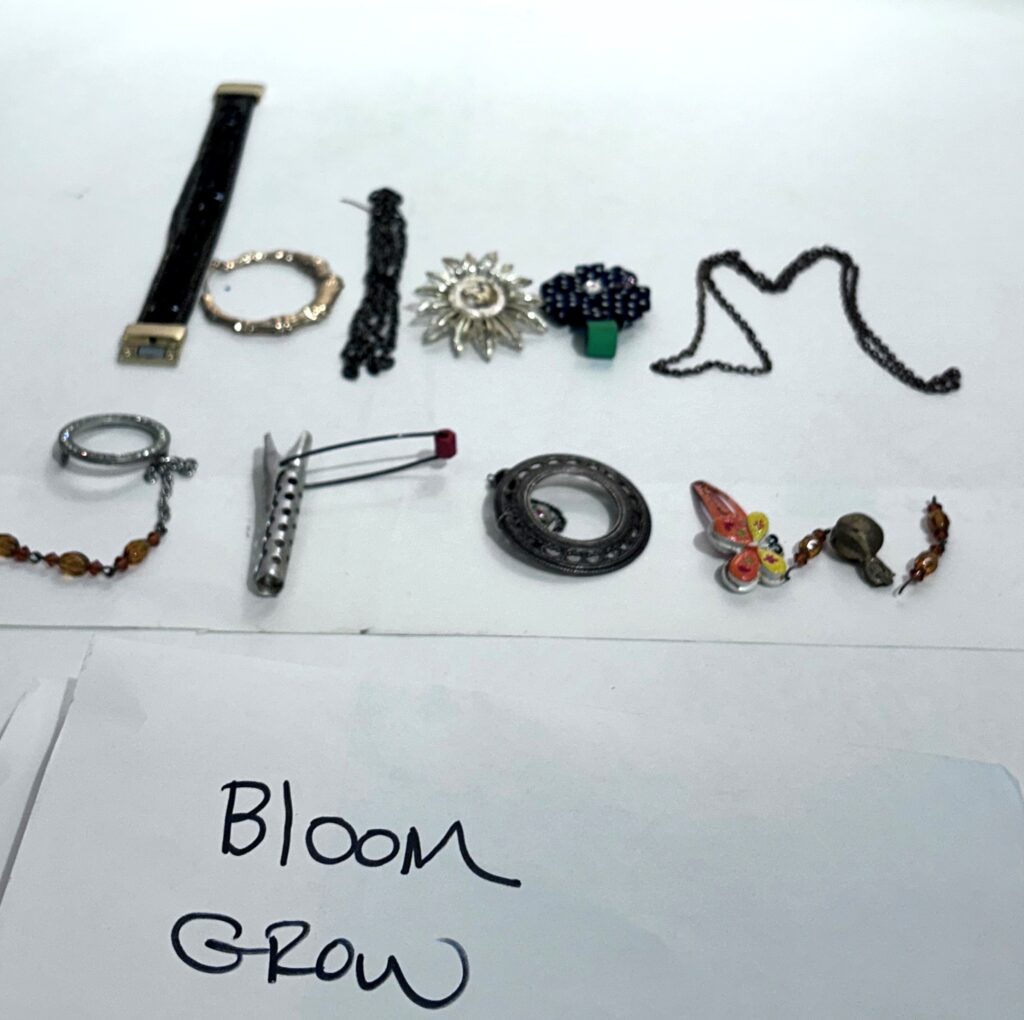
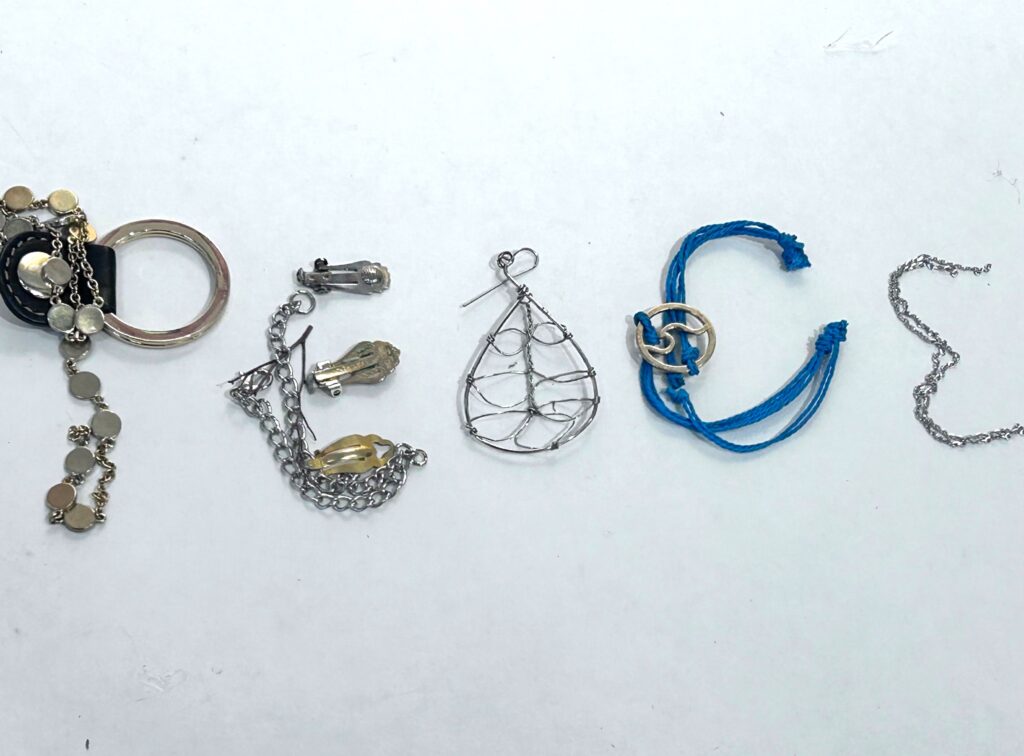
Step 3: Use your frames & canvases as a foundation
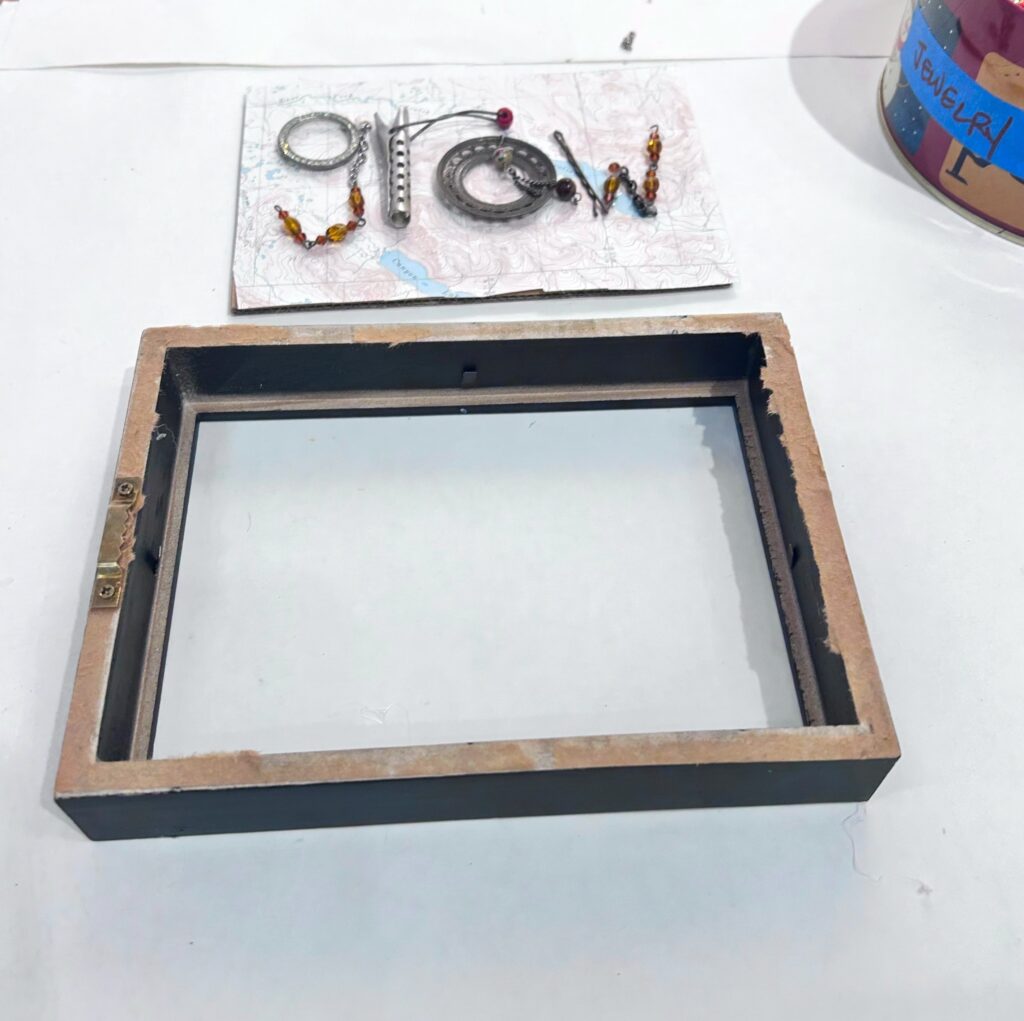
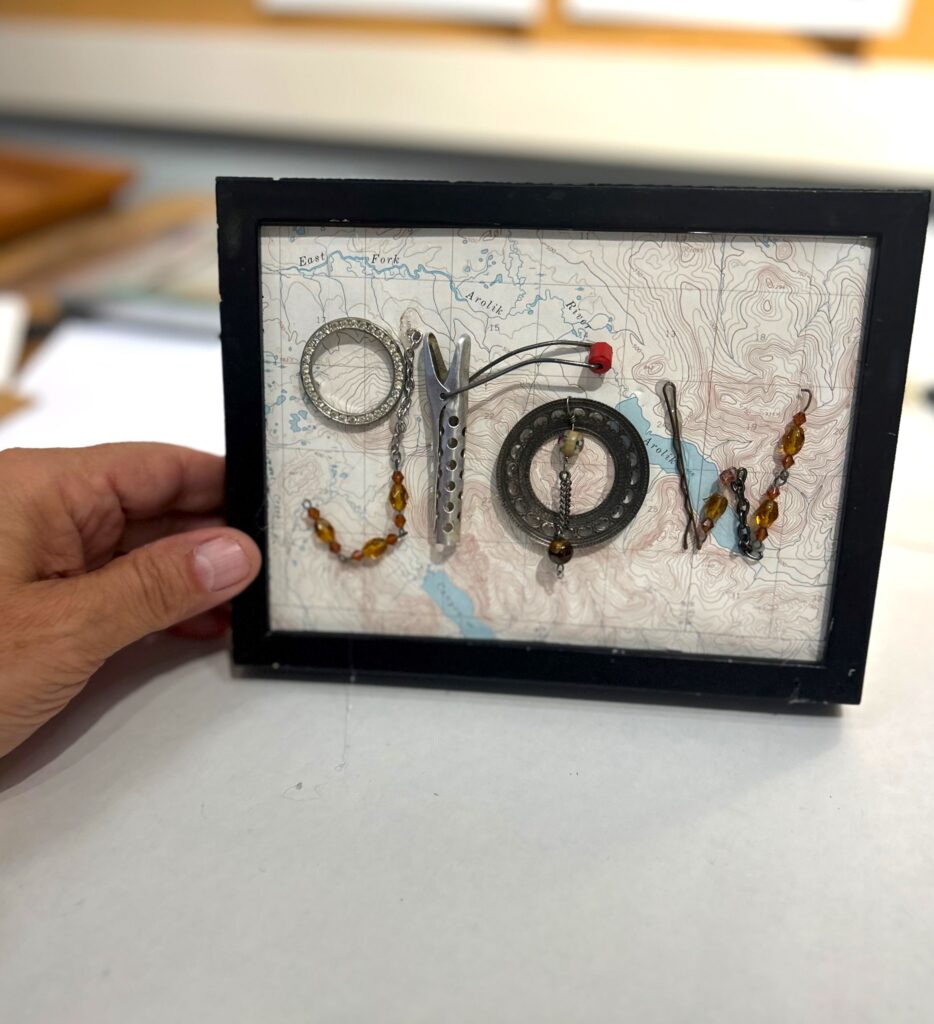
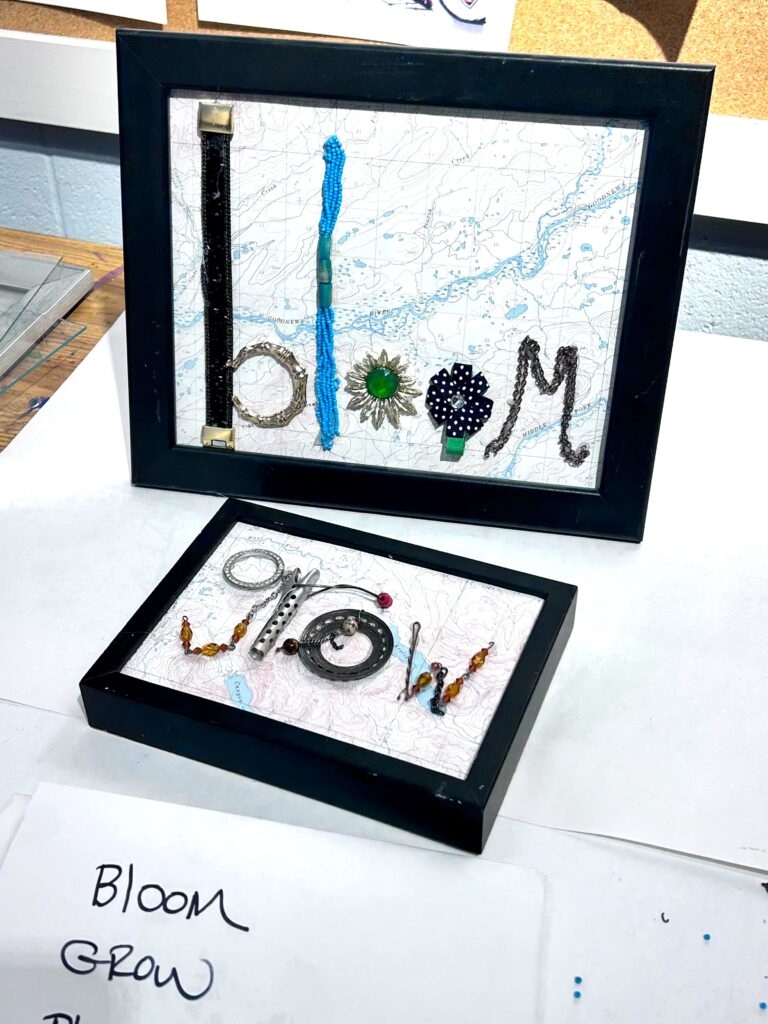
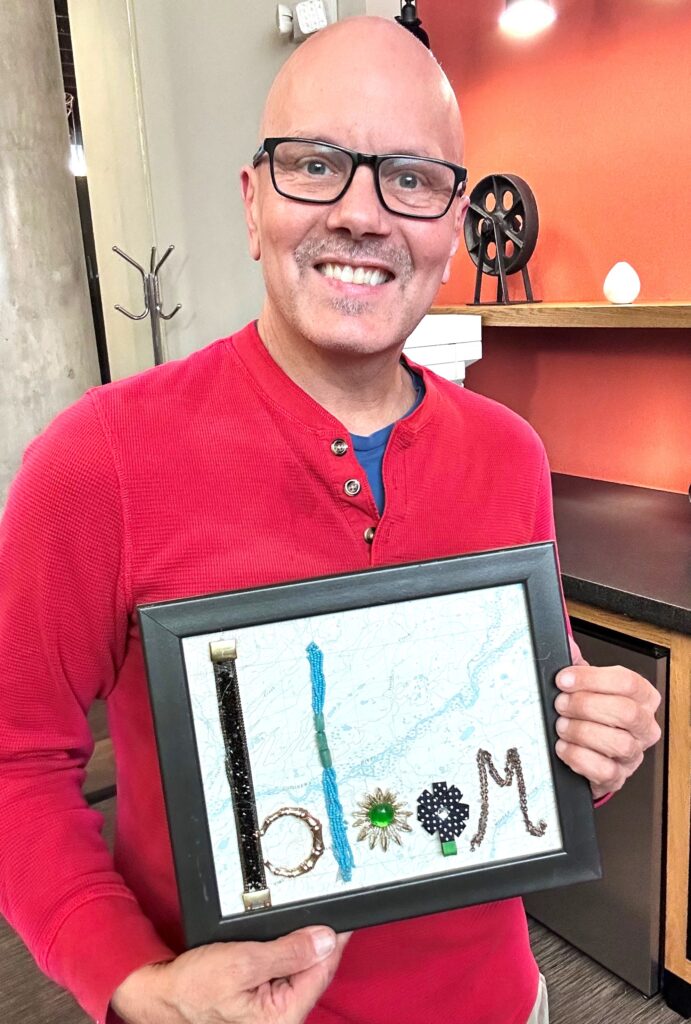
Deconstruct your picture frames, carefully placing any glass parts aside. Keeping with the reuse/repurposing theme, consider using old maps as your word art background. Wrapping paper, book pages and other scrap paper are good options, too. Since I was going for an earth-focused look, I thought the maps were the way to go given their subtle shades, interesting shapes and light lines.
Trace the frame’s backing then cut and glue the map piece in place.
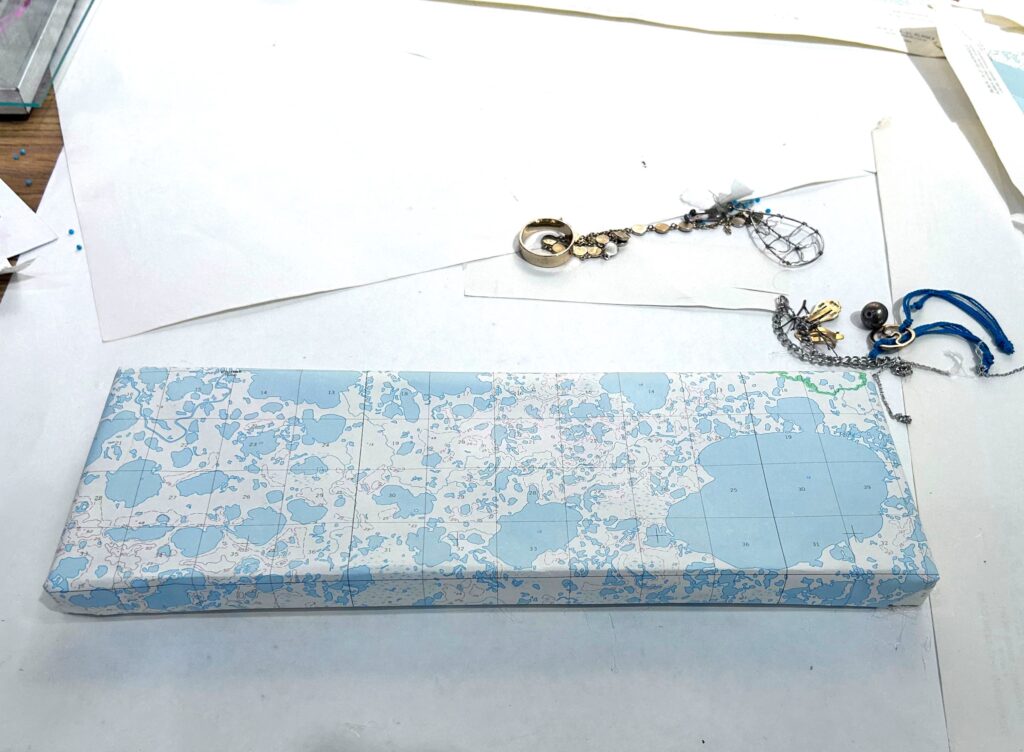
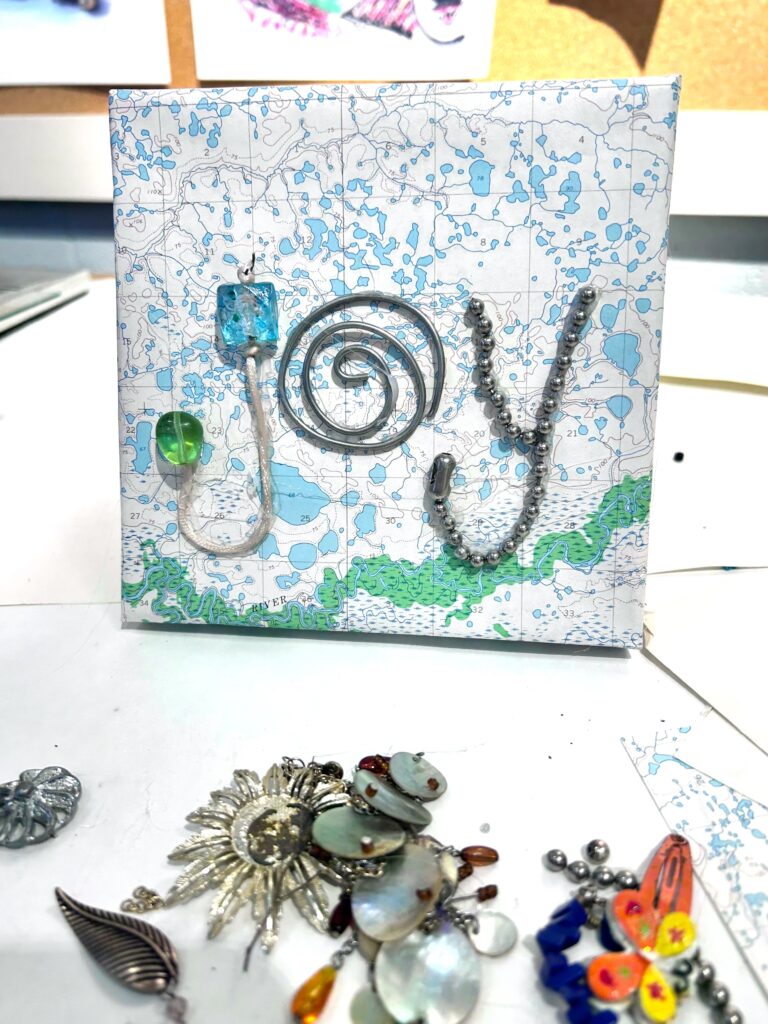
If you secured some small canvases, simply wrap their fronts and sides with the map and glue in place. Cut away any extra paper for a clean and finished look.
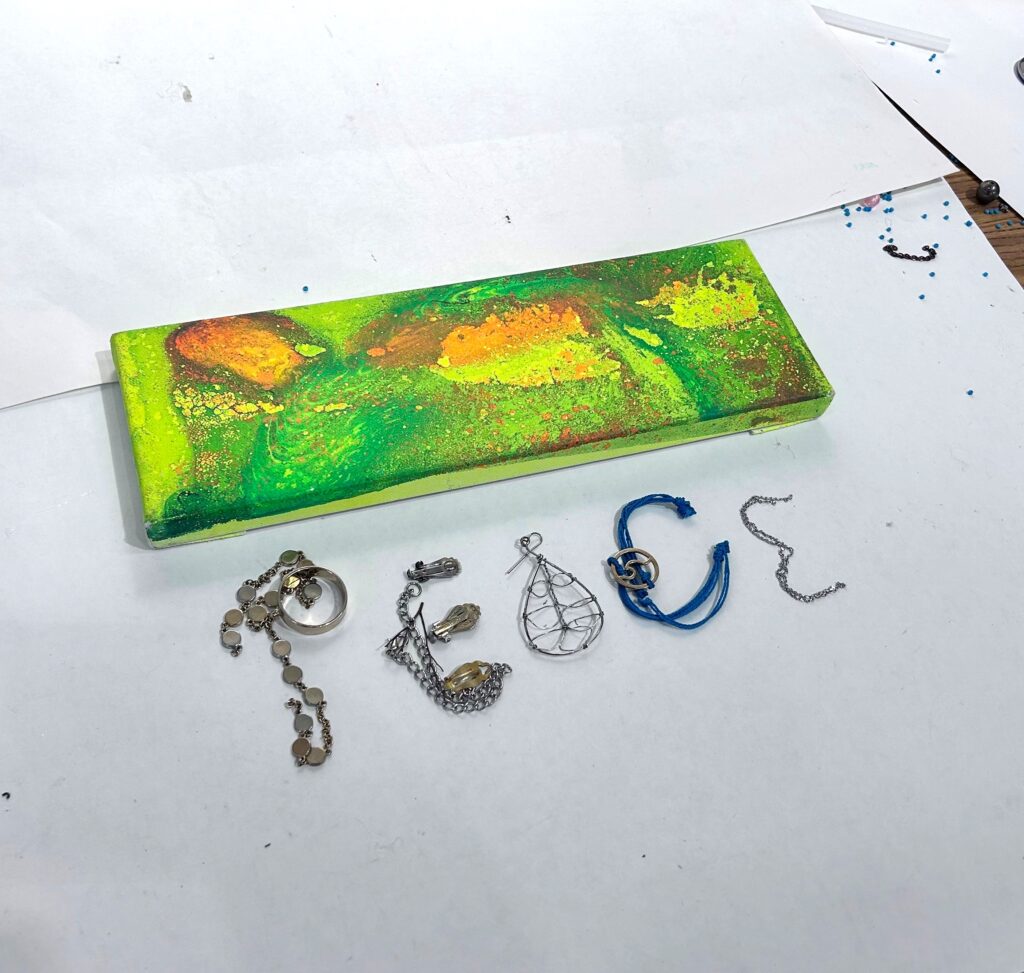

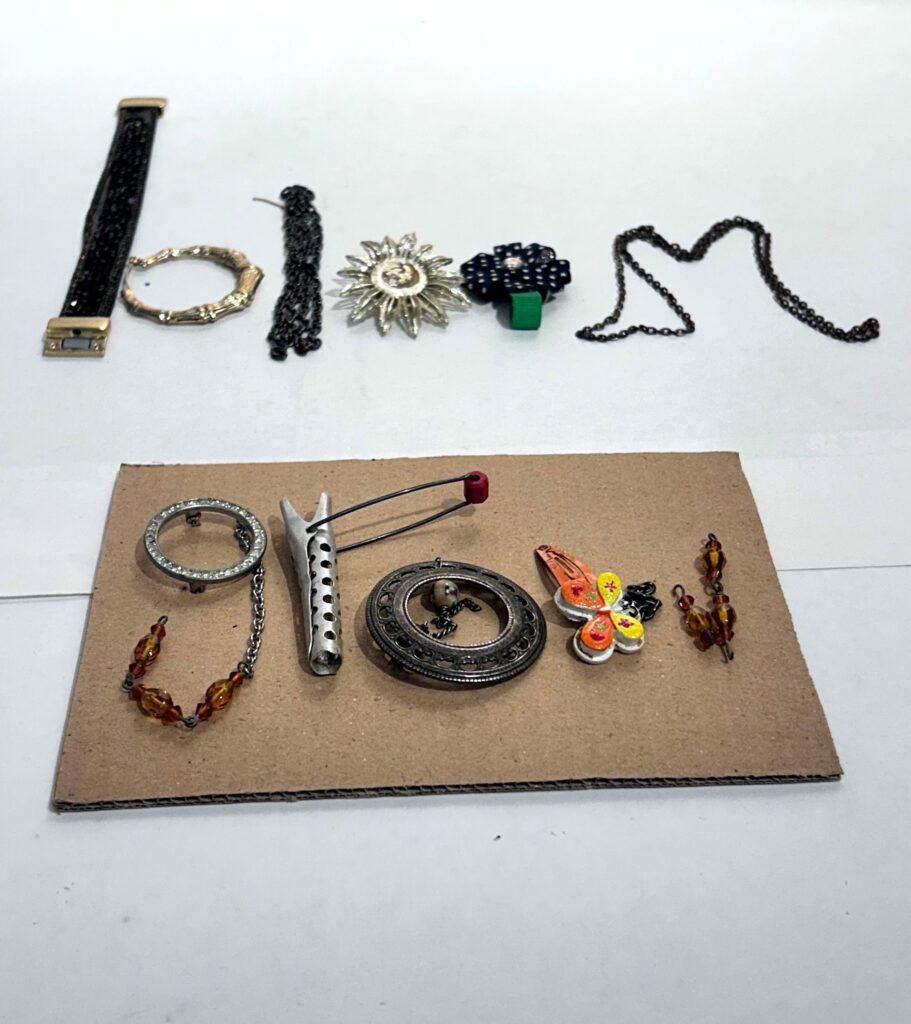
Step 4: Glue your letters in place
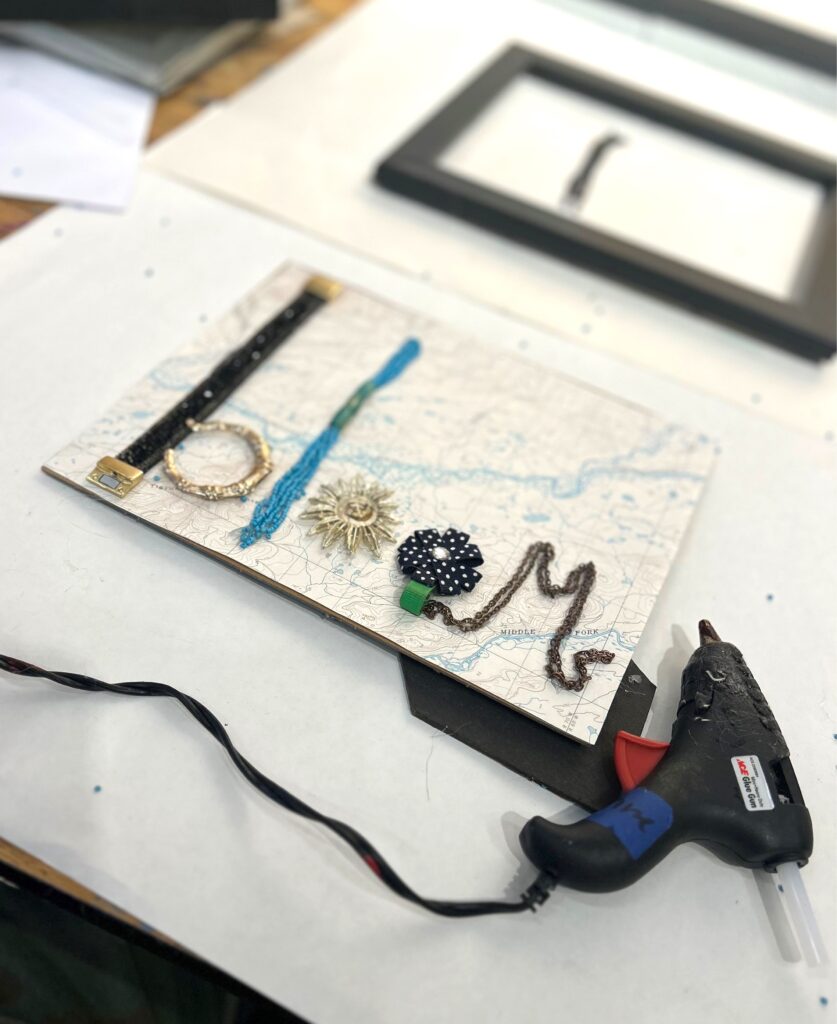
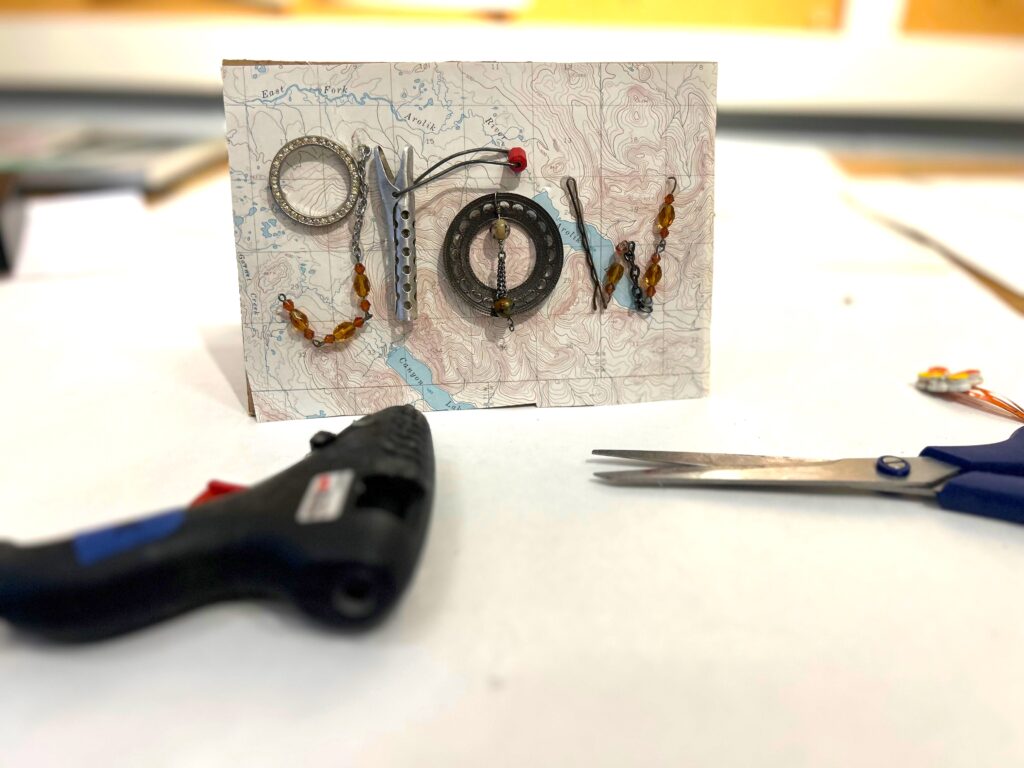
Use your glue gun to adhere your jewelry/knickknack items on your map-covered background. As you are able to see, a sparkling black watch band was paired with a round, gold earring to create a “b” and a blue-beaded bracelet became an “L”. This step is really fun, especially if you are doing this with school-aged children who are learning to spell. If the younger ones are helping, be sure you use the glue gun for them and to keep things safe because it gets hot, hot, hot!
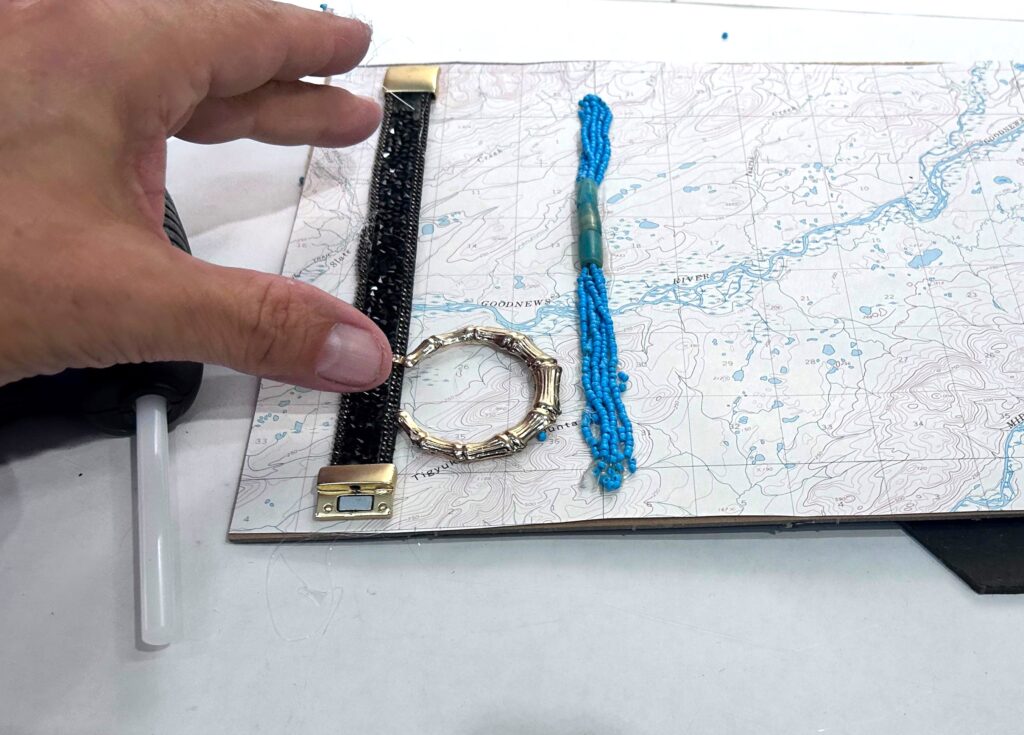


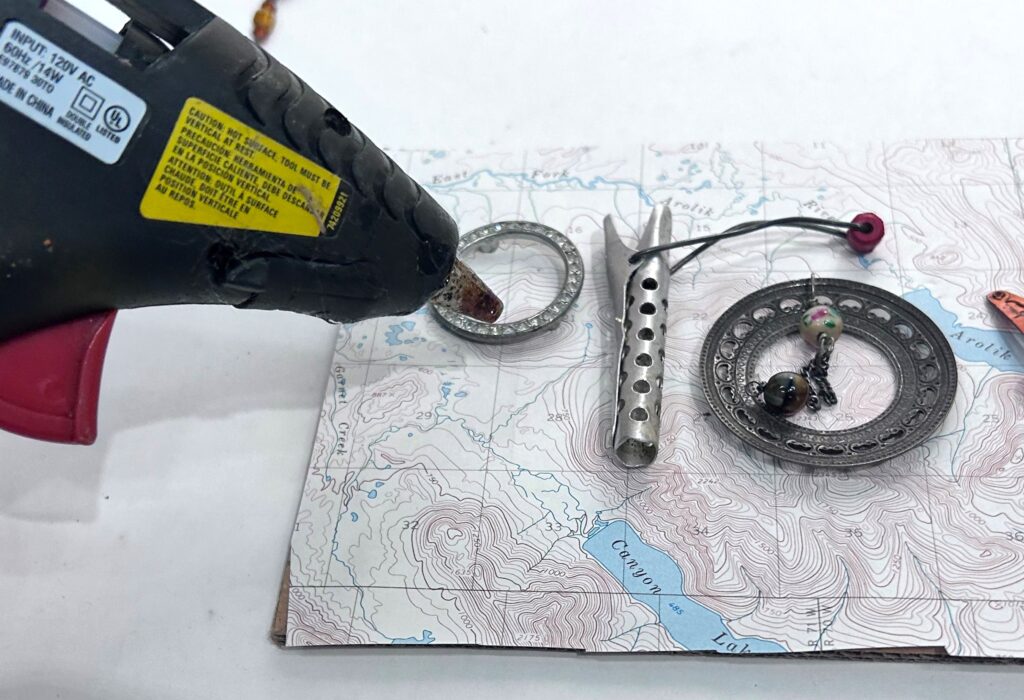
Step 5: Reassemble as needed
If you used a picture frame, carefully reassemble it now; the glass is no longer needed, so carefully add it to your recycling bin. For the map-covered canvas, you can place it on a small easel or add a tiny picture hook on the back for wall hanging.

Step 6: Display with delight, give with glee
Your word art will look happy in any setting, so place it on a shelf with other eye-catching items like vases, books and pottery pieces—all available at Goodwill, too. Hang it on your wall wherever you want a bit of whimsy to make your smile.
These word art pieces make great gifts, so share with those you love for birthdays, the upcoming holiday season—or simply to celebrate today! Those receiving them will say one word for sure: Thanks! Thanks! Thanks!

Similar Reads:

Tim Kime
Artist, Motivational Speaker, Life Coach


