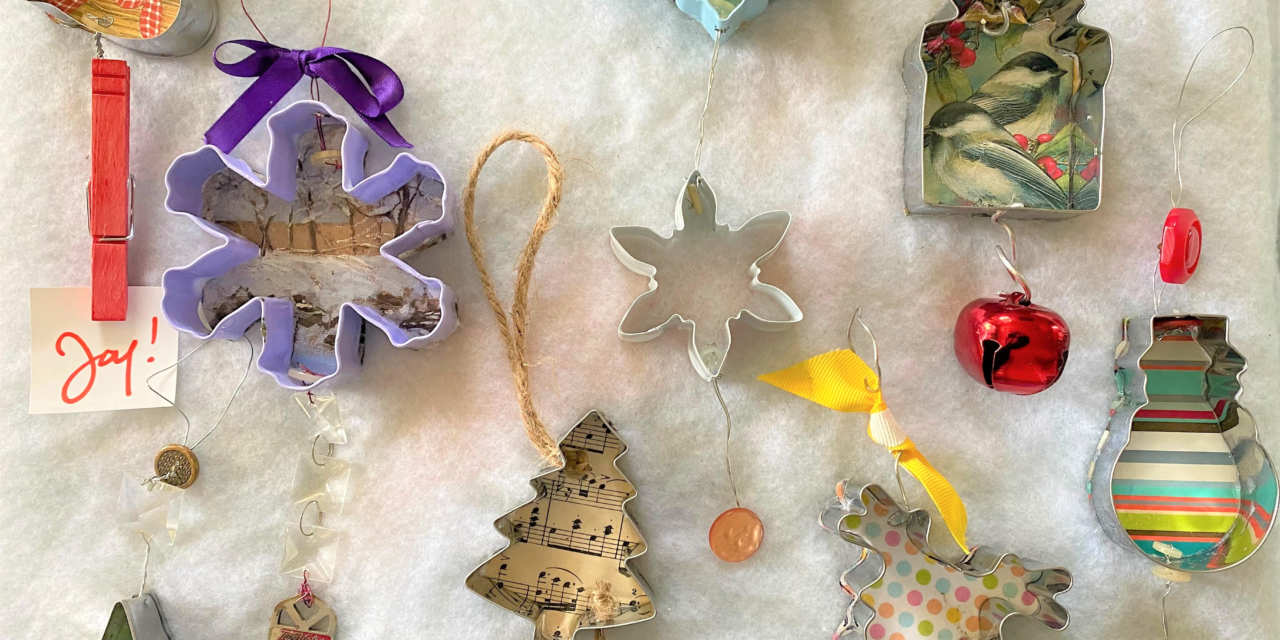
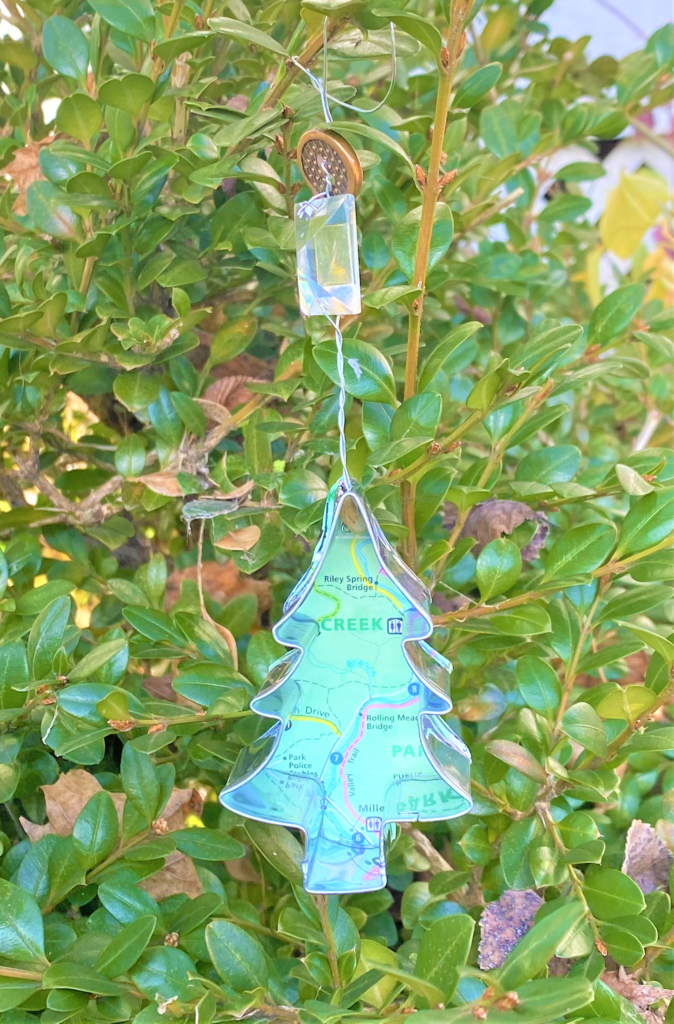
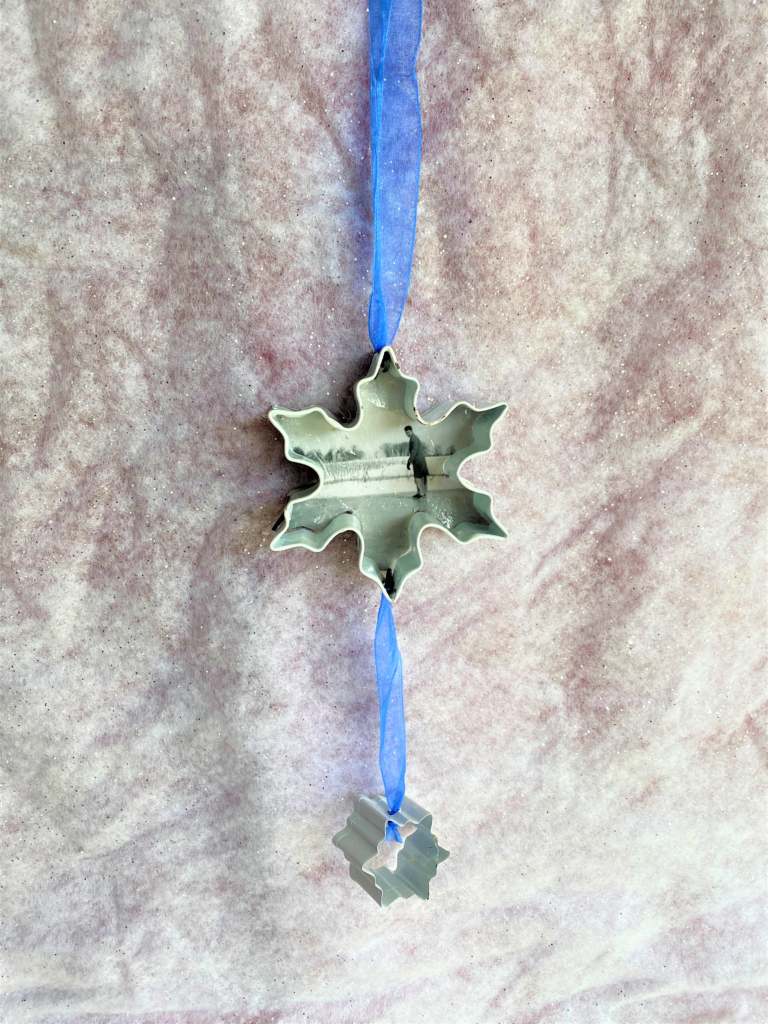
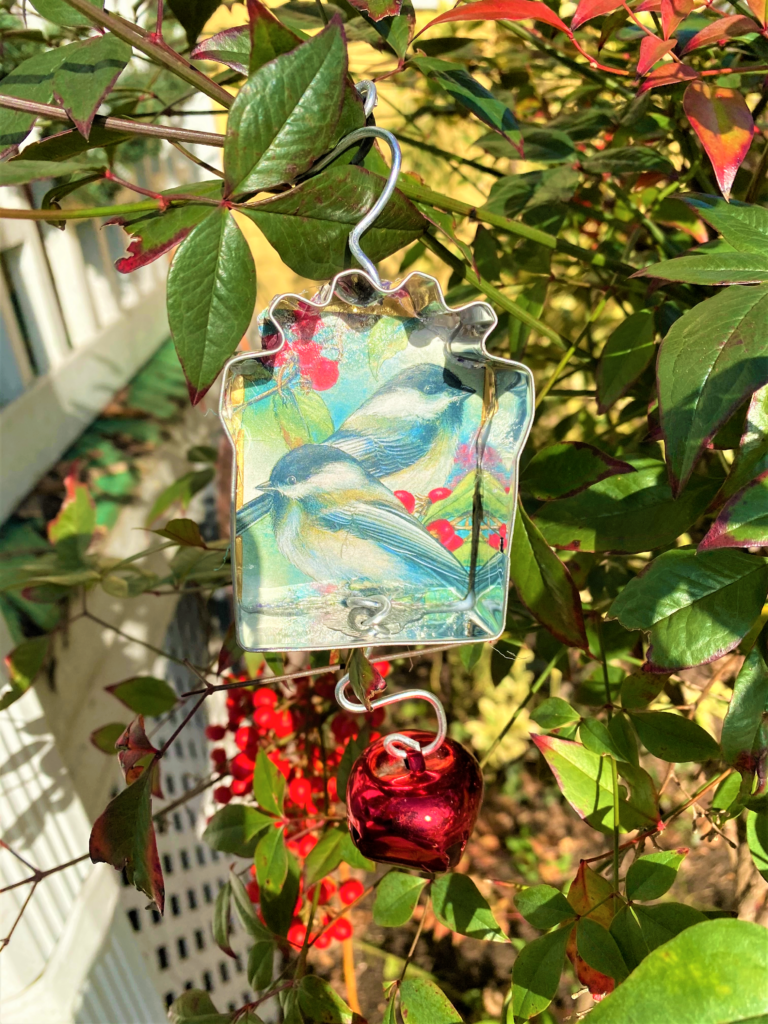
Create a special holiday gift by turning a cookie cutter into an ornament! This soon-to-be treasured present for a loved one (or for you), combines this kitchen tool with old cards/calendars/papers and other embellishments for a really unique piece of holiday décor to hang on the tree or display around your home.
You will be rolling in the dough with all the “oohs” and “aahs” and “thanks” you’re gonna receive!
Supplies:
1. Cookie cutters
2. Drill with bit for metal
3. Paper items (old cards, calendars, wrapping paper, maps)
4. Small scissors
5. Pliers
6. Mod Podge or craft/school glue
7. Glue gun & sticks
8. Foam brush
9. Wire/string/twine/ribbon
10. Items to add on (keys, bells, small ornaments, chandelier crystals)
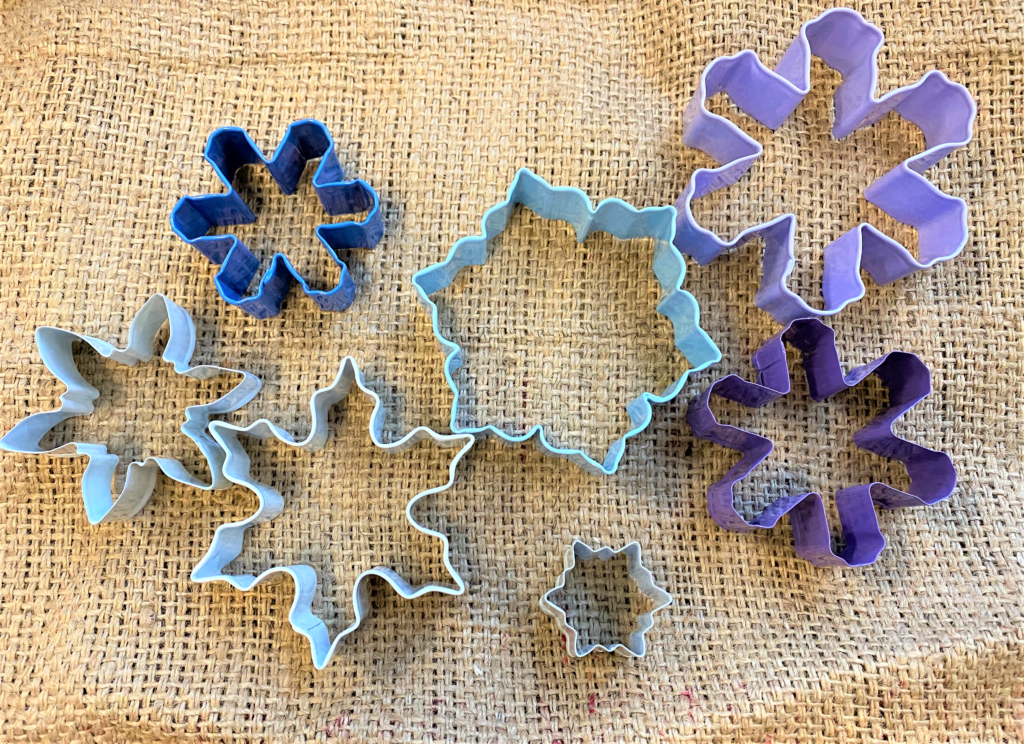
1. Finding your good at Goodwill
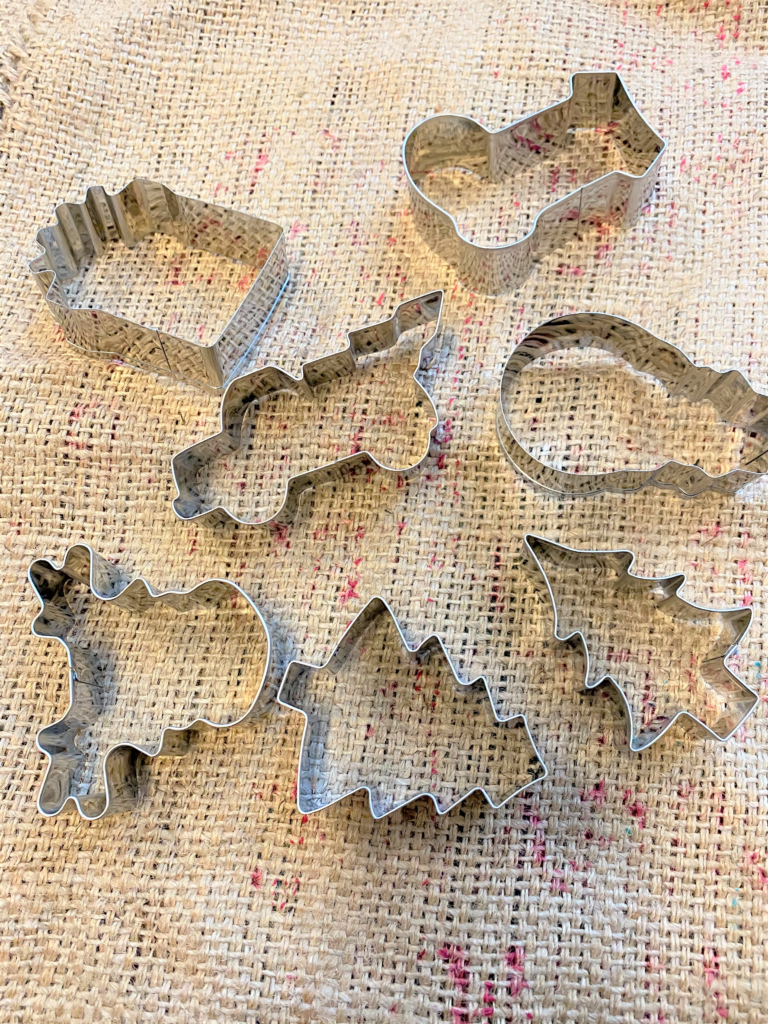
Part of what makes it a fun adventure when you shop at Goodwill is you never know what treasures you will find there. In the Housewares section, look for cookie cutters to take home and transform. Be sure to also scout out items to add to your soon-to-be cool ornaments like ribbon, small Christmas ornaments or even jewelry parts to reuse and to add more bling and visual delight to your pieces.
2. Drill holes for hangers
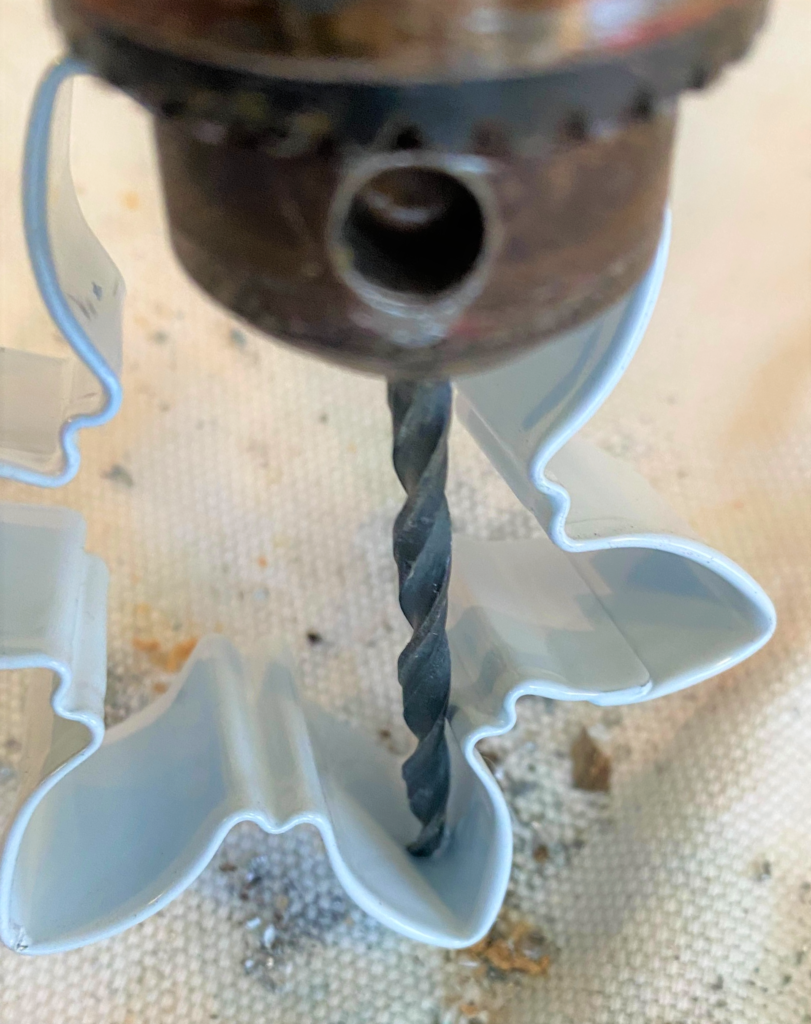
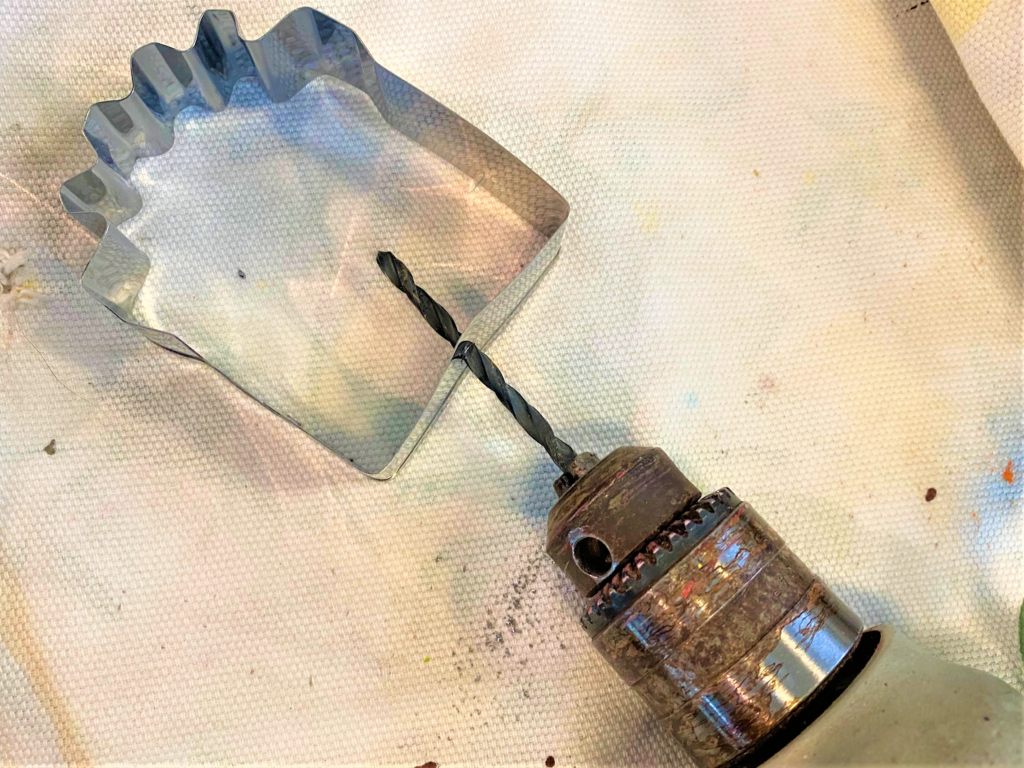
- With your drill and a special bit for metal, make two holes in each of your larger cookie cutters. Be careful when drilling so wear projective goggles to keep your eyes safe.
- Add a hole on top where the wire/twine/ribbon will go and be used as its hanger.
- Drill another one at the bottom so you may add whimsical and holiday-related embellishments.
- Enlist your pliers to clamp down and smooth out jagged edges around the holes to keep big and little fingers safe.
3. Trace & cut your paper
While a cookie cutter might look nice as it is to hang on your tree, we want to make it truly a small work of art by personalizing it and making it your own. Think of it as a mini frame in a very unusual shape!

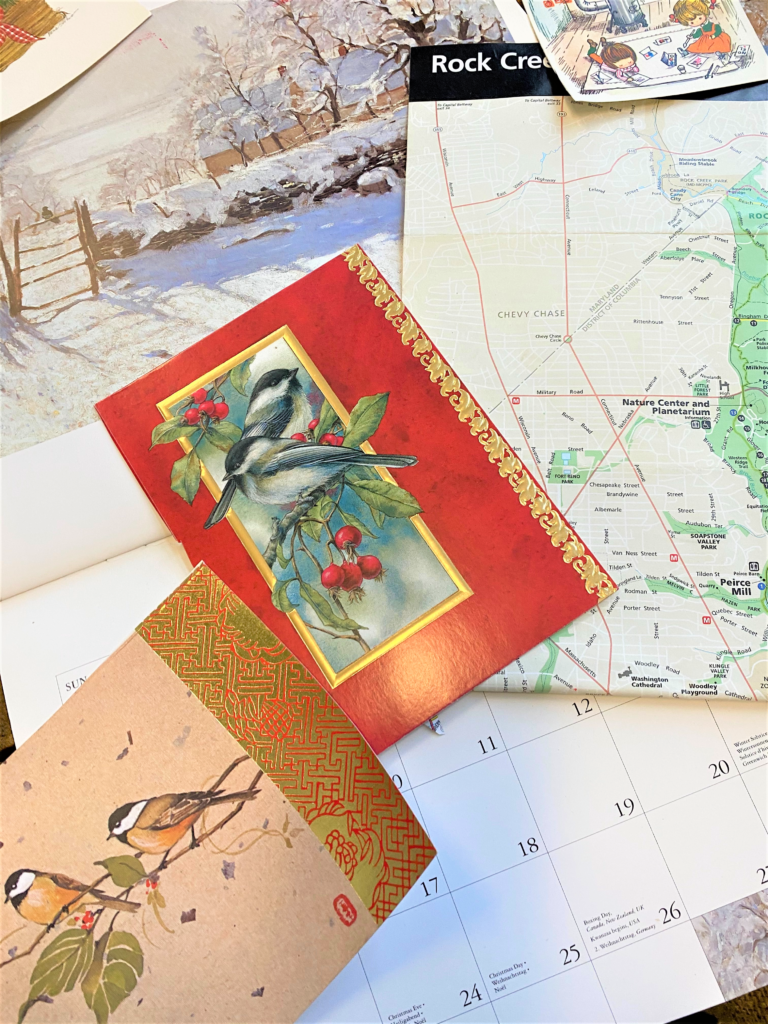
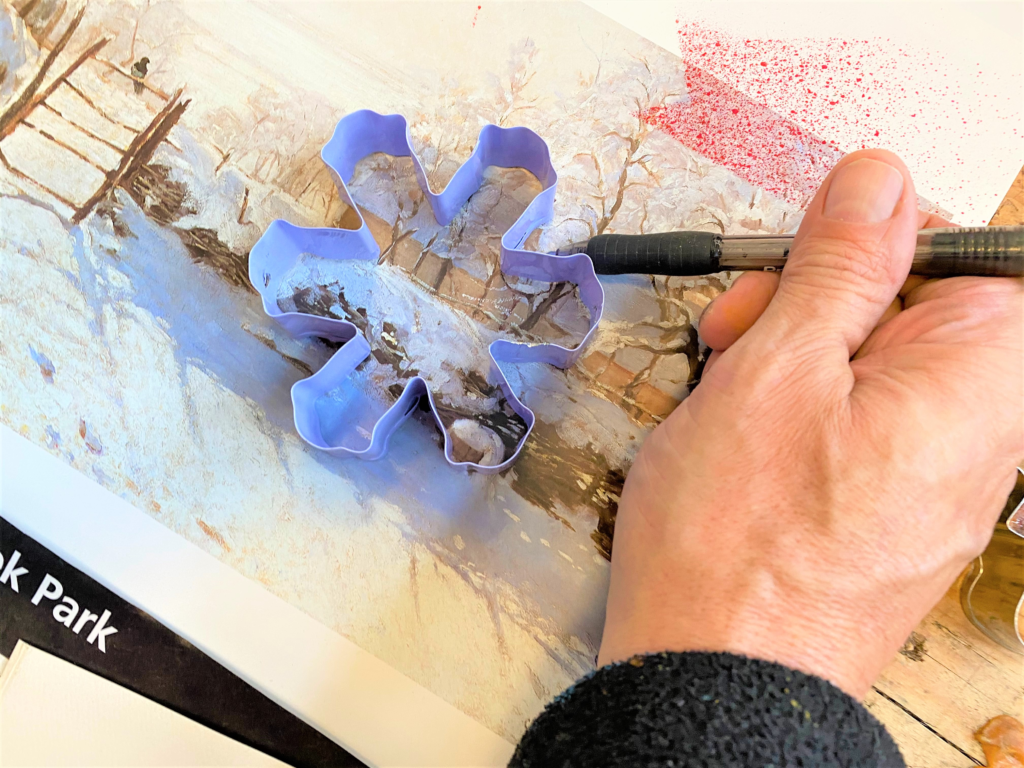
Therefore, pick a piece of paper, then trace around your cookie cutter on it. Reuse parts of an old card. Have a winter scene from an out-of-date calendar? Use it.
For the paper used for these cookie cutter ornaments, I went to my paper collection bin.
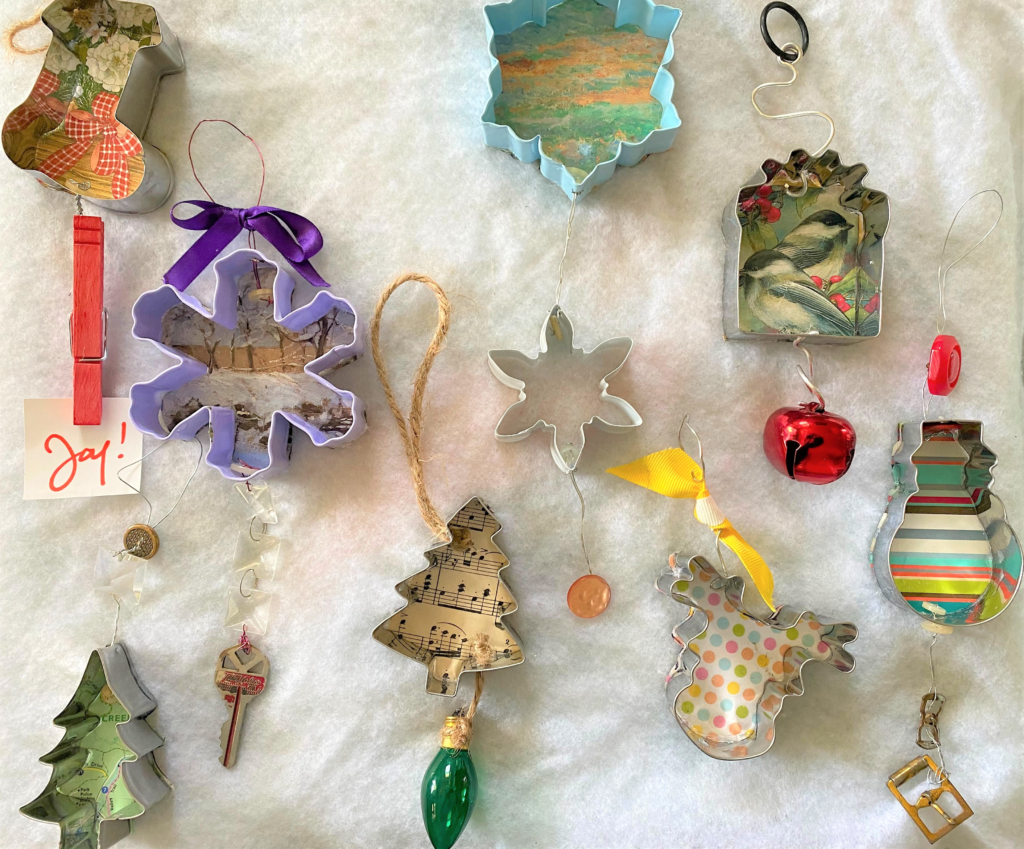
- Sheet music and a local DC map made for memorable, creative options.
- I used a striped gift bag because it was appealing too!
- What might you have on hand to reuse for this project?
- An old family photo?
- A postcard from a special trip?
- Even a child’s report card would be fun when cut out and trimmed.
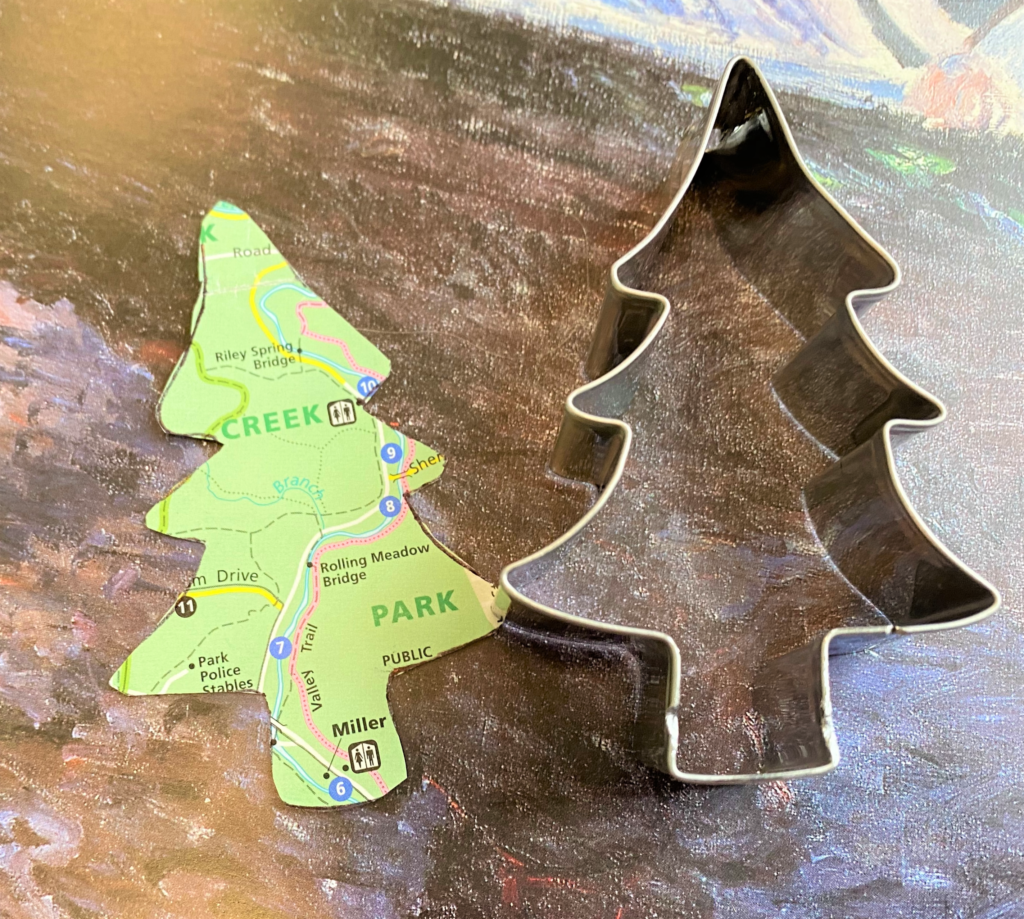
Carefully trace around your cookie cutter then use a small pair of scissors to cut it out. For this project, this is the hardest step—which is truly very easy—and just takes a little care and time!
4. Glue things together
This project is all about using what you already have. If you have Mod Podge on hand, use it!
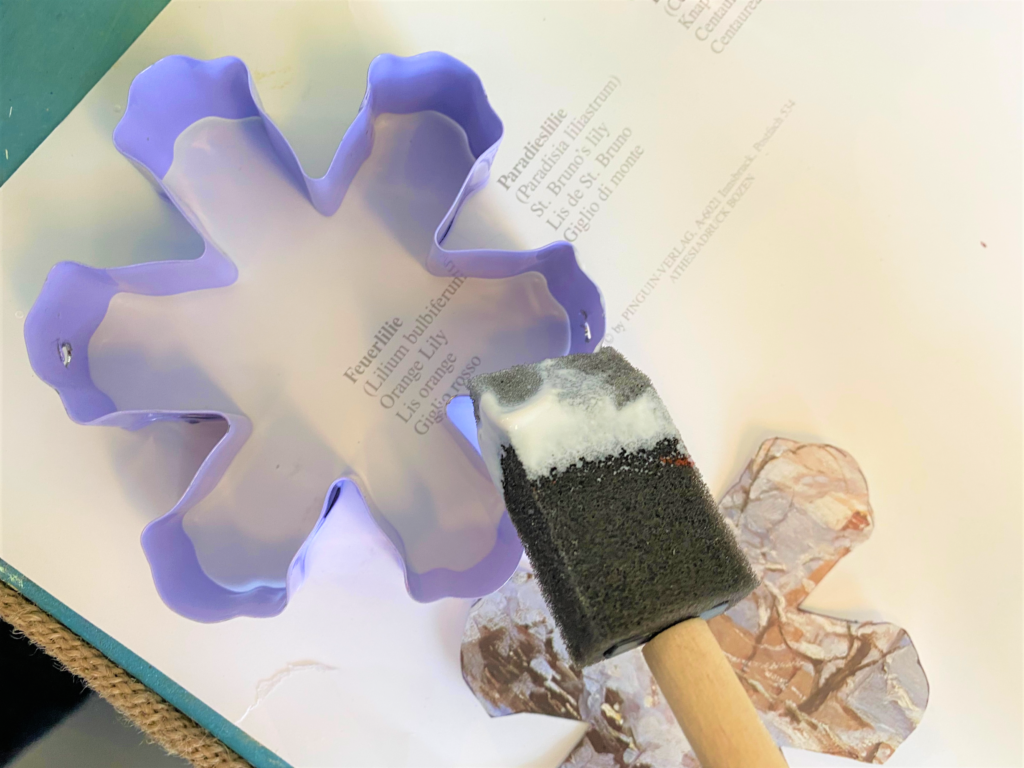
- With a foam brush, add a light layer to the back of the cookie cutter and place the cut out paper on it.
- If you have school or craft glue, enlist it for this step.
- Let the glue dry well and go back with your glue gun to touch up parts that might not be attached completely.
5. Tie one on—your hanger that is
Again, using what you have, add a hanger to the top hole. Thread your twine through it and knot it to hold in place. Or insert of piece of wire then twist it to secure it. Be sure to leave a good sized loop at the top so your tree branch will fit through it. I had buttons in my stash of items so I used those to help secure the wire in place and add more color or visual interest.
6. Embellish/accessorize away
- Add a piece of twine/wire/ribbon through the bottom hole.
- Tie it on an unused key, small Christmas ornament or even an old chandelier crystal to make your piece really pretty and very special. There are so many small items you could use to add extra charm and whimsy to you ornament.
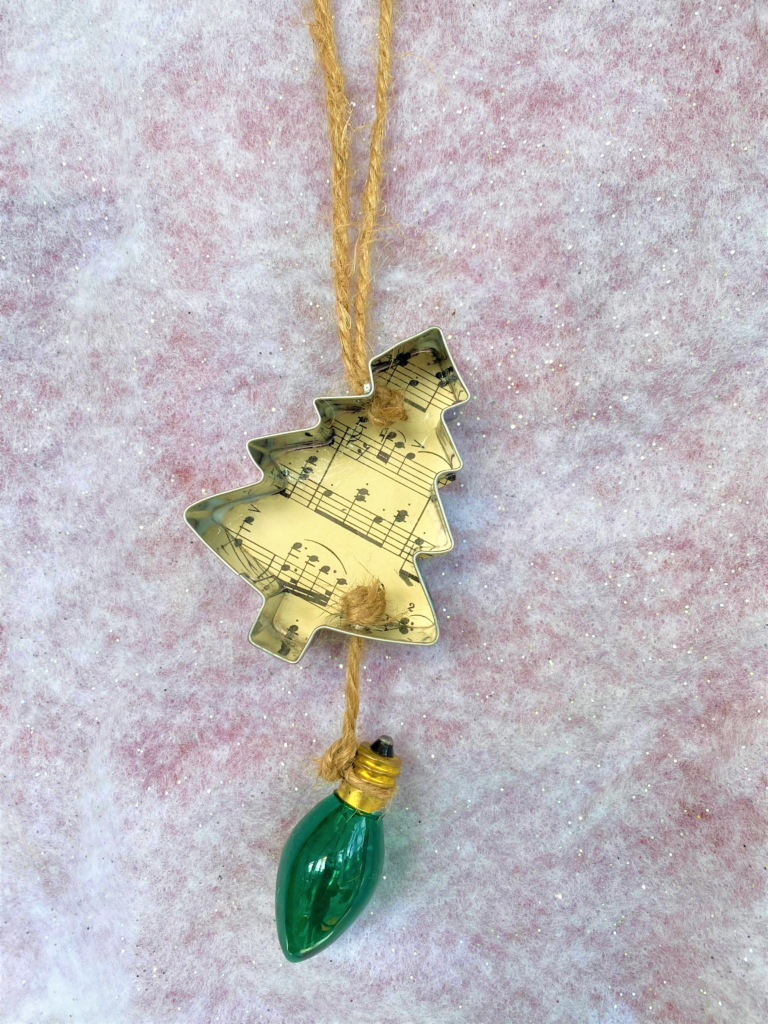

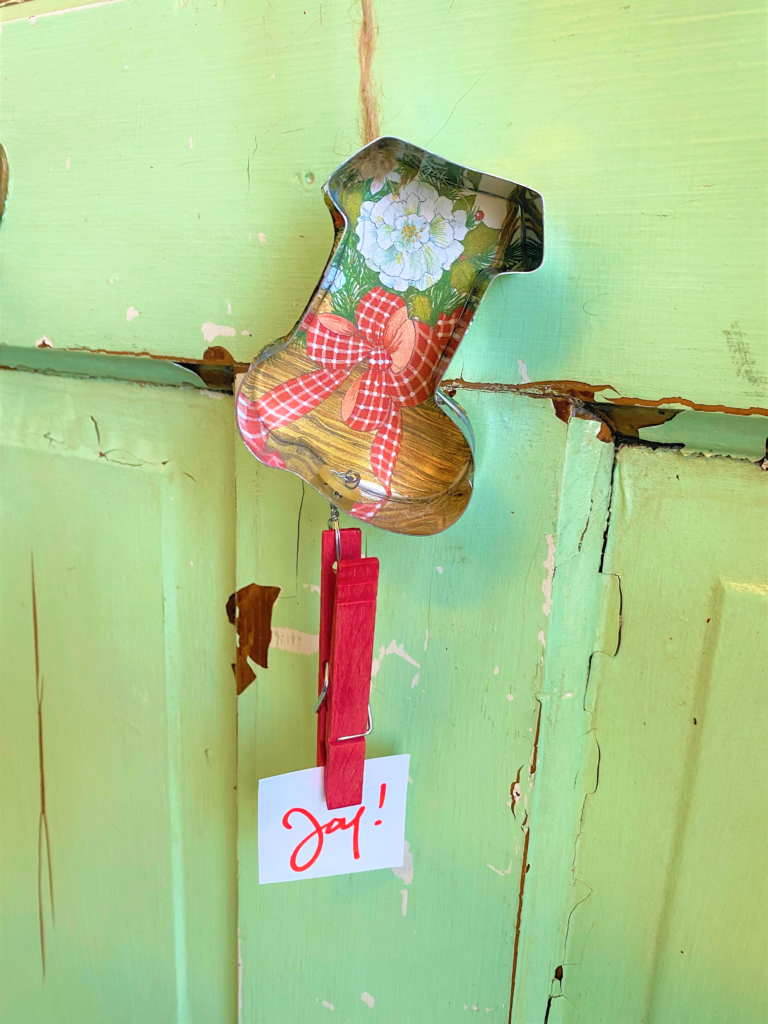
Again, what do you have on hand? An inexpensive ring or small earring? What about a nut and bold? A jingle bell? A clothes pin so you may clip a message in it?
7. Place on your tree or give as a gift
This is the season of giving so these make great gifts for anyone on your list. Keep several for yourself to hang on your tree or to help add some holiday cheer in other parts of your home.
These eye-catching ornaments will be appreciated by kids of all ages. This makes a great DIY project for family time during this most wonderful time of the year!


Tim Kime
Artist, Motivational Speaker, Life Coach


