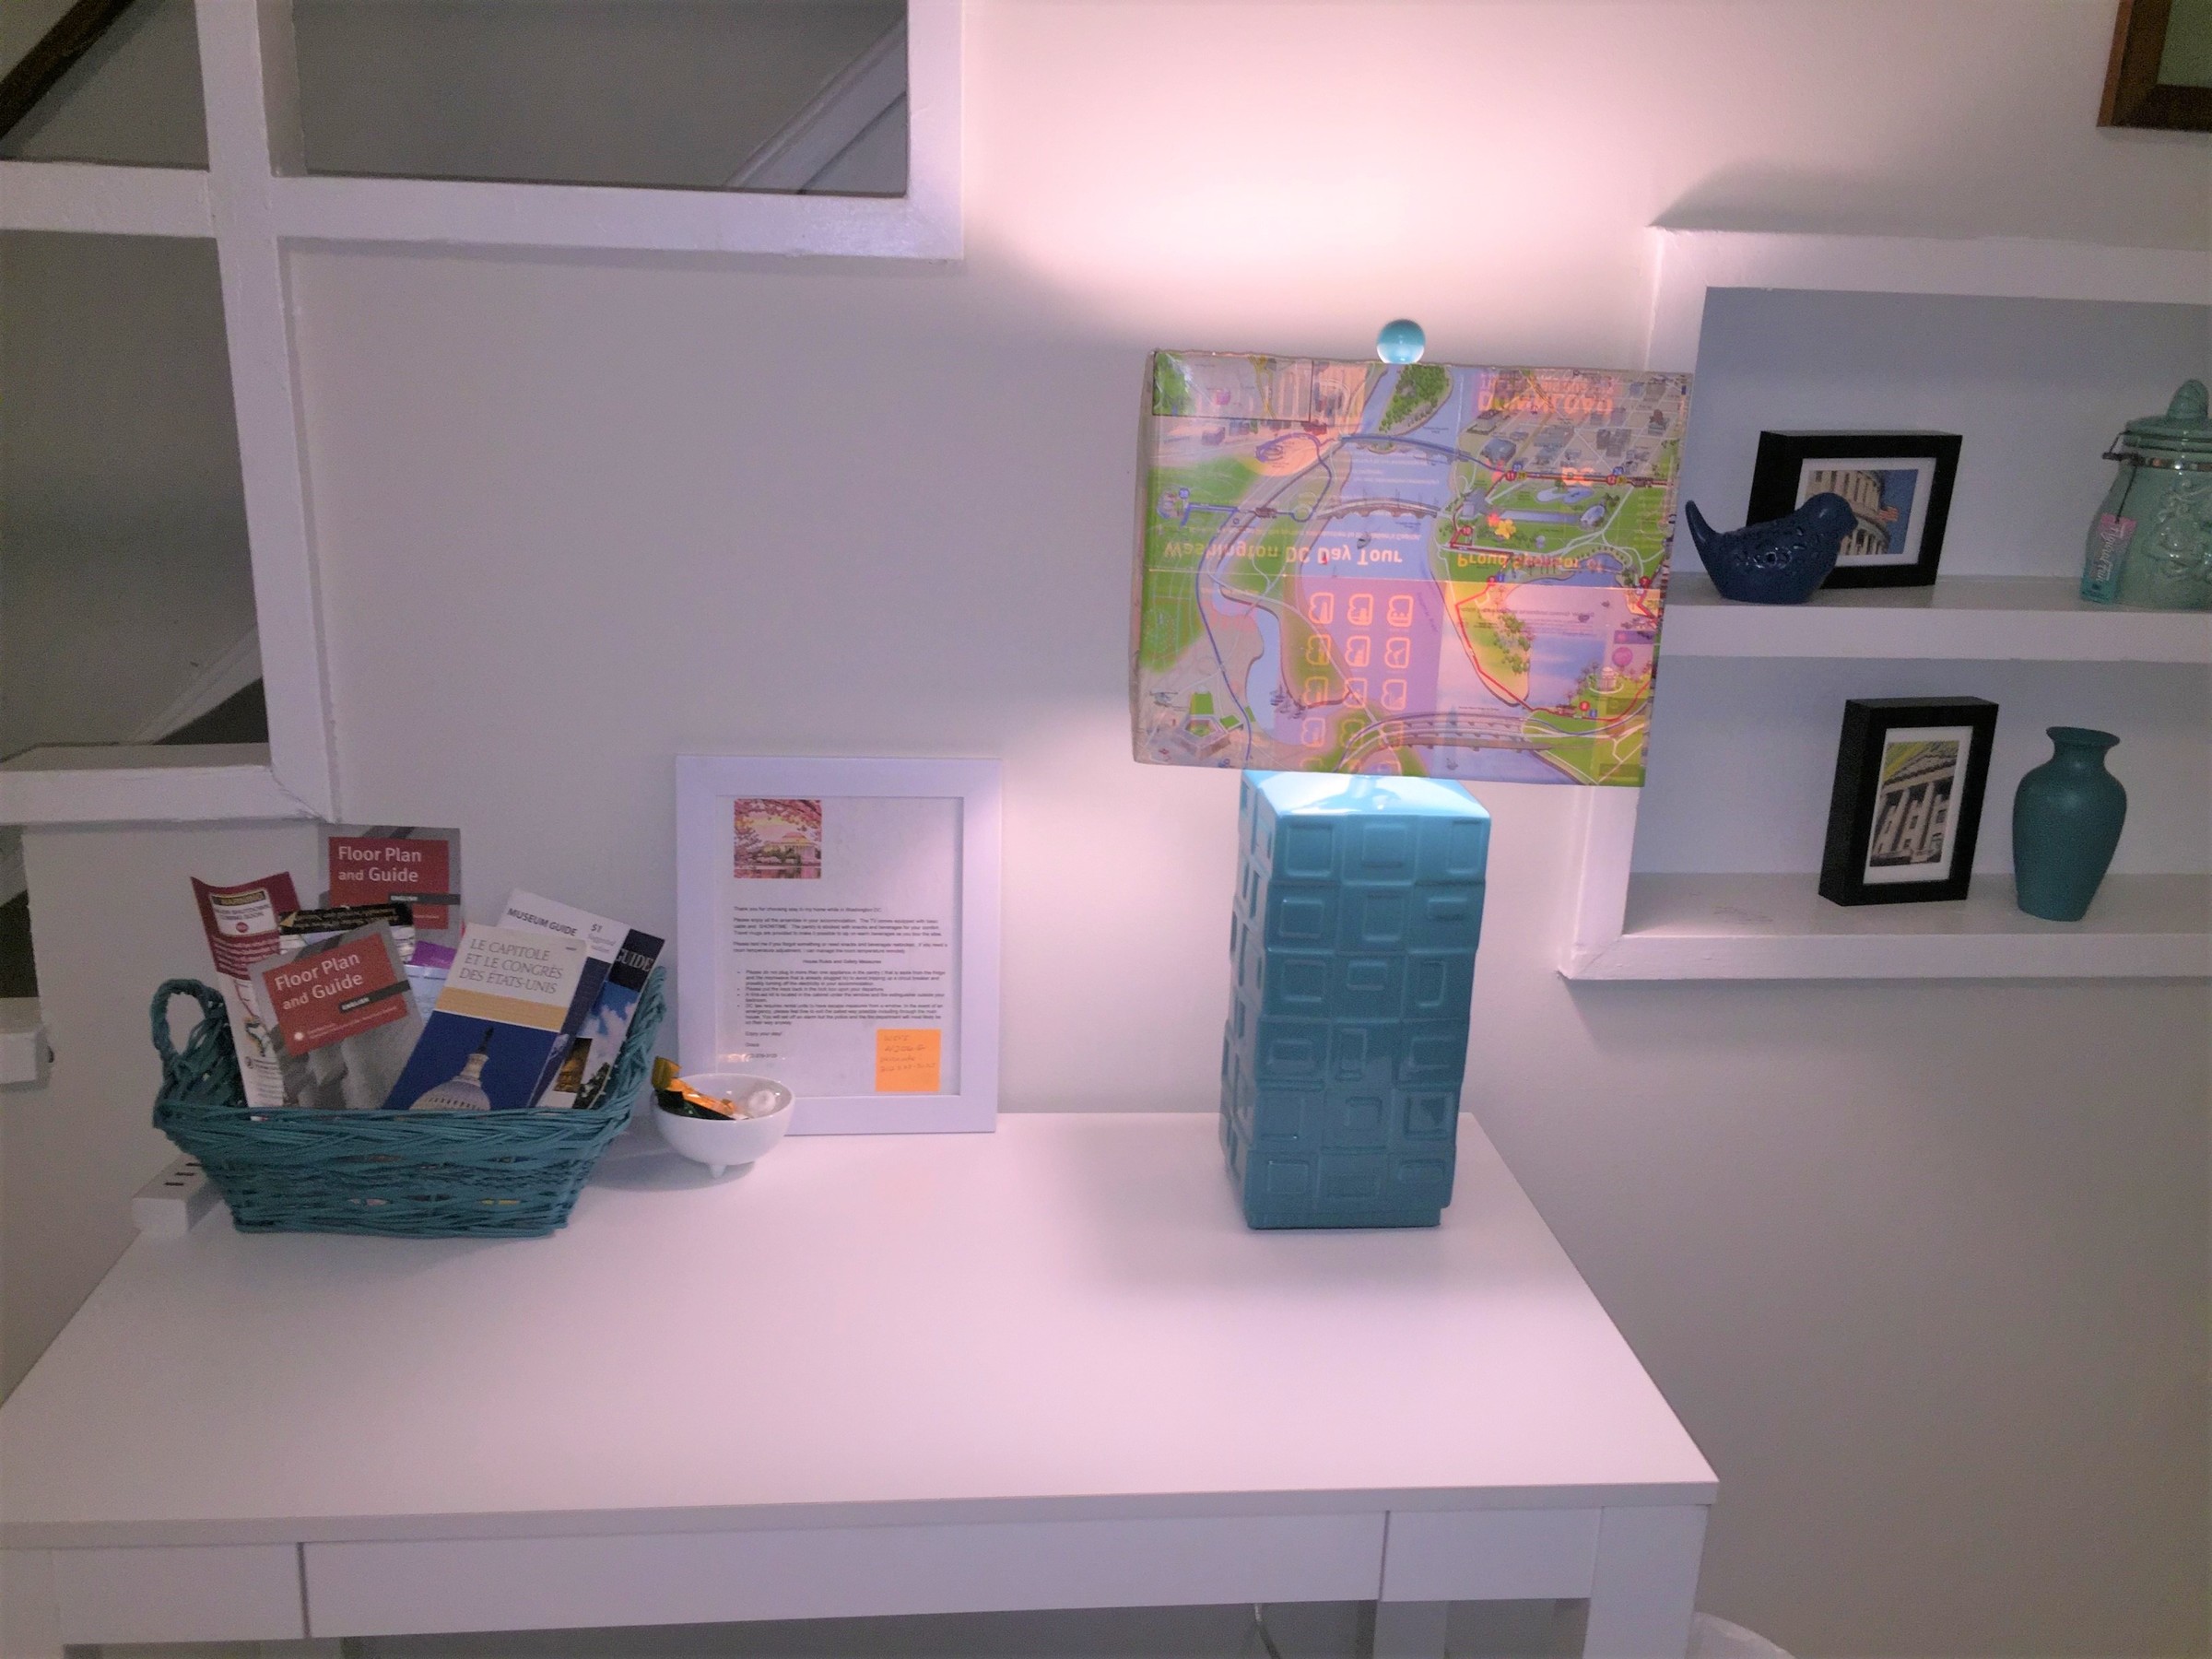
When thinking about upcycling items, take the road to success by using maps. Turn blank slates into eye-catching spaces by decoupaging lampshades and canvases with these traveling tools featuring your favorite place or hometown.
Ability level: Moderate
Age Level: Teens and adults
Items needed:
- Lampshades
- Canvases
- Maps
- Modge Podge
- Paintbrush
- Scissors
- Pen or marker
- Spray paint (optional)
- Glue gun & glue sticks (optional)
Time requirement: 2 hours (not including Modge Podge drying time)
Cost: Approximately $15
- $10 for lamp with shade
- $3 for canvas
- $5 for Modge Podge
- $0 for maps
Step 1: Take an expedition to Goodwill
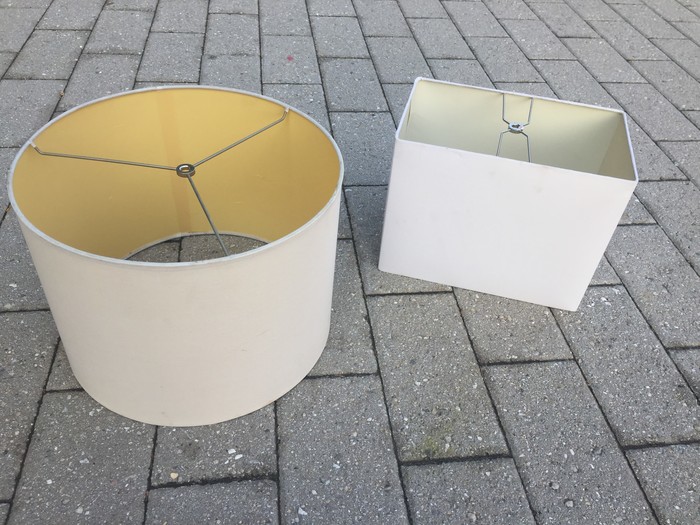
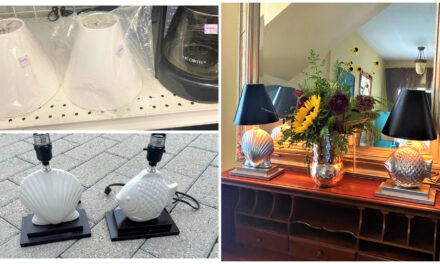
Grab your compass or your GPS and let it guide you right to your local Goodwill retail store where a world-class adventure awaits! Destination 1: the artwork section. Most Goodwills have boatloads of artwork in frames and on canvas that are great just as they are. However, for this project hunt for artwork created from canvases, meaning no frames or glass, just a wooden frame with canvas stretched over it. Look beyond the images on the front as you will cover over it. Destination 2: the electronics/lamp section. In this area, find lamps with shades which are white or beige and are smooth with no embellishments. Ideally, your lamp base will also be one in a color that won’t compete with the map when added to the shade. If you don’t like the hue of the base but it has a nice shape and lines, you can always change the color with spray paint.
Step 2: Collect and cut your maps
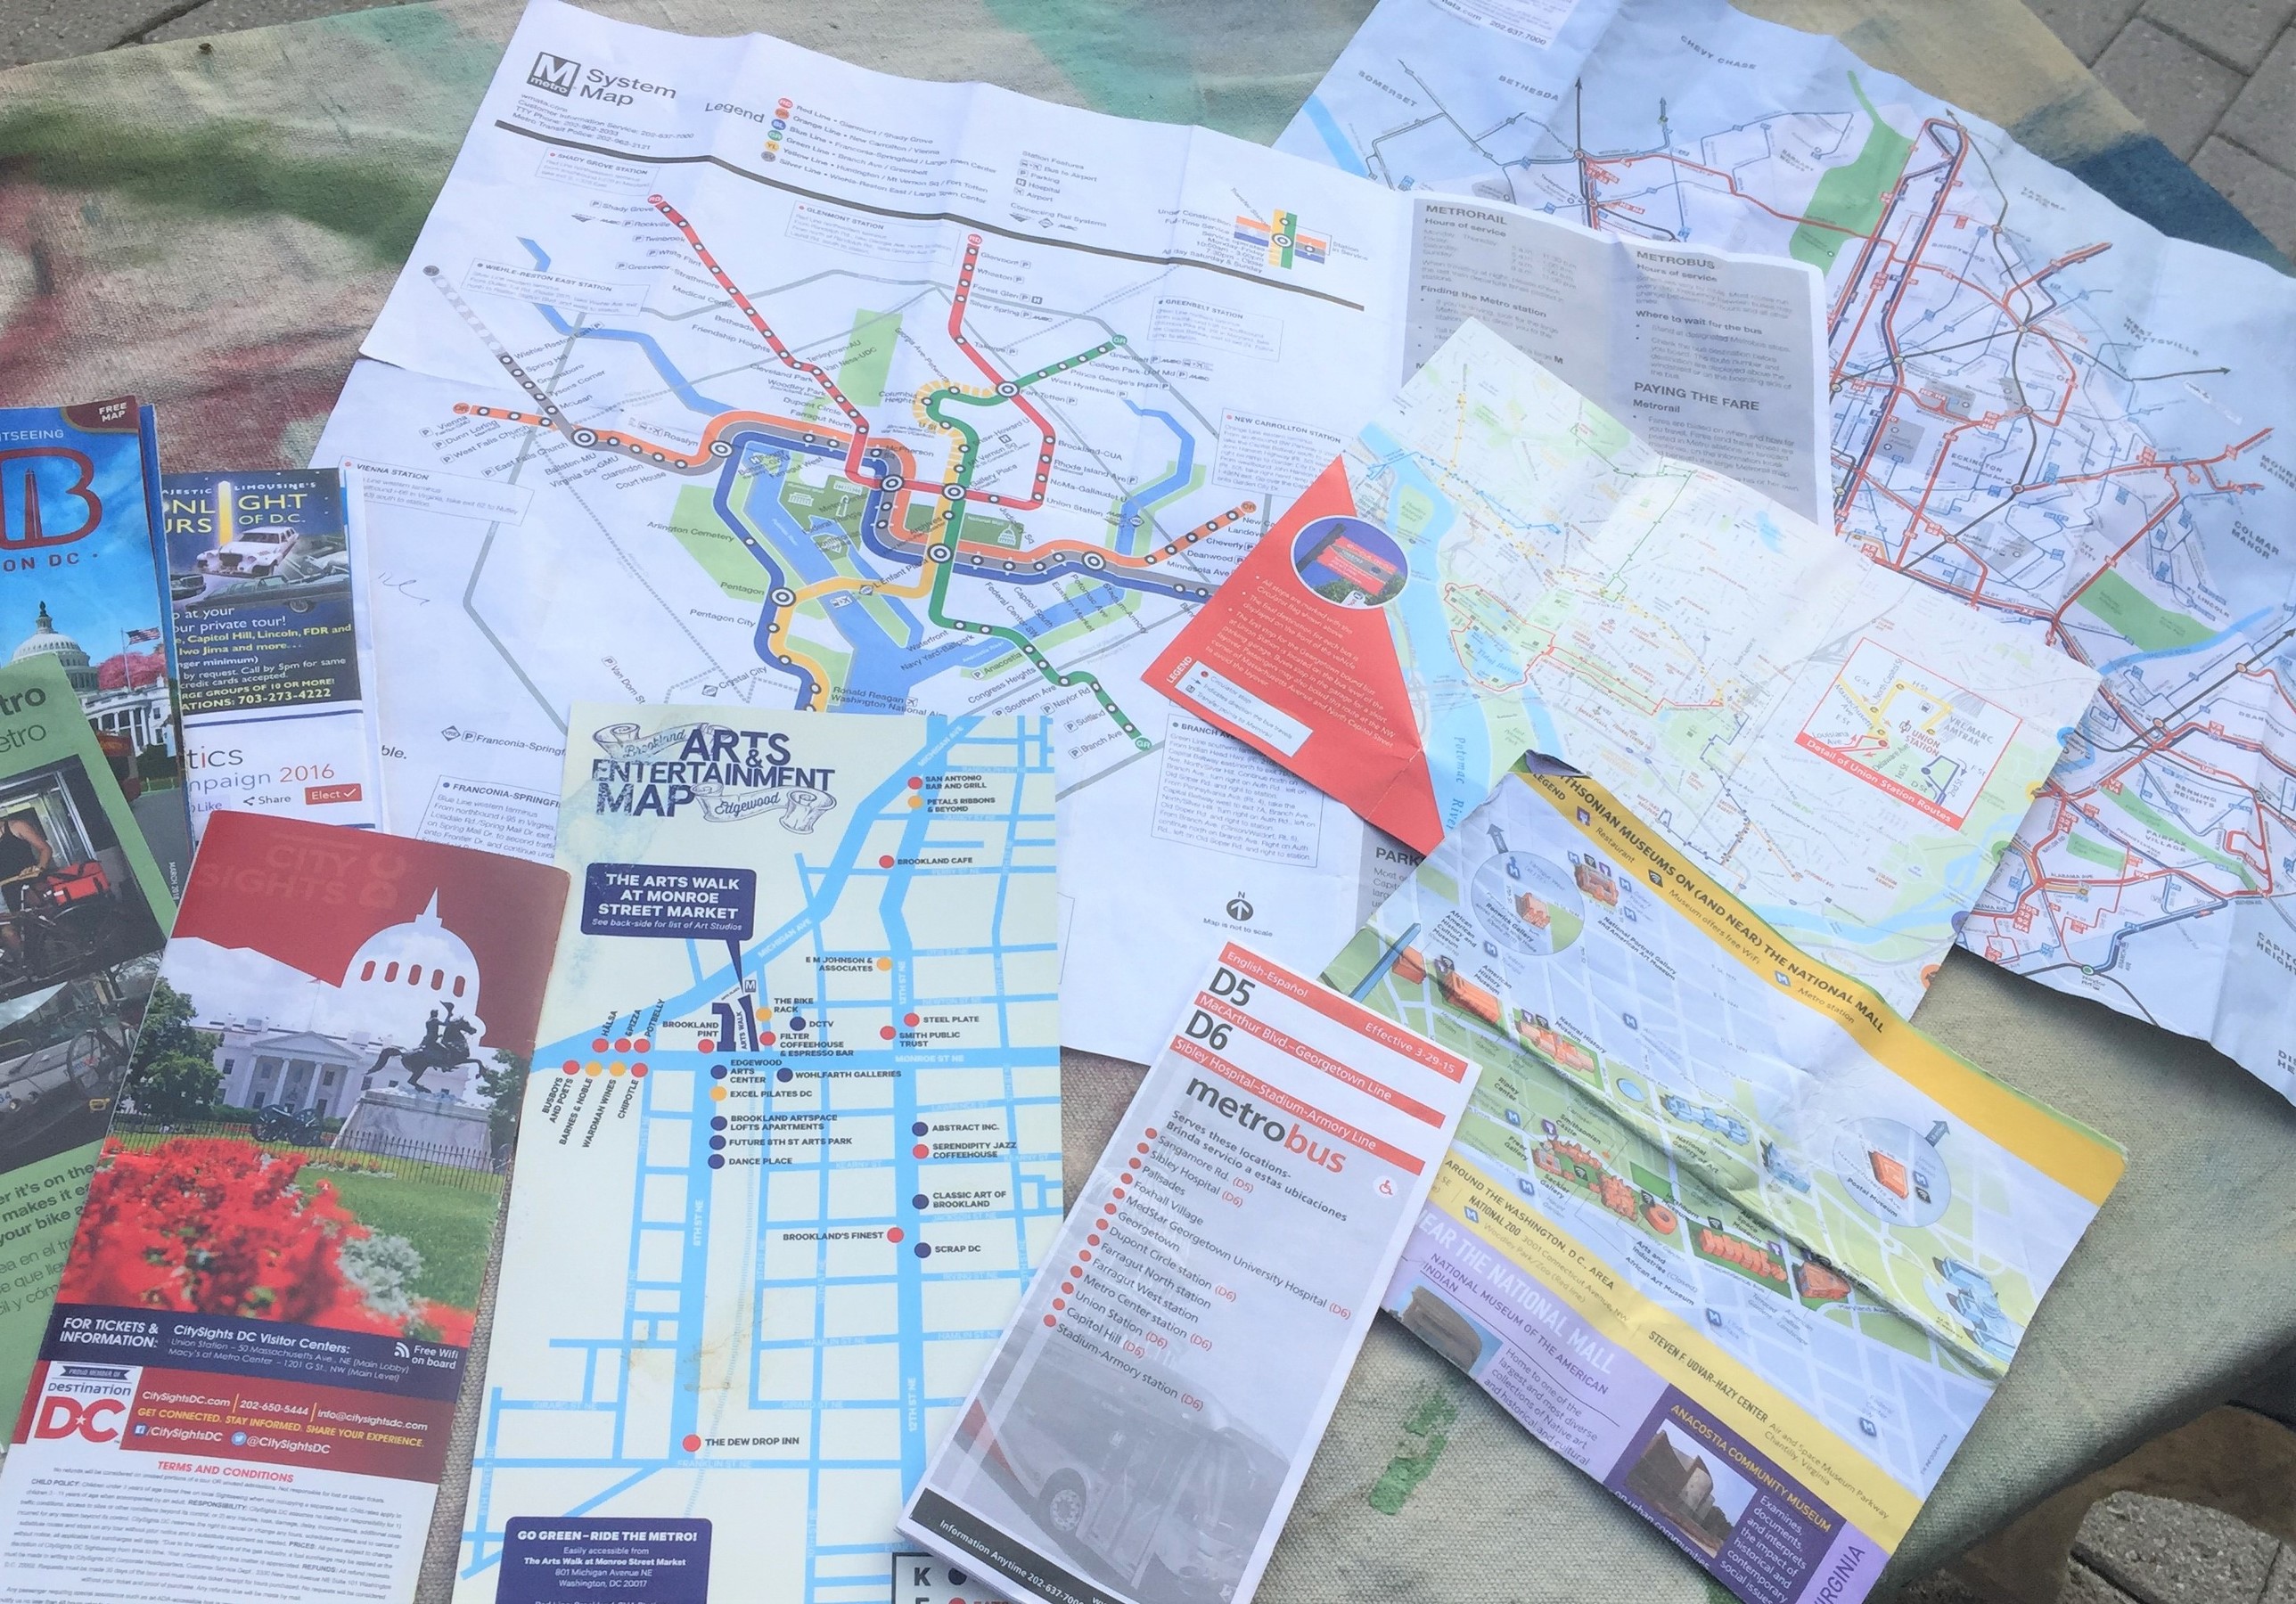
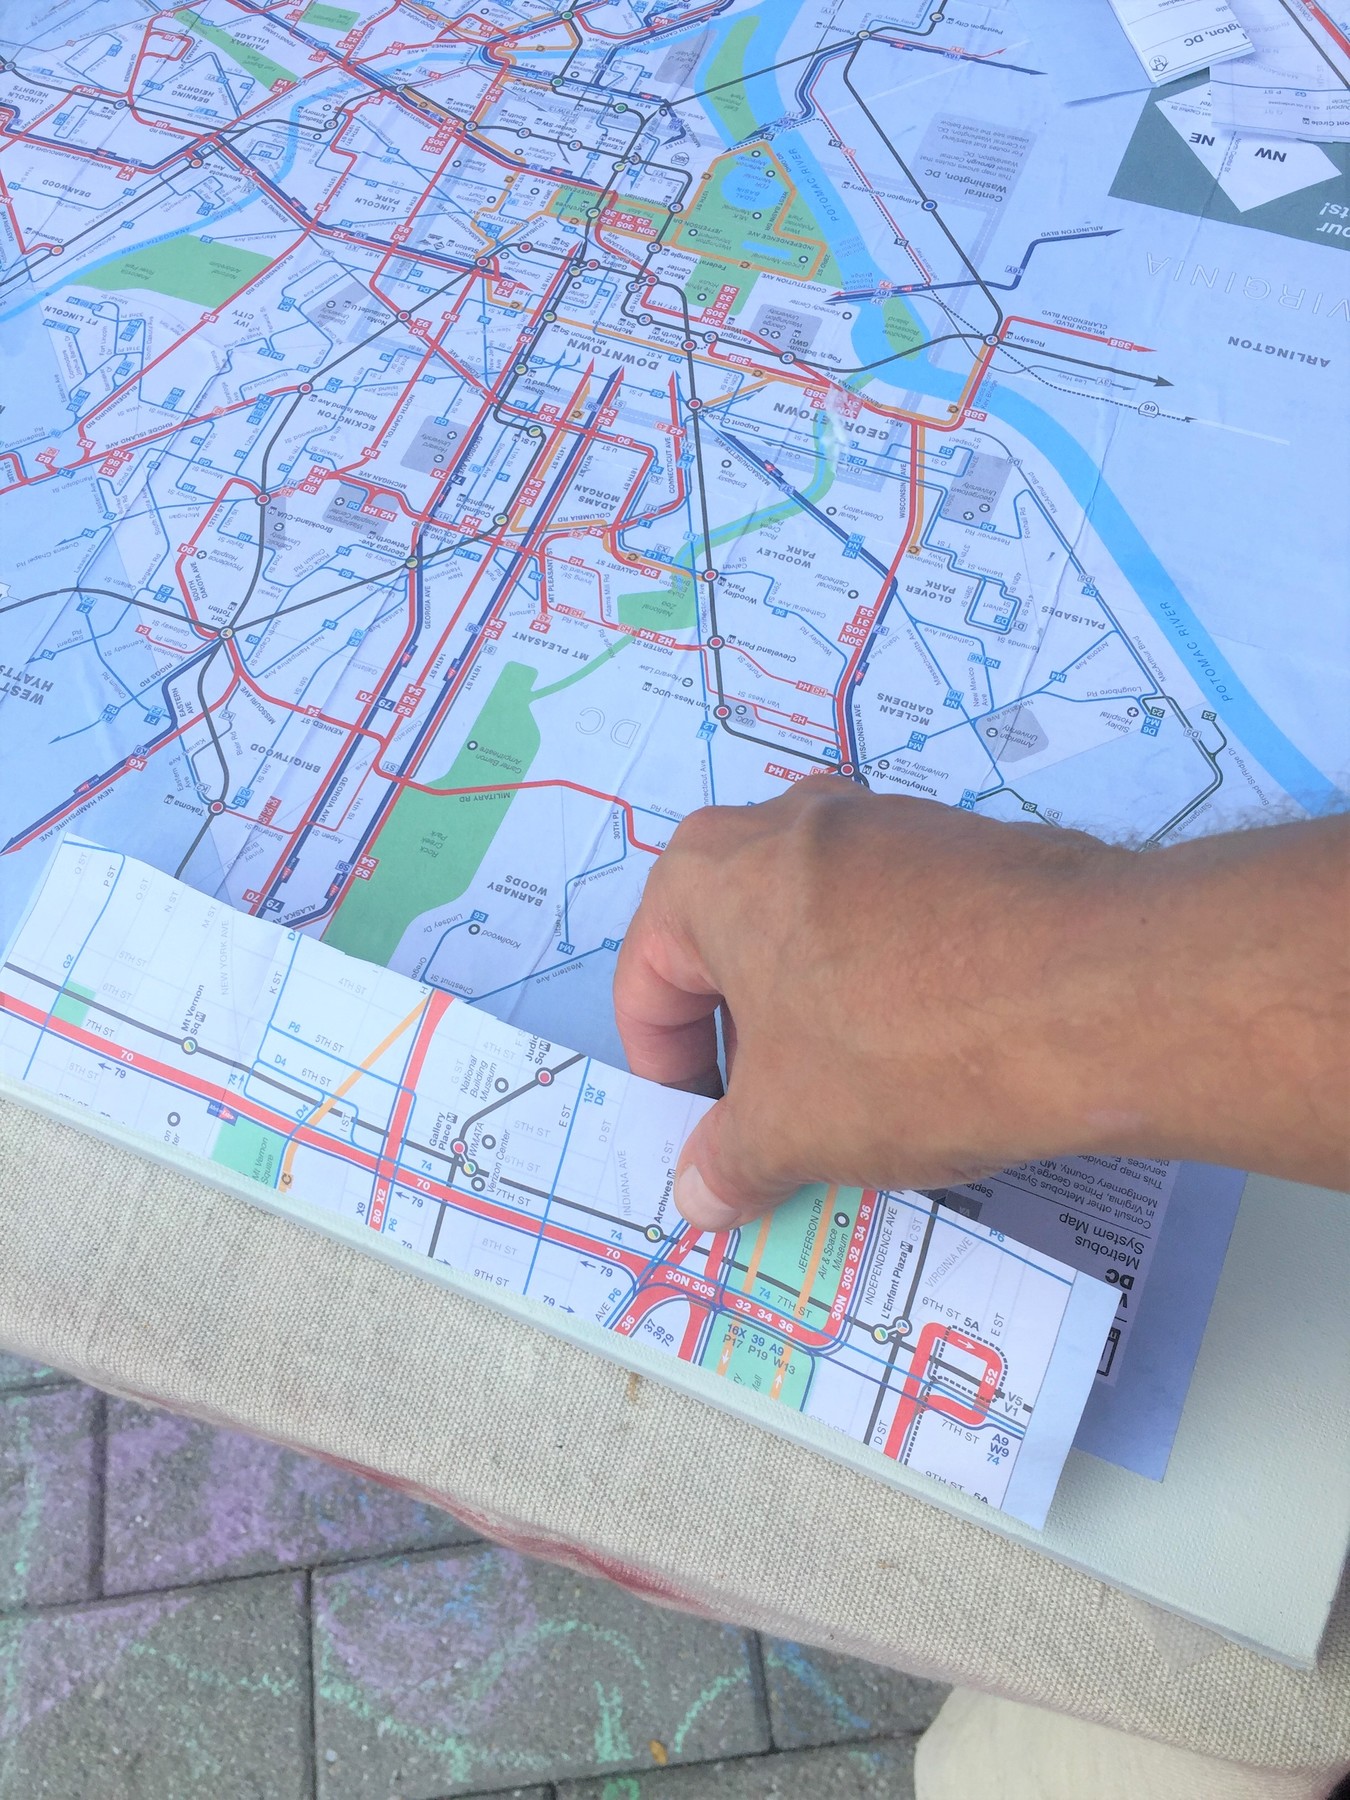
Maps are wonderful to use for this project as they are colorful and full of great shapes and images. An added bonus is that you can select maps of your favorite destination, a future travel place or even of your hometown. As noted in my previous post, for the lampshade transformation, trace your lampshade right on the map to ensure it covers it. Use your pen or marker to do so; if your map isn’t large enough to cover it all, cut in pieces to ensure total coverage. Expert tip: you may consider using an iron and a cloth to smooth out the map’s folds which will allow for a tight fit.
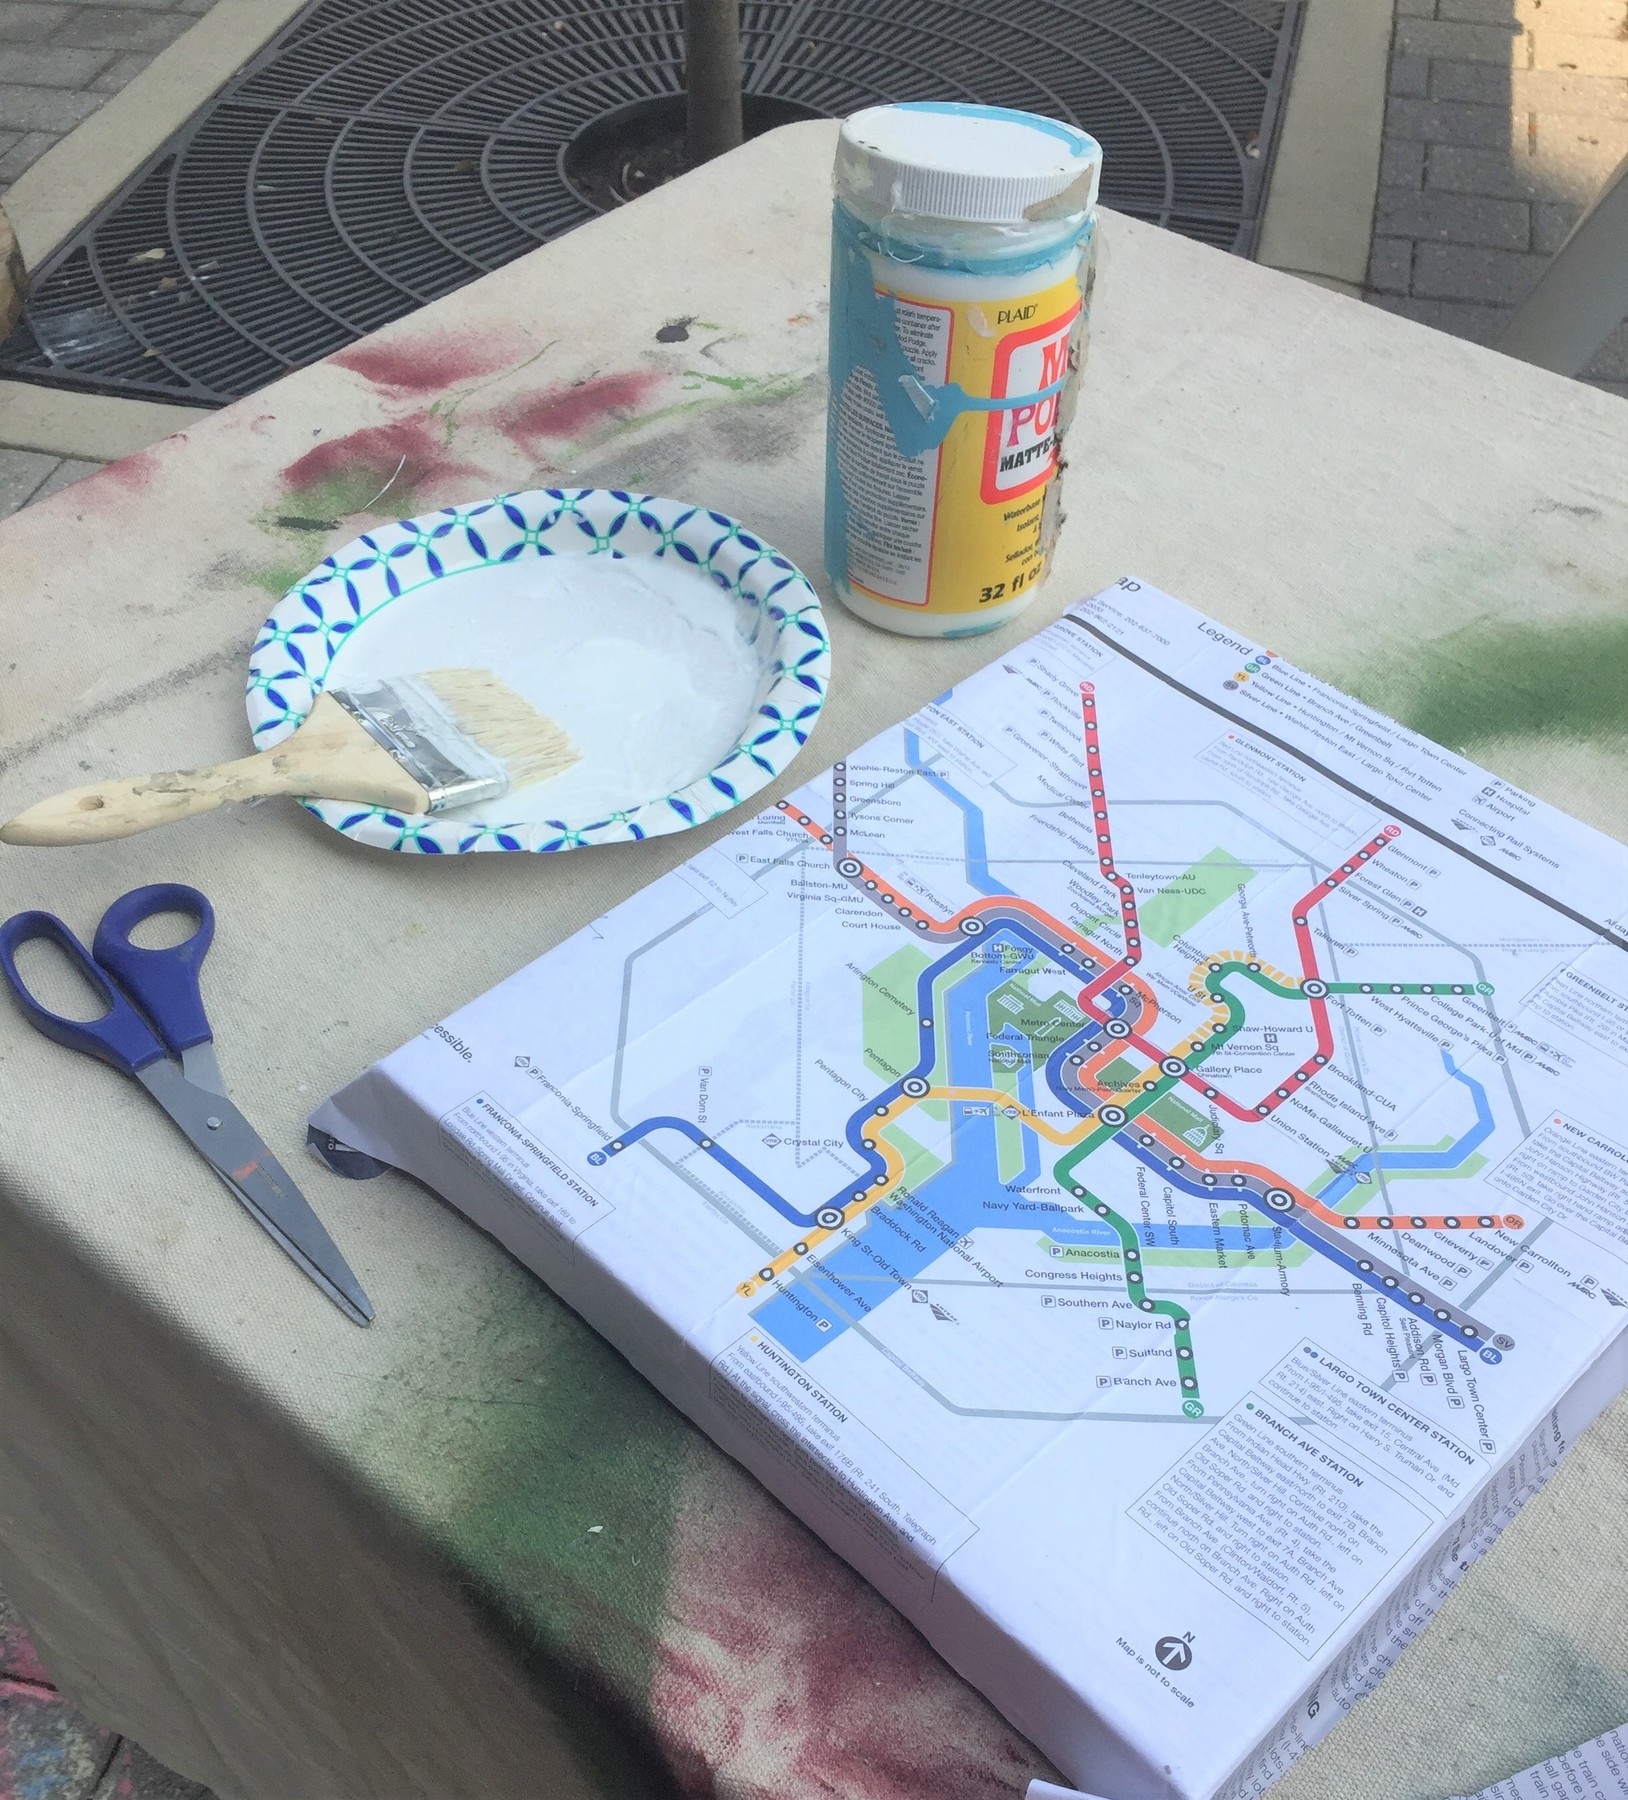
Step 3: Secure it with glue
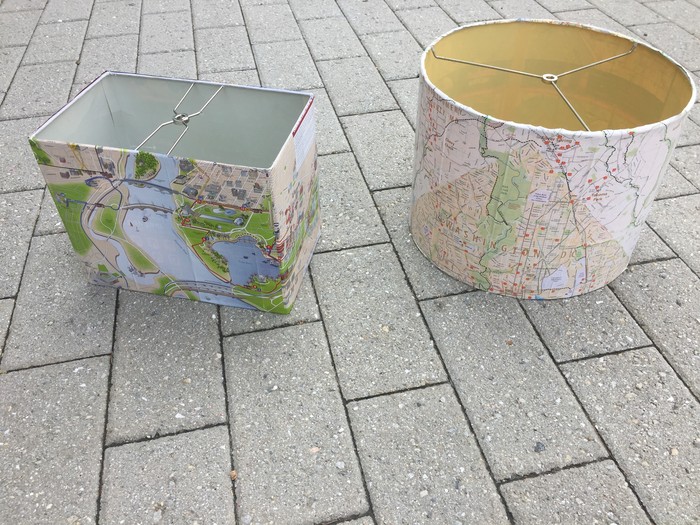
For this project, you are encouraged to use a paintbrush to easily apply Modge Podge, a special adhesive/glue for adhering paper to items (the process knowns as “decoupaging”), which dries clear and is easily cleaned up with warm water and soap. Brush the Modge Podge on the shade ensuring a solid coat covers all edges for a tight, secure fit. Place your map on the shade so the edges line up and ensuring the lettering on the map is in the right direction so you may read it when in place. Use your fingers to press the paper into place and to help remove any bubbles. After the entire shade is covered let it dry for several hours.
Step 4: Touch up edges
After your map-covered lamp shade has dried, add additional brush strokes of Modge Podge to the edges to ensure they are secure. Also, you may want to add a very thin layer of the Modge Podge over the entire side with the map for a solid finish. Expert tip: When the lampshade is dry, you may consider using your glue gun to go along the edge to secure any loose edges for a clean, professionally looking finish.
Place your transformed lampshade back on the base, place it in the perfect location then turn it out! The uniqueness and whimsical feel of this piece will be sure to attract miles of smiles, no matter where you are in the world!
Transformation 2: Maps + canvas = cool art
Step 1: Determine your design
Look at your various maps to determine how you want your final product to look. Use cut-outs of maps or pieces of a map to come up with a design that feels right to you. Place the pieces on the canvas before you glue and create the desired design.
Step 2: Modge Podge magic
As with Step 3 in our first transformation (listed above), use your paintbrush to place a thin layer of Modge Podge on the entire top surface of your canvas. Place your map on top. Use your fingers to push out the bubbles and help the map adhere to the canvas. Again, based on the size, you may need to cut additional pieces of your map to ensure all parts are covered; it is fine if it covers the side as you will do the same thing with your Modge Podge. Brush on a layer of the Modge Podge on the sides, then use your fingers to smooth the map in place. For one of my canvases, I created a border using parts of another map that matched its colors so it felt cohesive. Let this dry for at least several hours.
Step 3: Trim away extras
With your scissors, trim away any extra pieces of the map that hang over the edges of the piece.
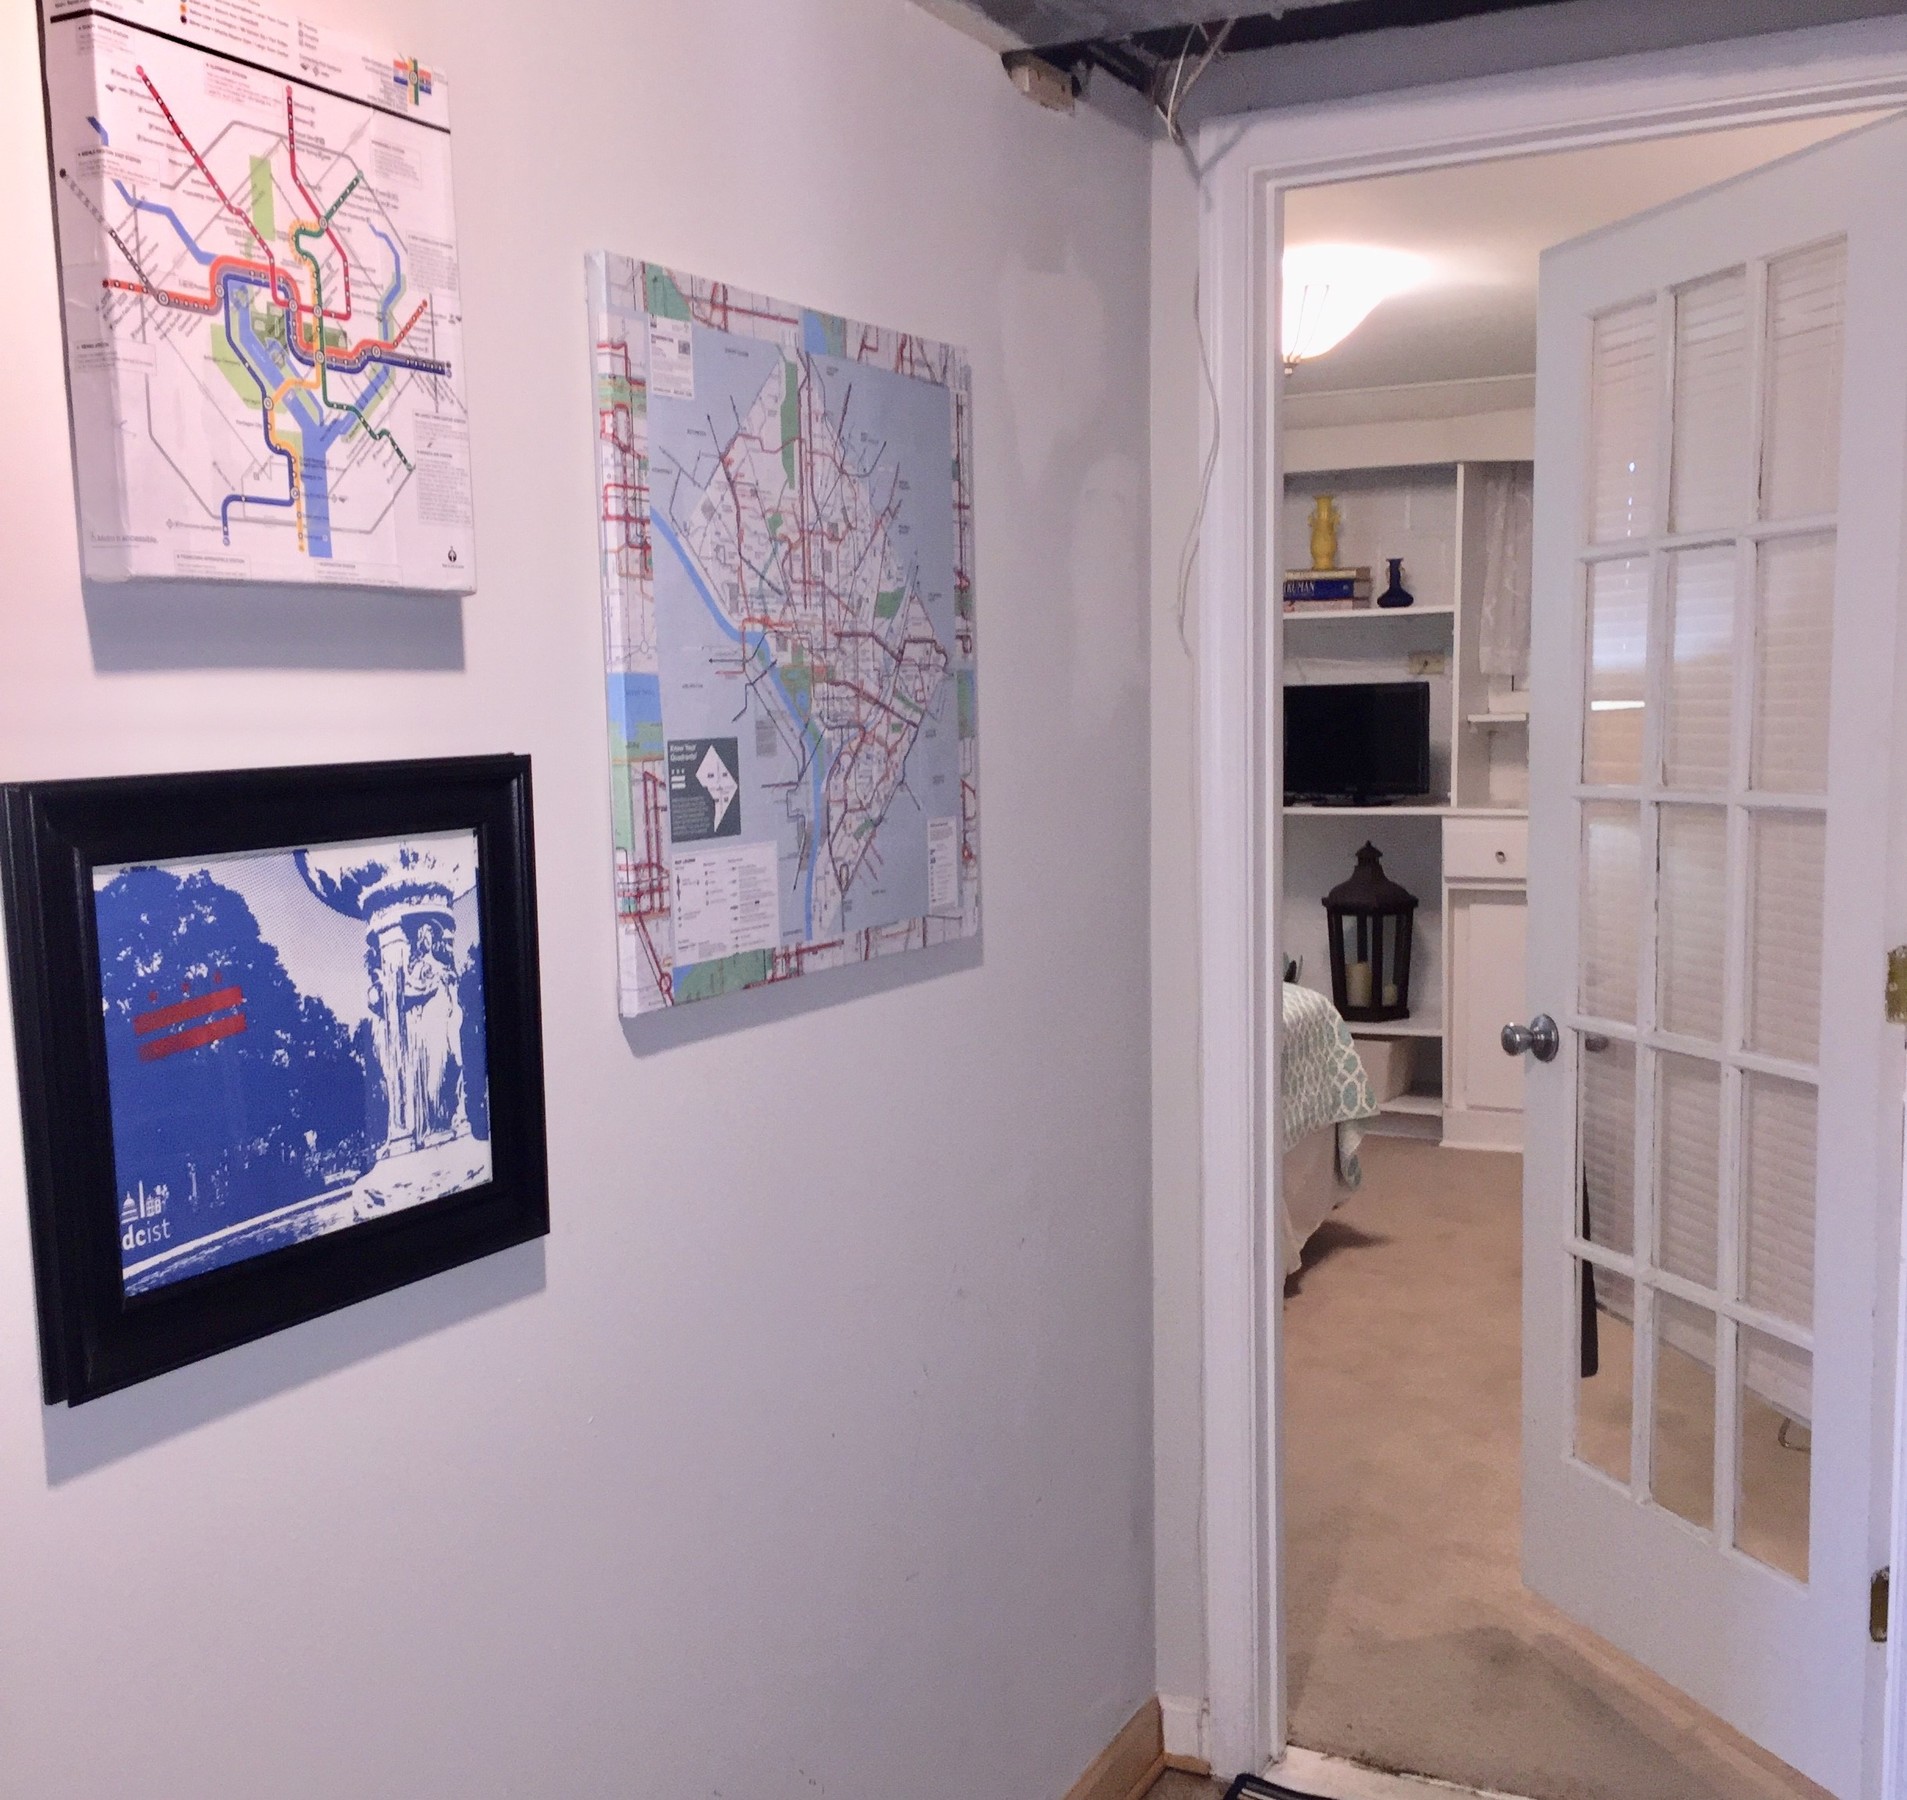
Step 4: Display the world – or at least a part of it
Now that your canvas has been transformed into an eye-catching and cool piece of art, select a blank wall on which to hang it so it truly attracts a world of attention.
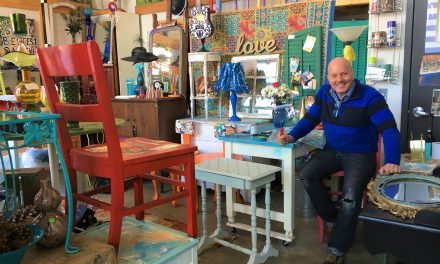
Tim Kime is an artist, life coach, connector. He is President of Kime Leadership Associates offering executive coaching, meeting facilitating and motivational speaking. He is also Chief Creative Force of Transformation Junkies which upcycles furniture and other household items into functional works of art. He combined his two passions—unleashing the potential in people and transforming items with the launch of the Art of Possibilities Workshops. These workshops are part upcycling, part dreaming, part goal setting.
