Take the flat out of your flatware by trying a spray paint transformation! With a little bit of paint, some rubber bands and painter’s tape, you can easily turn everyday forks, spoons, knives and more into handheld works of art. With this eye-catching DIY project, you can tailor your utensils to match any color scheme and also turn mismatched pieces into a one-of-a-kind set. For just a few dollars, you will create pieces that will be the talk around the table (socially distanced, of course!). These make great gifts when you pick the recipient’s favorite colors too. Once you see the final look, you will want to upcycle a set for yourself!
Supplies Needed:
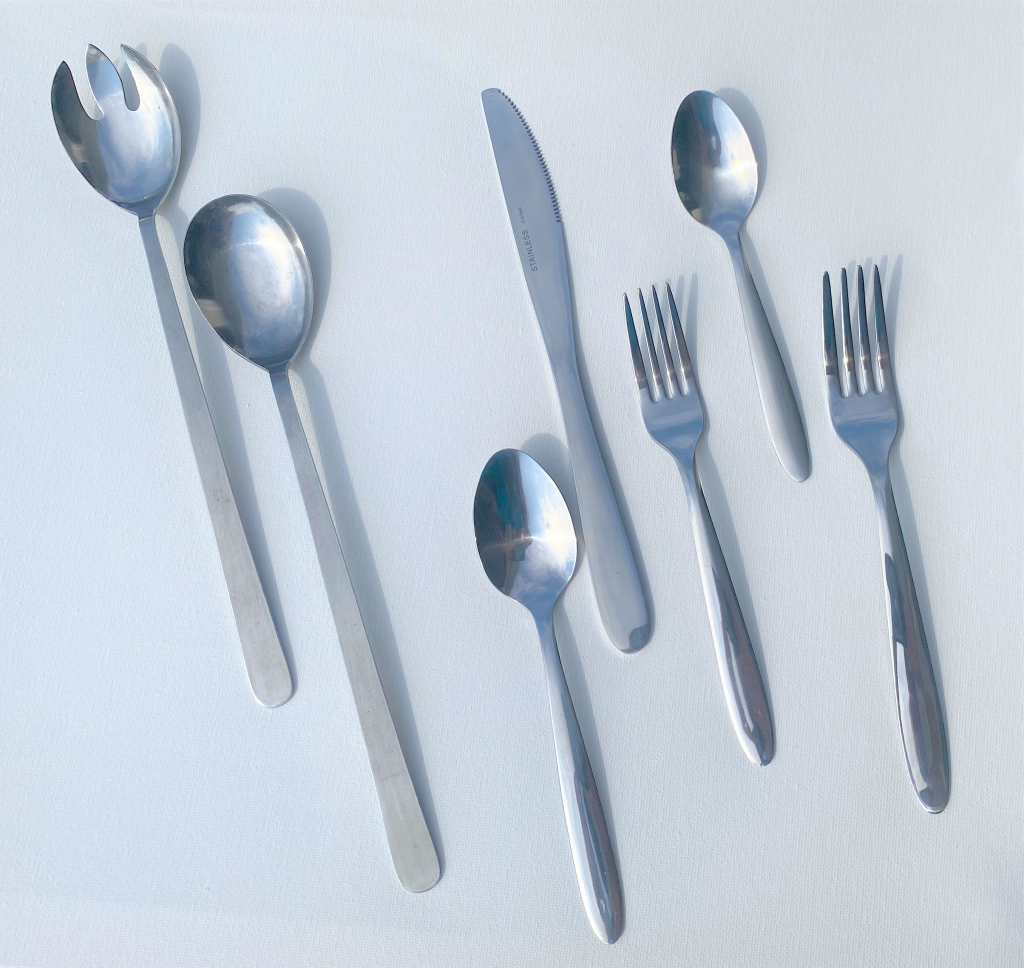
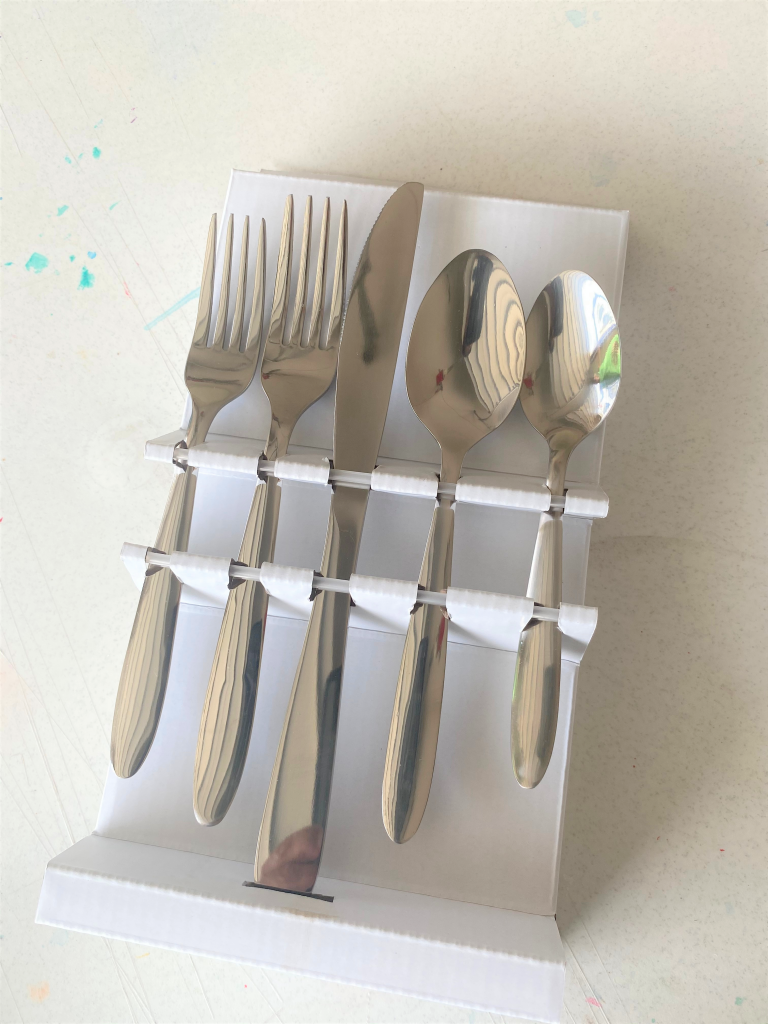
1. Flatware set or collection of spoons, knives & forks
2. Three or four colors of spray paint, glossy finish
3. Painter’s tape
4. Rubber bands
5. Cardboard shoe box
6. Sharp knife
7. Scissors
Step 1: Find your good and lots of flatware options at Goodwill
All Goodwill stores have a plethora of options for this fun project.
To provide a simple and smooth surface, look for utensils that are free from any ornate designs or details.
If possible, hunt for flat pieces (maybe that’s way they are called flatware?) that will provide a clean surface on which to make your transformation.
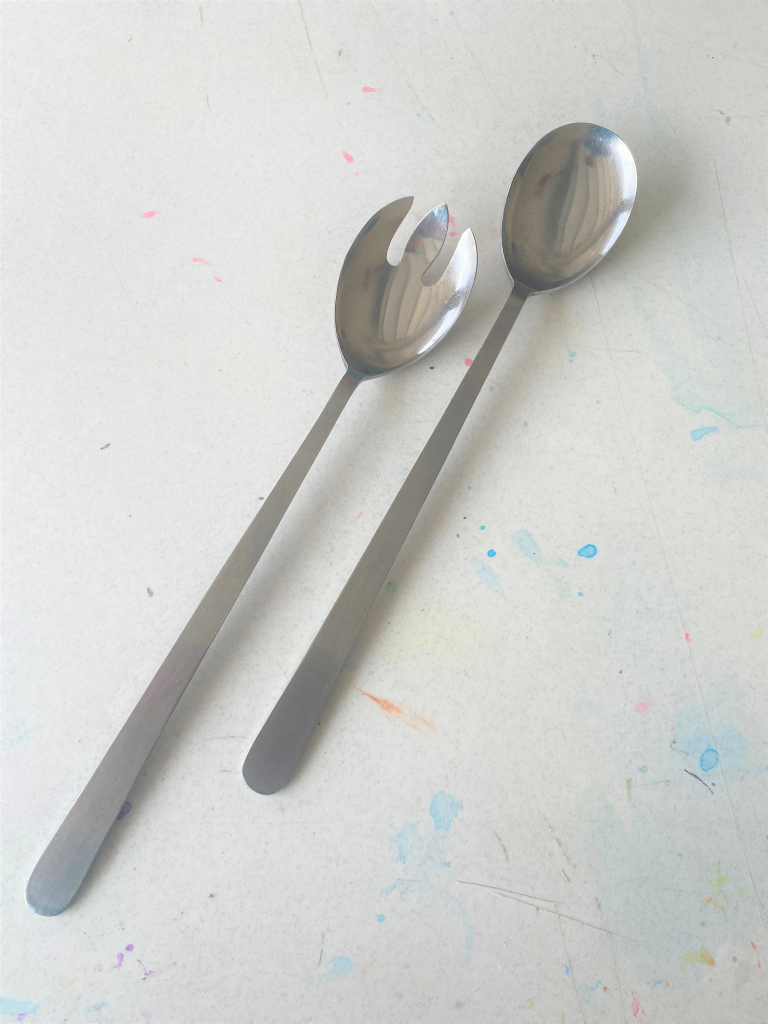
If you get lucky and find a donated set, all the better. However, I think a collection of random or mismatched pieces will also look wonderful because you will use color to make them connect and sing from the same song sheet. A metal salad serving set was also used for this project (for such an amazingly low price); however a wooden salad fork and spoon will work well, too.
Step 2: The hardest part: cover with painter’s tape
The handle of each piece is what will receive your creative focus. Therefore, the rest of your knife/spoon/fork/serving tool will need to be covered to protect it from paint.
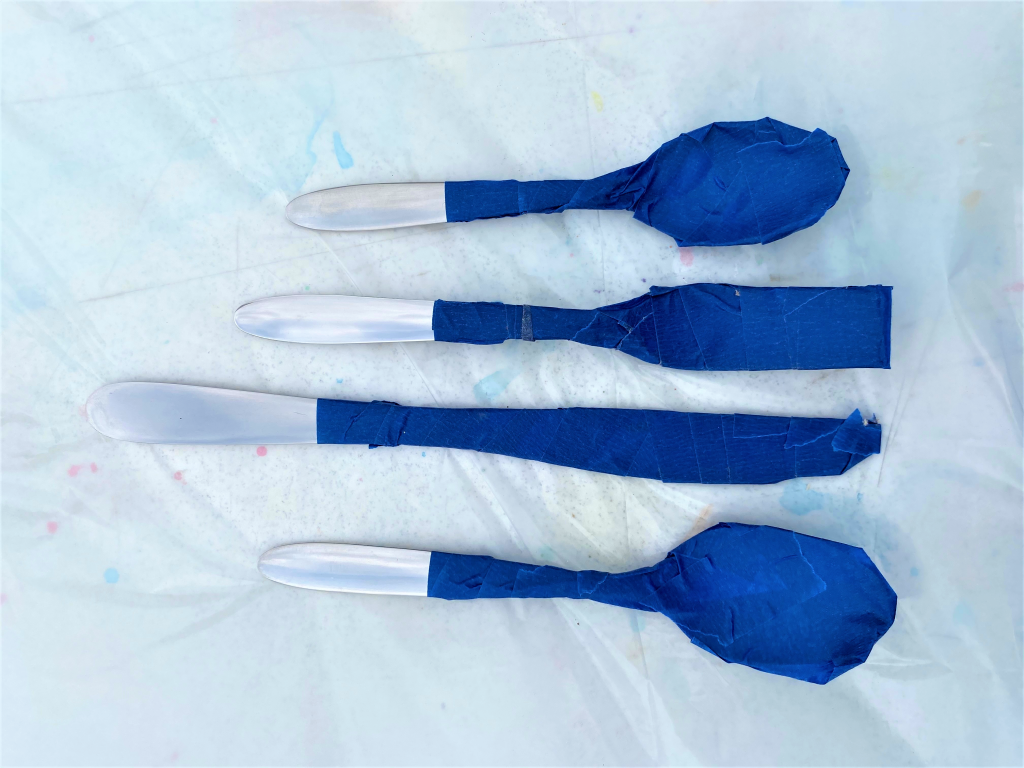
- Determine how much of your piece you want to get this transformative treatment then add painter’s tape to leave that part exposed.
- Estimate the same length of each piece.
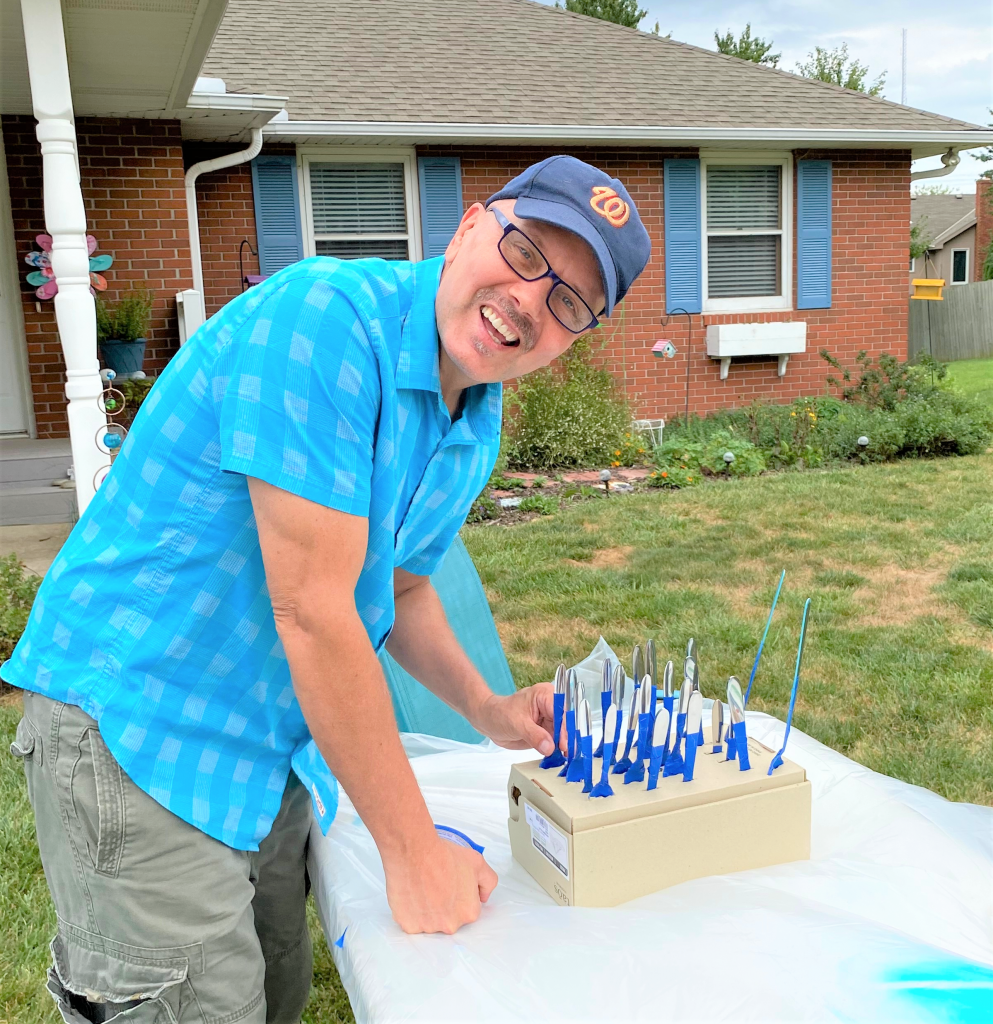
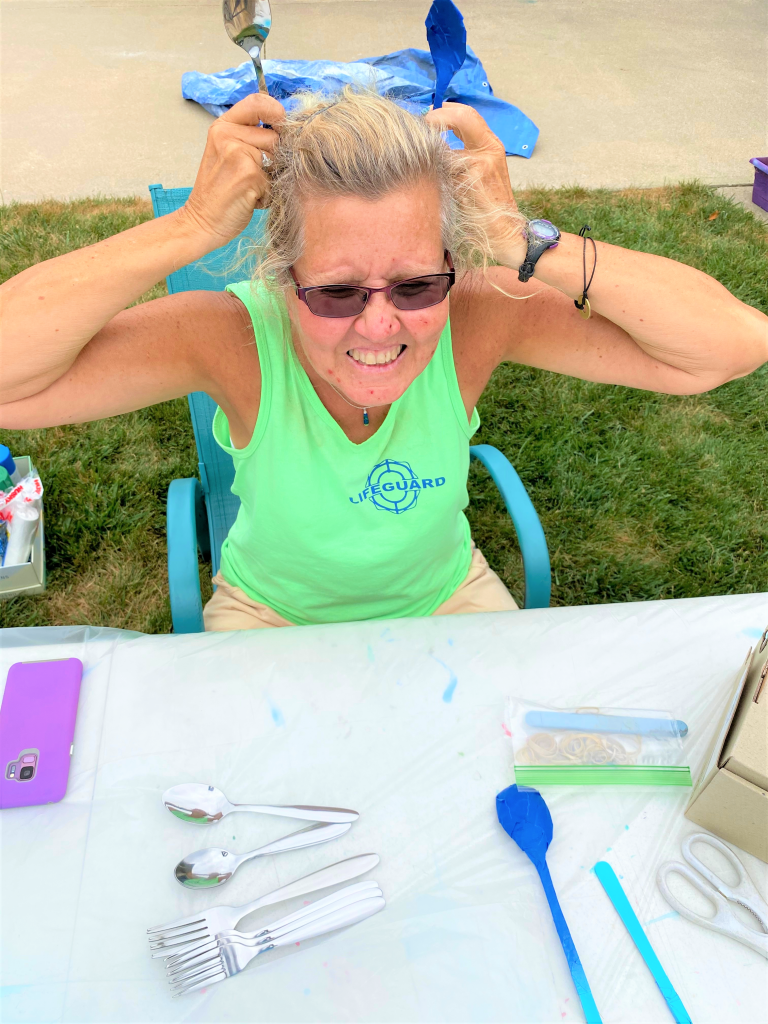
- No need to measure it with a ruler or tape measure, simply “eyeballing” it will do. This part will take some time, so enlist a family or friend to help with this step. My wonderful sister, Tammy, who gave me this project idea, gave me its name and was also on hand to help. (Thanks Tammy Faye!) This a family affair, too, so that your “new” flatware was upcycled by all. If given as a gift, how wonderful for the recipient to know that many hands help in its creation!
Step 3: Create a stand for painting
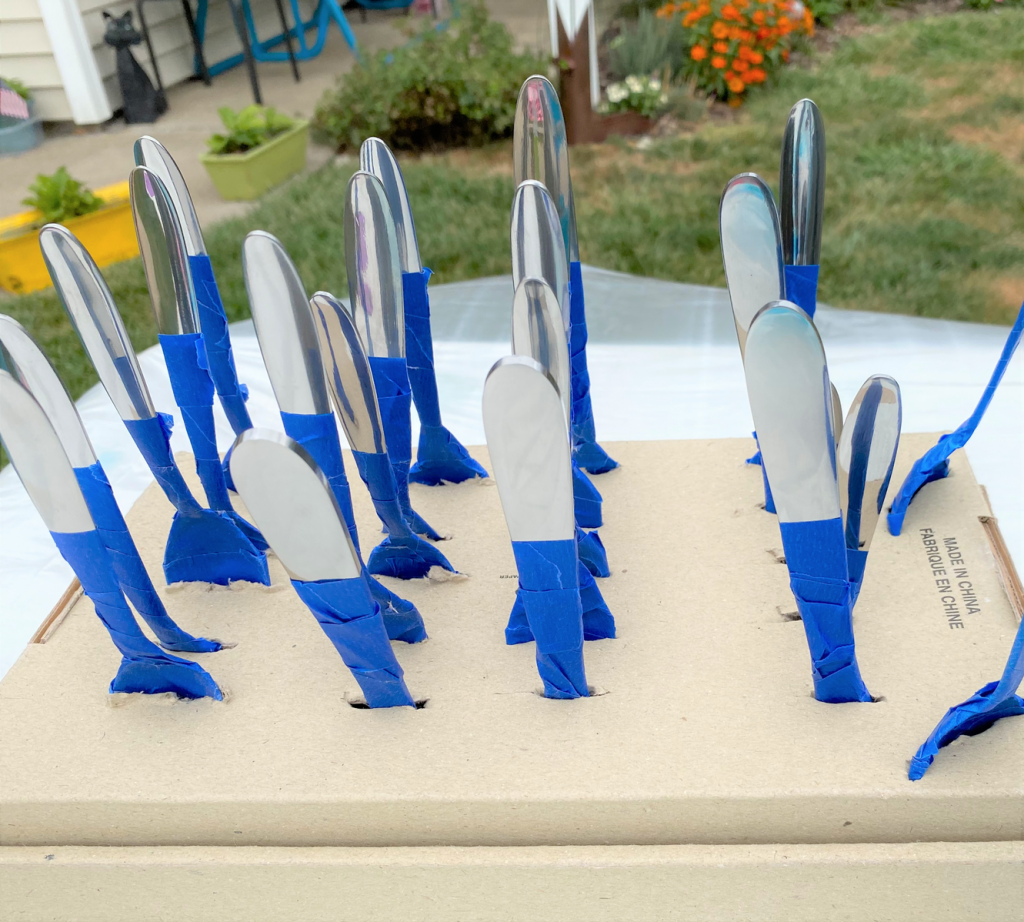
- To be able to add layers of paint on all side of each utensil, you will want to create a stand to hold them upright.
- Use a cardboard shoe box for this step by cutting slits in its bottom with a sharp knife. If children are helping, please be sure to have an adult do this step.
- Insert your painter’s table covered pieces in it with the exposed ending sticking up and out…and ready for some color.
Step 4: Spray on a layer with a light touch
- With your first color and can of paint, add a light layer to all the exposed ends.
- Make sure you move around to get coverage on all sides of the handles.
- Do so with a very light touch to avoid drips and splatters.
- You can always add two light lights, so allow time to dry before you return with the second coat of the same color.
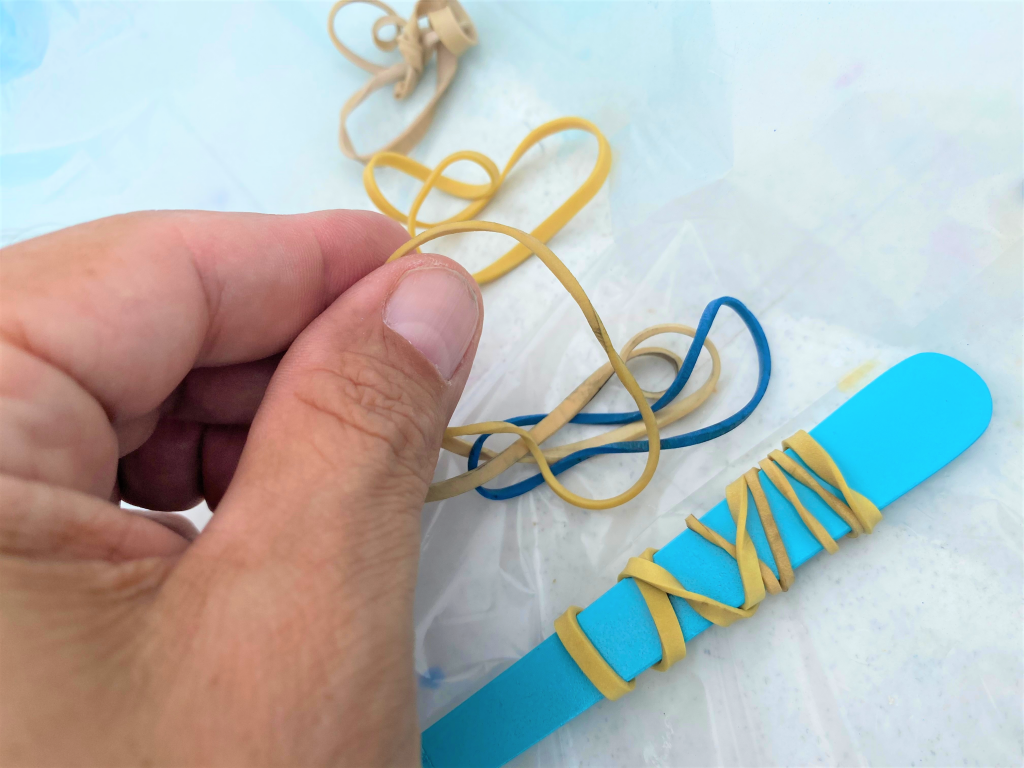
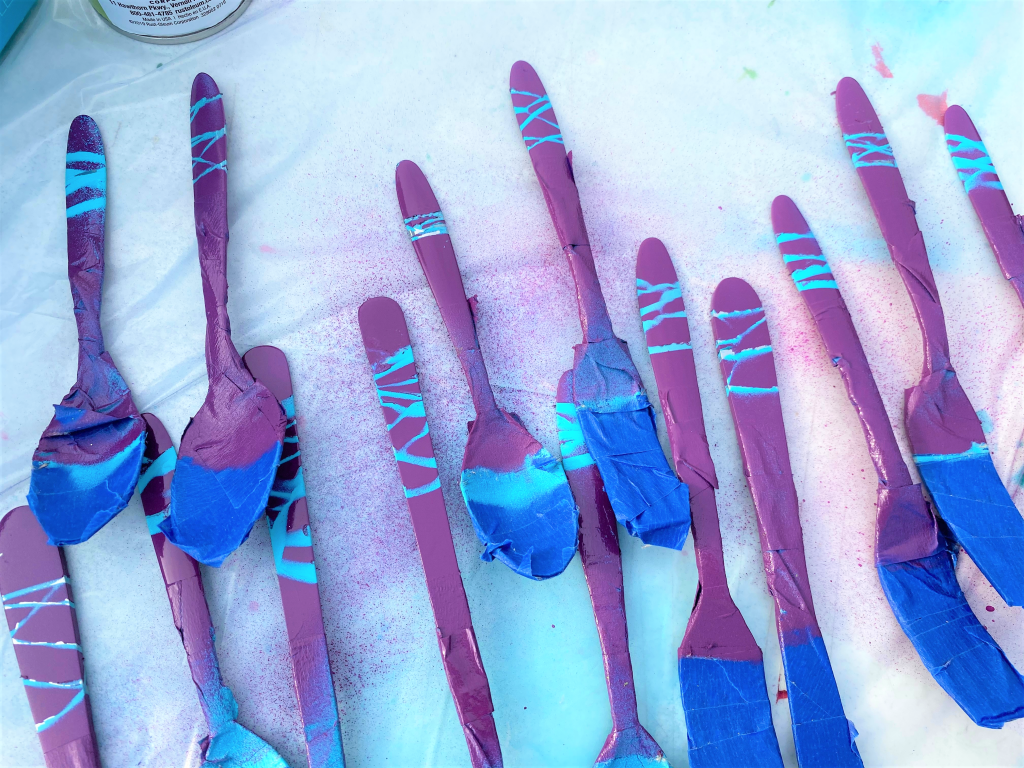
Step 5: Band ‘em up
- Layer one has dried thoroughly so remove each piece from the stand/show box.
- Twist on a rubber band over the painted end.
- You want to allow space as you put the rubber band in place. You may need to add two bands so that you can pull and move them to spread the band or bands to provide gaps along the way.
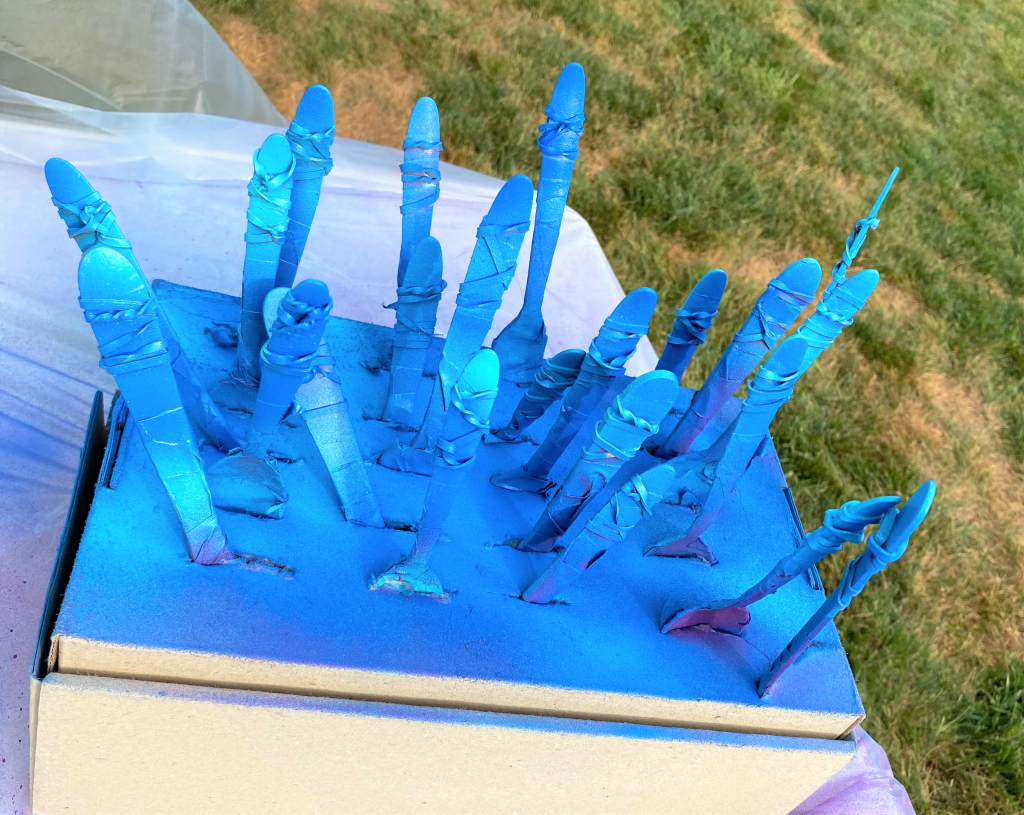
Step 6: Add color number 2 & 3
- Return the utensils back to the cardboard stand, with the rubber-banded end up and out.
- Add a light layer of your second color.
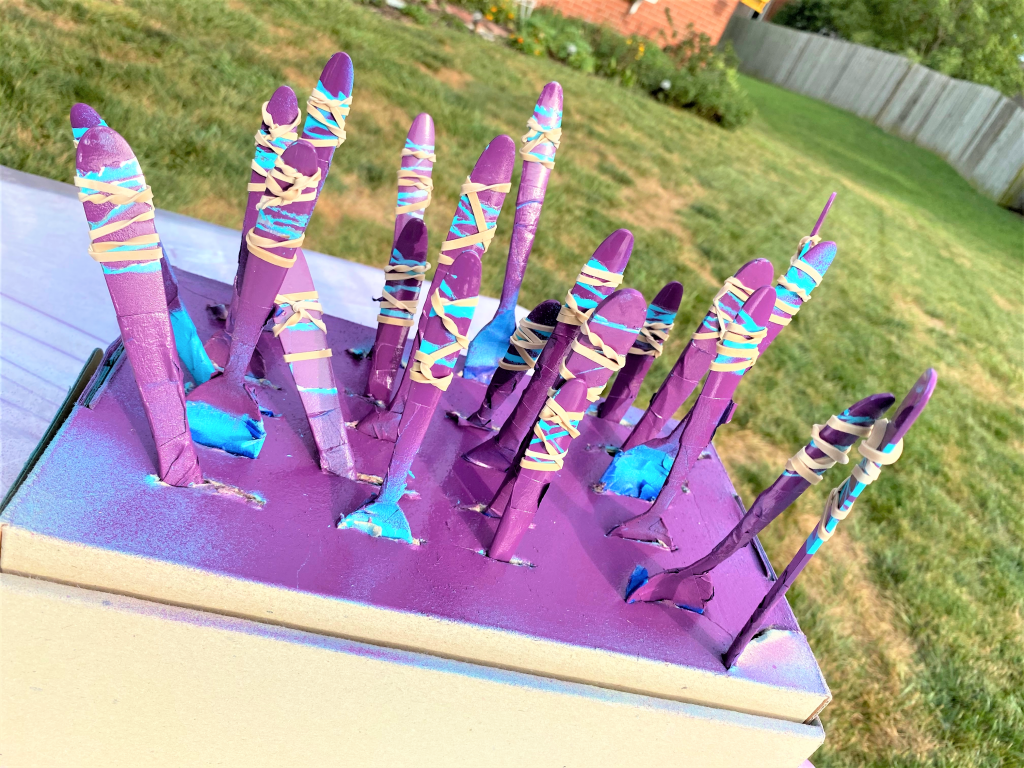
- Let dry well then carefully remove the rubber bands.
- Use scissors to cut them if needed.
- Then repeat Step 5 adding new rubber bands and another layer of color.
Step 6: Remove the painter’s tape
Again, having a person help you during this project will make it go more quickly. It will also be more fun! Again, thanks to my sister for her patience and help!
Now that your spoons/forks/knives had dried overnight, cut off the second set of rubber bands and take off the painter’s tape.
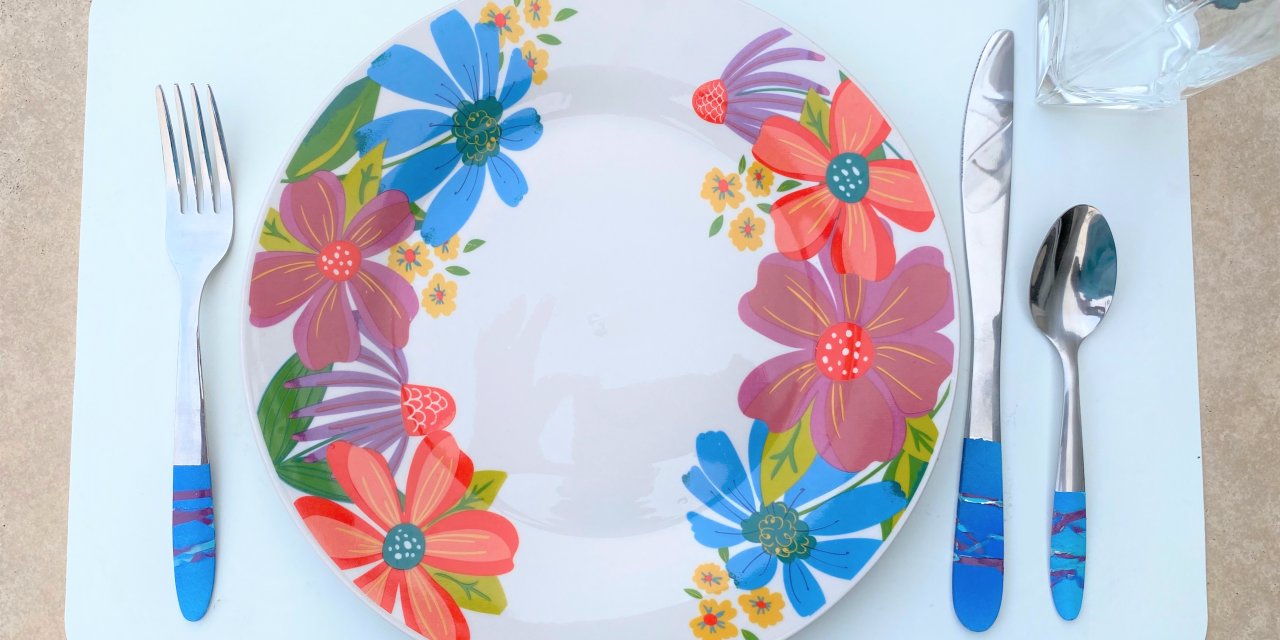
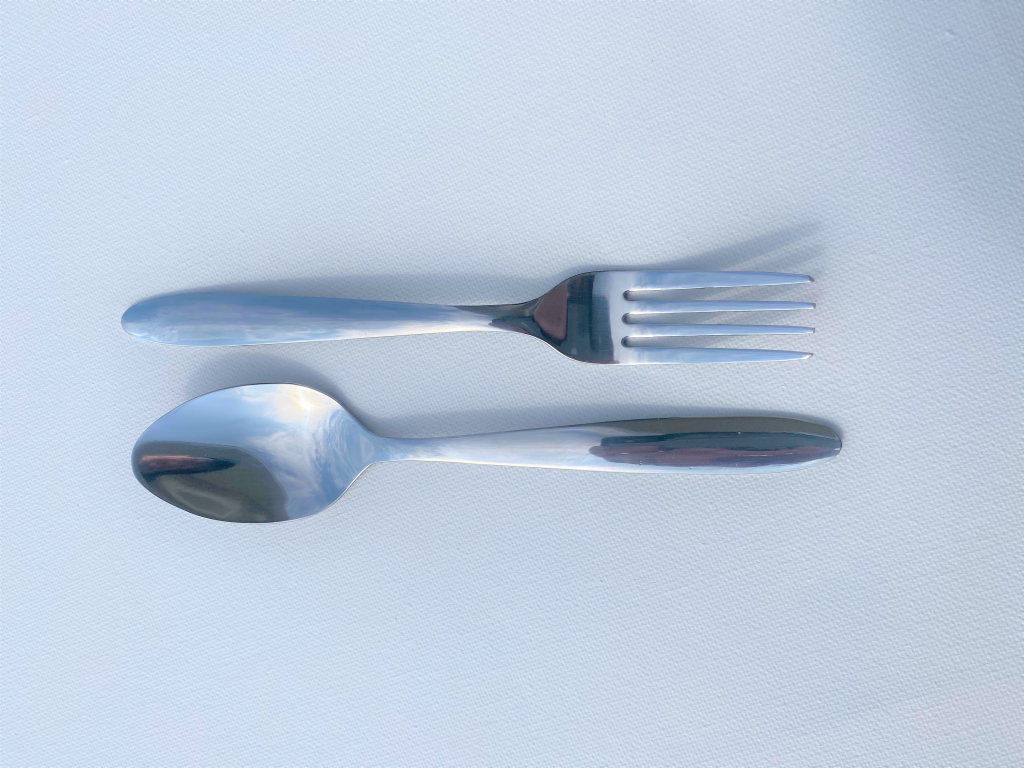
Step 7: Set a stunning table
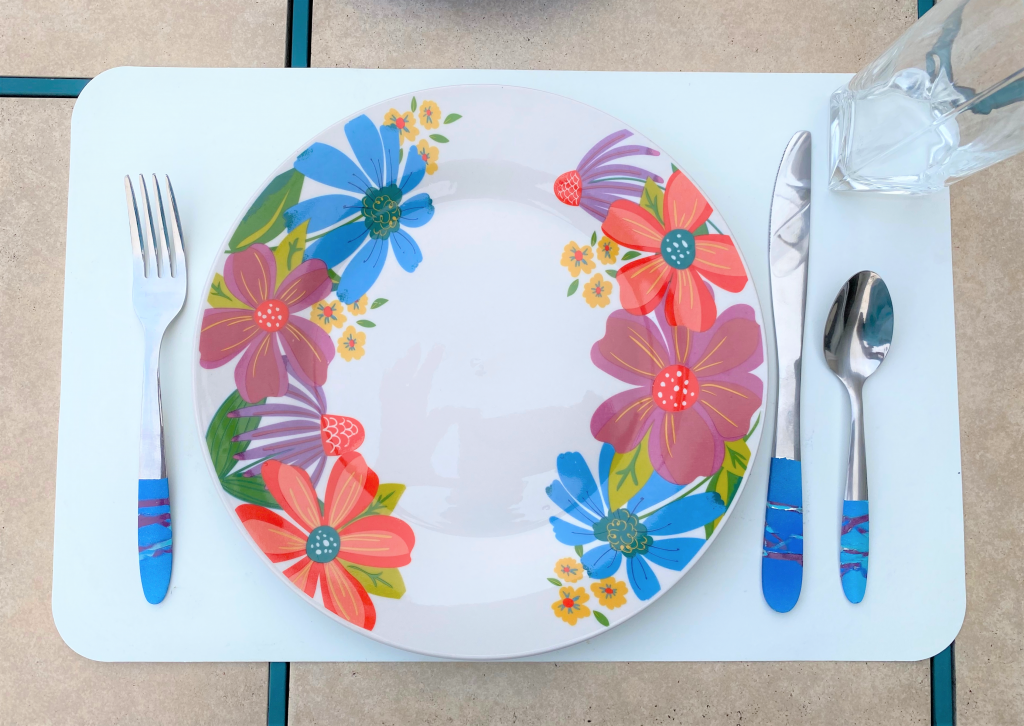
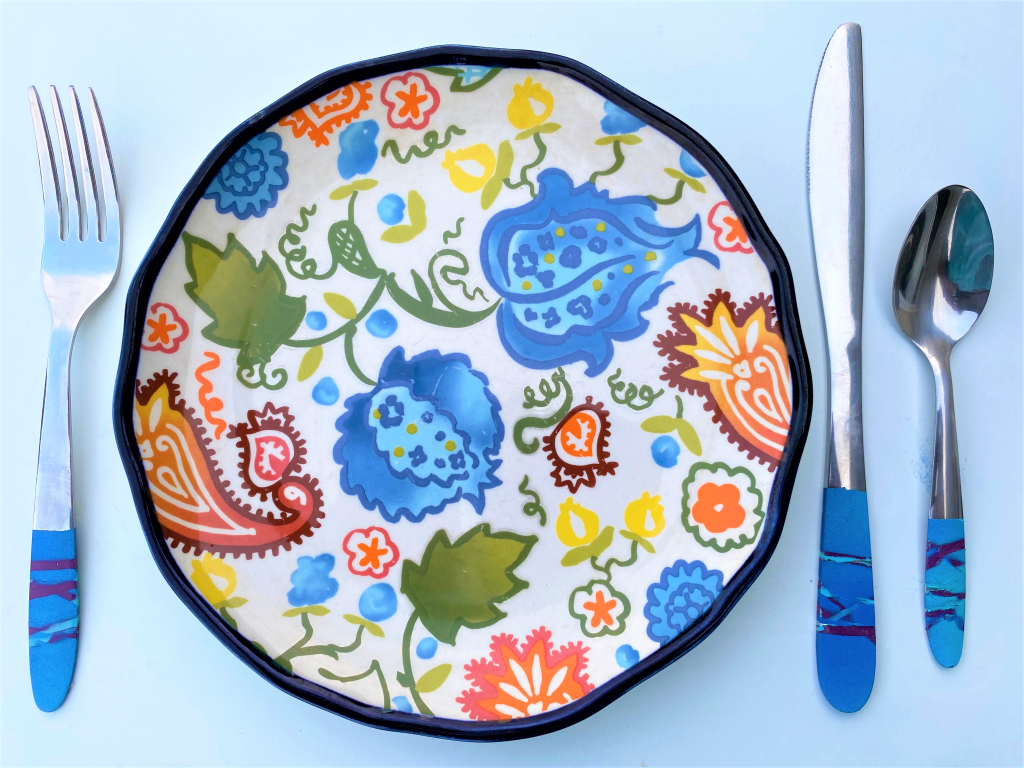
After washing your pieces, set a table that will be truly beautiful and colorful with your “Pizzazz-ware.”
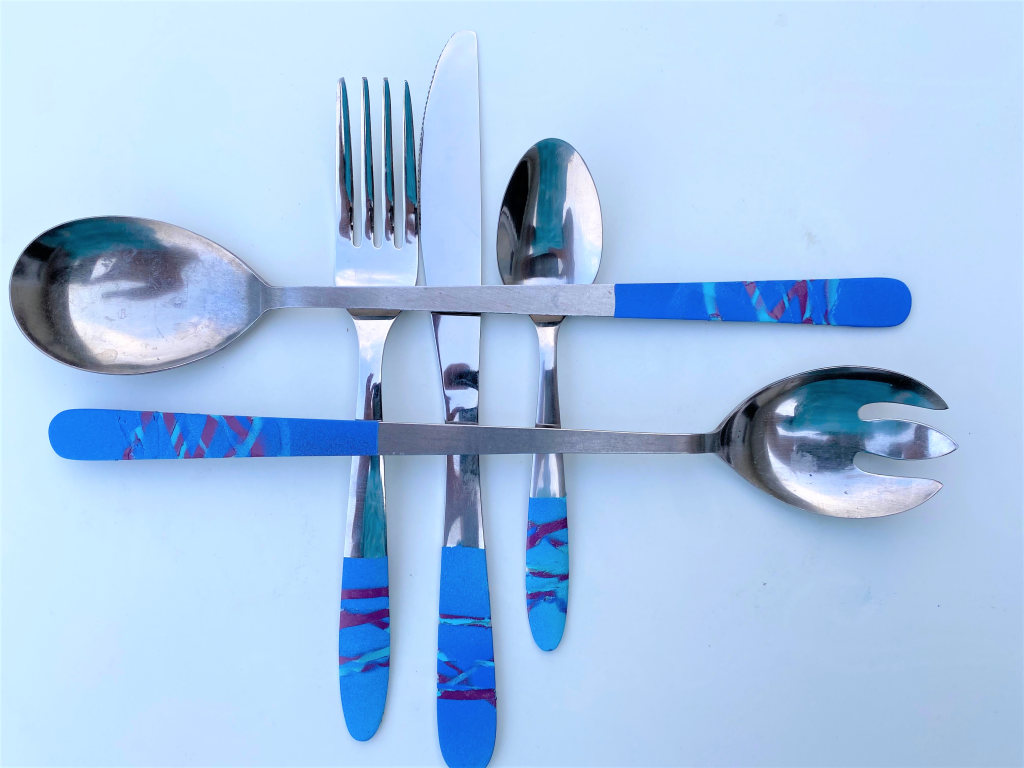
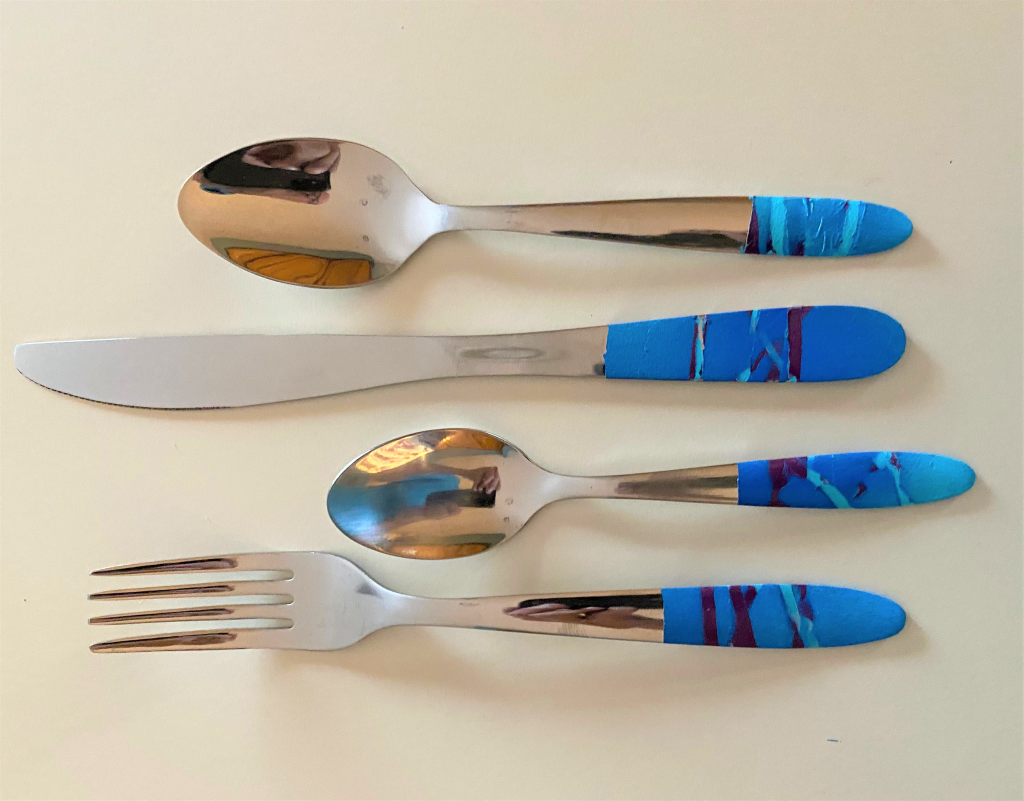

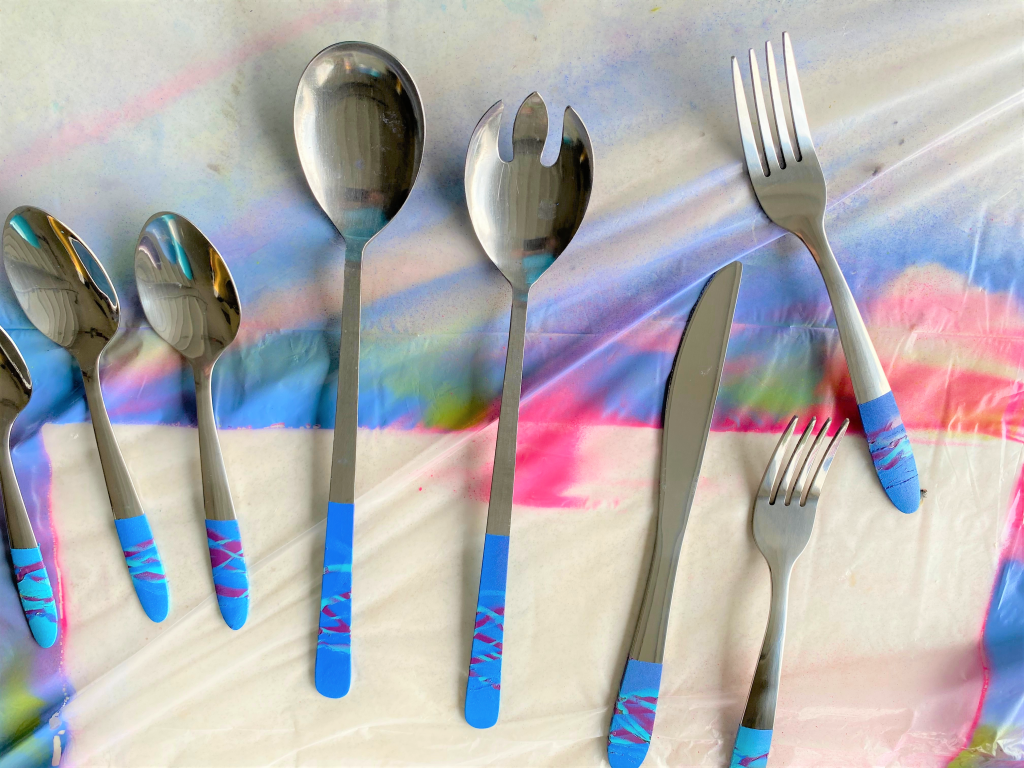
Place them with matching places and glasses for a truly wonderful collection. You could make your upcycled utensils stand out, too, by setting a table with white or neutral colored dishes so the attention goes to the results of your creative efforts.
You will enjoy your meal more, too, knowing that your handiwork transformed simple pieces into stunning ones!
To each of you, I say, “Bon Appetit!” and “Happy Upcycling!”

Tim Kime
Artist, Motivational Speaker, Life Coach
