Go for the Green: St. Patty’s Day Inspires Tool Caddy Transformation
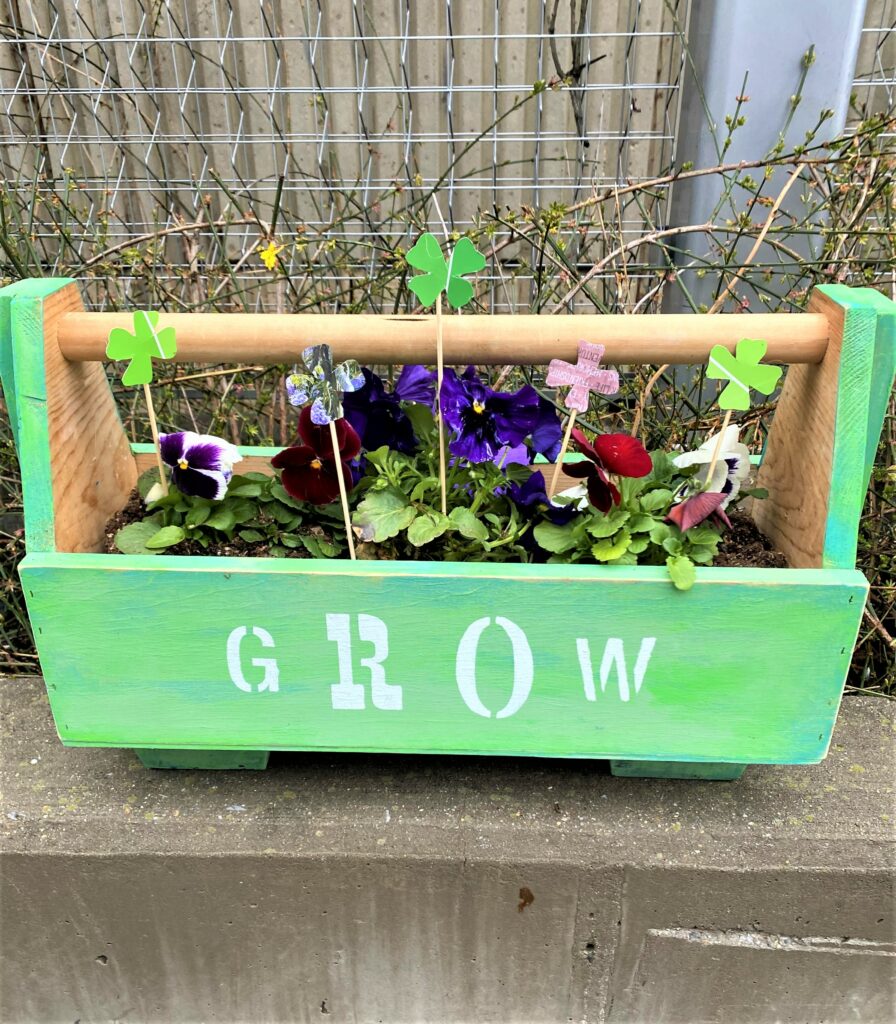
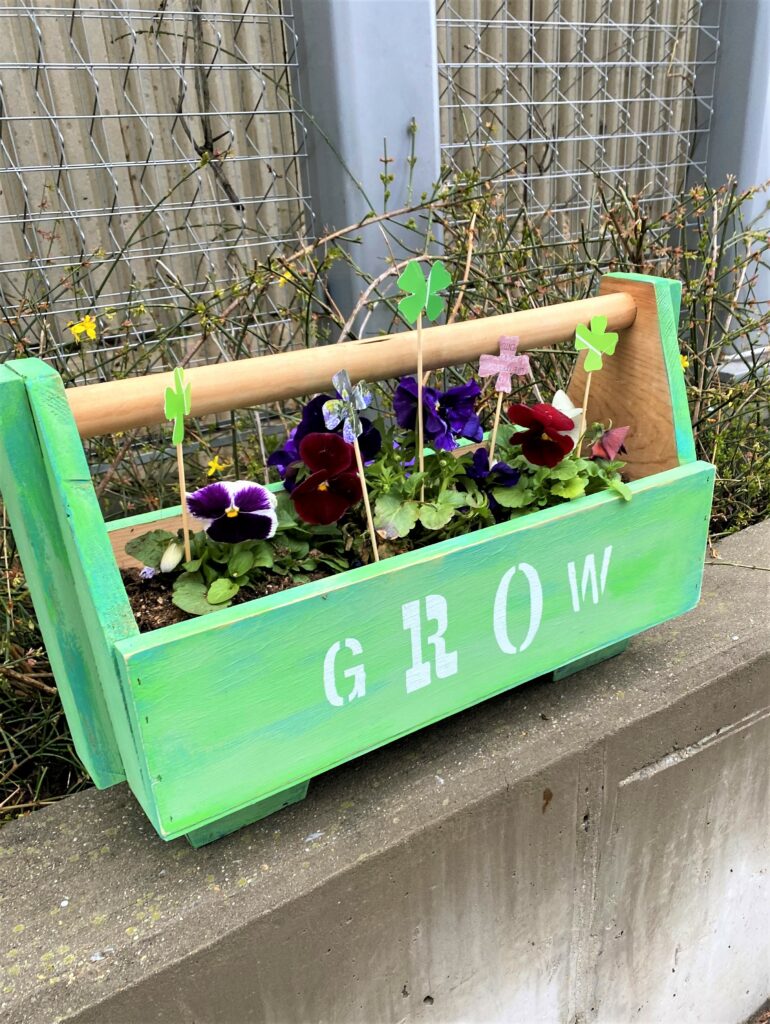
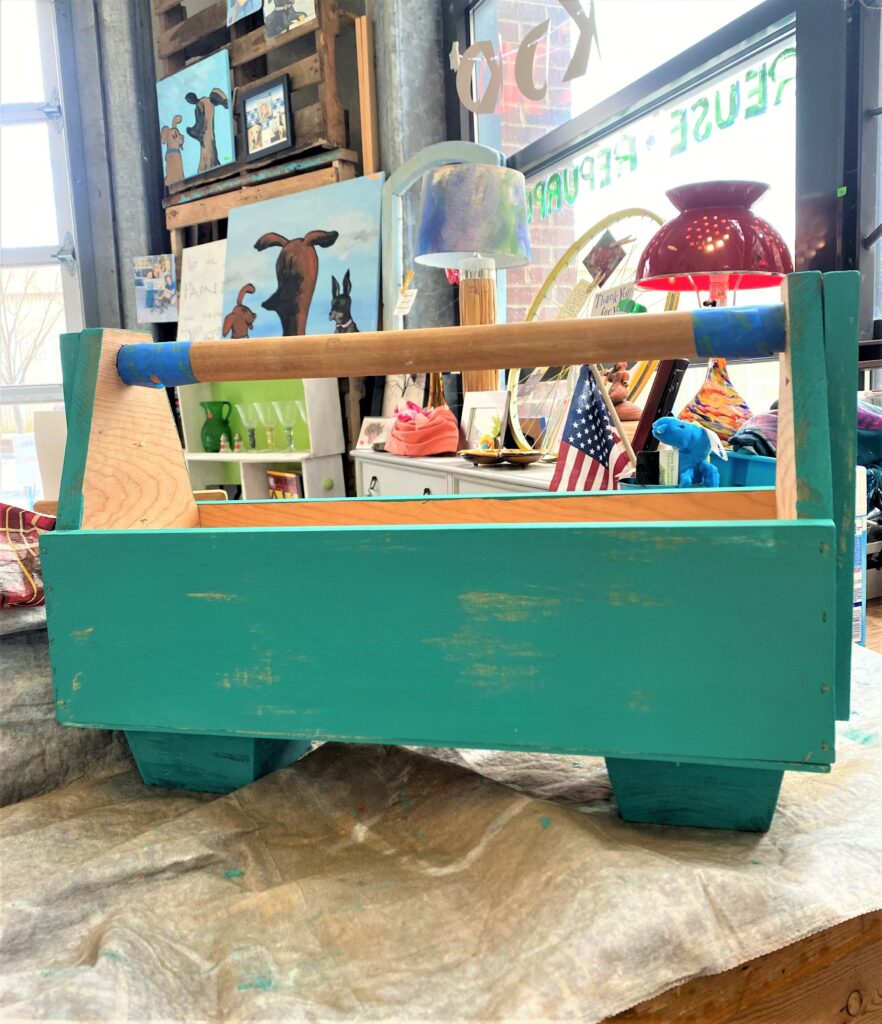
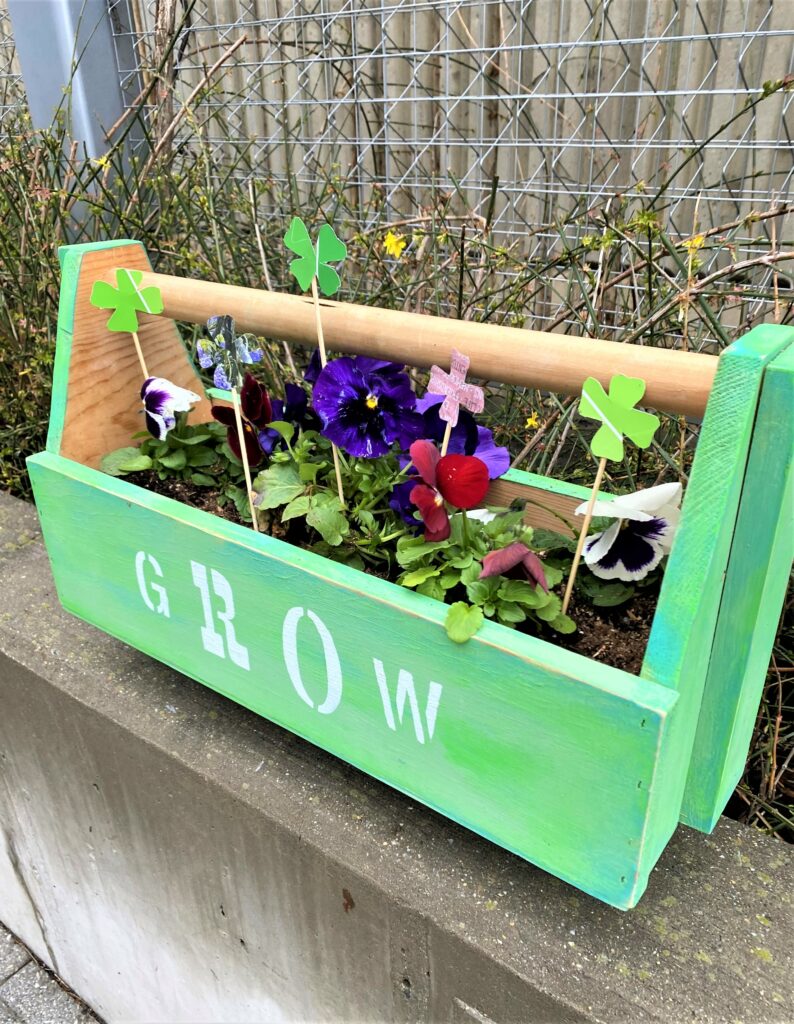
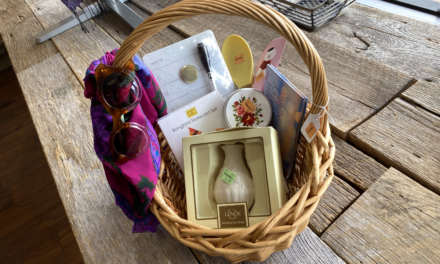
You’ll experience the luck of the Irish when you repurpose a tool caddy into a charming planter, perfect to hold herbs, flowers—or shamrocks! Inspired by the holiday, a hand-made tool caddy was upcycled using green tones and four-leaf clovers. Green is the color of St. Patrick’s and is the perfect color to welcome Spring, too!
Also, raise up your new planter by using old sofa legs and give them a new life, too! Love when DIY projects are a two-fer, regarding repurposing and reusing. Gosh, don’t you feel lucky already? I did with this project, and you will, too!
Items needed:
· Wooden tool caddy
· Green paints, various shades
· White paint
· Brush
· Stencil
· Stencil stamper
· Drill
· Wide, wooden sofa legs
· Wood or school glue
· Flowering plants
· Paper
· Skewers or other wooden sticks
· Glue gun
1. You’ll do a jig when you see all the great deals at Goodwill
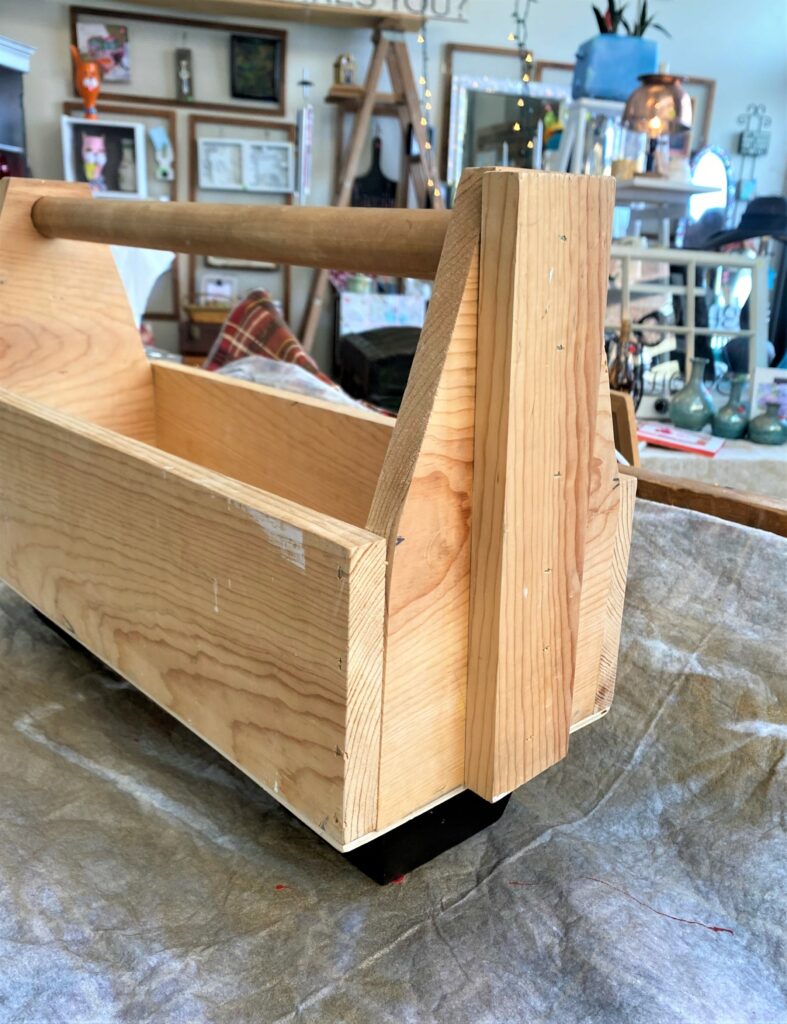
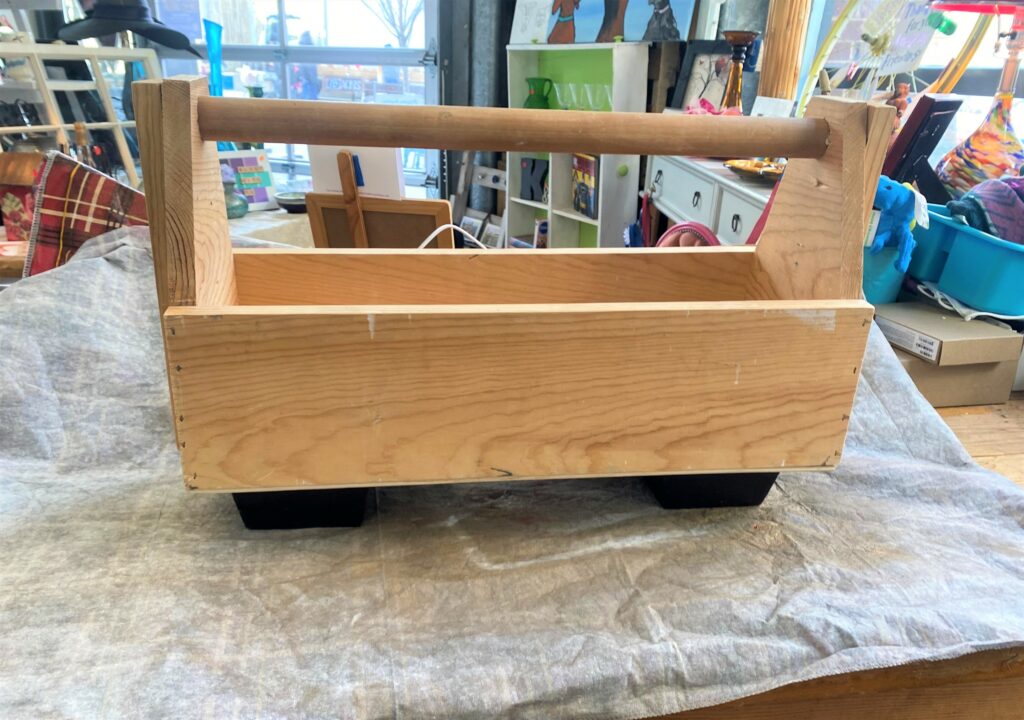
One of the fun and exciting parts about shopping for and finding your good at Goodwill, is you never know what you’ll come across while there. During one of my excursions to my fav store on South Dakota Avenue, NE, I came across a hand-made tool caddy. This wooden gem was solidly built by someone who took a lot of time to put it together.
My advice on making the most of any trip to Goodwill? If you see something you like, buy it! Unlike a big box store that has many of the same items in stock (so boring!!), Goodwill items are often unique and one-of-a-kind. I had never seen a tool caddy there before, let alone a hand-made one, so for a couple of bucks, it went home with me.
What items have you seen at Goodwill that are unusual and out of the box? Share the treasures you have found—we love to hear how you have found the pot of gold, so to speak, there!
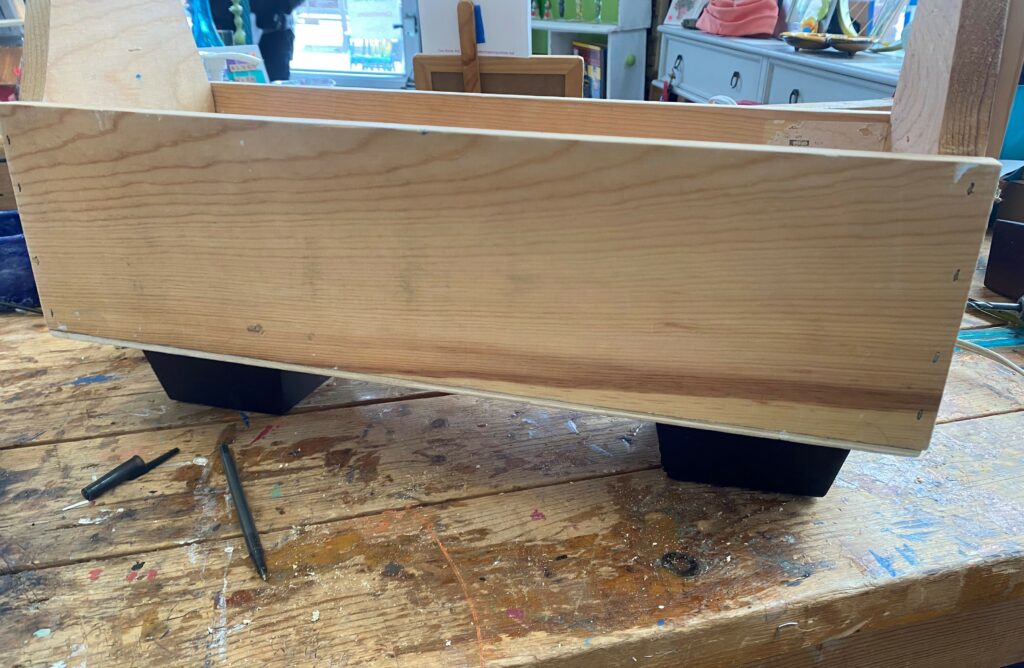
2. Give your planter some stature with repurposed sofa legs
Raise your tool caddy planter up and off the floor or ground by adding old sofa legs. The ones featured here were wide, flat, and made of wood. Like most sofa legs, they were screwed into the bottom of the couch and easily removed with a couple of twists. The screw will be in the center of the leg, so to reuse it with your planter, all you have to do is to drill some holes into the bottom side.

While you are drilling the leg holes in the bottom, be sure to drill some extra holes to allow water to drain out. Super simple!
Add some wood or school glue to the top of the sofa leg, insert the screw, and secure it tightly in place.
Design Idea 1:
If you don’t come across an old, discarded sofa from which to borrow its screwed-in legs, you could repurpose wooden blocks used by children. You could also secure old doorknobs to the bottom to serve as its legs.
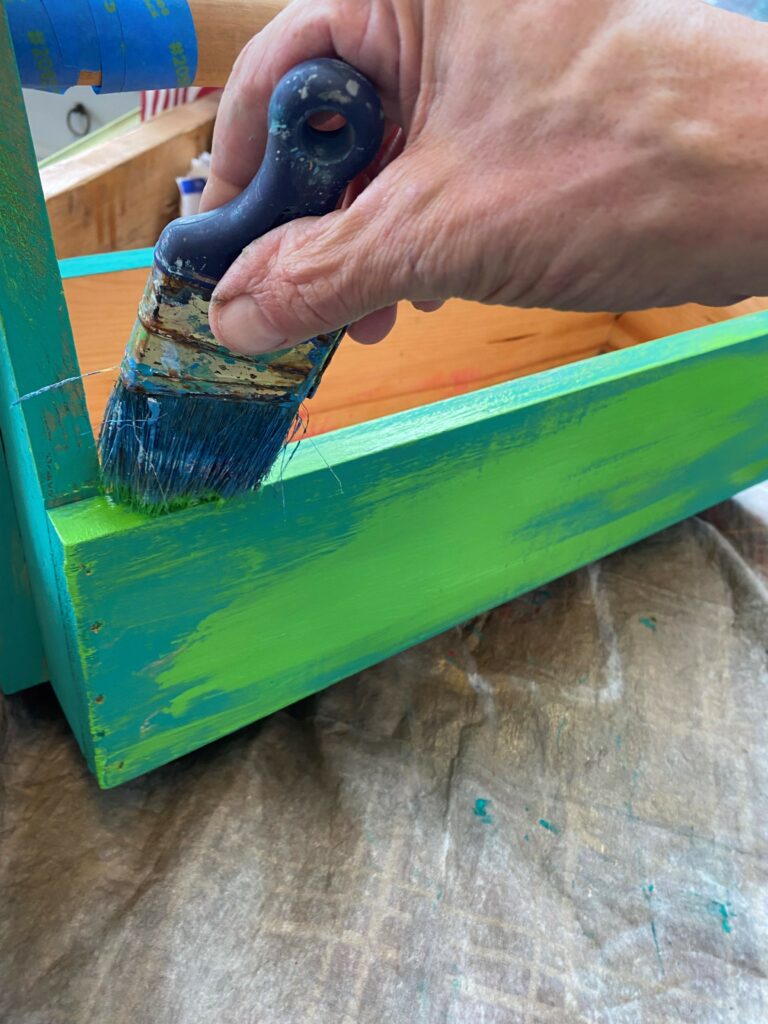
3. Bring on and brush on the green
Sometimes the hardest part of a DIY project involving paint is to determine which color or tones to use. Consider using a holiday or event to help make your decision super easy. Green was the obvious choice for St. Patrick’s Day and always looks great with any decor.
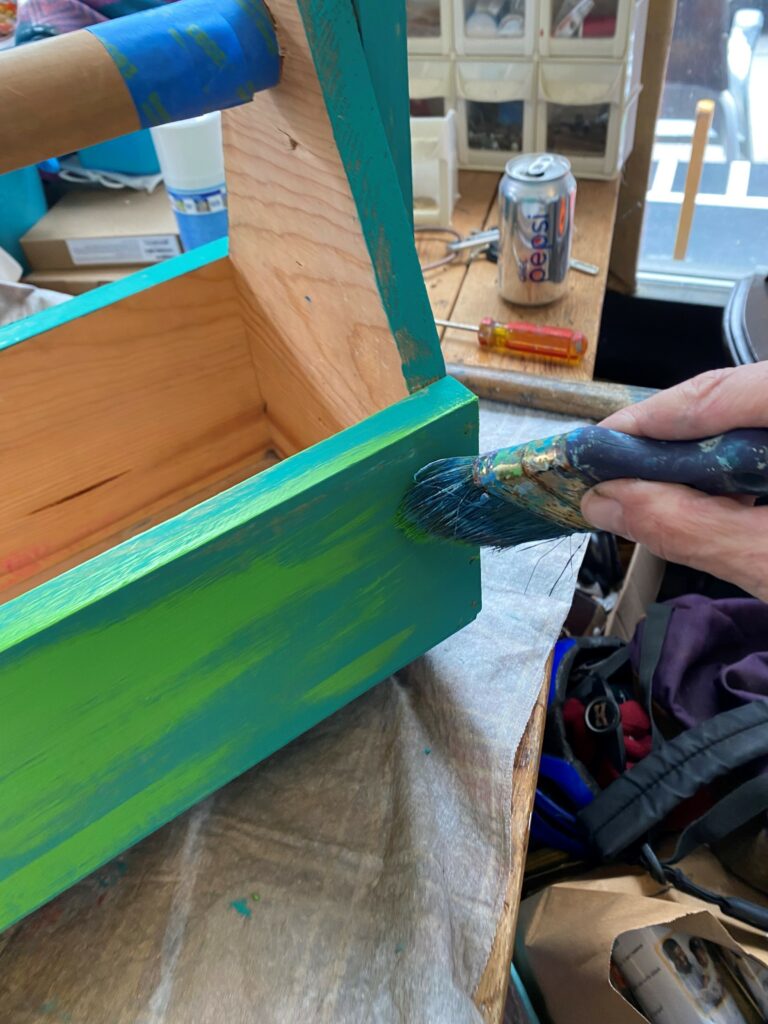
Three different shades of green were brushed on the outside and layered up to give it a weathered and well-loved look. Painter’s tape projected the handle. The dark brown sofa legs were given several green layers, too, to make them match.

Design Idea 2:
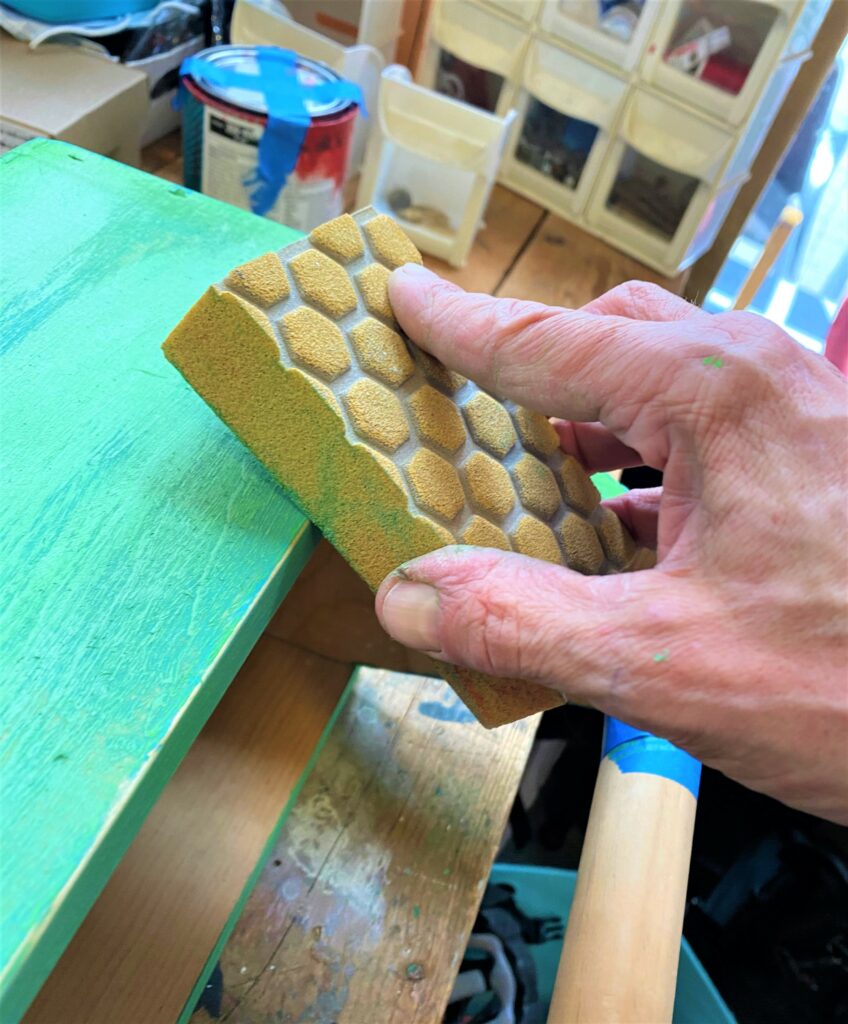
Layering paint and allowing the various colors to show through helps to give your pieces a well-used, aged look. Also, you can distress your piece by using sandpaper to bring out edges and details. This green-painted tool caddy was given a good sanding along all of its edges to remove the paint layers and allow the wood base to show—and shine—through. This small step always makes a big impact. After you distress your piece this way, be sure to wipe it down with a damp cloth to remove the dust created for sanding.

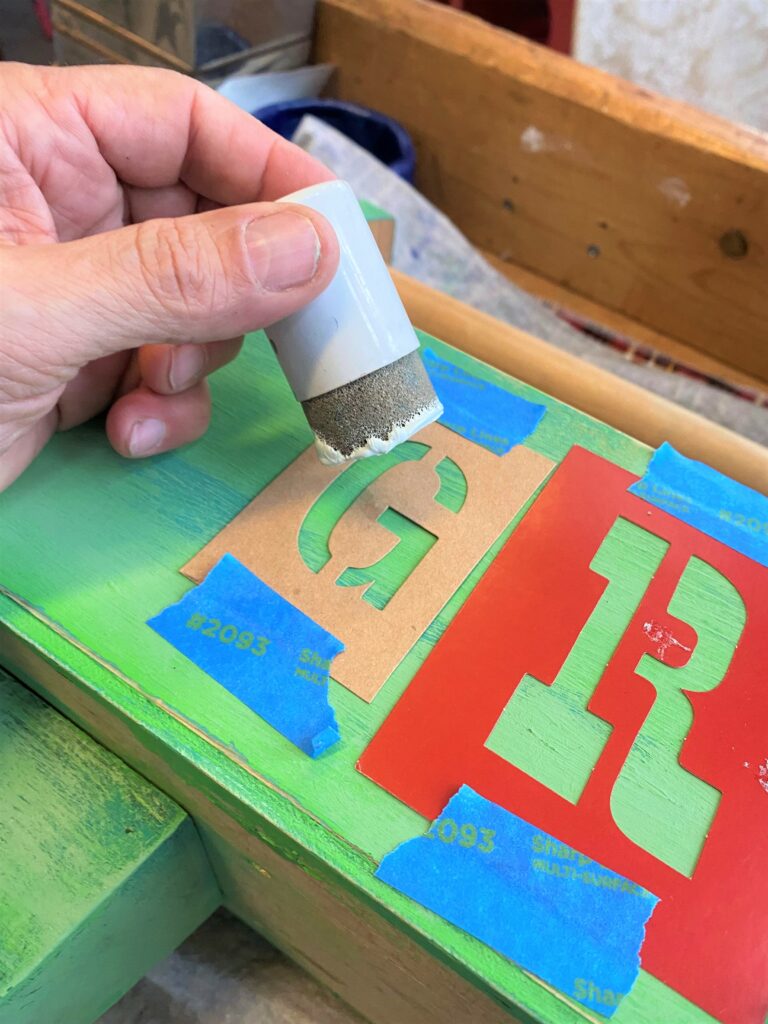
4. Stencils are super
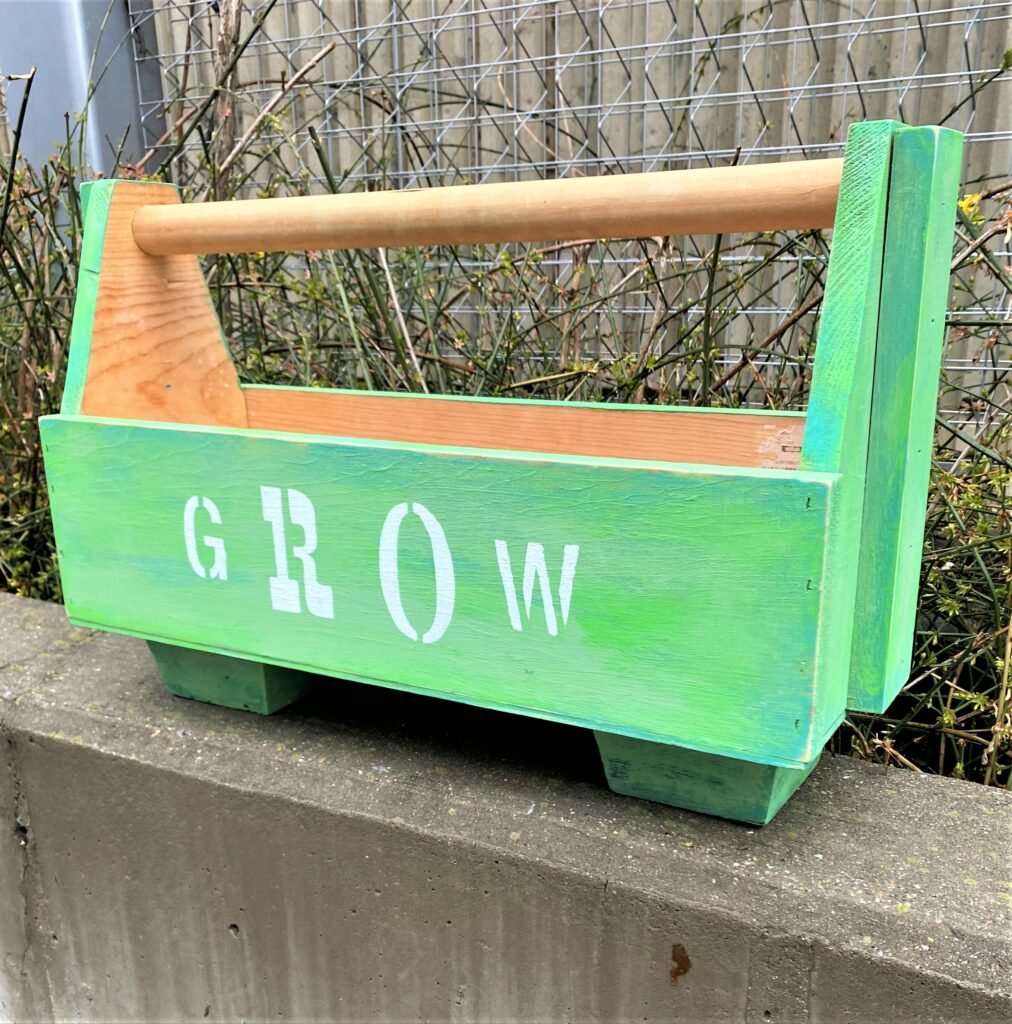
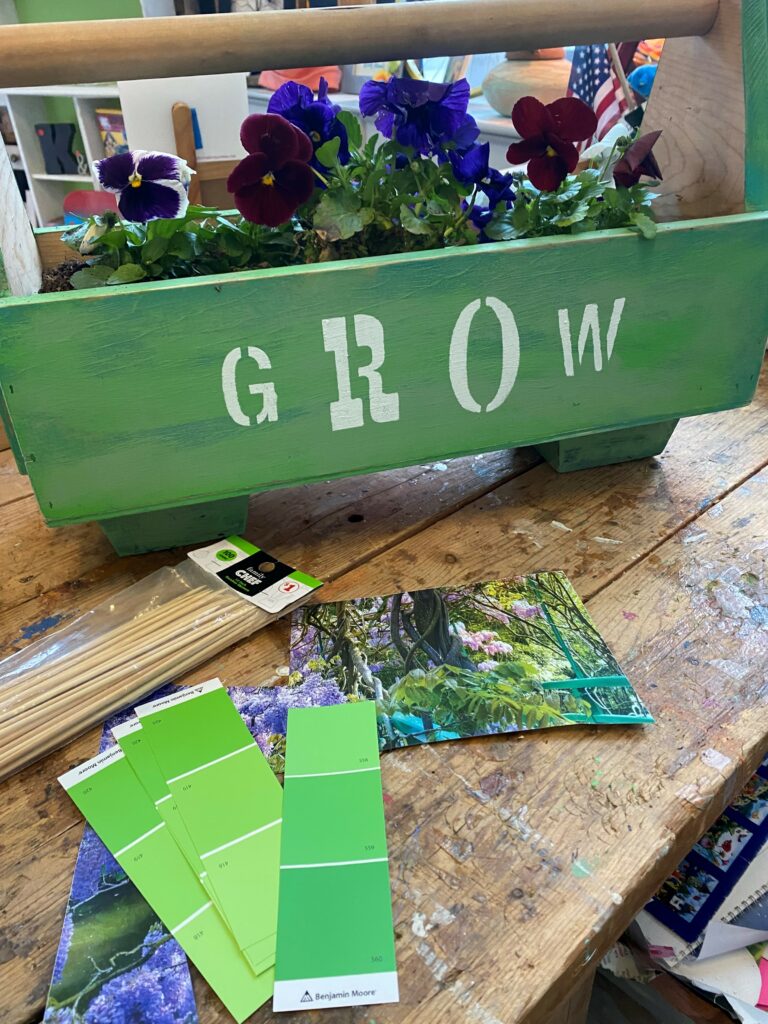
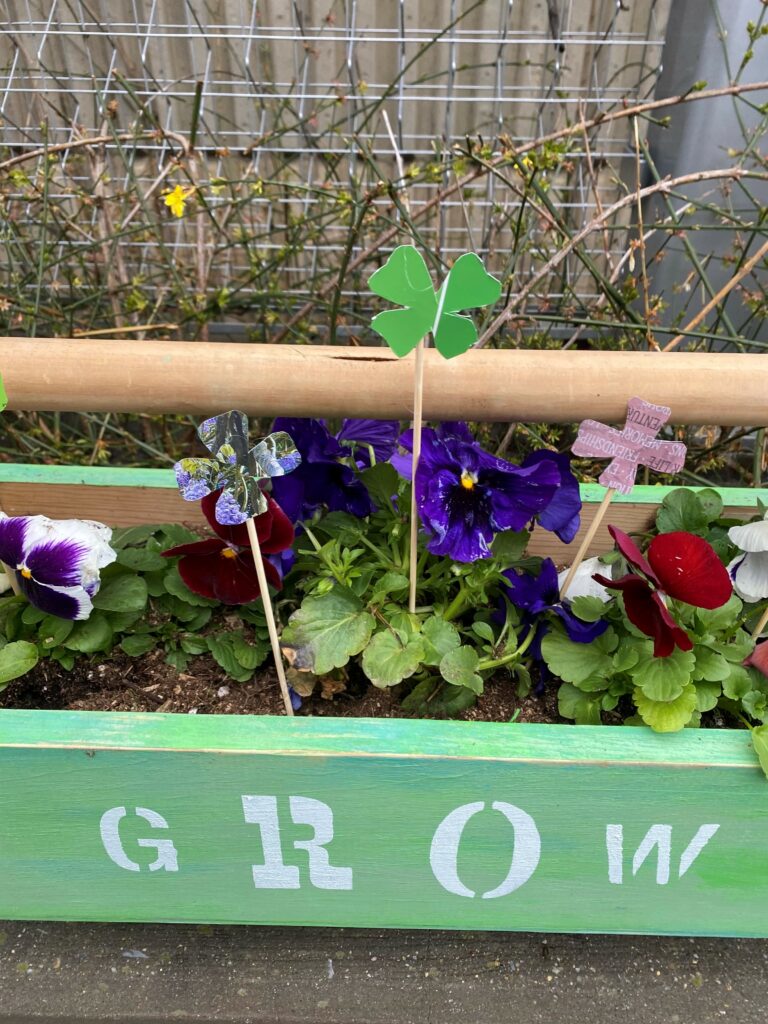
Add a message to your tool caddy planter using stencils. “Grow” seemed like an appropriate and friendly message, so the letters were held in place with painter’s tape and, using a stencil stamp, white paint was added. Keeping with the whimsical feel of the planter, two different-sized stencils were used. Fun!
Other words you might consider using are “Bloom,”, “Hello,” “Spring” or “Home.” To make it very personalized, you could add your address numbers to it as another way for people to find your place.
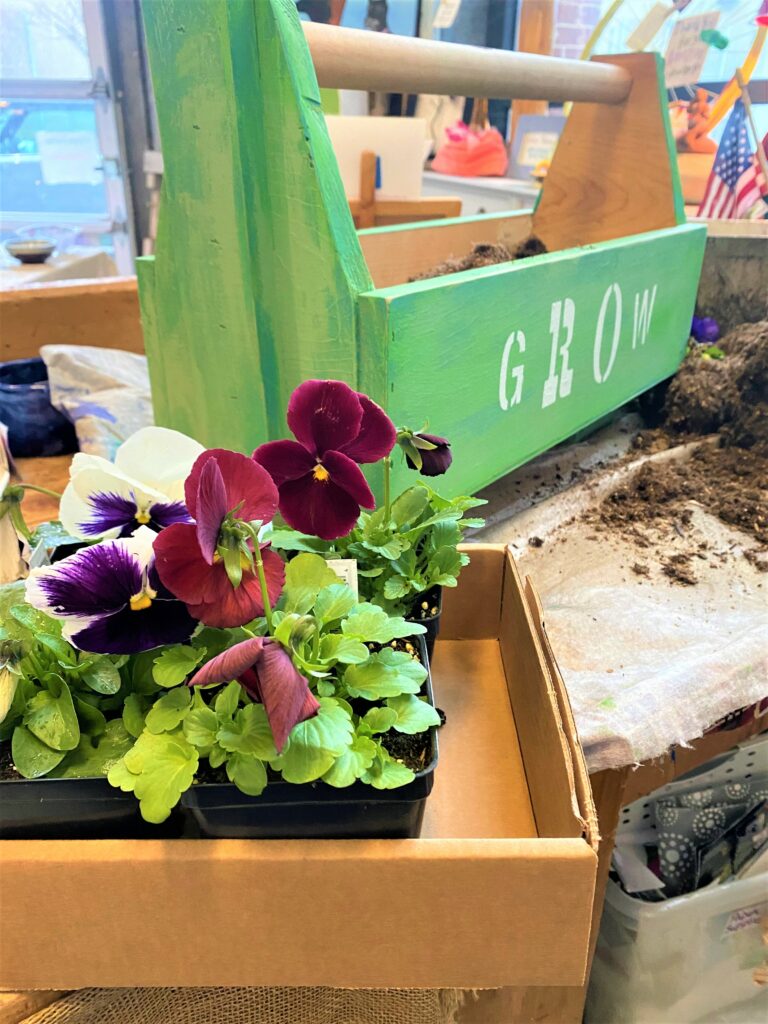
5. Fill with flowers
Cheerful pansies, which are plentiful this time of year, were added to this upcycled tool caddy planter. You might consider planting herbs, too, so you have fresh things to add to your food all season and summer long.
Design Idea 3:
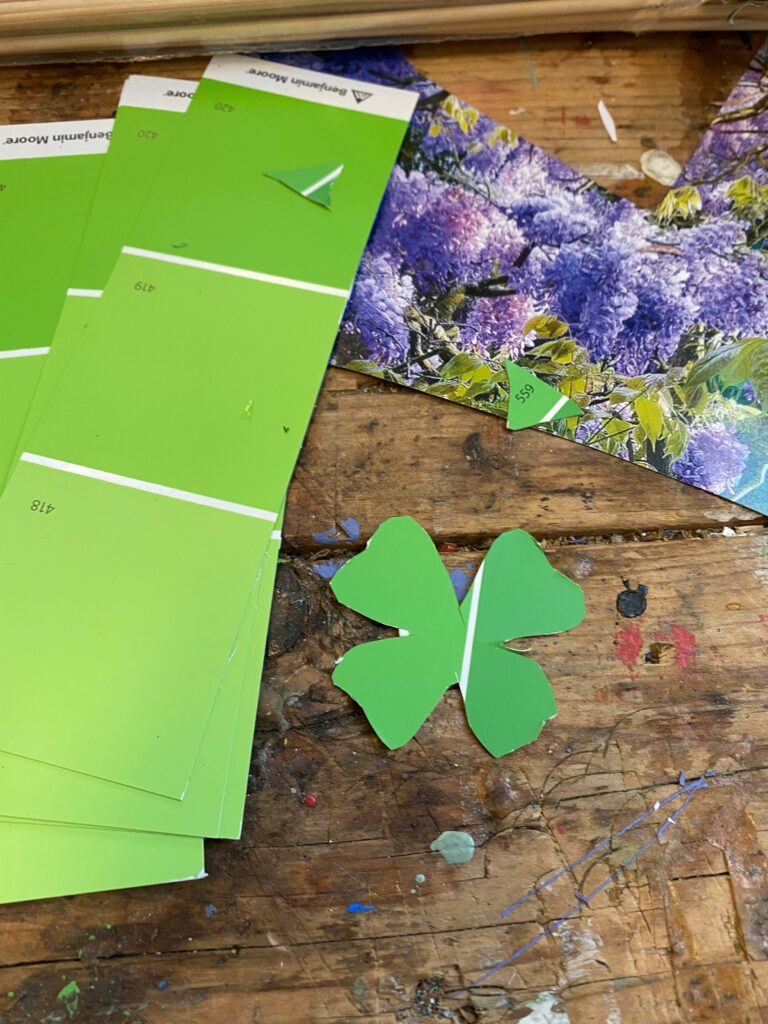
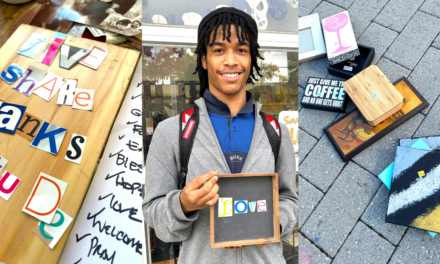
Help your planter celebrate St. Patrick’s Day by adding paper shamrocks cut from repurposed paper. Green paint sample paper and an old calendar were used; the clover shapes were traced, cut, and glued on top of wooden skewers. These were added to the caddy planter for a totally happy addition and tie into the holiday.
Whatever you plant in it and wherever you place your planter, you sure are to generate lots of smiles and, again, feel very lucky this time of year and beyond!
Thank you to Finding Your Good for making so many of us feel lucky, blessed, and very fortunate during St. Patrick’s Day and every day!
Similar Reads:
- DIY: Green & Gold Make It Bold
- DIY: Unique Planters Honoring Female Icons
- Event Recap & Tutorial: How to Host a DIY Planter Workshop & Plant Swap

Tim Kime
Artist, Motivational Speaker, Life Coach

