Looking for a unique gift for that person who loves to cook? I have the recipe for success! Simply embellish a wreath by adding kitchen tools and utensils for a deliciously whimsical wreath for the holidays, or even all year long. This craft is perfect to hang on your favorite chef’s front door, to display in the kitchen or to adorn a dining room wall. Julia Child once said, “No one is born a great cook, one learns by doing.” Apply her philosophy to this fun, upcycled project (or any DIY idea), just do it!
Age Level: Older kids, teens, and adults
Items needed:
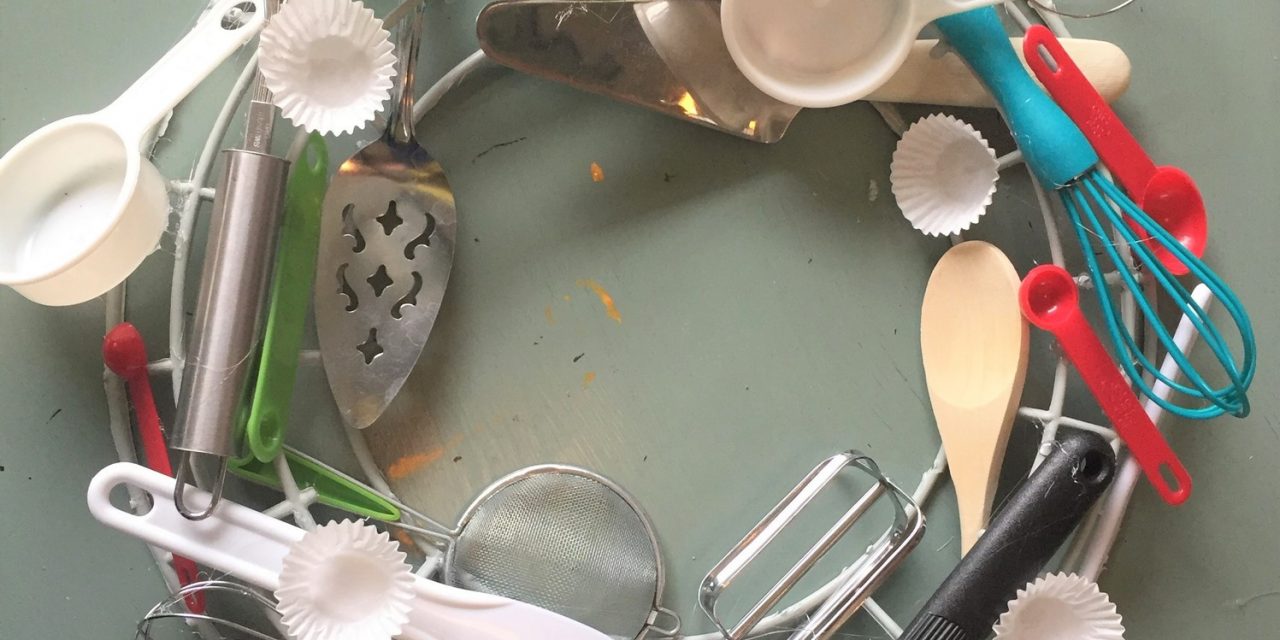
- A collection of kitchen utensils (measuring spoons, whisks, serving tools, strainers, etc.)
- Wire or plastic wreath frame
- Spray paint
- Glue gun & glue sticks
- Wire
- Ribbon
- Scissors
Time requirement: 2 hours (not including paint drying time)
Cost: Approximately $25
- $1 to $2 per kitchen utensil
- $4 per container of spray paint
- $3 for wreath frame
- $2 for wire
- $1 for ribbon
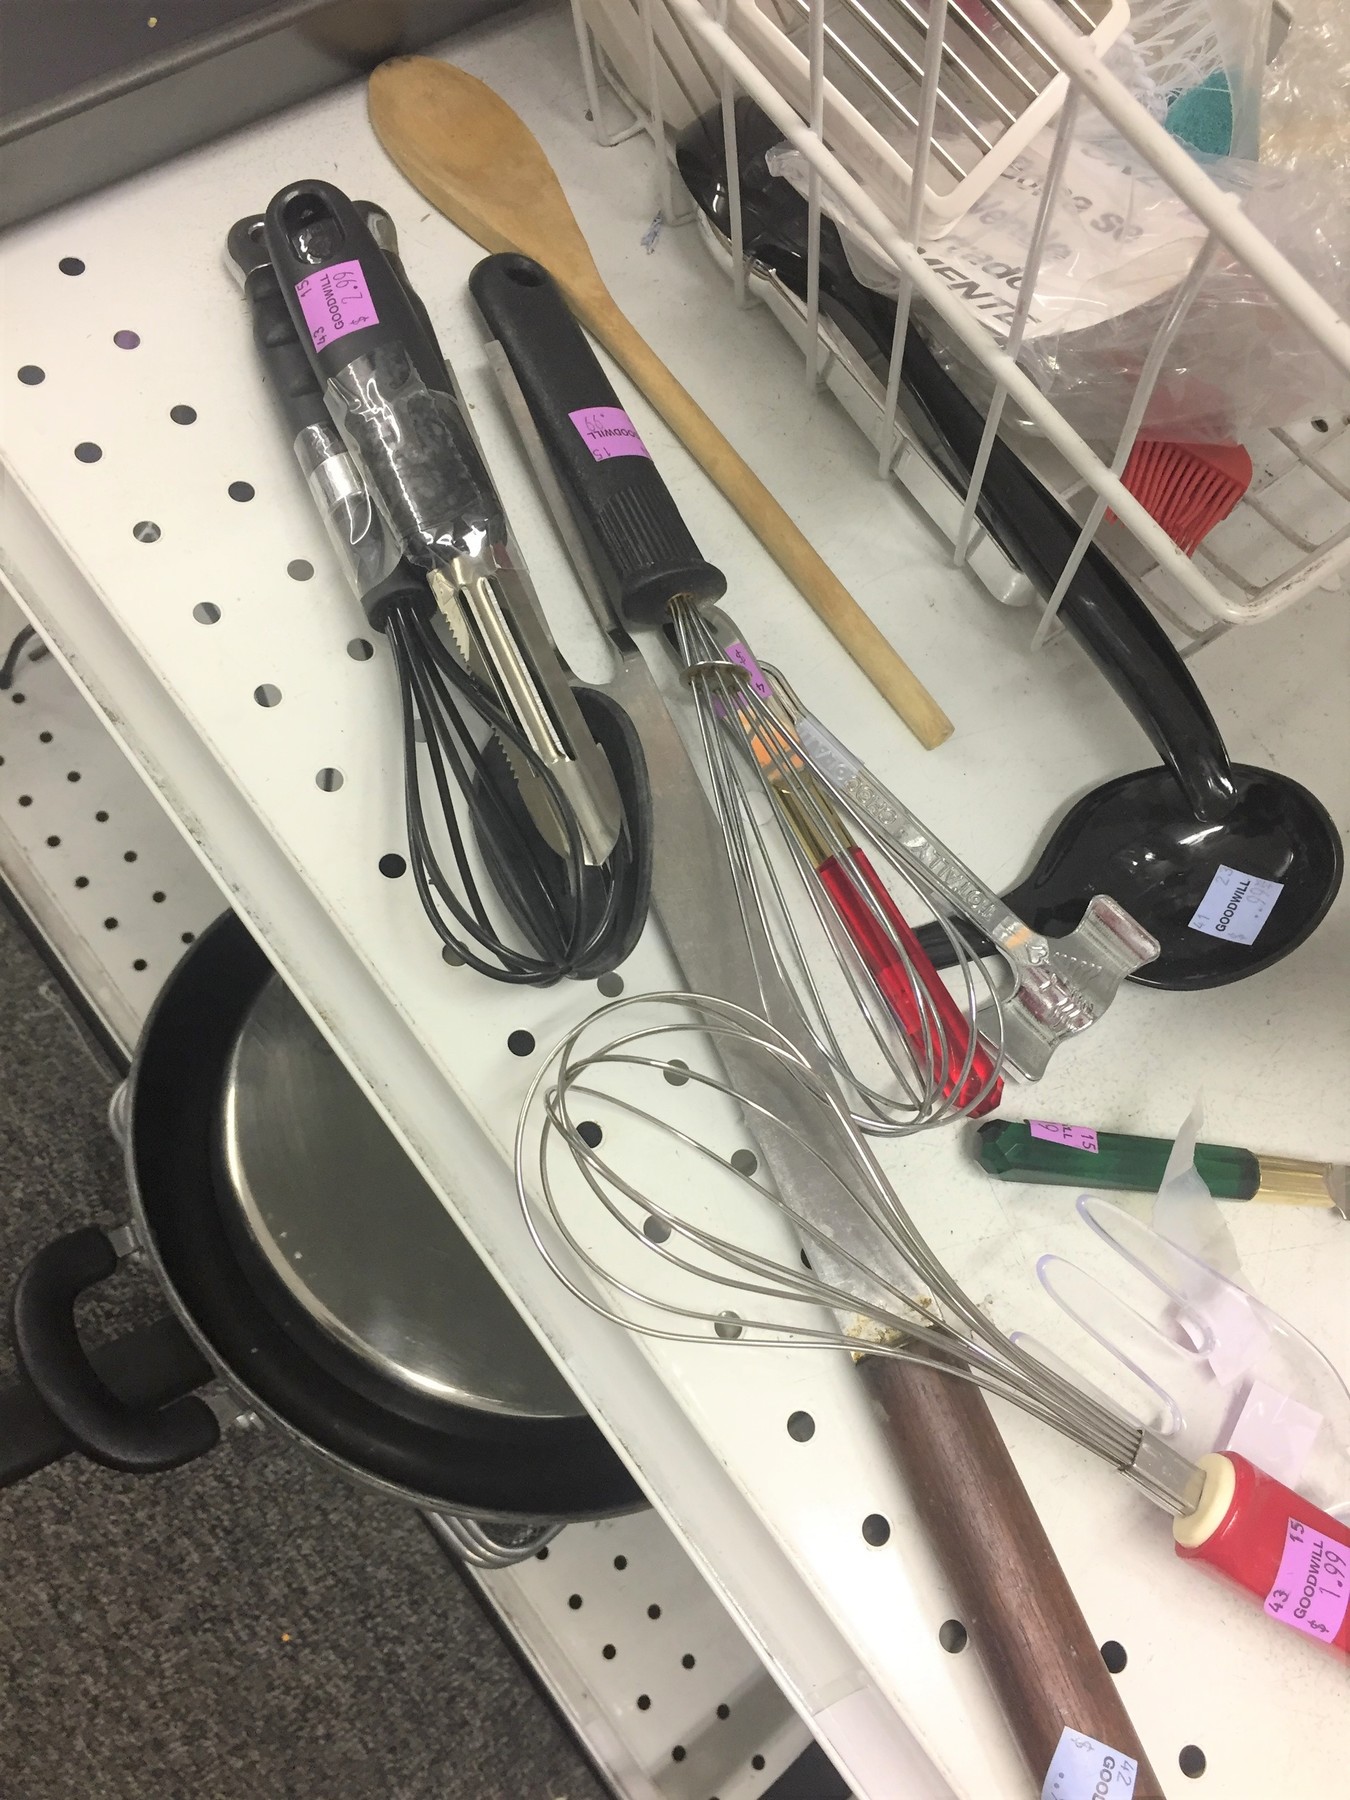
Step 1: Go to Goodwill to get your ingredients
Check out the Housewares aisle at your local Goodwill retail store for kitchen utensils. Some stores provide “grab” bags of them at great prices. Look for a variety of tools in a variety of sizes to make your wreath visually interesting and appealing.
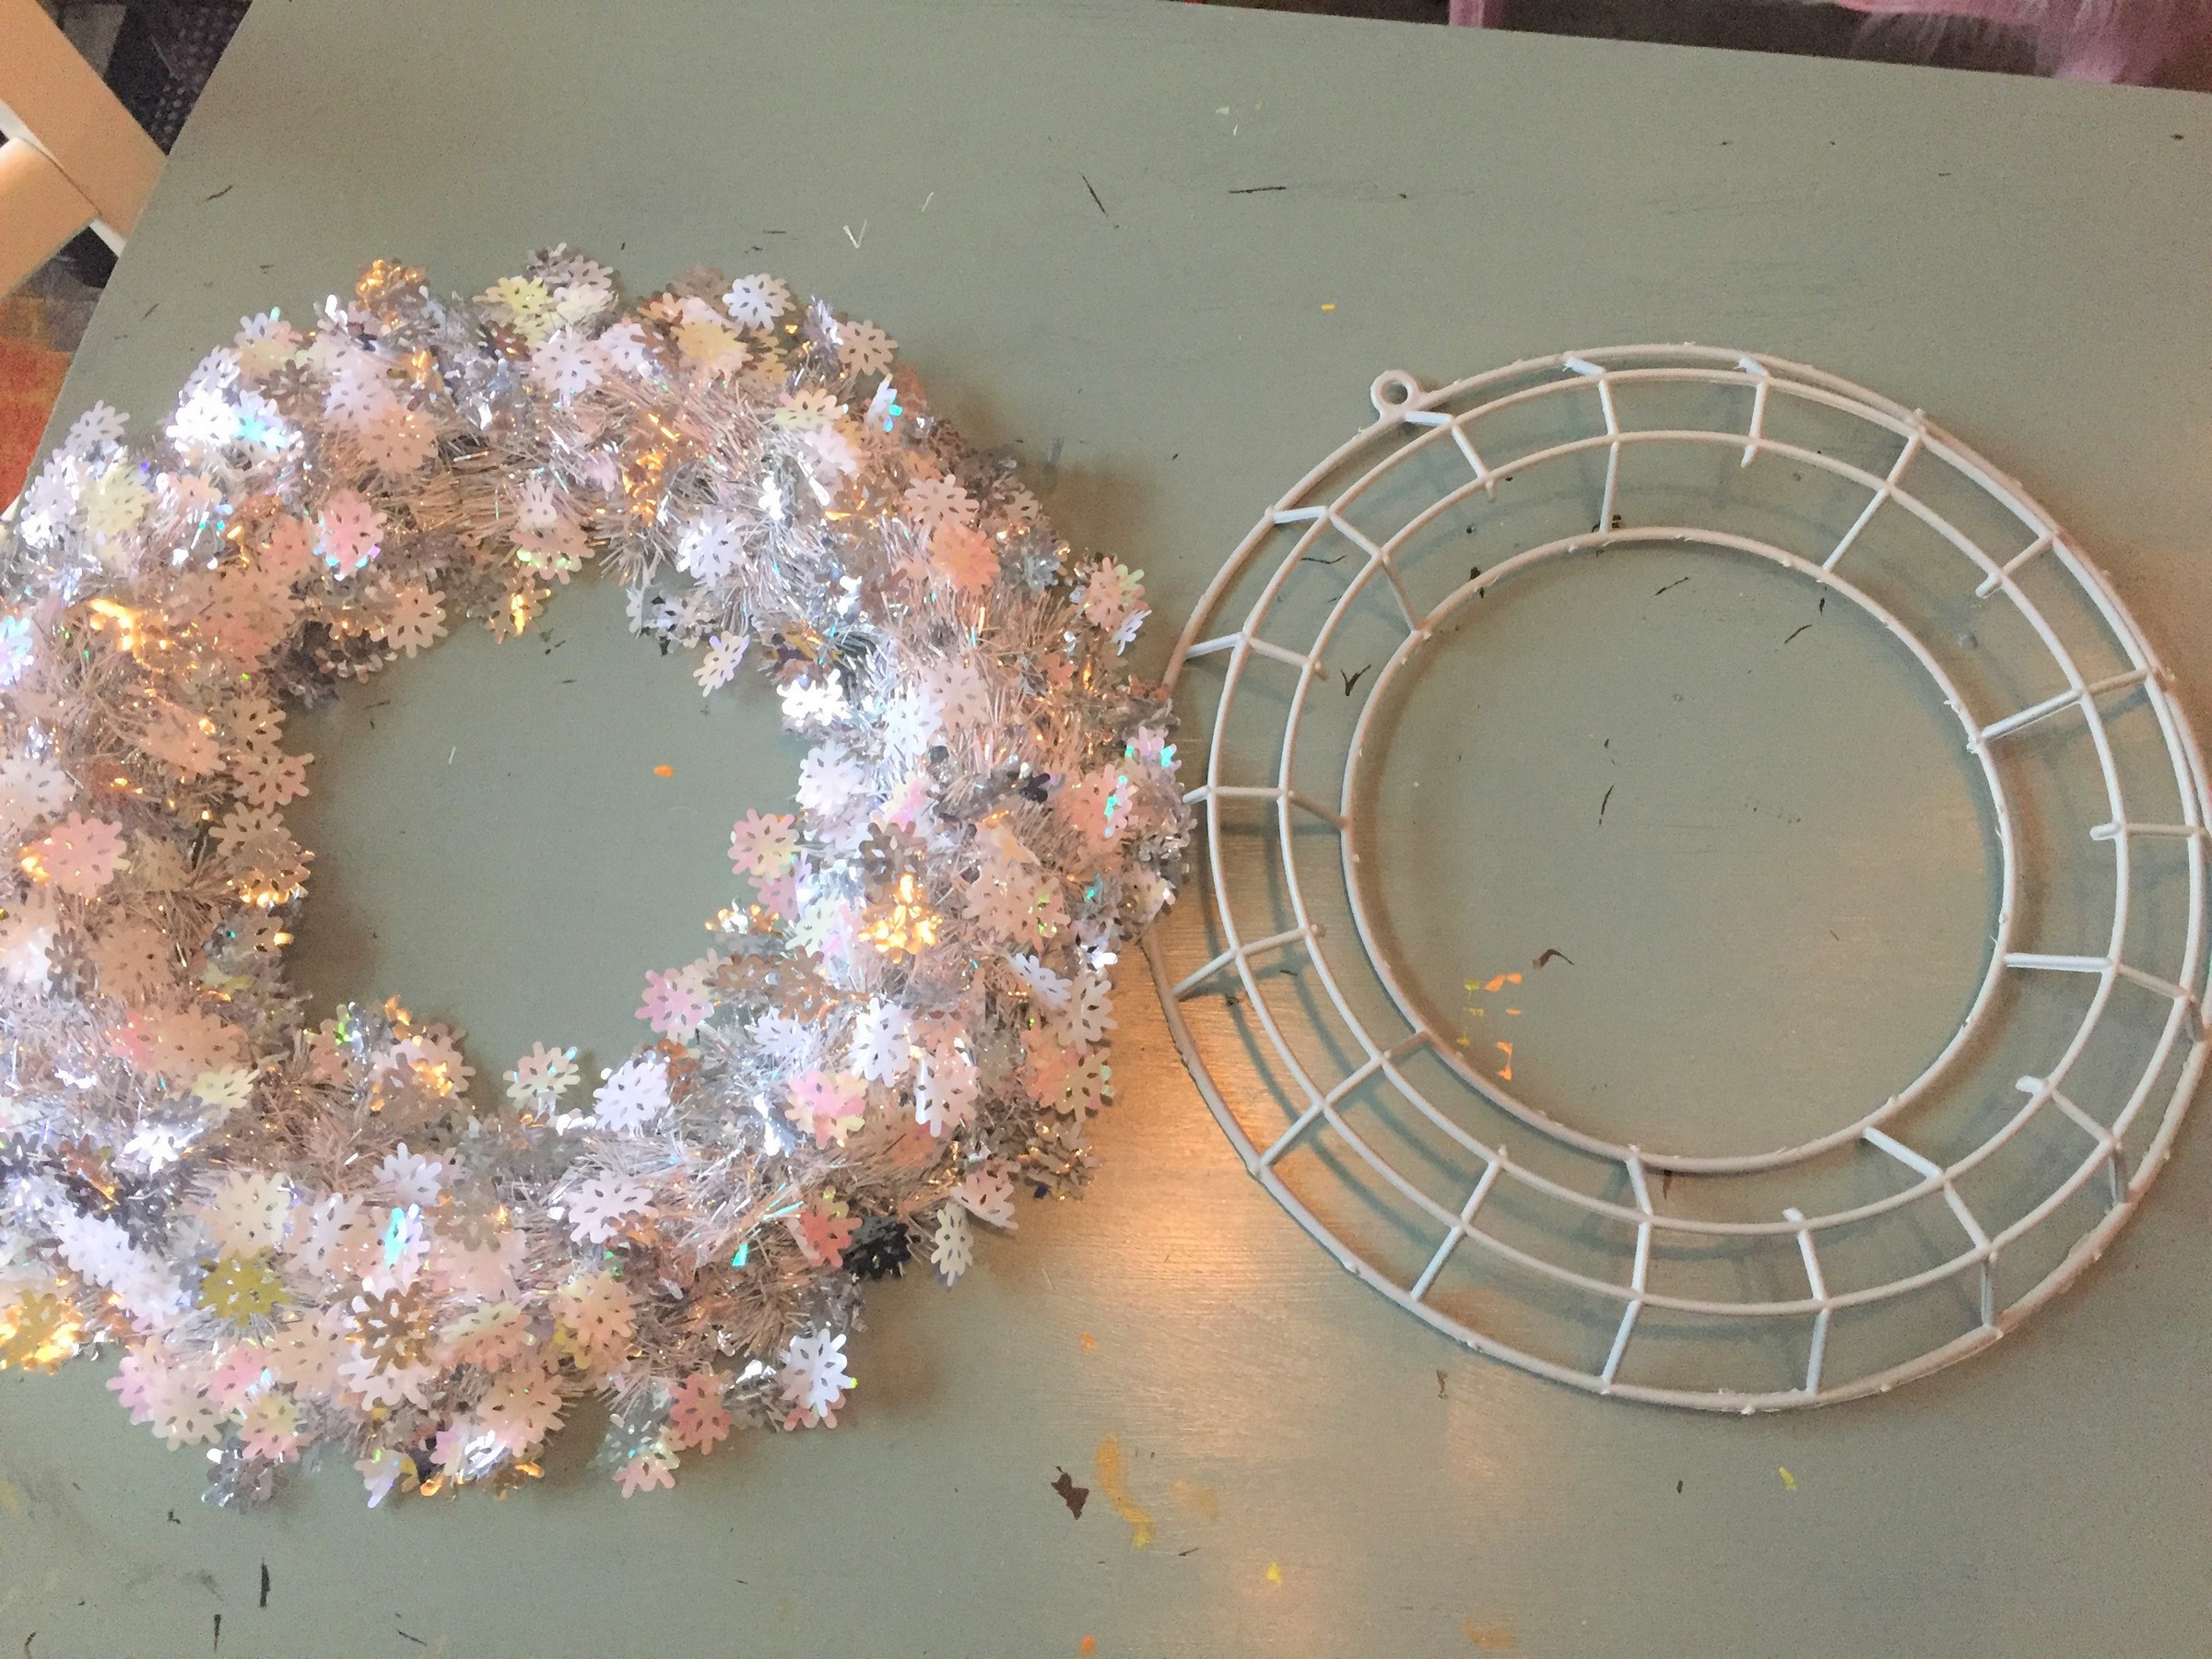
While at the store, look in the section that has holiday decorations. See if there are any Christmas wreaths that can be taken apart to leave just the frame holding it together. Most arts and crafts stores, as well as your local dollar store either have wreath frames ready to go or you may find wreaths to be dismantled for this upcycle project.
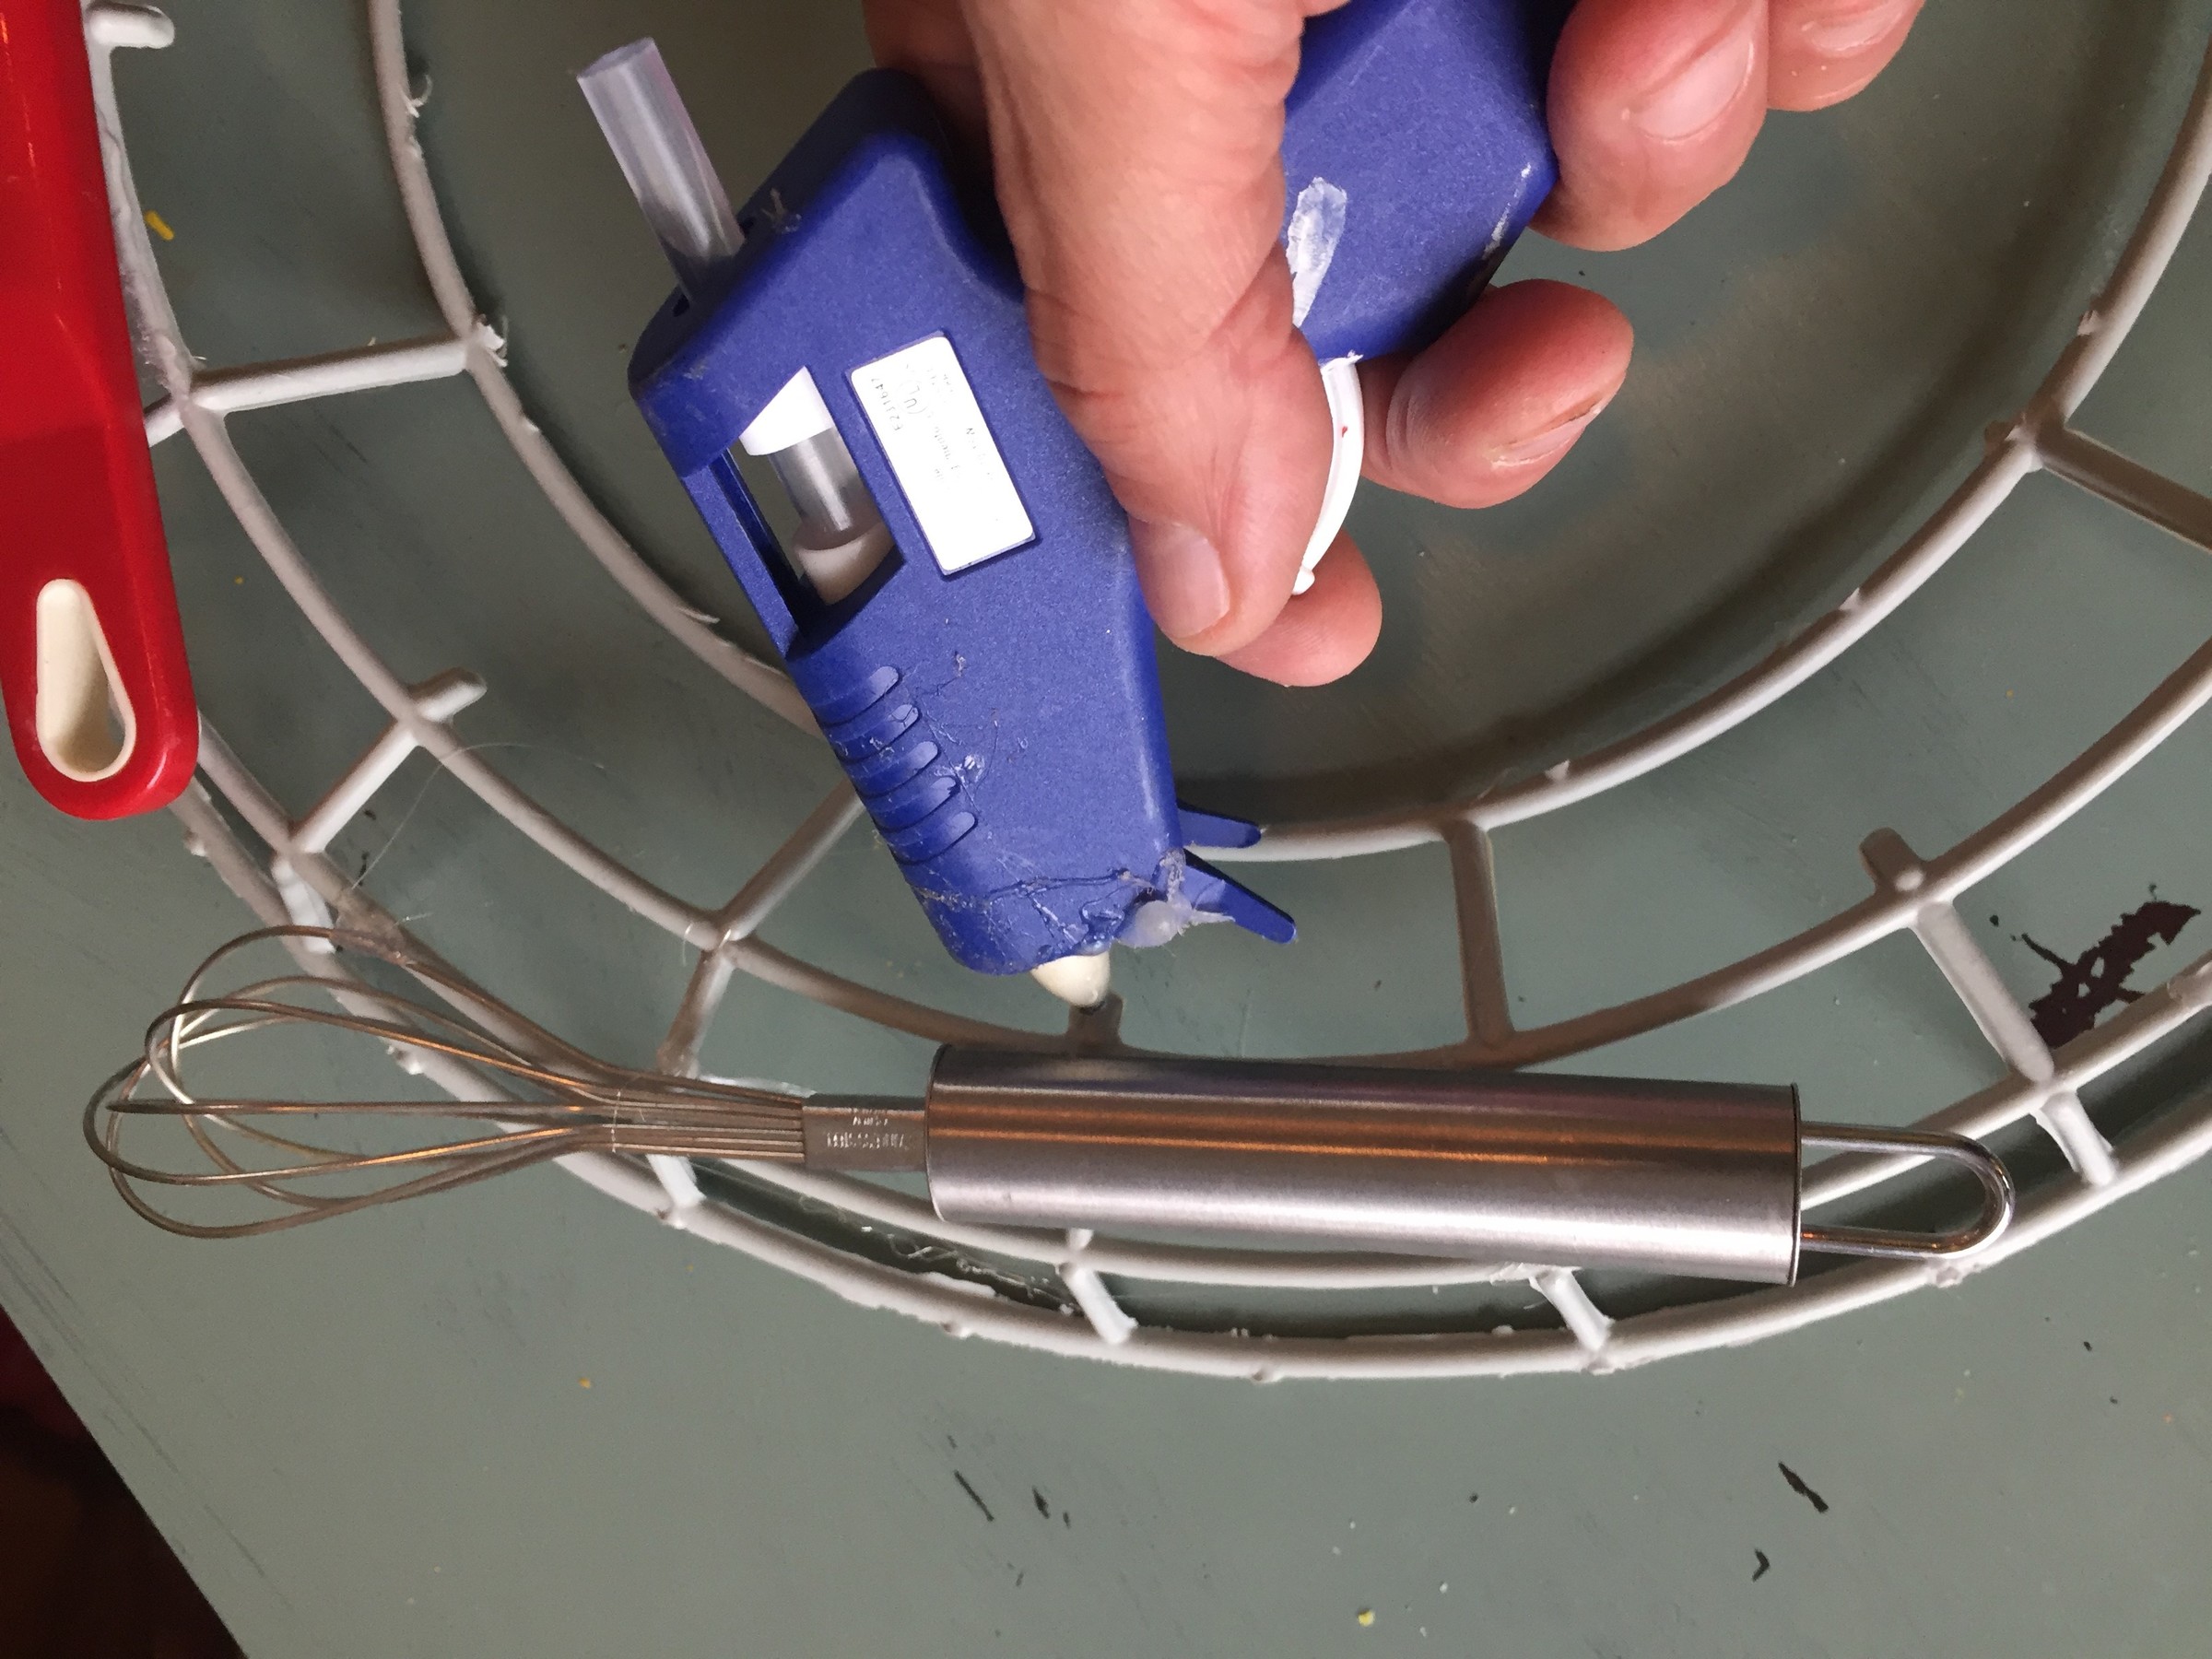
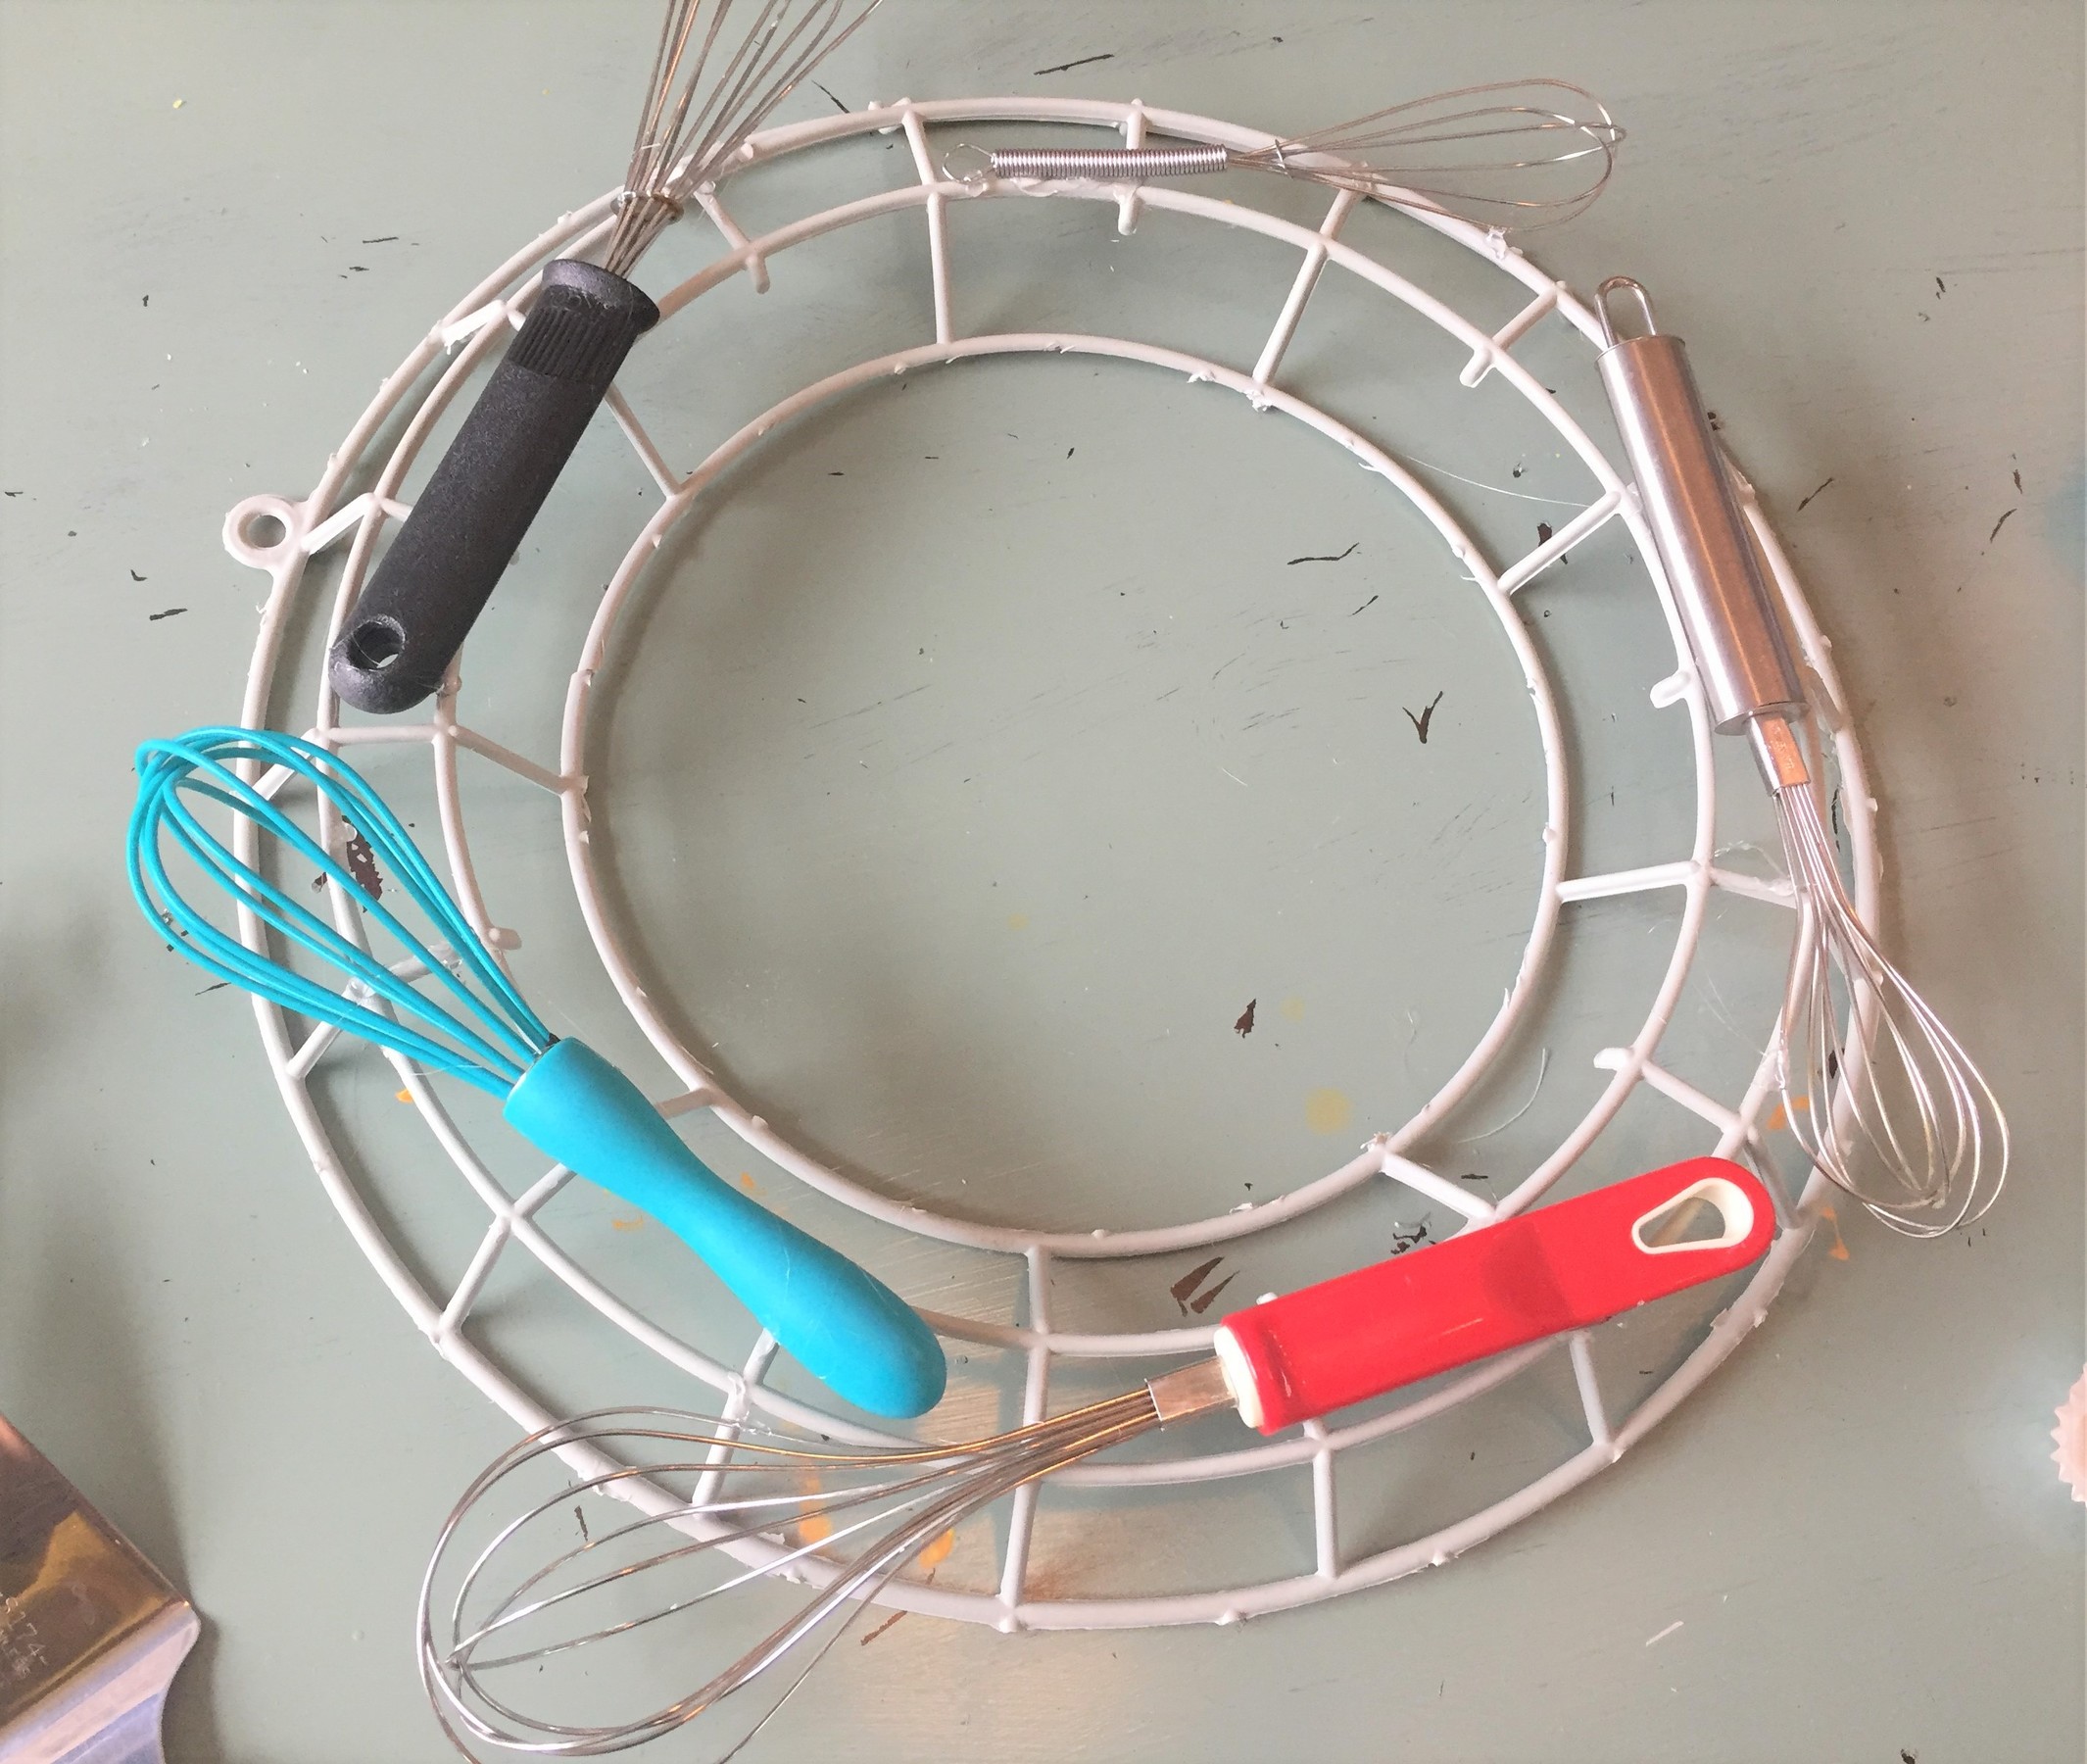
Step 2: Use your glue gun to adhere utensils
With a hot glue gun, start securing the various items to the wreath frame. Start with the larger pieces such as whisks or wooden spoons being mindful to space them out on the frame so it is balanced. Add some pieces on the top part of the frame and insert others so they appear to be various levels. Next, fill in empty spots by gluing on measuring spoons and other smaller tools. Small cupcake/muffin cups are a fun option, too, to add a flower-like texture to your wreath.
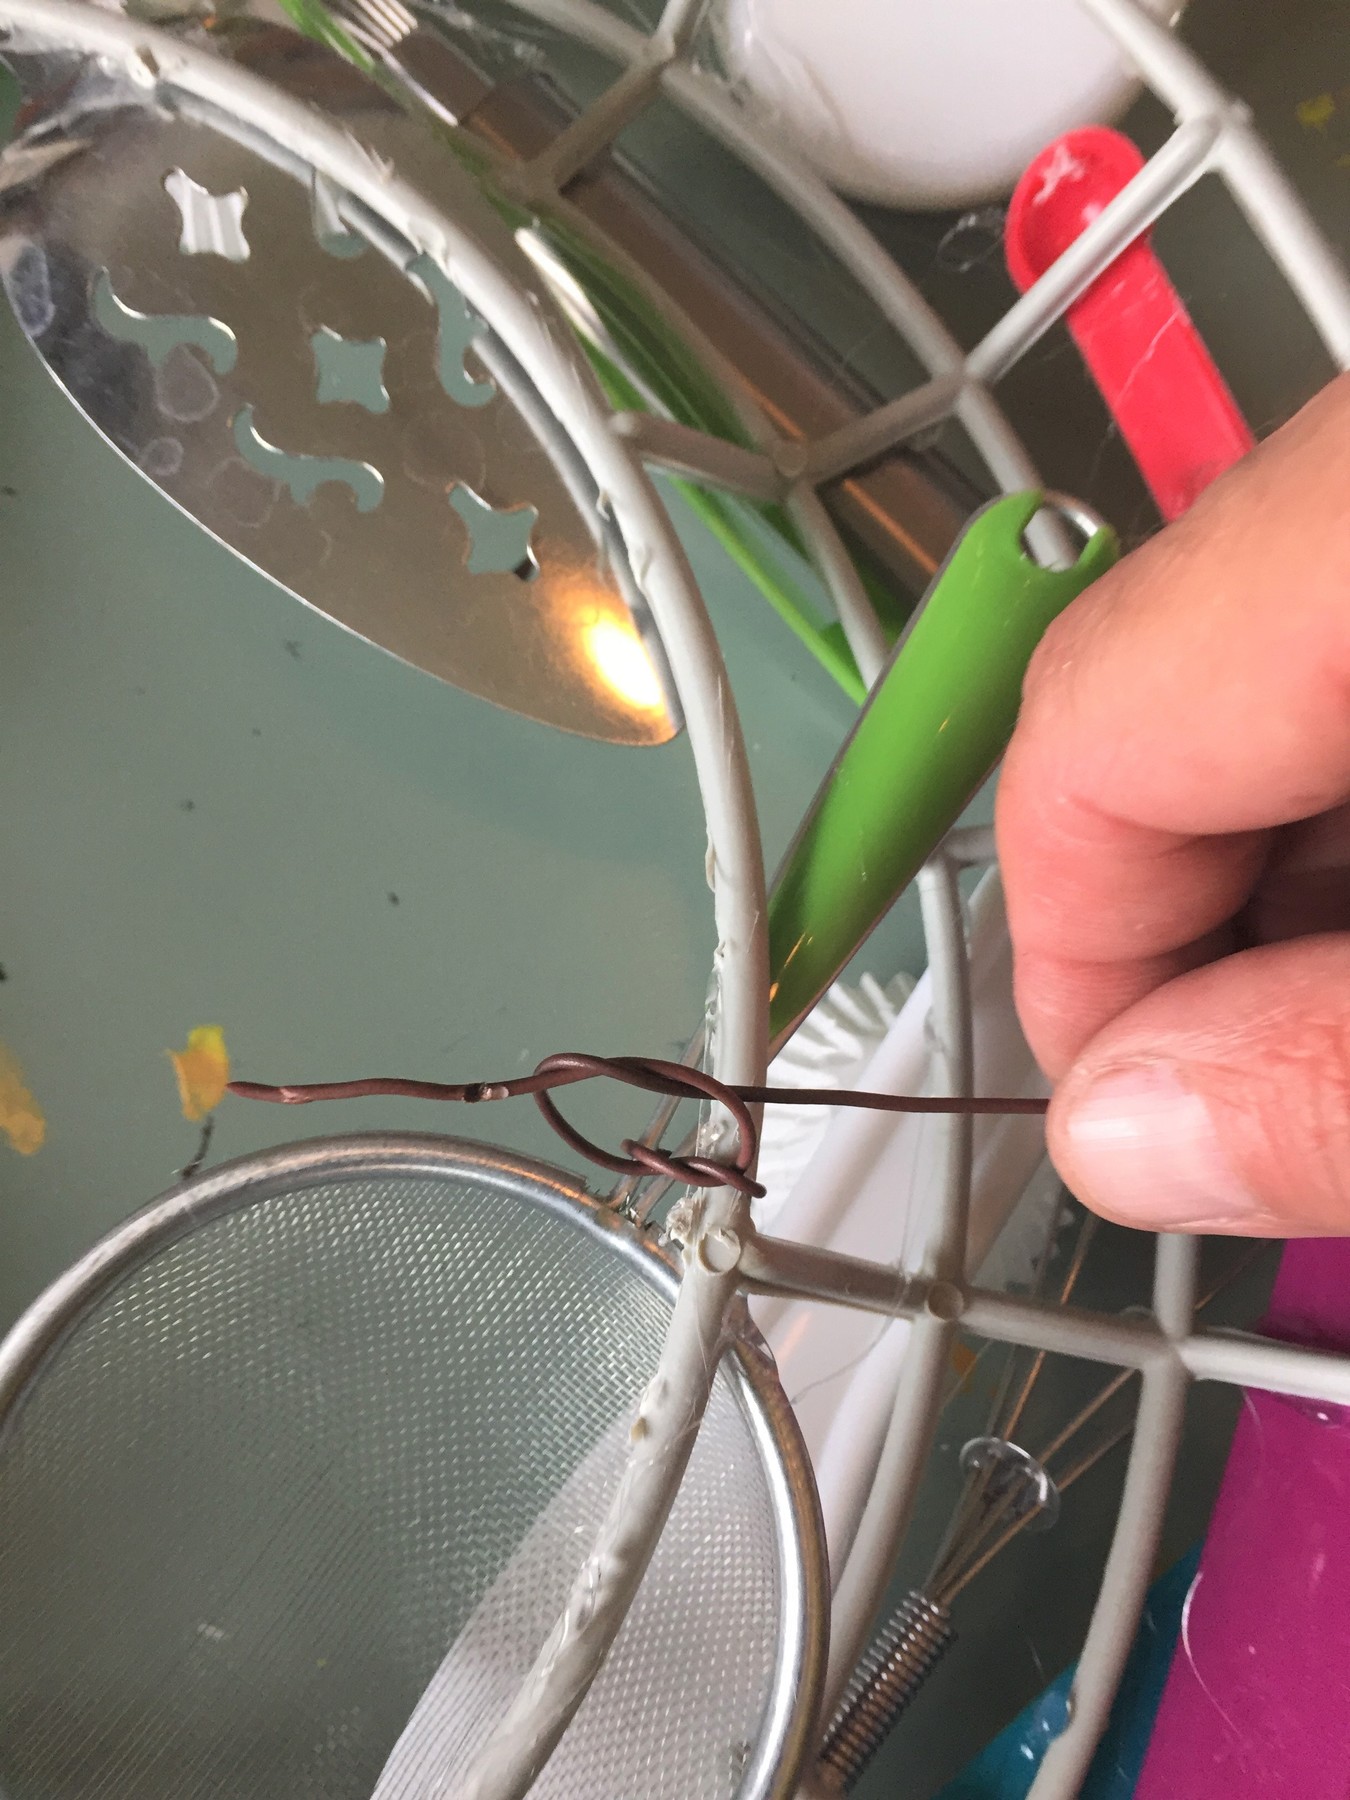
Step 3: Wire it on
Turn your wreath over so the backside is now visible. To ensure your heavier or bigger items stay in place, use wire to secure pieces in place. Try to find a spot that is somewhat hidden, insert your wire and wrap it around a handle or other part of the item. Tie and twist the wire and cut off the access.
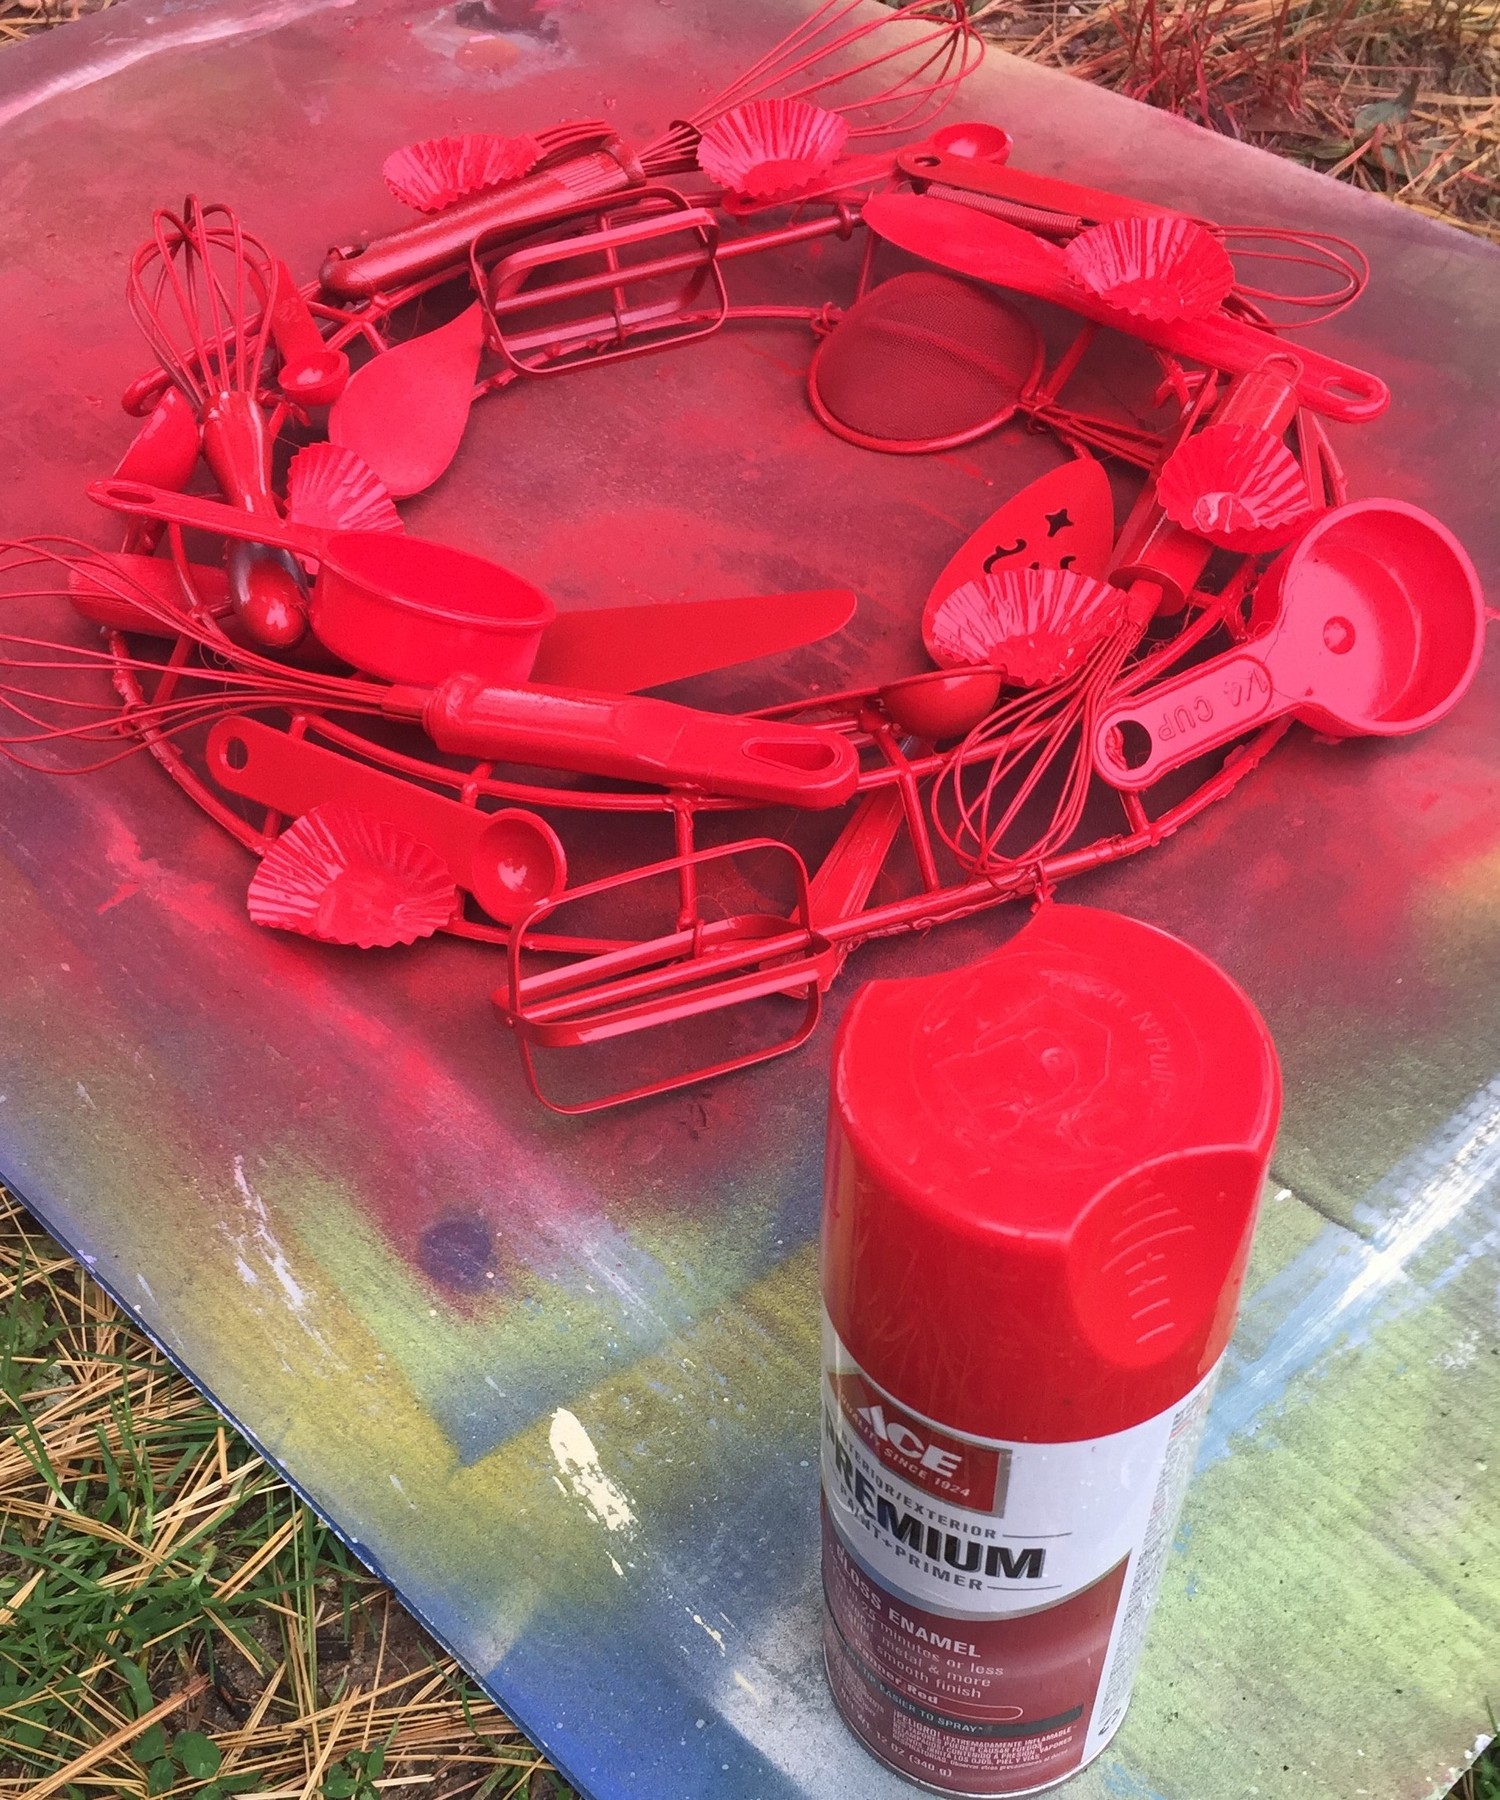
Step 4: Spray paint time
If possible, place your decorated wreath outside (or in a well-ventilated space) and on a tarp or drop cloth. Spray on a light coat of paint from several angles to cover the various surfaces, sides, and edges of the utensils. Let your piece dry for a while then flip it over and spray on another coat of paint. Be sure to get all sides so that all pieces of covered and connected by your paint color.
Expert recommendation: For my chef’s wreath, the color red was selected for two reasons. First, red is a popular holiday color. Second, red is often used in kitchens and restaurants because it supposedly activates the appetite. Consider where this piece might hang and pick up a color in the room so it accents the space well.
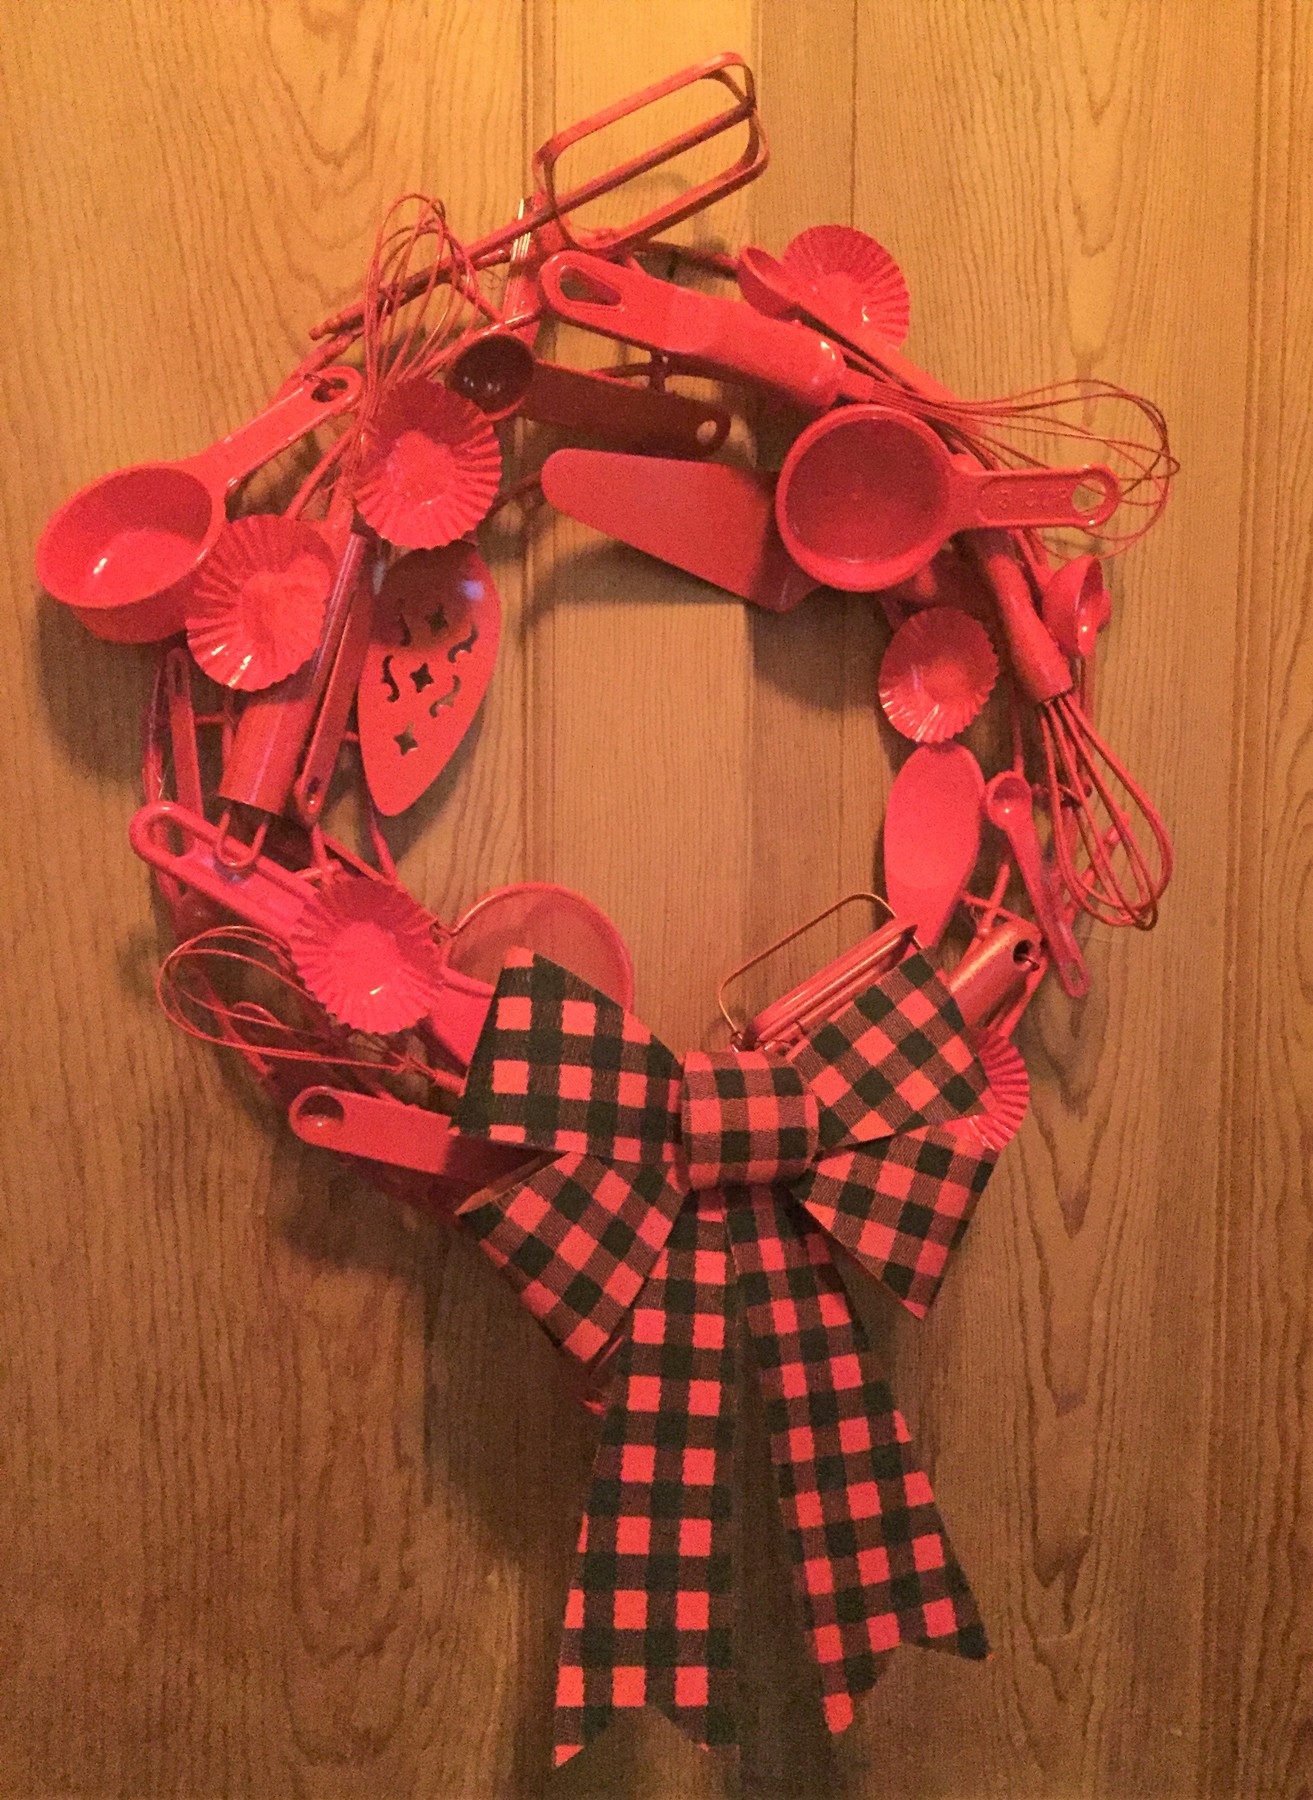
Step 5: Tie one on and hang it up
Next, consider adding a ribbon to your upcycled wreath. If used as a holiday decoration, consider selecting ribbon that has a festive feel to it. This ribbon could be removed after the holidays. You could also select a ribbon that has a more timeless look to it so your wreath always looks fresh.
Finally, hang up your wreath and get ready to receive compliments…and requests for your special recipe!

